Reference diagrams
LETTER · Download PDF
A4 · Download PDF
Free original resources
Learn to draw a weevil by building its long curved snout, ridged oval body, elbowed antennae and underside legs. Free practice sheets support each step.
Four original cases, with reference diagrams, practice sheets and worked answers. Everything is free; no signup required.
LETTER · Download PDF
A4 · Download PDF
LETTER · Download PDF
A4 · Download PDF
LETTER · Download PDF
A4 · Download PDF
Use A4 or US Letter to match your printer. Use the stated values and conditions to solve each exercise; diagrams are not physical measuring rulers.
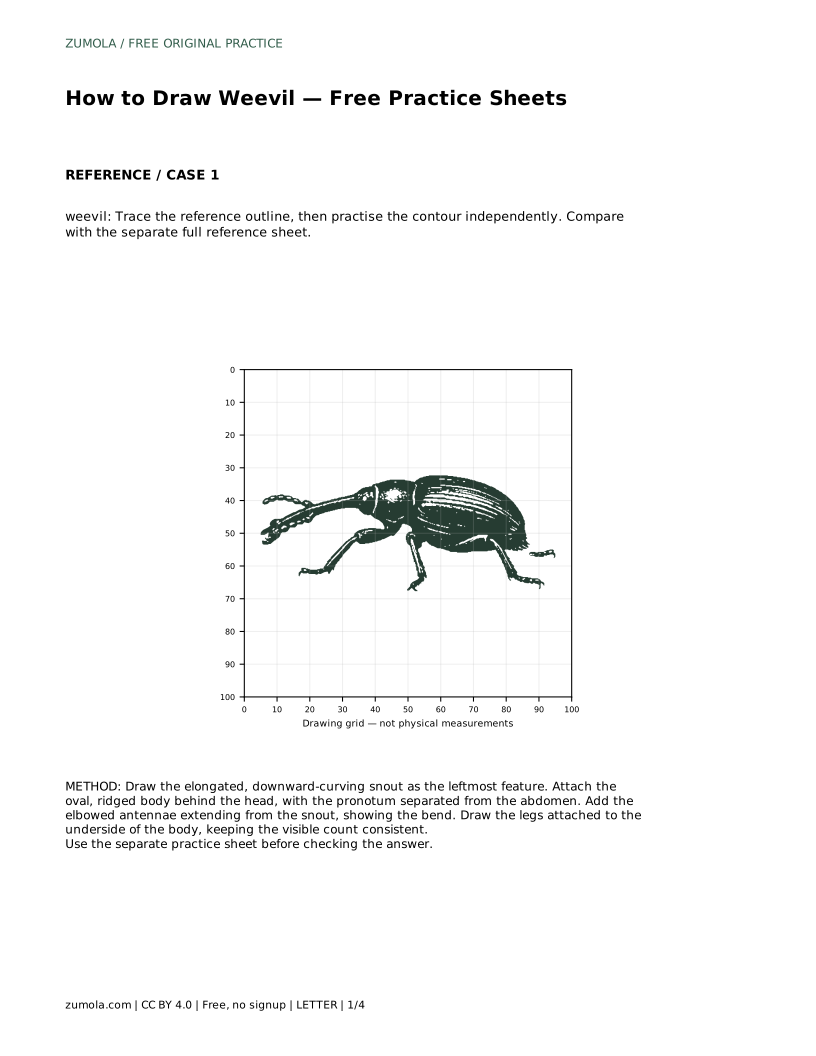
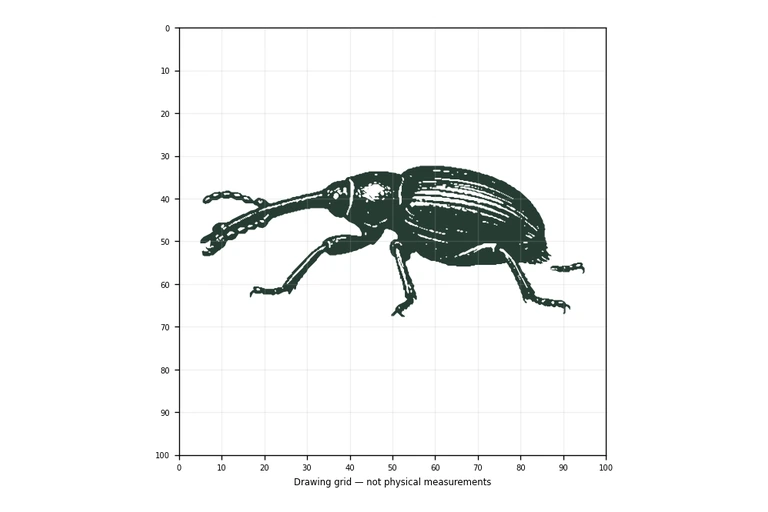
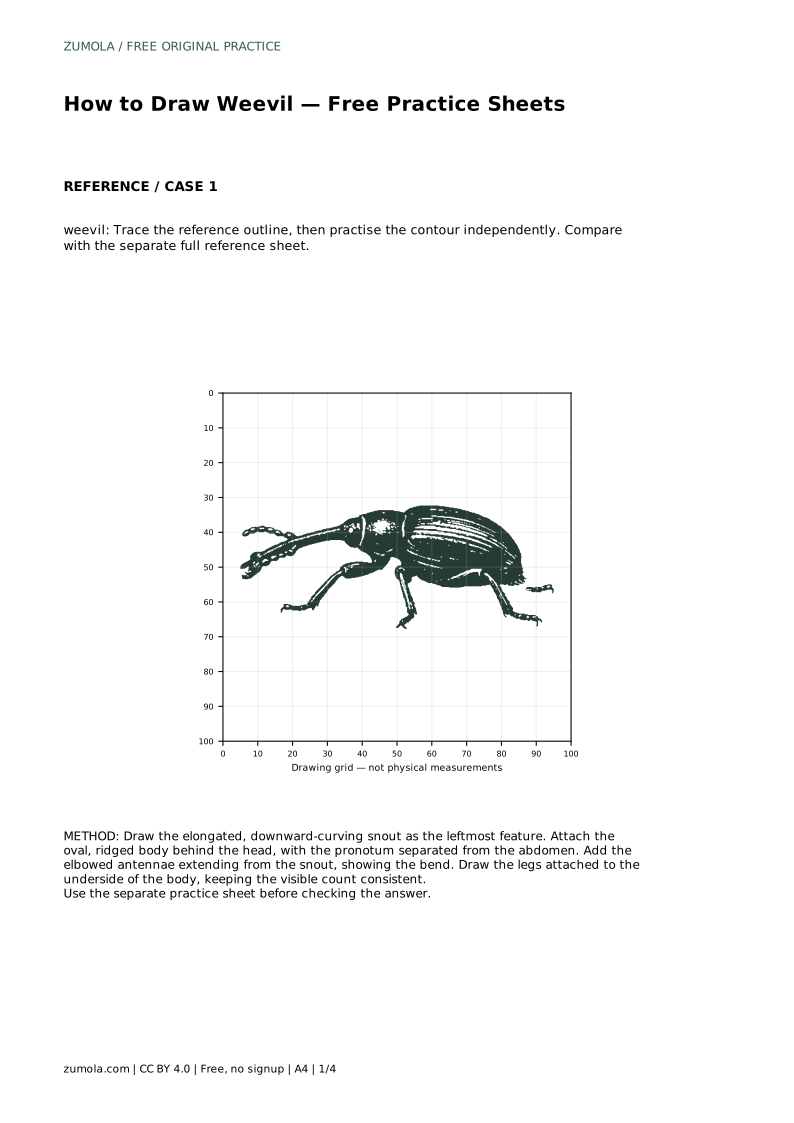
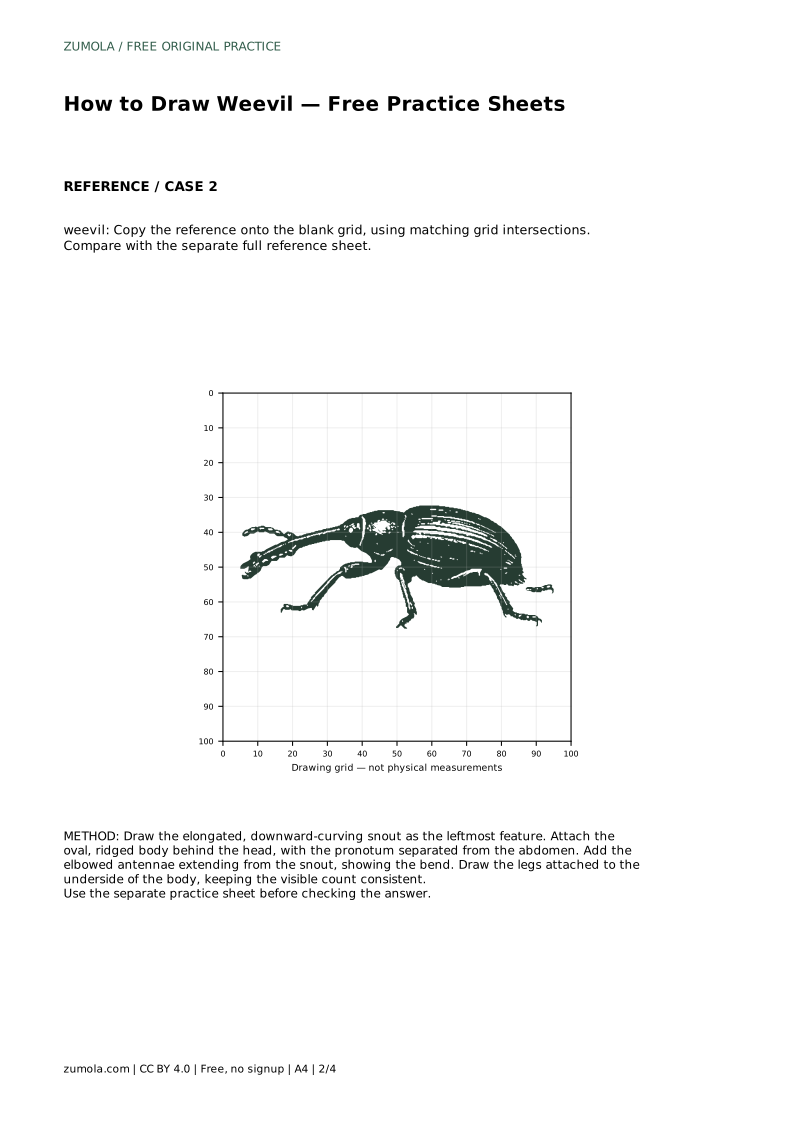
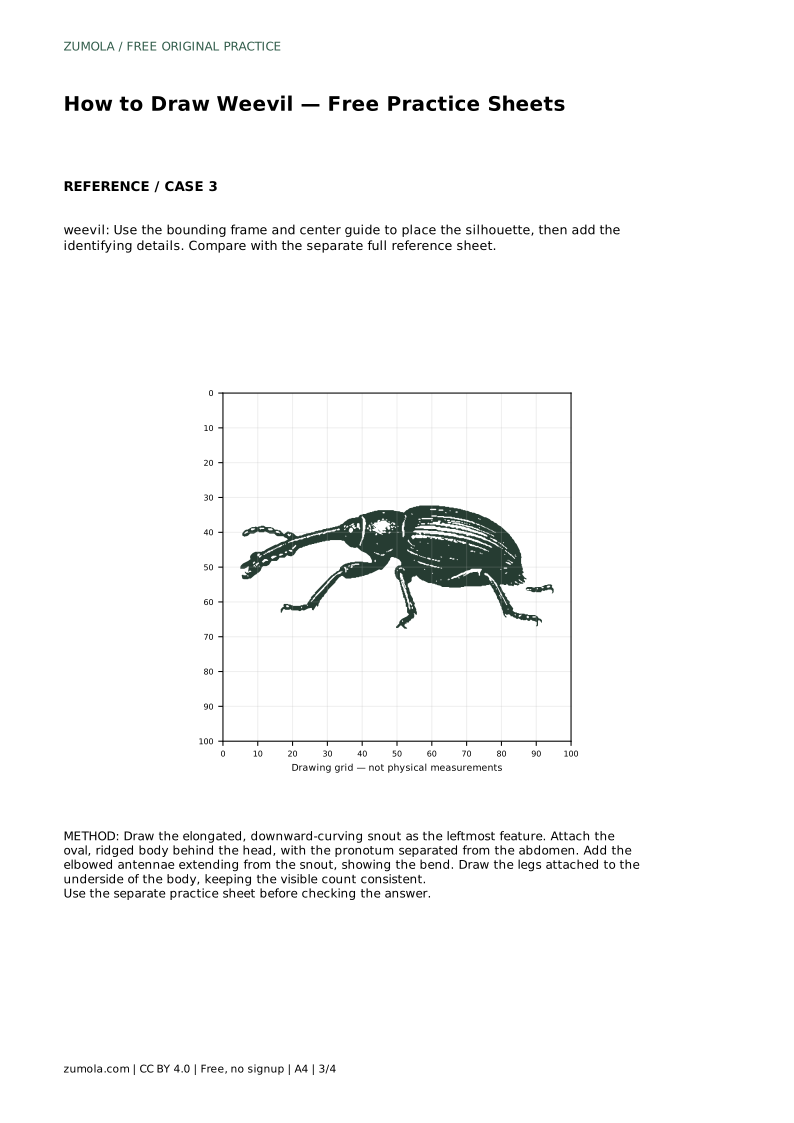
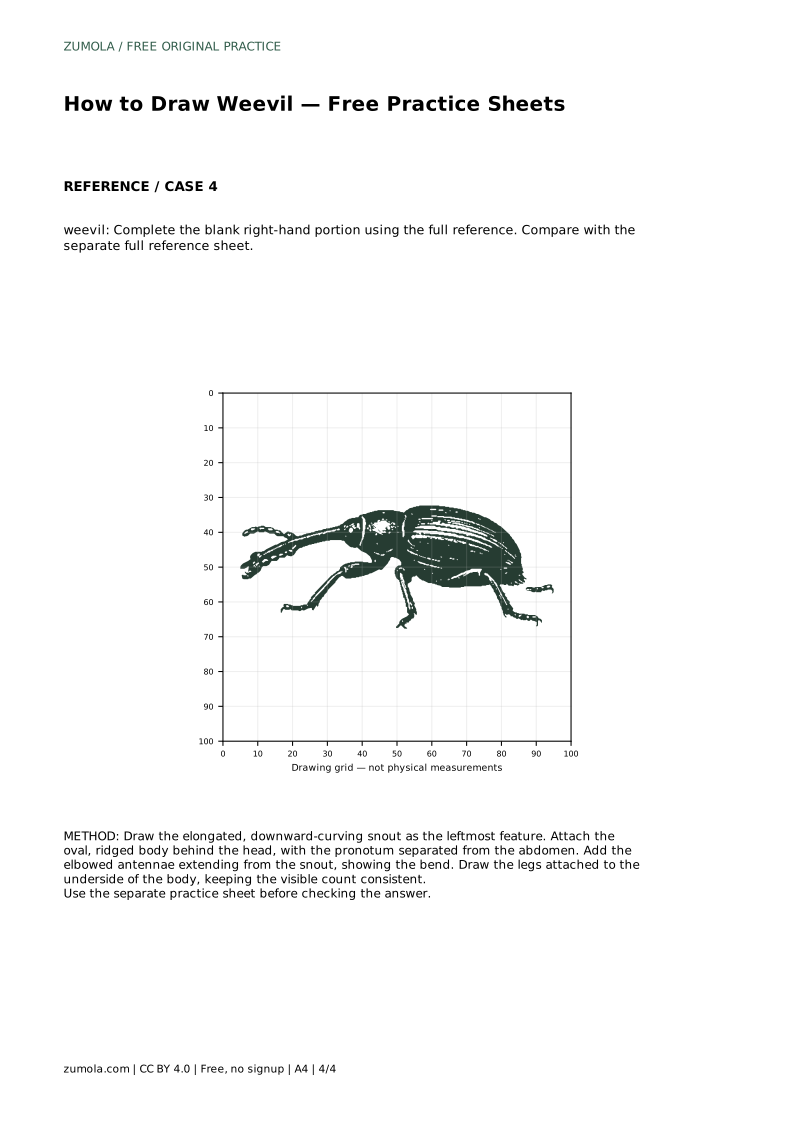
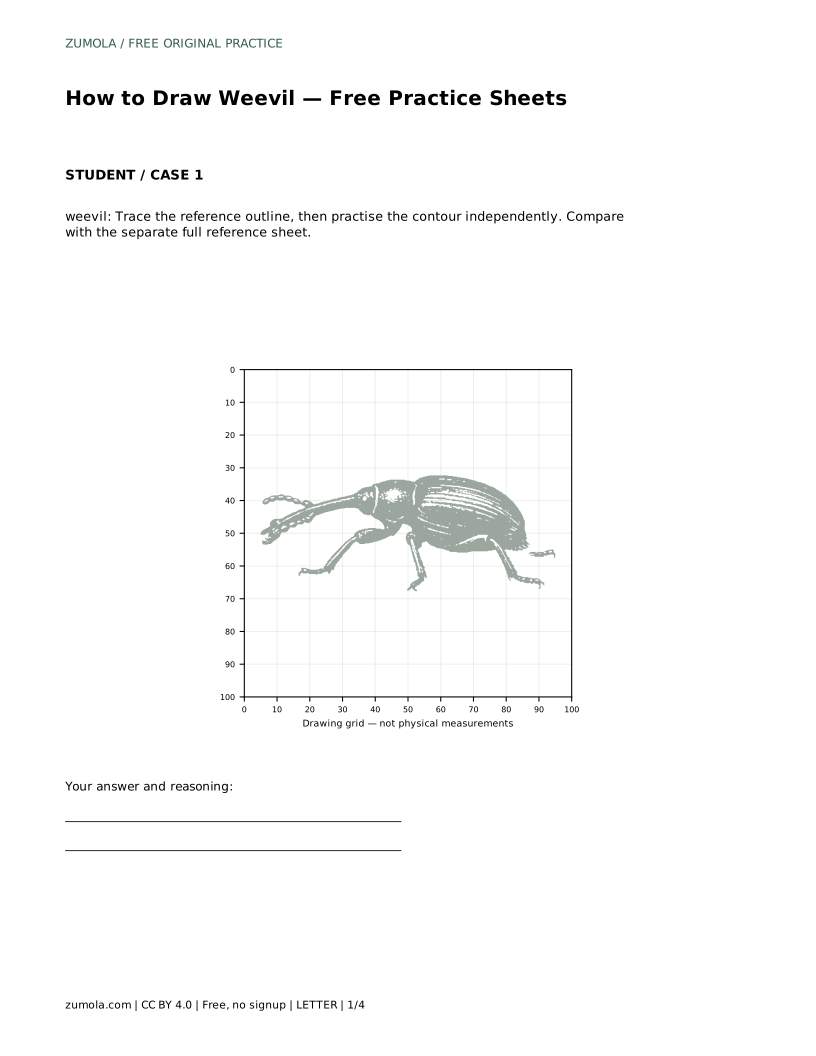
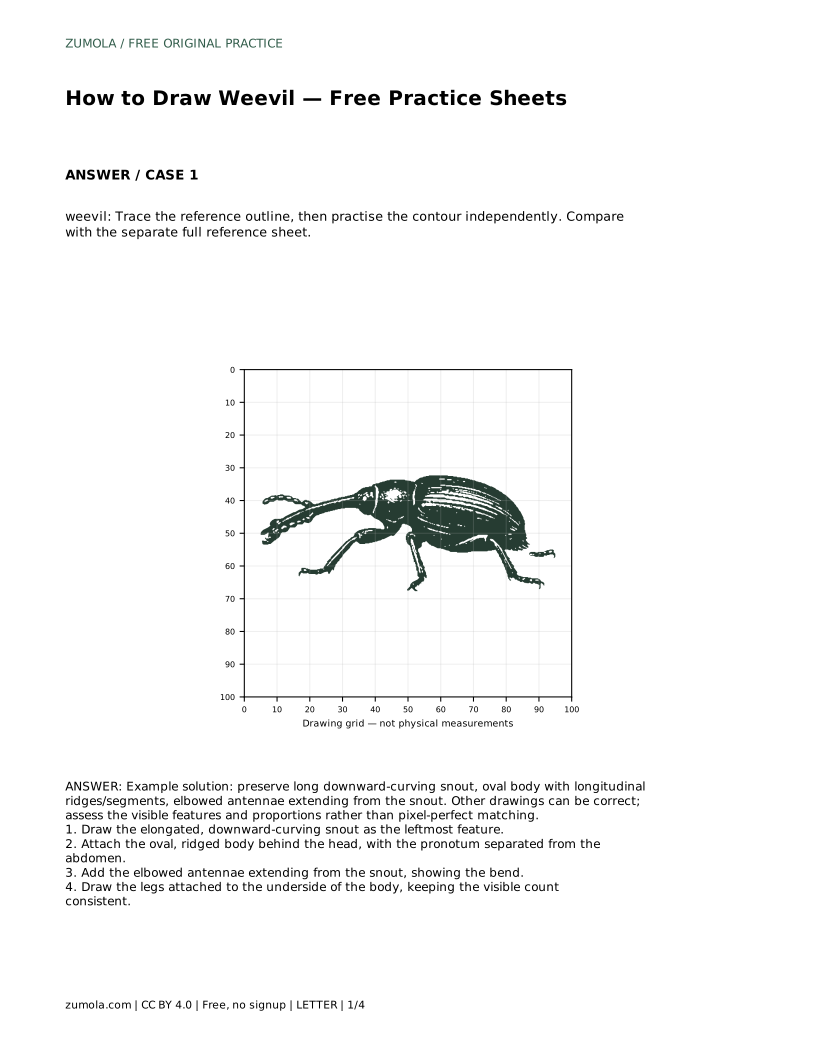
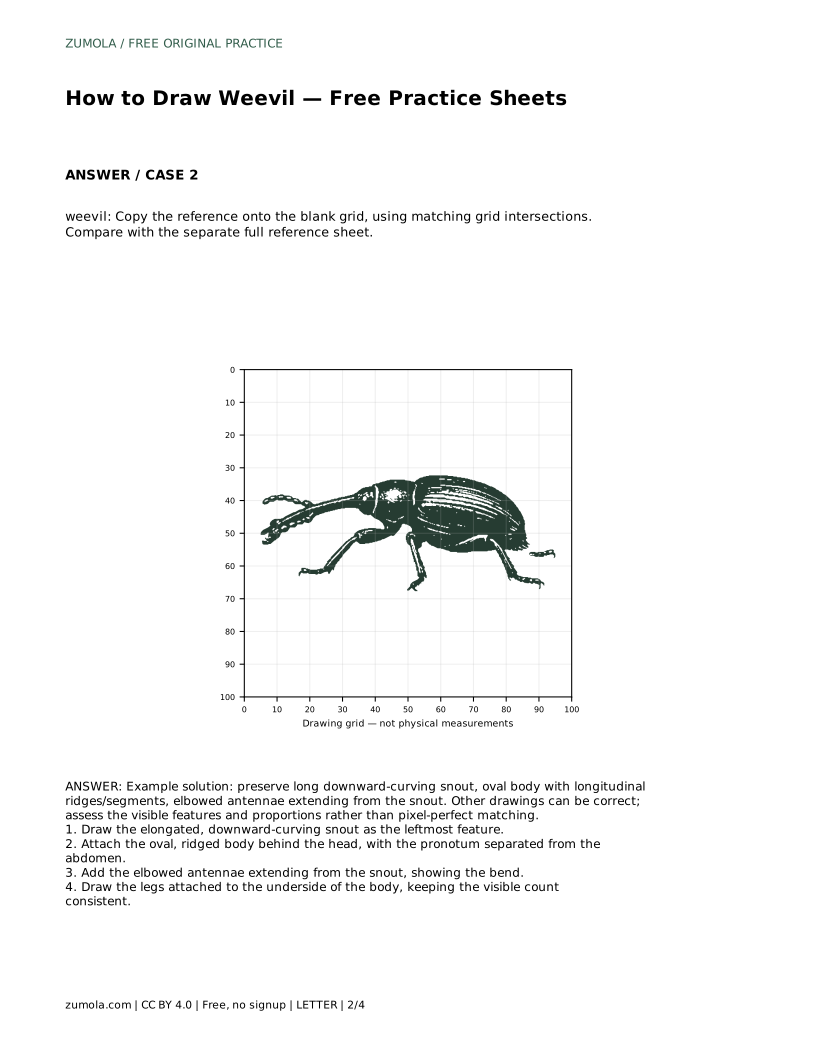
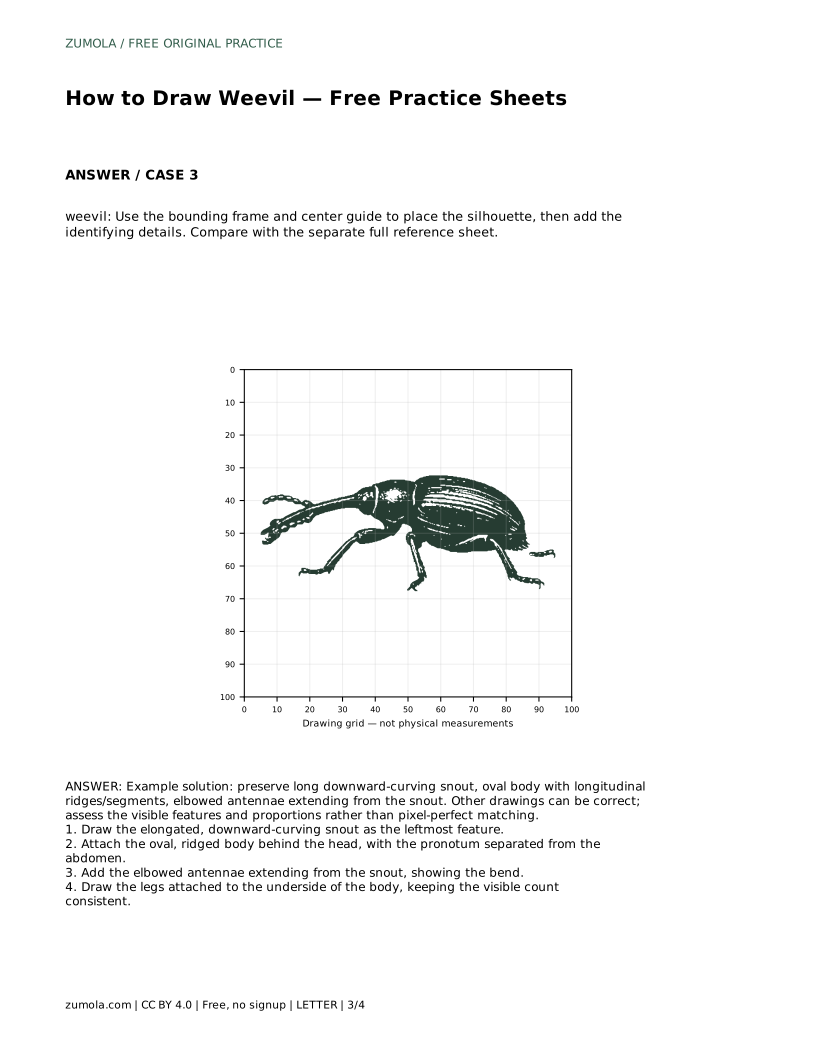
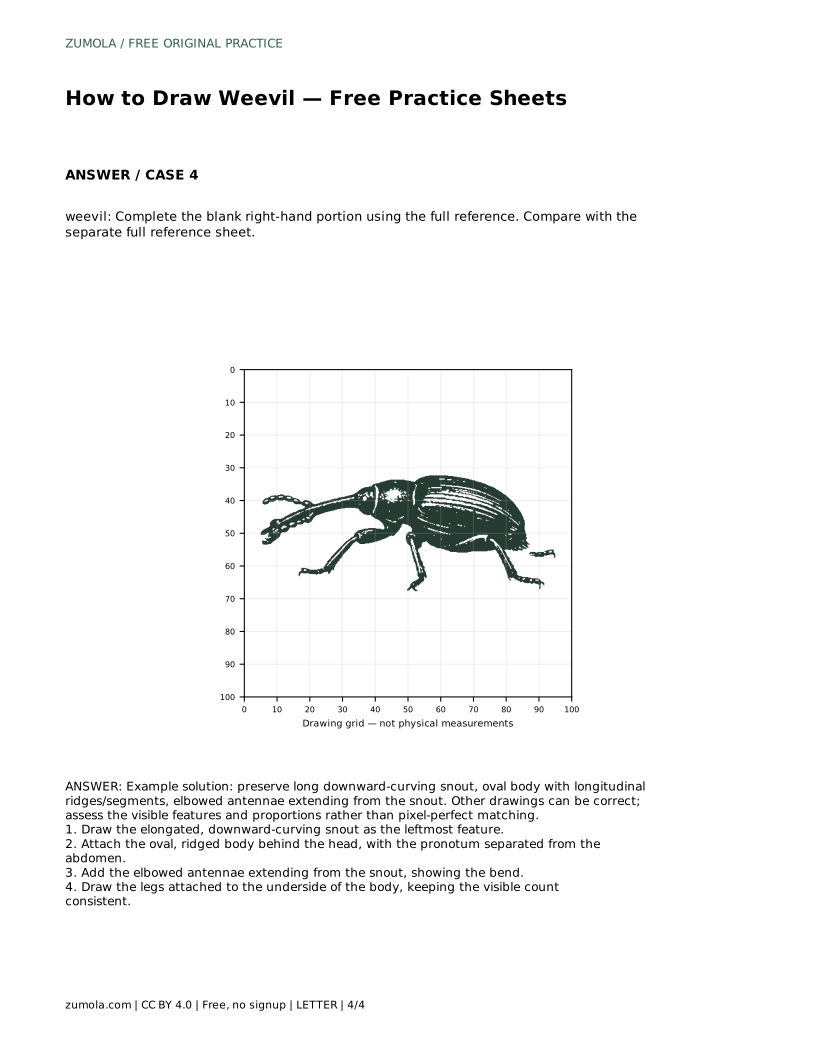
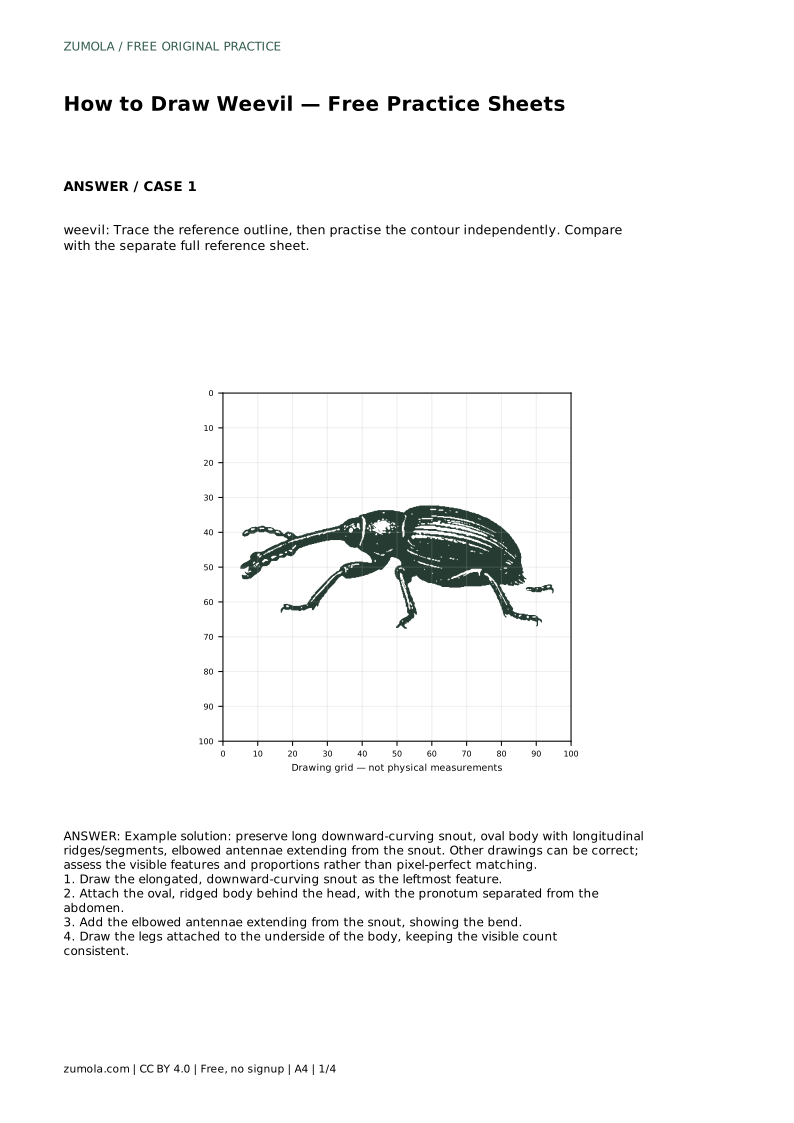
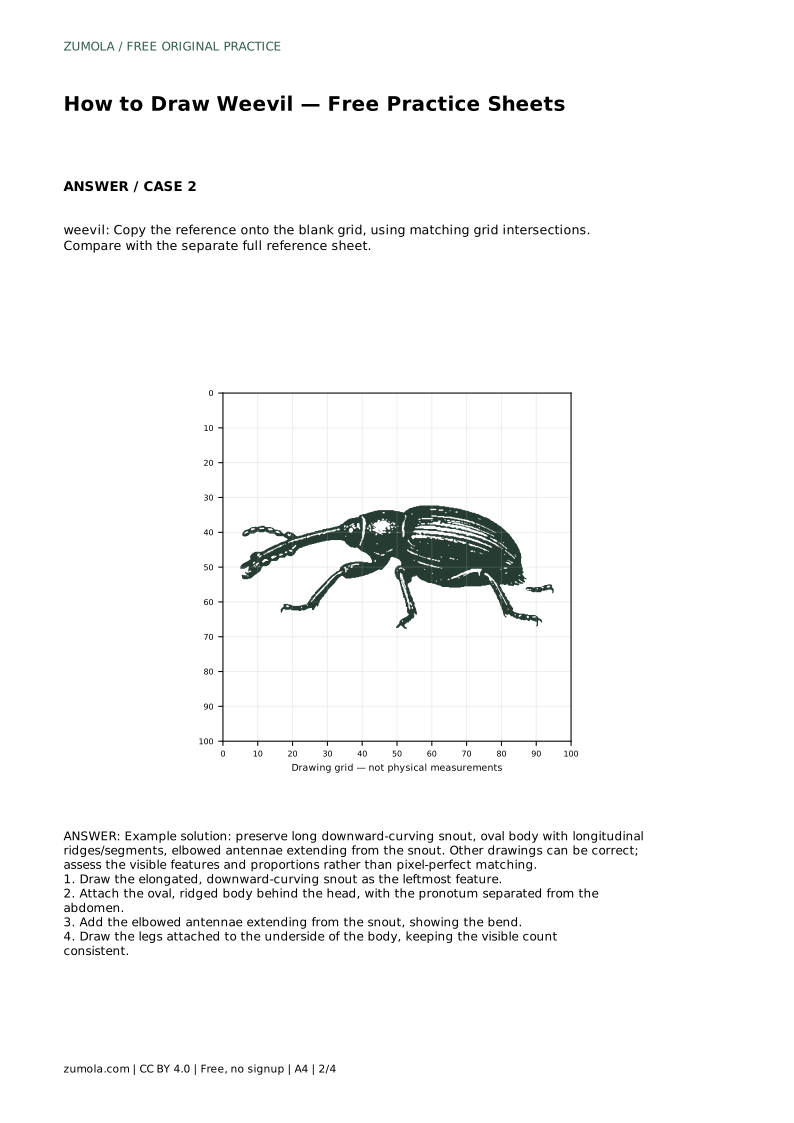
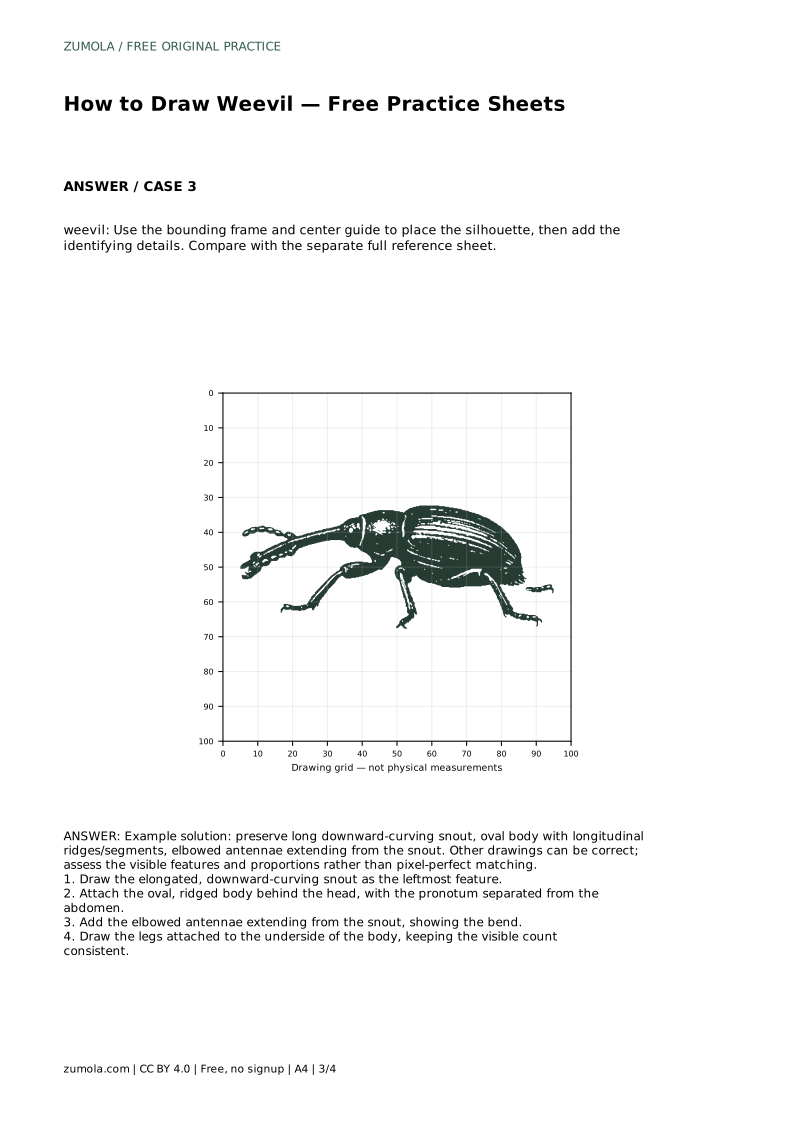
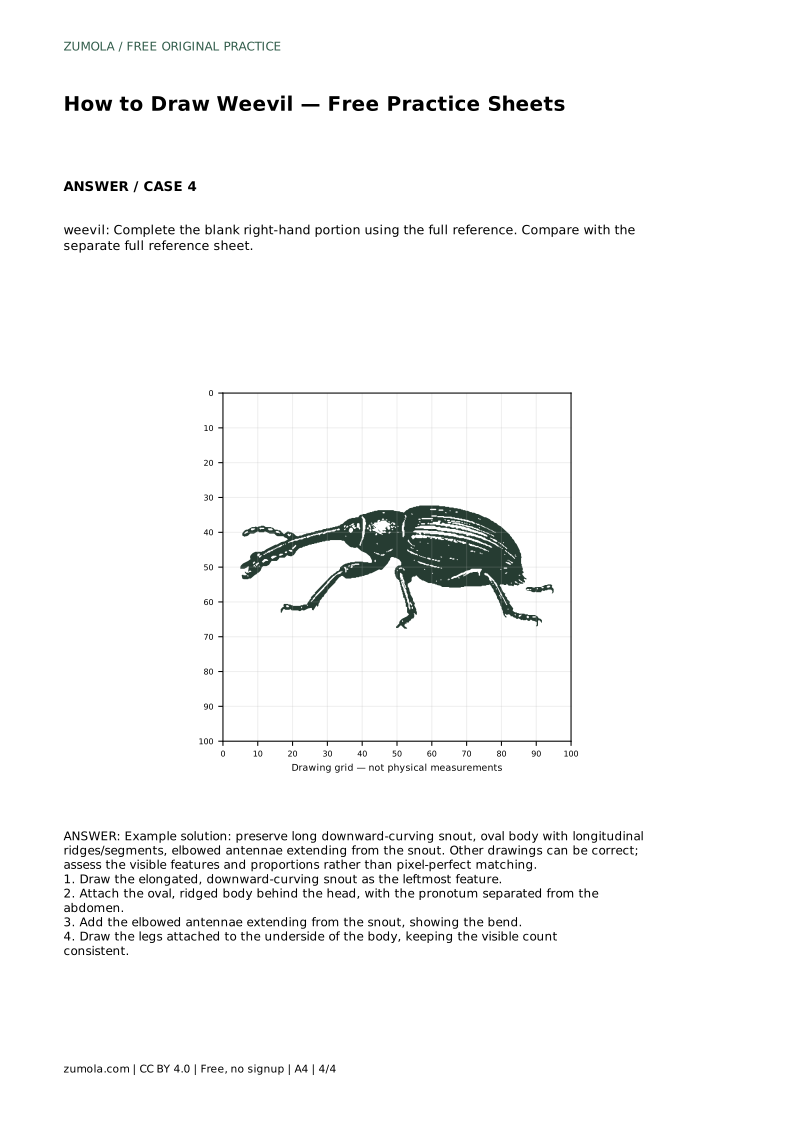
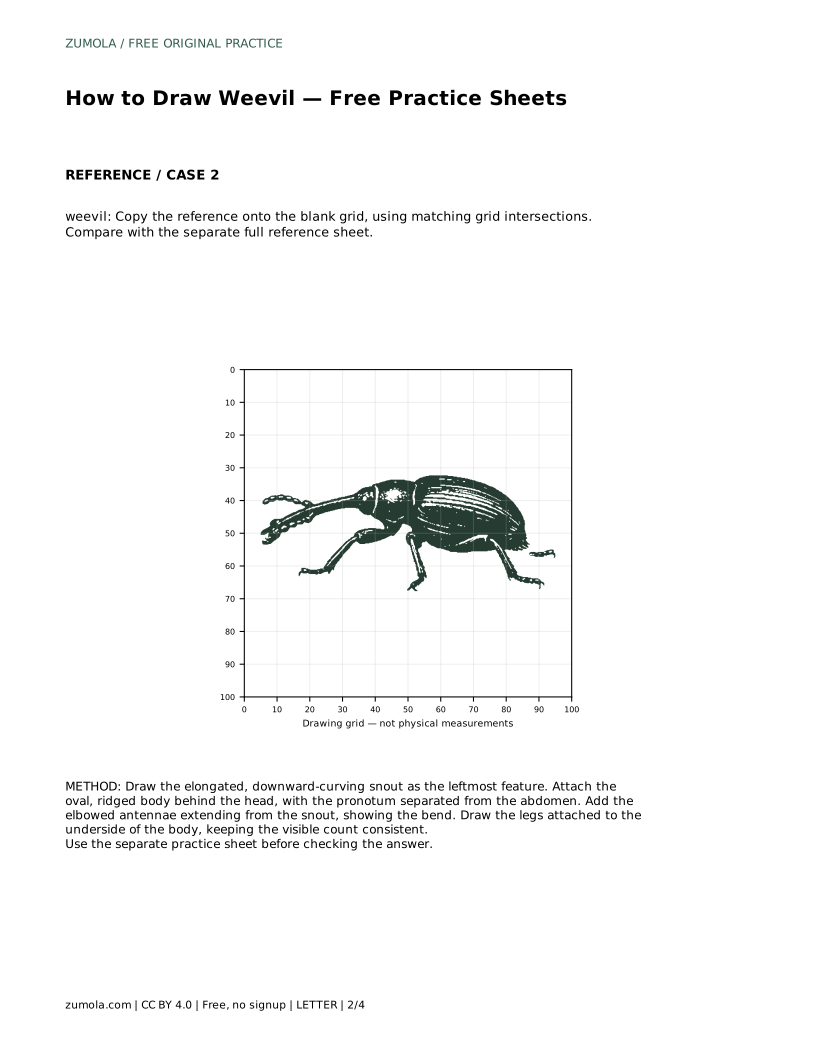
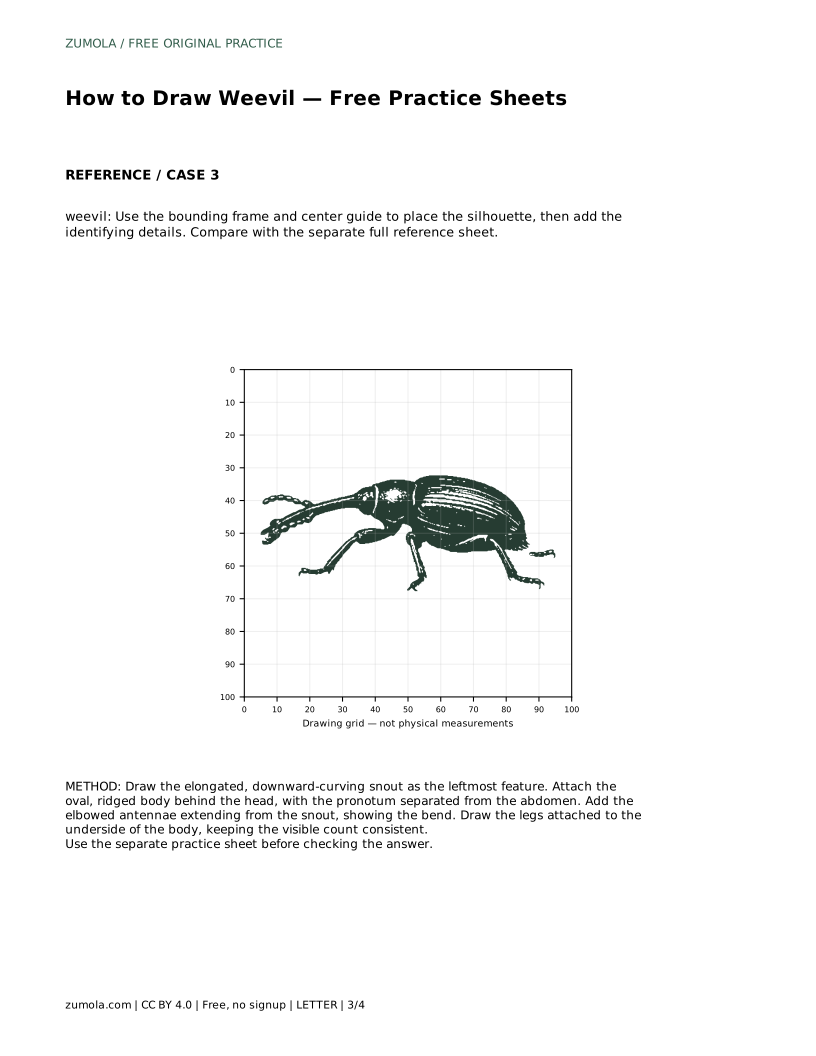
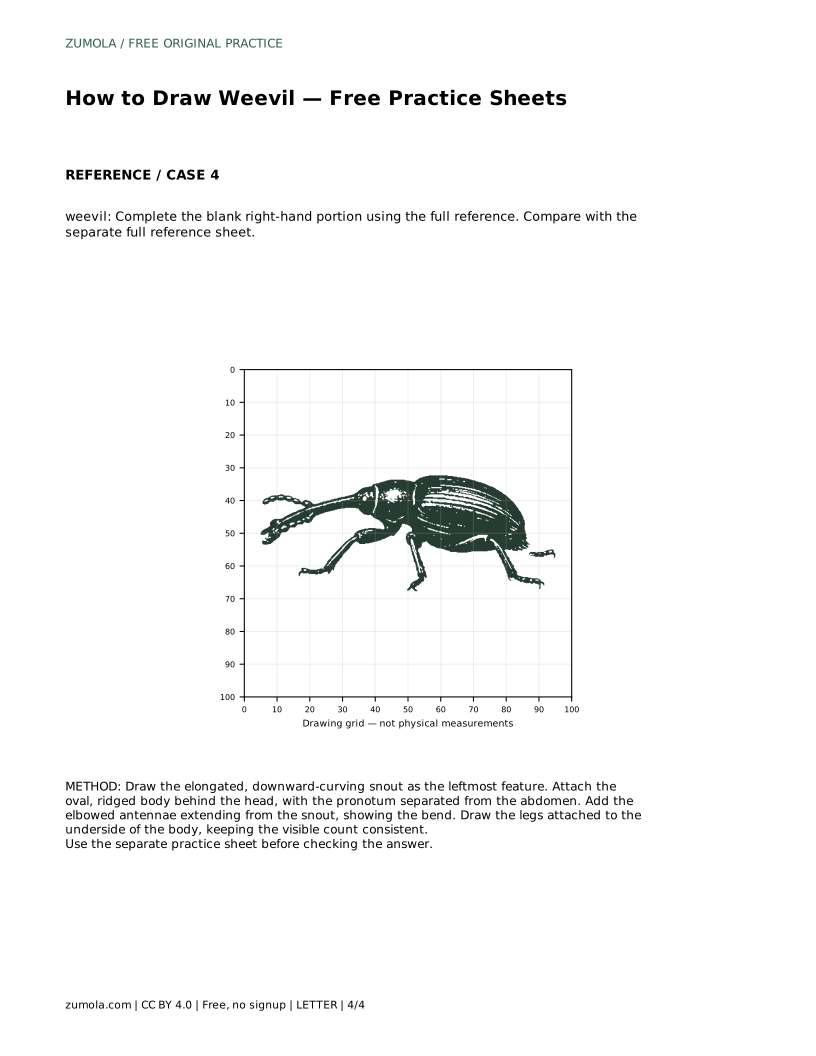
A weevil is easiest to draw when you treat its silhouette as a set of connected parts rather than a single outline. The long downward-curving snout comes first, then the oval body with its ridges and separated pronotum, then the elbowed antennae and the legs beneath. The practice sheets let you trace, copy onto a grid, place the shape inside a frame, or complete a partly drawn figure. Each version trains the same observation skill: noticing how the parts meet.
Begin at the leftmost point of the drawing: the snout. Draw it as an elongated form that curves downward, wider where it meets the head and tapering toward the tip. Keep the curve smooth and continuous; a snout that bends in several directions reads as a different insect. The head is small relative to the body and sits at the base of the snout, so avoid making it a large separate circle.
Once the snout is placed, check its length against the body you plan to draw. On most weevils the snout is a striking feature, often close to the body length, so give it room before you commit to the rest of the figure.
Attach an oval body behind the head. The pronotum, the section just behind the head, should read as distinct from the abdomen rather than blending into one smooth egg shape. A light dividing line or a slight change in width is enough to show the separation.
Add longitudinal ridges or segments along the abdomen. These run roughly front to back, following the body's curve. Keep them evenly spaced and stop them before the body edge so the outline stays clean. The ridges are what make the body look ridged rather than striped.
The antennae extend from the snout, not from the top of the head. Draw each one with a clear bend, like an elbow: a longer segment out from the snout, then an angled turn, then the thinner outer portion. Show the bend plainly; a straight antenna loses the identifying feature.
Place the legs on the underside of the body. Decide how many legs are visible in your view and keep that count consistent as you draw. Each leg attaches beneath the body and angles outward and down. Keep the joints simple and let the legs support the body's weight visually rather than floating beside it.
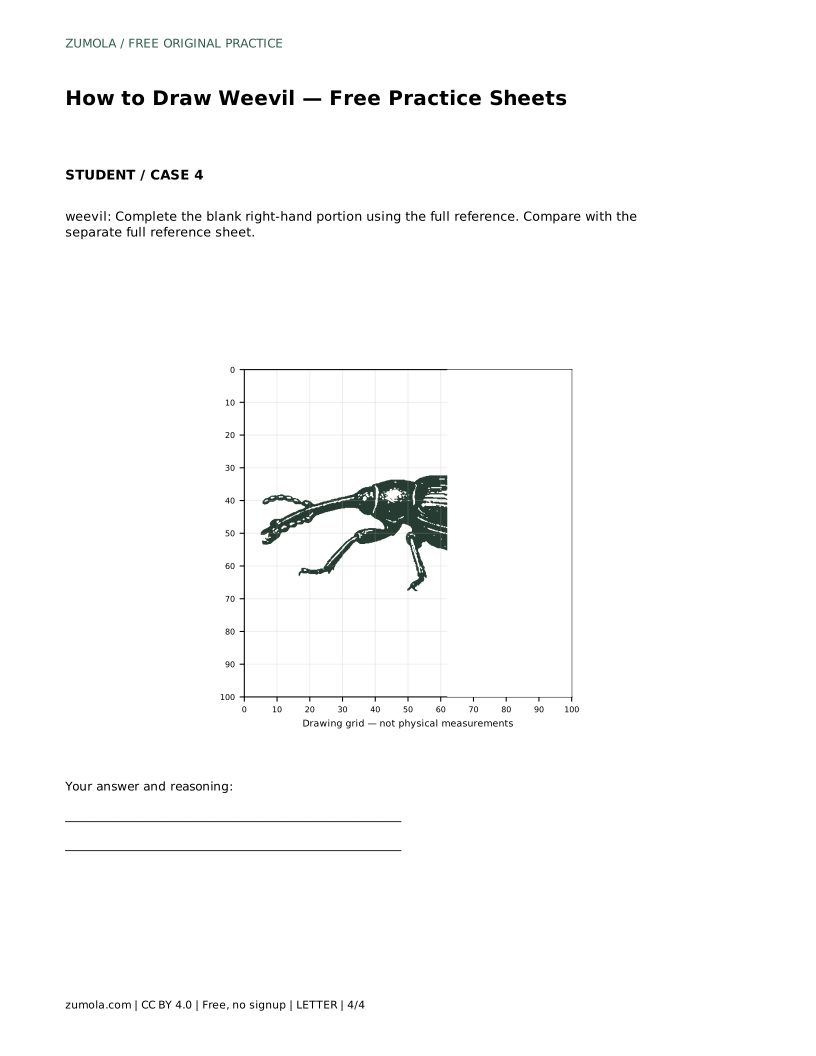
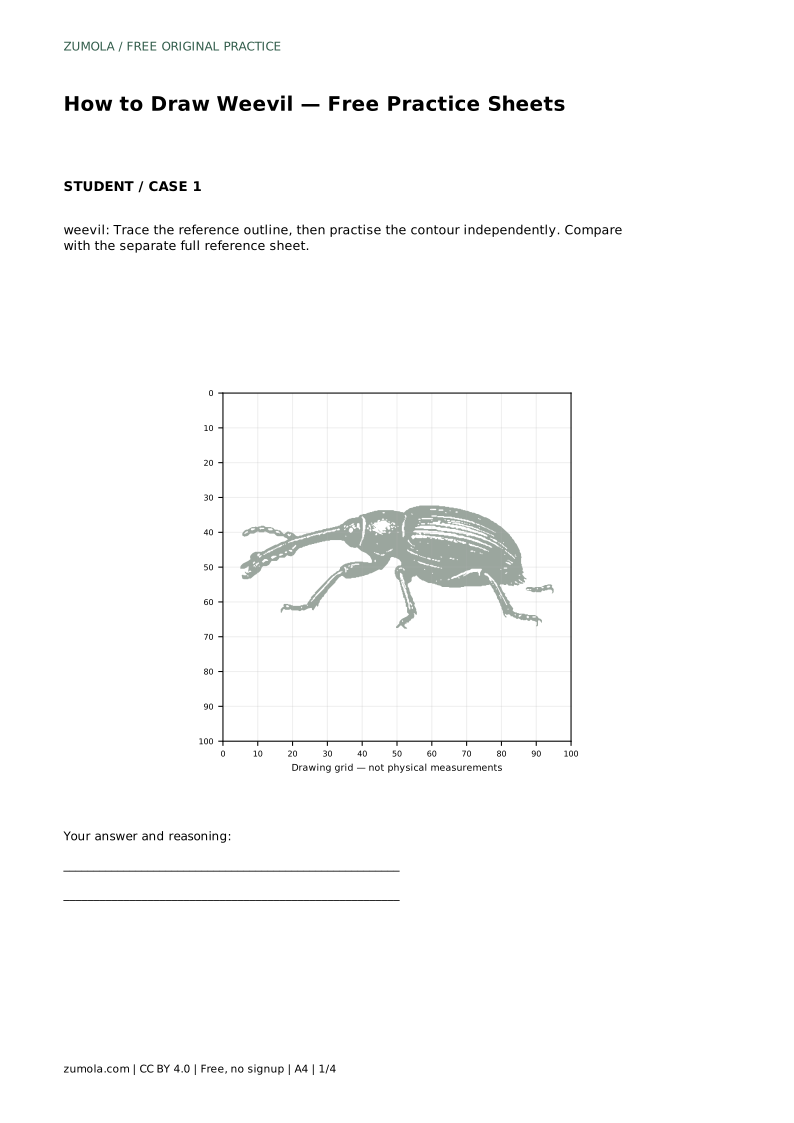
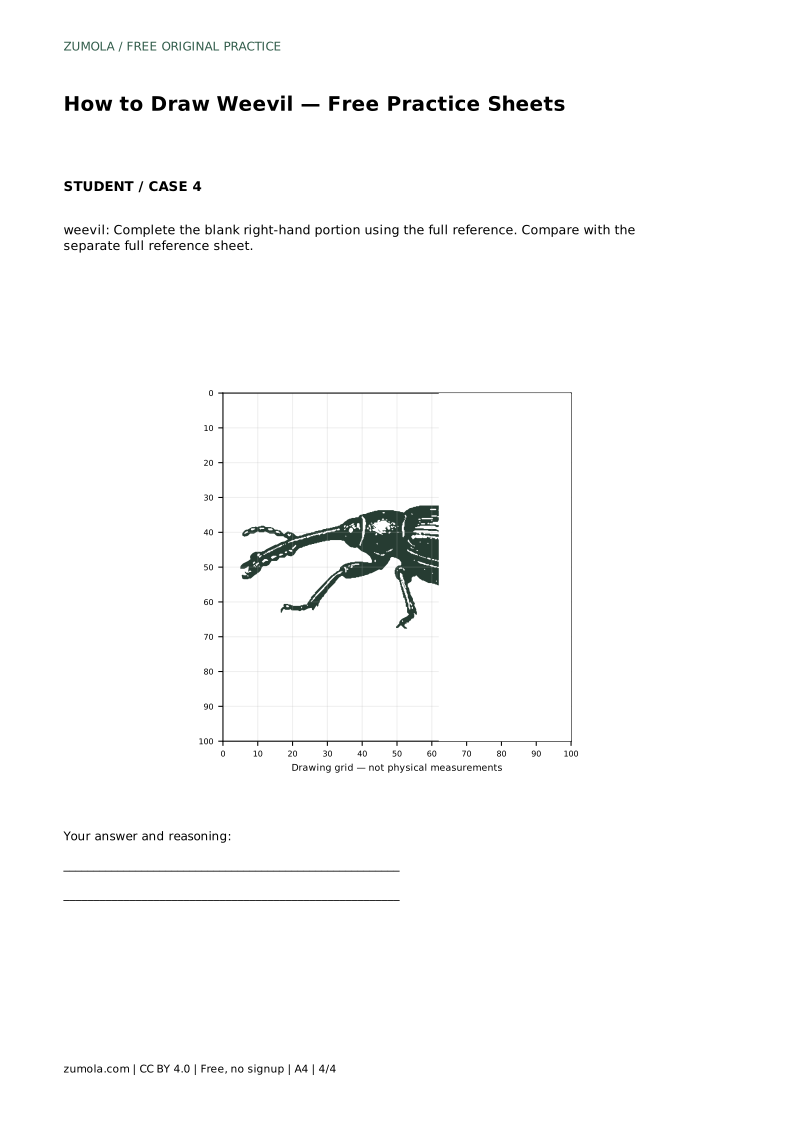
The trace version asks you to follow the reference outline, then repeat the contour independently on blank space. The grid version asks you to copy the reference onto a blank grid by matching intersections, which trains proportion. The frame version gives a bounding frame and center guide so you place the silhouette before adding details. The partial version gives the left portion and asks you to complete the right using the full reference.
In every format, compare your finished drawing with the separate full reference sheet. Judge the visible features and proportions rather than pixel-perfect matching, because more than one correct drawing is possible.
weevil: Trace the reference outline, then practise the contour independently. Compare with the separate full reference sheet.
Example solution: preserve long downward-curving snout, oval body with longitudinal ridges/segments, elbowed antennae extending from the snout. Other drawings can be correct; assess the visible features and proportions rather than pixel-perfect matching. Draw the elongated, downward-curving snout as the leftmost feature. Attach the oval, ridged body behind the head, with the pronotum separated from the abdomen. Add the elbowed antennae extending from the snout, showing the bend. Draw the legs attached to the underside of the body, keeping the visible count consistent.
In the reference used here, yes. The long downward-curving snout is a key identifying feature, so keep the curve smooth and continuous.
Draw the number visible in your chosen view and keep that count consistent. The important thing is that legs attach to the underside of the body.
That can still be correct. Assess whether the snout, ridged oval body, separated pronotum, elbowed antennae and underside legs are present and proportionate.
All drawing practice · Free coordinate paper
Original resources · CC BY 4.0 · Free for personal and classroom use with attribution.