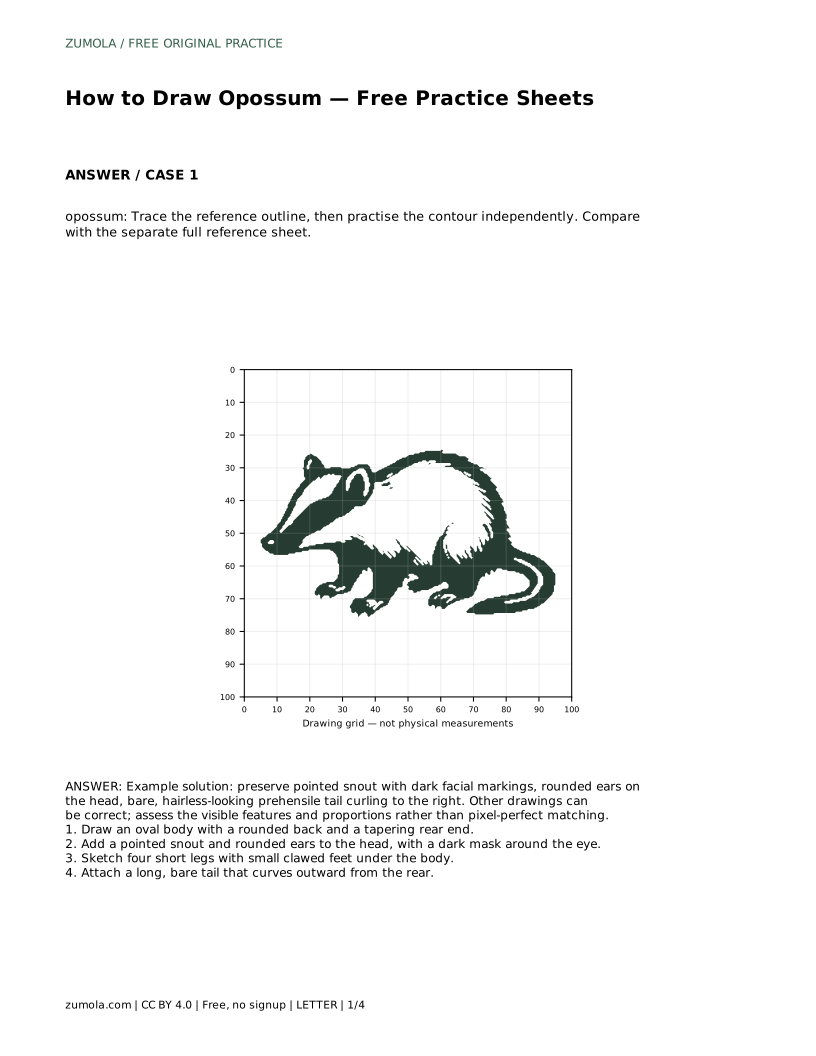
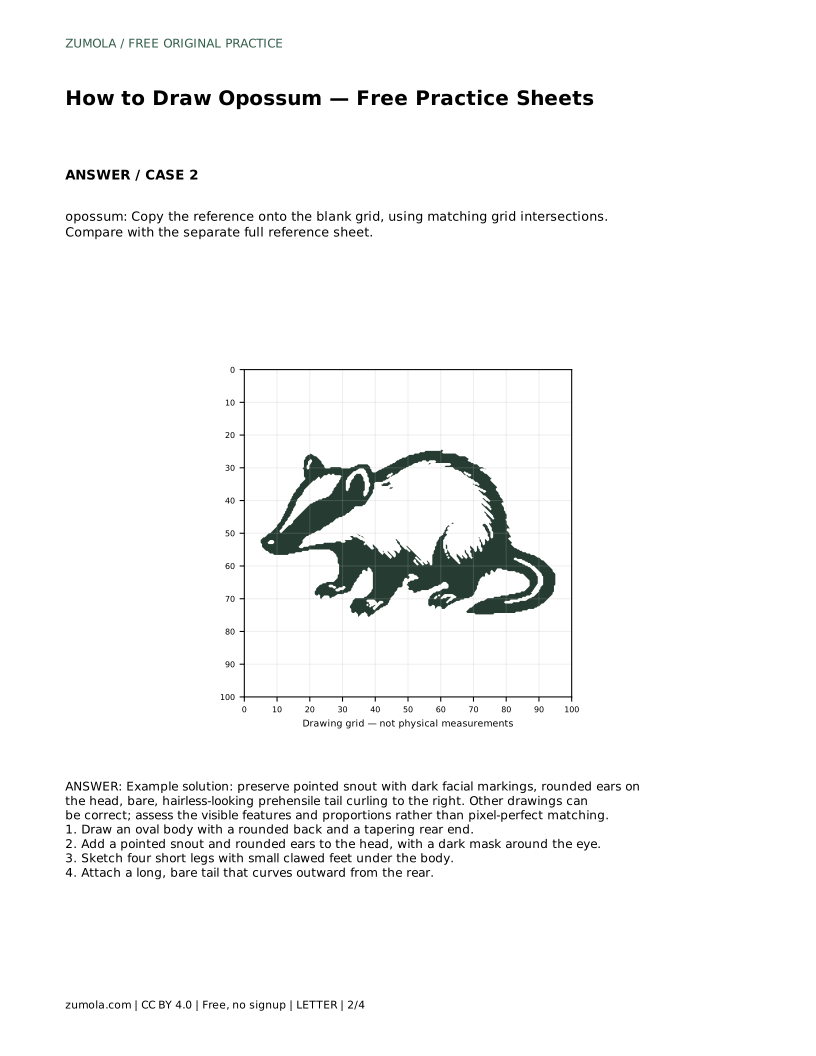
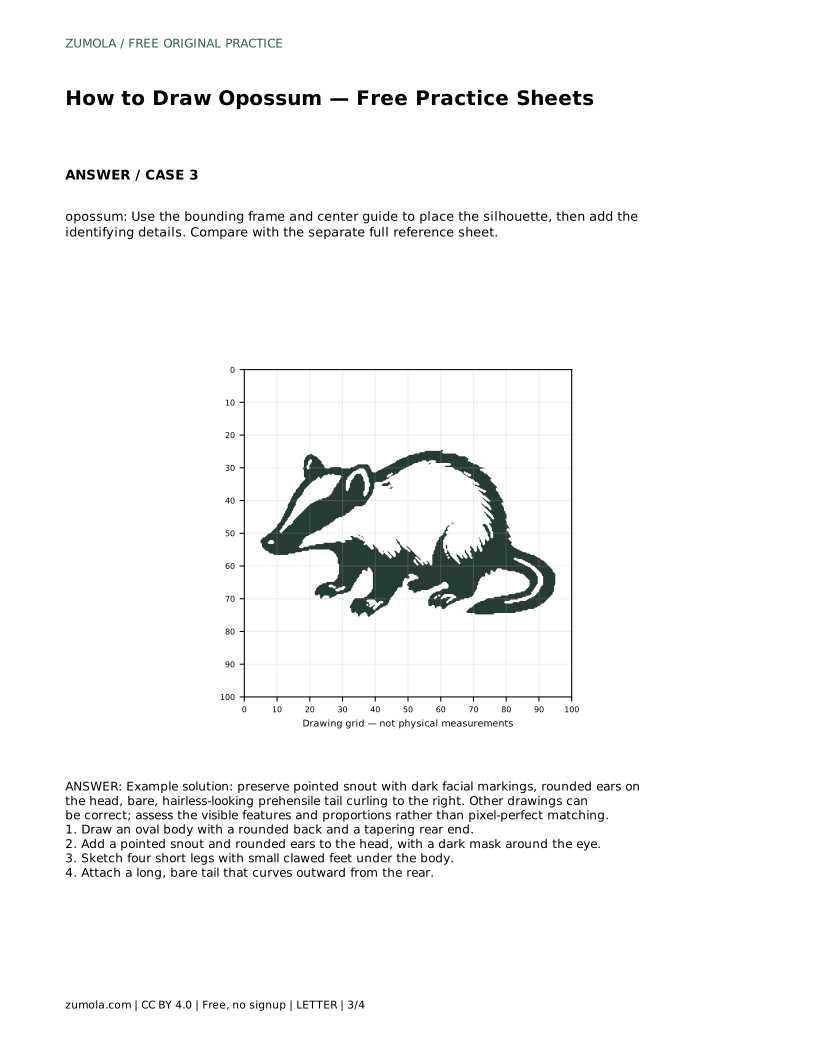
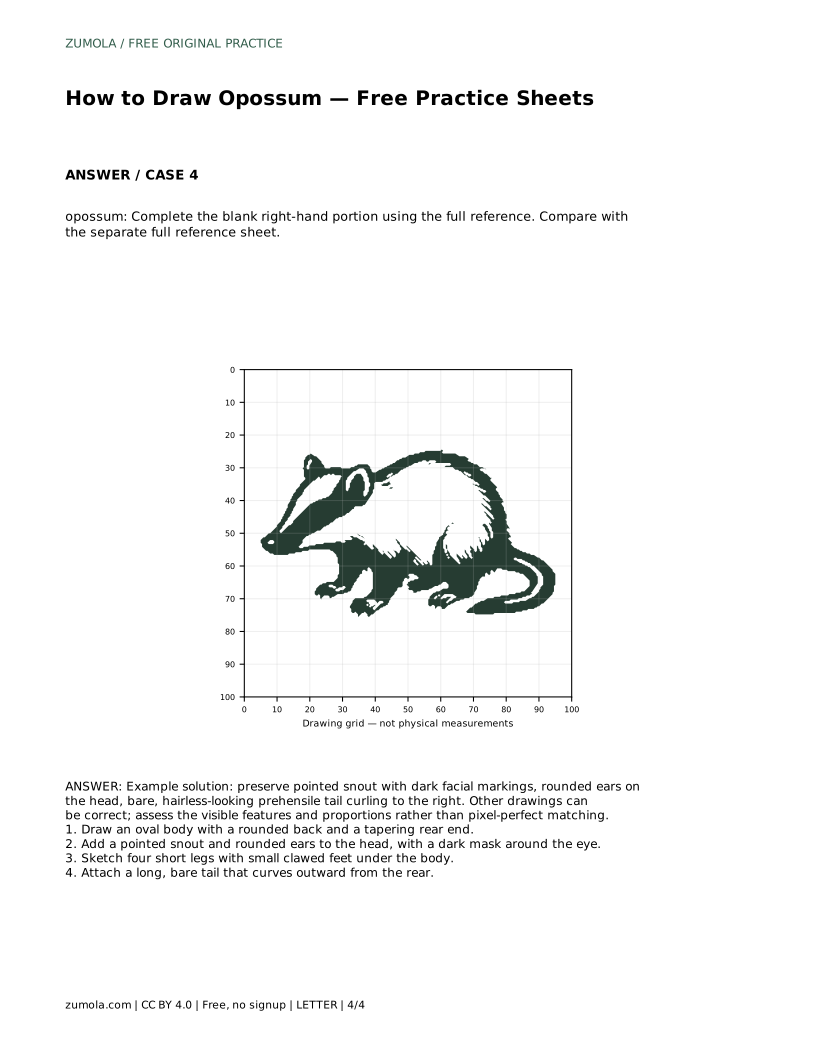
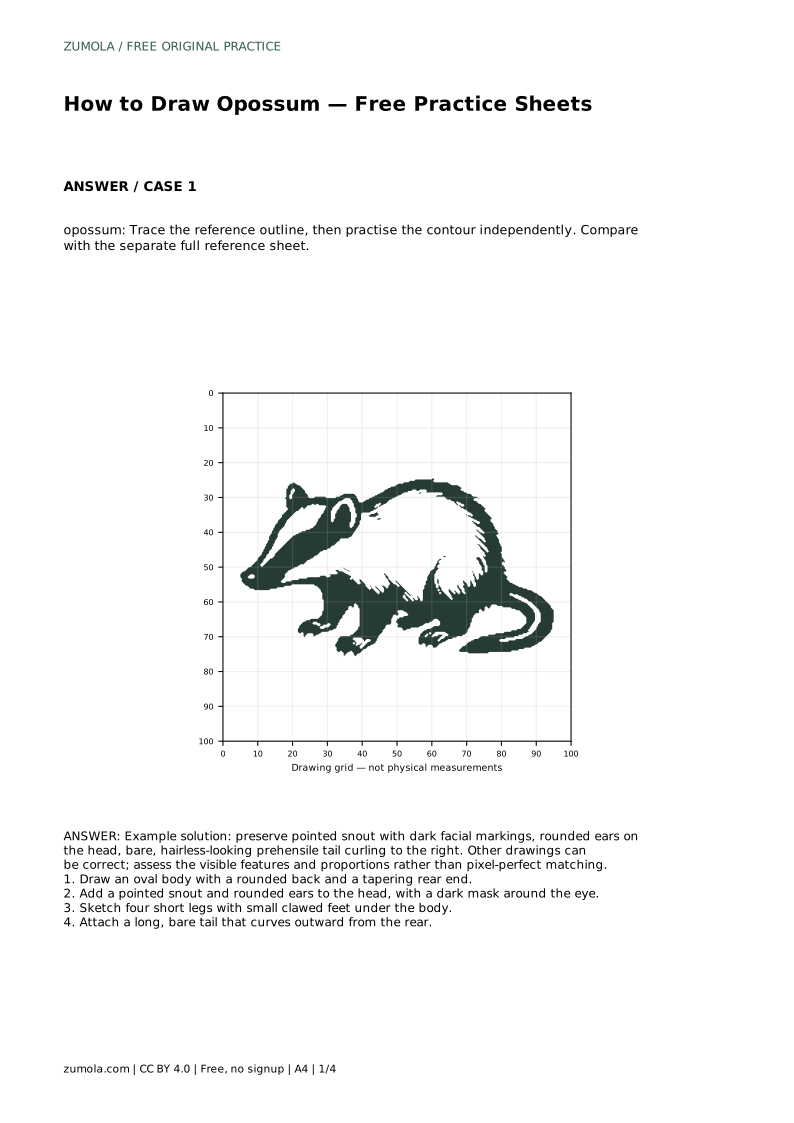
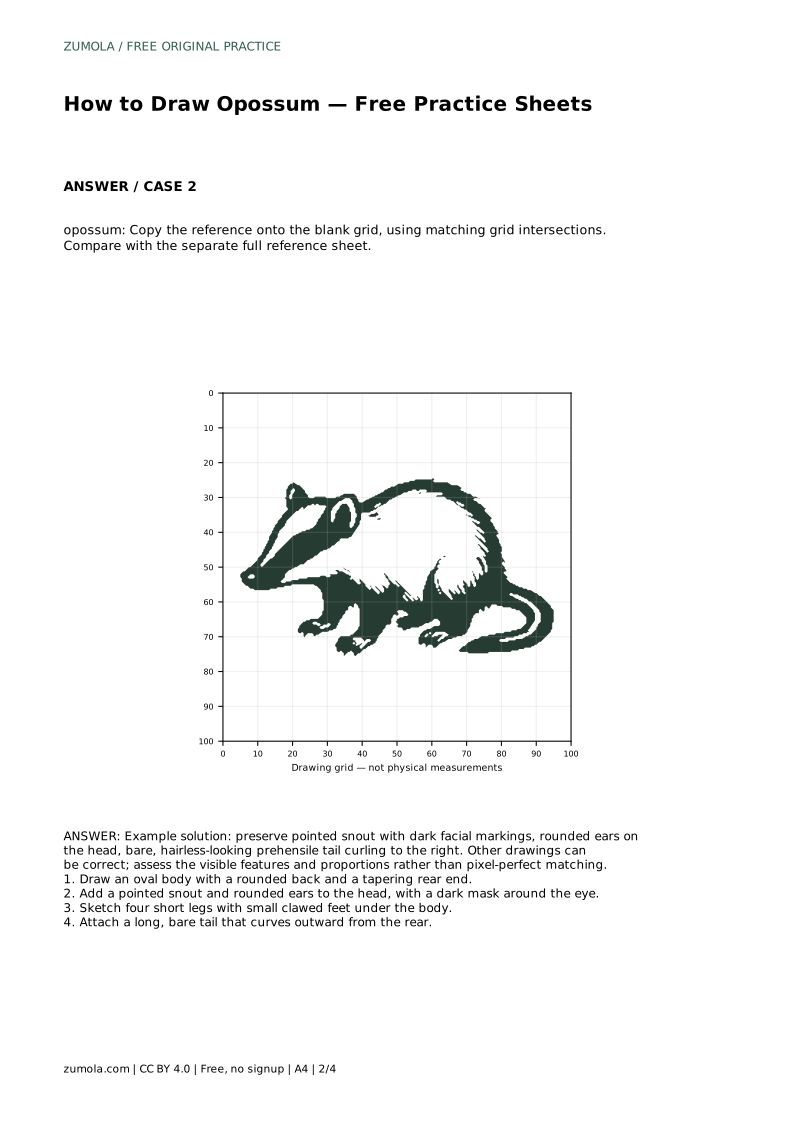
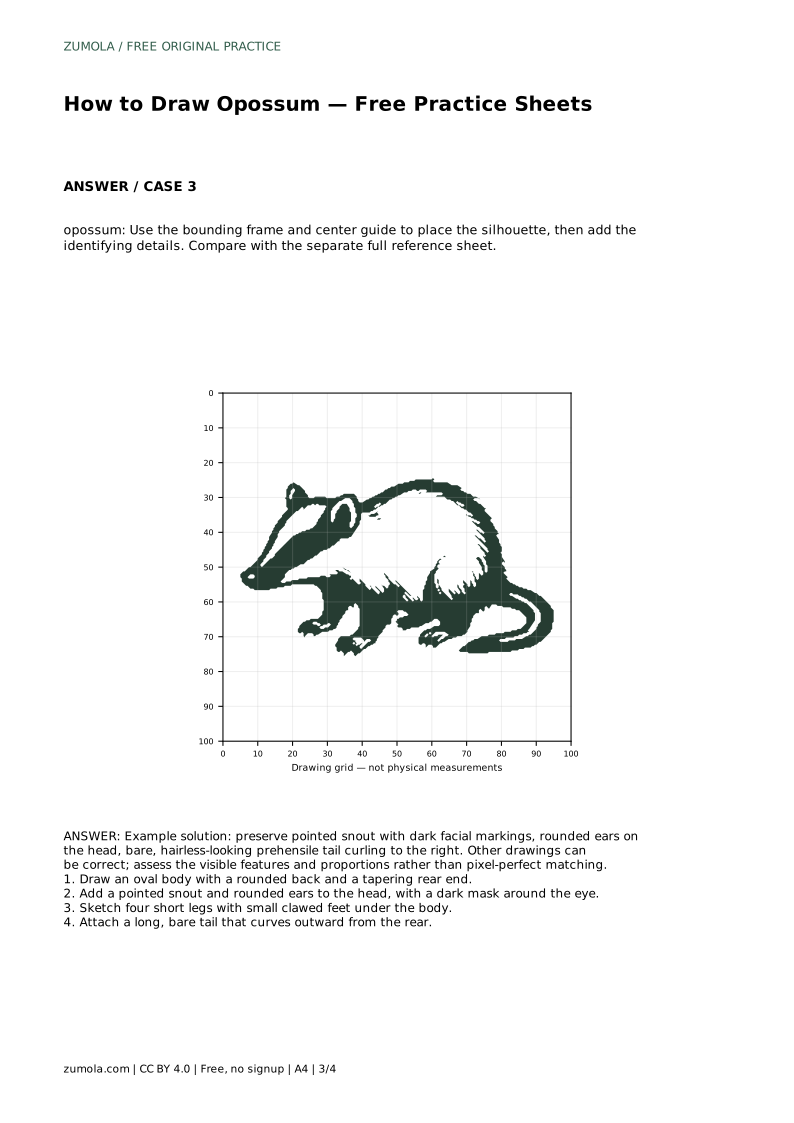
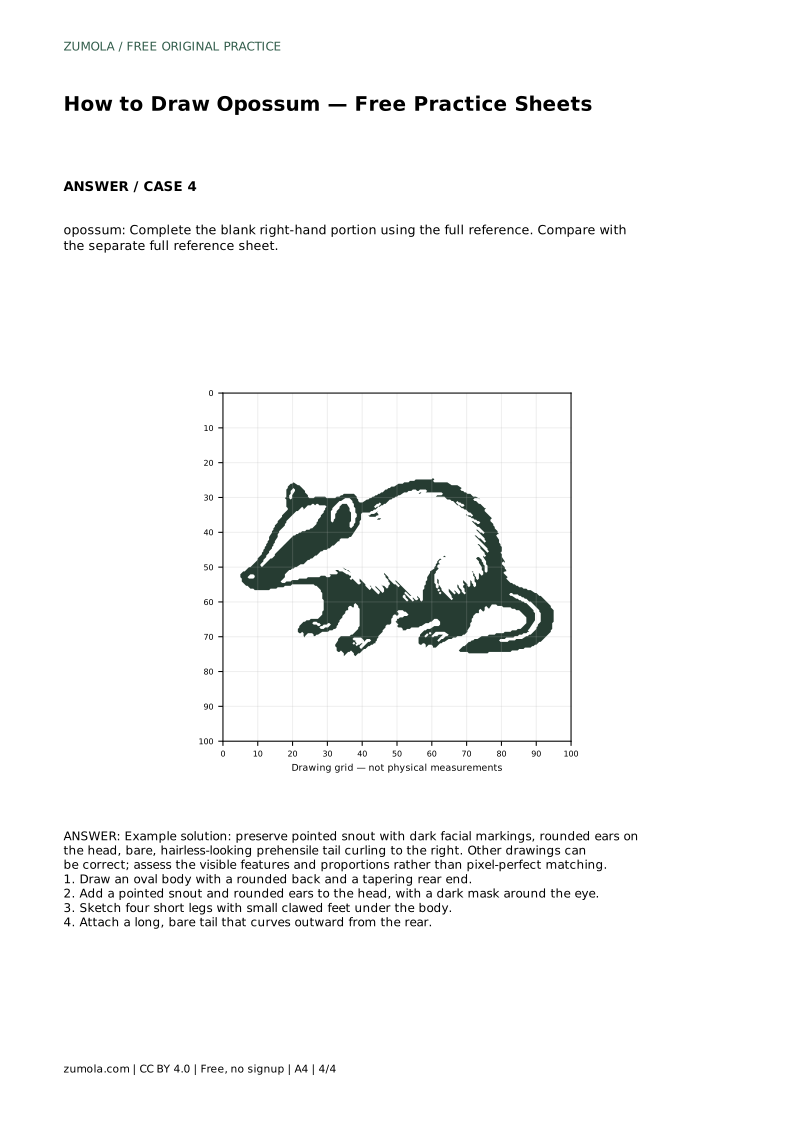
Reference diagrams
LETTER · Download PDF
A4 · Download PDF
Free original resources
Learn to draw an opossum with a pointed snout, dark eye mask, rounded ears, short clawed legs, and a bare curling tail. Free printable practice sheets included.
Four original cases, with reference diagrams, practice sheets and worked answers. Everything is free; no signup required.
LETTER · Download PDF
A4 · Download PDF
LETTER · Download PDF
A4 · Download PDF
LETTER · Download PDF
A4 · Download PDF
Use A4 or US Letter to match your printer. Use the stated values and conditions to solve each exercise; diagrams are not physical measuring rulers.
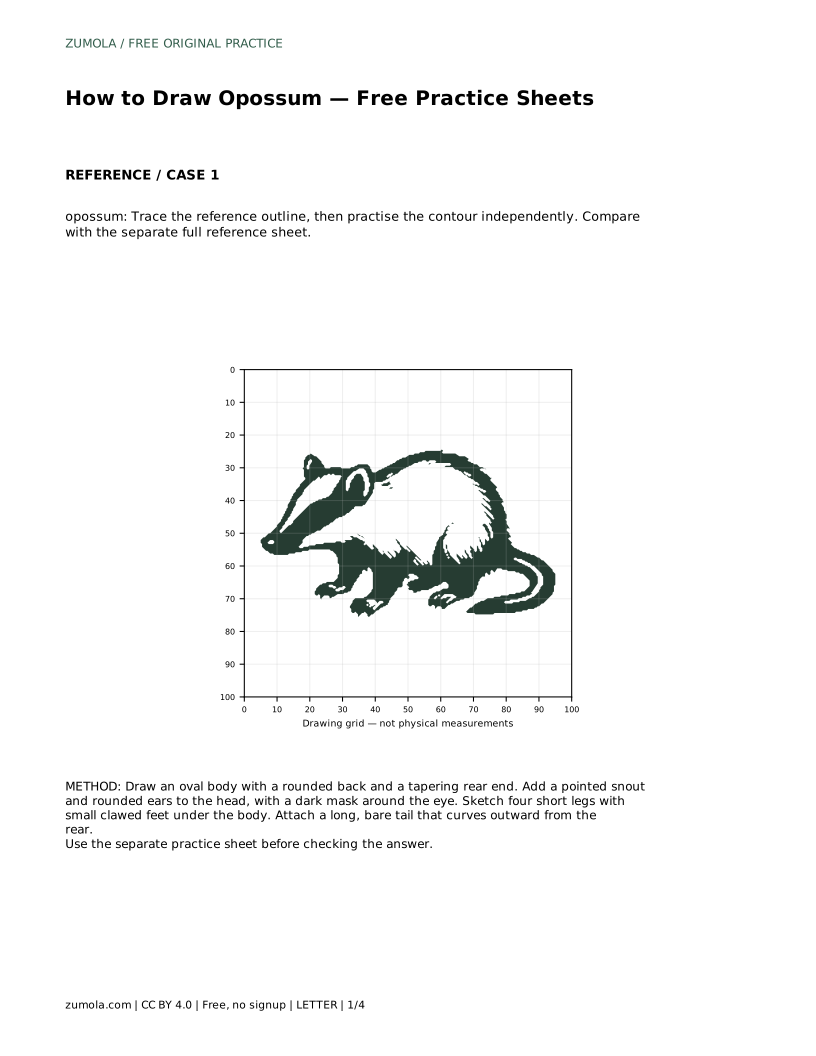
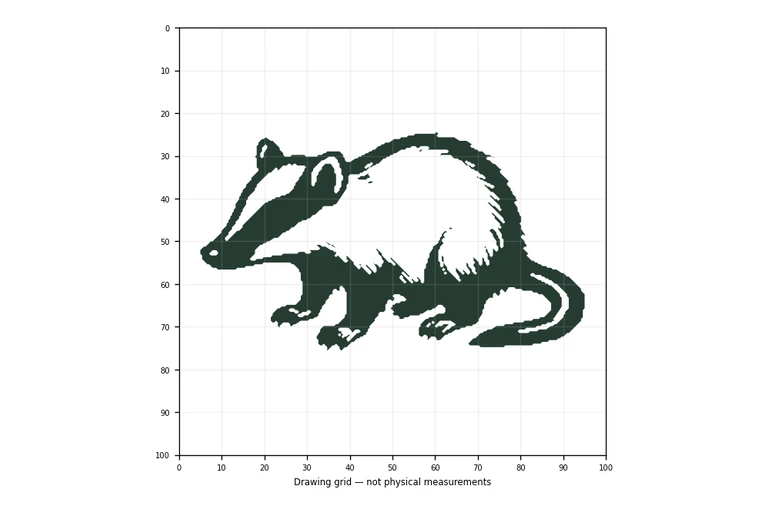
Drawing an opossum is a manageable project when you break it into a few clear shapes. The animal has a distinctive silhouette: a rounded back, a tapering rear, a pointed snout, and a long bare tail that curls away from the body. This page explains how to build that silhouette step by step, then how to use the free printable practice sheets to trace, copy, or complete the drawing independently.
Begin with the largest shape: an oval body with a rounded back and a rear end that tapers rather than ending in a blunt circle. Keep the oval slightly tilted so the head sits higher than the hips. This single shape carries most of the opossum's recognizable outline, so take a moment to check that the back curve is smooth and the rear narrows gradually.
Next, decide where the head attaches. The head is small relative to the body and sits forward of the shoulders. Lightly mark its position before adding details, so the snout and ears have room to develop without crowding the body oval.
The opossum's face is what makes the drawing read as an opossum rather than a generic small mammal. Give the head a pointed snout that extends forward and slightly downward. Add two rounded ears on top of the head, keeping them small and close to the skull.
Then place a dark mask around the eye area. This marking is a key identifying feature, so keep it contained to the face rather than spreading across the whole head. The eye itself sits within the mask. Work lightly at first, then darken the mask once you are satisfied with its shape and position.
Under the body, sketch four short legs. Opossum legs are not long, so keep them compact and place the feet close beneath the body rather than splaying them outward. Small clawed feet finish each leg; simple curved marks for the claws are enough at this stage.
The tail is the final distinctive feature. Attach a long, bare, hairless-looking tail at the rear and curve it outward, for example curling to the right. Draw it as a tapering line rather than a thick furry shape, since the bare tail contrasts with the body. Check that the tail emerges from the rear of the body oval, not from the middle of the back.
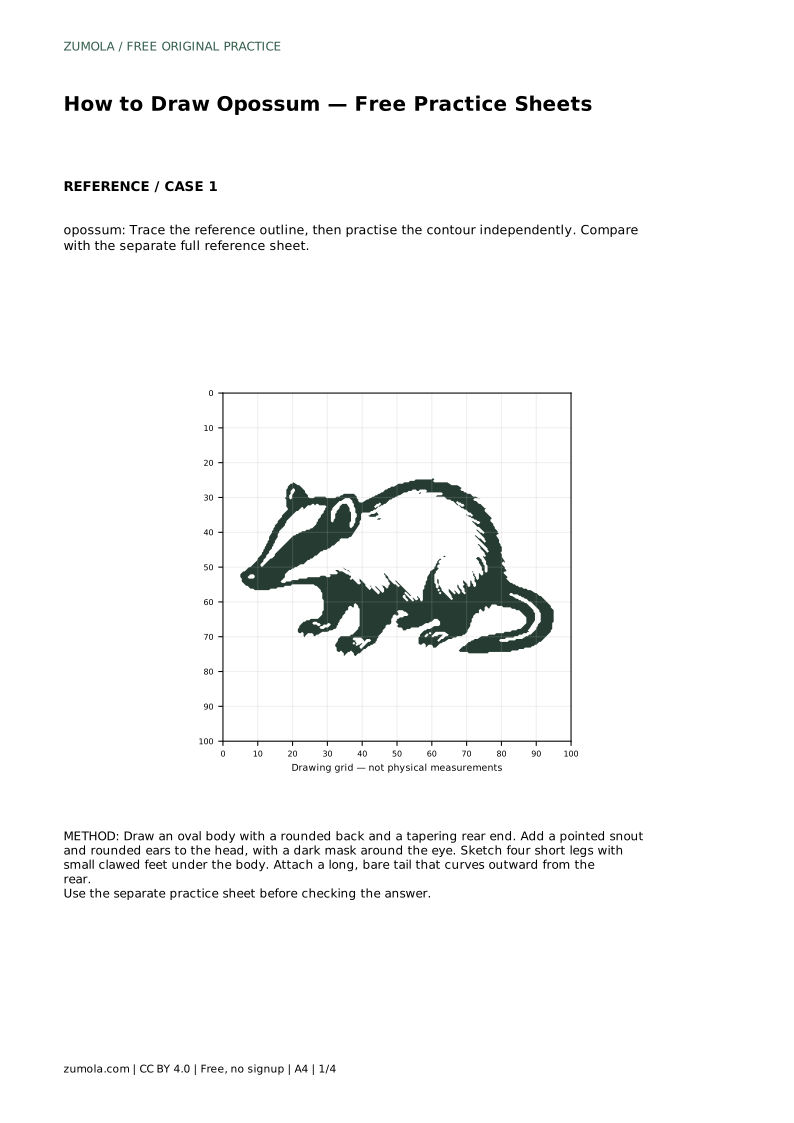
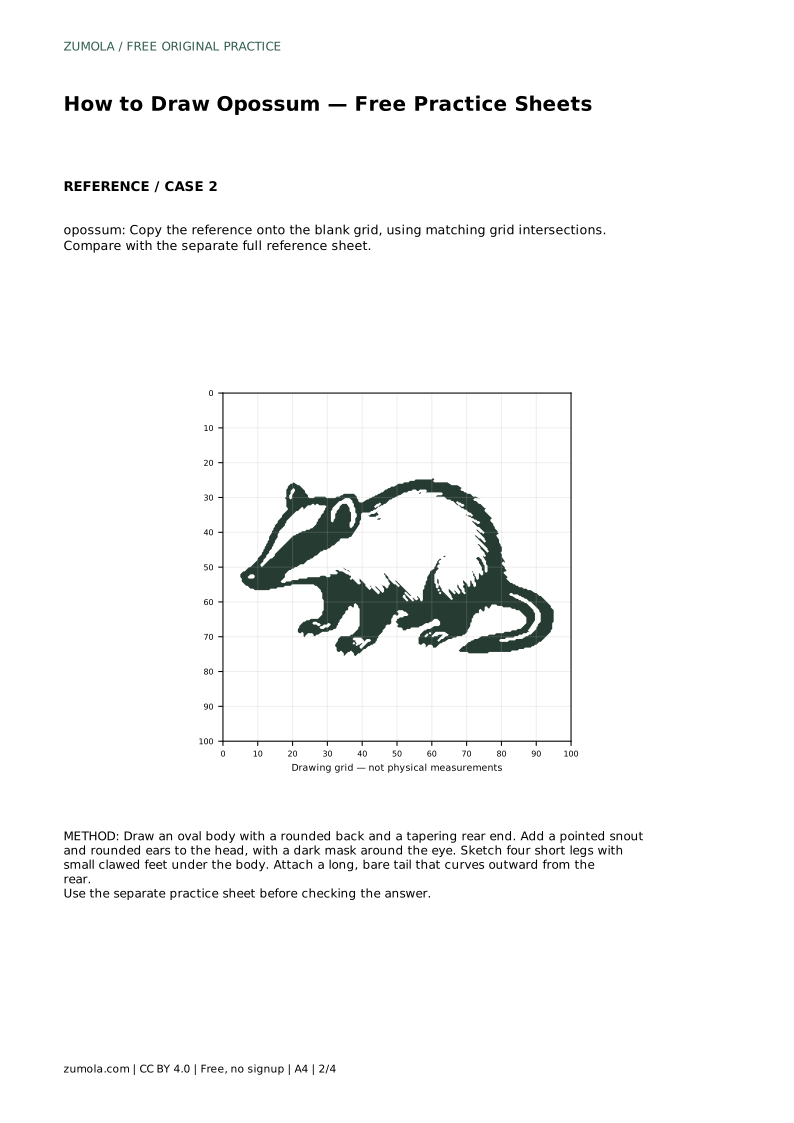
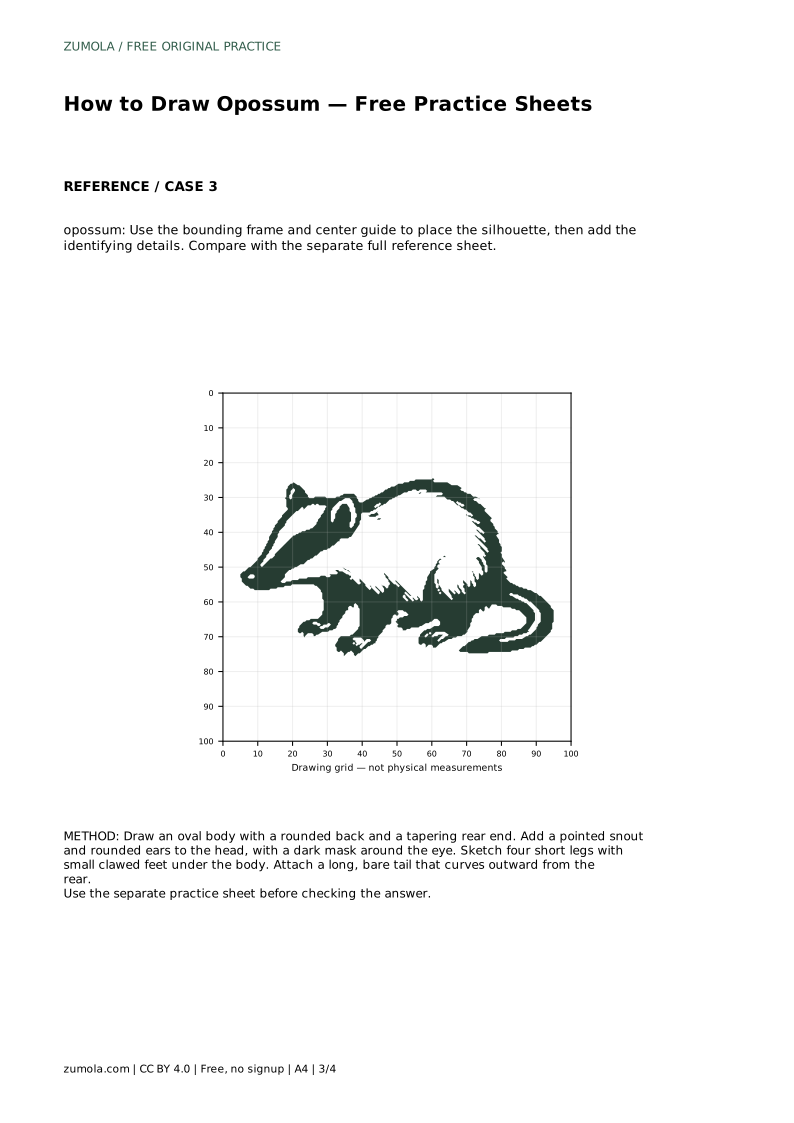
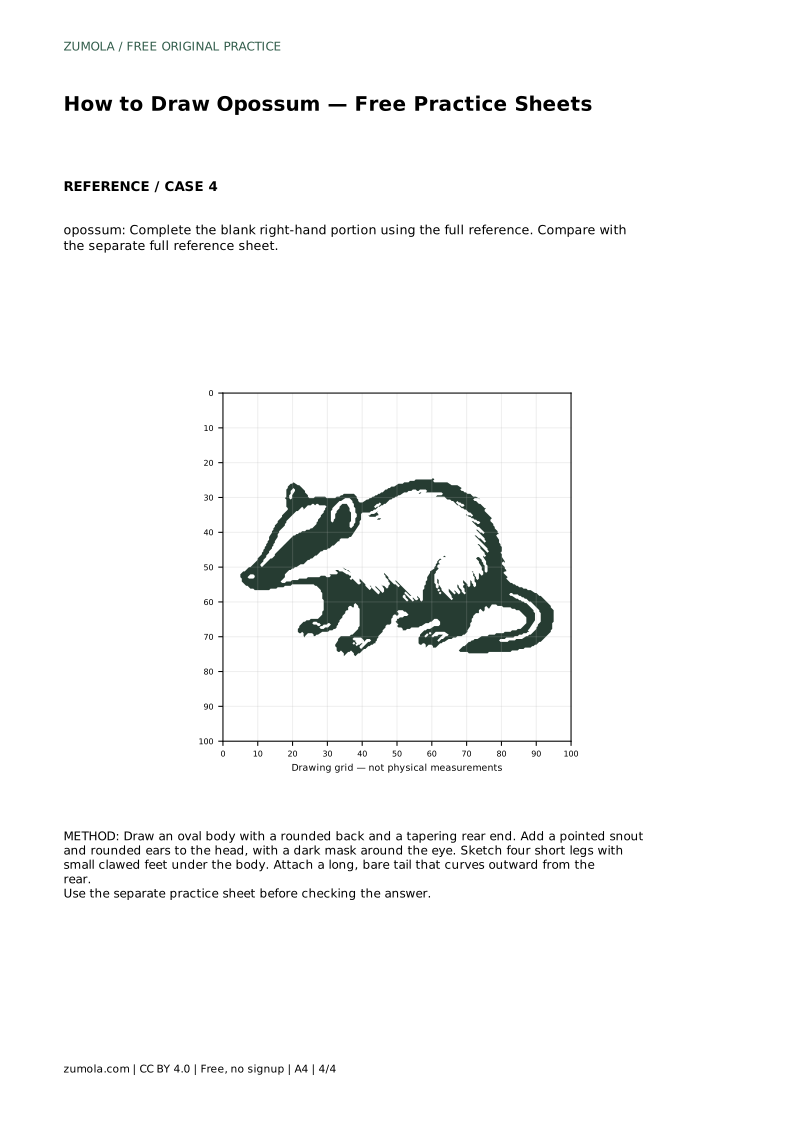
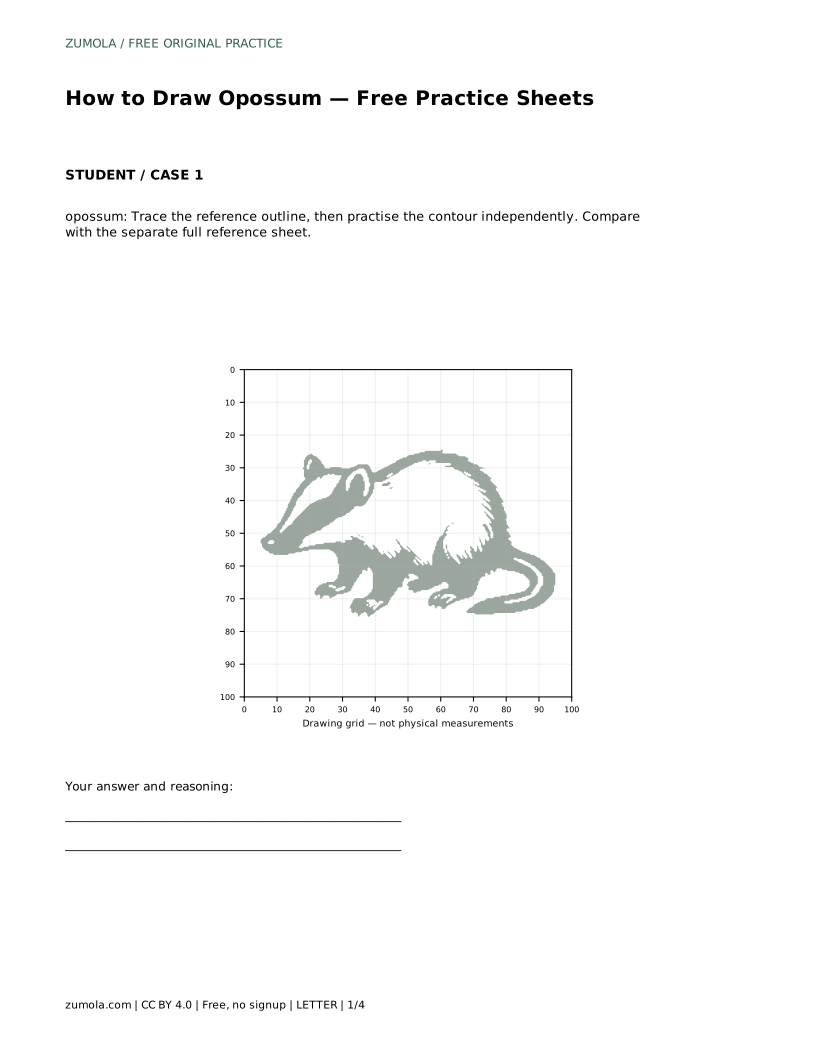
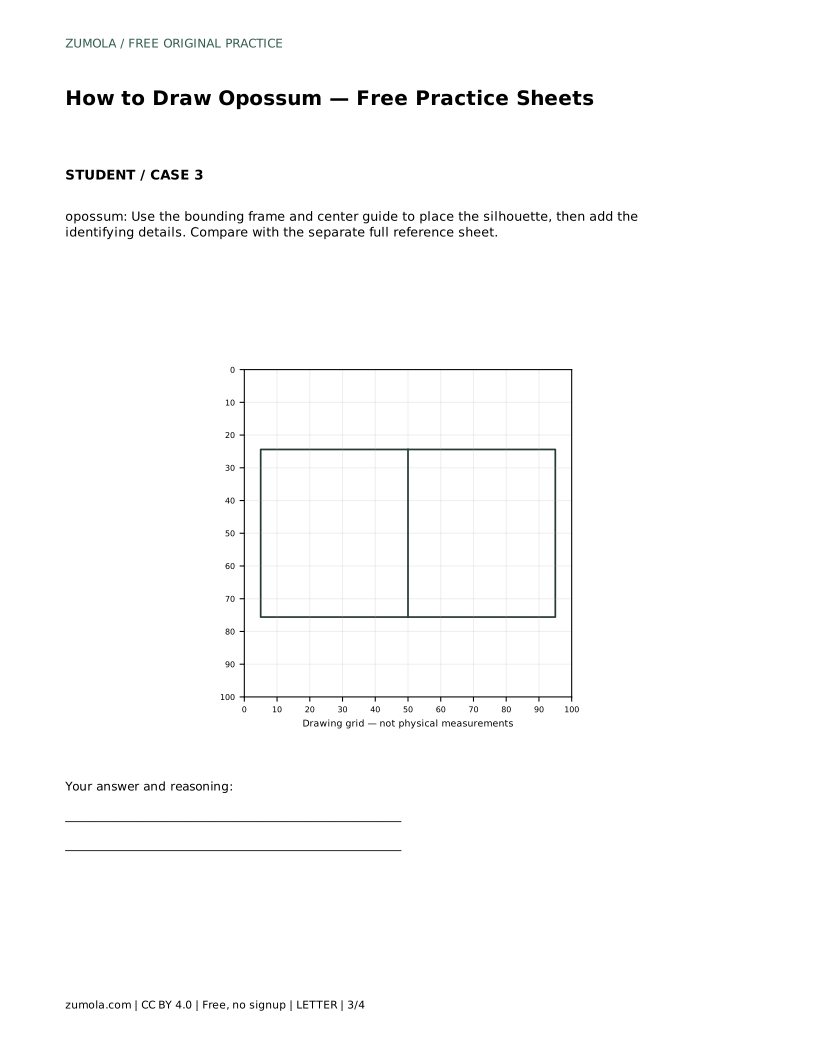
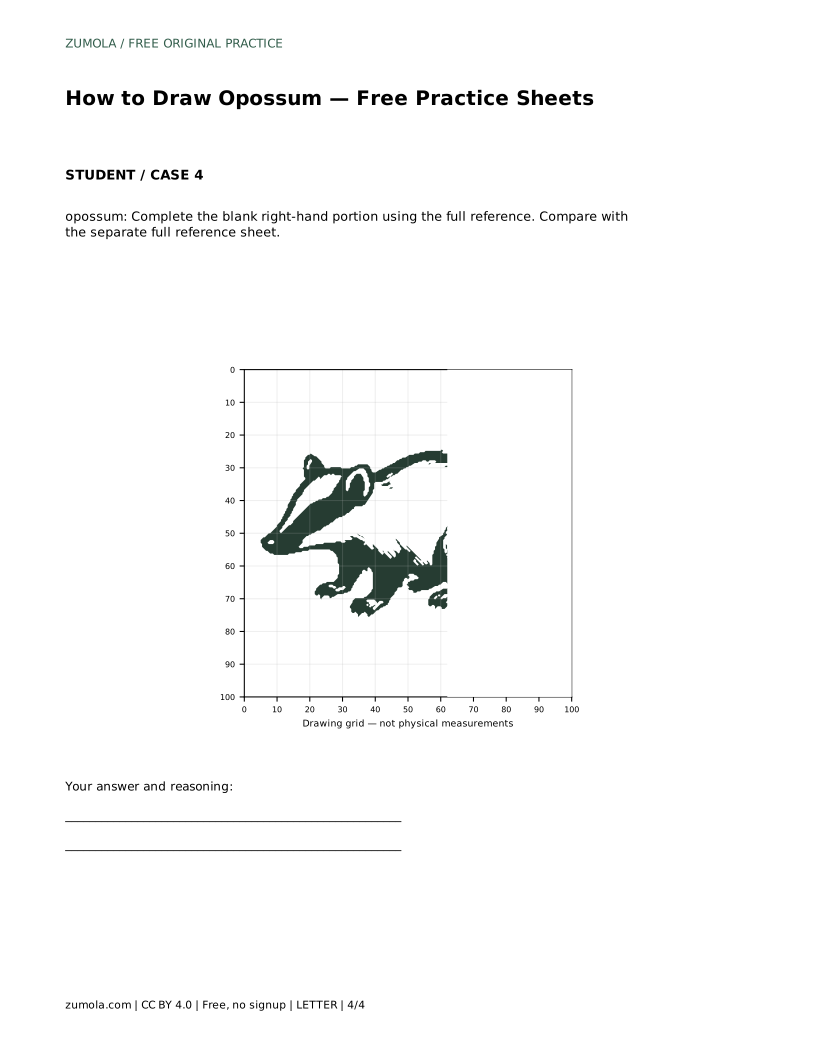
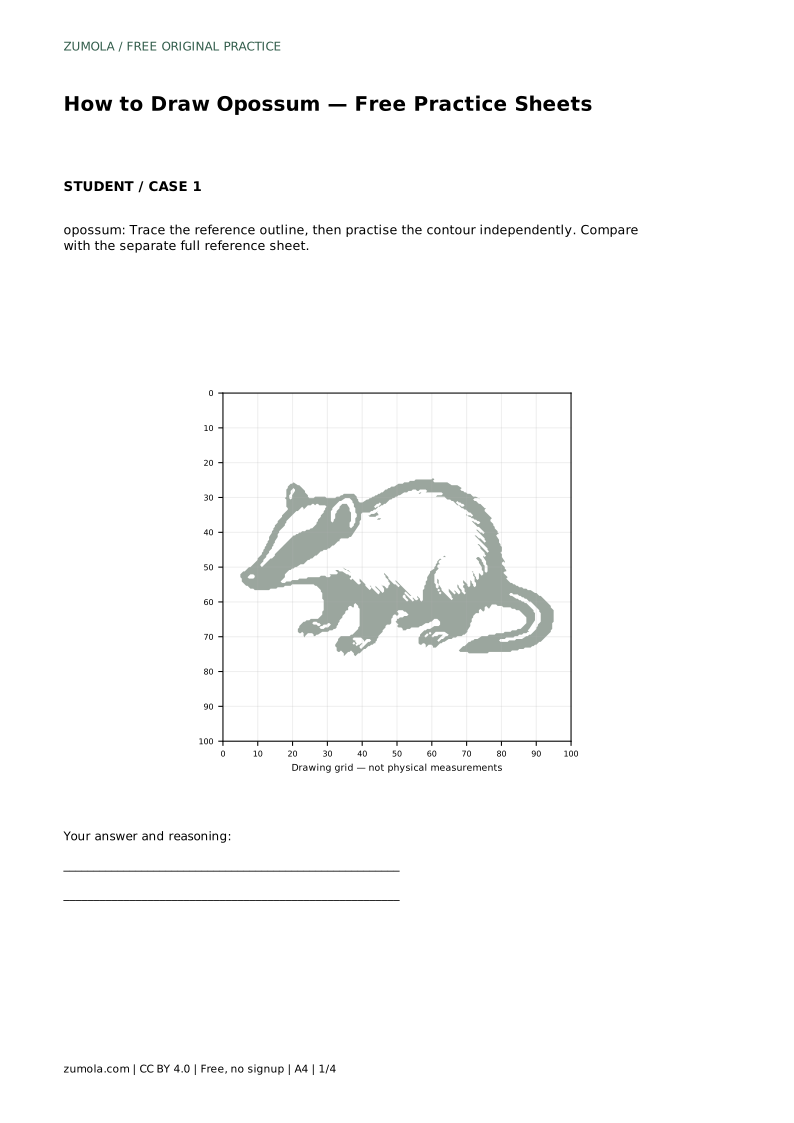
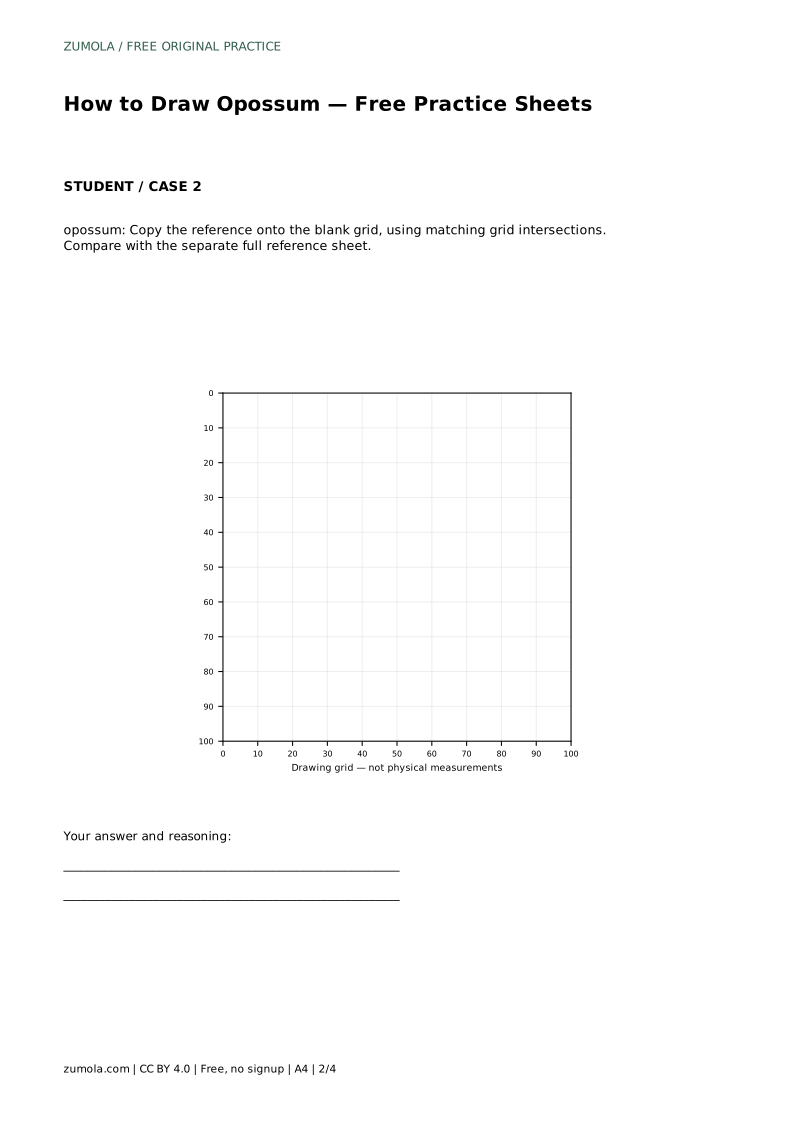
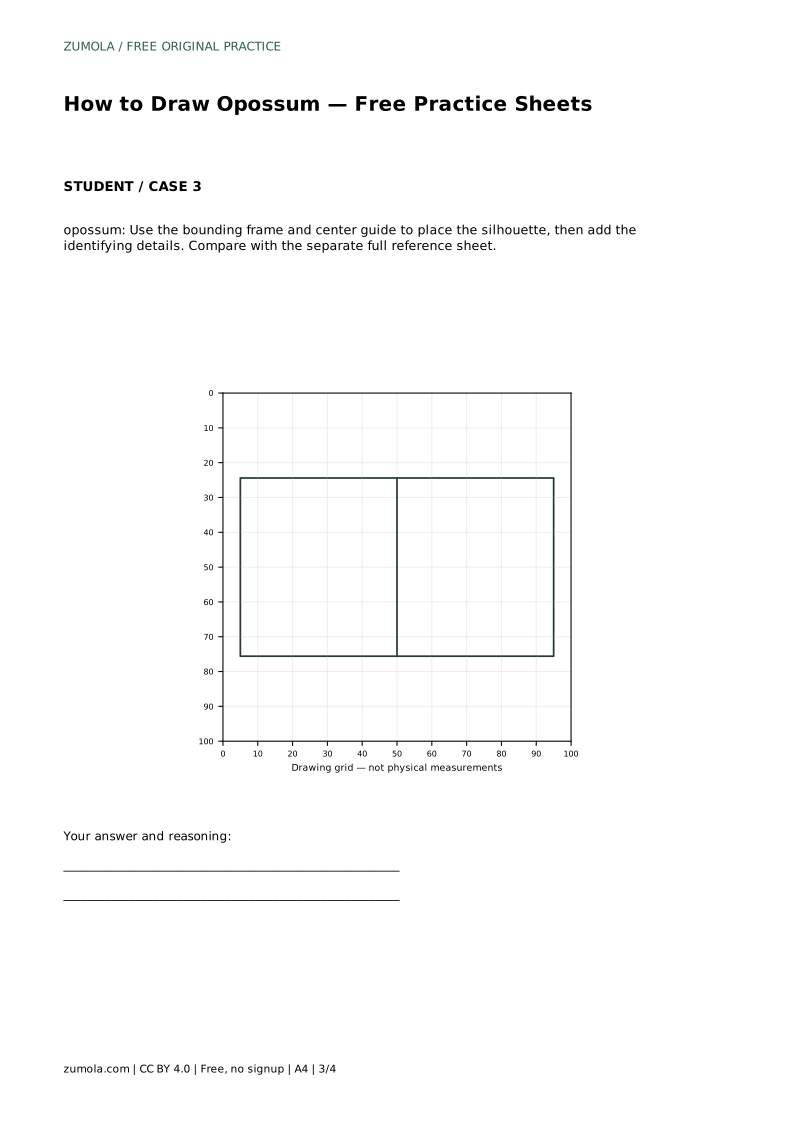
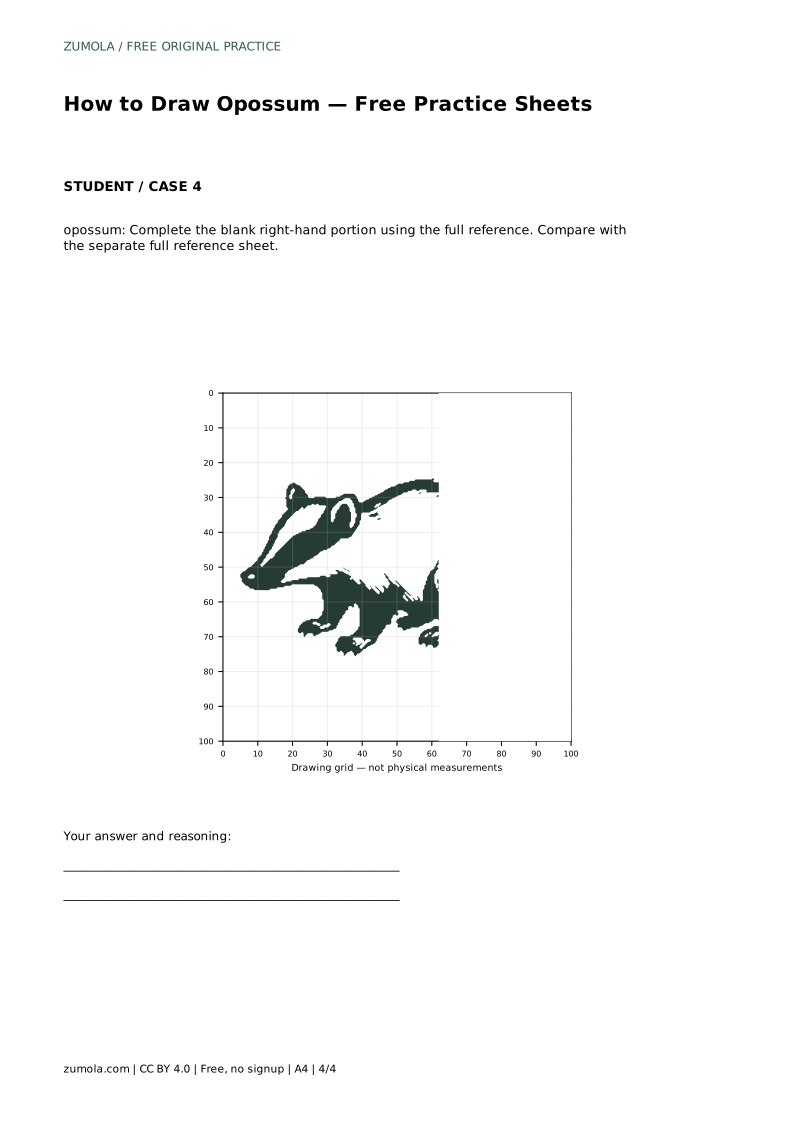
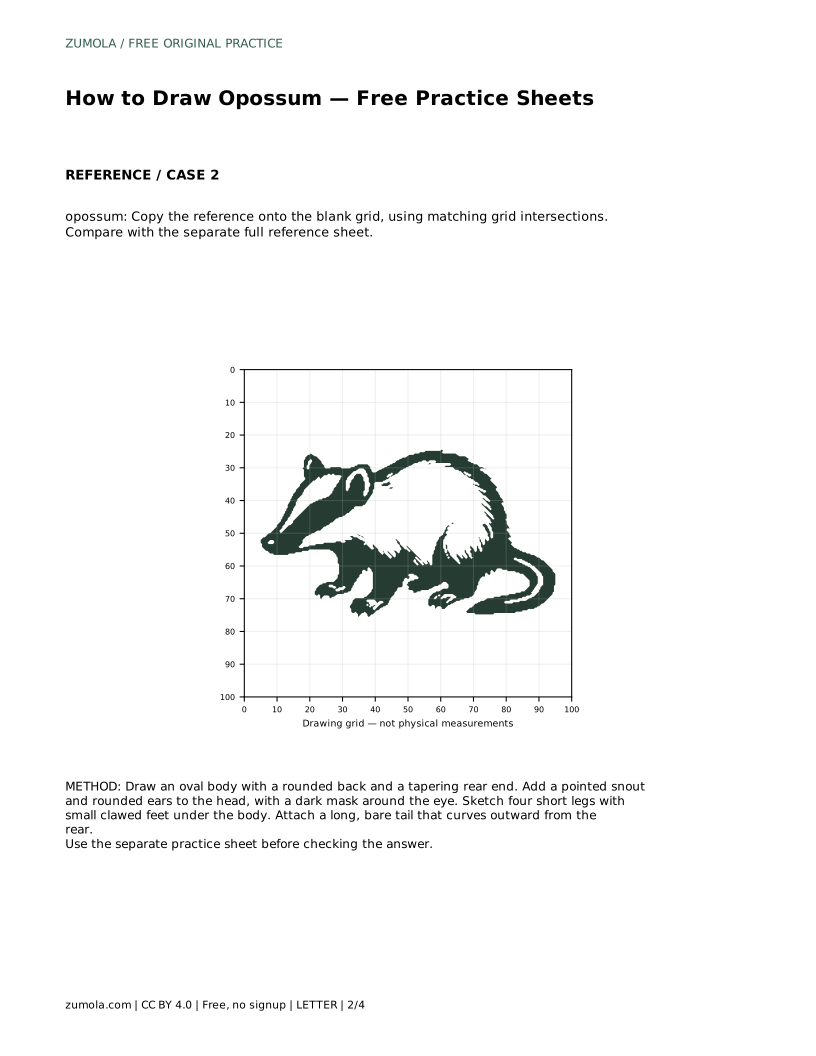
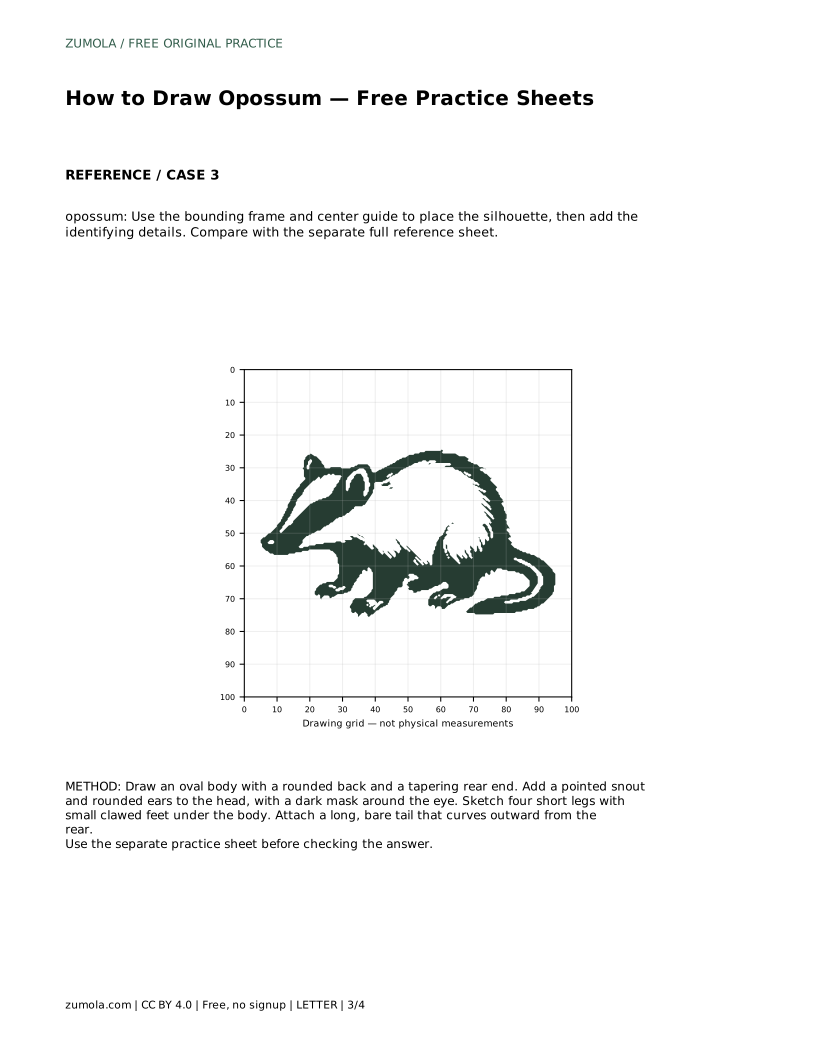
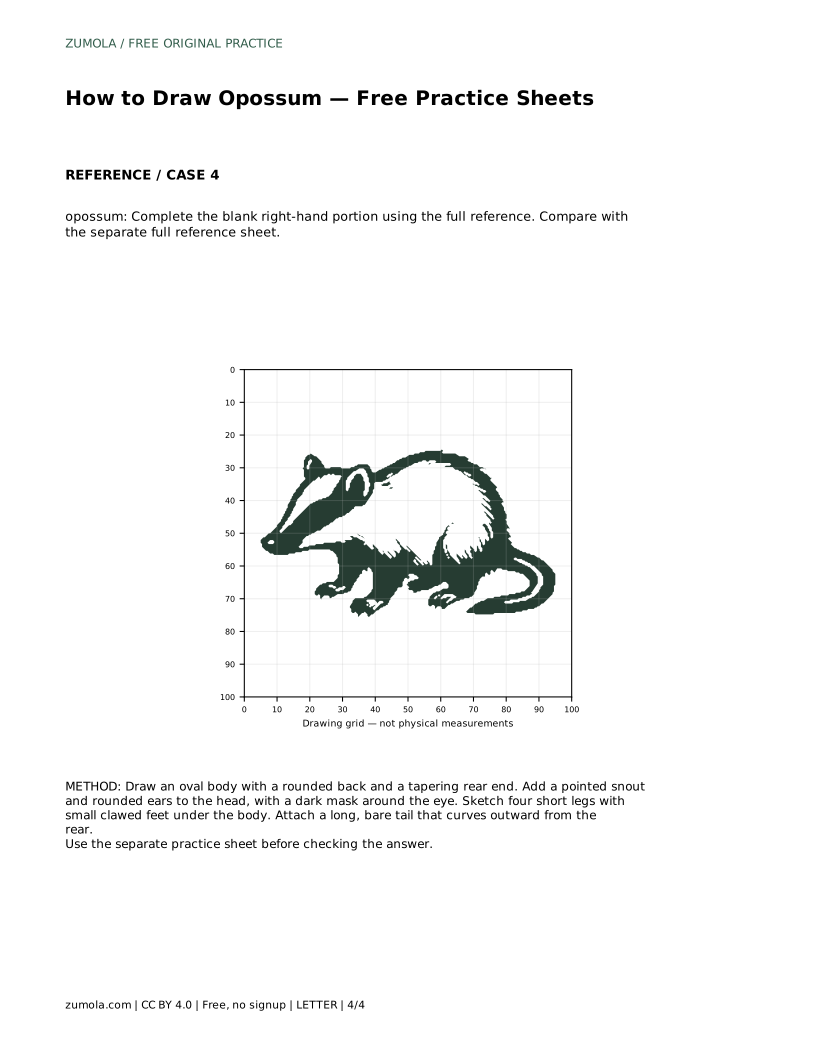
The printable sheets offer different ways to practise the same drawing. On the tracing sheet, follow the reference outline first, then attempt the contour independently and compare your result with the separate full reference sheet. On the grid sheet, copy the reference onto the blank grid using matching grid intersections to guide placement. On the framed sheet, use the bounding frame and center guide to position the silhouette before adding identifying details. On the partial sheet, complete the blank right-hand portion using the full reference.
Each sheet trains a slightly different skill, so rotate between them rather than repeating one. Remember that several drawings can be correct: assess the visible features and proportions rather than expecting a pixel-perfect match.
opossum: Trace the reference outline, then practise the contour independently. Compare with the separate full reference sheet.
Example solution: preserve pointed snout with dark facial markings, rounded ears on the head, bare, hairless-looking prehensile tail curling to the right. Other drawings can be correct; assess the visible features and proportions rather than pixel-perfect matching. Draw an oval body with a rounded back and a tapering rear end. Add a pointed snout and rounded ears to the head, with a dark mask around the eye. Sketch four short legs with small clawed feet under the body. Attach a long, bare tail that curves outward from the rear.
No. Several drawings can be correct. Assess whether the pointed snout, dark facial markings, rounded ears, short clawed legs, and bare curling tail are visible and proportioned sensibly.
Start with the tracing sheet to learn the outline, then move to the grid, framed, or partial sheets to practise placing the shape without tracing.
Long enough to read as a distinct bare tail, roughly comparable to the body length, and curved outward from the rear rather than tucked under the body.
All drawing practice · Free coordinate paper
Original resources · CC BY 4.0 · Free for personal and classroom use with attribution.