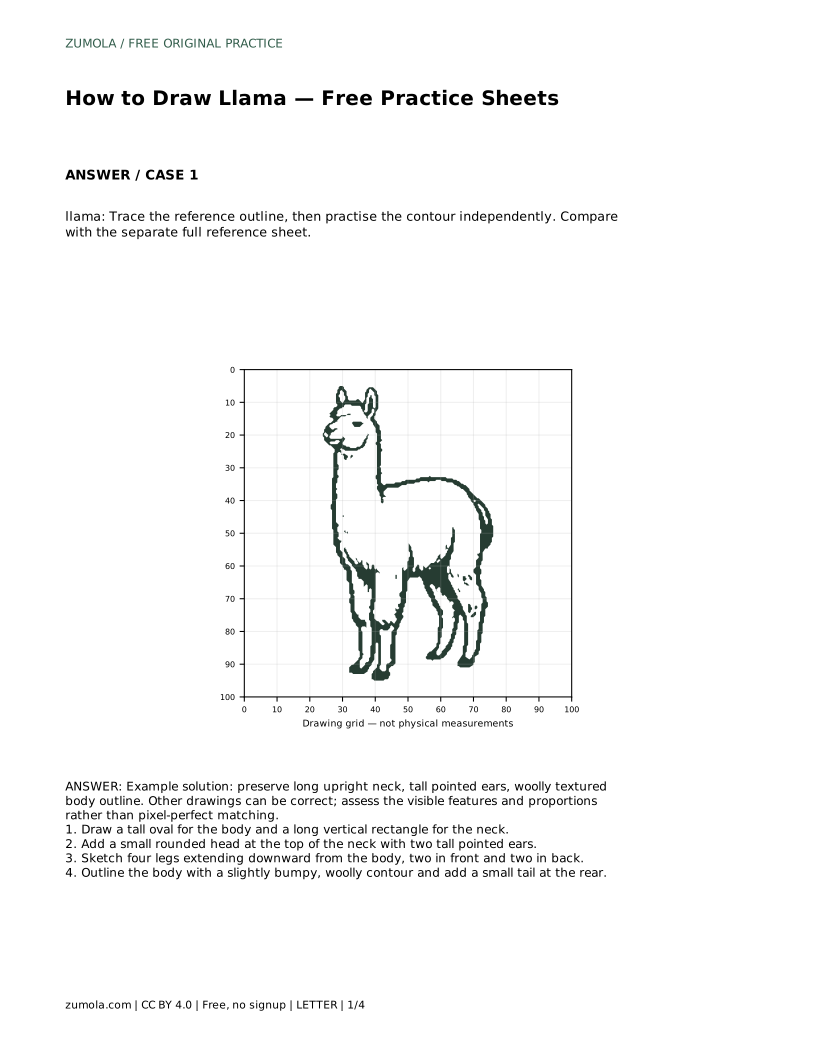
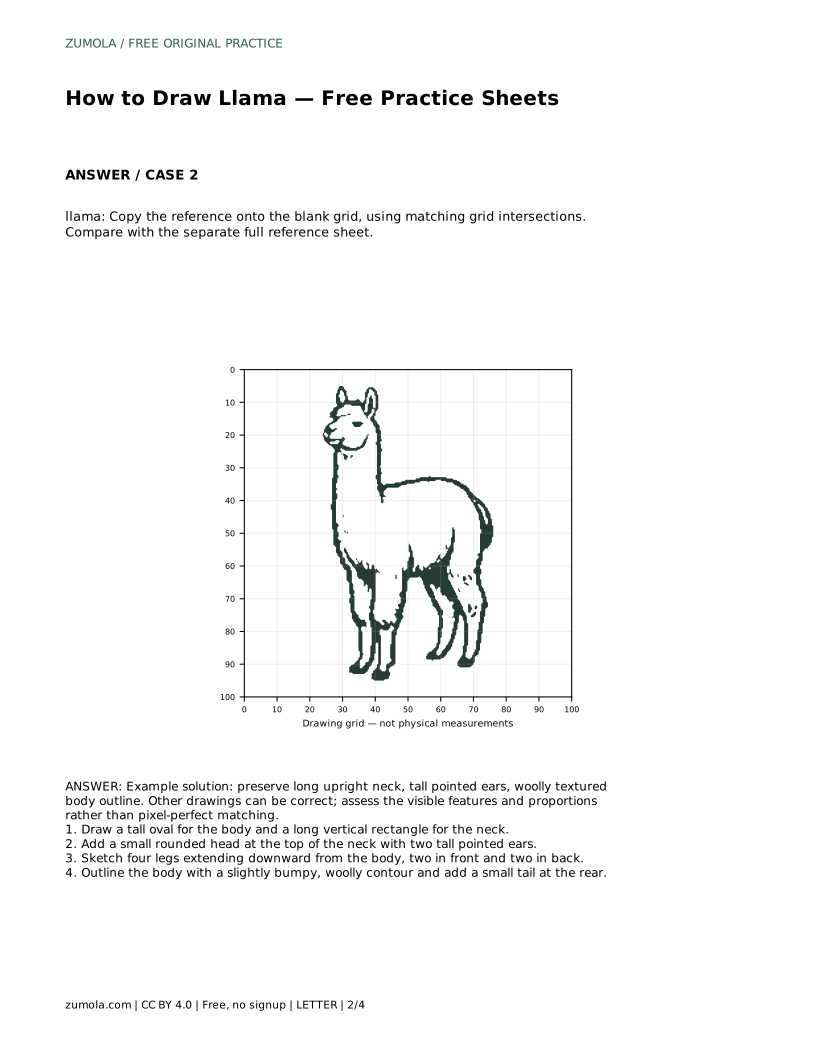
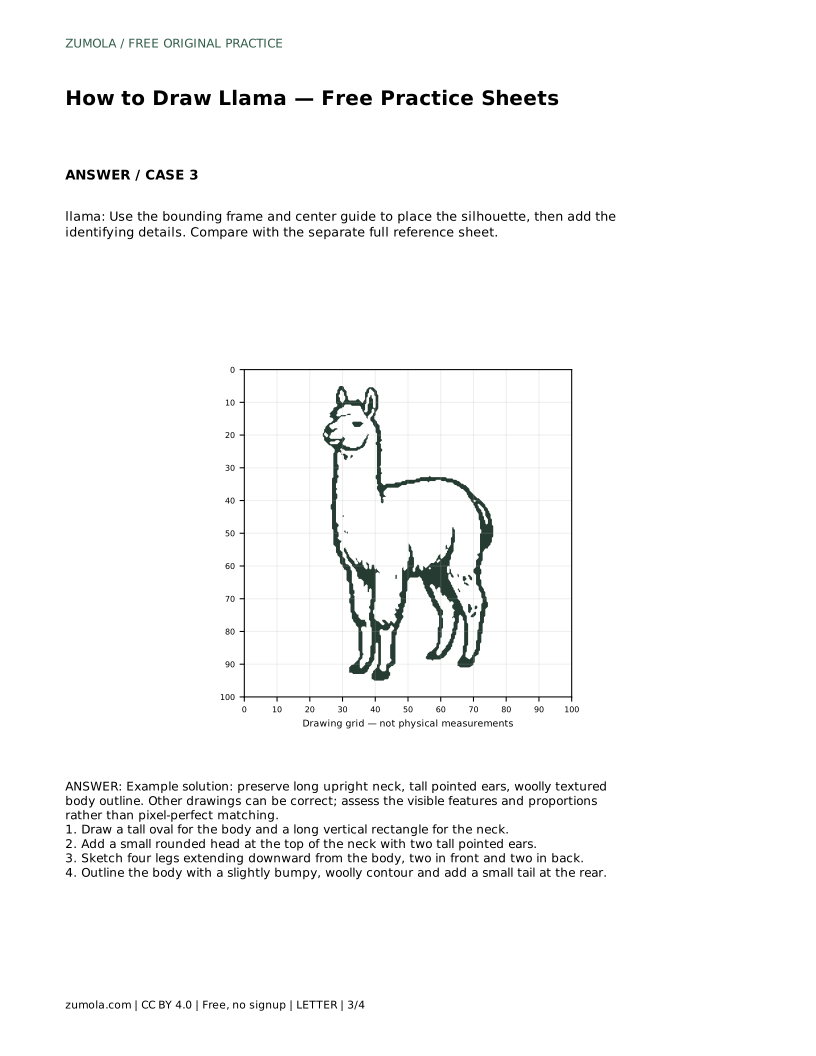
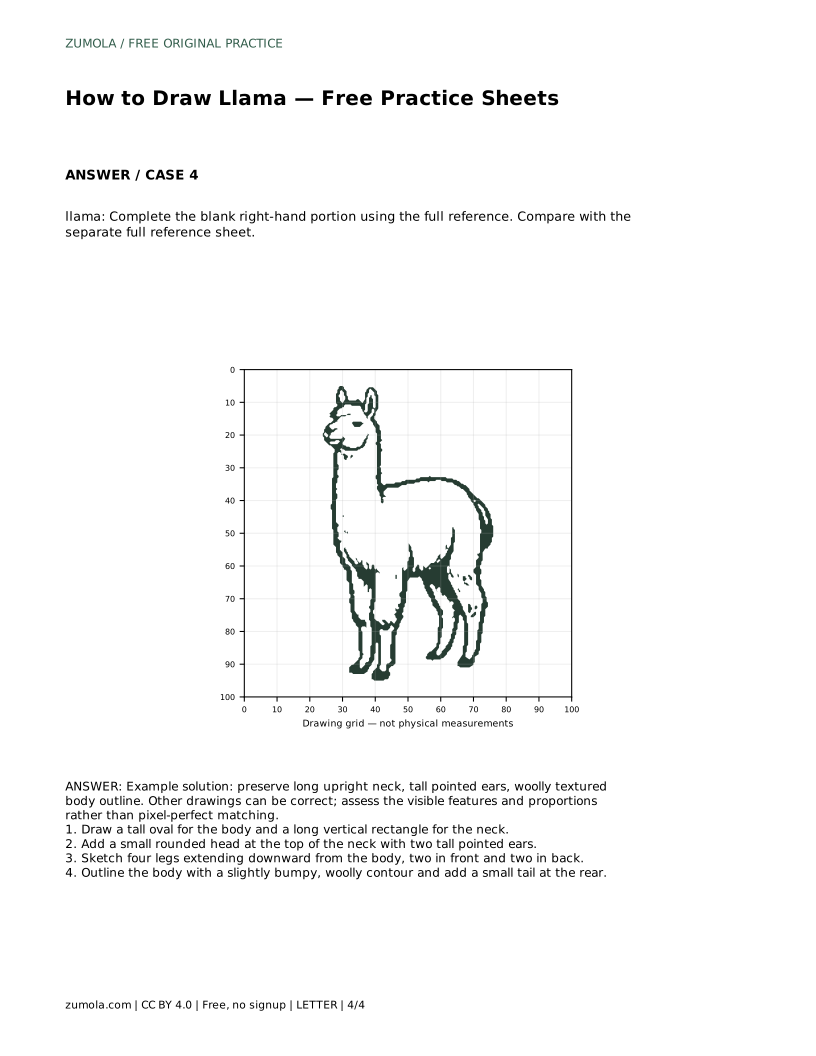
Reference diagrams
LETTER · Download PDF
A4 · Download PDF
Free original resources
Learn to draw a llama by building its tall neck, pointed ears, woolly body, and four legs. Use tracing, grid, and frame practice sheets to compare proportions.
Four original cases, with reference diagrams, practice sheets and worked answers. Everything is free; no signup required.
LETTER · Download PDF
A4 · Download PDF
LETTER · Download PDF
A4 · Download PDF
LETTER · Download PDF
A4 · Download PDF
Use A4 or US Letter to match your printer. Use the stated values and conditions to solve each exercise; diagrams are not physical measuring rulers.
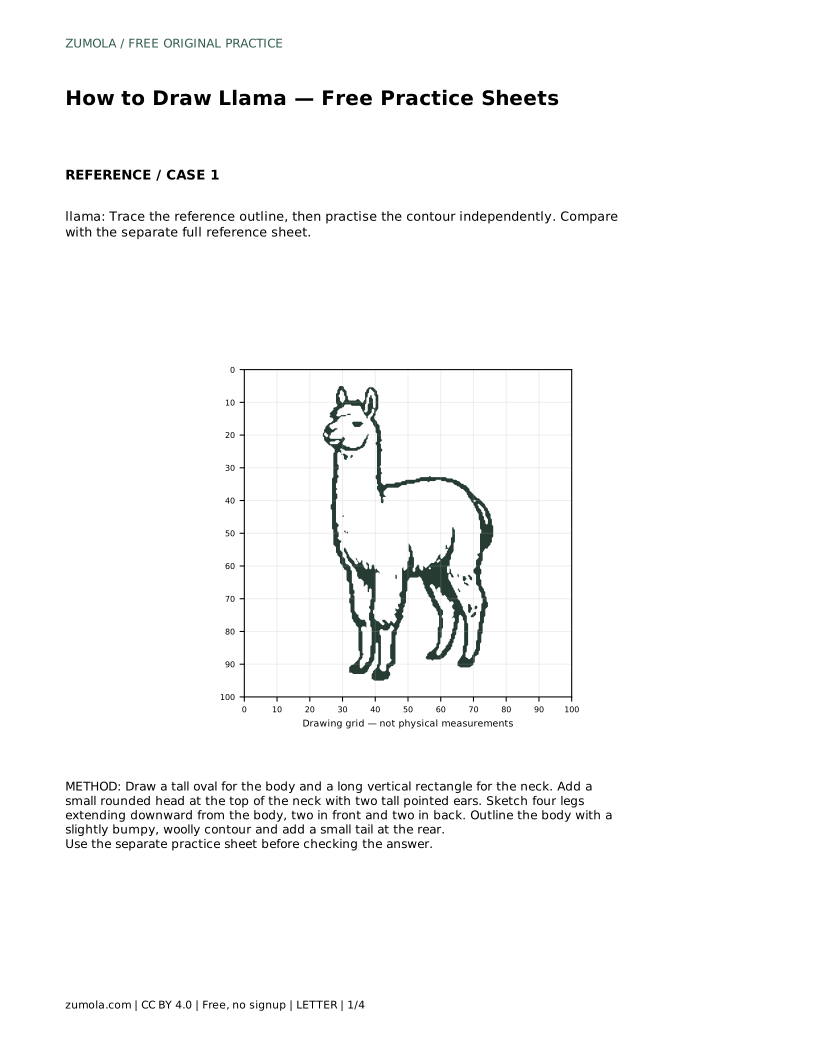
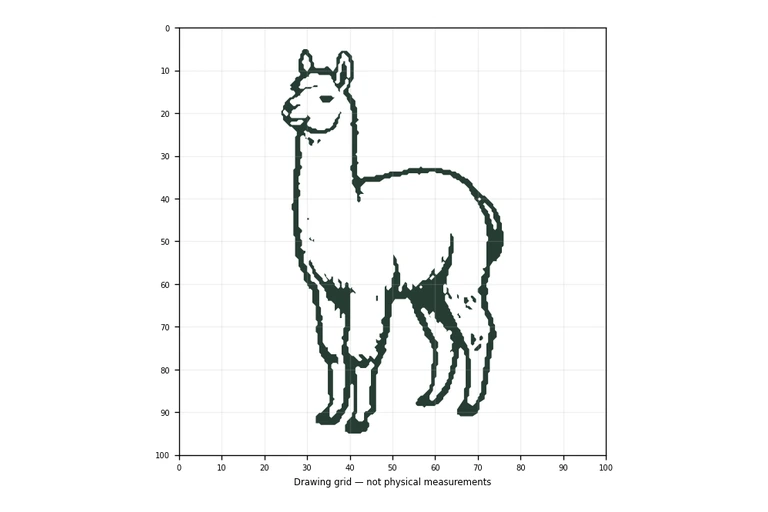
Drawing a llama is mostly a problem of proportion: a long upright neck, a compact woolly body, tall pointed ears, and four legs that sit under the body rather than at its edges. This page explains a simple construction order you can practise on tracing, grid, frame, and partial-reference sheets. The goal is not a pixel-perfect copy. Different drawings can be correct when the visible llama features and their relative sizes are preserved.
Start with the two largest masses: the body and the neck. The body is a tall oval, meaning it is taller than it is wide, but not extremely so. The neck is a long vertical rectangle rising from the front of the body. Keep the neck upright; a strongly tilted neck changes the silhouette and makes the animal read less like a llama.
Place a small rounded head at the top of the neck, then add two tall pointed ears. The ears should be clearly taller than they are wide and set on top of the head, not on the sides. Sketch four legs extending downward from the body: two in front and two in back. Check that the legs begin under the body mass rather than hanging from the outer contour.
Only after these large shapes are placed should you refine the outline. Give the body a slightly bumpy, woolly contour and add a small tail at the rear. The bumpy line is a texture choice, not a requirement for an exact number of bumps. Keep the contour continuous and avoid making the body look smooth and hard like a box.
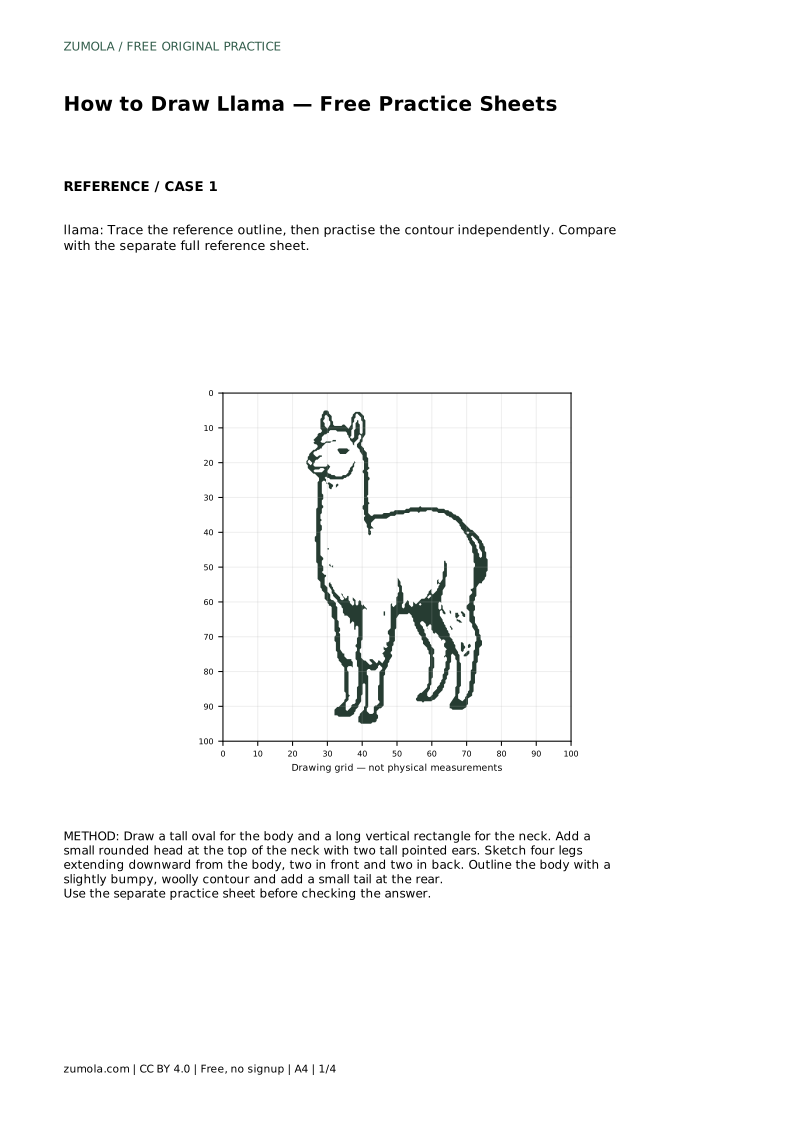
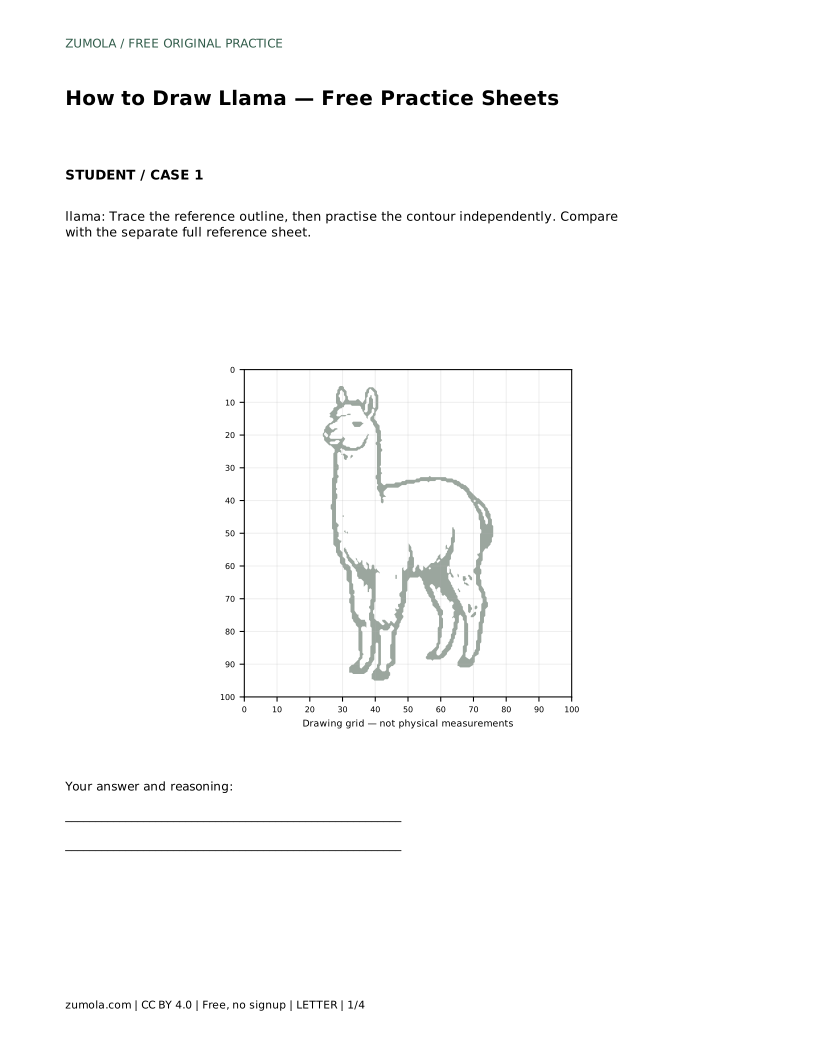
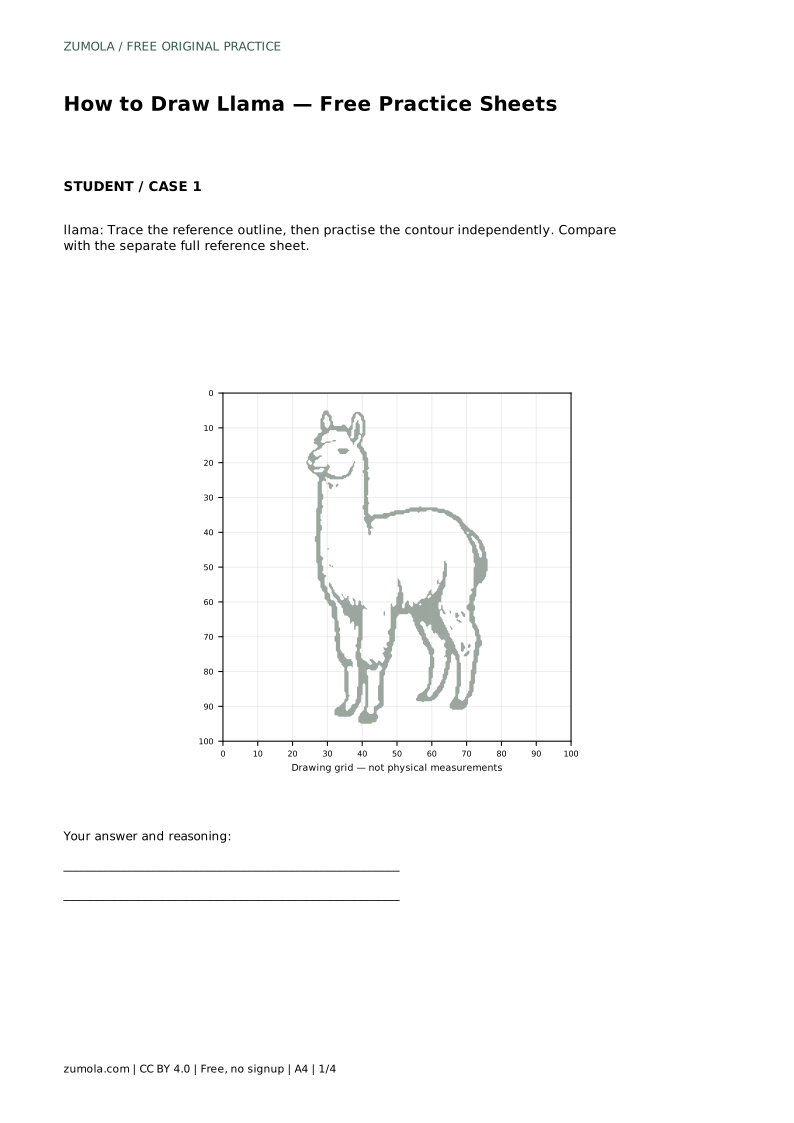
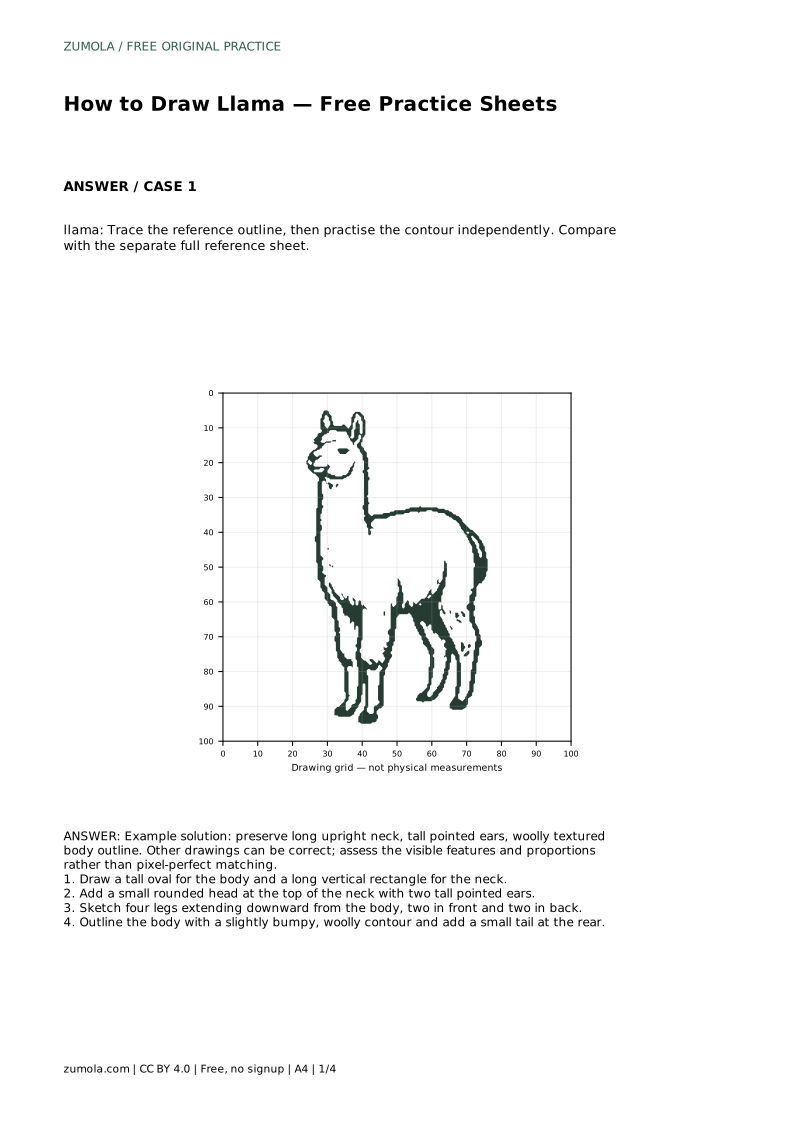
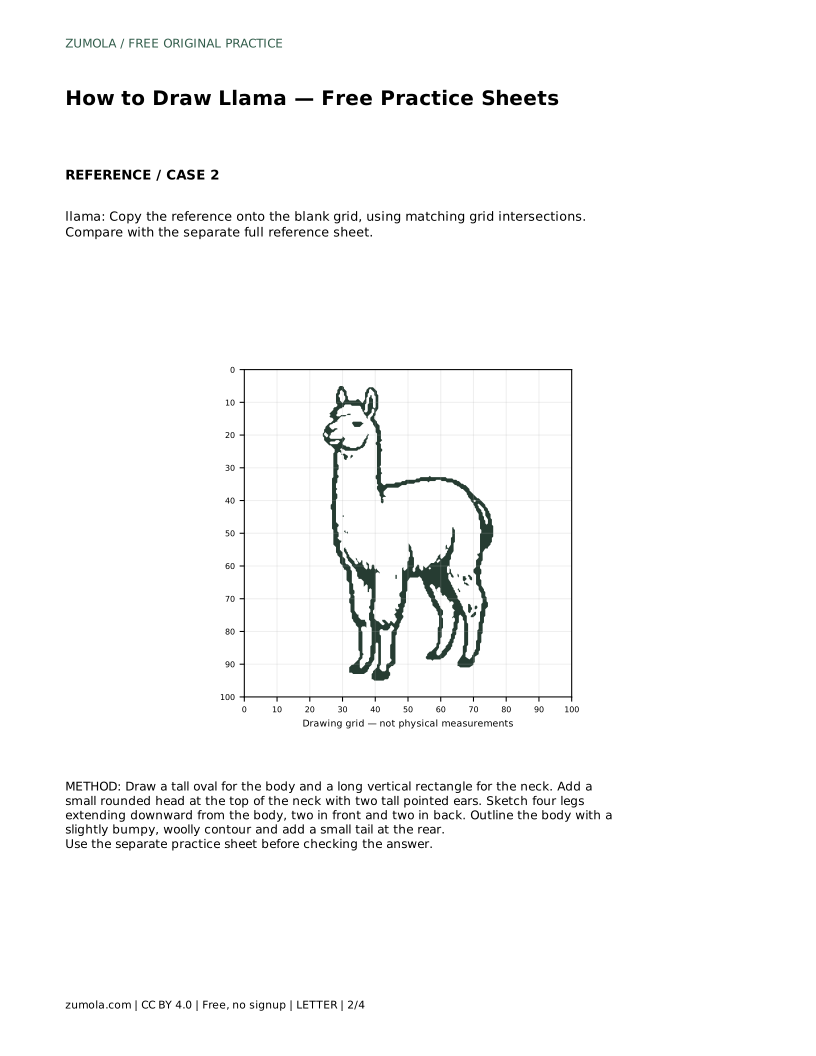
Tracing helps you feel the order of the contour, but it can hide proportion errors because the outline is already supplied. After tracing the reference outline, practise the contour independently on blank paper and compare with the separate full reference sheet. Look for the neck angle, ear height, body width, and leg placement rather than matching every small wobble.
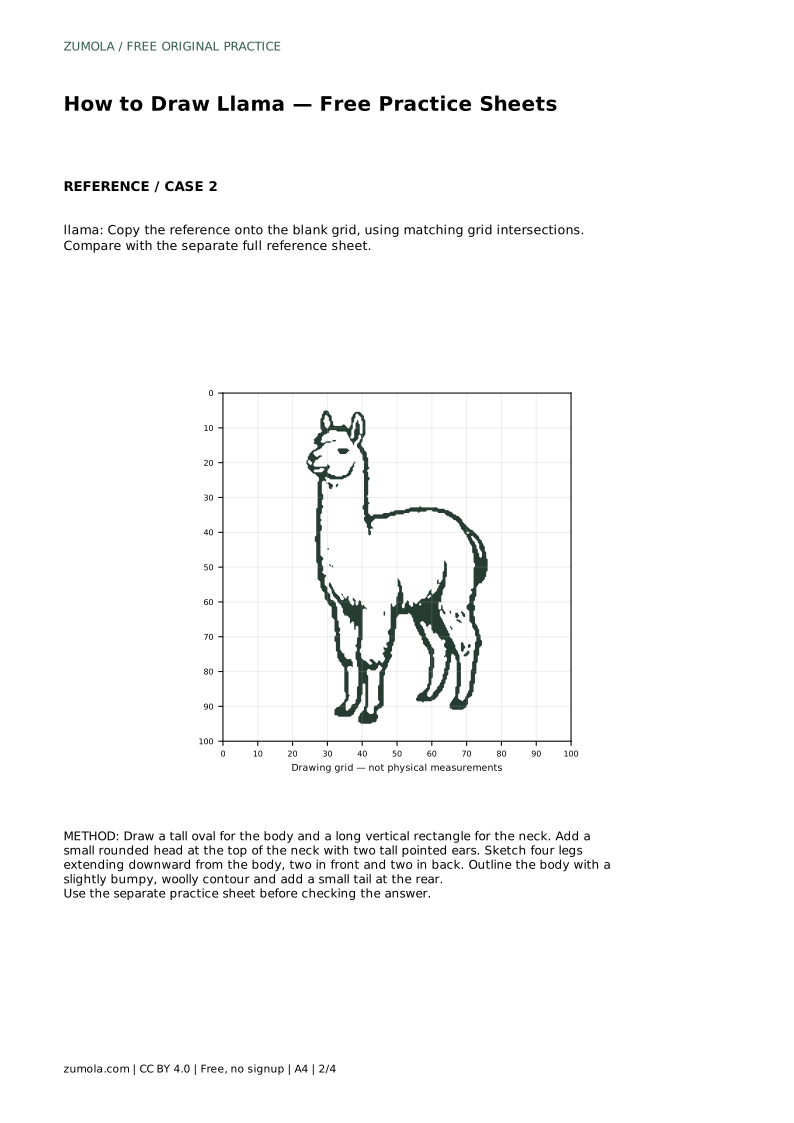
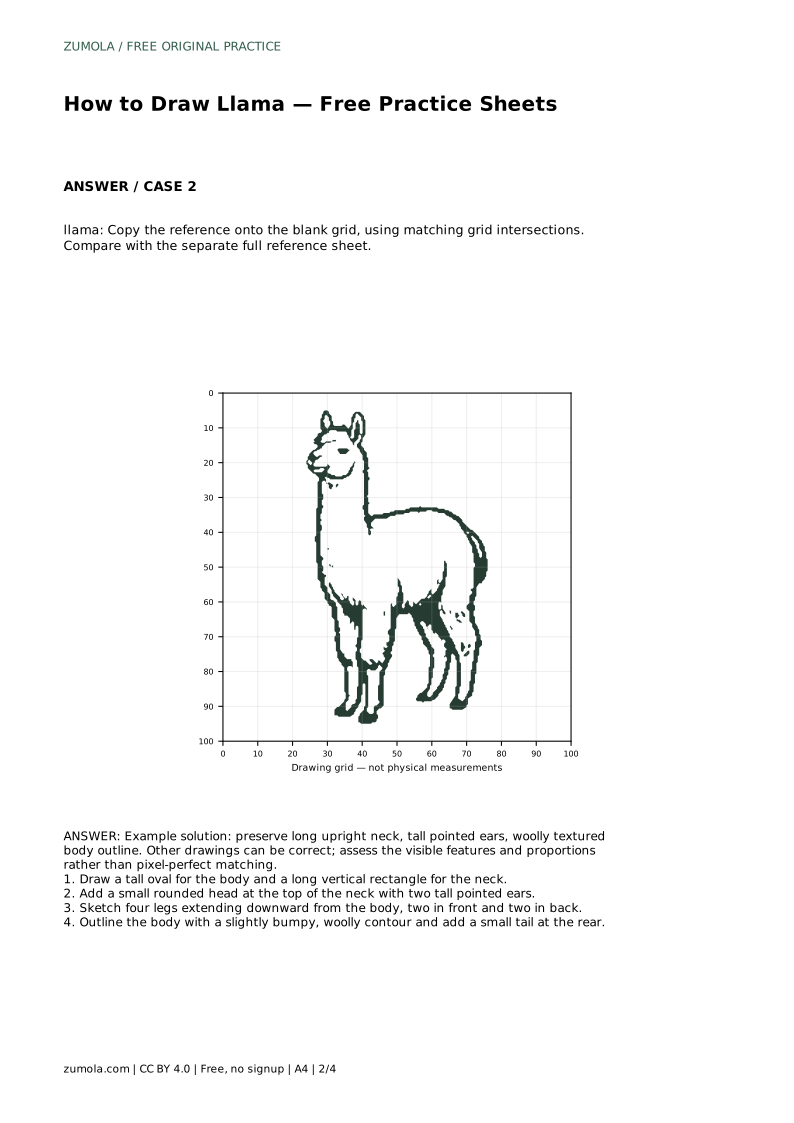
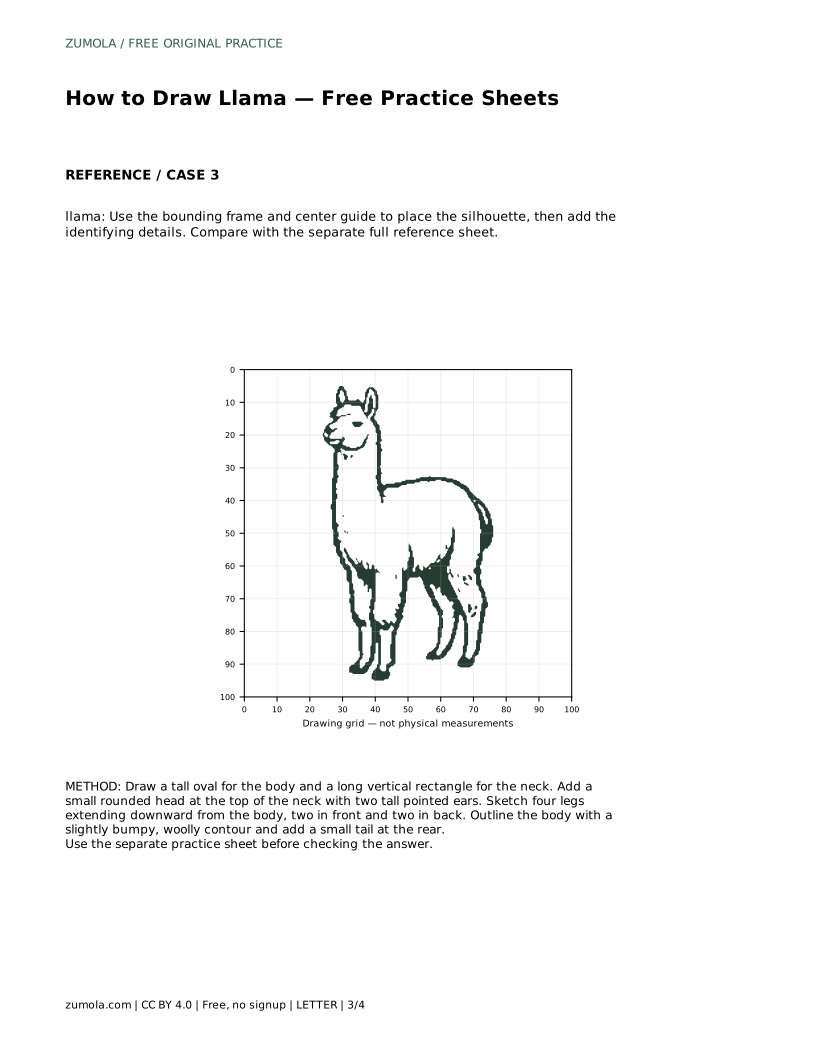
On a blank grid, copy the reference by matching grid intersections. Use the grid to compare where the neck meets the body, where the ears sit relative to the head, and how far the legs extend below the body. The grid is a placement aid, not a guarantee of a correct drawing; a line that lands on the right intersection can still be the wrong length.
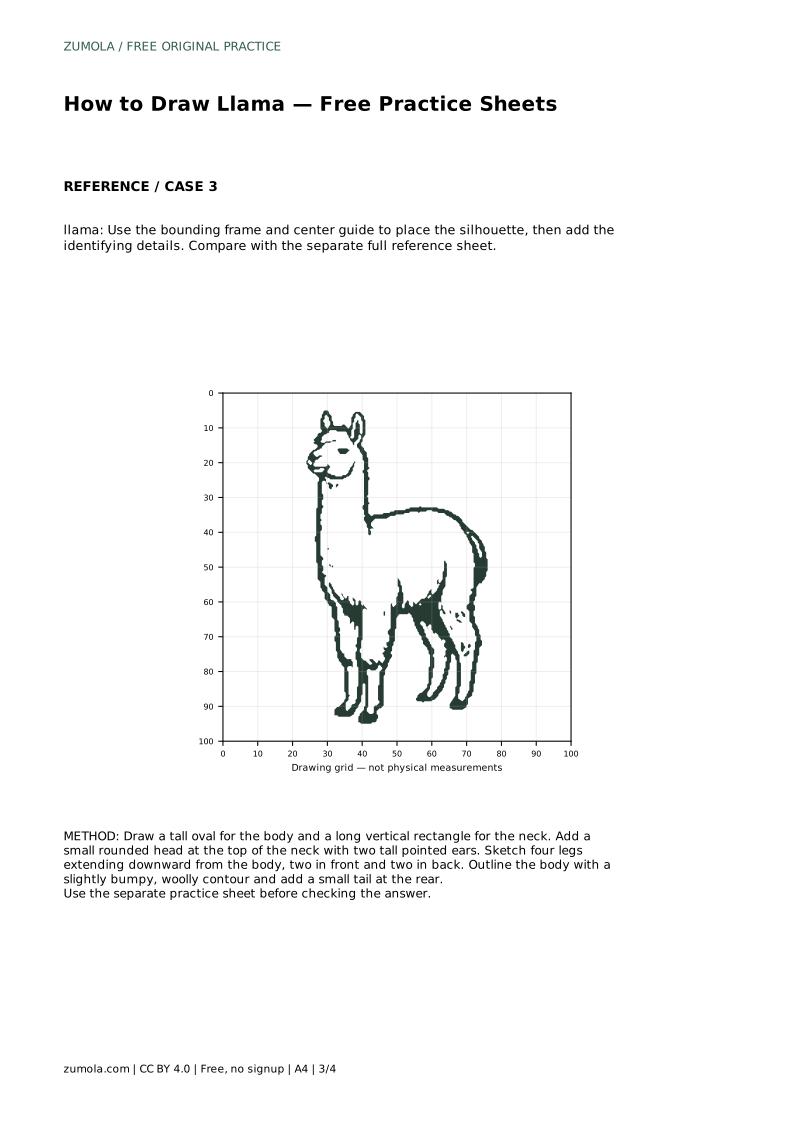
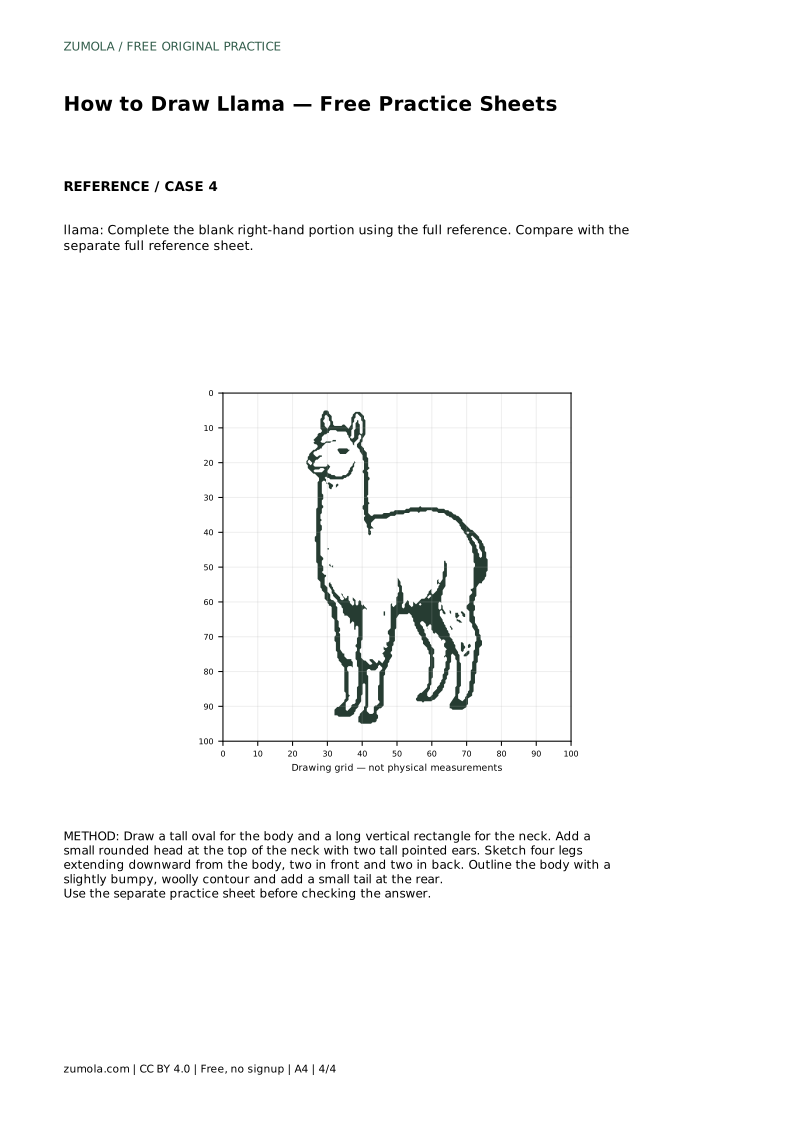
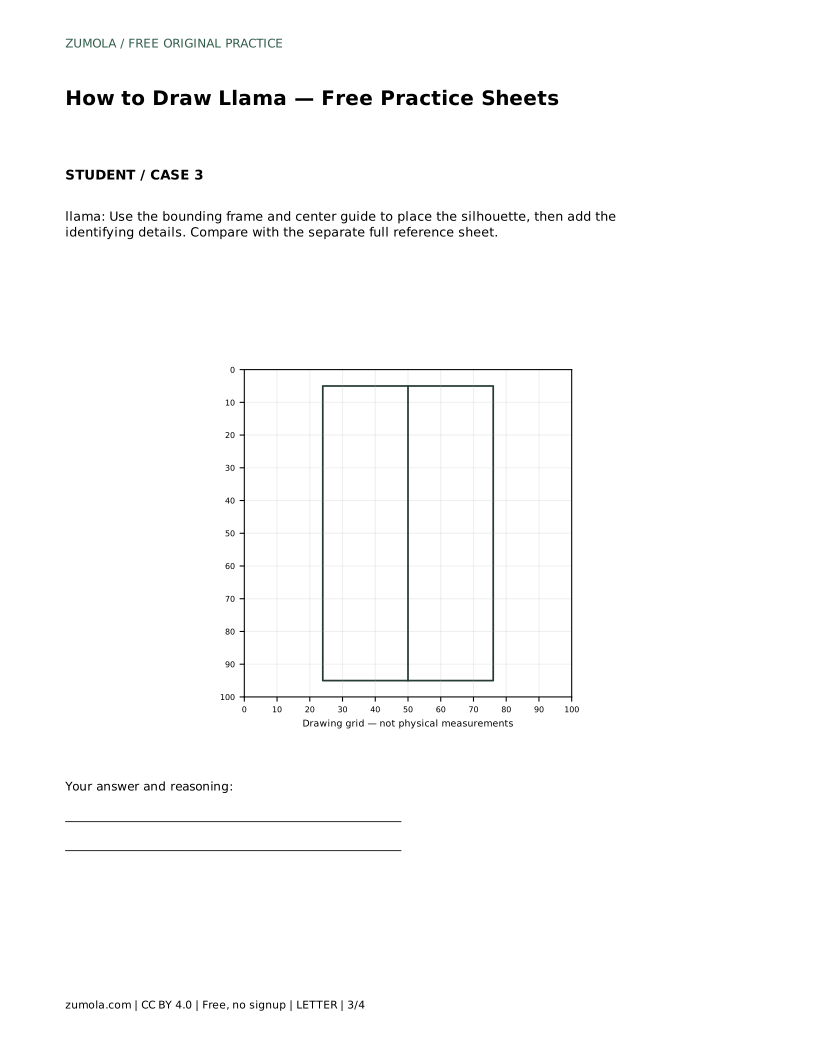
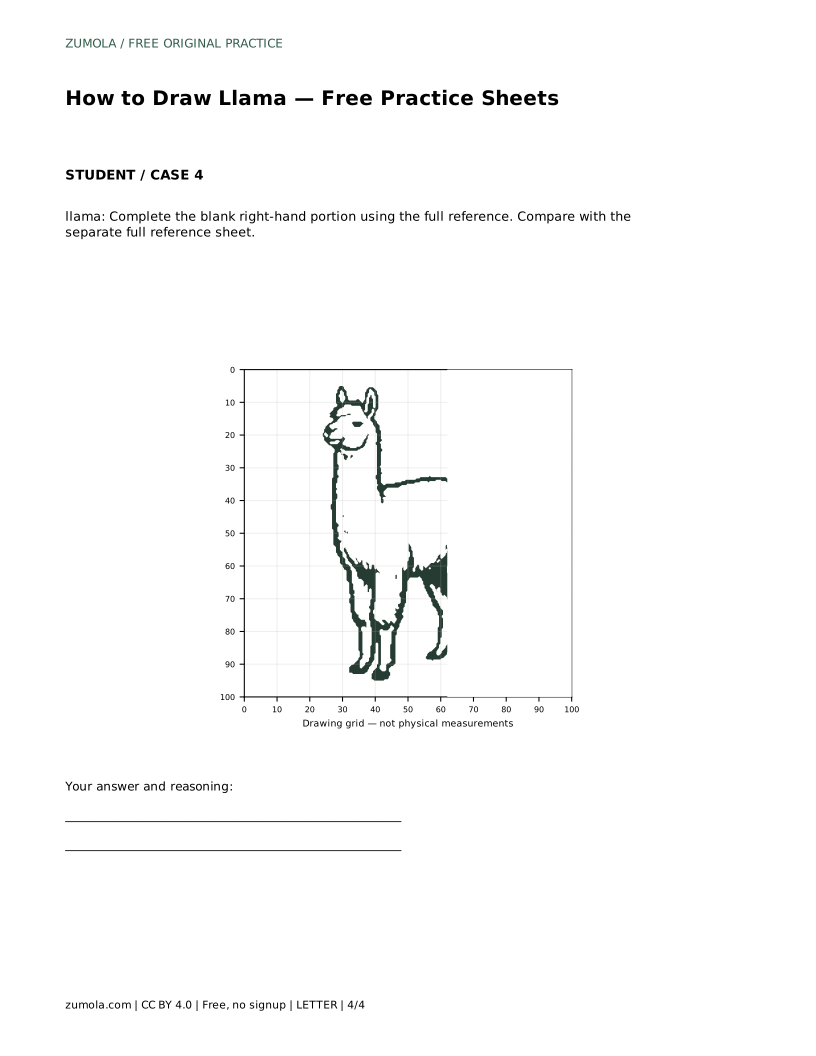
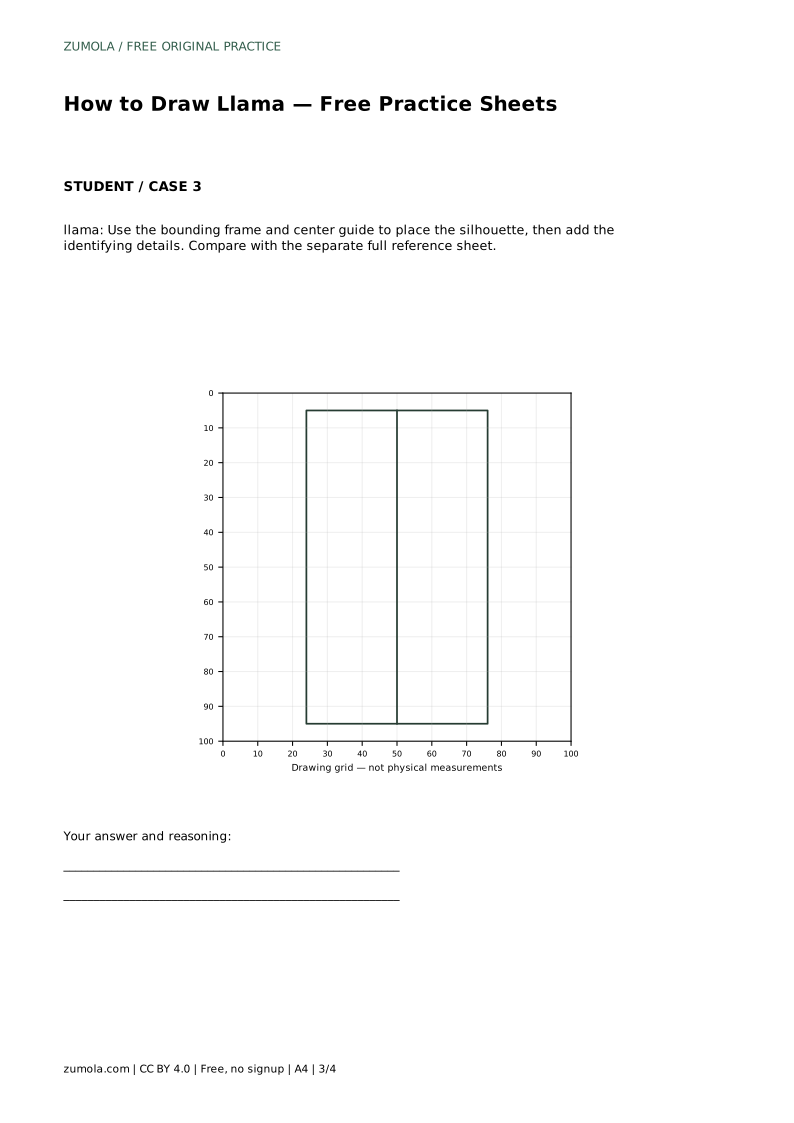
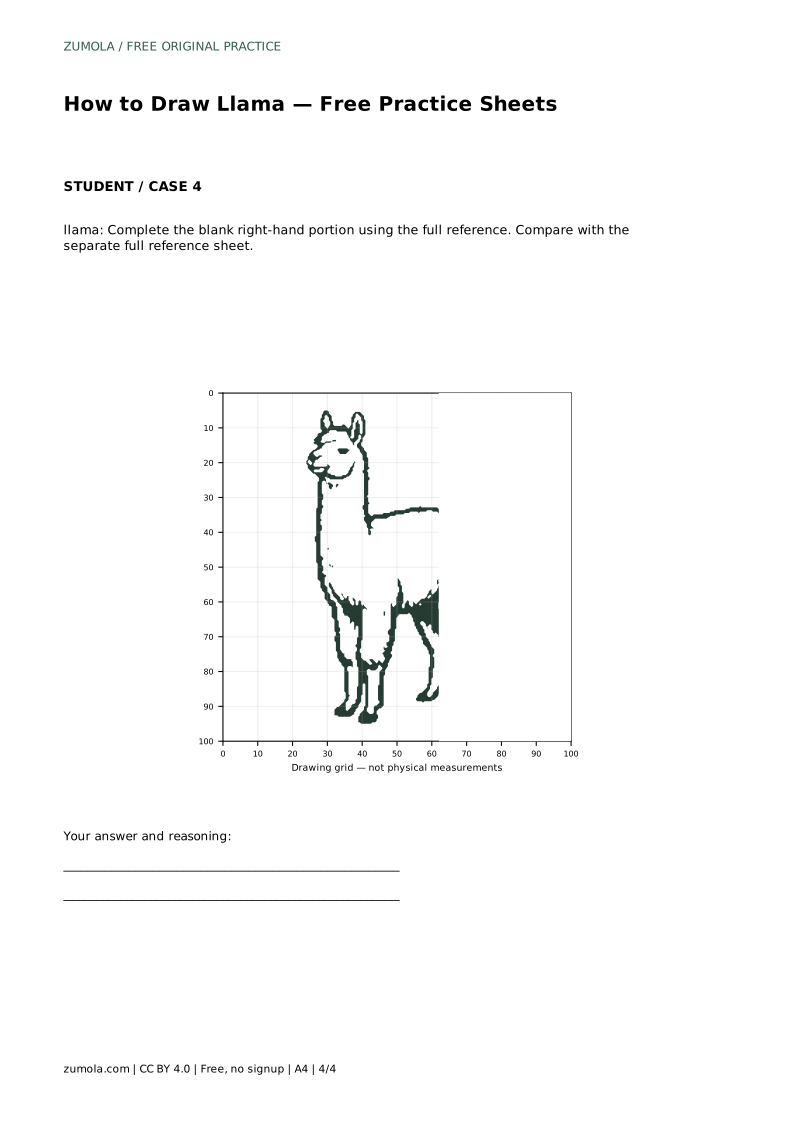
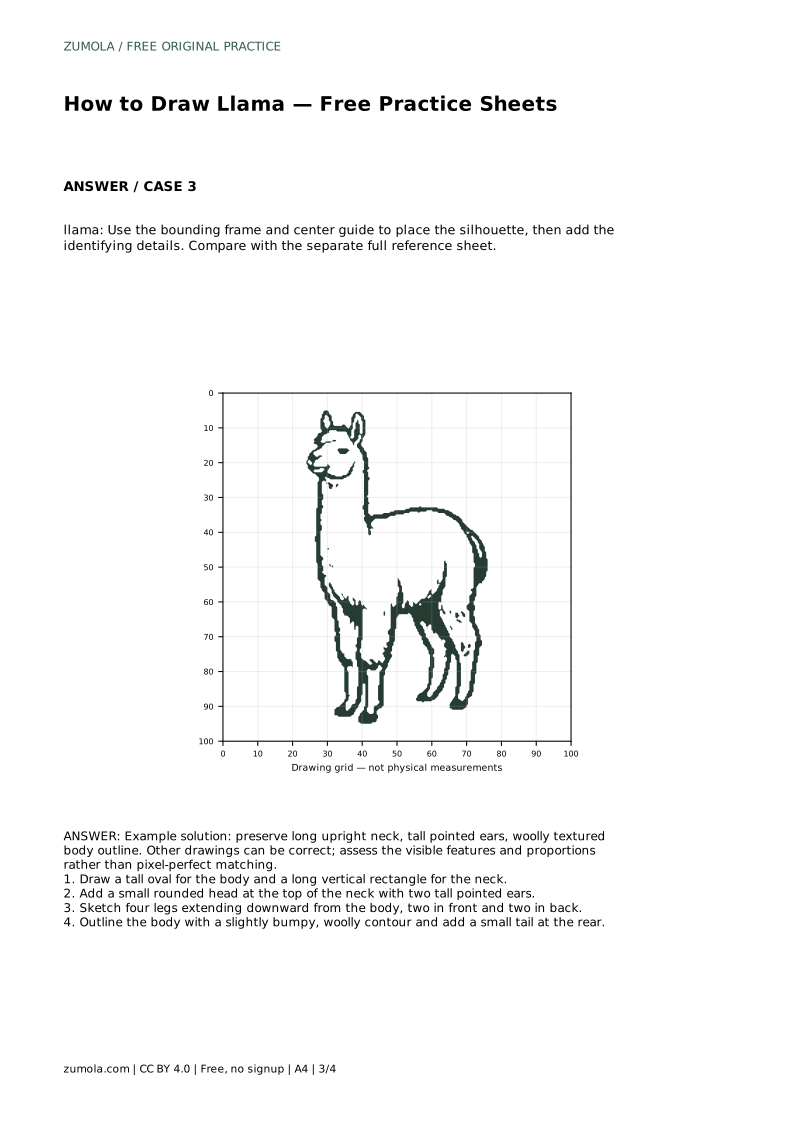
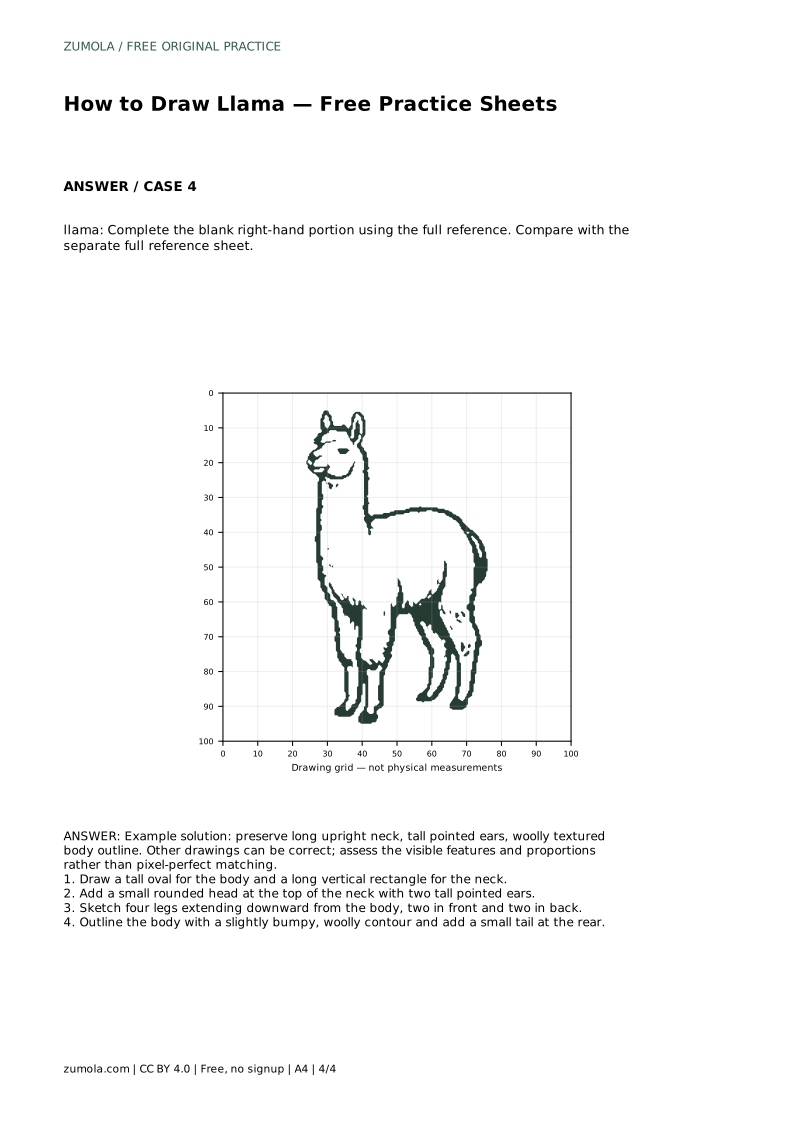
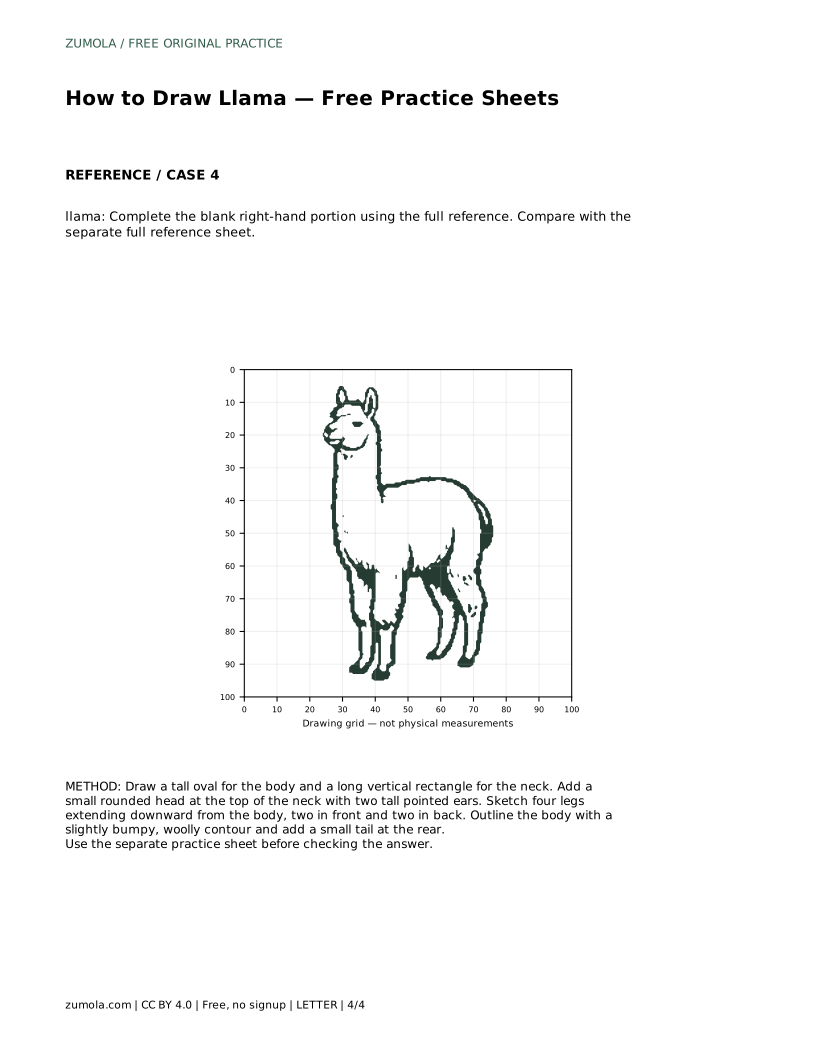
With a bounding frame and center guide, place the silhouette first. The frame limits the overall size, and the center guide helps you judge whether the neck and body sit left or right of center. Add the identifying details only after the silhouette is stable. On a partial-reference sheet, complete the blank right-hand portion using the full reference, checking that the finished half continues the same neck height, body width, and leg spacing.
A useful check is to compare the neck length with the body height. In a simple llama drawing, the upright neck is a major feature, so a short neck will make the animal look like a different creature. Also compare ear height with head size: tall pointed ears should be visibly taller than the rounded head. Check that the four legs are spaced under the body and that the front pair is not crowded into the back pair.
The woolly contour should not change the underlying proportions. A bumpy outline can make the body look wider or narrower than the oval you planned, so step back and compare the overall silhouette with the reference. If the body has become much wider than it is tall, the tall-oval proportion has been lost.
Because art has multiple valid outcomes, assess the visible features and proportions rather than pixel-perfect matching. A drawing with a long upright neck, tall pointed ears, a woolly body outline, four legs, and a small tail can be correct even if its contour differs from the reference.
llama: Trace the reference outline, then practise the contour independently. Compare with the separate full reference sheet.
Example solution: preserve long upright neck, tall pointed ears, woolly textured body outline. Other drawings can be correct; assess the visible features and proportions rather than pixel-perfect matching. Draw a tall oval for the body and a long vertical rectangle for the neck. Add a small rounded head at the top of the neck with two tall pointed ears. Sketch four legs extending downward from the body, two in front and two in back. Outline the body with a slightly bumpy, woolly contour and add a small tail at the rear.
No. The bumpy contour is a woolly texture choice. Keep the body as a tall oval and add a slightly bumpy outline if you want a woolly look; the proportion matters more than the number of bumps.
You can, but starting with the body and neck makes proportion easier to control. The ears and legs are smaller details that are easier to place once the large masses are stable.
Check for the long upright neck, tall pointed ears, woolly textured body outline, four legs under the body, and a small tail. Other drawings can be correct; assess the visible features and proportions rather than pixel-perfect matching.
All drawing practice · Free coordinate paper
Original resources · CC BY 4.0 · Free for personal and classroom use with attribution.