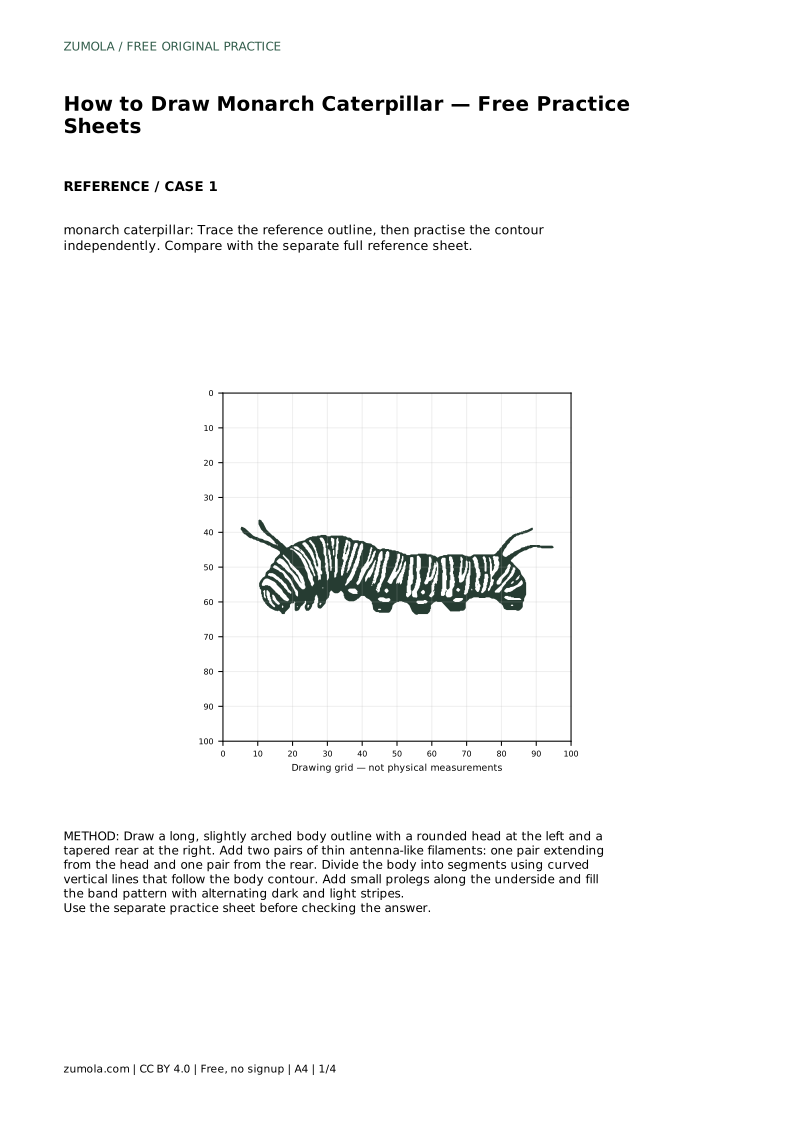
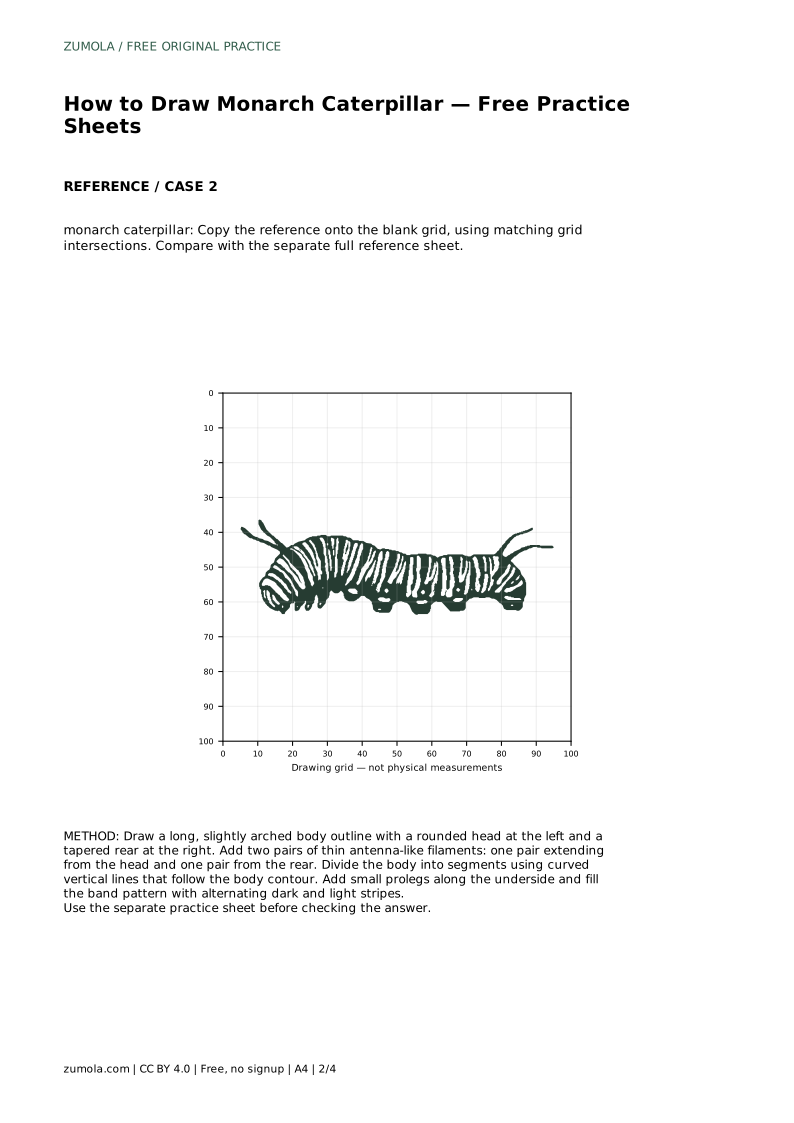
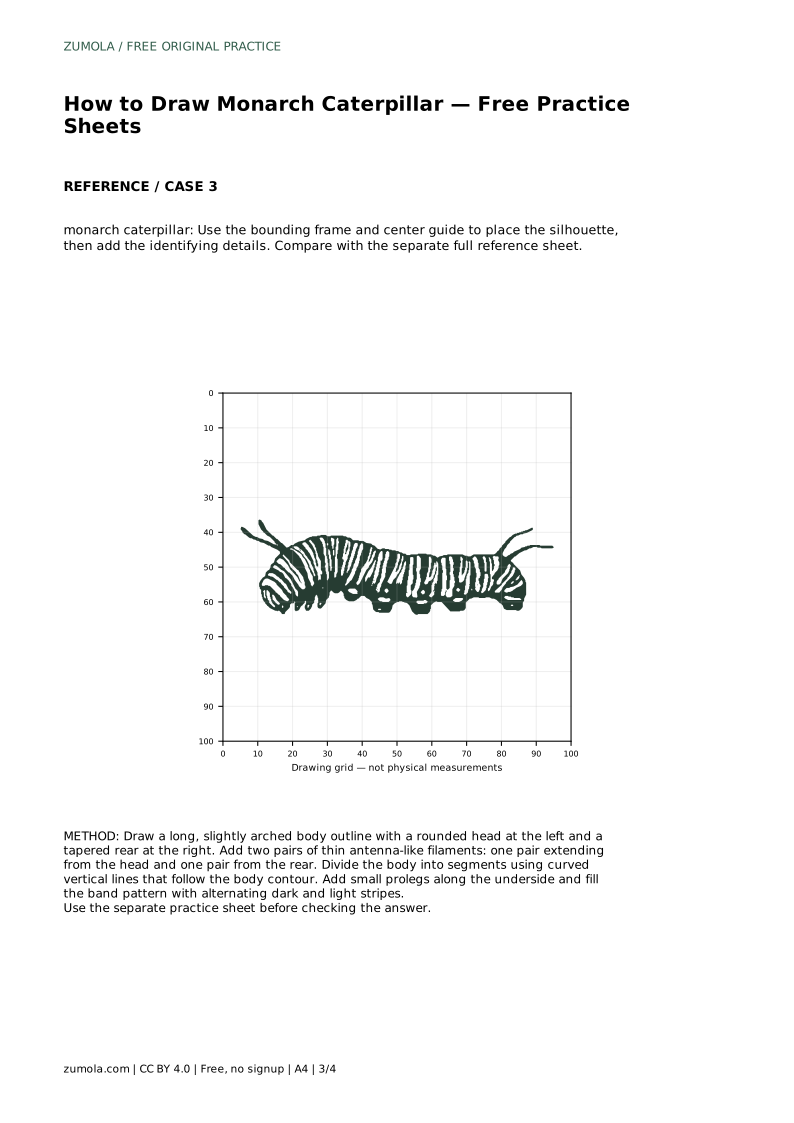
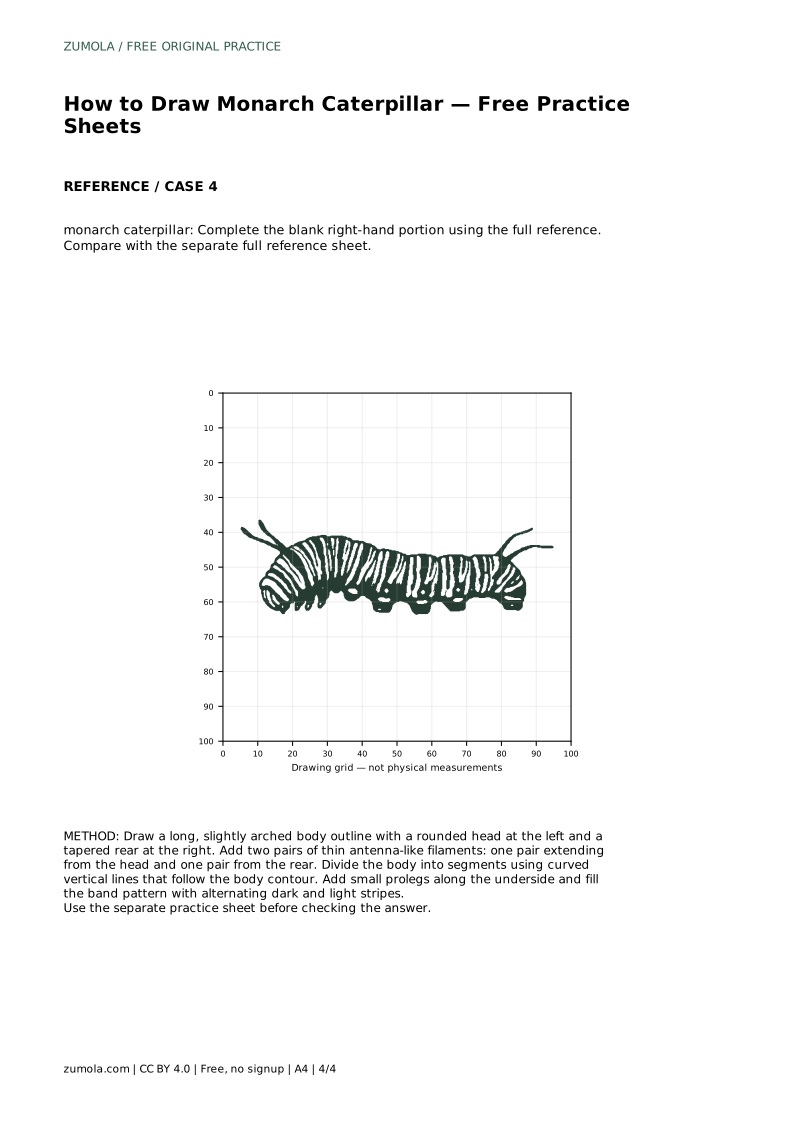
Reference diagrams
LETTER · Download PDF
A4 · Download PDF
Free original resources
Learn to draw a monarch caterpillar with an arched segmented body, alternating bands, head and rear filaments, and underside prolegs. Includes a worked example and rubric.
Four original cases, with reference diagrams, practice sheets and worked answers. Everything is free; no signup required.
LETTER · Download PDF
A4 · Download PDF
LETTER · Download PDF
A4 · Download PDF
LETTER · Download PDF
A4 · Download PDF
Use A4 or US Letter to match your printer. Use the stated values and conditions to solve each exercise; diagrams are not physical measuring rulers.
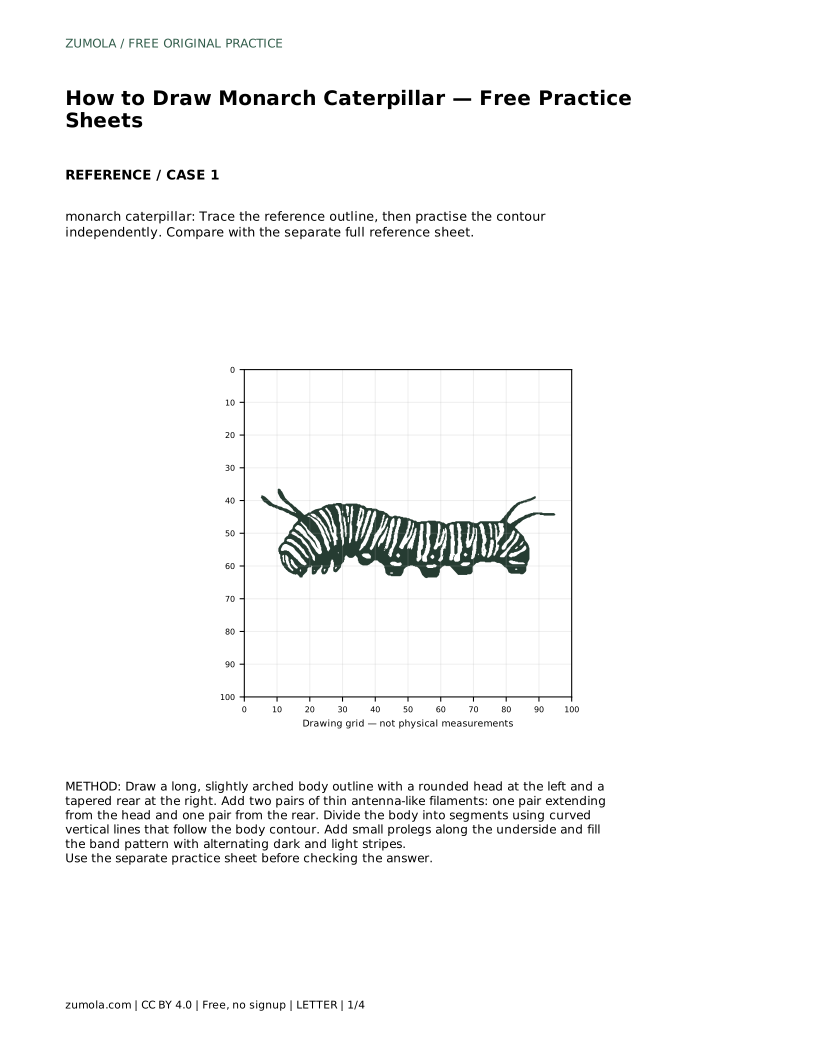
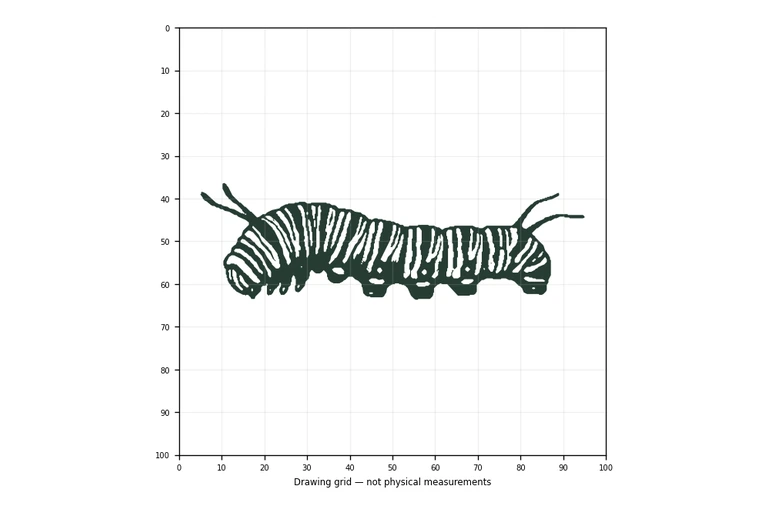
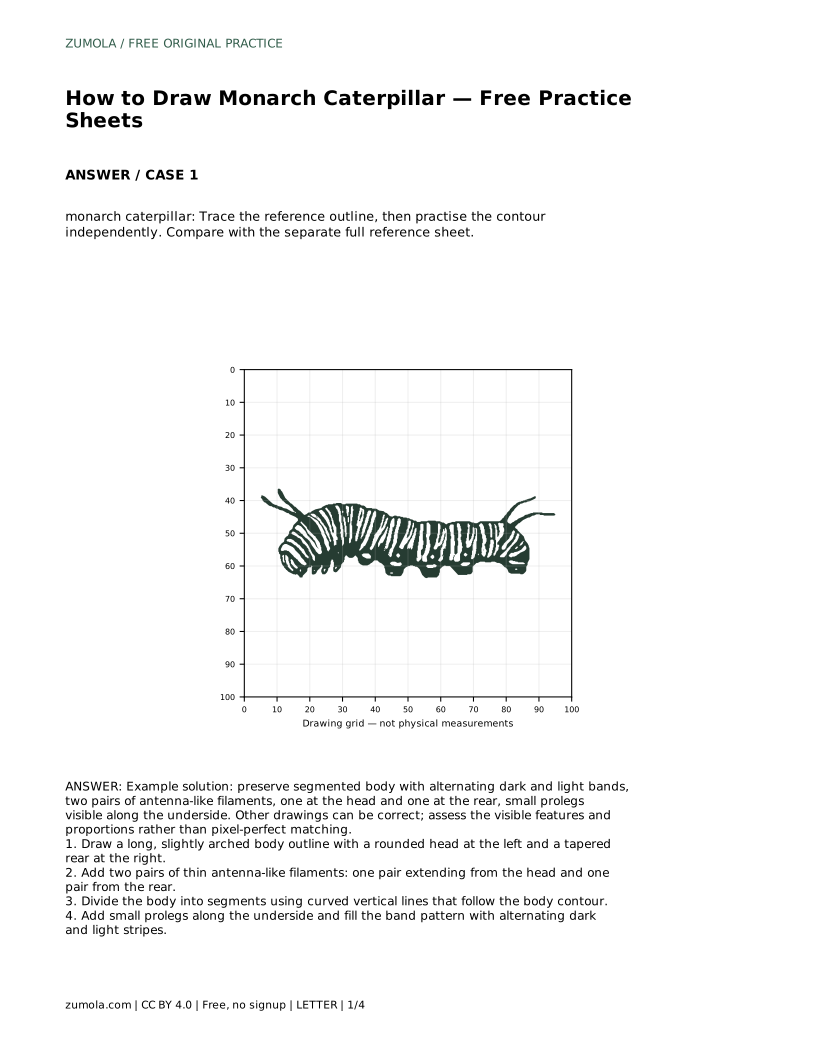
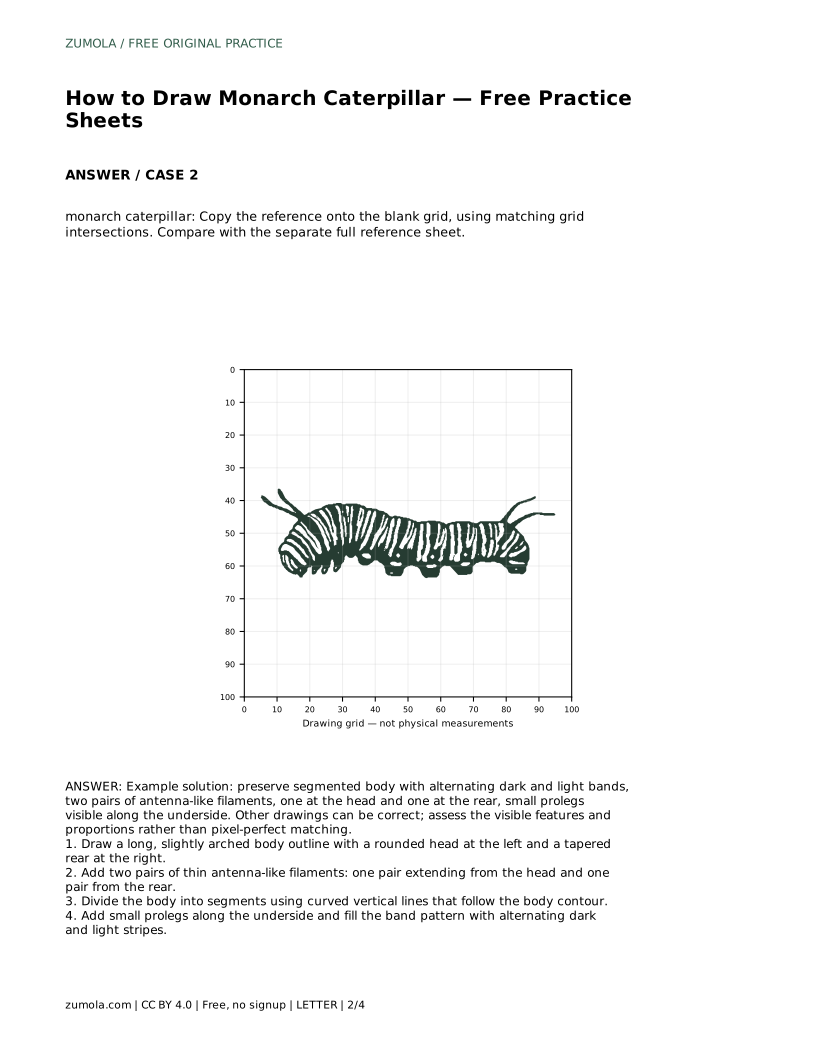
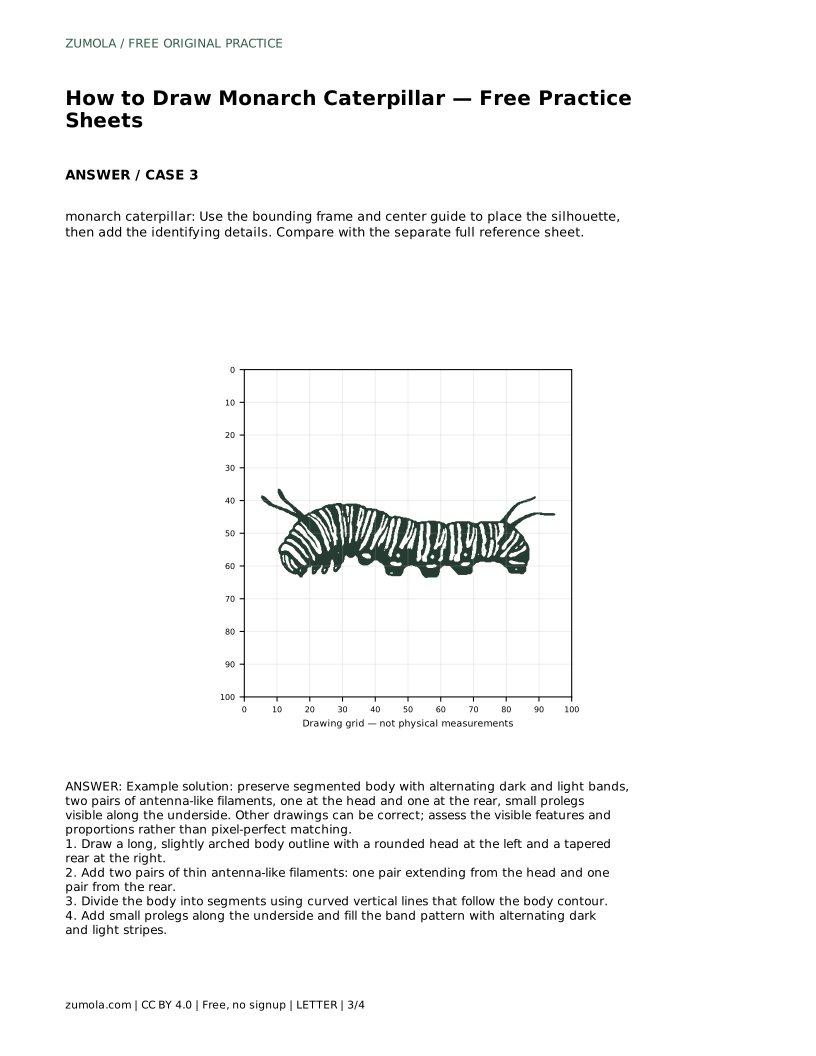
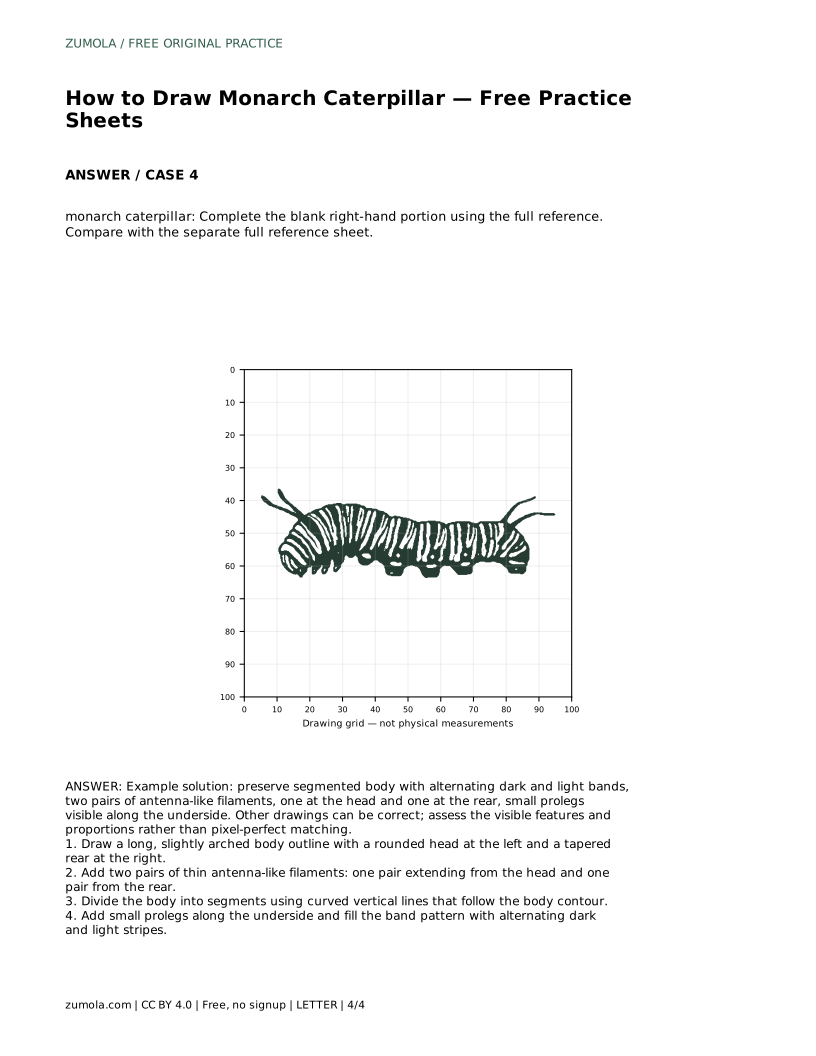
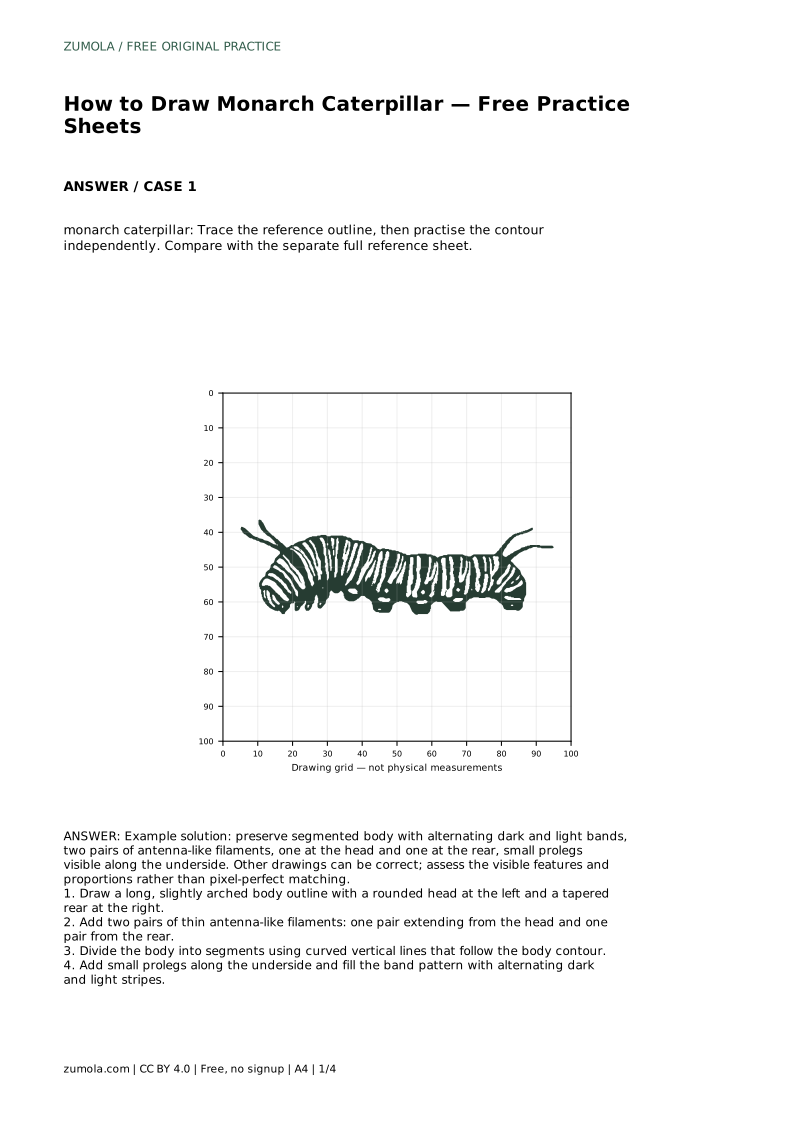
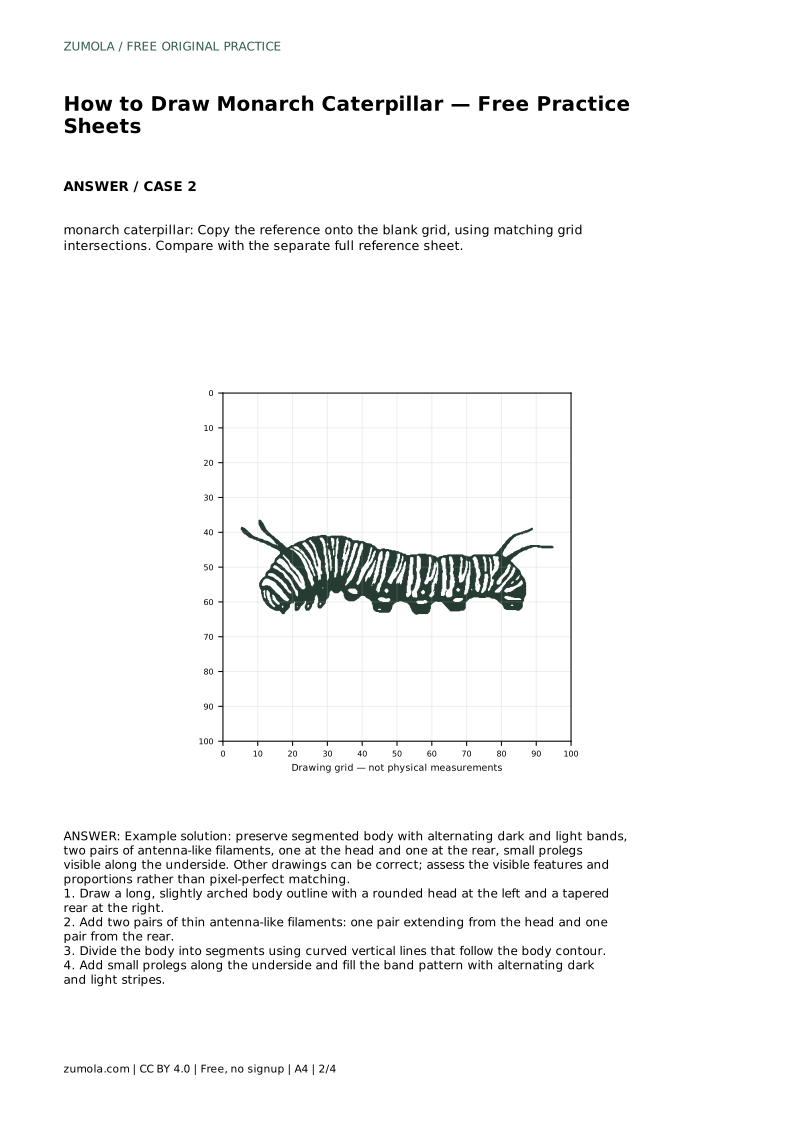
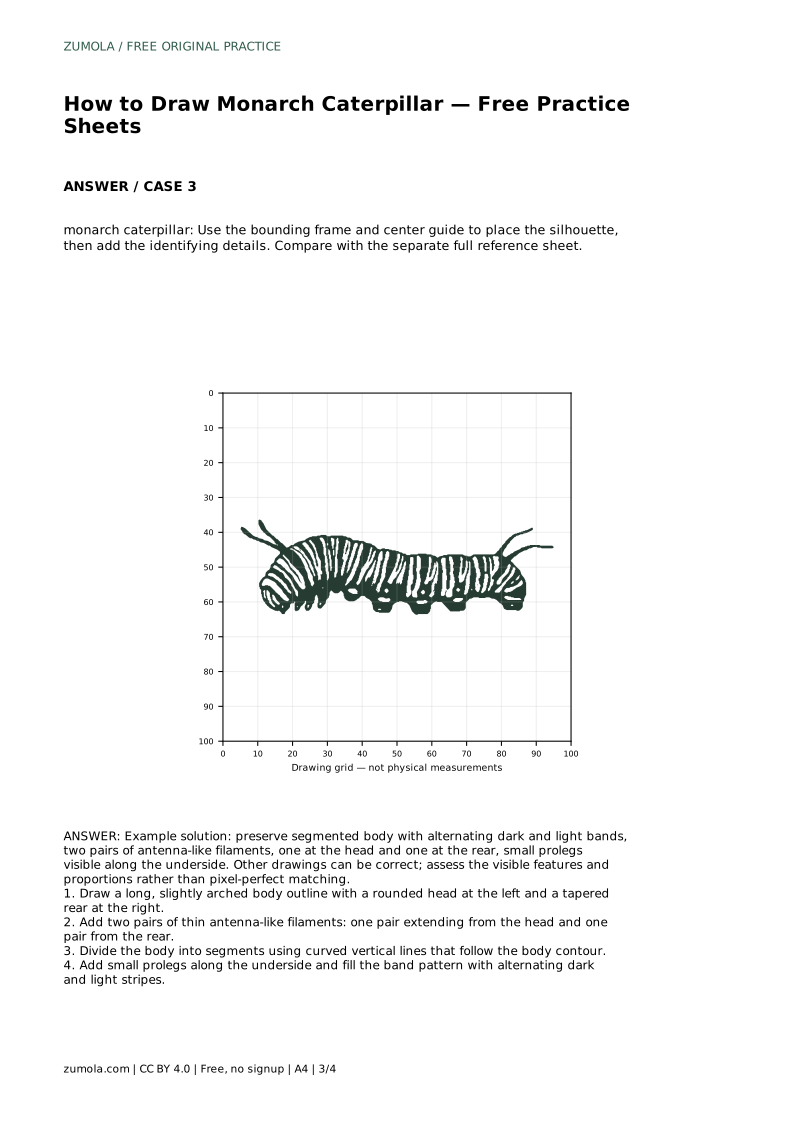
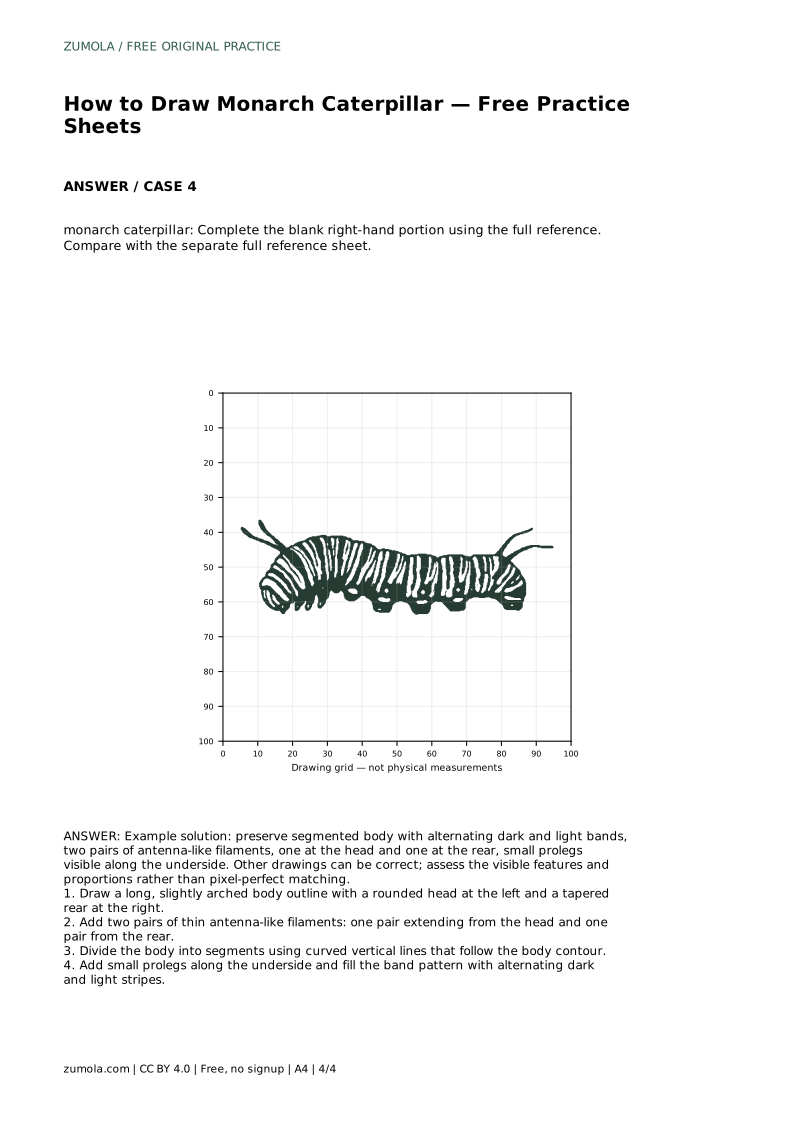
A monarch caterpillar drawing is built from a few clear features: a long, slightly arched body, a rounded head at one end, a tapered rear at the other, two pairs of thin filaments, visible prolegs beneath, and a banded pattern. This page explains how to place those features in order so your drawing reads as a monarch caterpillar rather than a generic striped worm. Practice sheets give you a reference to trace, copy, or complete, but the goal is understanding the structure, not pixel-perfect matching.
Begin by deciding which end is the head. In the worked example the head sits at the left and the rear tapers at the right, but reversing the direction is equally valid as long as the features stay consistent. Draw a long, slightly arched outline: the arch gives the caterpillar a natural resting posture instead of a stiff tube. Keep the head rounded and the rear end narrower. A light center guide can help you keep the arch even on both sides of the body.
Check the proportion before adding detail. The body should be clearly longer than it is tall, and the arch should be gentle rather than a sharp hump. If the outline looks like a circle or a straight rectangle, redraw it before continuing.
Monarch caterpillars have two pairs of thin, antenna-like filaments: one pair extending from the head and one pair from the rear. Draw them as slender curved lines, not thick horns, and keep the pairs roughly matched in length. Next, divide the body into segments using curved vertical lines that follow the body contour. The lines should bow slightly with the arch so the segments look wrapped around the body rather than flat.
Add small prolegs along the underside. These are short, stubby bumps spaced along the lower edge, and they should sit below the body outline rather than crossing it. Keep them small so they support the body shape without dominating it.
Fill the band pattern with alternating dark and light stripes. Work segment by segment so each band stays inside its segment boundaries. The contrast between dark and light bands is what makes the pattern read clearly, so keep the alternation consistent from head to rear. Leave the filaments and prolegs visually distinct from the bands rather than merging them into the stripes.
Because art has multiple valid outcomes, compare your finished drawing against the reference by checking features and proportions, not by matching every line. A drawing with a correct arch, two filament pairs, visible prolegs, and a consistent band pattern can be correct even if it differs from the sample.
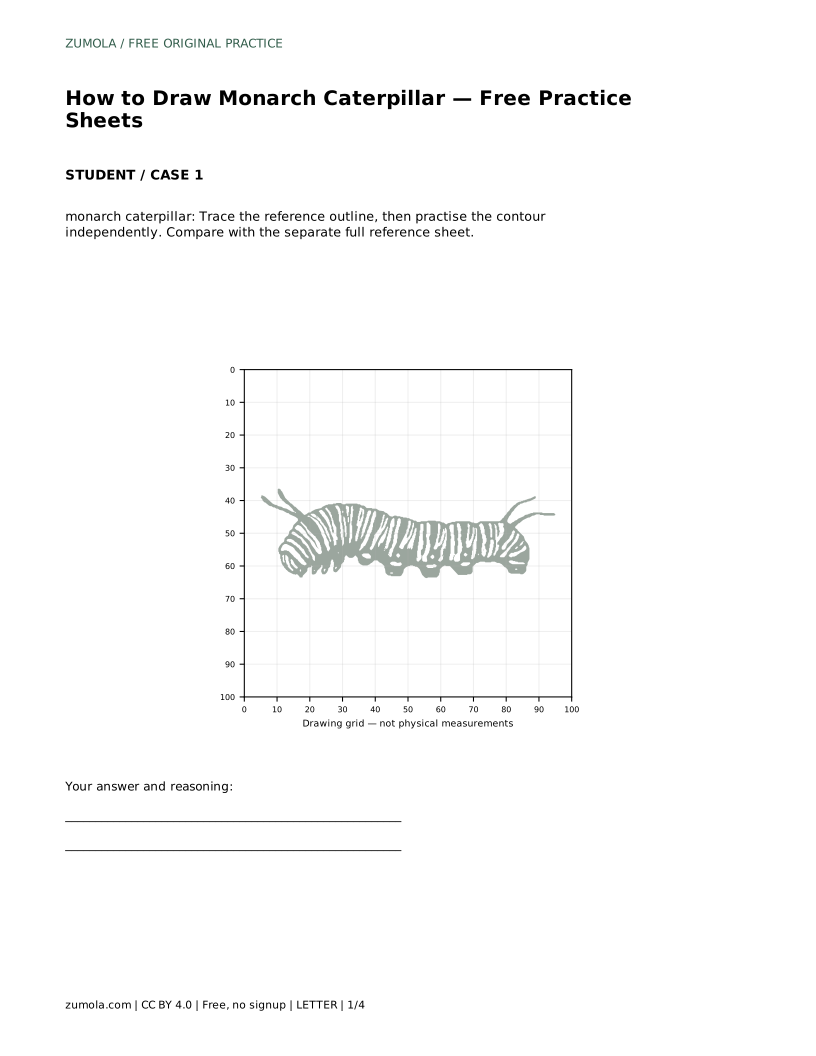
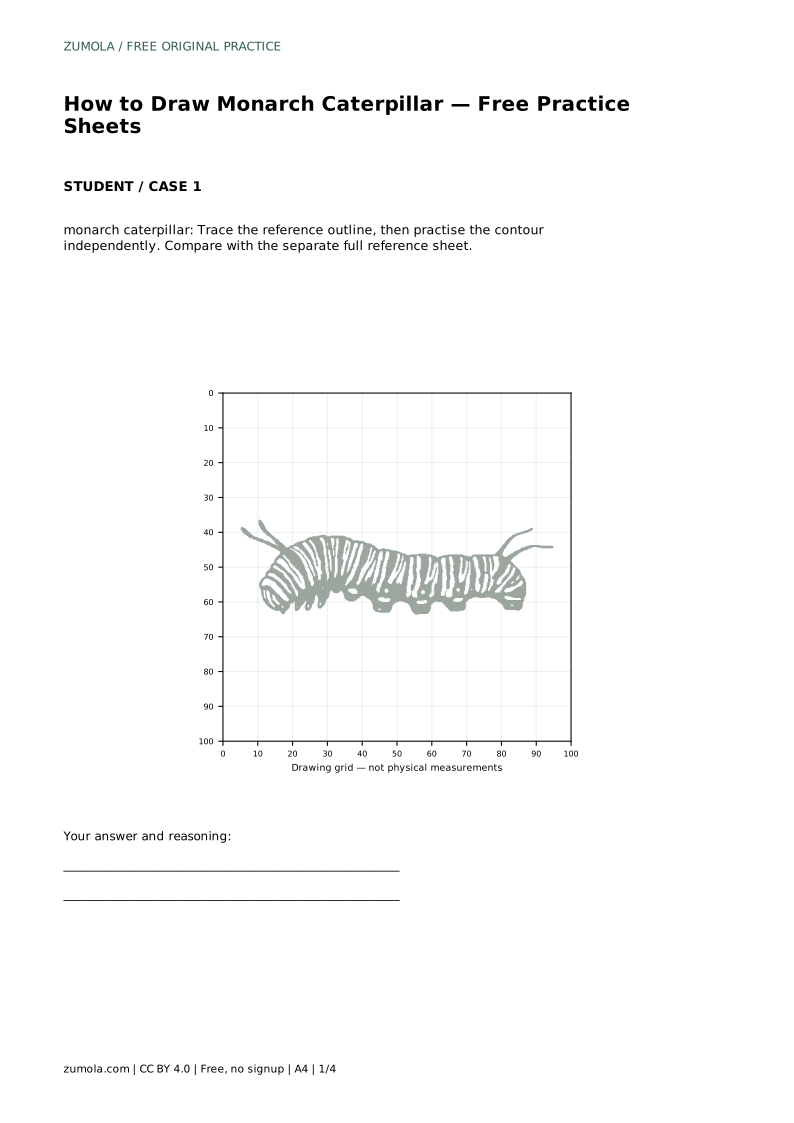
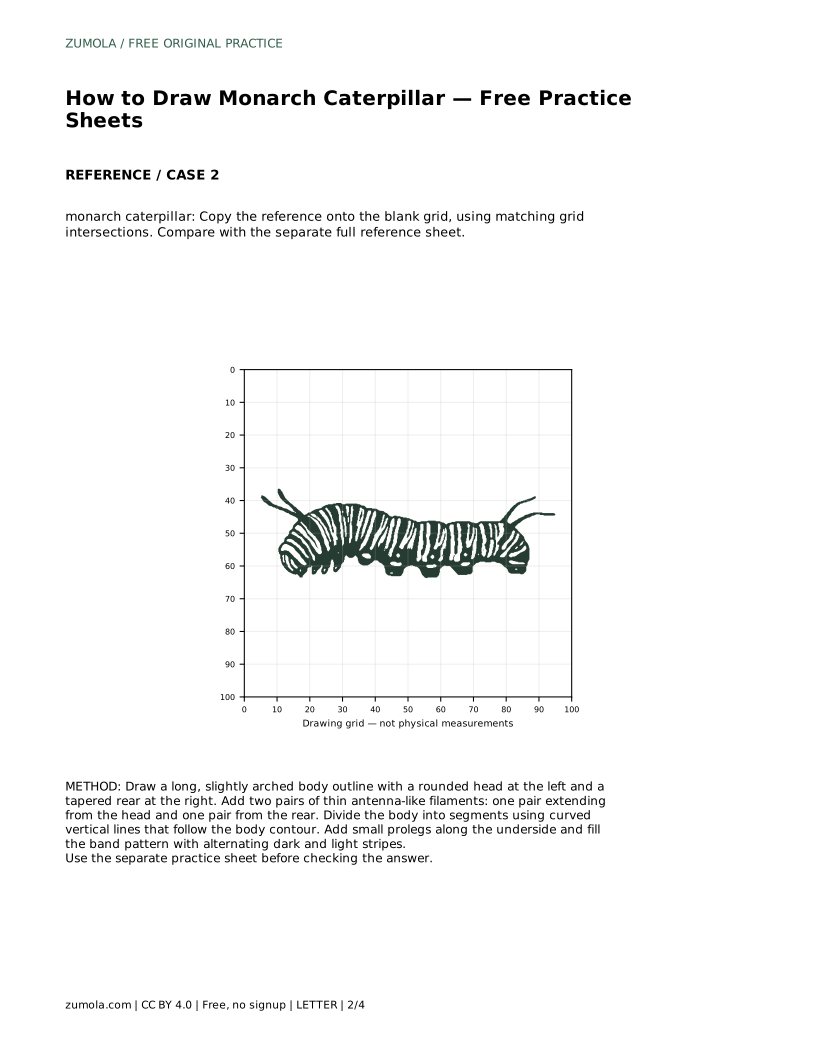
monarch caterpillar: Trace the reference outline, then practise the contour independently. Compare with the separate full reference sheet.
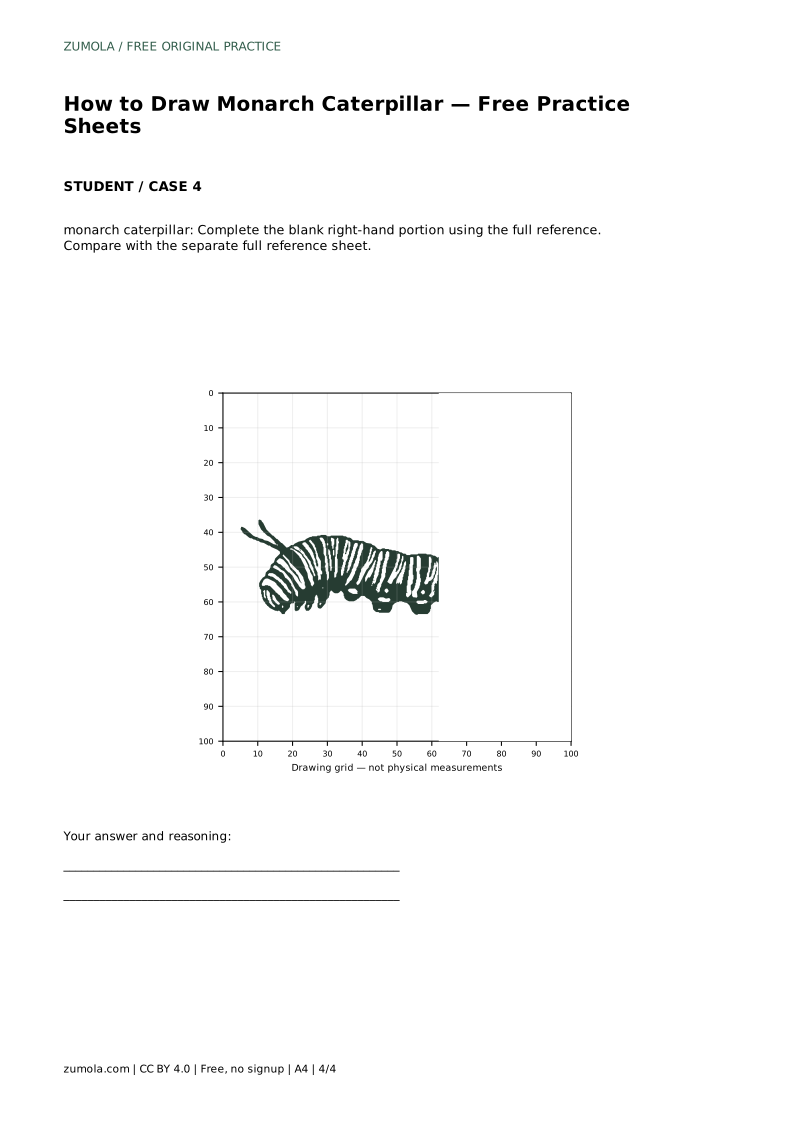
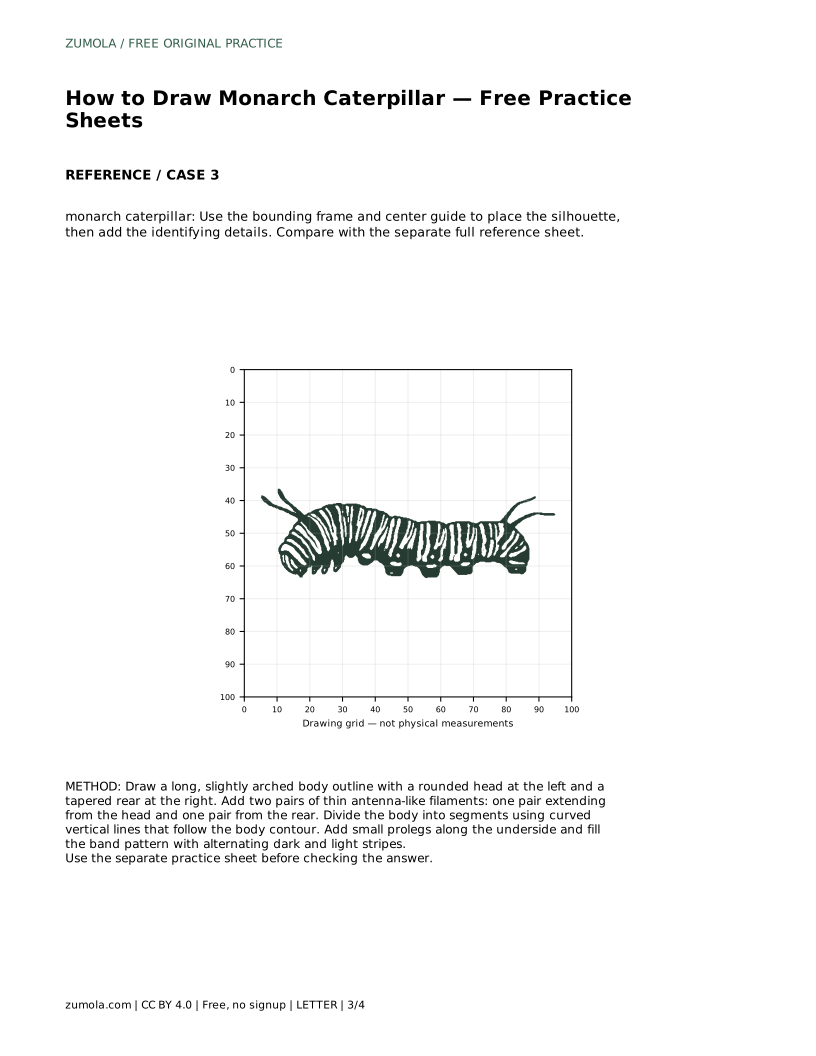
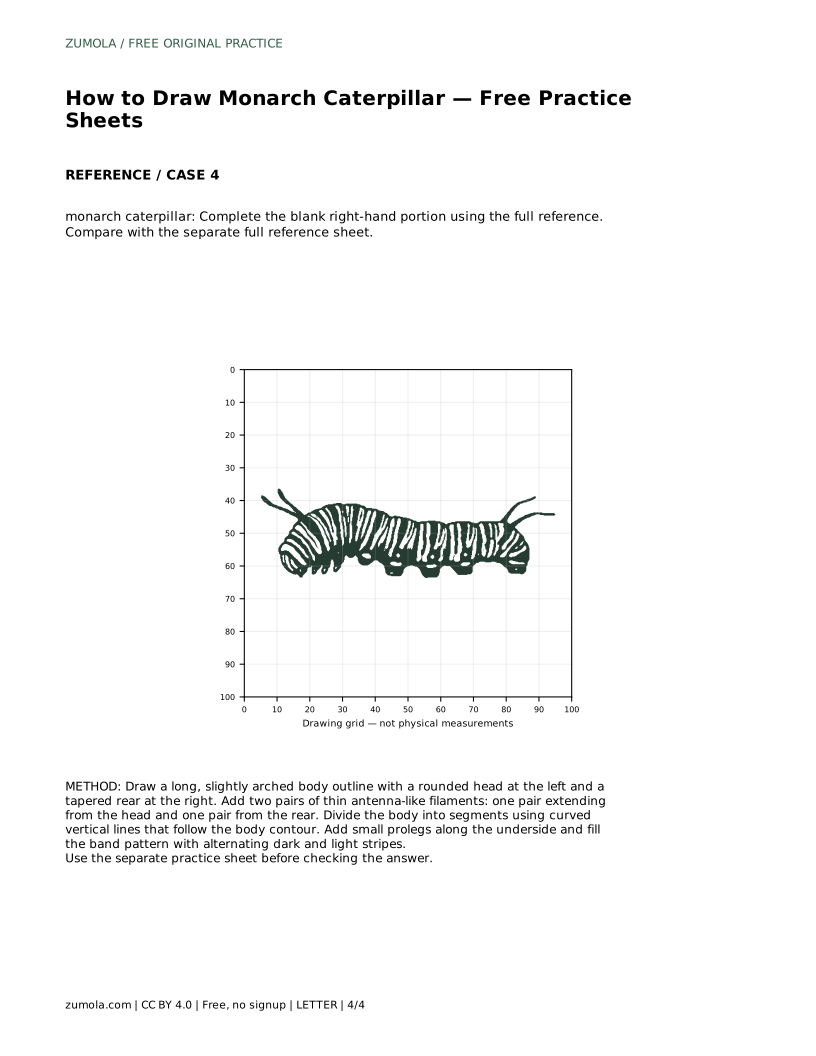
Example solution: preserve segmented body with alternating dark and light bands, two pairs of antenna-like filaments, one at the head and one at the rear, small prolegs visible along the underside. Other drawings can be correct; assess the visible features and proportions rather than pixel-perfect matching. Draw a long, slightly arched body outline with a rounded head at the left and a tapered rear at the right. Add two pairs of thin antenna-like filaments: one pair extending from the head and one pair from the rear. Divide the body into segments using curved vertical lines that follow the body contour. Add small prolegs along the underside and fill the band pattern with alternating dark and light stripes.
Either direction works. The worked example places the head at the left and the tapered rear at the right, but keep the rounded head, tapered rear, and filament pairs consistent whichever way you draw it.
Two pairs: one pair extending from the head and one pair from the rear. Draw them as thin, slender lines rather than thick horns.
No. Art has multiple valid outcomes. Assess visible features and proportions, such as the arched segmented body, alternating bands, two filament pairs, and underside prolegs.
All drawing practice · Free coordinate paper
Original resources · CC BY 4.0 · Free for personal and classroom use with attribution.