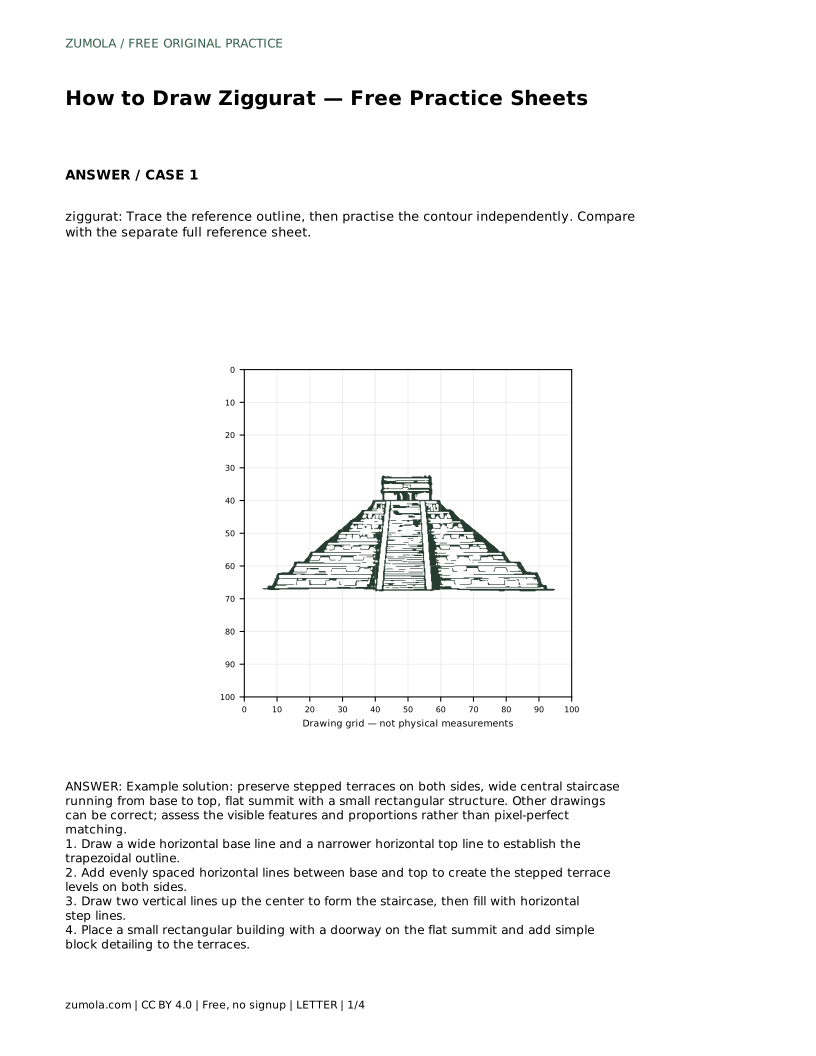
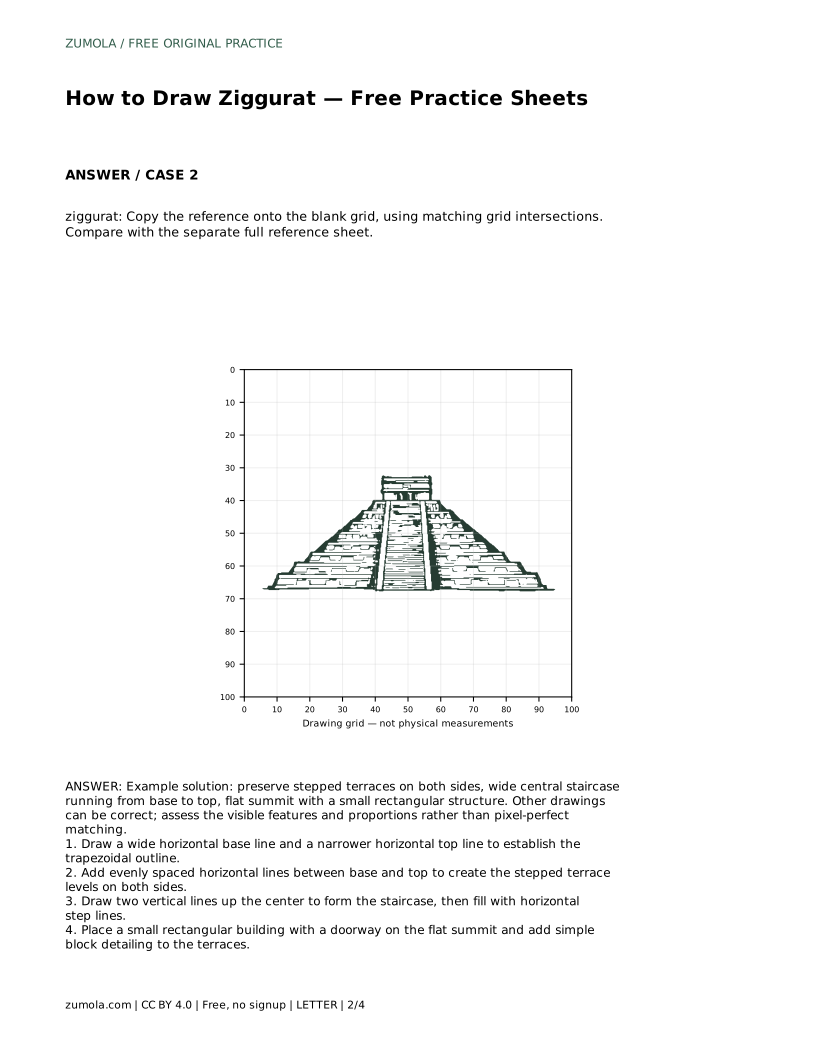
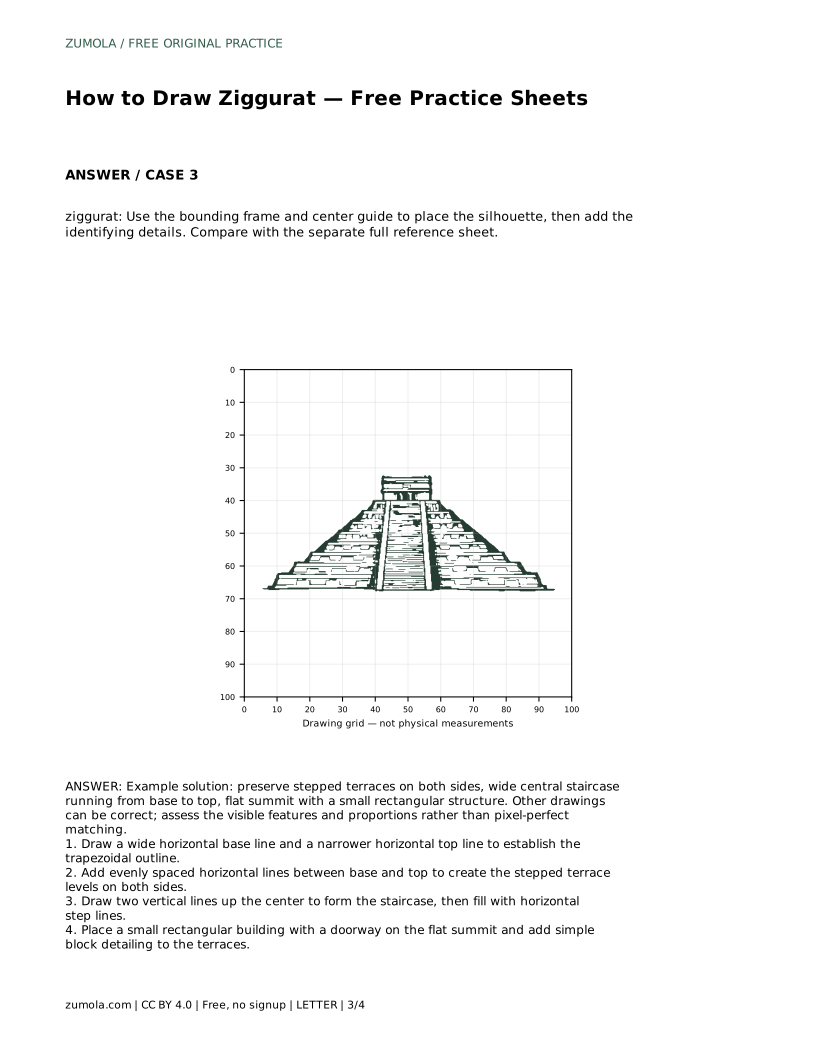
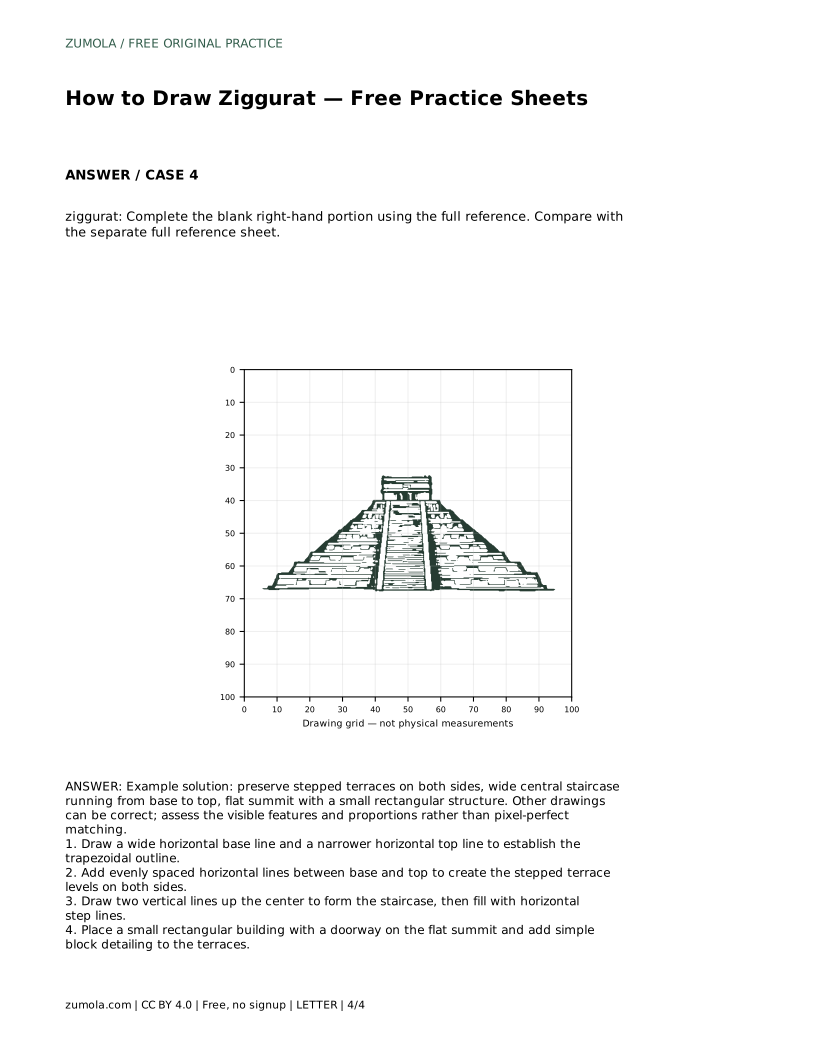
Reference diagrams
LETTER · Download PDF
A4 · Download PDF
Free original resources
Learn to draw a ziggurat by building a trapezoidal outline, evenly spaced terraces, a central staircase, and a small summit building. Includes a rubric and common fixes.
Four original cases, with reference diagrams, practice sheets and worked answers. Everything is free; no signup required.
LETTER · Download PDF
A4 · Download PDF
LETTER · Download PDF
A4 · Download PDF
LETTER · Download PDF
A4 · Download PDF
Use A4 or US Letter to match your printer. Use the stated values and conditions to solve each exercise; diagrams are not physical measuring rulers.
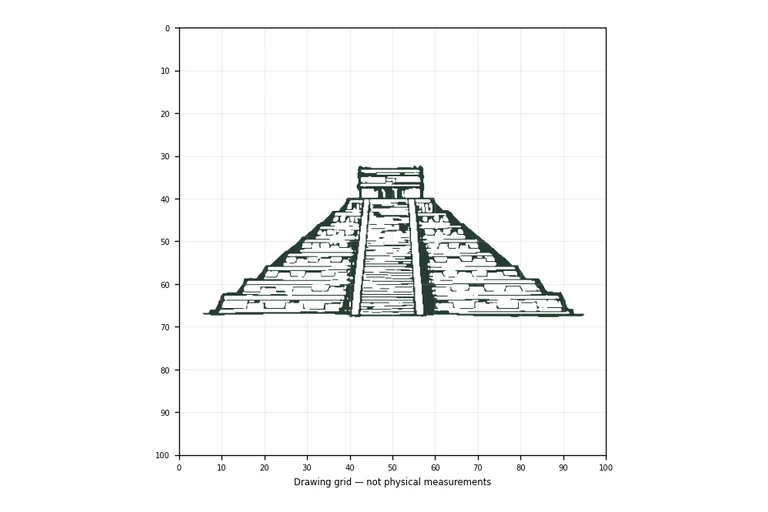
A ziggurat is easiest to draw when you treat it as a stack of shrinking rectangular platforms rather than a single sloped shape. Start with a wide base and a narrower top, then divide the height into terrace levels. The central staircase and flat summit give the form its identity. This guide explains the order of construction, how to keep both sides balanced, and how to judge your drawing by visible features instead of exact matching.
Begin with two horizontal lines: a wide base line and a narrower top line. Their difference in width sets the trapezoidal silhouette. Keep both lines level so the structure reads as stable. Next, mark evenly spaced horizontal levels between base and top. These marks become the stepped terraces on both sides. Even spacing matters more than a specific number of levels; consistent gaps make the steps look deliberate.
Only after the outline and terrace levels are placed should you add the staircase and summit building. Working from large shape to small detail prevents the staircase from drifting off center.
The staircase is the strongest vertical cue, so it should run from the base to the summit without breaking. Draw two vertical lines first, spaced symmetrically around the center guide, then fill the gap with horizontal step lines. If the two vertical lines are unevenly spaced, the staircase will look tilted even when the terraces are level.
Check that the staircase meets the top platform cleanly. A small landing at the summit helps the building sit naturally rather than float above the steps.
Drawings of ziggurats can vary in proportion, terrace count, and detail while still being correct. Judge the result by whether the stepped terraces appear on both sides, the staircase runs from base to top, and the summit is flat with a small rectangular structure. Proportions should feel consistent: a wide base, a narrower top, and terraces that shrink gradually.
This is an artistic construction, not an anatomical diagram. The goal is a clear, recognizable form with balanced geometry.
Once the basic form is clear, try the same sequence with different proportions: a taller stack, fewer terraces, or a wider summit building. The method stays the same because the outline, terrace levels, staircase, and summit are placed in that order. Changing one variable at a time makes it easier to see how proportions affect the overall shape.
Use the reference sheet separately to compare features after your drawing is complete, rather than copying line by line.
Most problems come from placing details before the outline is stable. Correcting the large shape first keeps later details aligned.
These answers address the most common points about constructing the drawing.
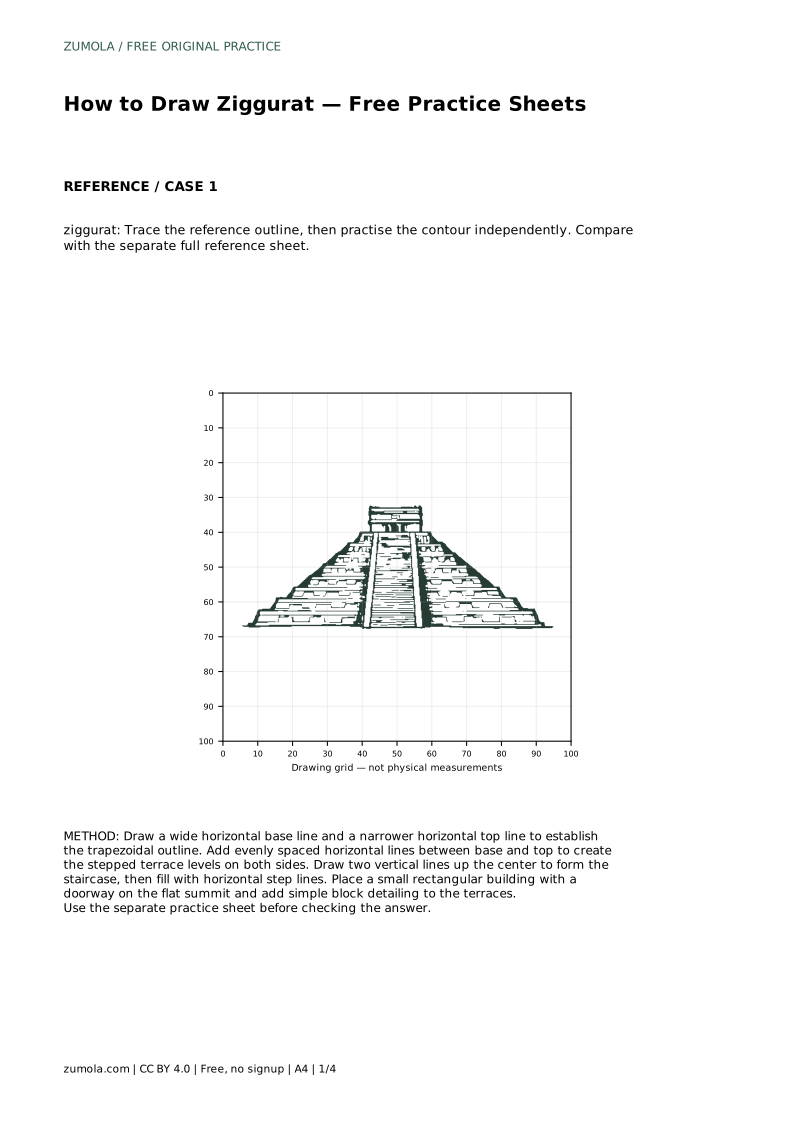
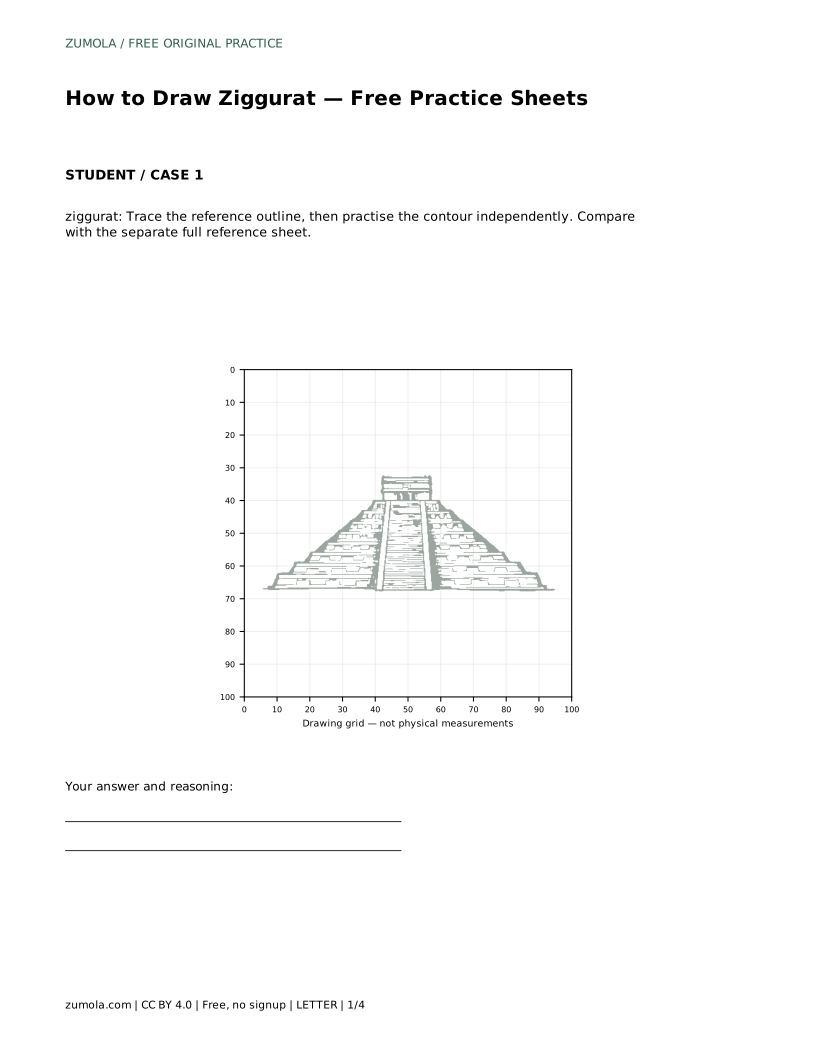
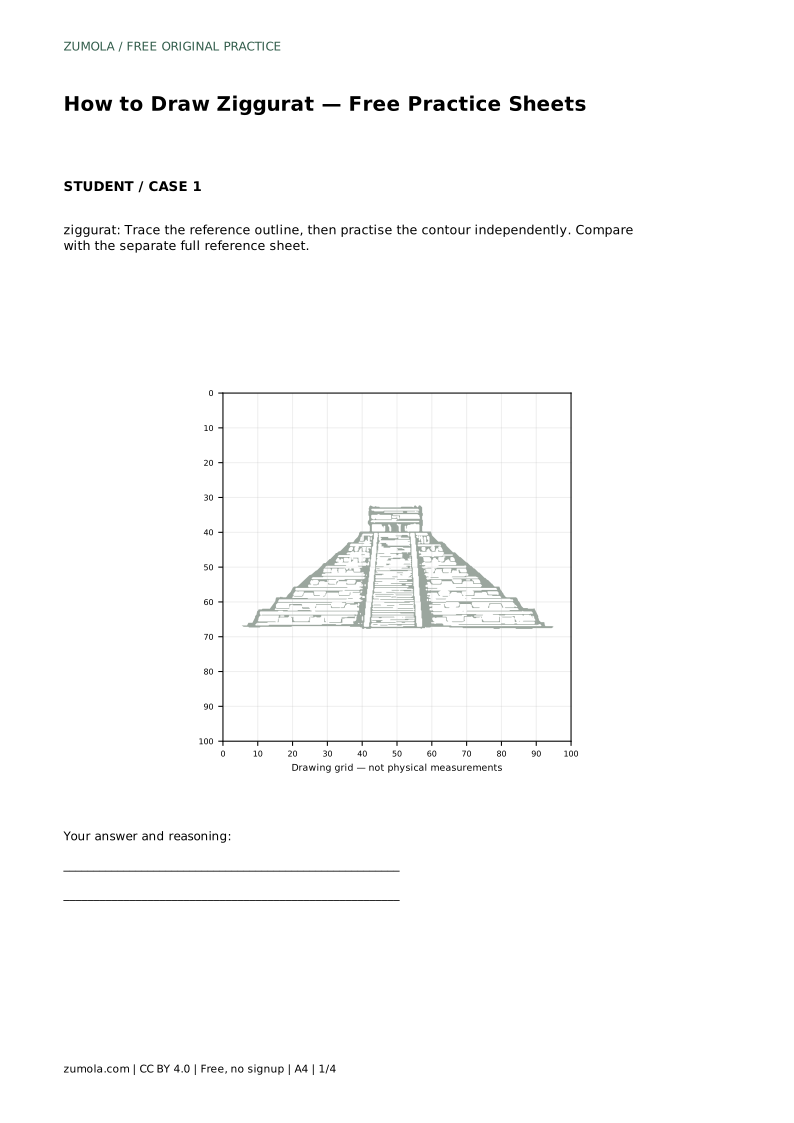
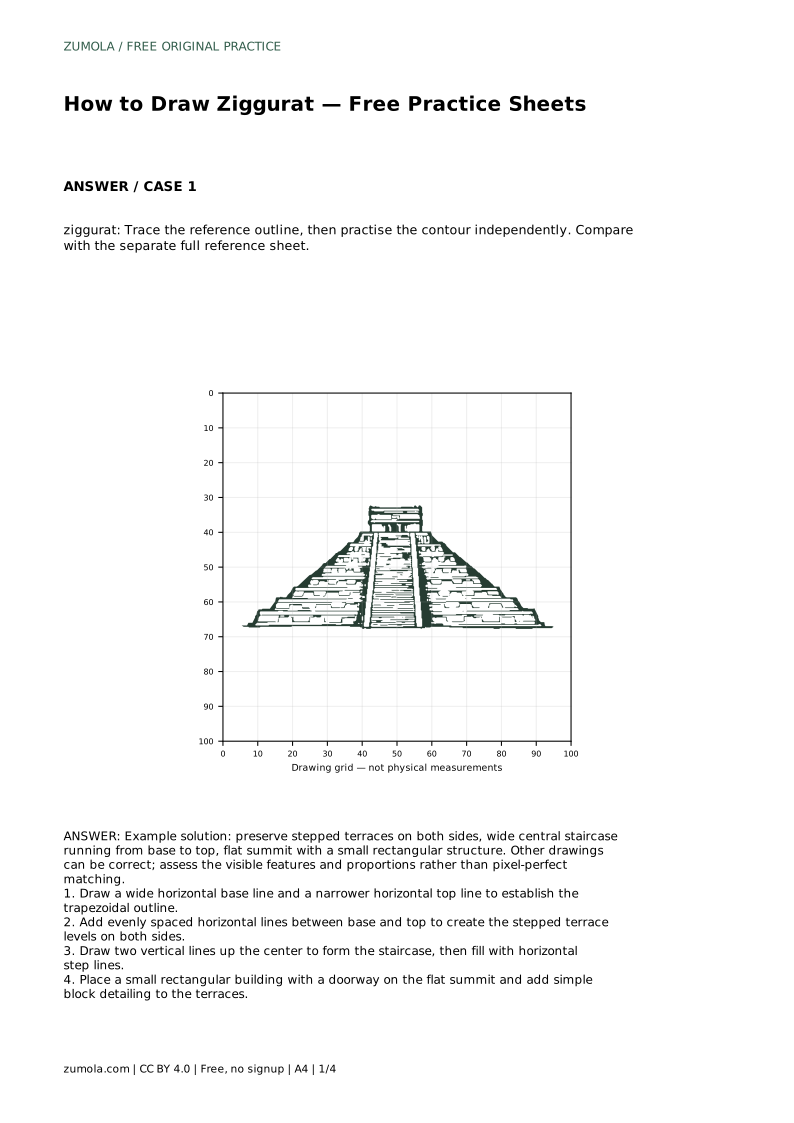
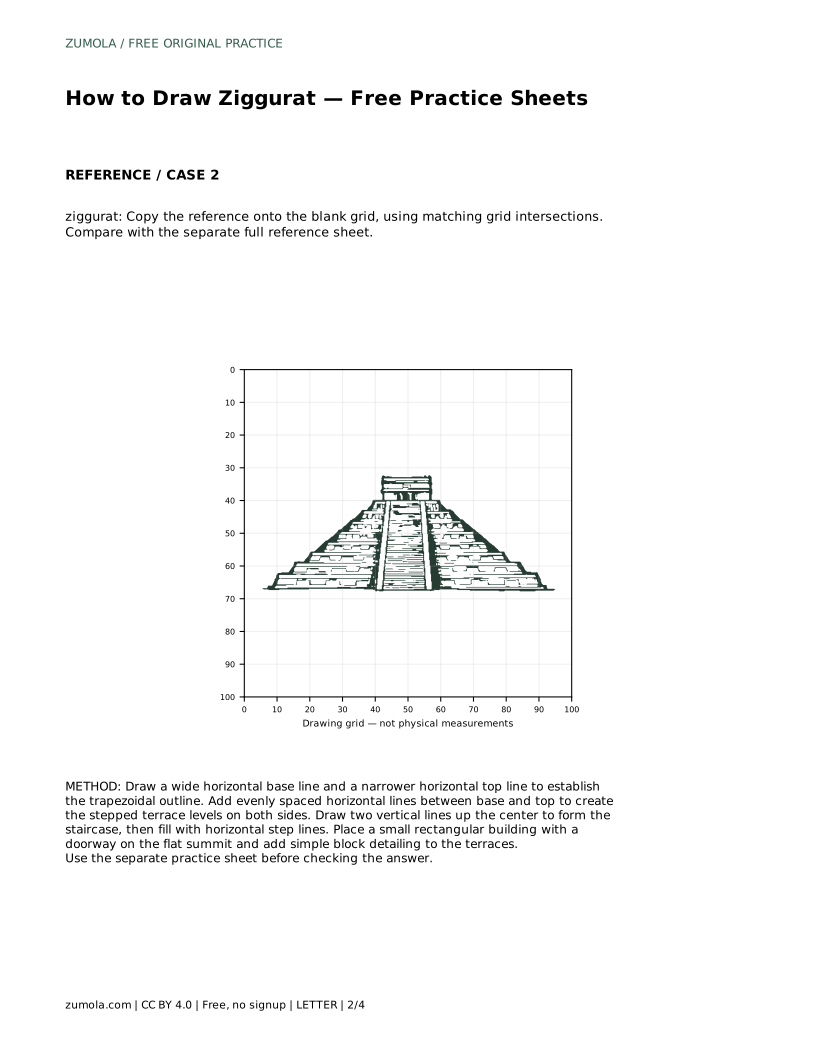
ziggurat: Trace the reference outline, then practise the contour independently. Compare with the separate full reference sheet.
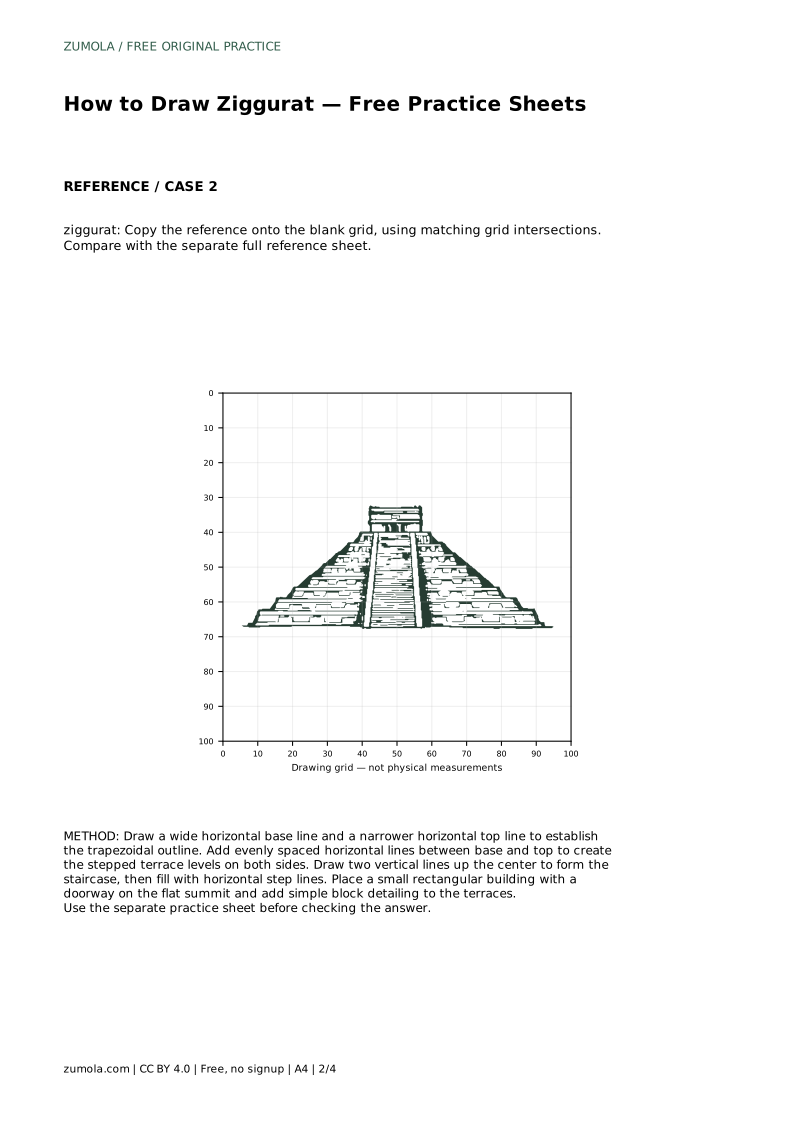
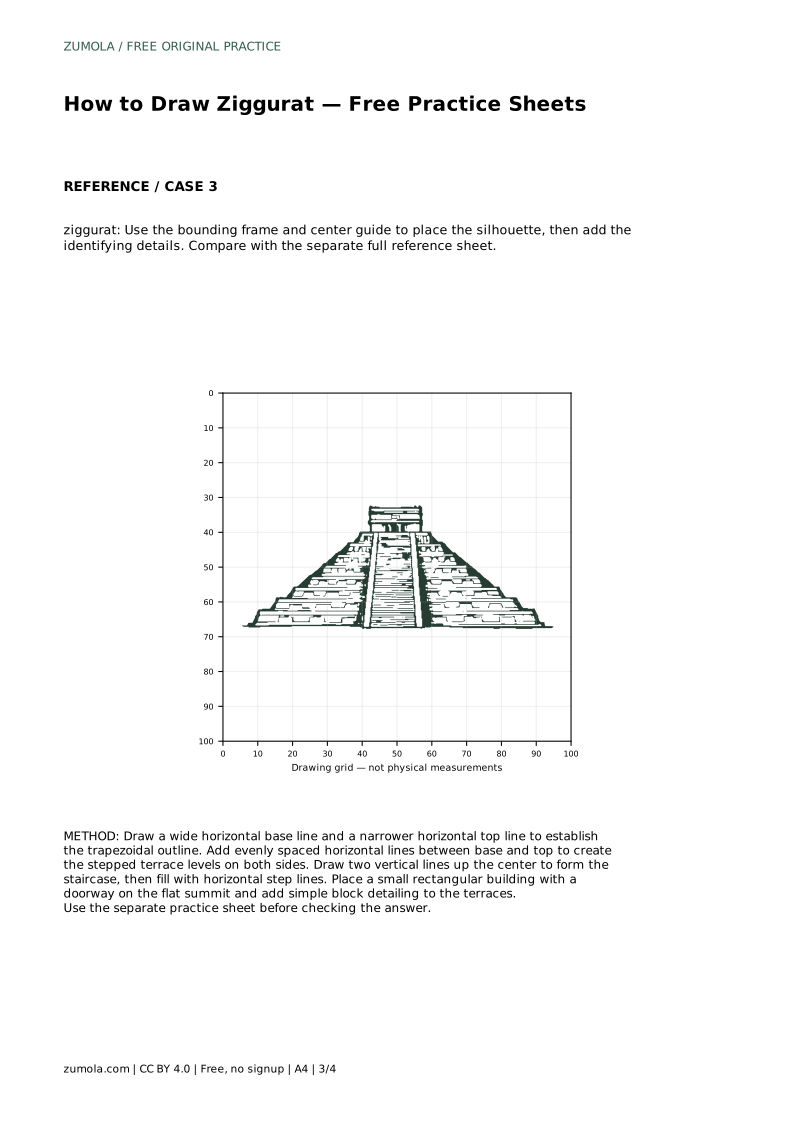
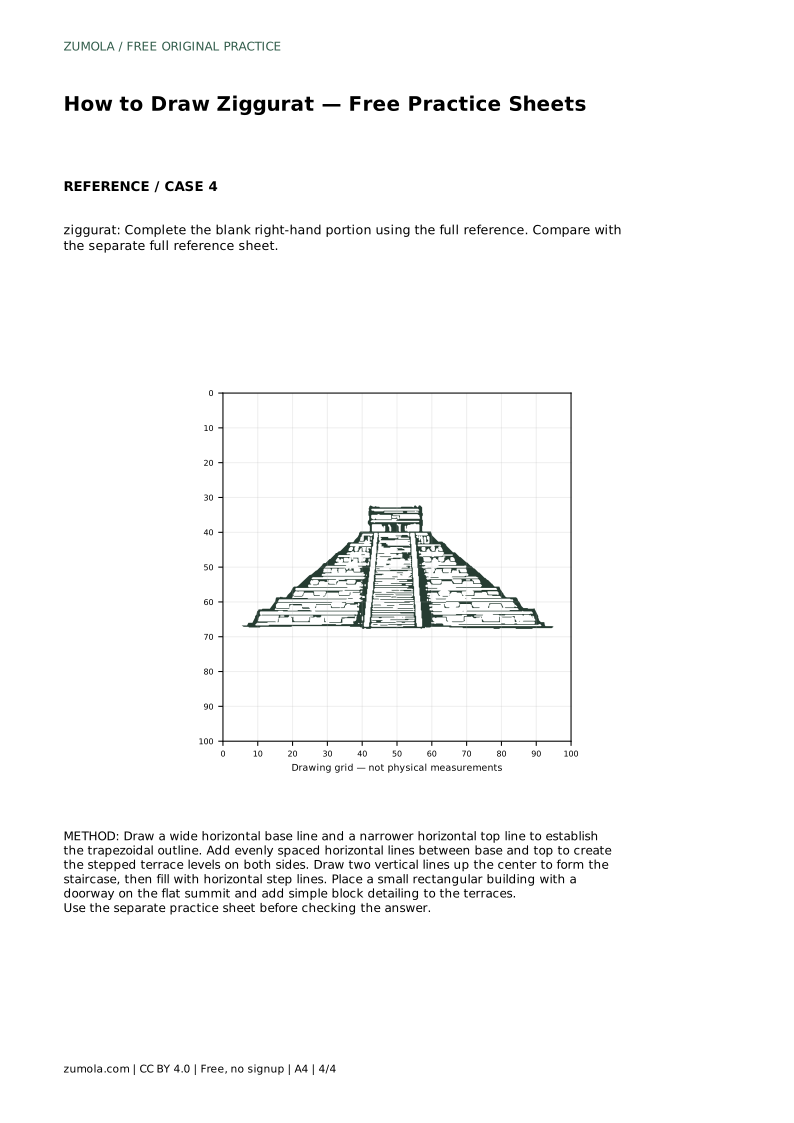
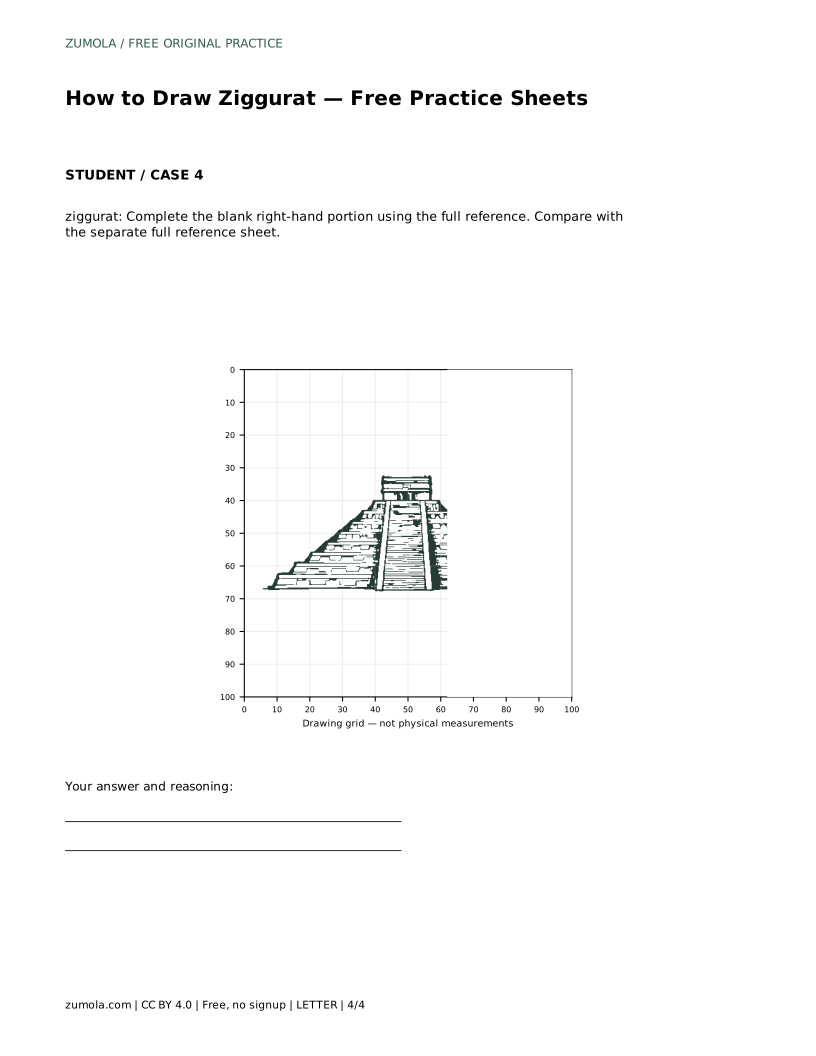
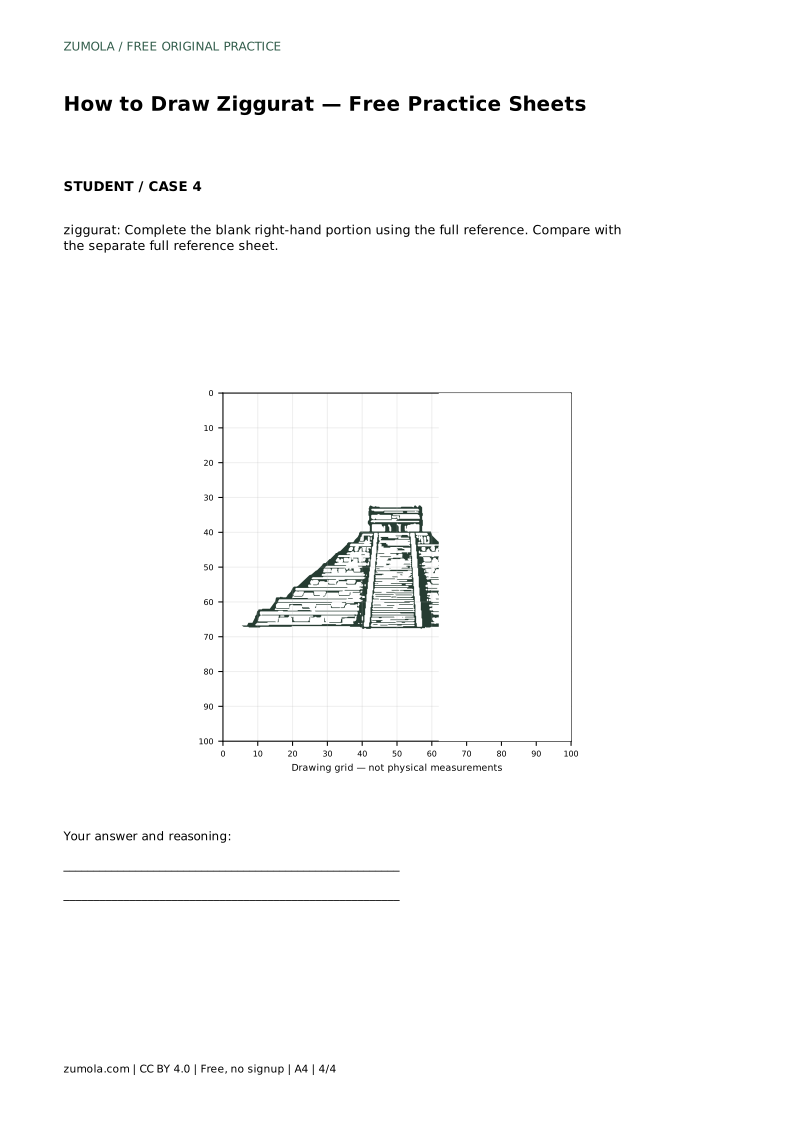
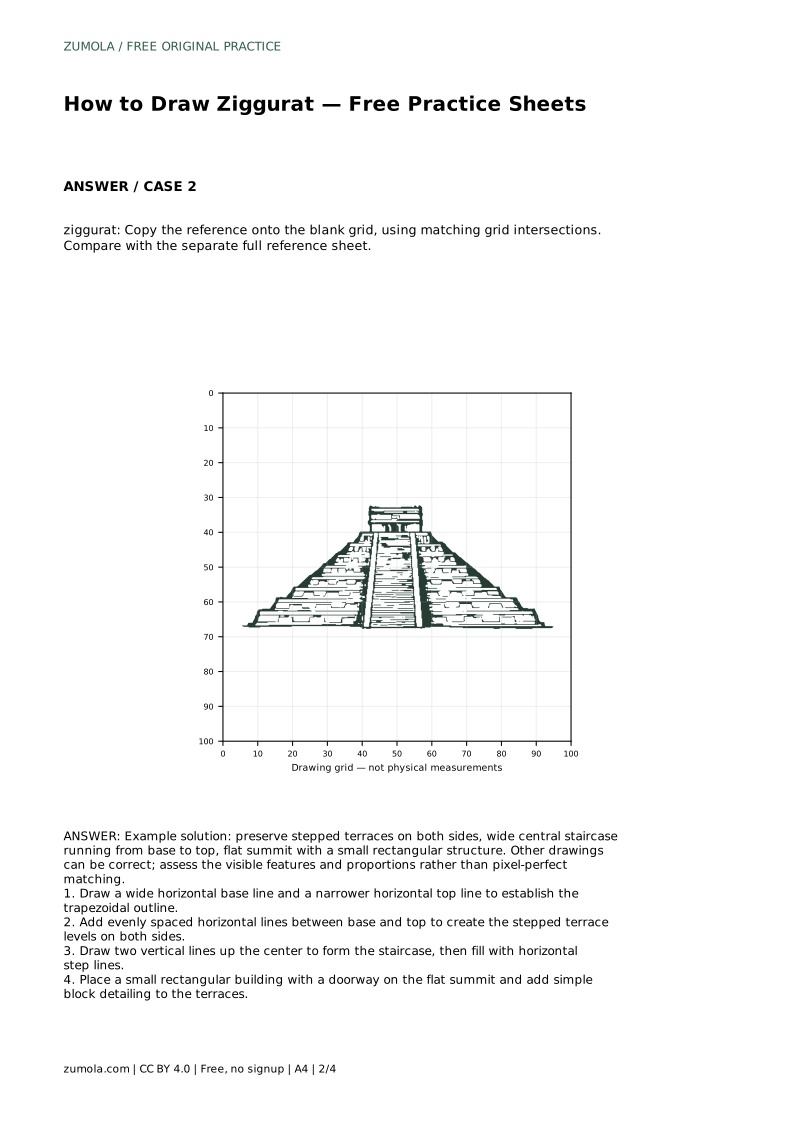
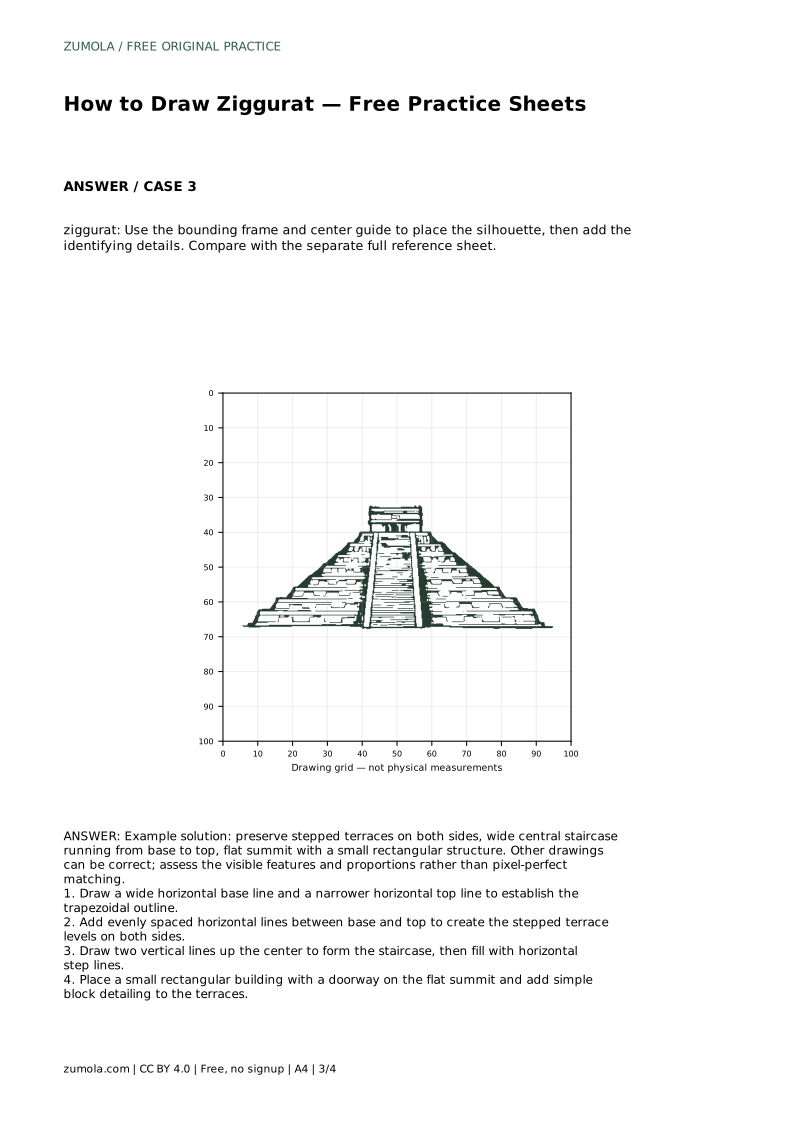
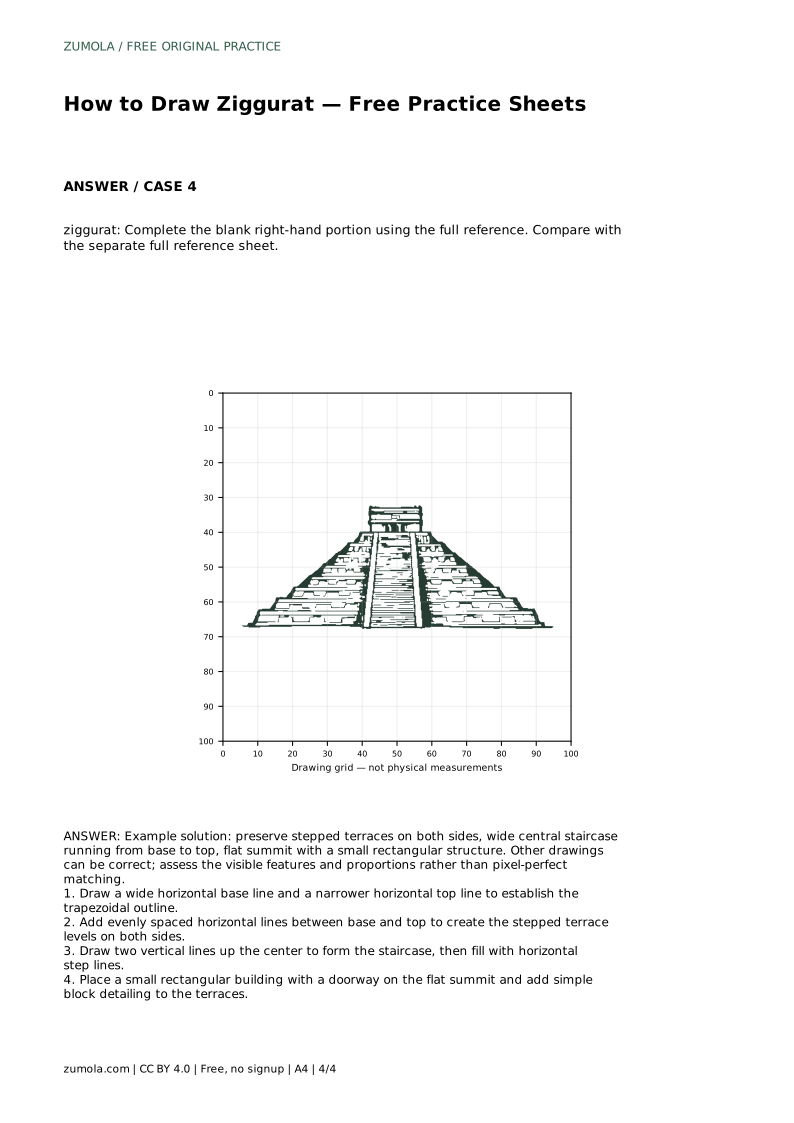
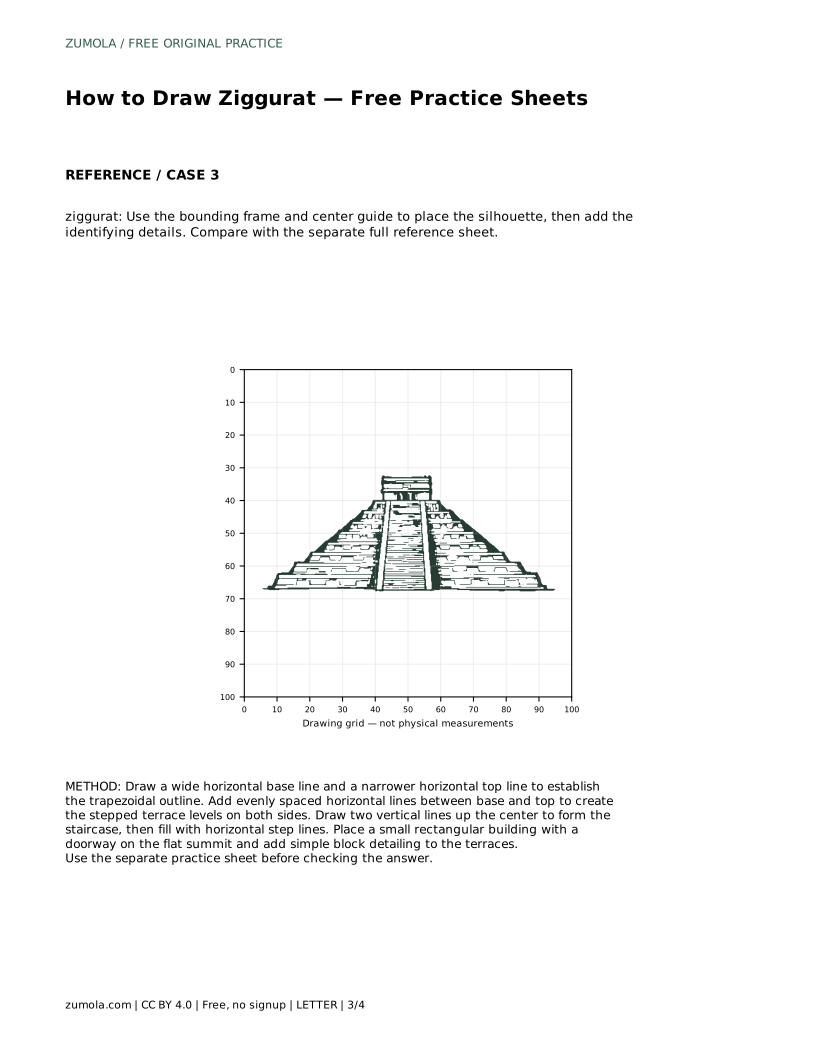
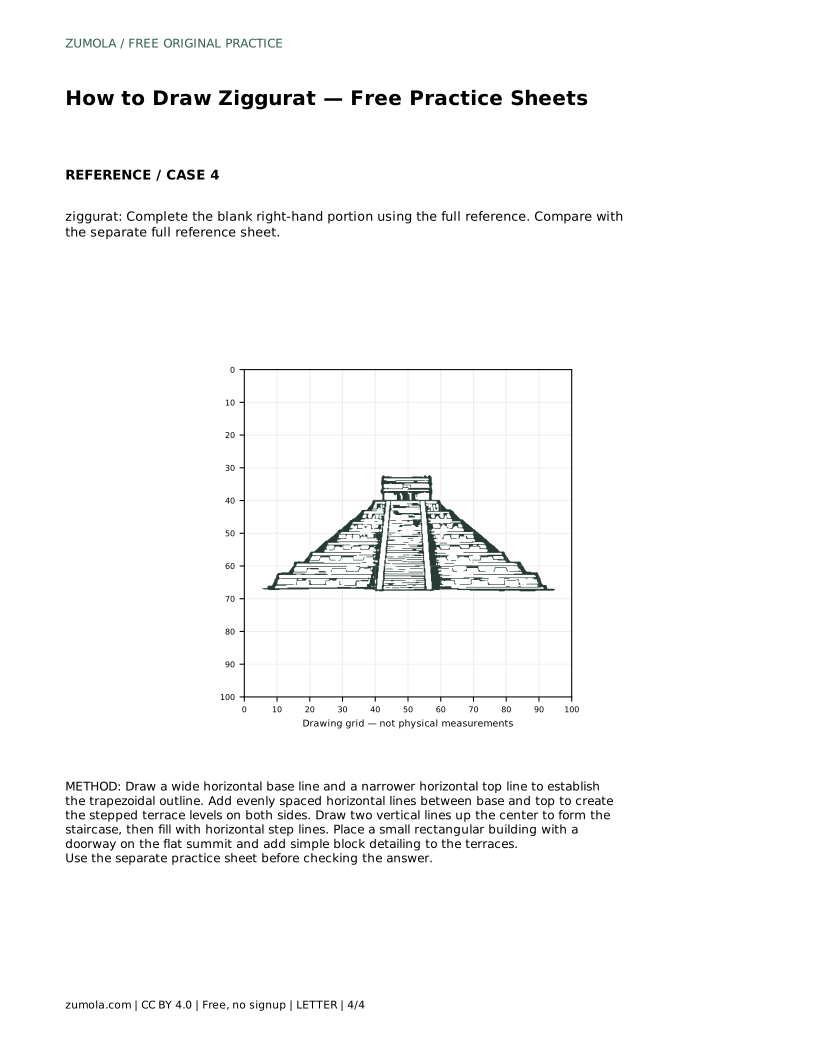
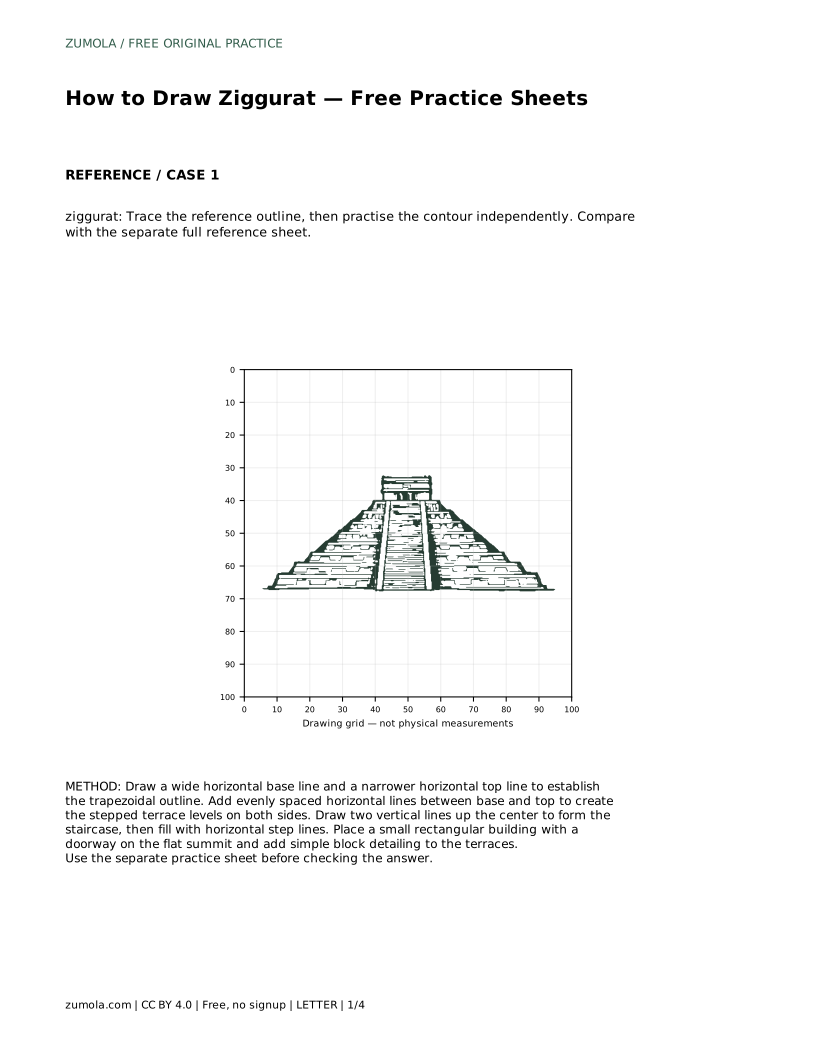
Example solution: preserve stepped terraces on both sides, wide central staircase running from base to top, flat summit with a small rectangular structure. Other drawings can be correct; assess the visible features and proportions rather than pixel-perfect matching. Draw a wide horizontal base line and a narrower horizontal top line to establish the trapezoidal outline. Add evenly spaced horizontal lines between base and top to create the stepped terrace levels on both sides. Draw two vertical lines up the center to form the staircase, then fill with horizontal step lines. Place a small rectangular building with a doorway on the flat summit and add simple block detailing to the terraces.
There is no fixed number. Choose a count that fits your page and keep the spacing even; three to five levels is a practical starting range.
It should read as centered. Use the midpoint of the base and top lines as guides so the two staircase edges are symmetrically spaced.
Check for stepped terraces on both sides, a continuous central staircase, and a flat summit with a small rectangular structure. Proportions can vary.
All drawing practice · Free coordinate paper
Original resources · CC BY 4.0 · Free for personal and classroom use with attribution.