Reference diagrams
LETTER · Download PDF
A4 · Download PDF
Free original resources
Learn to draw the Parthenon by tracing, copying a grid, using a center guide, and completing a partial outline. Free printable practice sheets support each method.
Four original cases, with reference diagrams, practice sheets and worked answers. Everything is free; no signup required.
LETTER · Download PDF
A4 · Download PDF
LETTER · Download PDF
A4 · Download PDF
LETTER · Download PDF
A4 · Download PDF
Use A4 or US Letter to match your printer. Use the stated values and conditions to solve each exercise; diagrams are not physical measuring rulers.
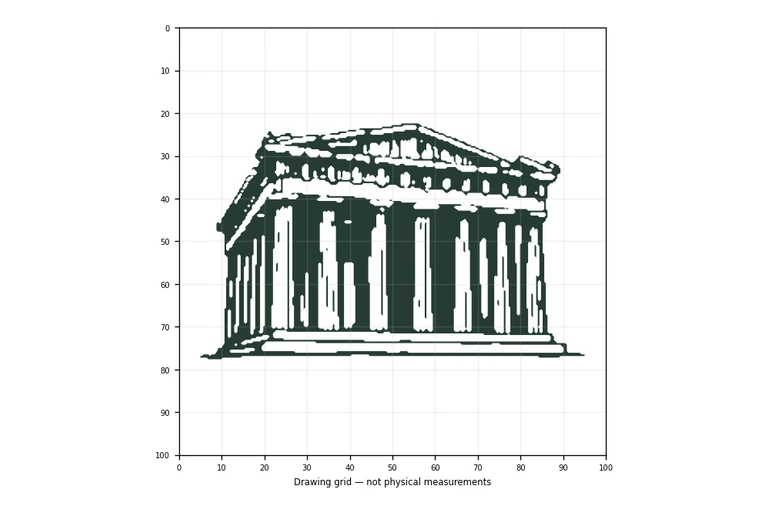
Drawing the Parthenon is mostly a task of noticing structure: a wide stepped base, a steady row of vertical columns, a horizontal band above them, and a triangular pediment on top. The free practice sheets give you several ways to study that structure, from tracing an outline to completing a half-finished drawing. Each method trains a slightly different skill, and together they help you build a recognizable Parthenon without relying on guesswork.
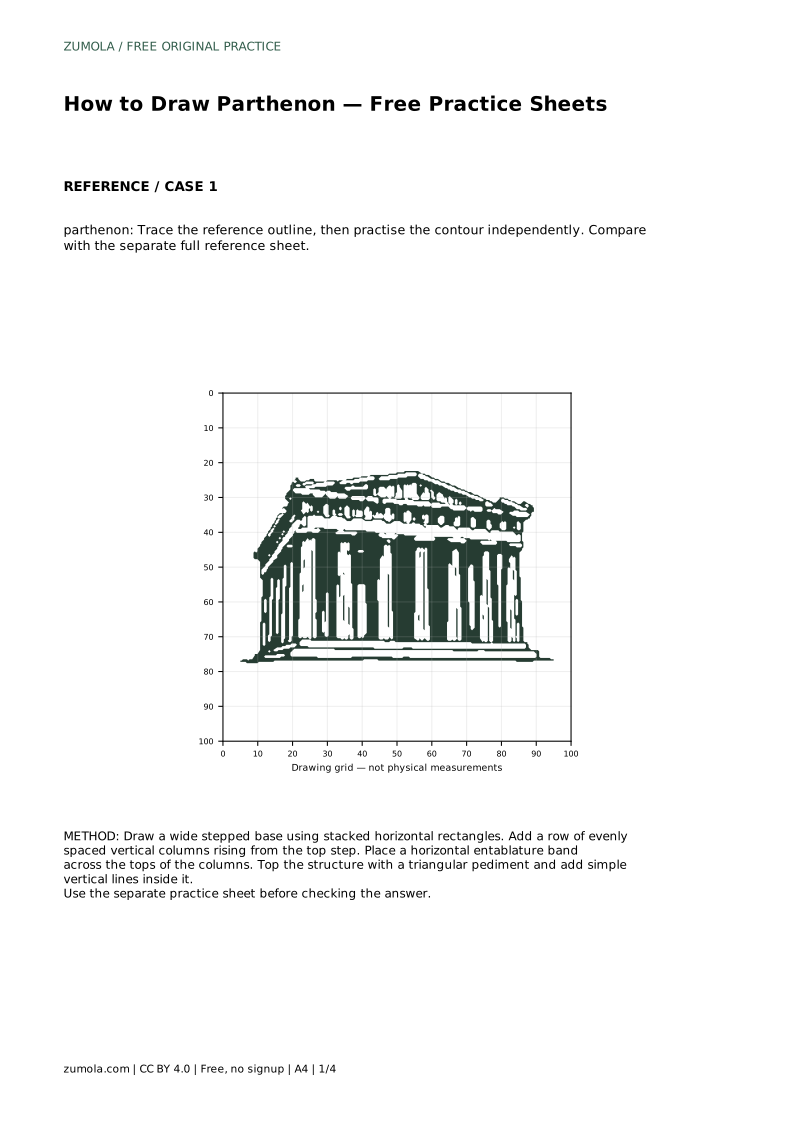
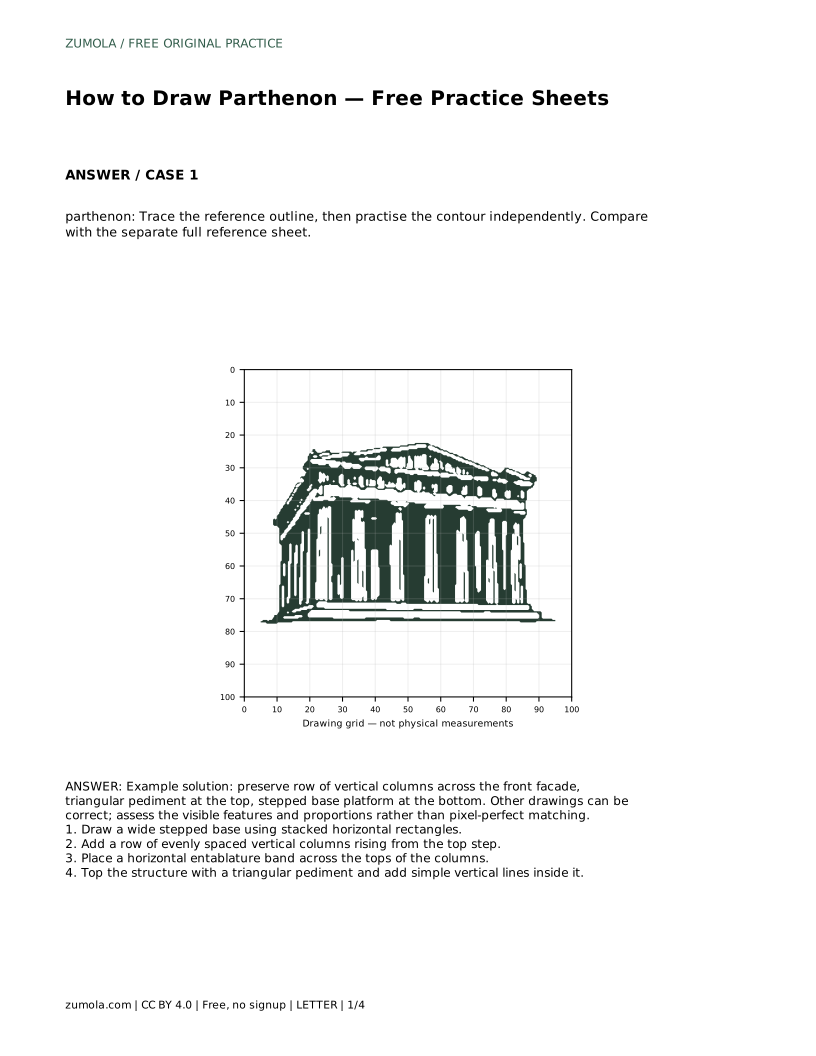
Before drawing anything, look at the reference and name the four main parts in order from bottom to top: the stepped base platform, the row of columns, the horizontal entablature band, and the triangular pediment. This order matters because each part sits on the one below it. The base is the widest element, the columns rise from the top step, the entablature rests across the column tops, and the pediment caps the whole facade.
Keep the front facade flat and symmetrical. The columns should be evenly spaced and vertical, not leaning. The pediment is a triangle whose base spans the entablature, with simple vertical lines inside it to suggest the inner structure. Treat these as visible features to preserve rather than details to decorate.
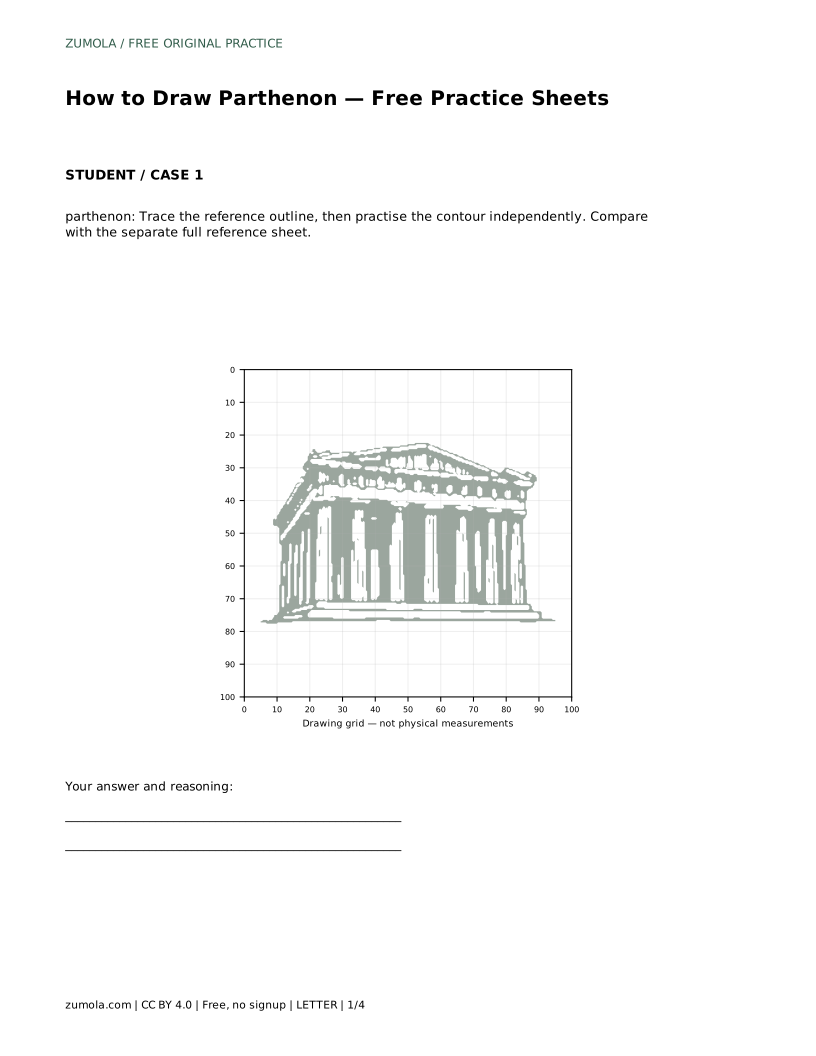
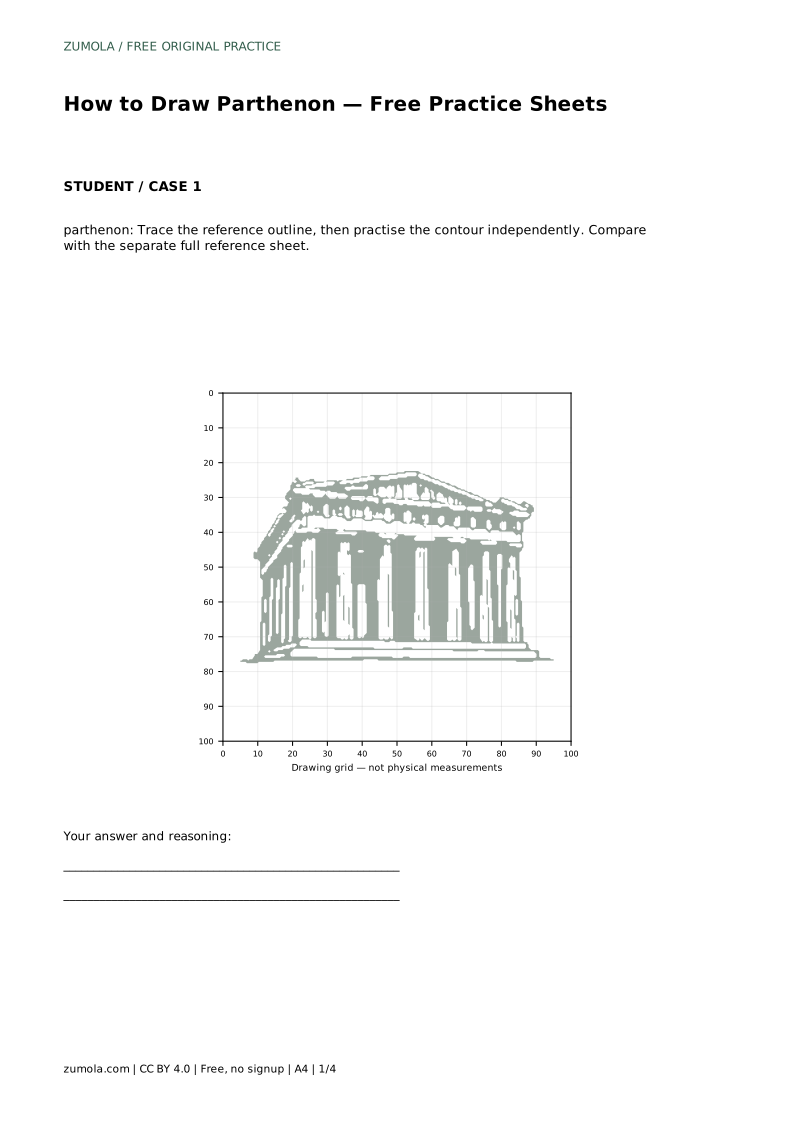
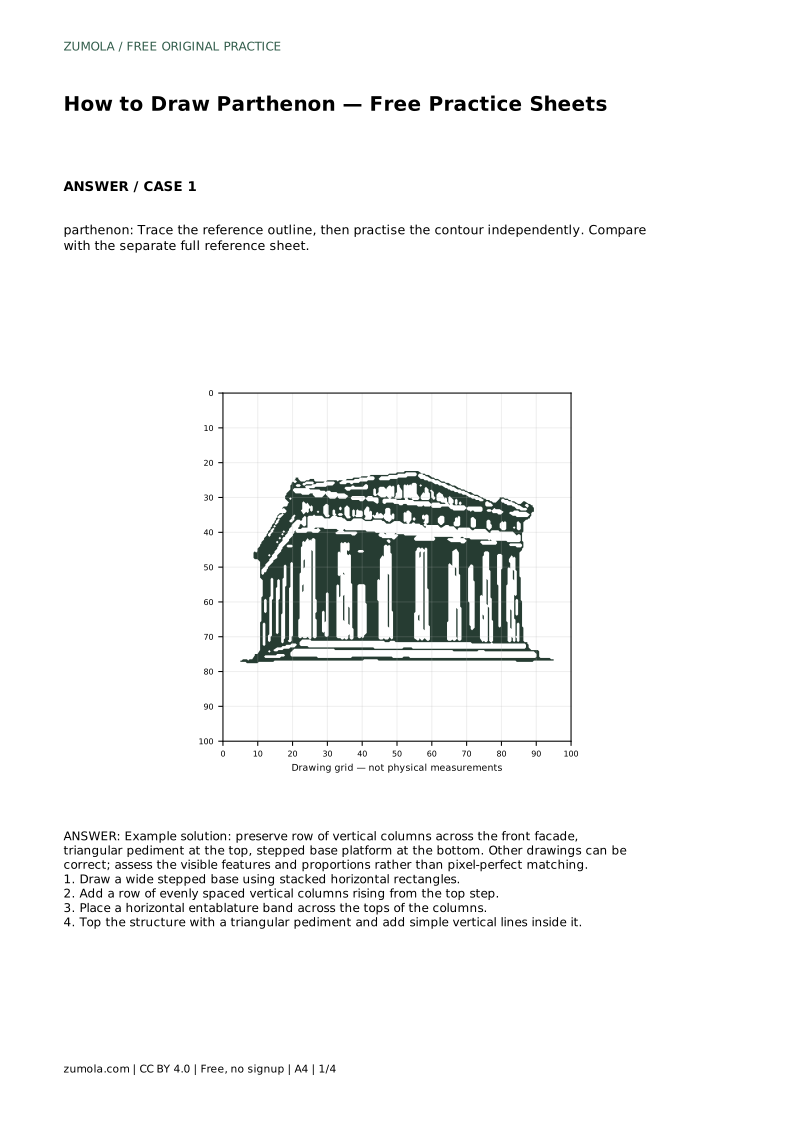
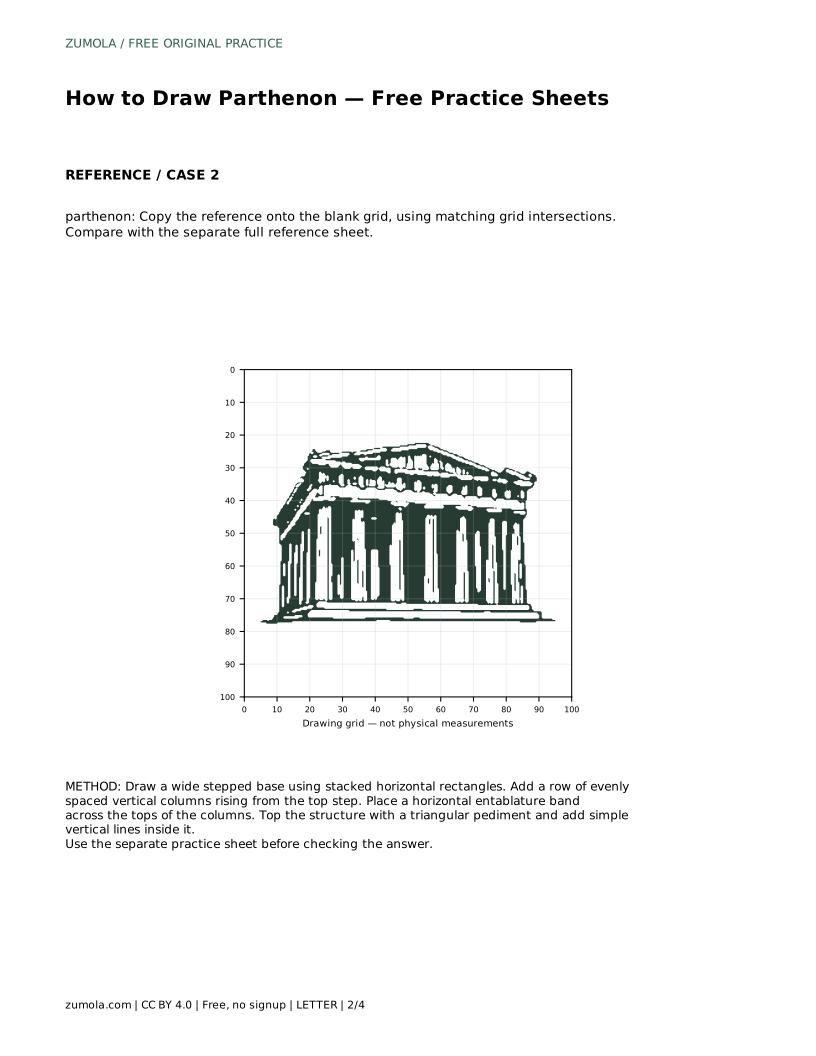
The tracing sheet lets you follow the reference outline with your pencil, which builds familiarity with the proportions before you commit to a blank page. Trace slowly enough to feel where the columns sit and how wide the base runs compared with the pediment.
Then move to a blank area and draw the same structure from memory, checking the separate full reference sheet afterward. Compare the row of columns, the pediment, and the stepped base rather than hunting for tiny differences. Your drawing does not need to match the reference exactly; it needs to show the same visible features in believable proportions.
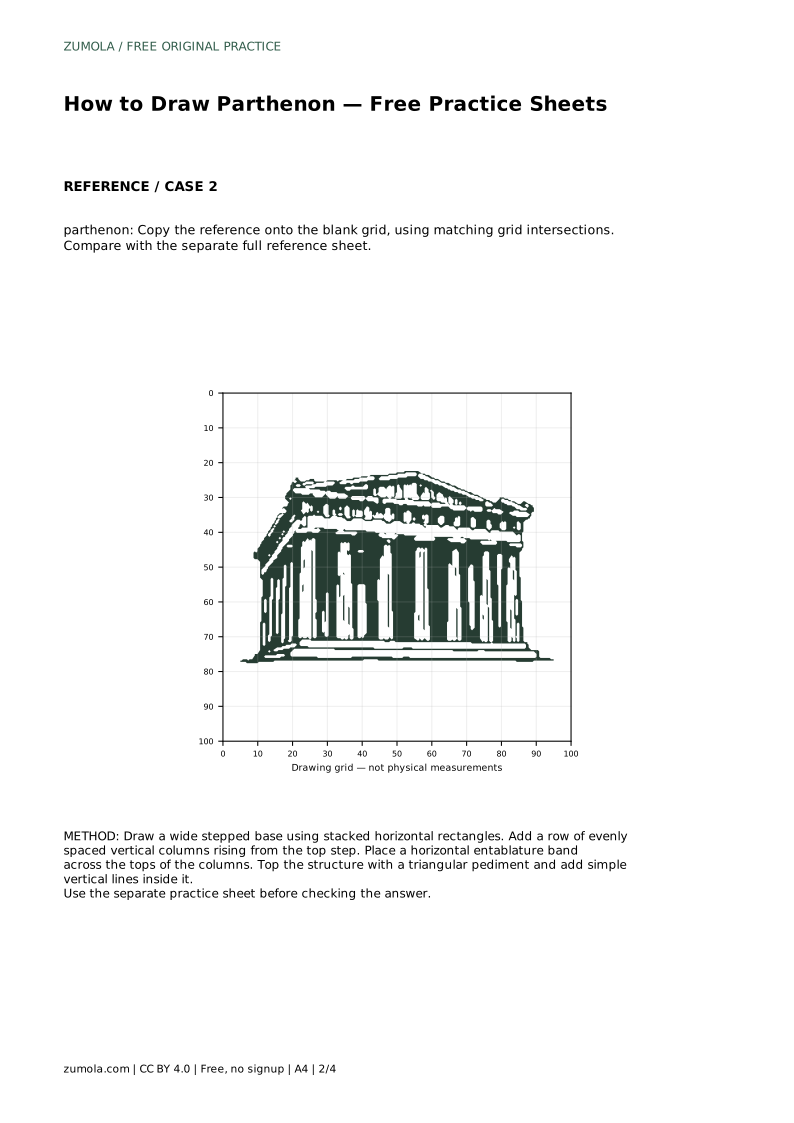
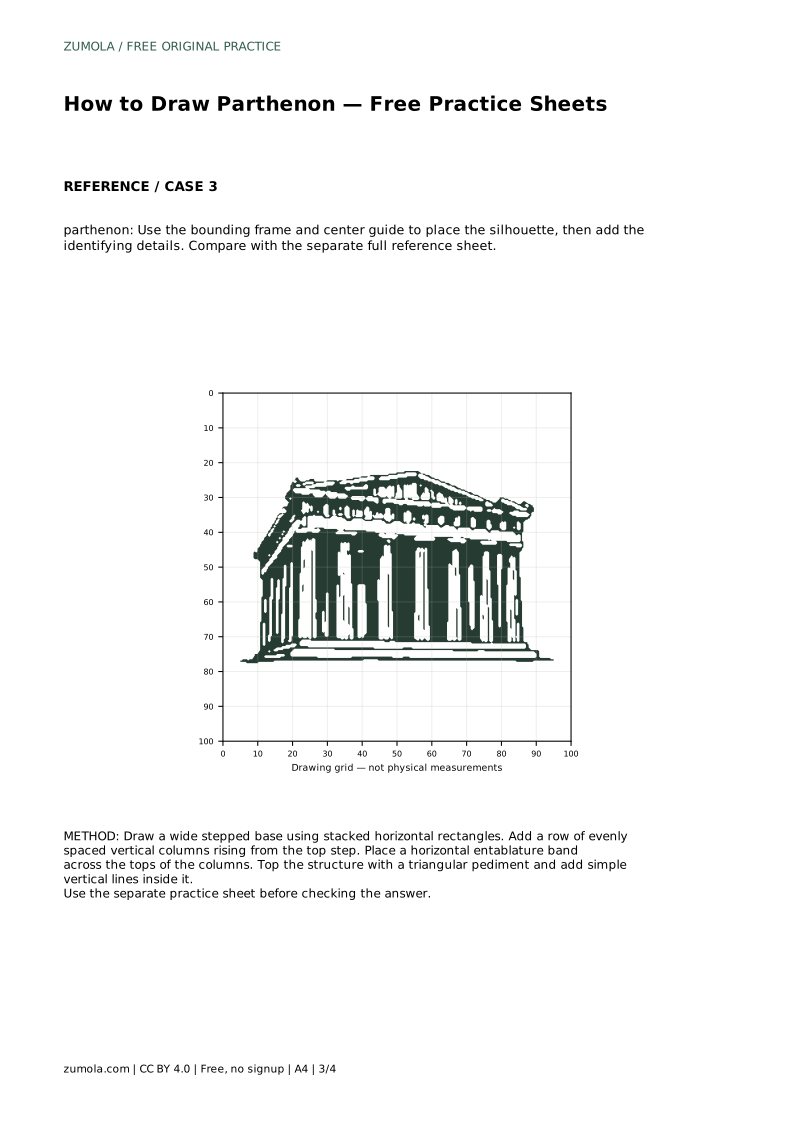
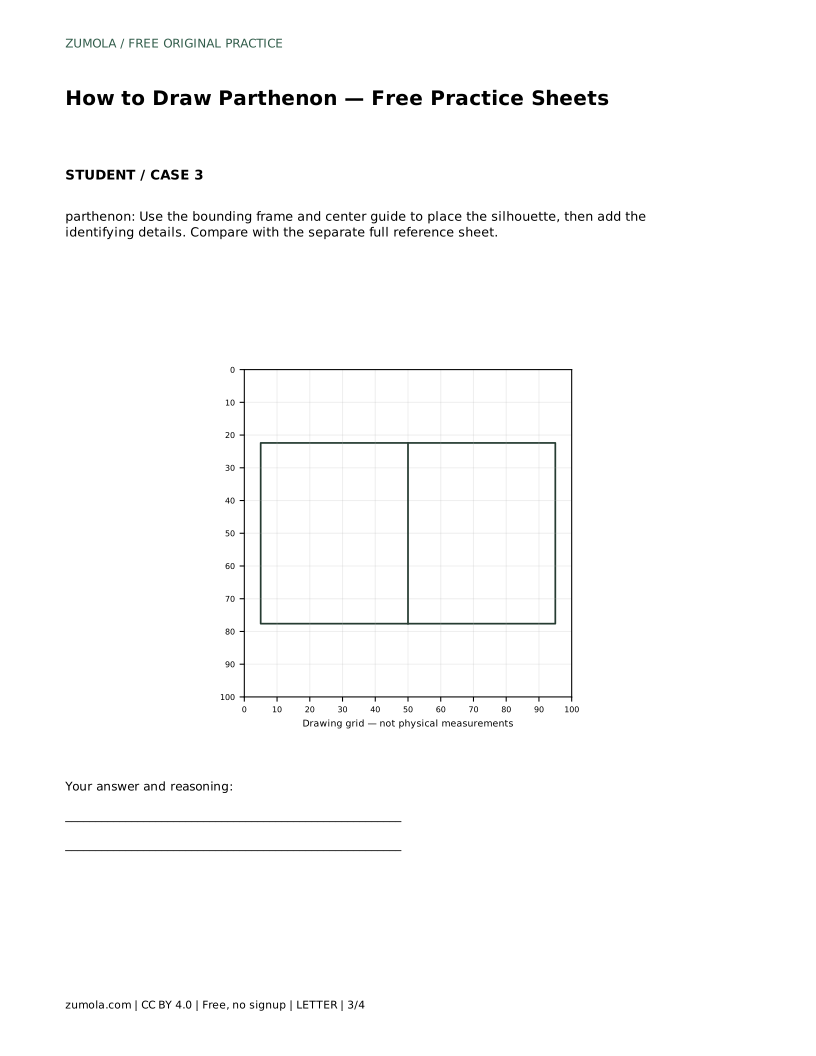
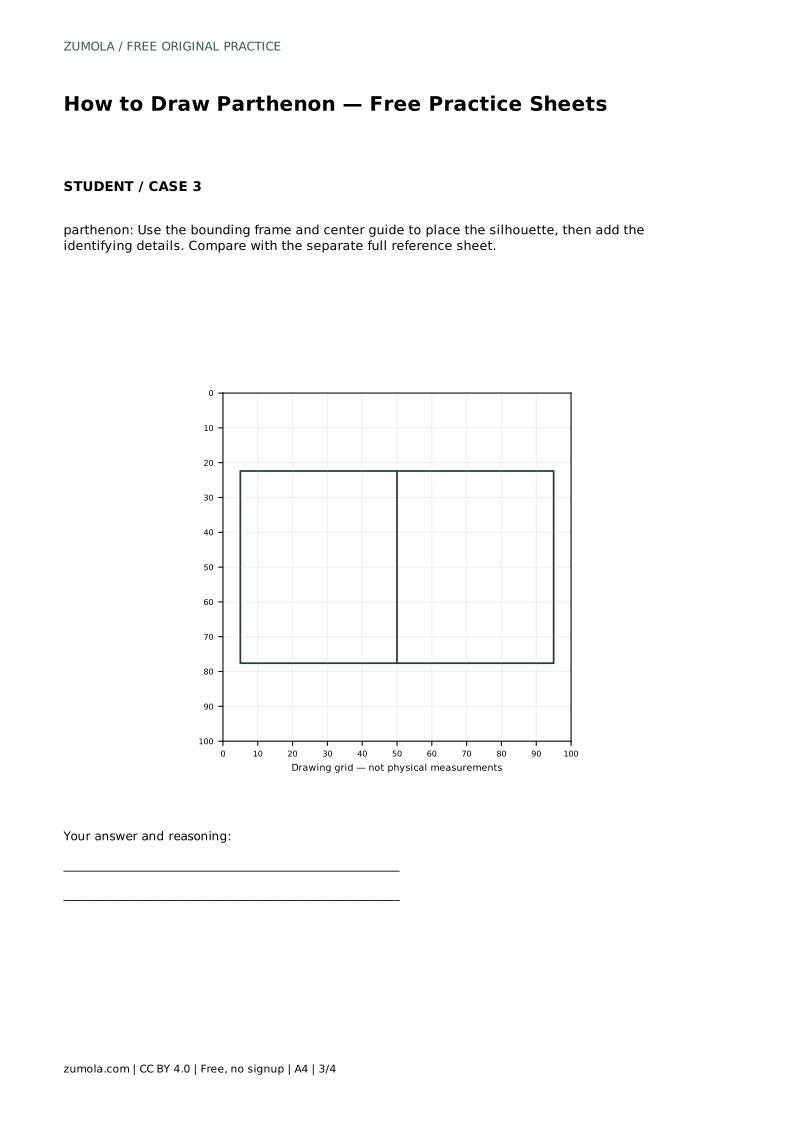
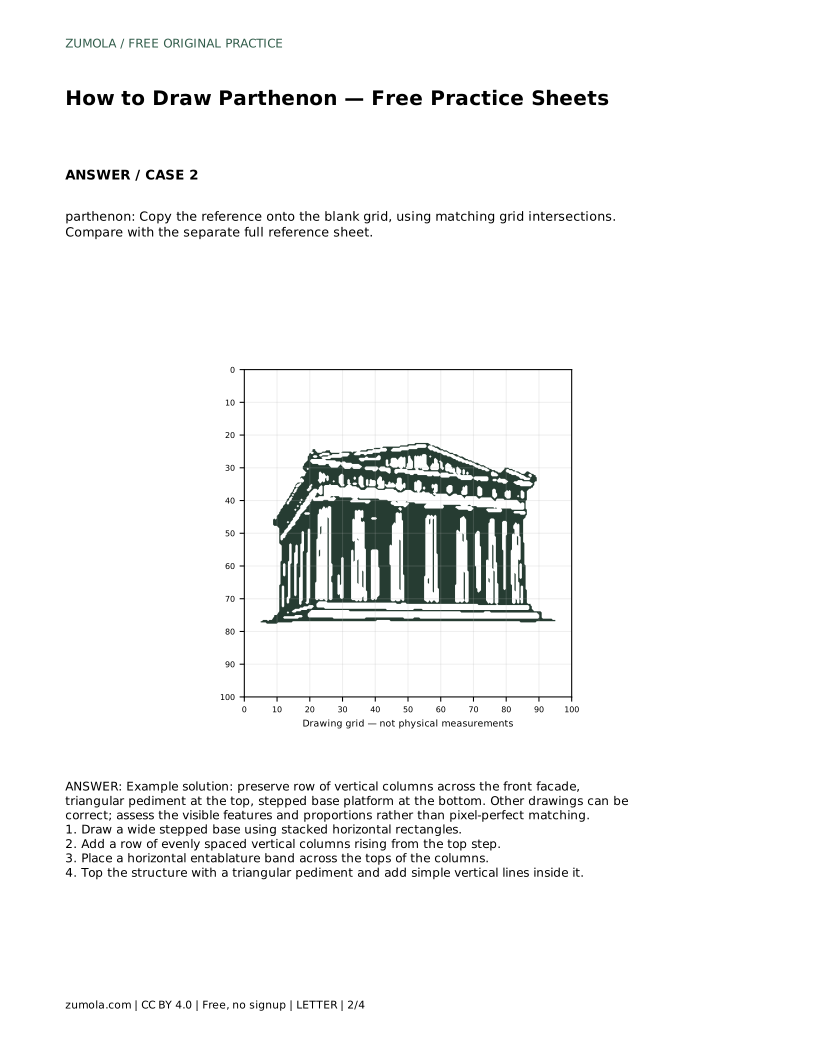
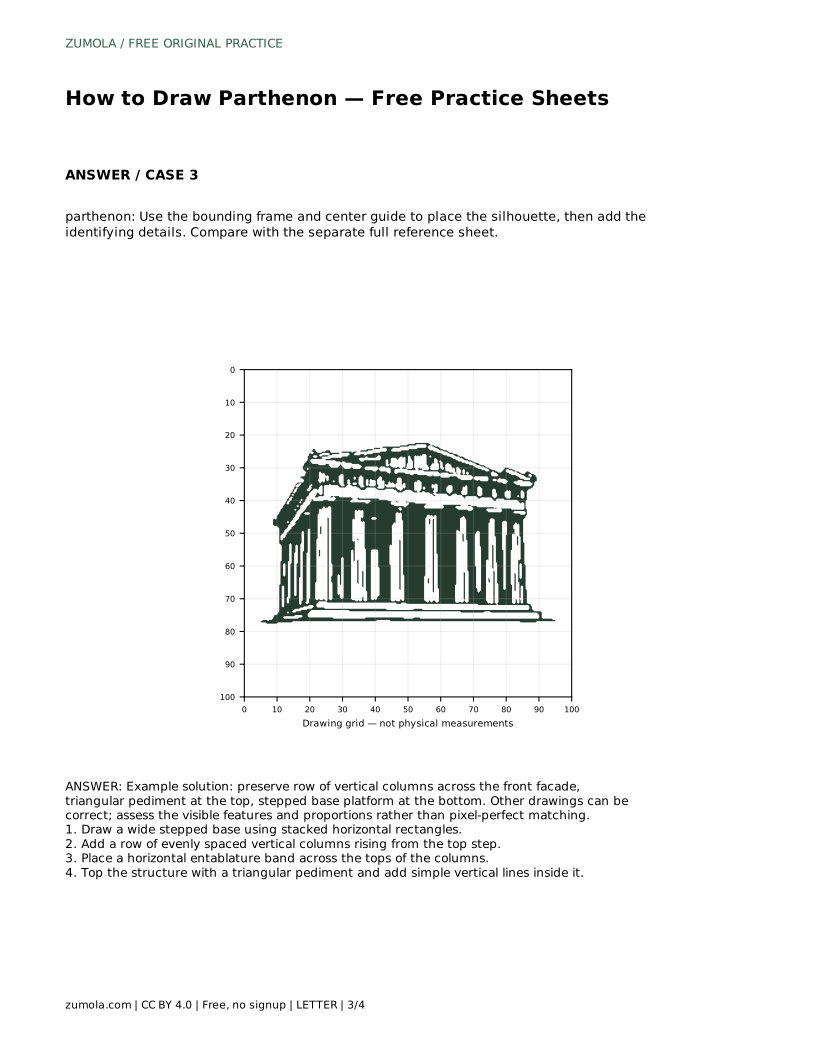
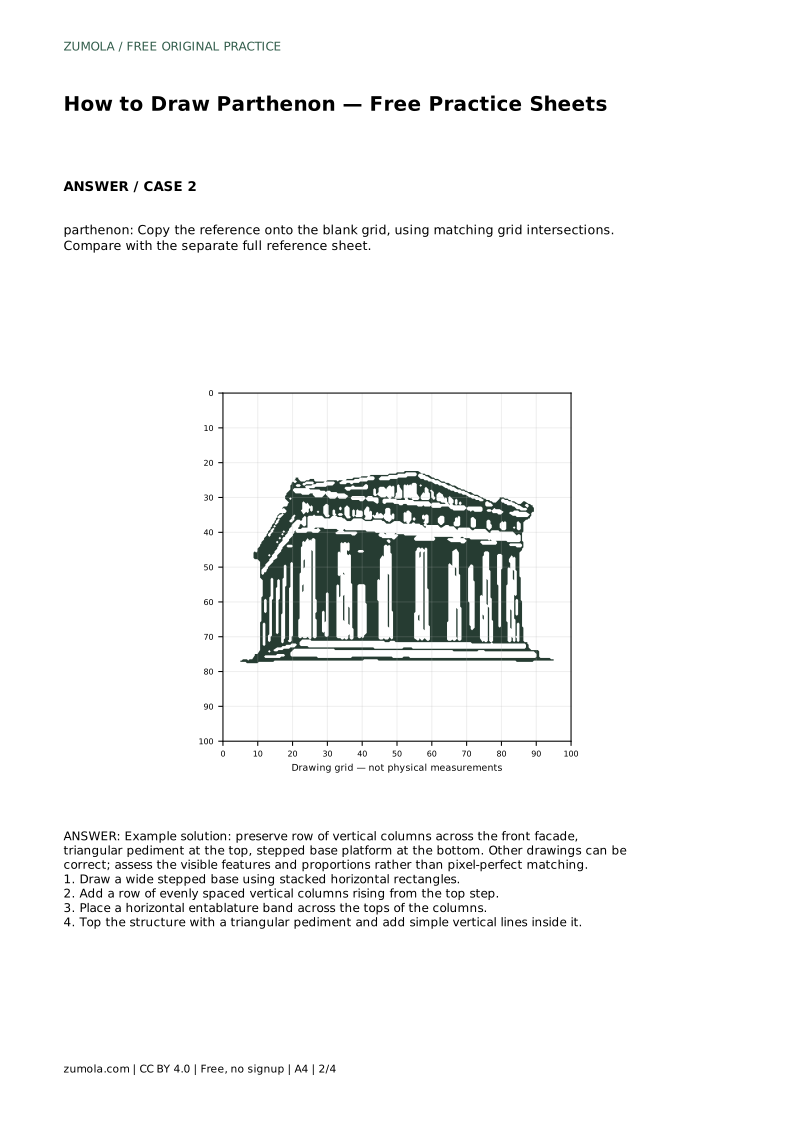
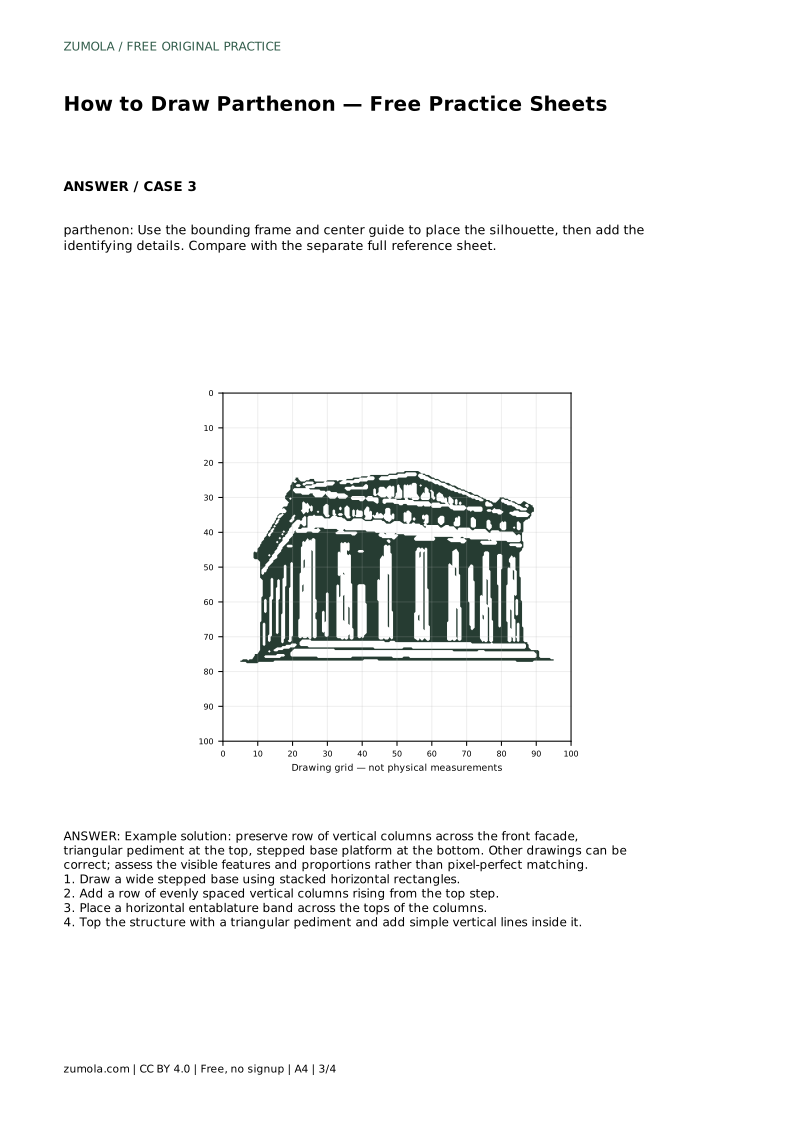
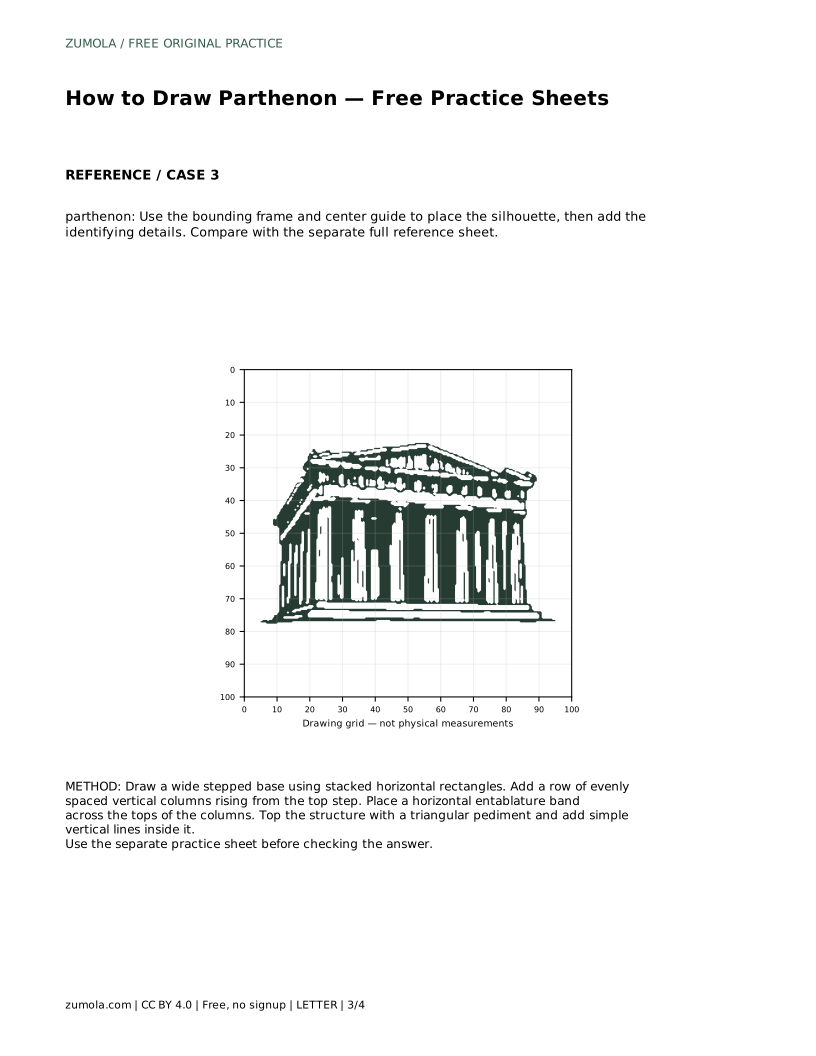
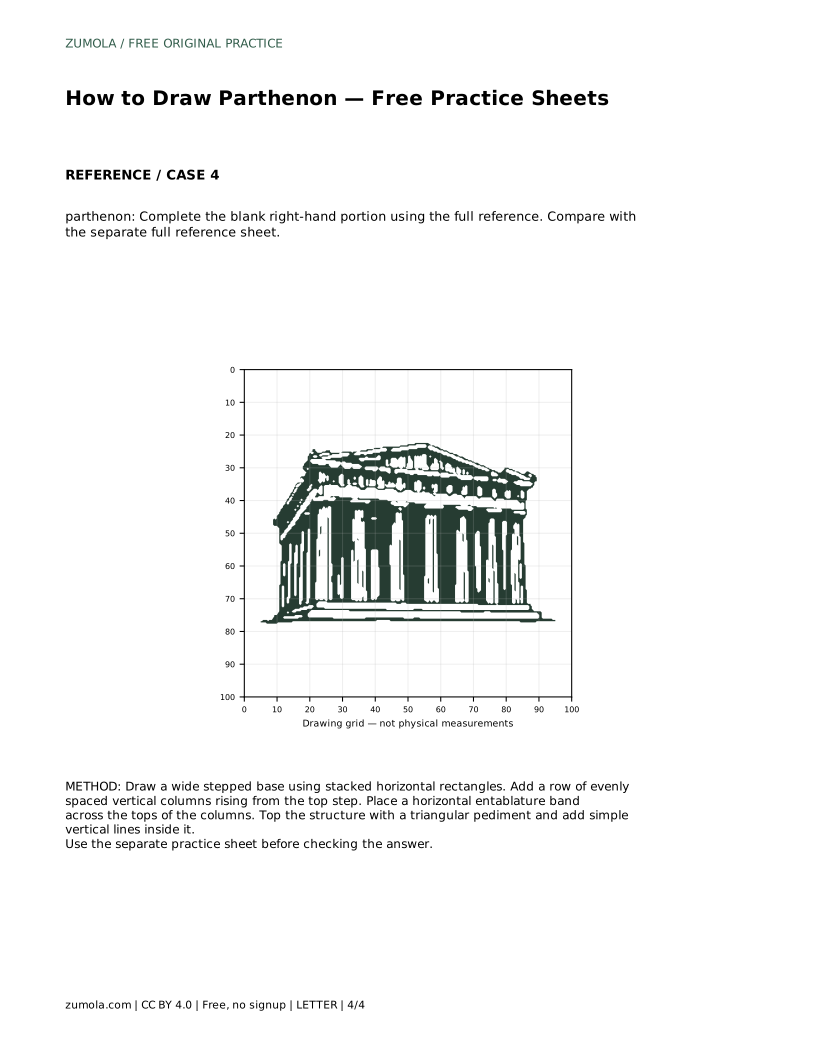
The grid sheet asks you to copy the reference onto a blank grid by matching grid intersections. This is a placement exercise: find where the base corners, column tops, and pediment peak fall relative to the grid lines, then reproduce those positions. The center guide sheet works differently, giving you a bounding frame and a center line so you can place the silhouette symmetrically before adding the identifying details.
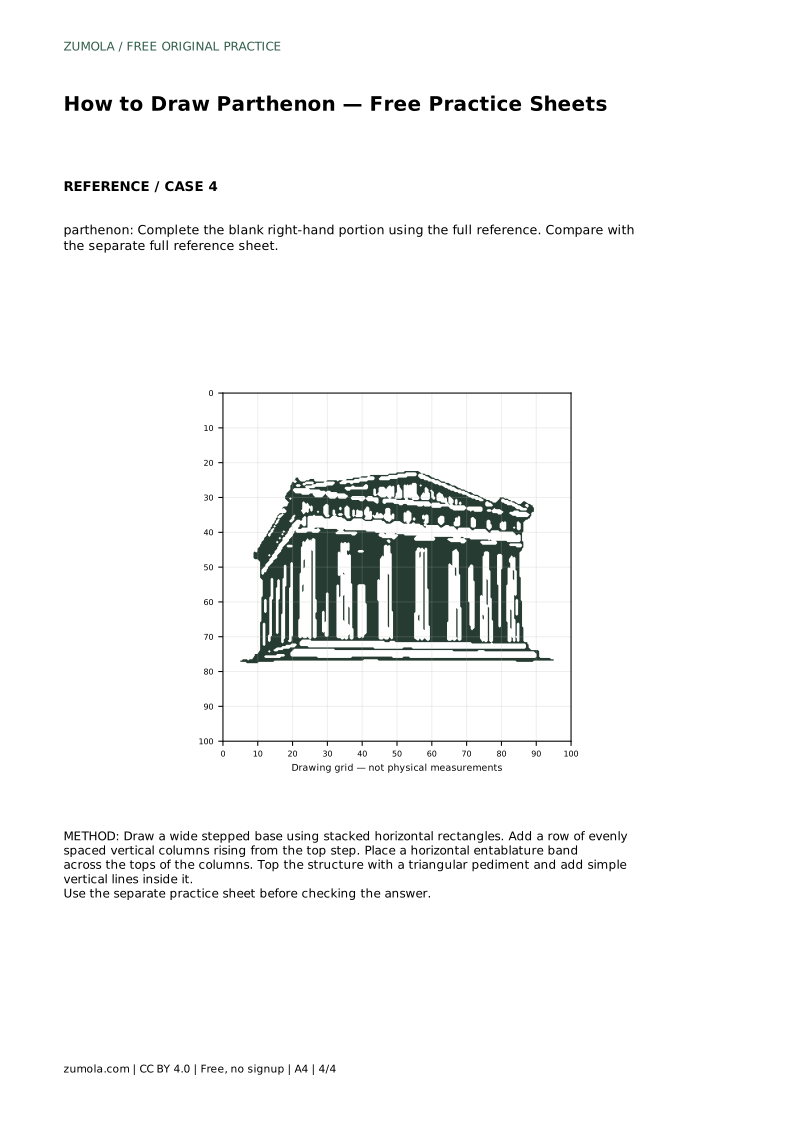
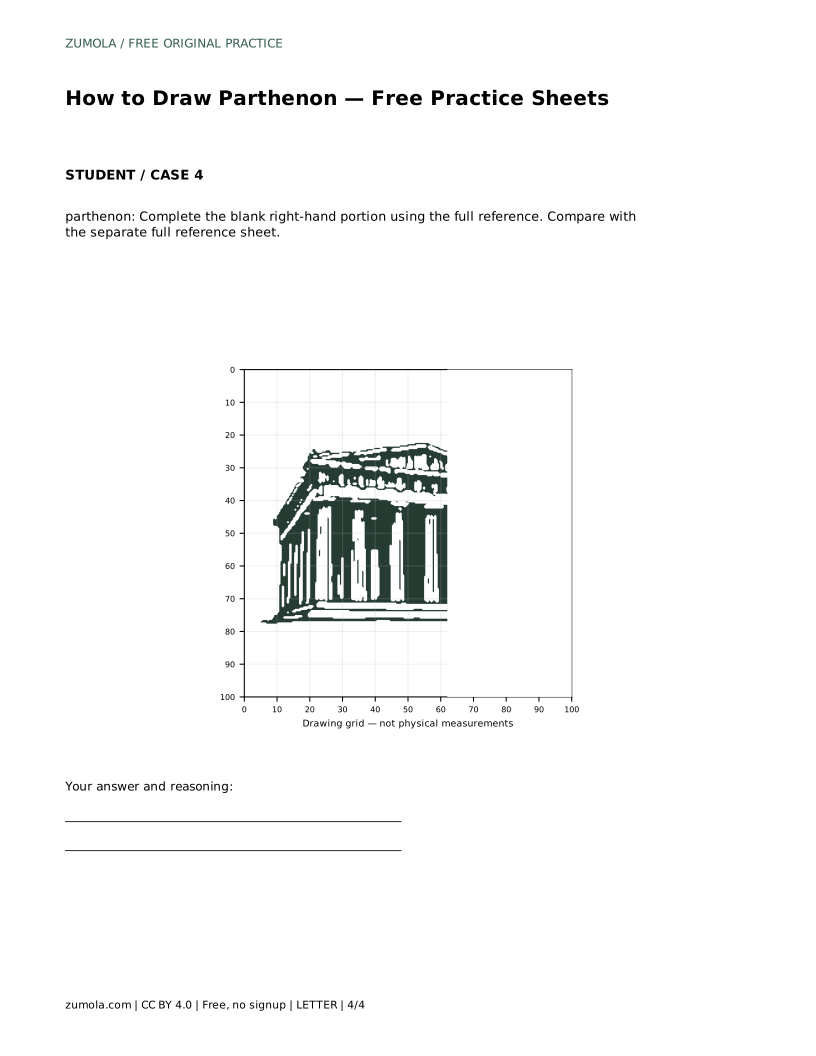
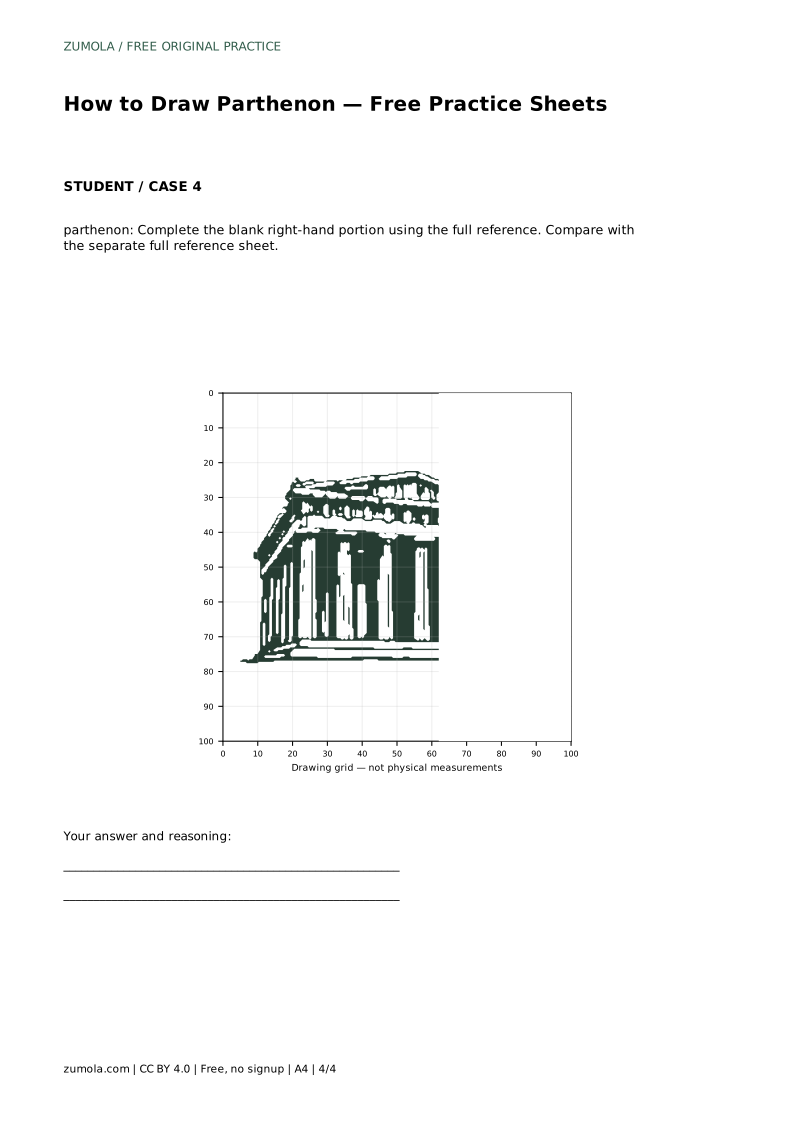
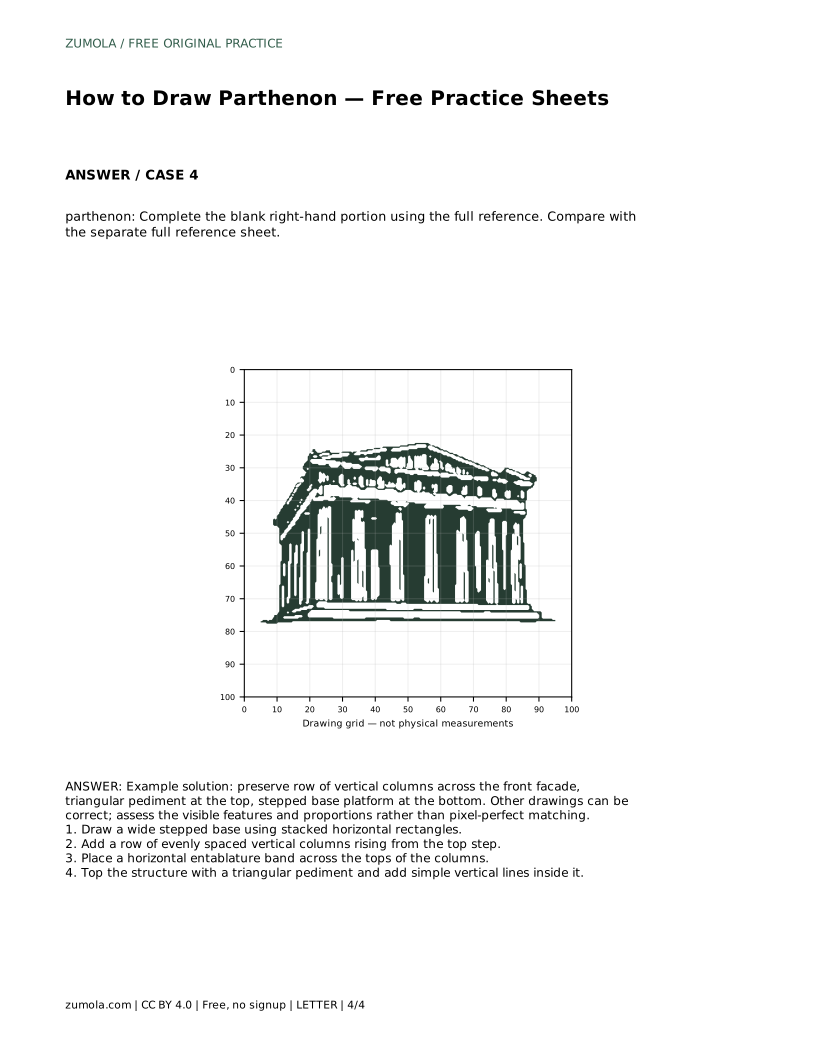
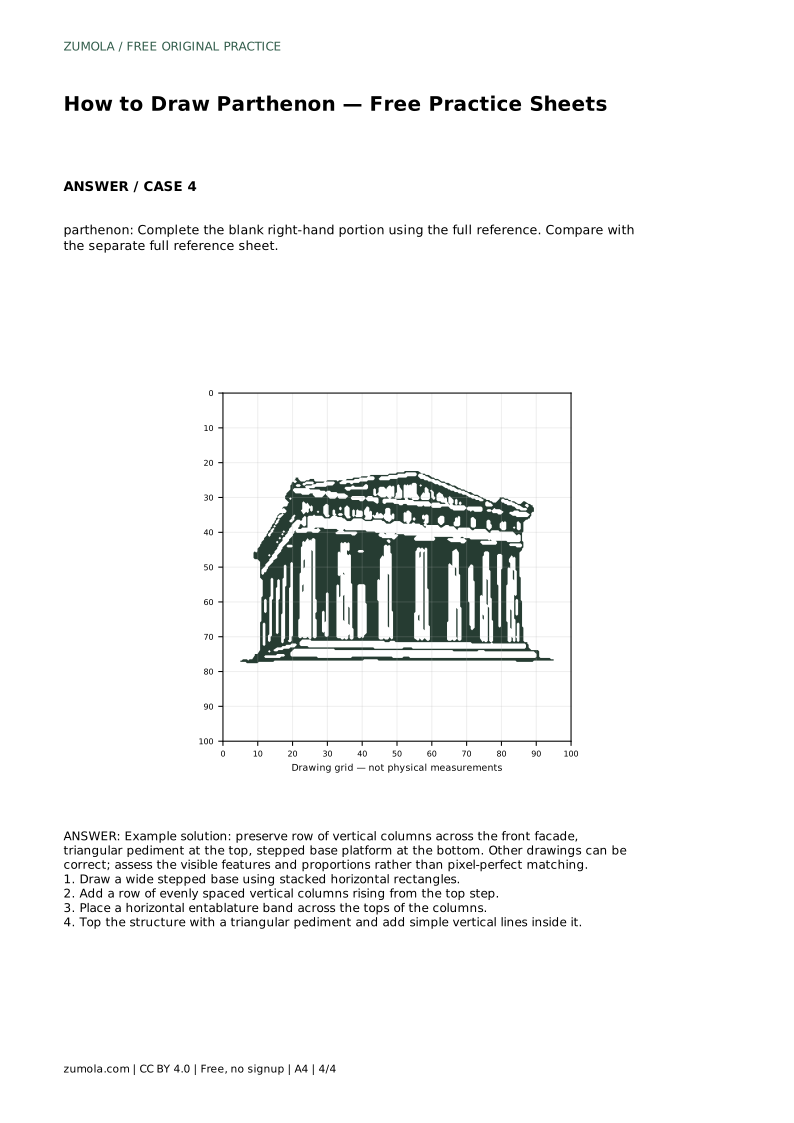
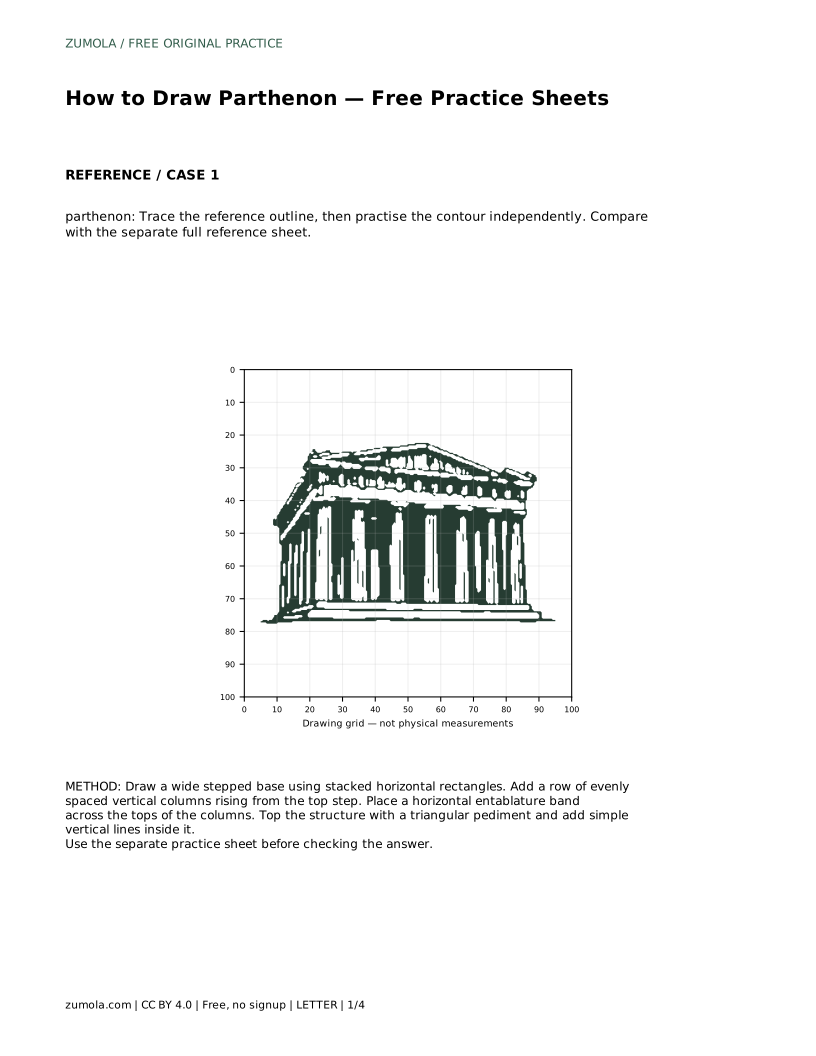
The partial-outline sheet shows the left portion of the drawing and leaves the right side blank. Complete the missing side using the full reference, keeping the columns evenly spaced and the pediment symmetrical across the center. Each sheet isolates one skill, so use them one at a time rather than all at once.
A finished Parthenon drawing can look correct in more than one way. Rather than asking whether it matches pixel for pixel, ask whether a viewer can identify the four main parts and whether their proportions feel consistent. A pediment that is too tall, a base that is too narrow, or columns that drift out of alignment are the usual problems.
Use the rubric below as a quick self-check. If one criterion fails, redraw only that part on scrap paper before returning to the full drawing. This keeps practice focused and avoids erasing an otherwise sound sketch.
parthenon: Trace the reference outline, then practise the contour independently. Compare with the separate full reference sheet.
Example solution: preserve row of vertical columns across the front facade, triangular pediment at the top, stepped base platform at the bottom. Other drawings can be correct; assess the visible features and proportions rather than pixel-perfect matching. Draw a wide stepped base using stacked horizontal rectangles. Add a row of evenly spaced vertical columns rising from the top step. Place a horizontal entablature band across the tops of the columns. Top the structure with a triangular pediment and add simple vertical lines inside it.
Tracing first is useful because it builds familiarity with the proportions, but you can start with the grid or center guide sheet if you prefer. The independent comparison step is the part that builds real skill.
That is acceptable. Assess whether the stepped base, column row, entablature, and triangular pediment are all present and proportionally believable rather than checking for pixel-perfect matching.
You can, but the full reference makes the missing right-hand portion easier to complete accurately. Keep the center line as your guide for symmetry.
All drawing practice · Free coordinate paper
Original resources · CC BY 4.0 · Free for personal and classroom use with attribution.