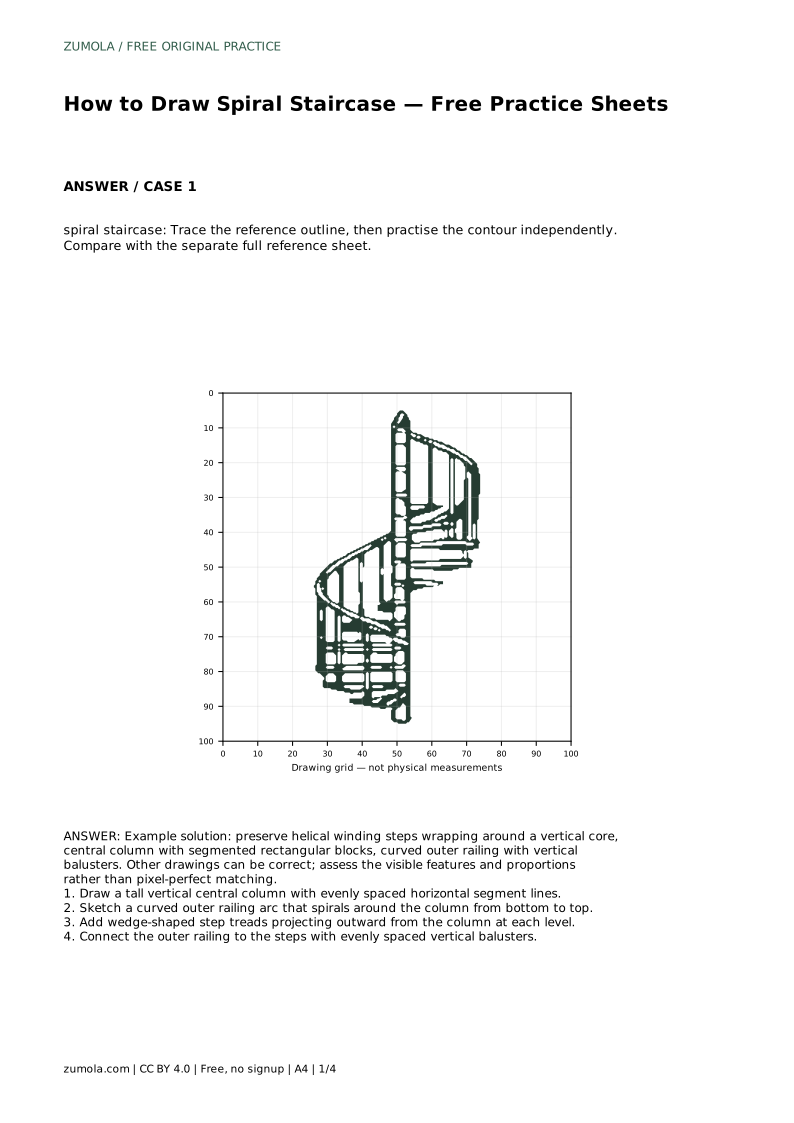
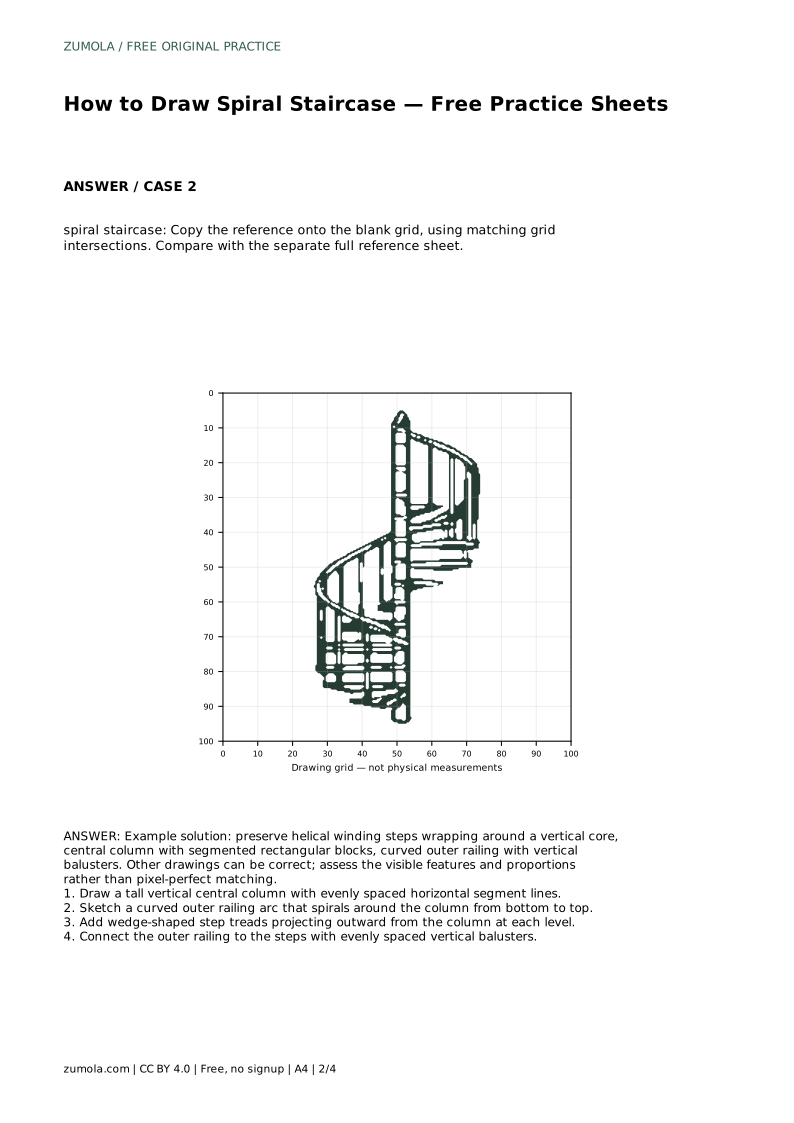
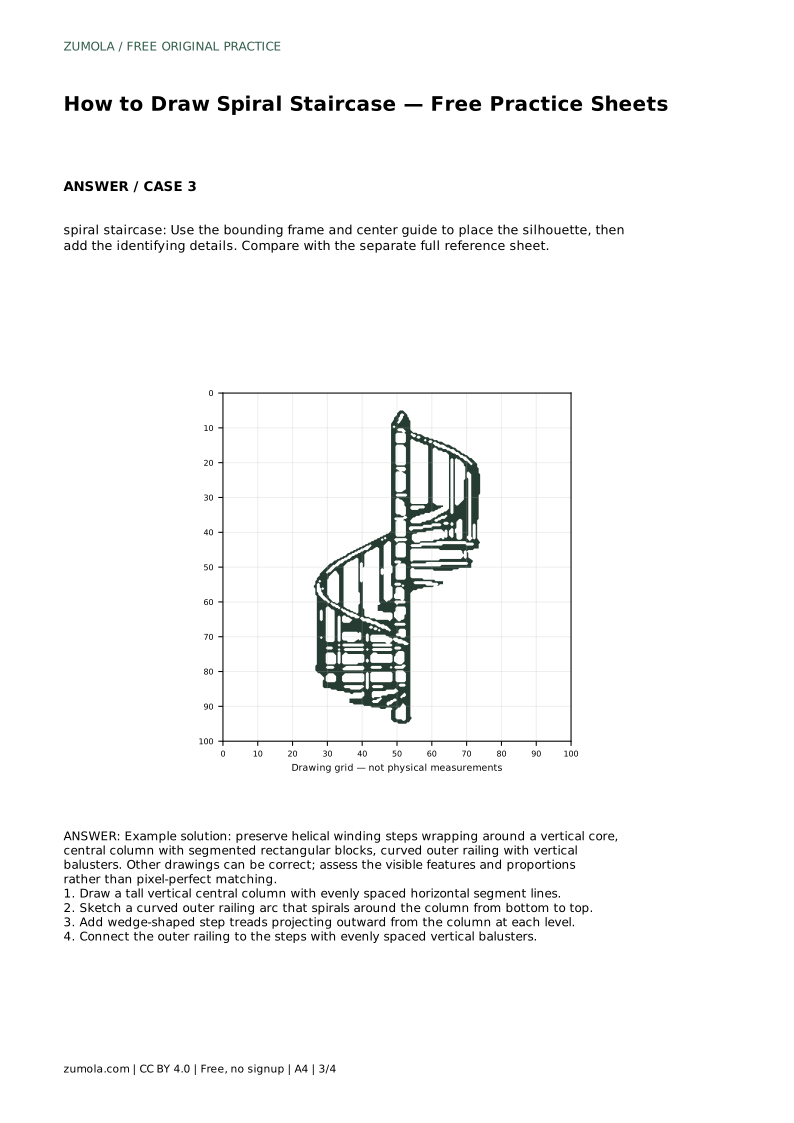
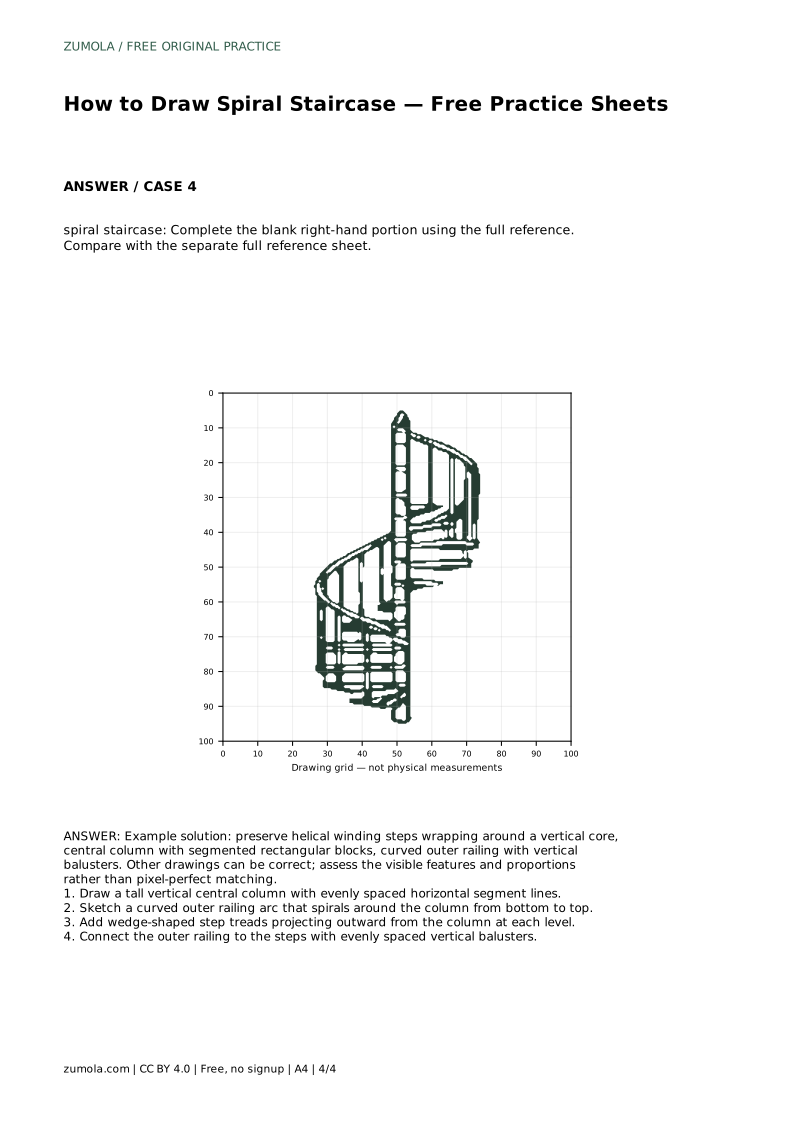
Reference diagrams
LETTER · Download PDF
A4 · Download PDF
Free original resources
Learn to draw a spiral staircase by building a central column, helical railing, wedge-shaped treads and balusters. Includes a worked example and drawing rubric.
Four original cases, with reference diagrams, practice sheets and worked answers. Everything is free; no signup required.
LETTER · Download PDF
A4 · Download PDF
LETTER · Download PDF
A4 · Download PDF
LETTER · Download PDF
A4 · Download PDF
Use A4 or US Letter to match your printer. Use the stated values and conditions to solve each exercise; diagrams are not physical measuring rulers.
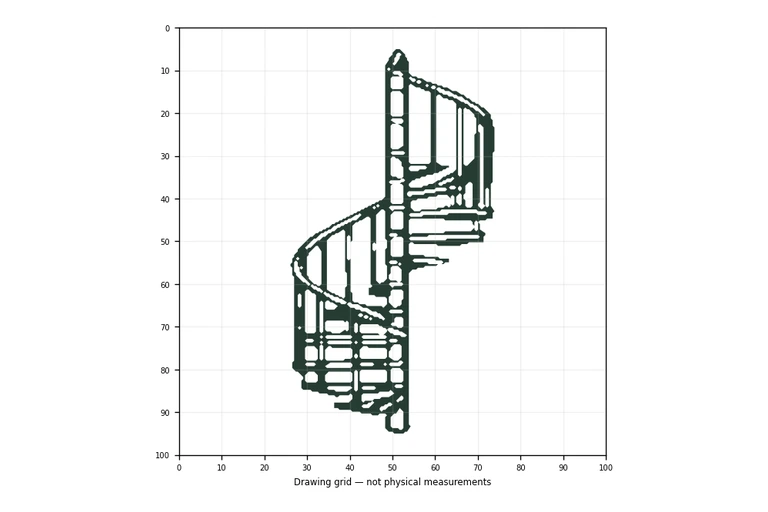
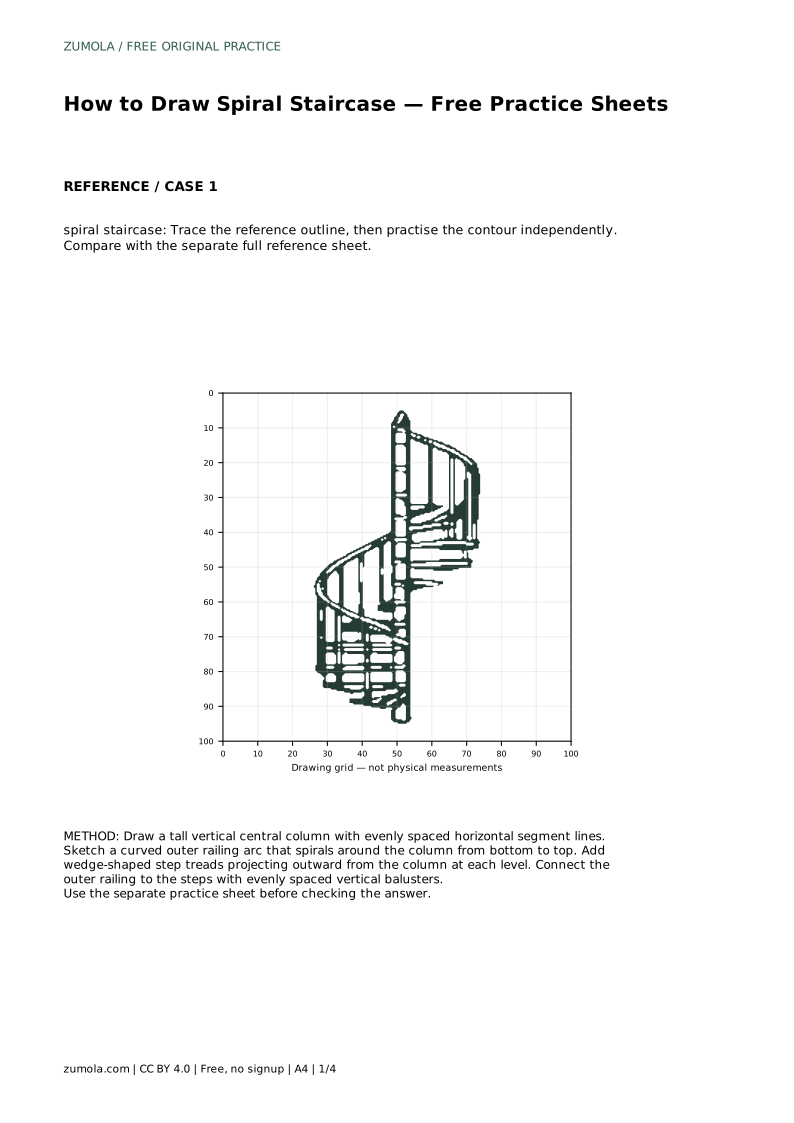
A spiral staircase drawing is mostly a problem of structure: one tall core, a winding path around it, and steps that repeat at regular intervals. If you place those parts in the right order, the staircase reads clearly even when your linework is loose. This guide walks through the construction method used in the tracing, grid-copy, frame-guide and partial-completion practice sheets, then explains how to judge your result fairly.
Begin with the vertical central column, because every other part of the staircase is positioned relative to it. Draw a tall, narrow rectangle and mark evenly spaced horizontal segment lines down its length. These lines represent the levels where steps attach, so keep the spacing consistent; uneven spacing makes the staircase look unstable.
Next, sketch the outer railing as a curved arc that spirals around the column from bottom to top. Think of it as a helix seen from the side: the arc should rise steadily while curving outward and back. Keep the arc's distance from the column roughly constant so the staircase appears to wrap around a single core rather than drift sideways.
With the core and railing in place, add wedge-shaped step treads projecting outward from the column at each level. Each tread should sit at one of the segment lines you marked, and its wide outer edge should meet the railing arc. Treads nearer the viewer appear wider; treads on the far side of the column appear narrower. That difference is what makes the staircase look three-dimensional.
Finally, connect the outer railing to the steps with evenly spaced vertical balusters. Place one or two balusters per tread, keeping their height consistent along the arc. Balusters that grow or shrink unpredictably break the sense of a level railing winding upward.
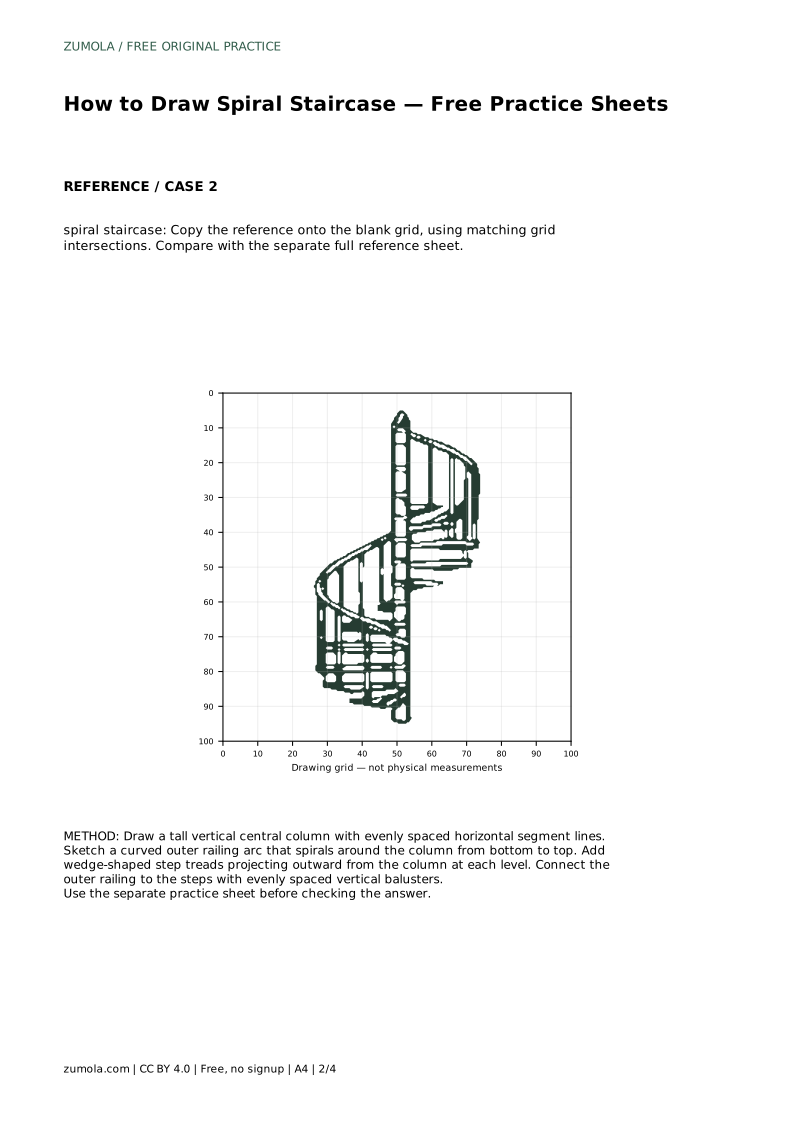
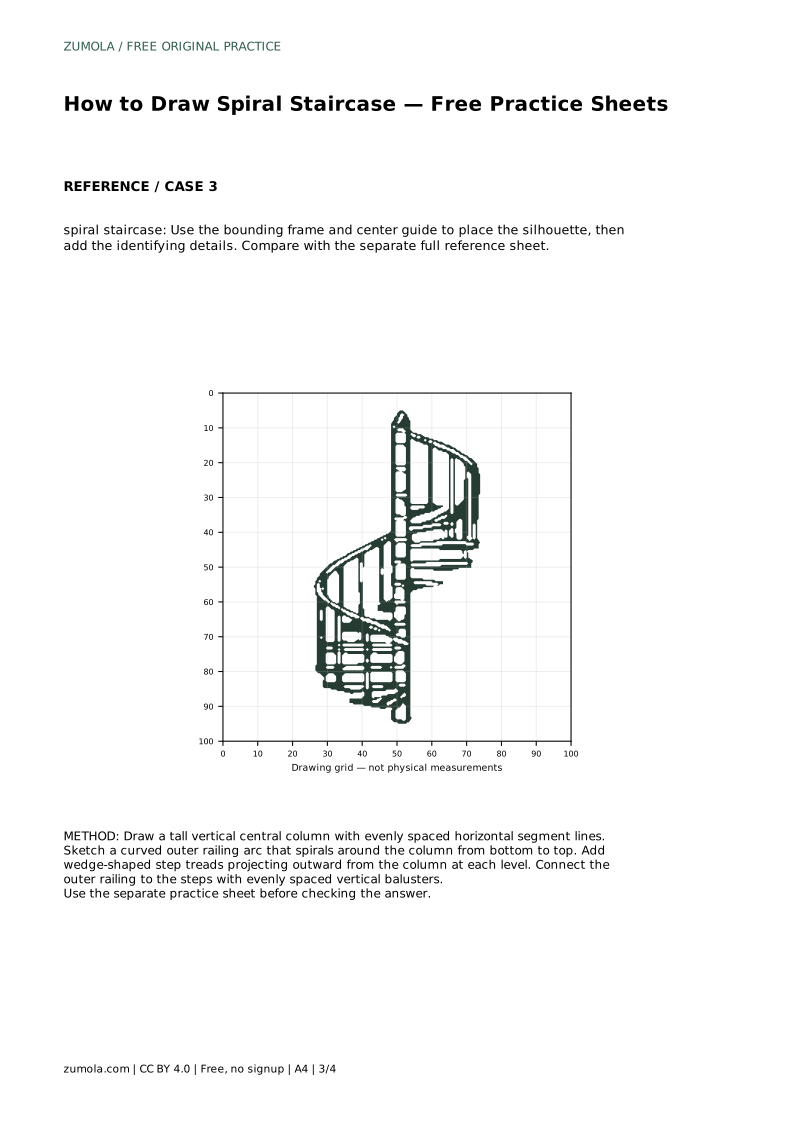
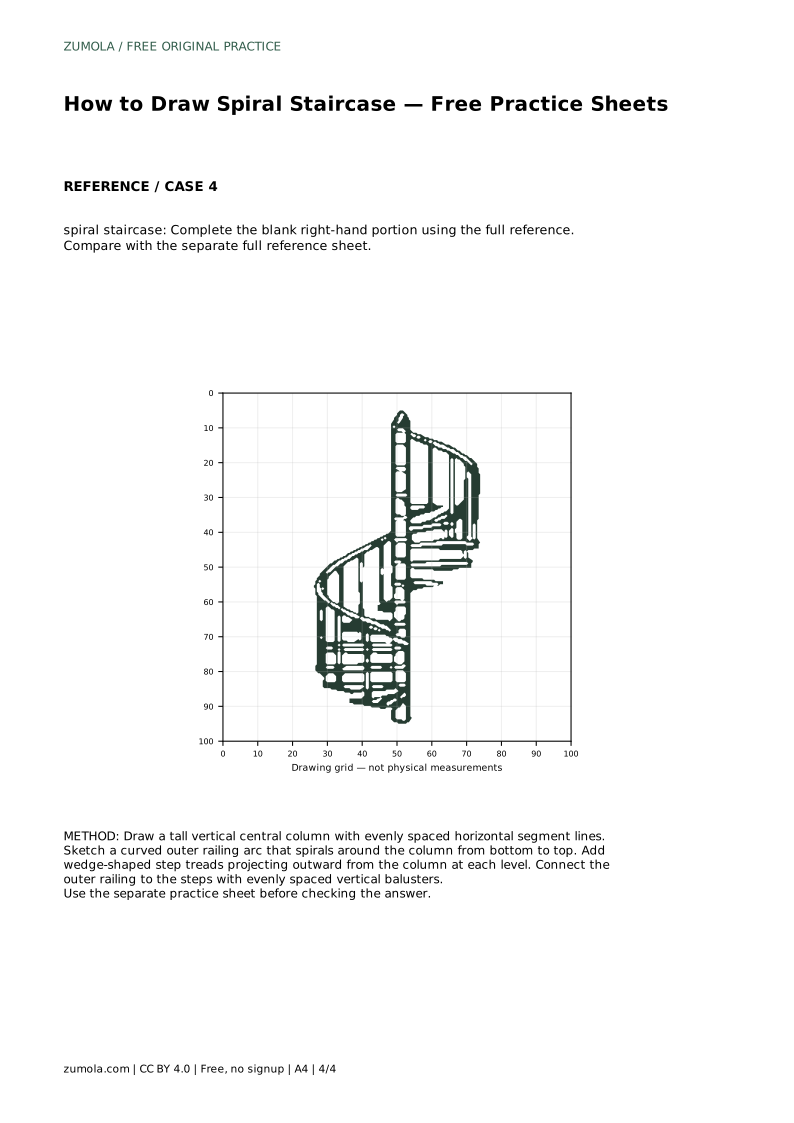
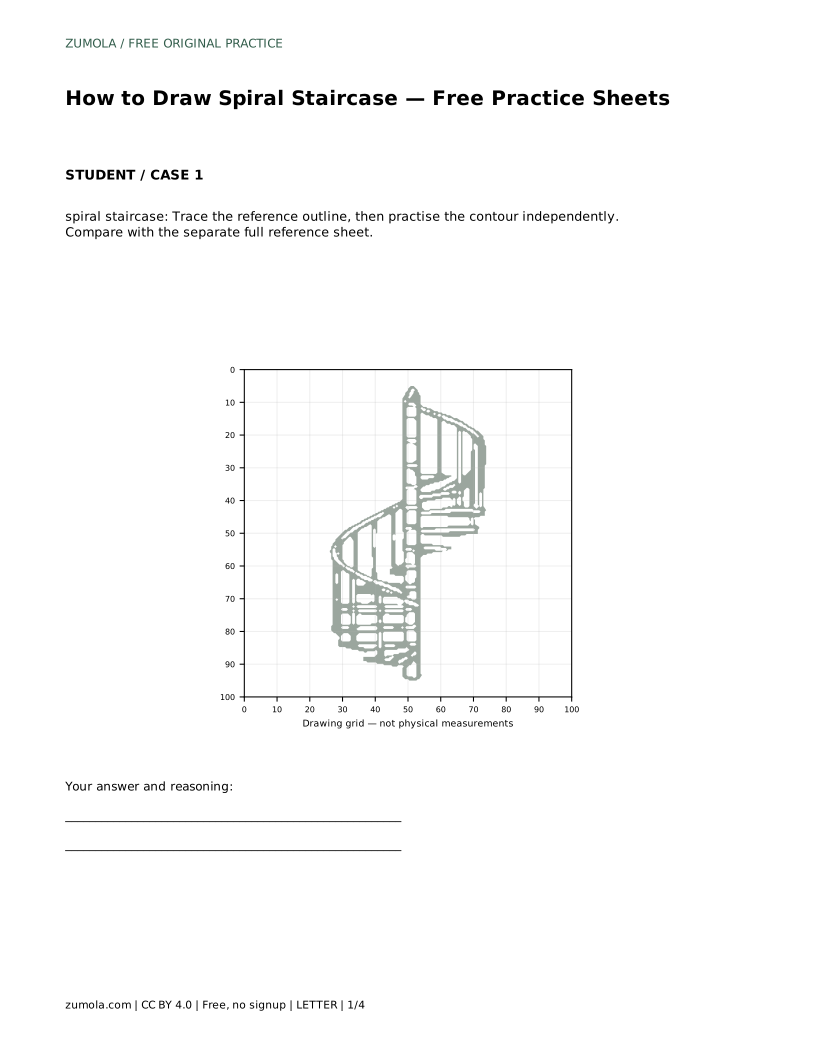
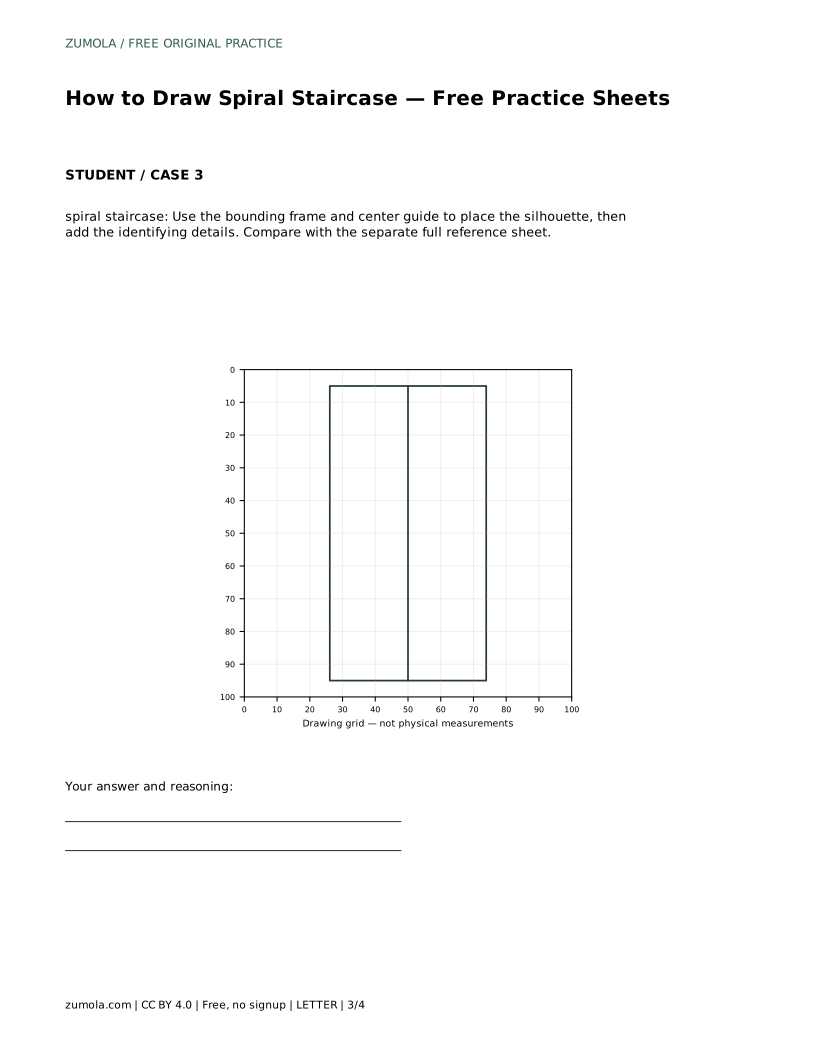
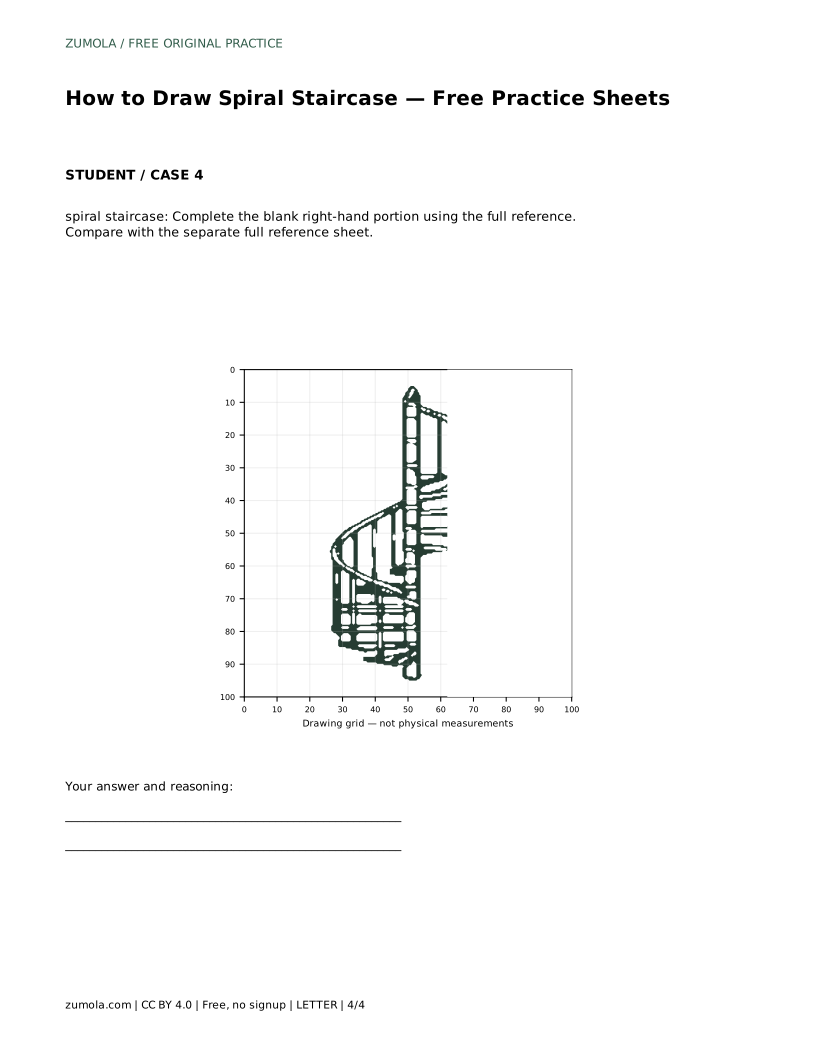
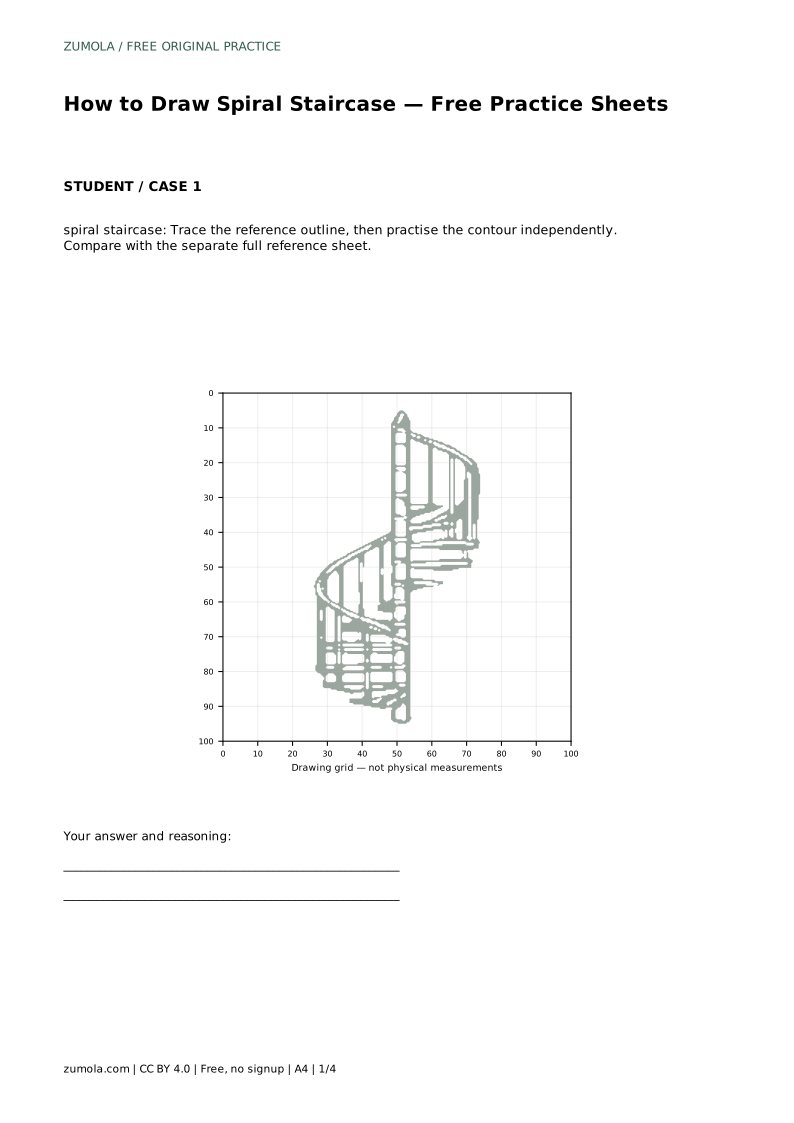
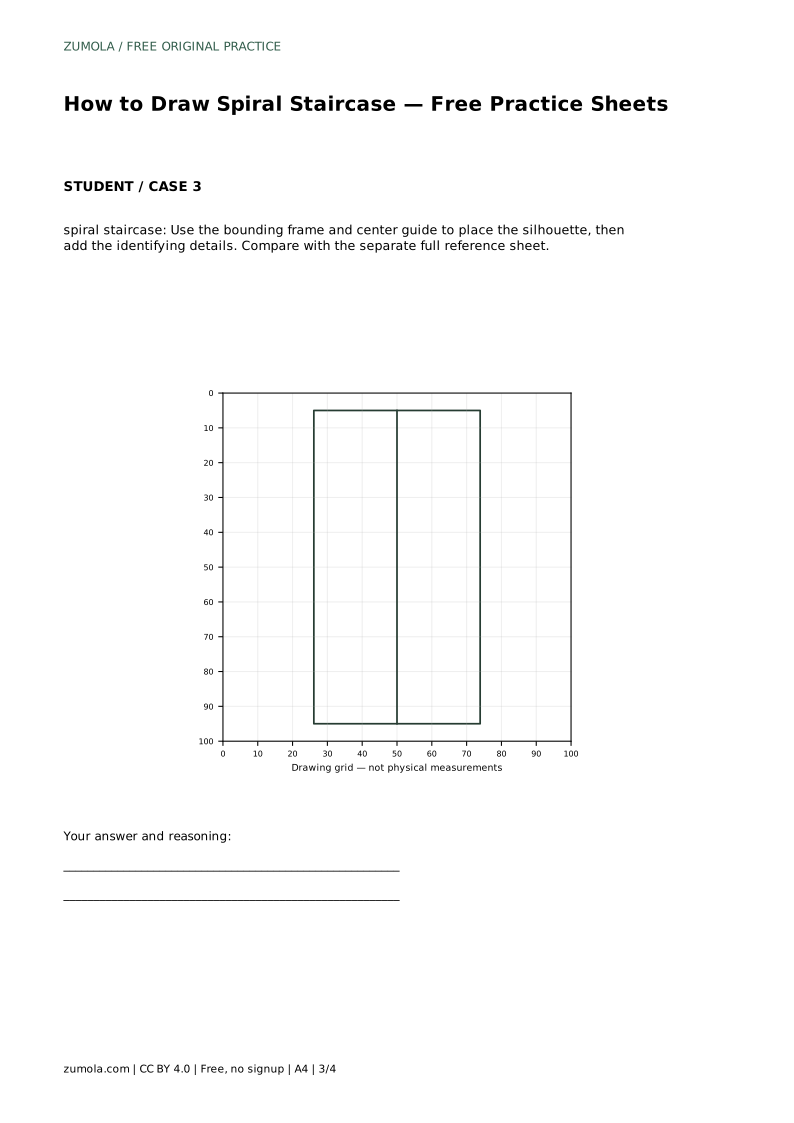
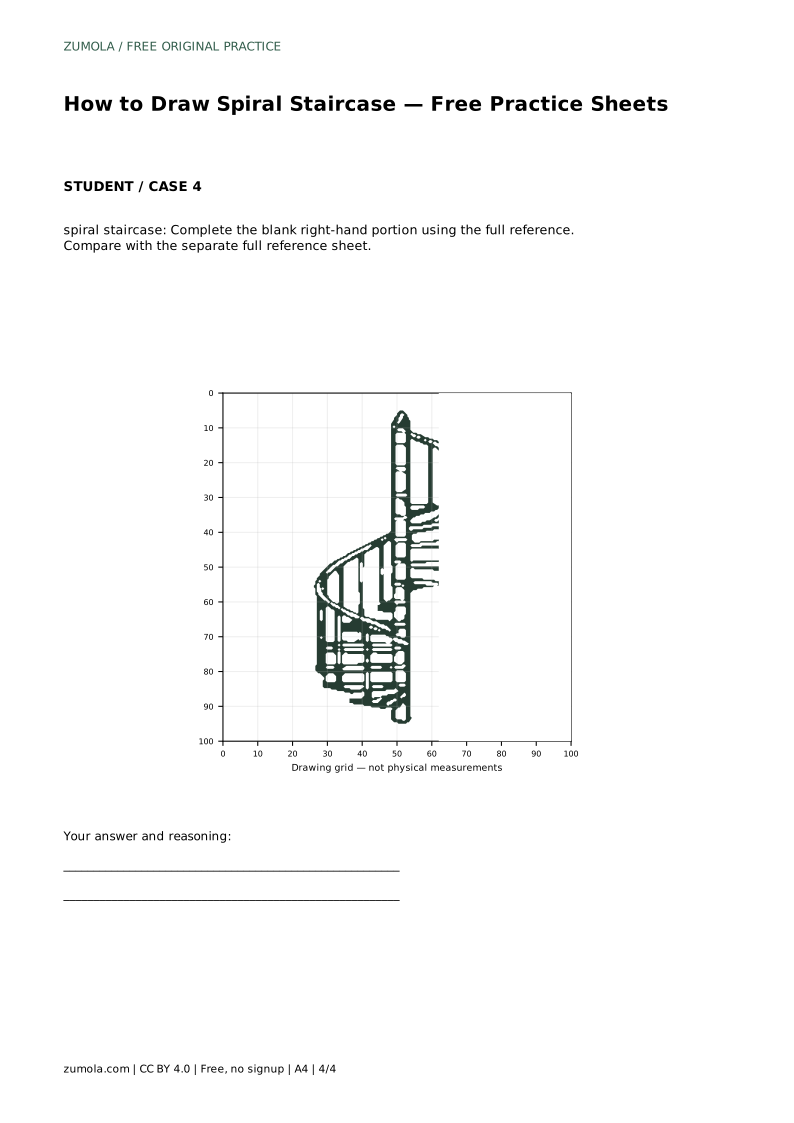
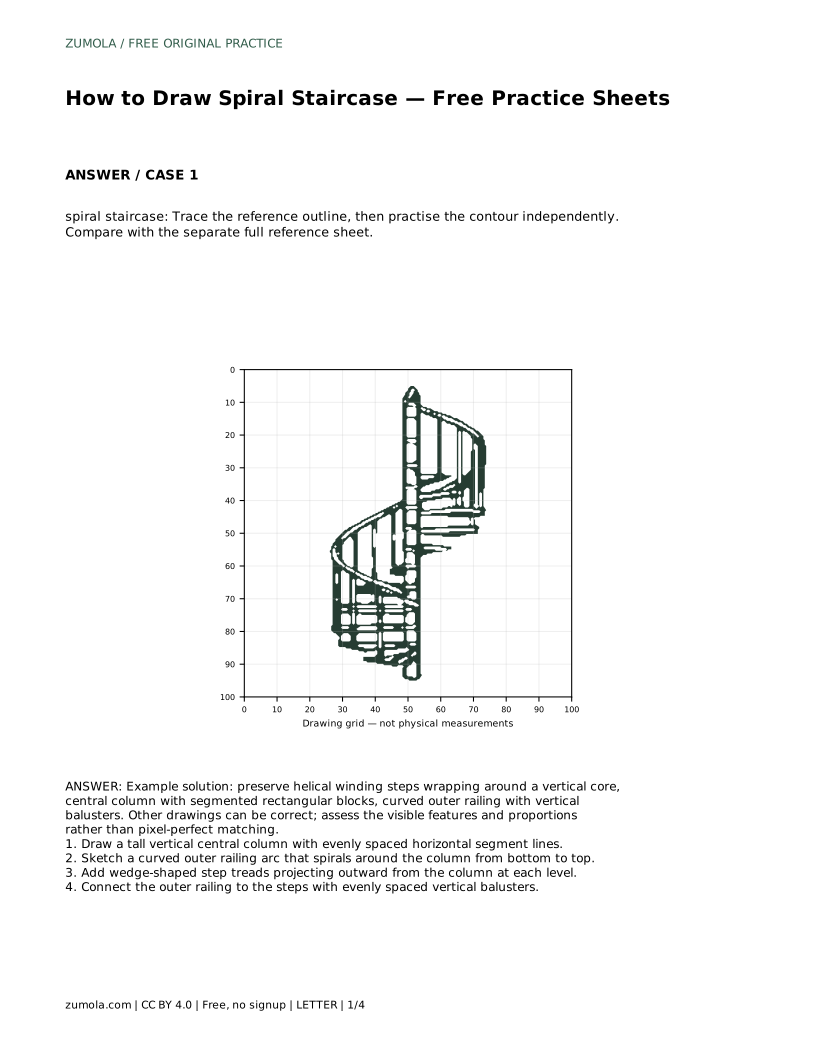
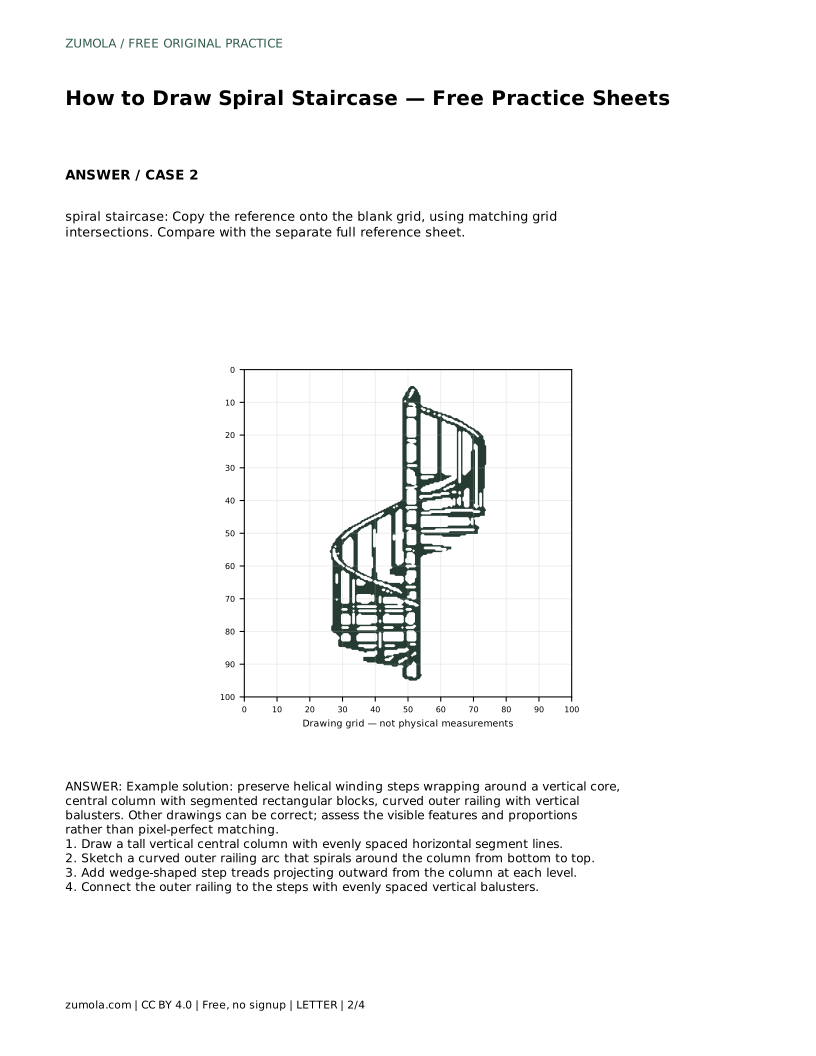
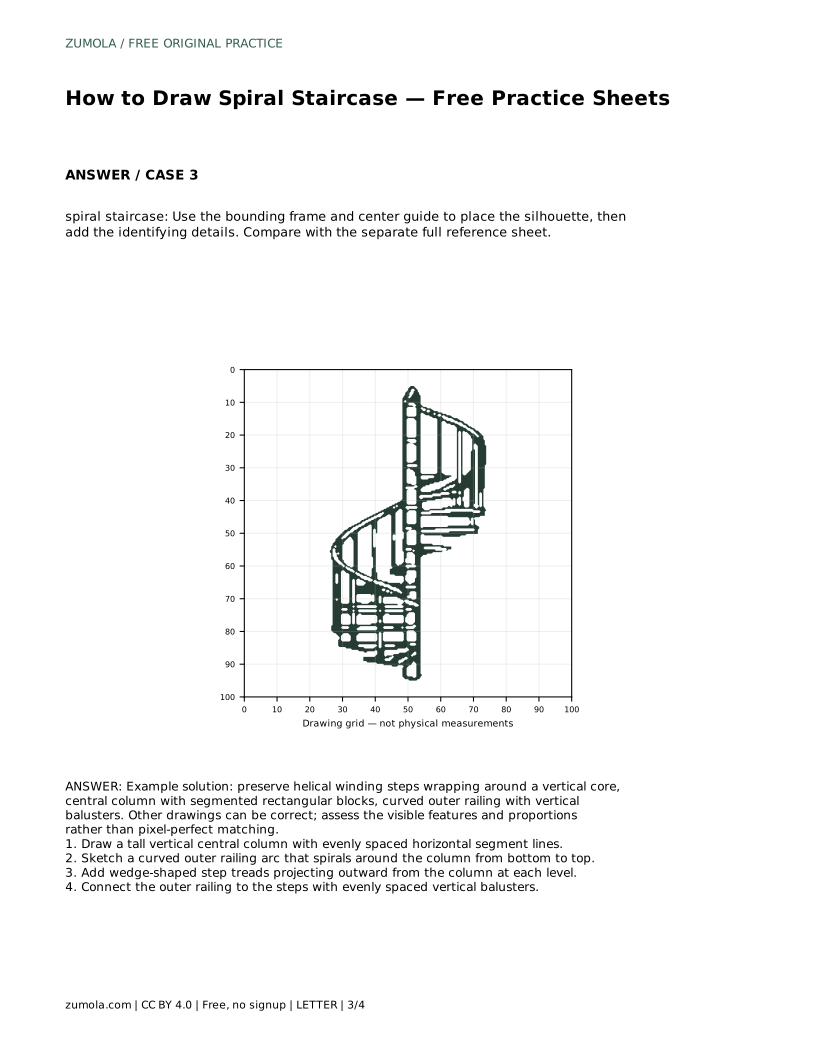
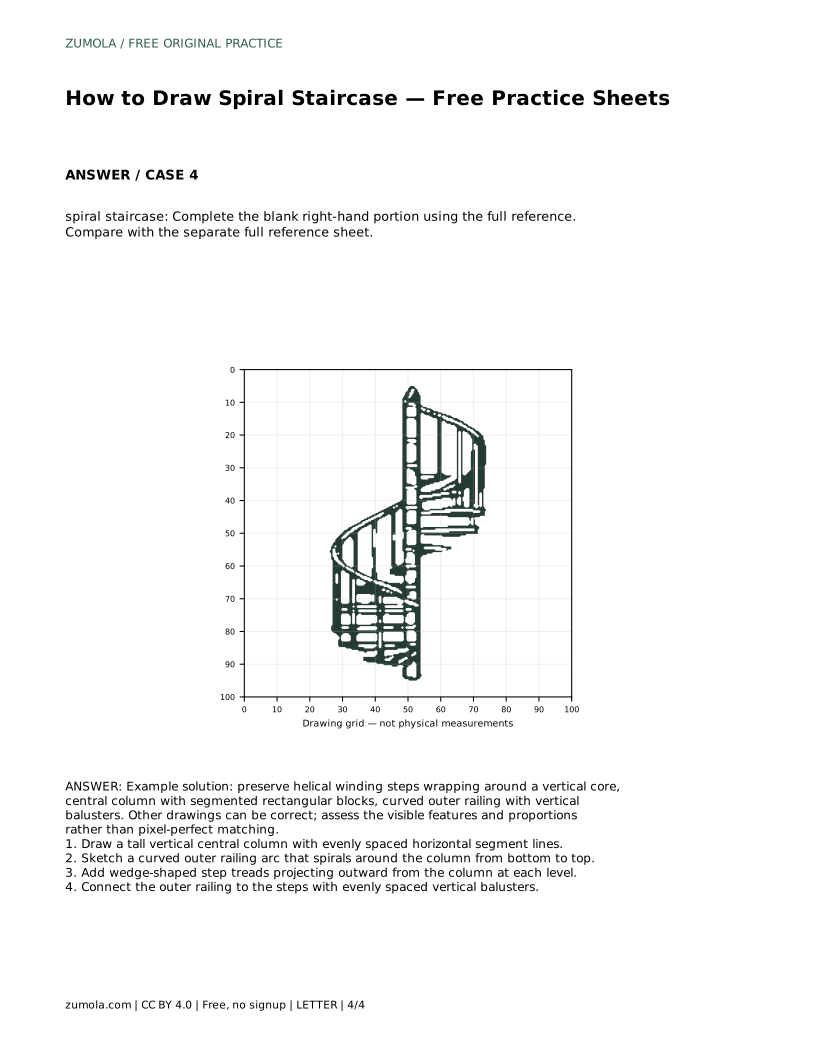
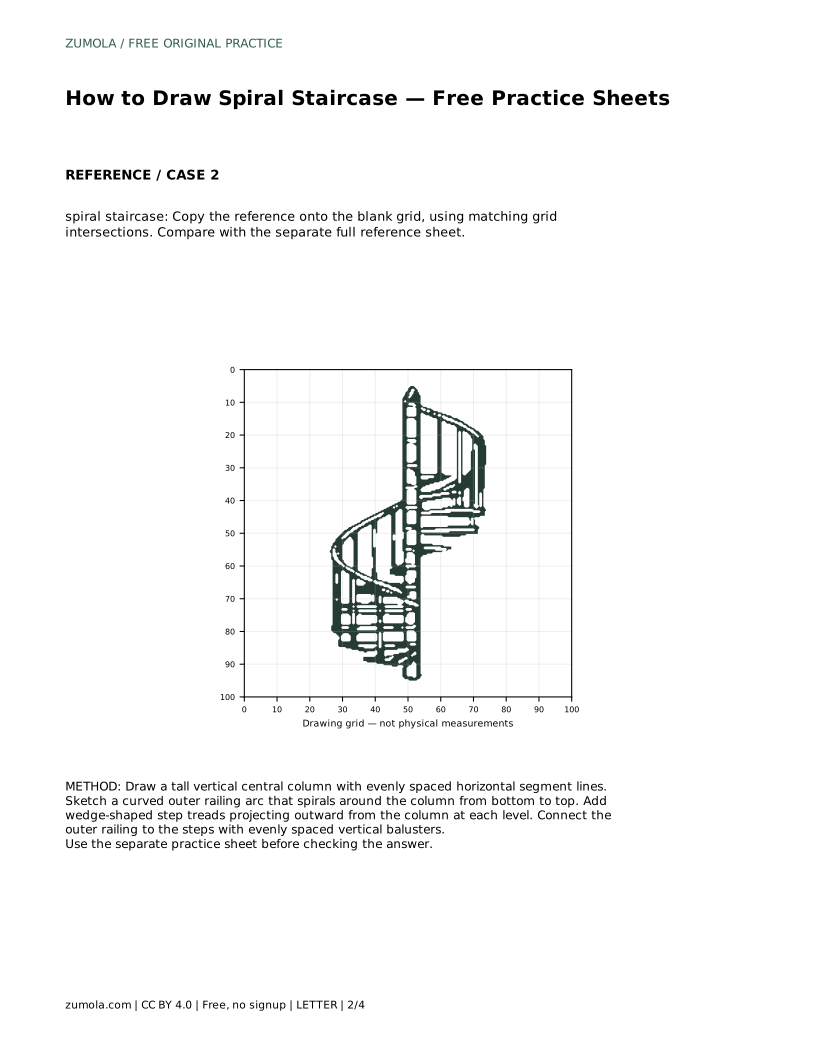
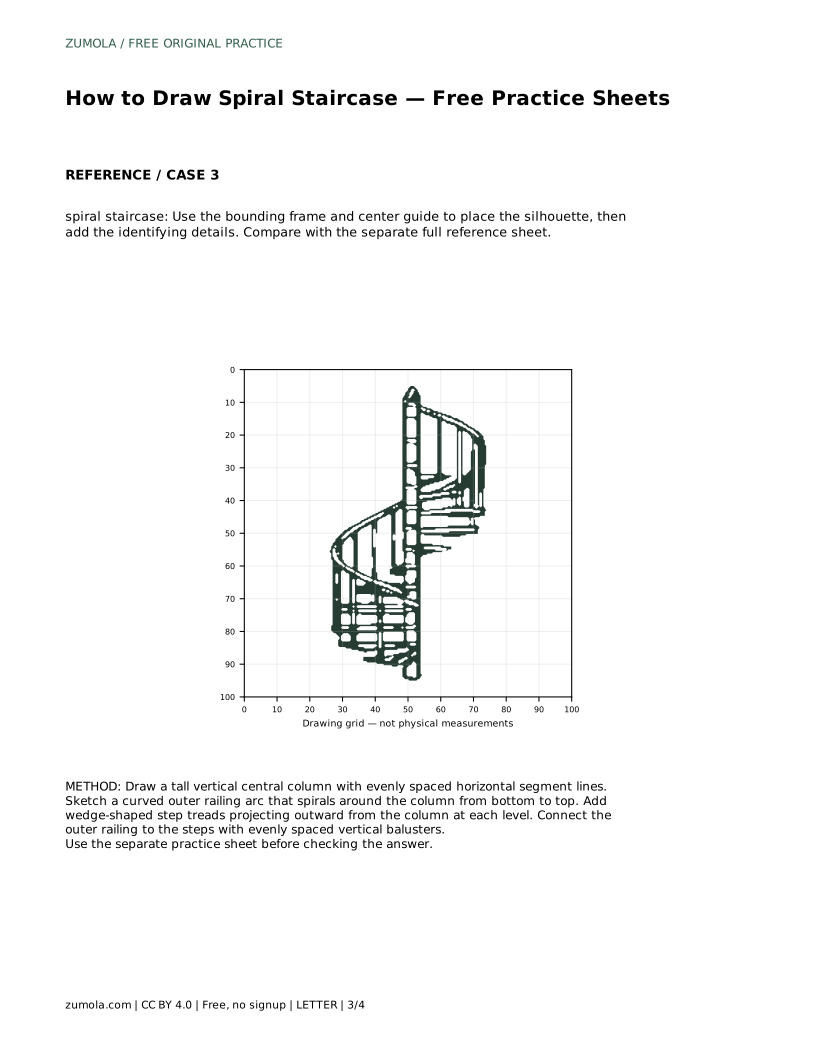
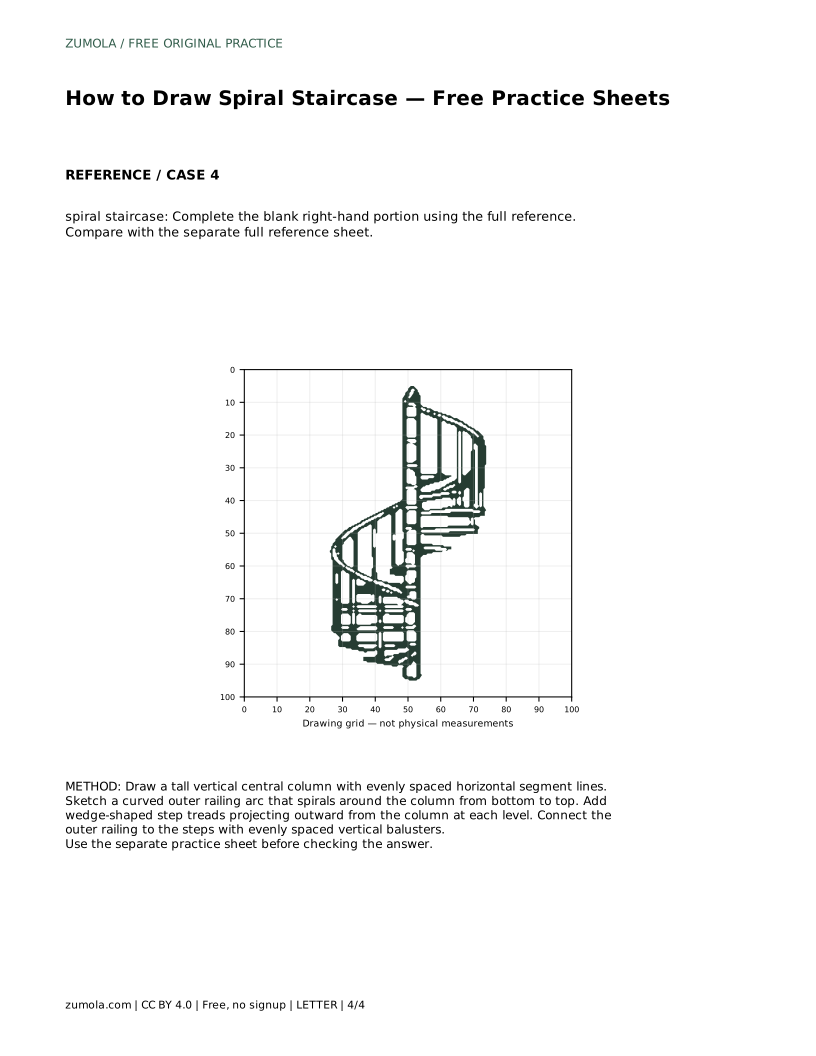
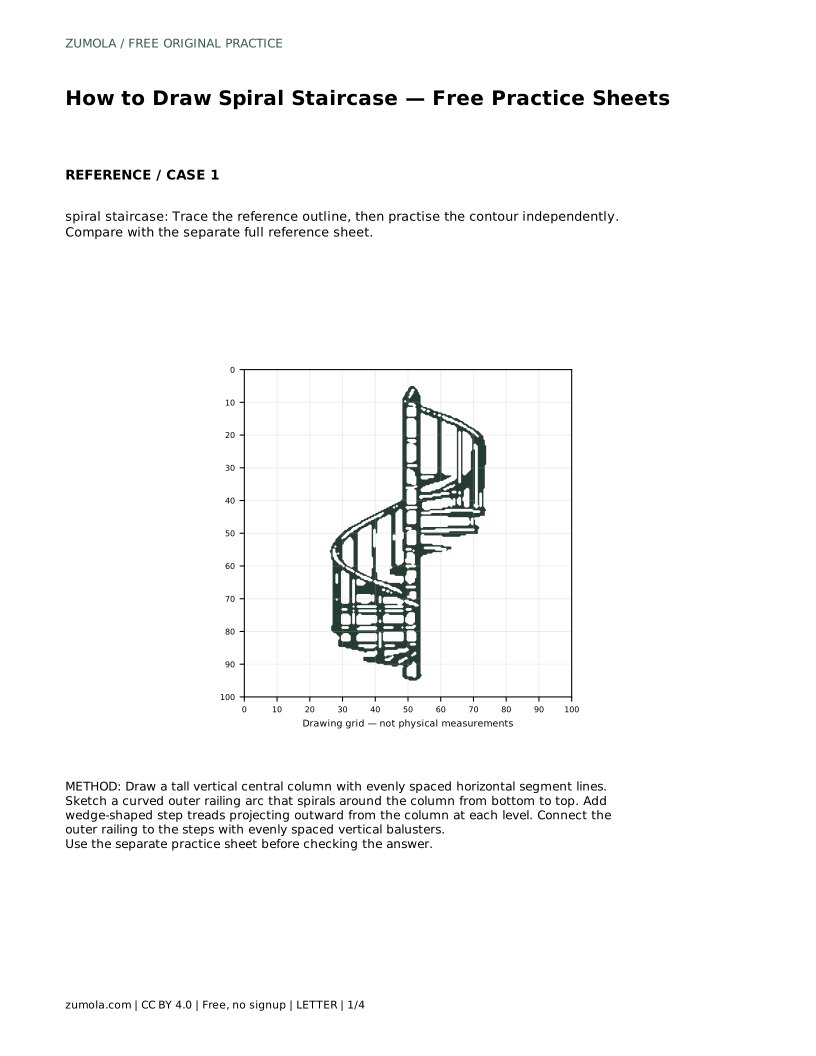
The tracing sheet asks you to follow the reference outline first, then attempt the contour independently before comparing with the separate full reference sheet. The grid-copy sheet asks you to match grid intersections so proportions transfer accurately. The frame-guide sheet gives you a bounding frame and centre guide for placing the silhouette before adding details. The partial-completion sheet supplies the left portion and asks you to finish the blank right-hand side from the full reference.
Each format trains a different skill, so treat them as separate exercises rather than repeats. In all four, the goal is to preserve the helical winding steps around a vertical core, the segmented central column, the curved outer railing and the vertical balusters.
A spiral staircase drawing has many valid outcomes, so compare visible features and proportions rather than aiming for a pixel-perfect match. Ask whether the column is vertical and segmented, whether the railing winds consistently, whether treads attach at regular levels, and whether balusters are evenly spaced. Small differences in curve shape or tread width are acceptable.
spiral staircase: Trace the reference outline, then practise the contour independently. Compare with the separate full reference sheet.
Example solution: preserve helical winding steps wrapping around a vertical core, central column with segmented rectangular blocks, curved outer railing with vertical balusters. Other drawings can be correct; assess the visible features and proportions rather than pixel-perfect matching. Draw a tall vertical central column with evenly spaced horizontal segment lines. Sketch a curved outer railing arc that spirals around the column from bottom to top. Add wedge-shaped step treads projecting outward from the column at each level. Connect the outer railing to the steps with evenly spaced vertical balusters.
Yes. The column sets the vertical axis and the level marks that every tread and baluster depends on.
There is no fixed number. Choose a count that fits your column height and keeps the spacing even.
Yes. Other drawings can be correct; assess the visible features and proportions rather than pixel-perfect matching.
All drawing practice · Free coordinate paper
Original resources · CC BY 4.0 · Free for personal and classroom use with attribution.