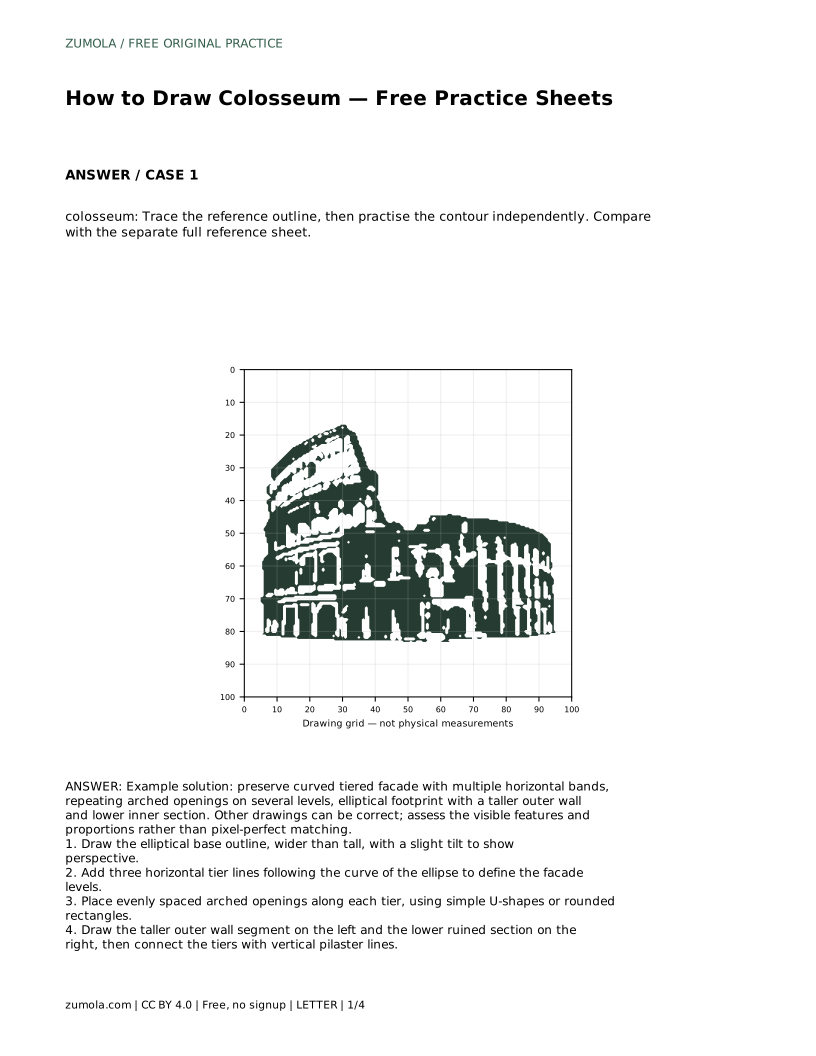
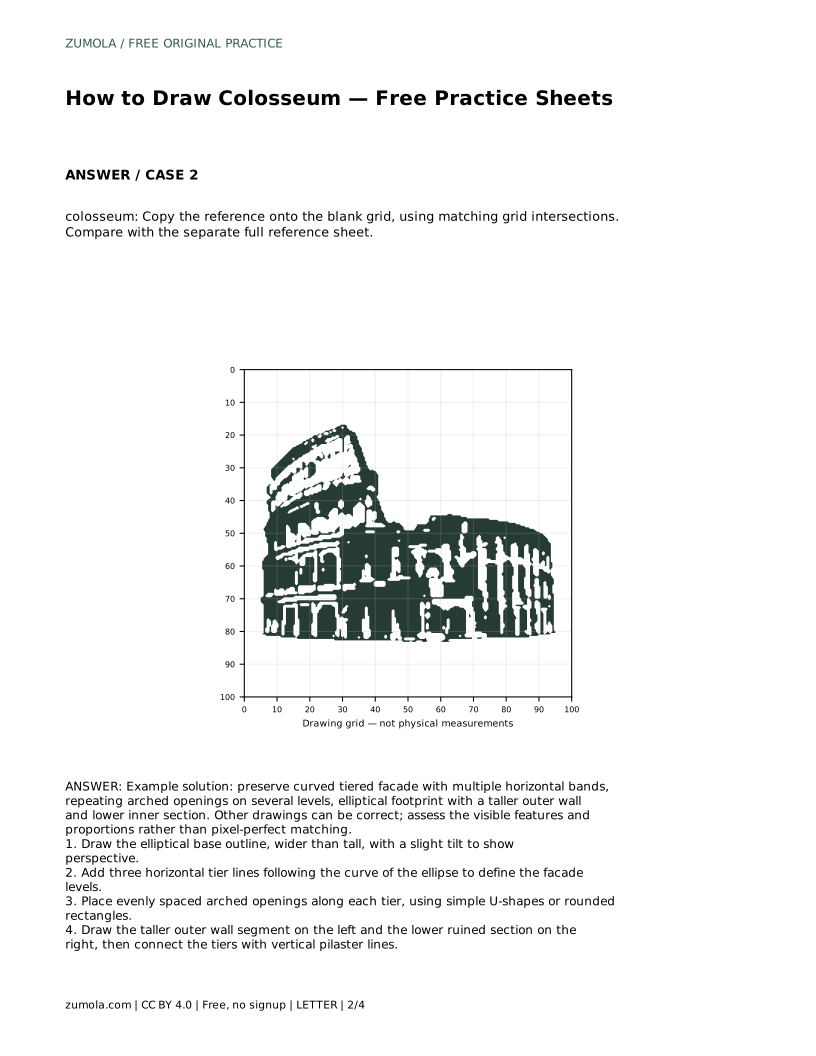
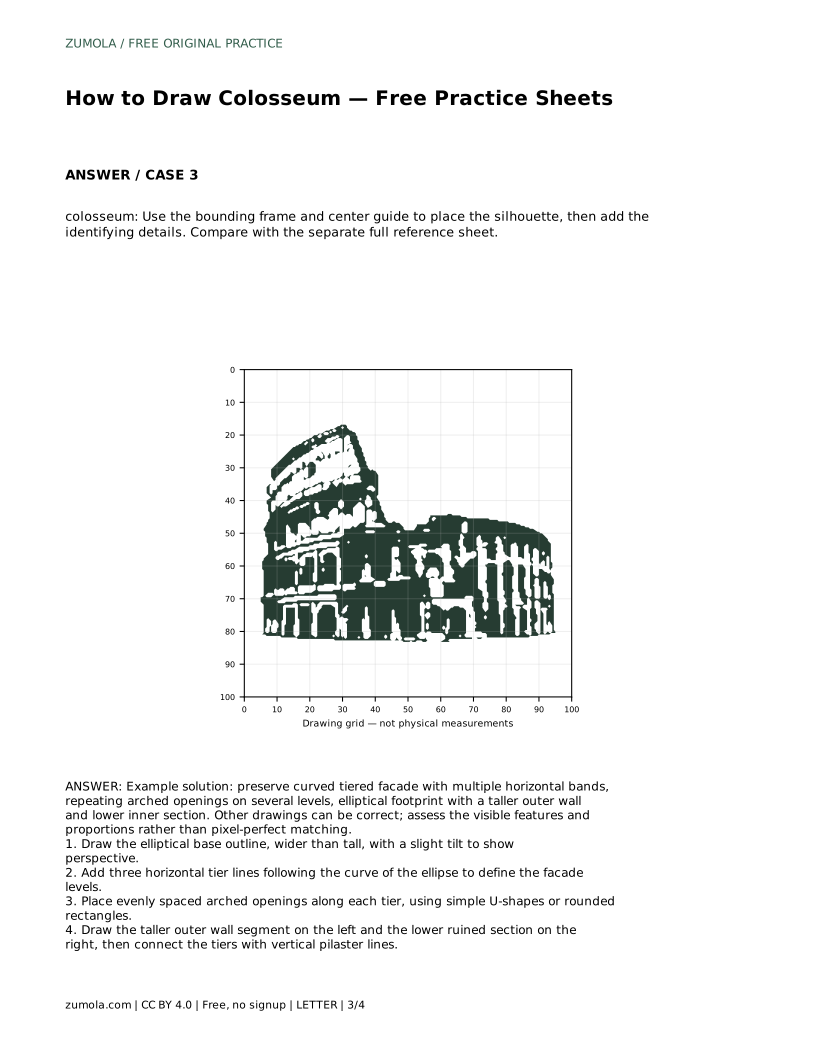
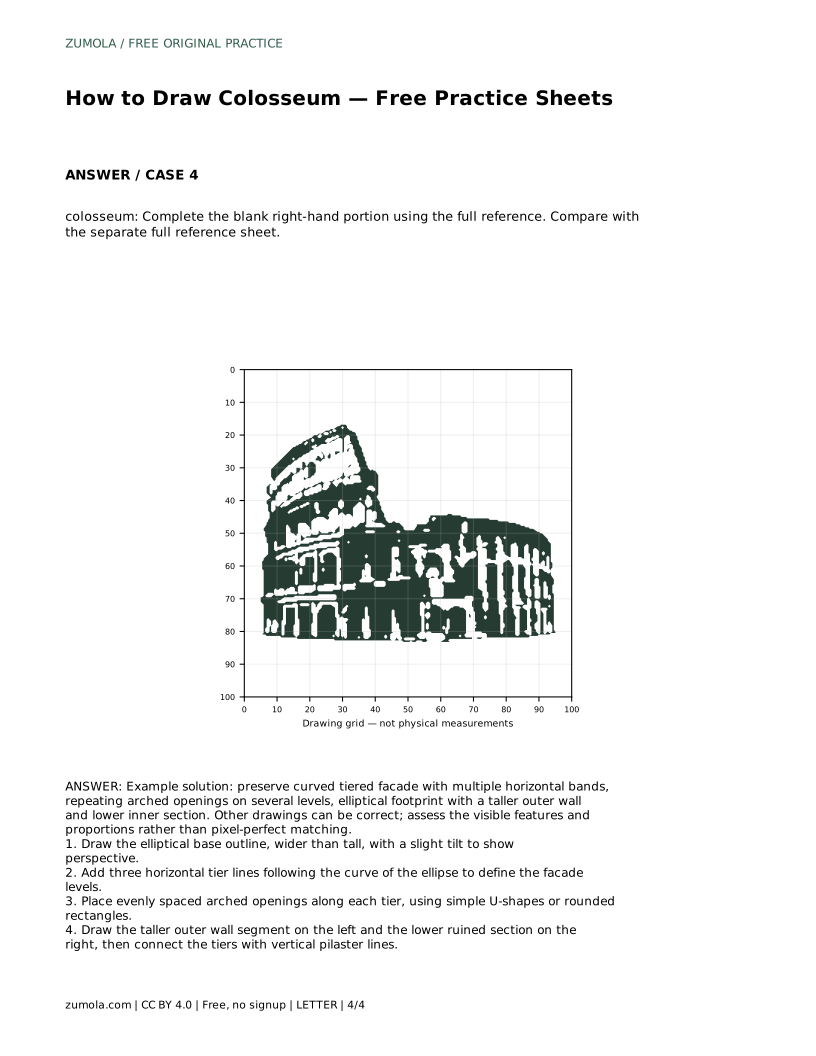
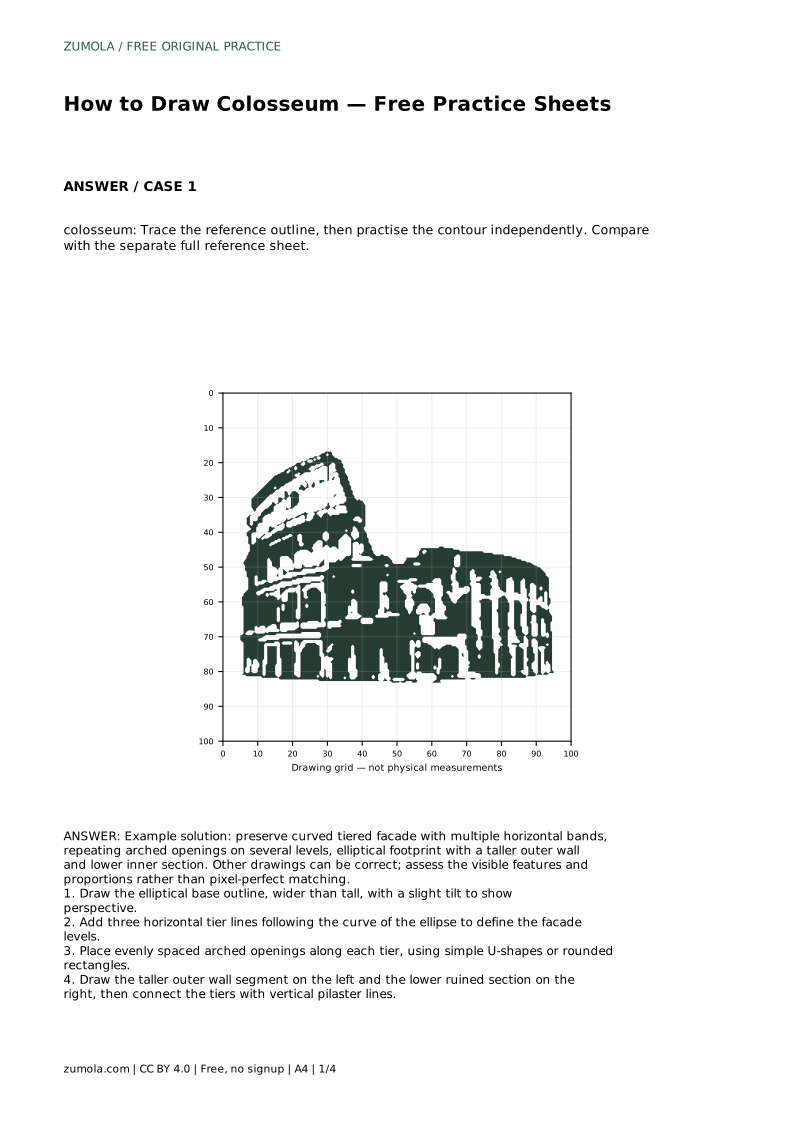
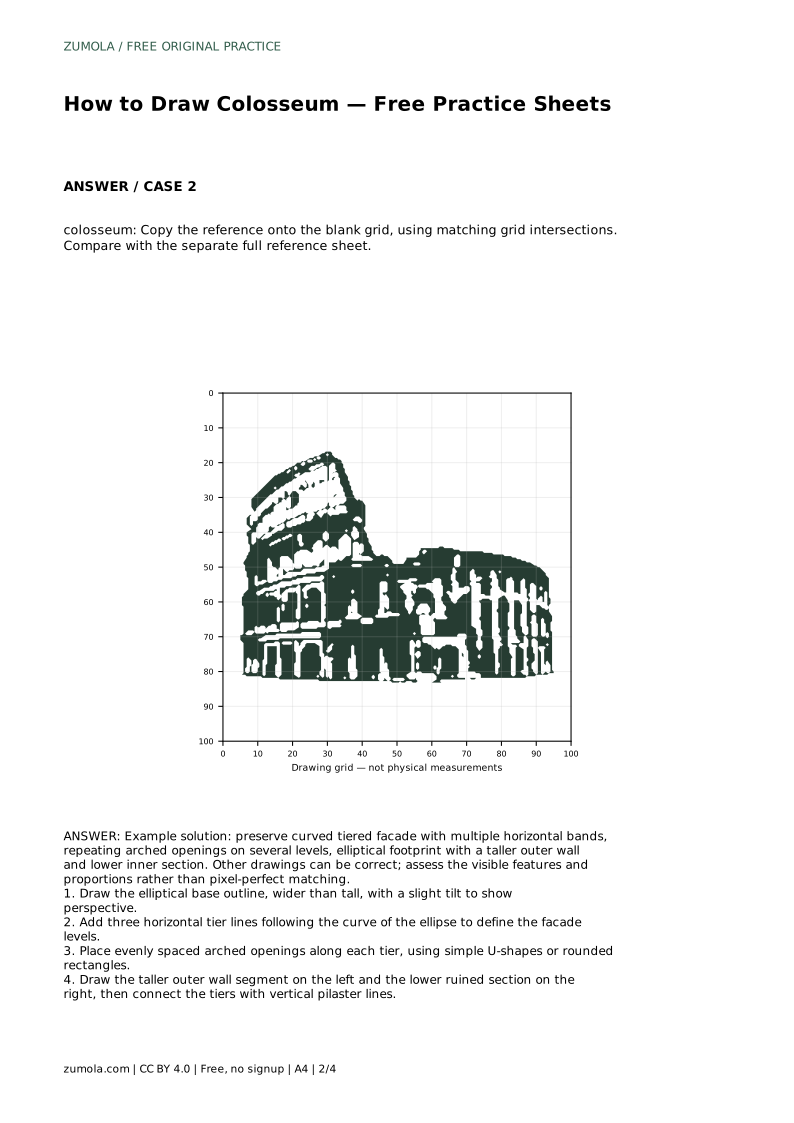
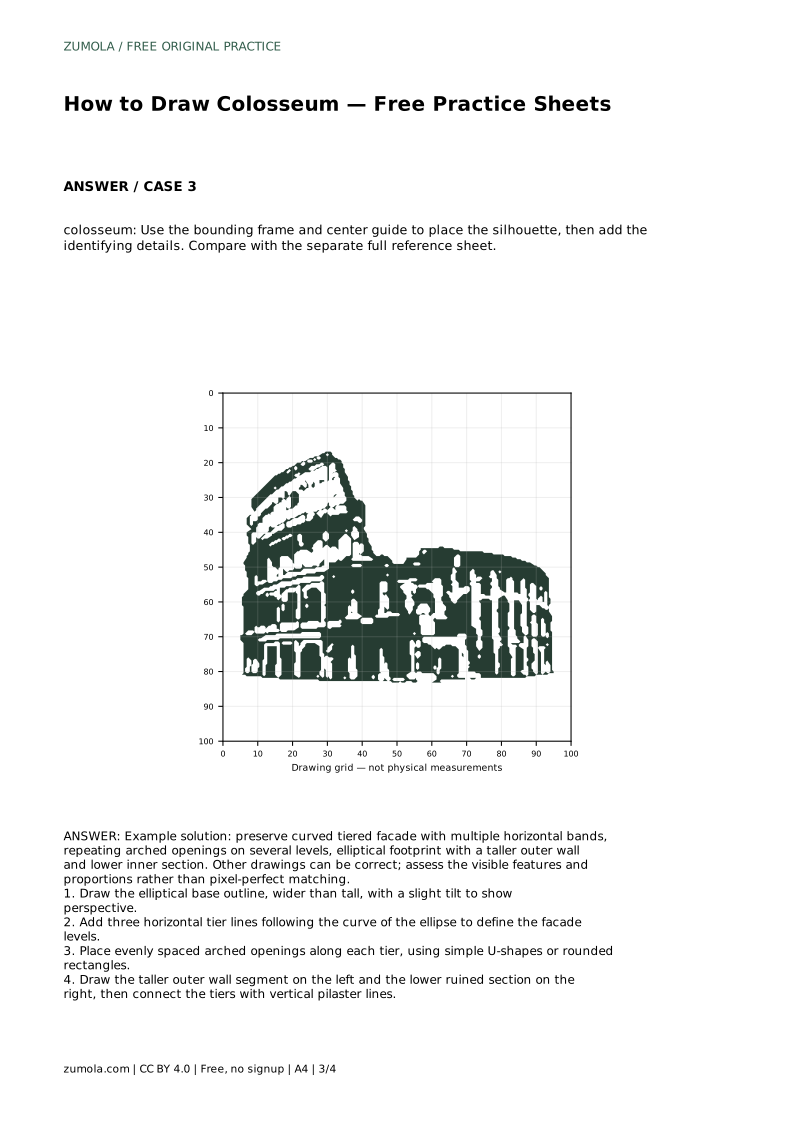
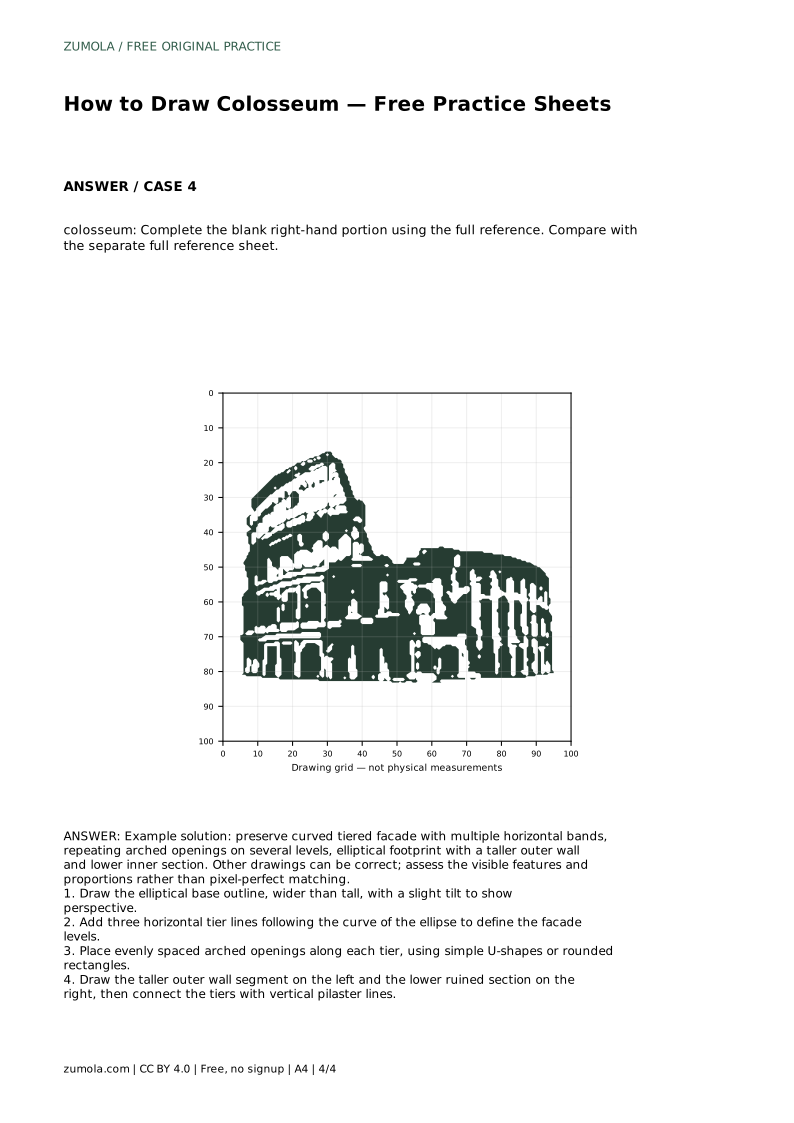
Reference diagrams
LETTER · Download PDF
A4 · Download PDF
Free original resources
Learn to draw the Colosseum with a clear method: elliptical base, tiered facade, repeating arches, and a taller outer wall. Free practice sheets support tracing, grids, and completion.
Four original cases, with reference diagrams, practice sheets and worked answers. Everything is free; no signup required.
LETTER · Download PDF
A4 · Download PDF
LETTER · Download PDF
A4 · Download PDF
LETTER · Download PDF
A4 · Download PDF
Use A4 or US Letter to match your printer. Use the stated values and conditions to solve each exercise; diagrams are not physical measuring rulers.
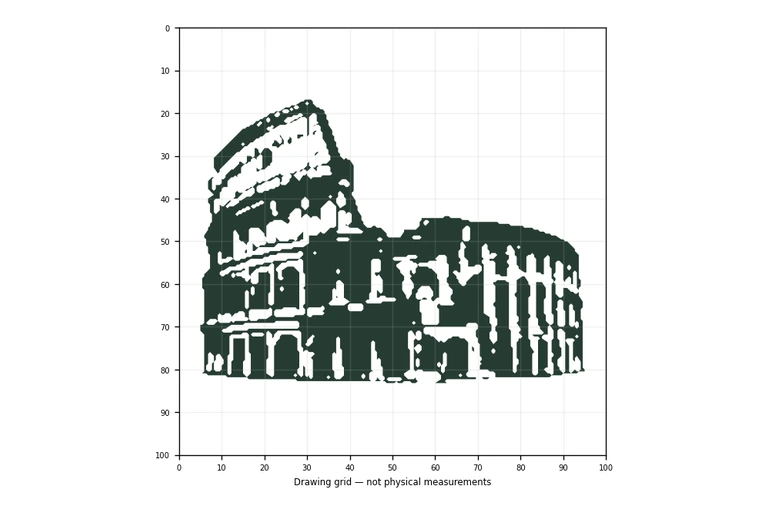
Drawing the Colosseum is a lesson in curved perspective and repeating structure. The building is not a flat circle but an ellipse, and its facade rises in horizontal bands filled with arched openings. This guide gives you a reliable sequence: start with the elliptical footprint, establish the tier lines, place the arches evenly, then differentiate the tall outer wall from the lower ruined section. Use the free practice sheets to trace, copy on a grid, or complete a partial drawing, always comparing your work to the full reference sheet.
The Colosseum’s plan is elliptical, so the base outline should be wider than it is tall. A slight tilt helps suggest perspective, as if you are viewing the building from an angle rather than straight on. Begin by drawing a large, gentle oval. Keep the curve smooth and continuous; avoid making it egg-shaped or too circular. This oval is the footprint of the entire structure, so its proportions set the width of every tier above.
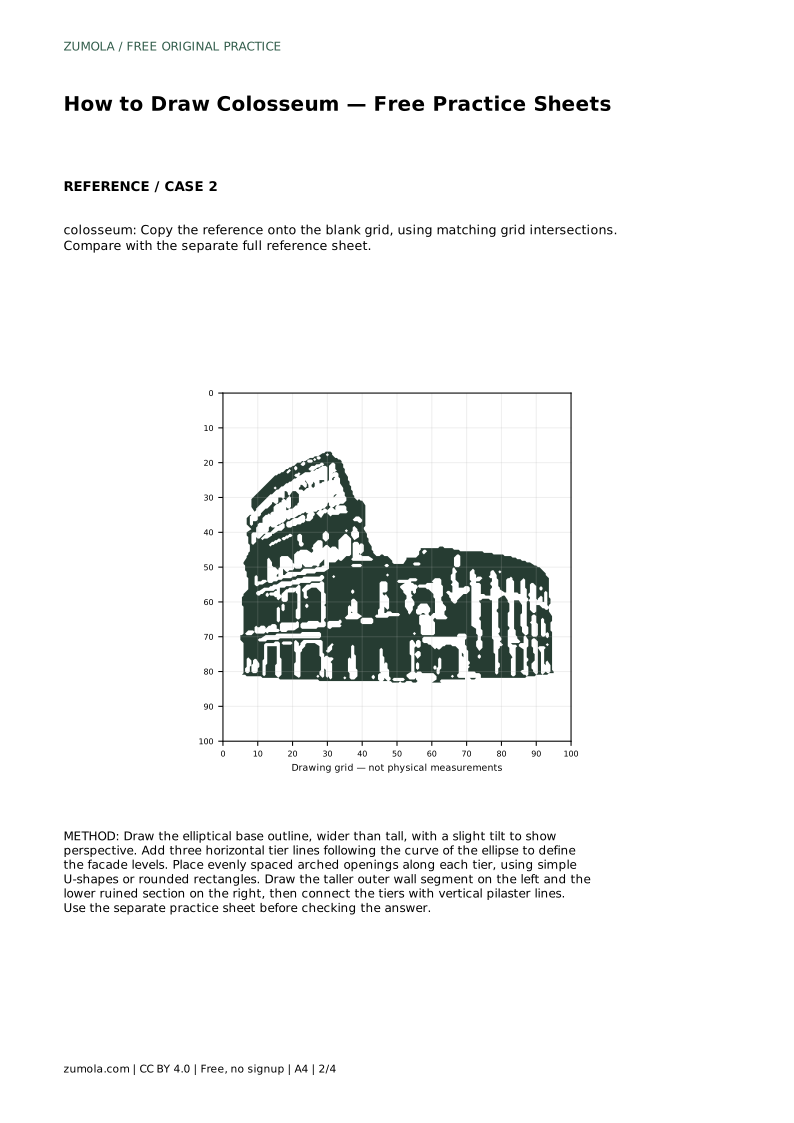
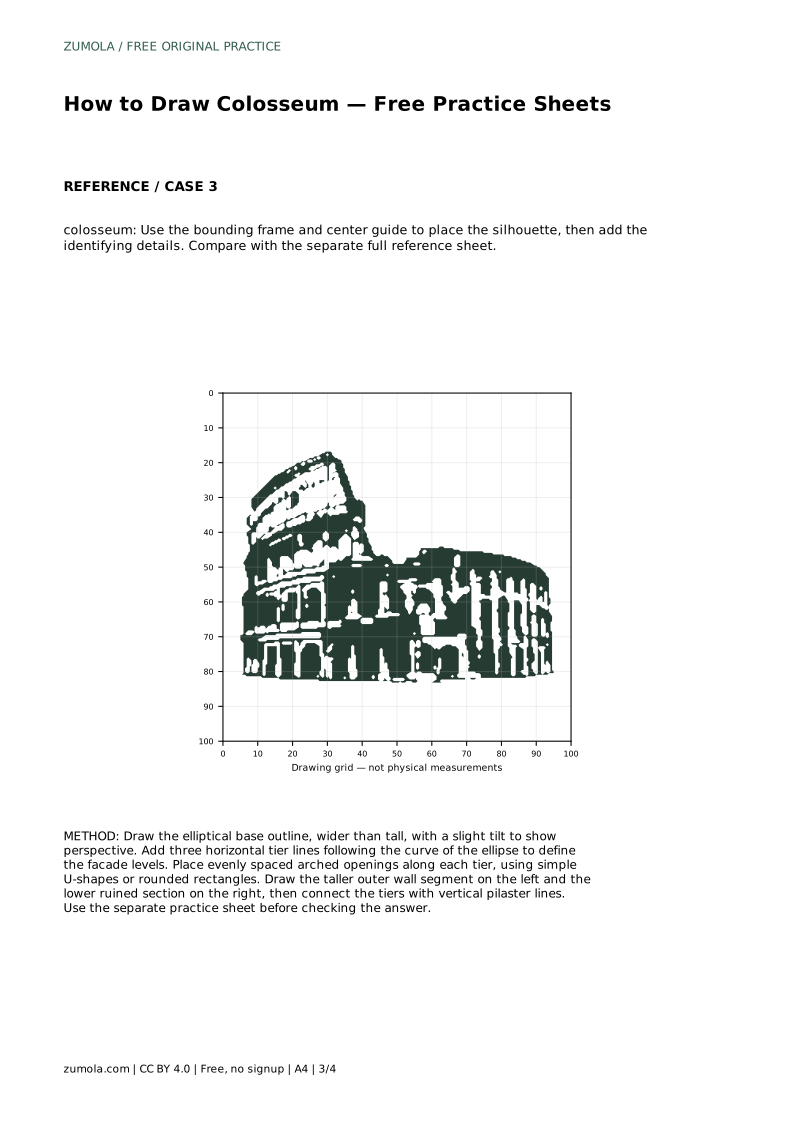
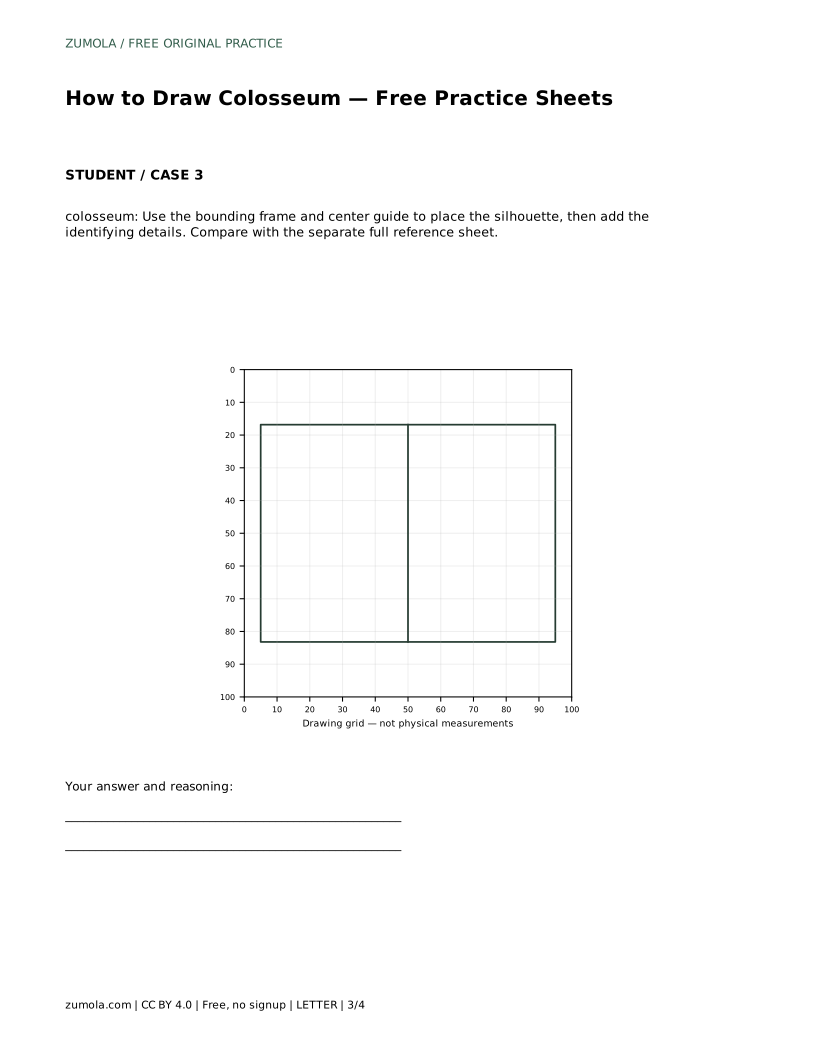
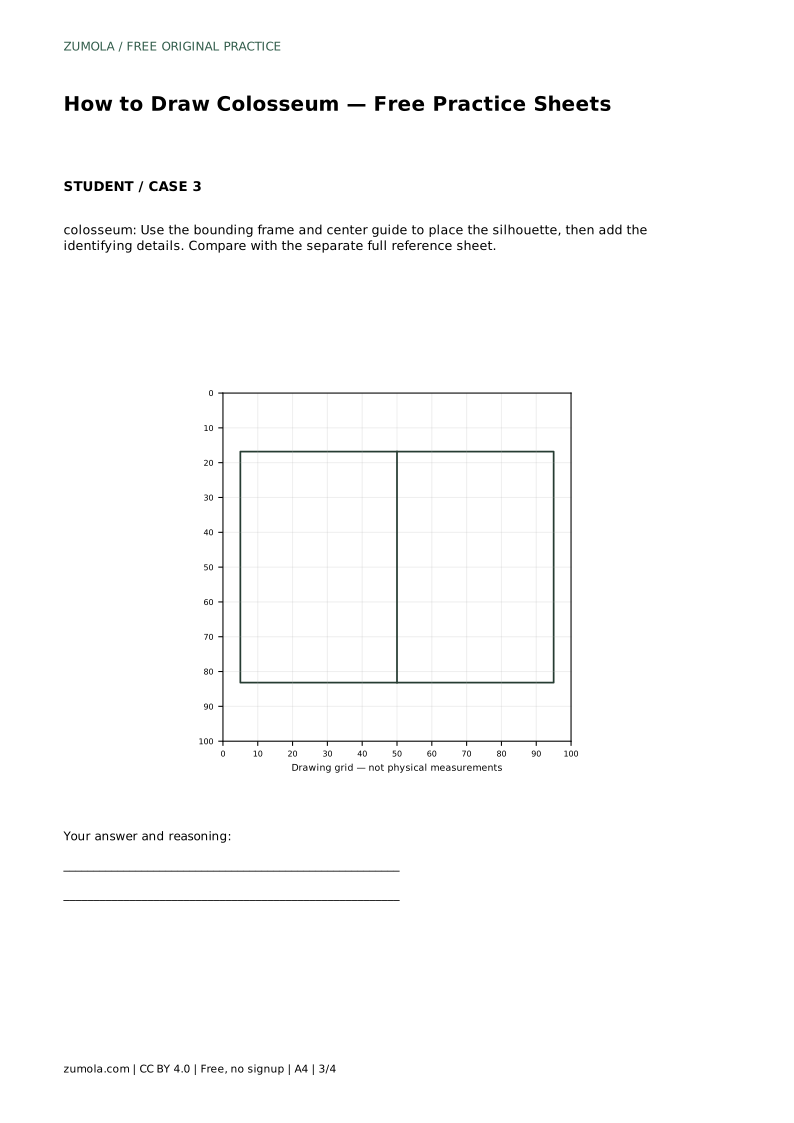
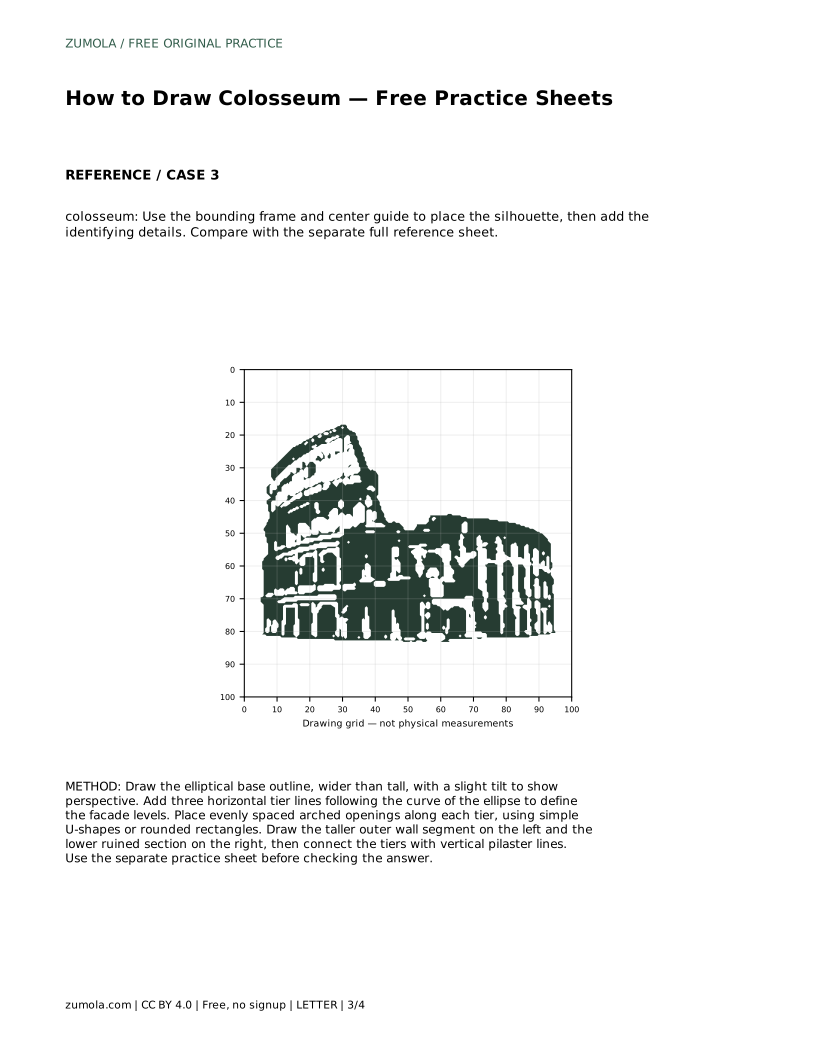
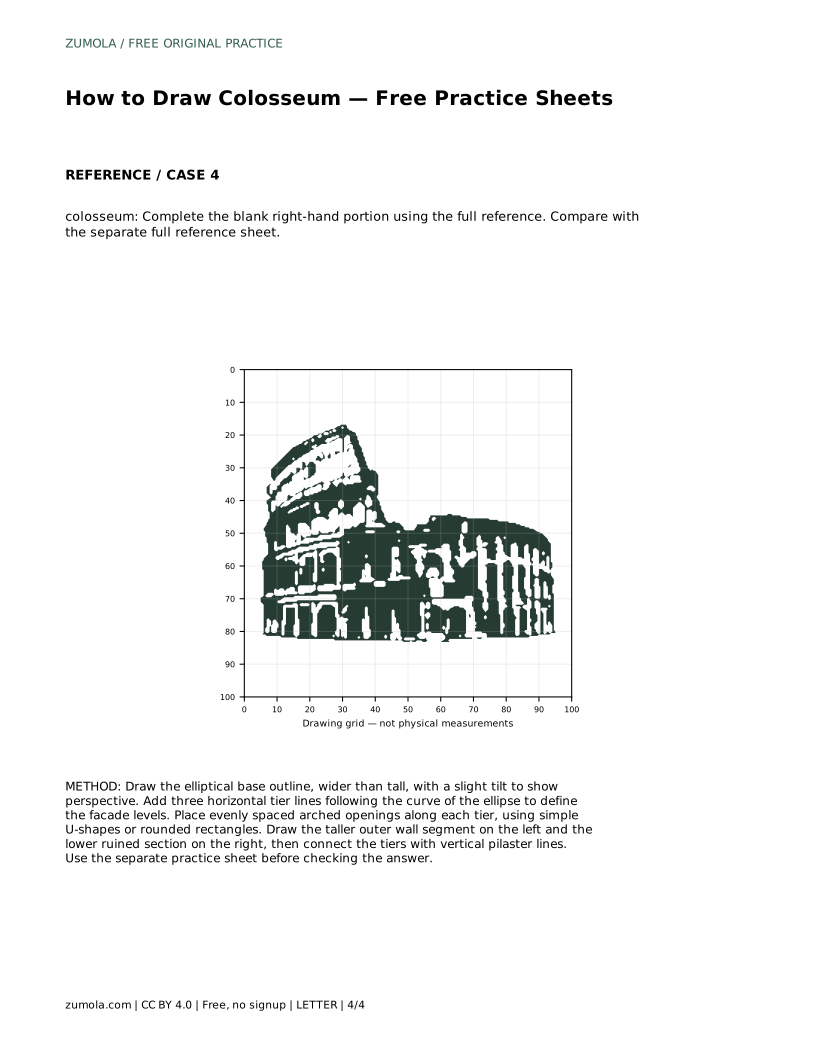
If you are using a grid sheet, place the oval so it touches the same grid intersections as the reference. On a blank sheet, use a bounding frame and center guide to position the silhouette before adding details. The goal is not pixel-perfect matching but a believable elliptical base that leaves room for the facade above.
The Colosseum’s facade is divided into horizontal bands, or tiers. Draw three tier lines that follow the curve of the ellipse rather than straight horizontal lines. These lines should arc gently, echoing the oval below. Space them evenly so each tier has a similar height. The lowest tier sits just above the base outline; the middle and upper tiers stack above it.
Keep the tier lines parallel to one another. If one line curves too sharply, the facade will look warped. A common mistake is to draw straight lines across the oval, which flattens the building. Instead, let each line bow slightly outward, matching the ellipse’s curvature.
Each tier is filled with a row of arched openings. Use simple U-shapes or rounded rectangles, spaced evenly along the curve. The arches should sit between the tier lines, not cross them. Start with the middle tier and work outward, or begin at the center and alternate left and right to keep spacing consistent.
The arches on the lower tiers are typically wider, while upper arches may be narrower. You do not need to count every arch; aim for a regular rhythm that reads as repeating openings. On the practice sheet, compare your arch spacing to the reference. If your arches bunch up on one side, adjust by redistributing them along the curve.
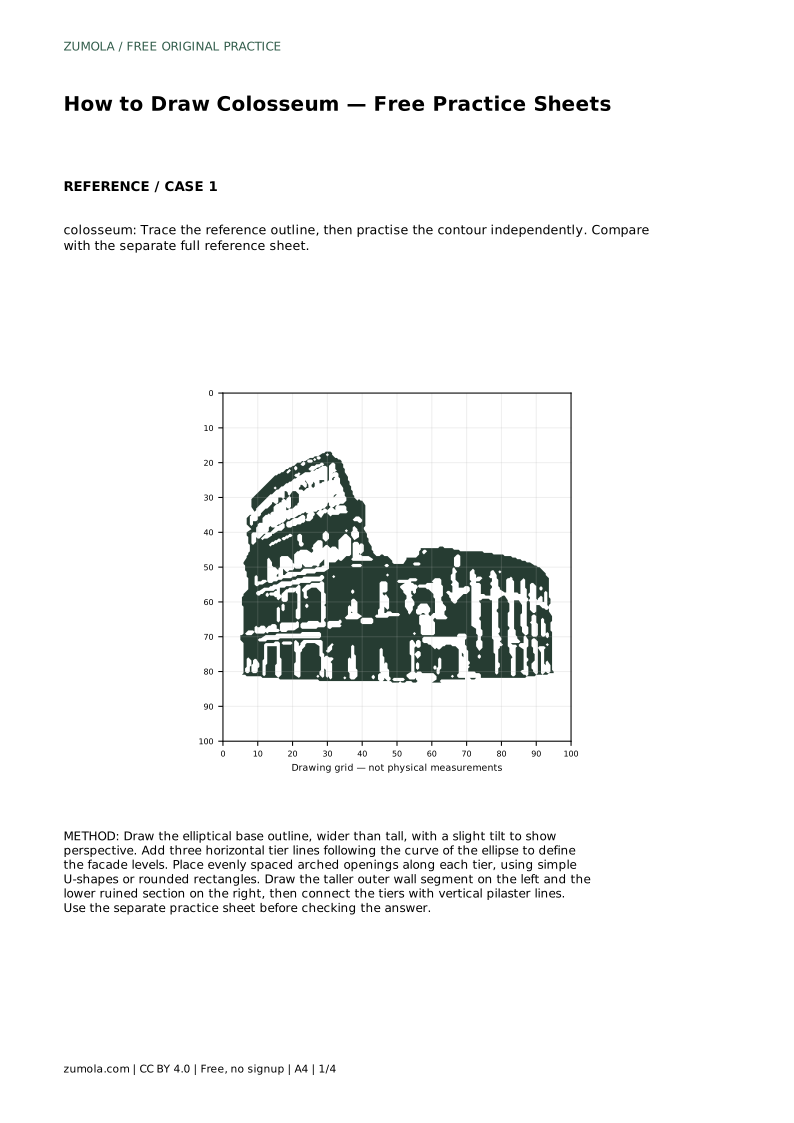
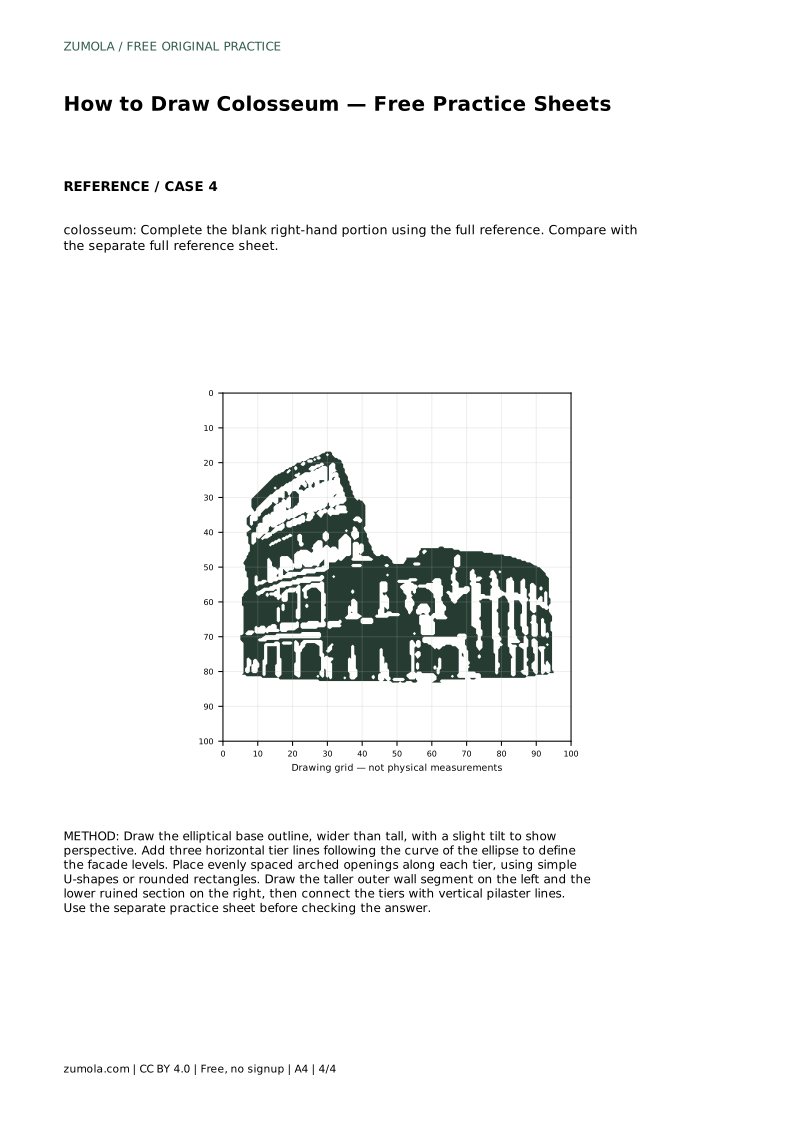
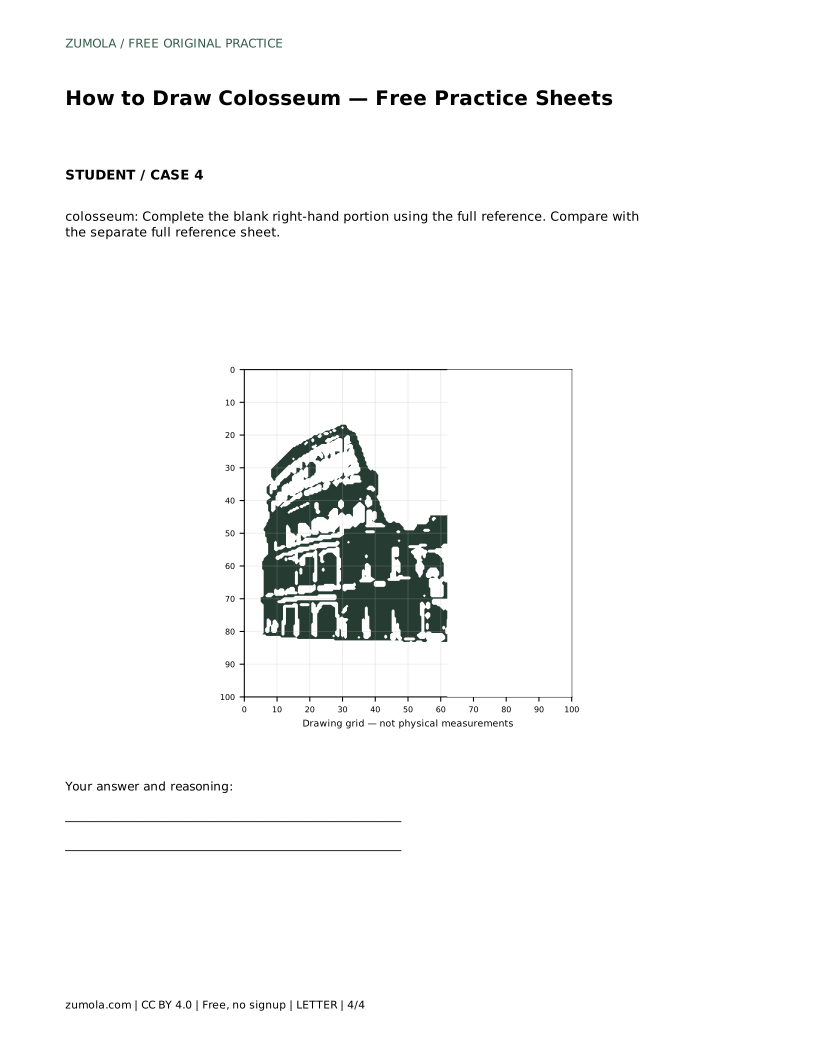
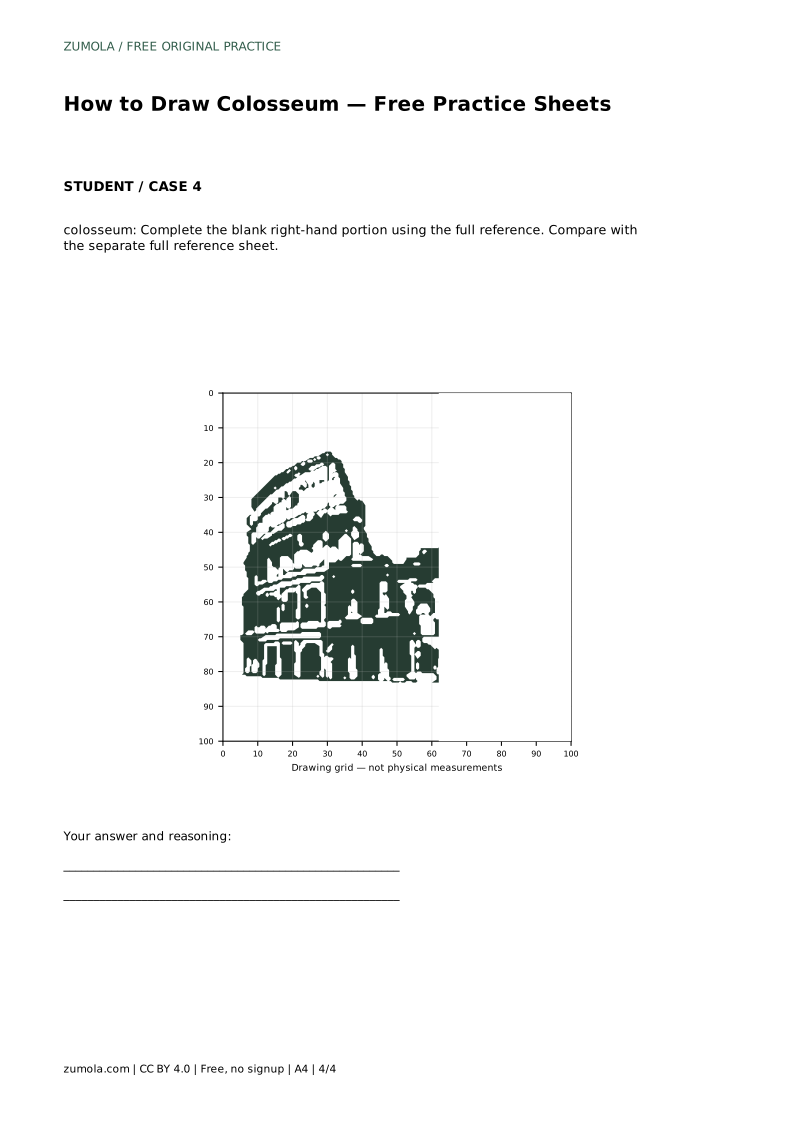
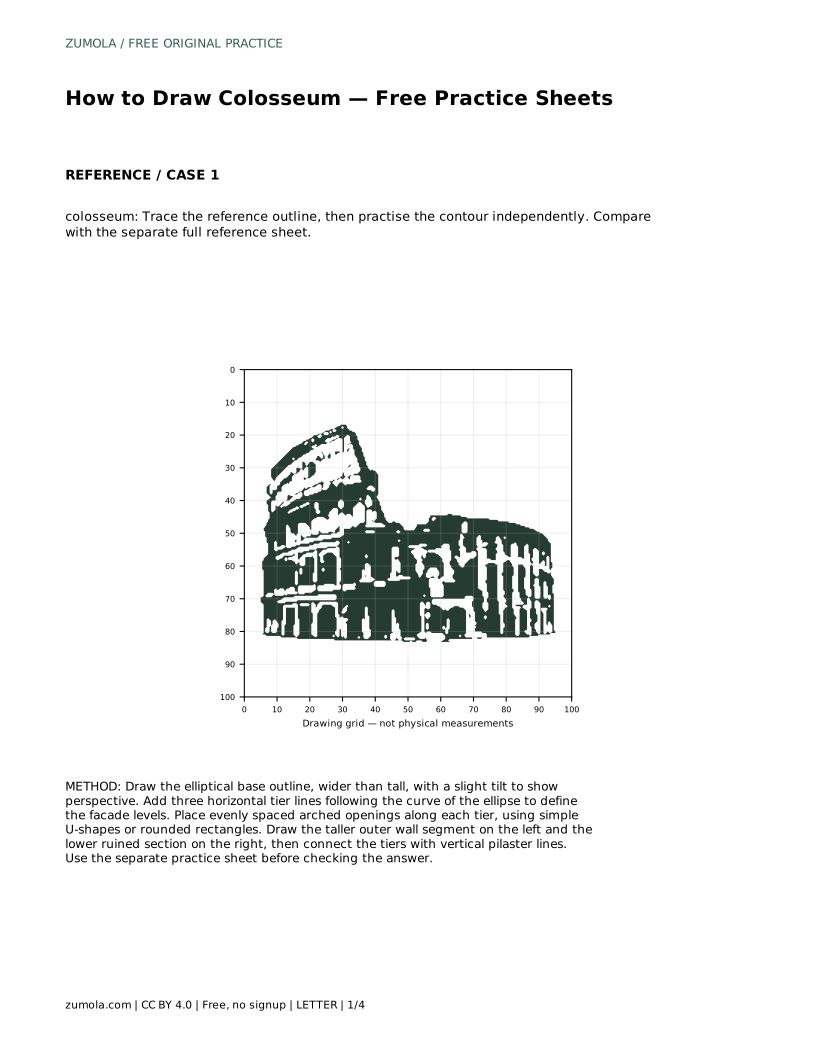
The Colosseum is not uniform: one side retains a taller outer wall, while the opposite side is lower and more ruined. In the reference, the taller outer wall segment appears on the left, and the lower ruined section on the right. Draw the taller wall by extending the left side upward beyond the top tier line, then connect the tiers with vertical pilaster lines. The lower section on the right stops at a lower tier, exposing the inner structure.
Use vertical lines to suggest pilasters between the arches. These lines should run from the base up through the tiers, helping the facade read as a coherent structure. Keep the taller wall’s top edge roughly parallel to the tier lines below. The contrast between the tall left side and the low right side is a key identifying feature, so make that difference clear.
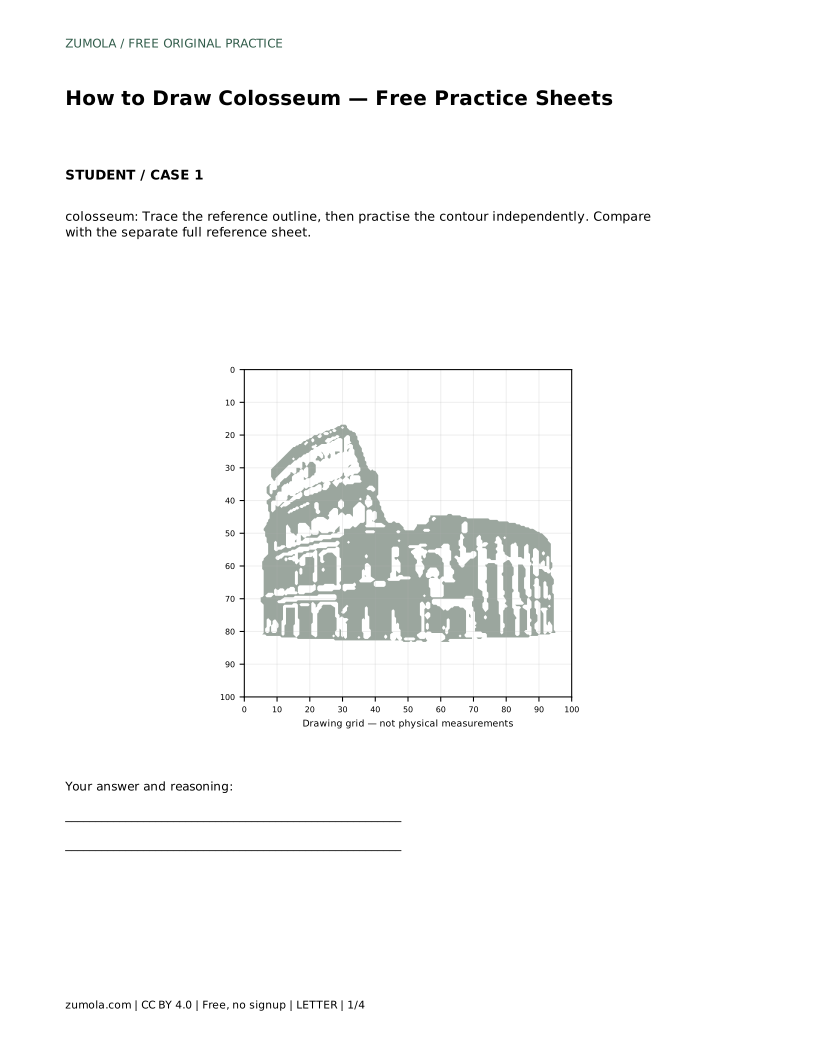
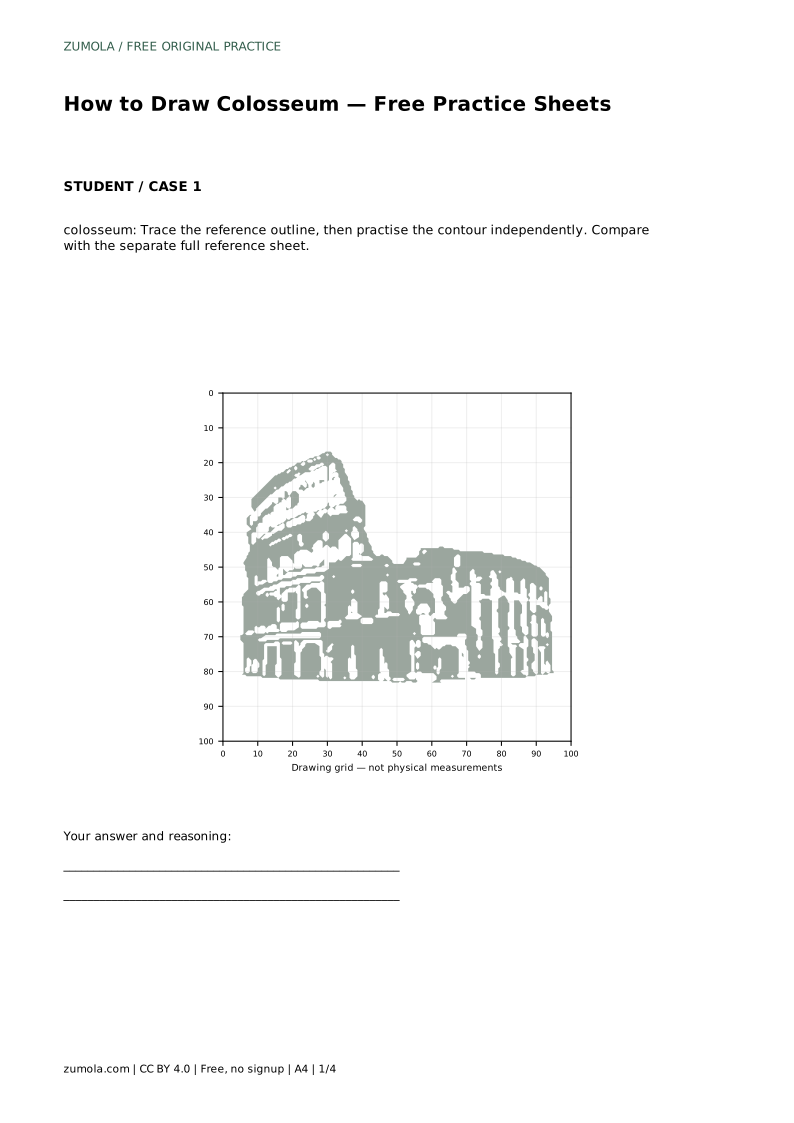
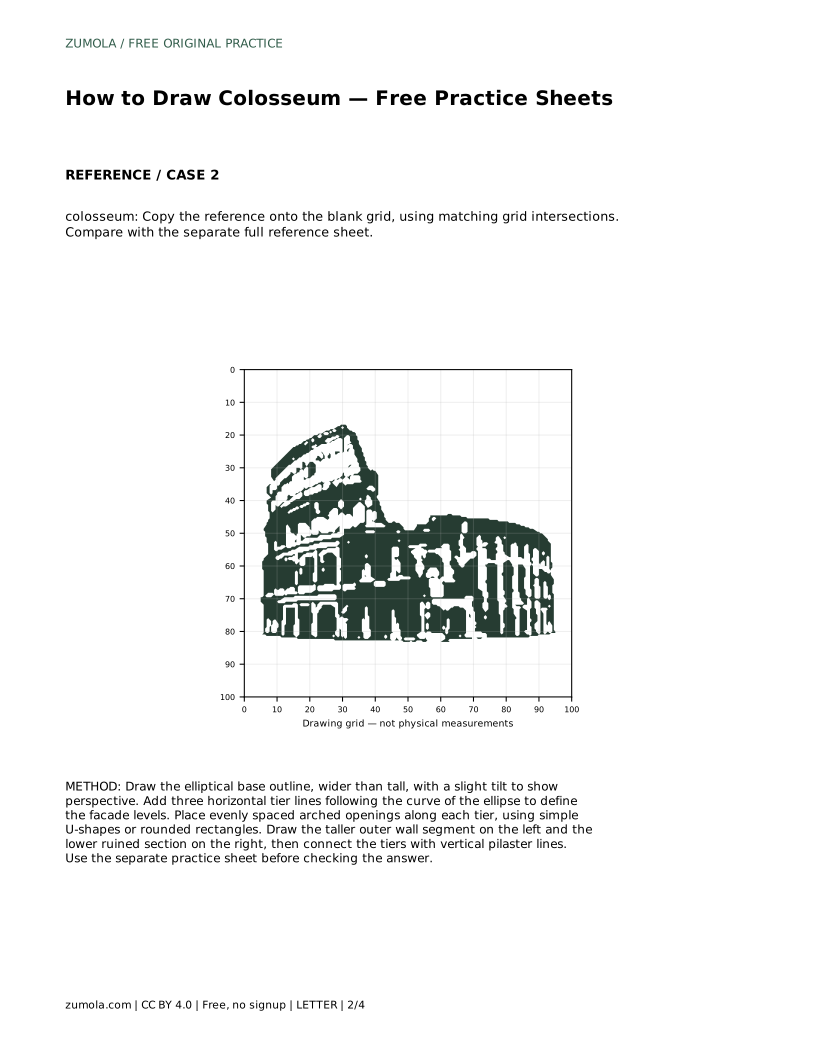
colosseum: Trace the reference outline, then practise the contour independently. Compare with the separate full reference sheet.
Example solution: preserve curved tiered facade with multiple horizontal bands, repeating arched openings on several levels, elliptical footprint with a taller outer wall and lower inner section. Other drawings can be correct; assess the visible features and proportions rather than pixel-perfect matching. Draw the elliptical base outline, wider than tall, with a slight tilt to show perspective. Add three horizontal tier lines following the curve of the ellipse to define the facade levels. Place evenly spaced arched openings along each tier, using simple U-shapes or rounded rectangles. Draw the taller outer wall segment on the left and the lower ruined section on the right, then connect the tiers with vertical pilaster lines.
No. The goal is a regular rhythm of repeating openings, not an exact count. Aim for even spacing and consistent shapes that read as arched openings across each tier.
The reference shows the taller outer wall on the left and the lower ruined section on the right. This contrast is a key identifying feature, so preserve the difference rather than making both sides equal.
Yes. The grid helps you place the silhouette and tier lines proportionally. Use matching grid intersections as a guide, but allow your drawing to differ in small details as long as the elliptical base, tiered facade, and repeating arches are clear.
All drawing practice · Free coordinate paper
Original resources · CC BY 4.0 · Free for personal and classroom use with attribution.