Reference diagrams
LETTER · Download PDF
A4 · Download PDF
Free original resources
Learn to draw a papaya by building its pear-shaped body, thick rind contour, and central seed cavity. Includes tracing, grid, and frame practice guidance.
Four original cases, with reference diagrams, practice sheets and worked answers. Everything is free; no signup required.
LETTER · Download PDF
A4 · Download PDF
LETTER · Download PDF
A4 · Download PDF
LETTER · Download PDF
A4 · Download PDF
Use A4 or US Letter to match your printer. Use the stated values and conditions to solve each exercise; diagrams are not physical measuring rulers.
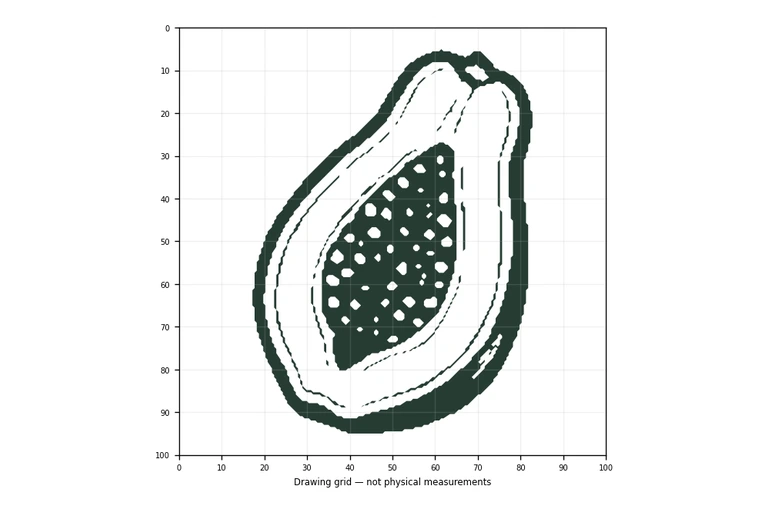
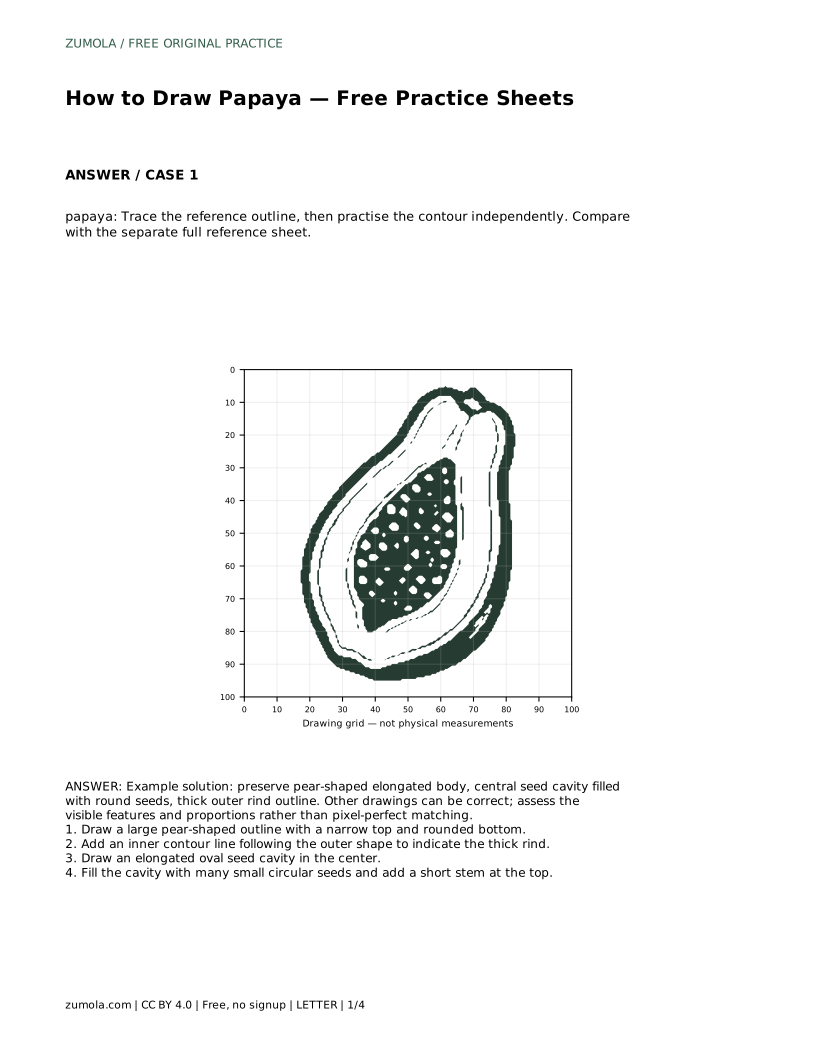
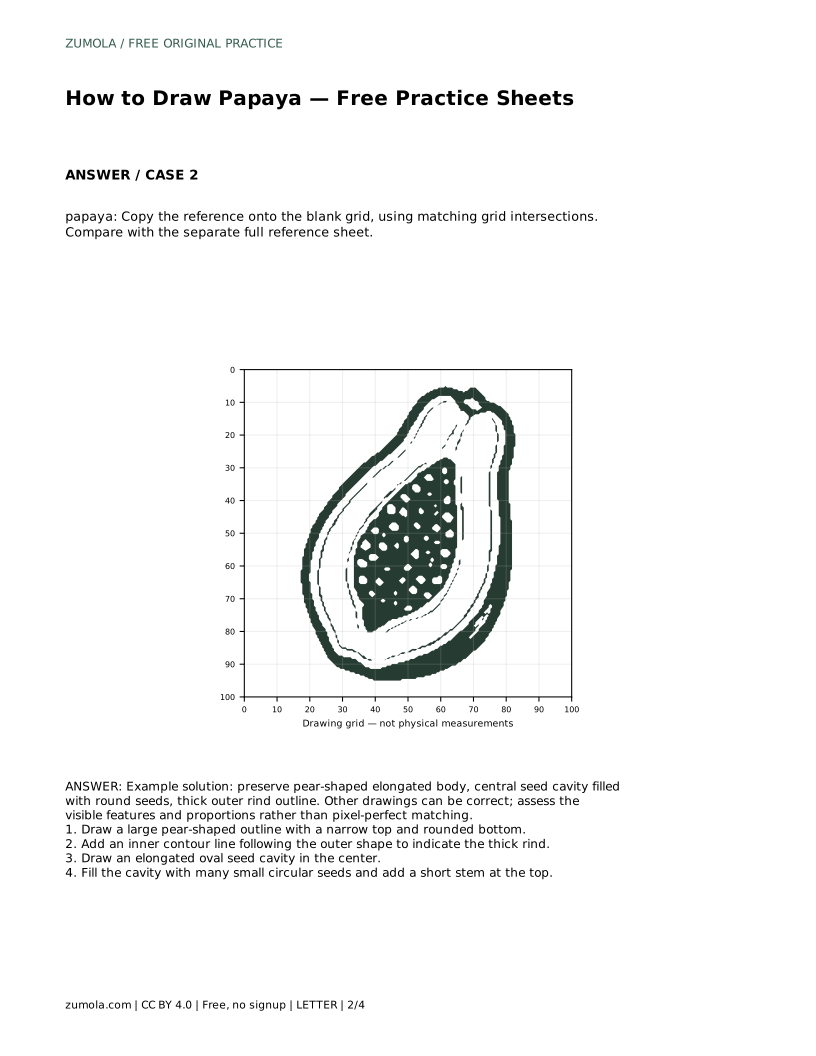
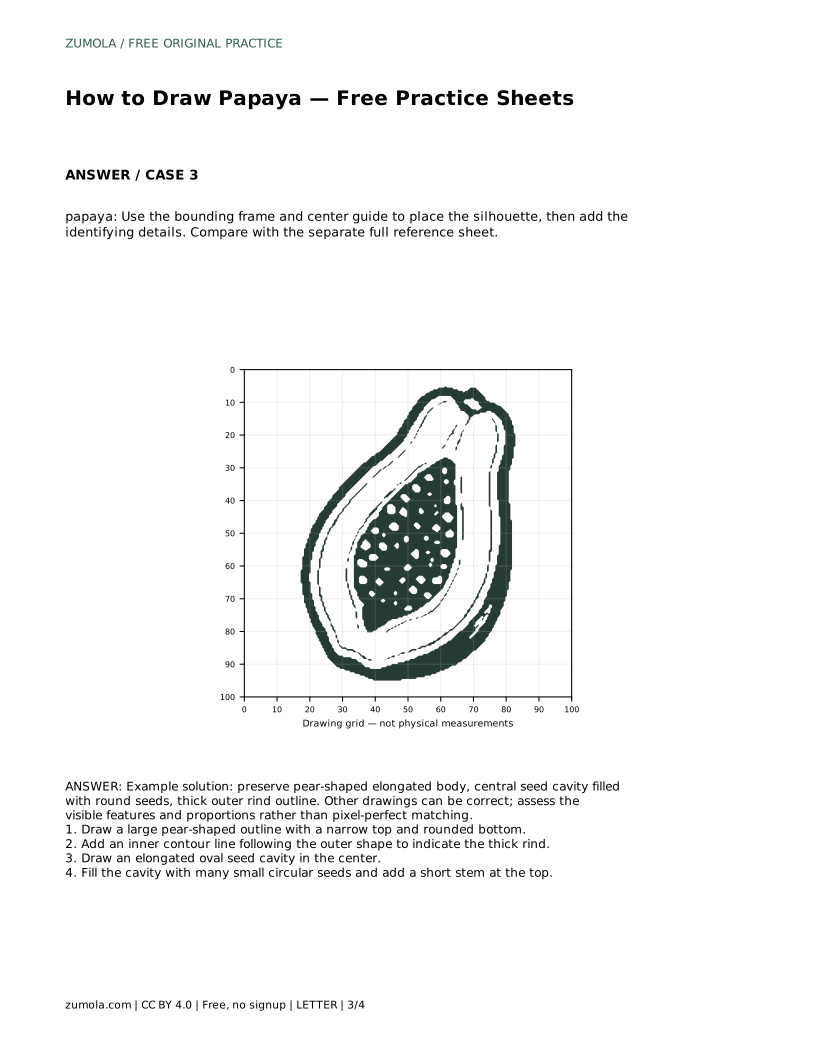
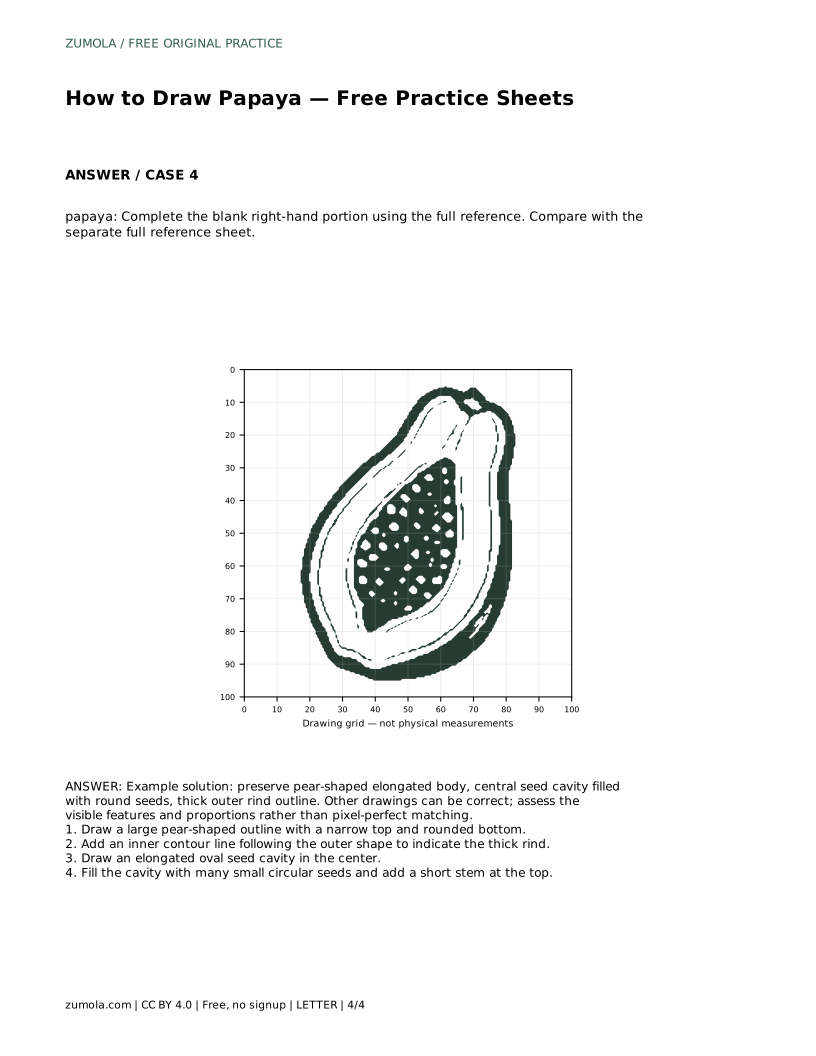
A papaya drawing reads clearly when three features work together: an elongated pear-shaped body, a visible inner contour that suggests thick rind, and a central seed cavity filled with small round seeds. This page explains how to build those features in order, then how to practise them with tracing, grid, and frame-based sheets. Because drawings can be correct in more than one way, you will assess proportions and visible features rather than chase a pixel-perfect match.
Begin with the whole fruit before any interior detail. A papaya is longer than it is wide, with a narrower top that widens into a rounded lower body. Think of a pear stretched slightly along its length. Keep the outline continuous and smooth; small wobbles are fine, but the overall proportion should stay tall rather than round.
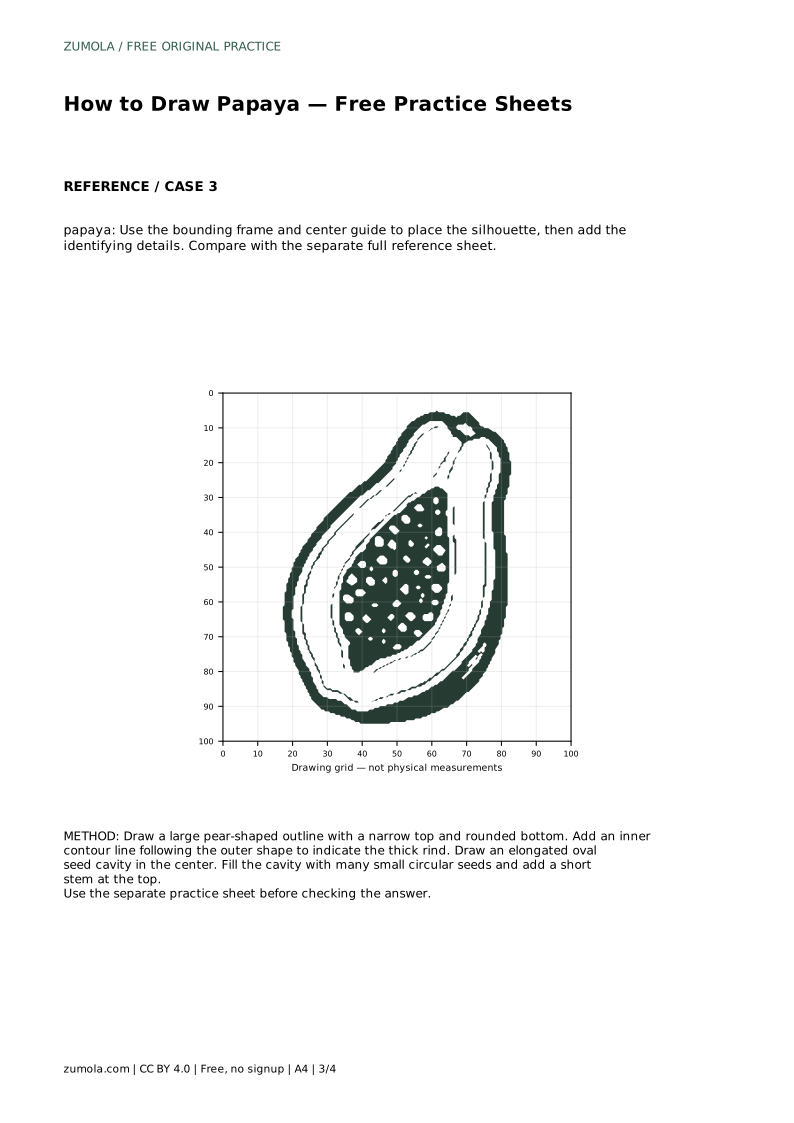
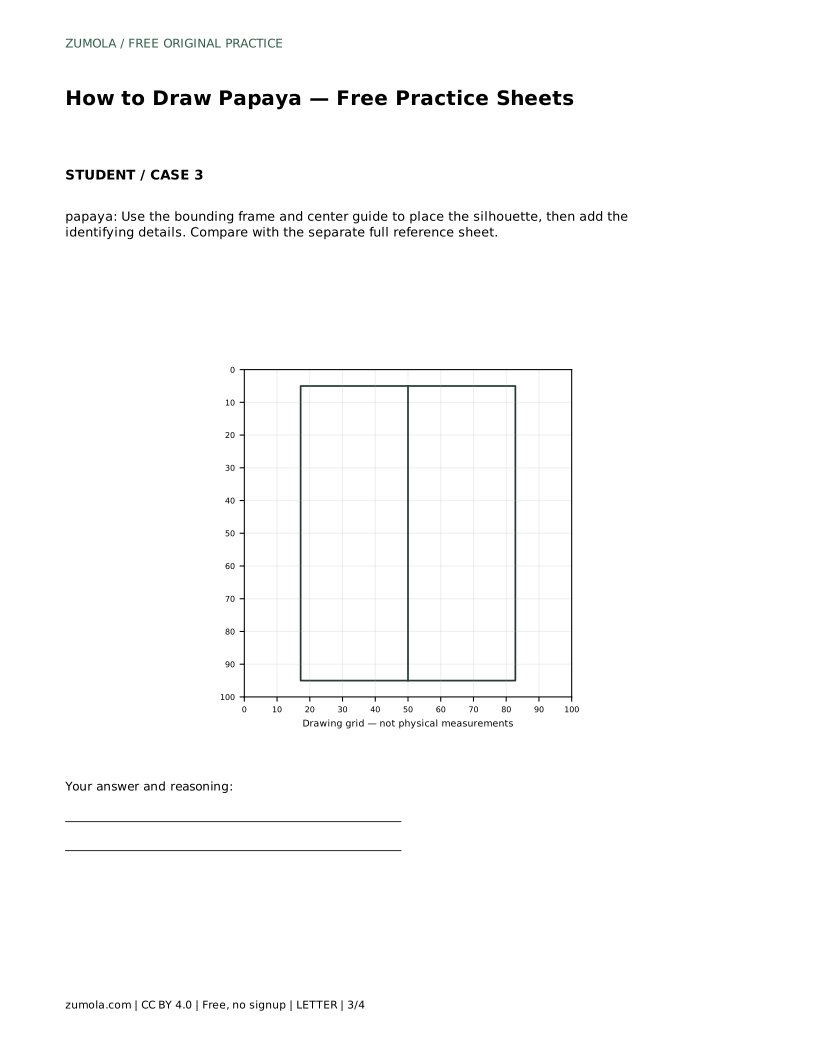
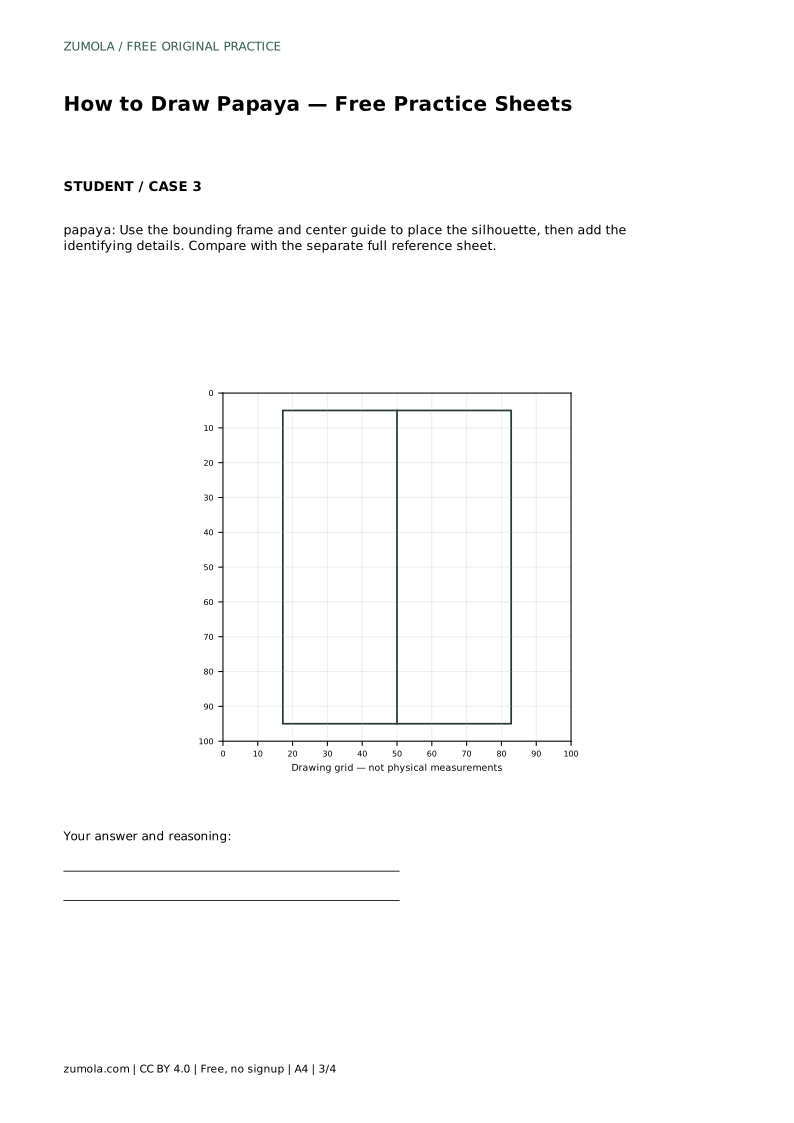
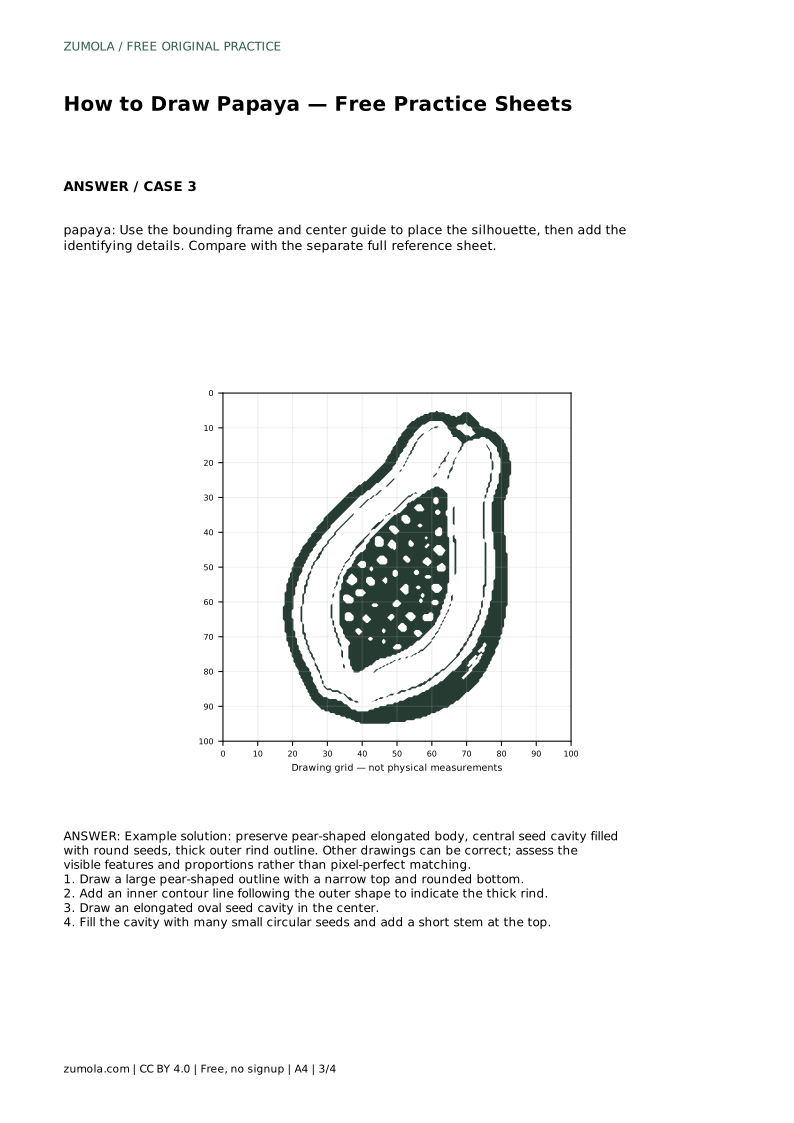
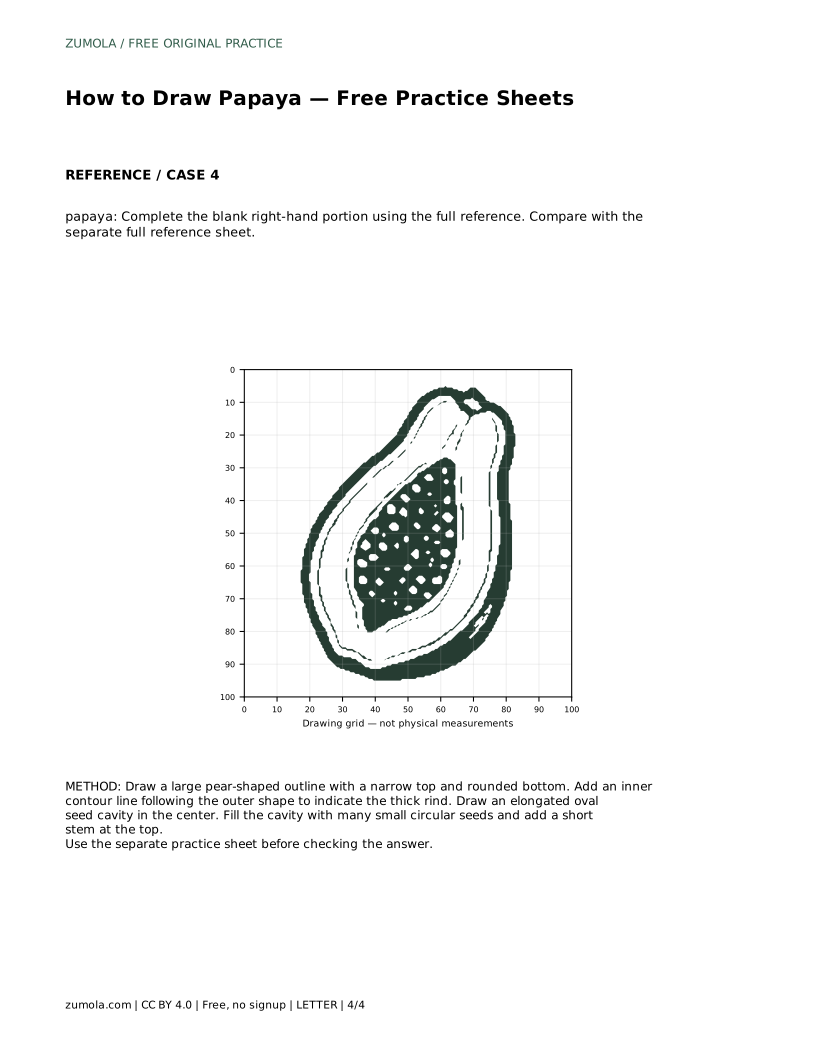
Place a short stem at the top once the body feels balanced. The stem is a small anchor, not a major feature, so keep it brief. If you are using a bounding frame or center guide, use it to position the silhouette first, then remove or ignore the guide lines as you refine the contour.
The thick outer rind is shown with an inner contour line that follows the outer shape at a steady distance. This line should echo the silhouette rather than cut across it. Keep the gap between outer and inner lines fairly even so the rind reads as a consistent thickness.
Inside the body, draw an elongated oval seed cavity in the center. It should follow the fruit's long axis, leaving rind visible on all sides. Fill the cavity with many small circular seeds, varying their size slightly so the cluster looks natural. Seeds near the cavity edge can be partly hidden by the rind line.
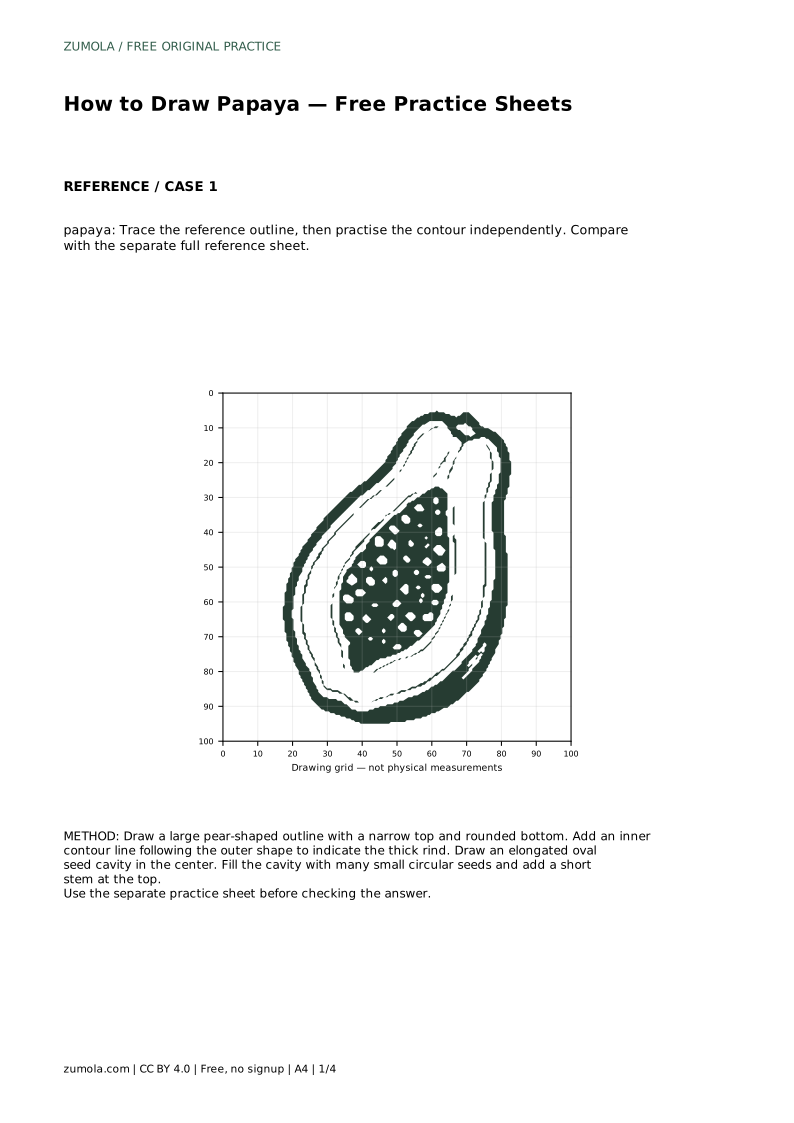
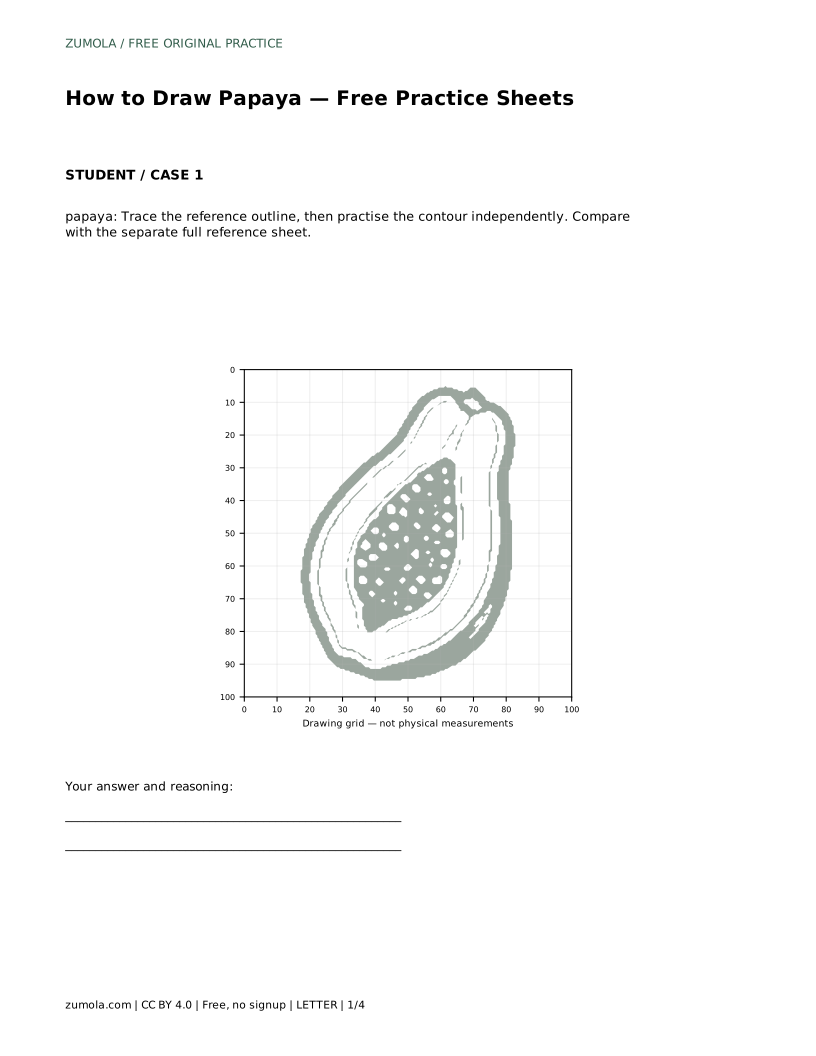
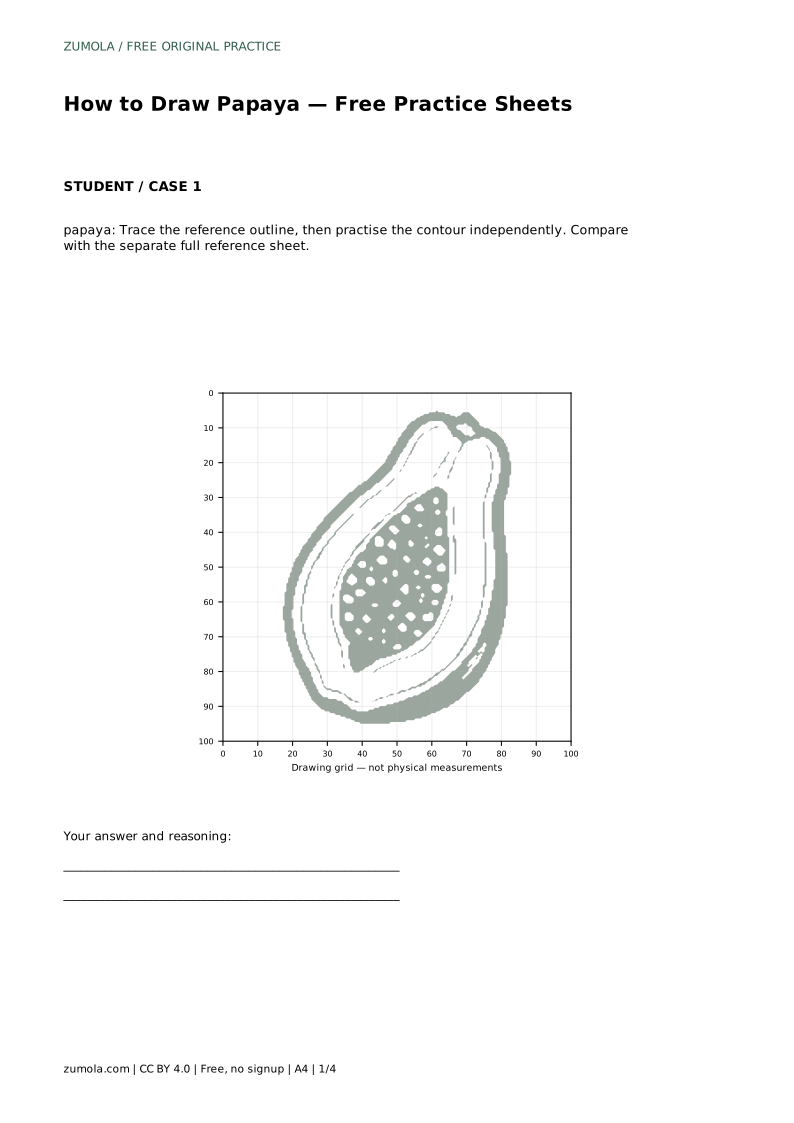
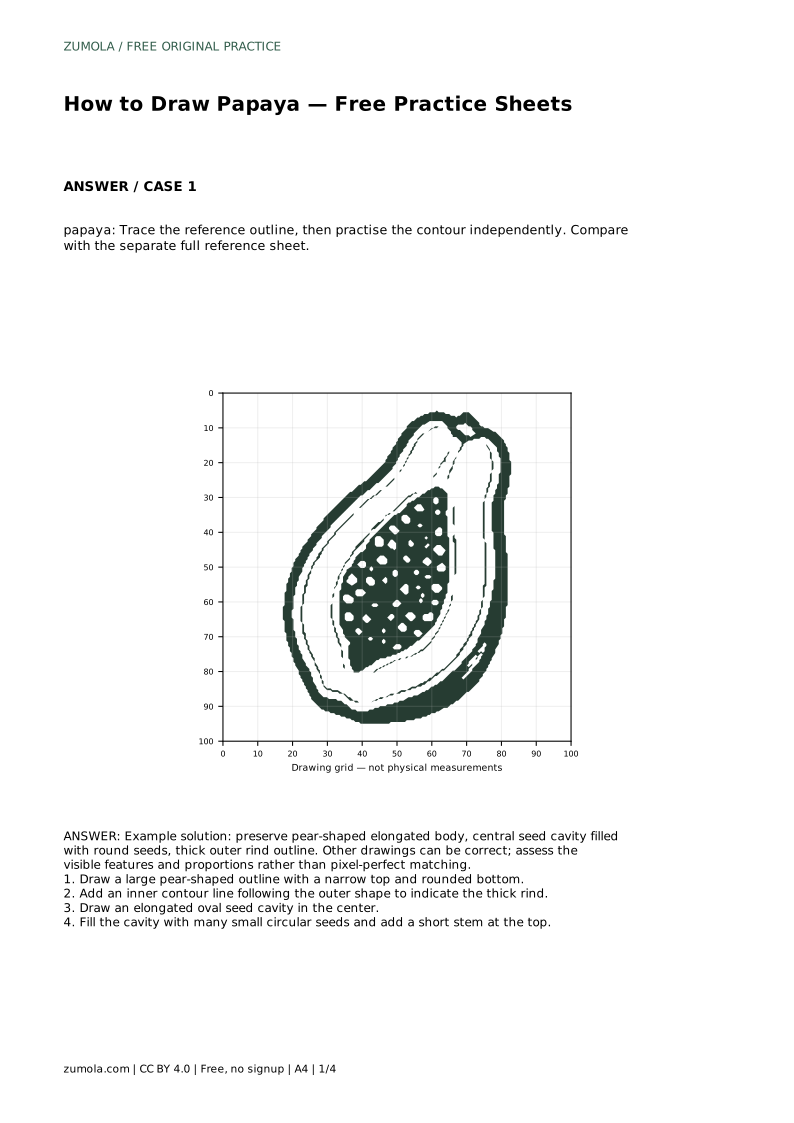
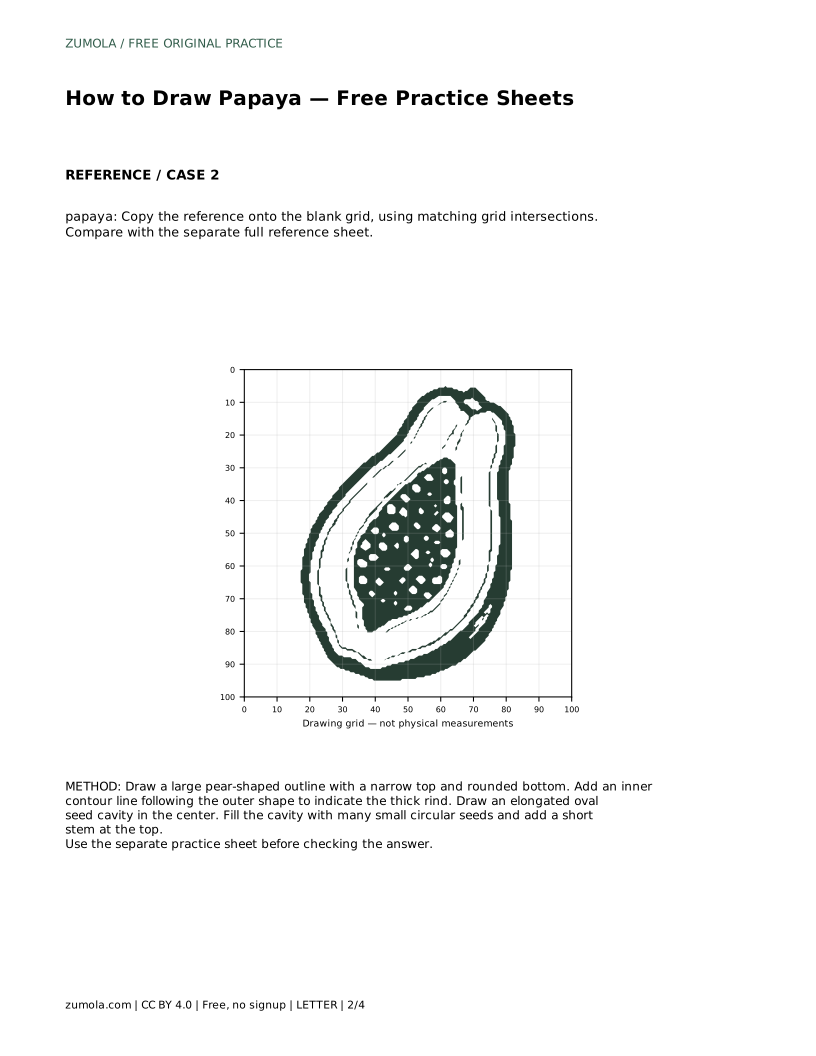
Tracing helps you feel the contour before drawing it independently. Trace the reference outline, then set the tracing aside and redraw the contour from memory. Compare your independent version with the separate full reference sheet, noting where the body widened too early or the cavity drifted off center.
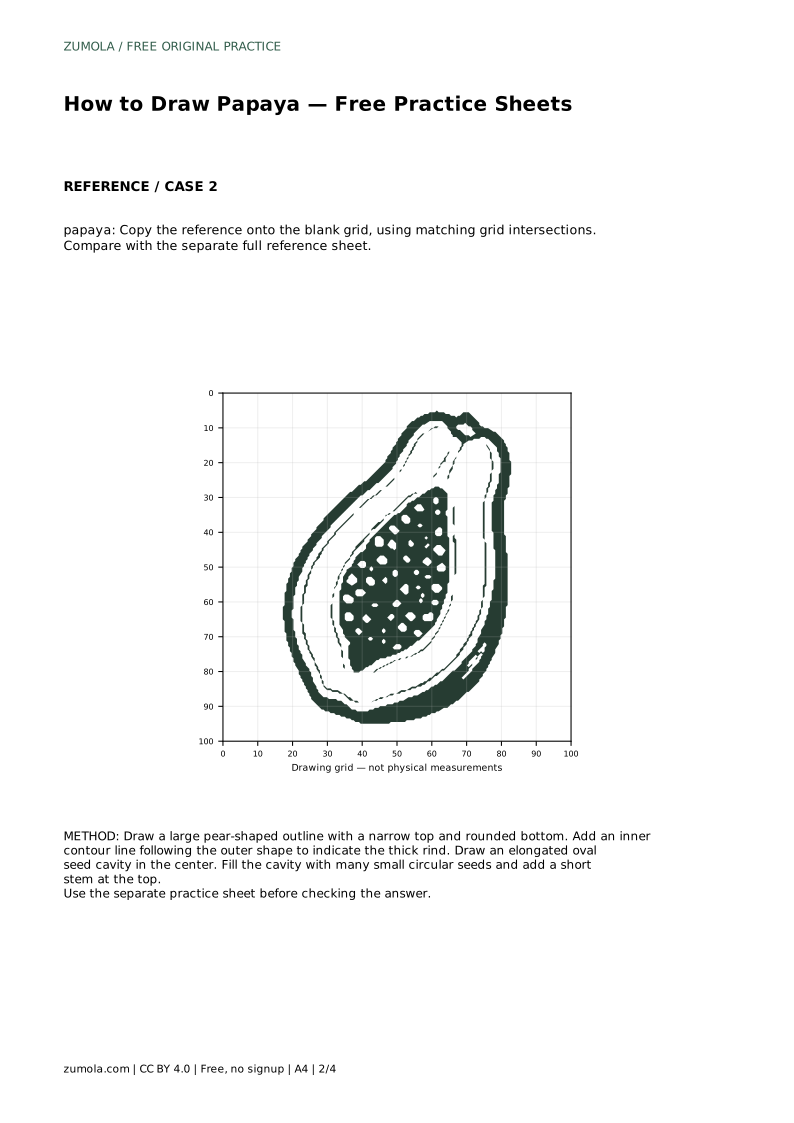
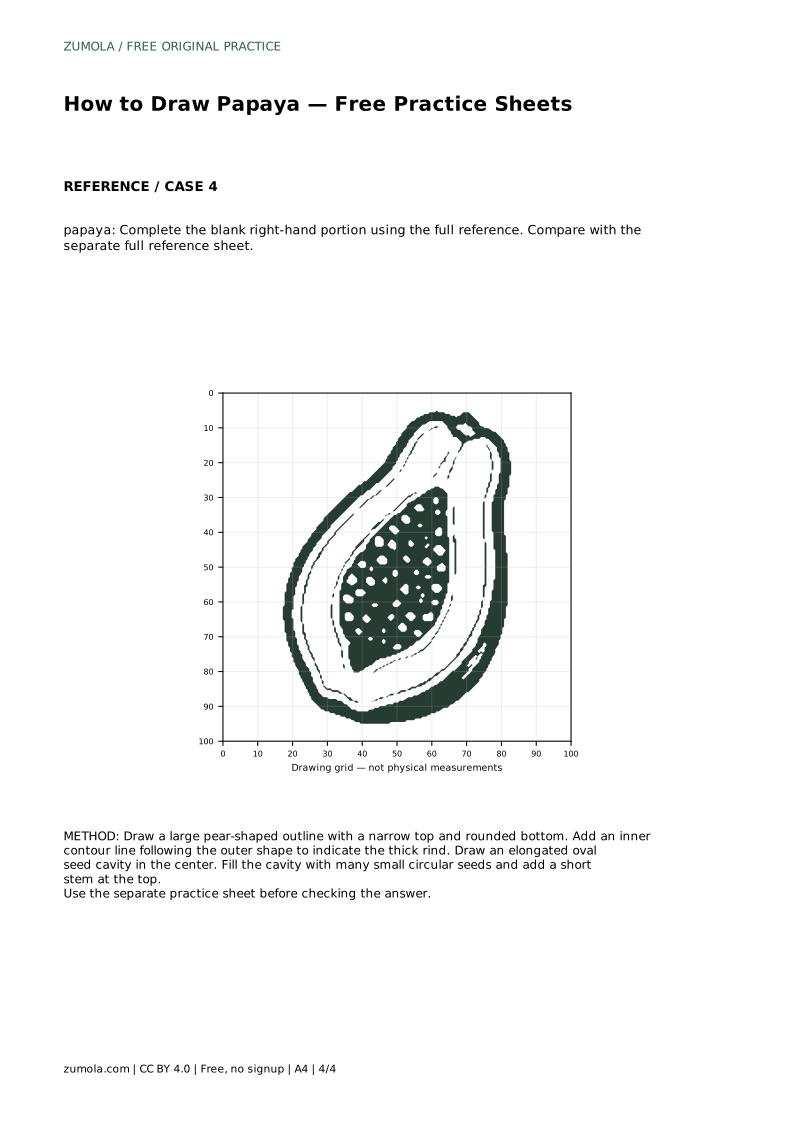
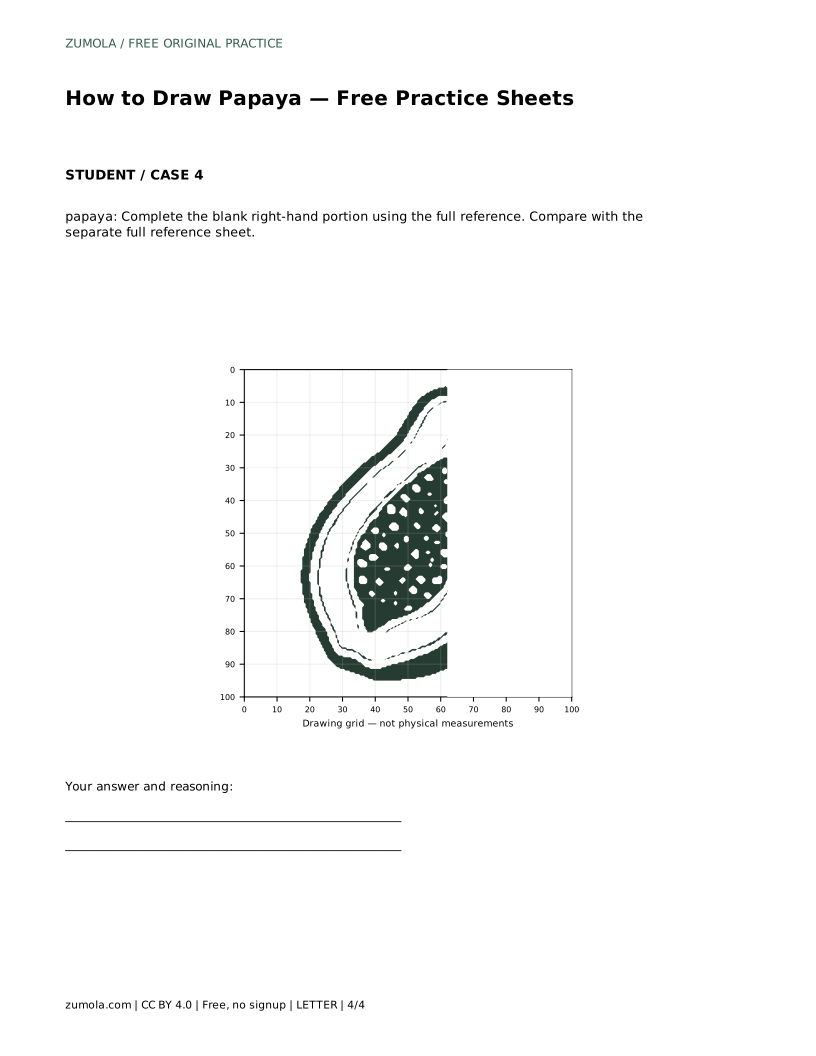
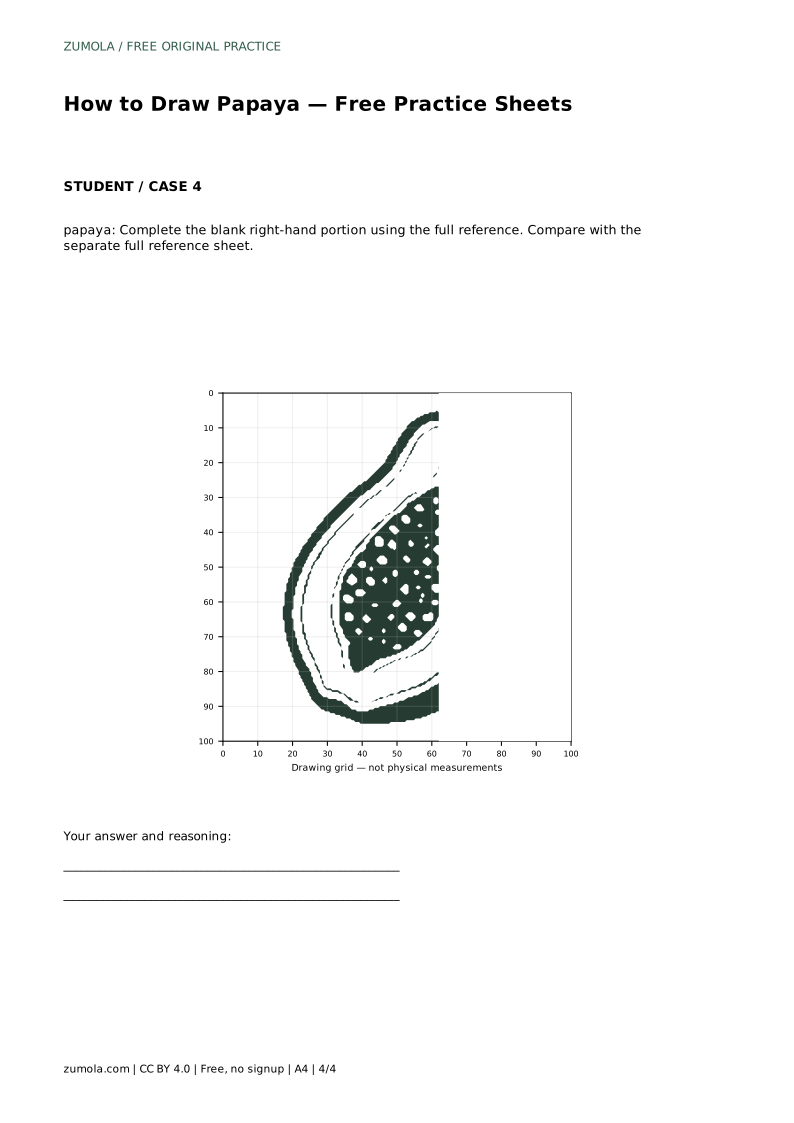
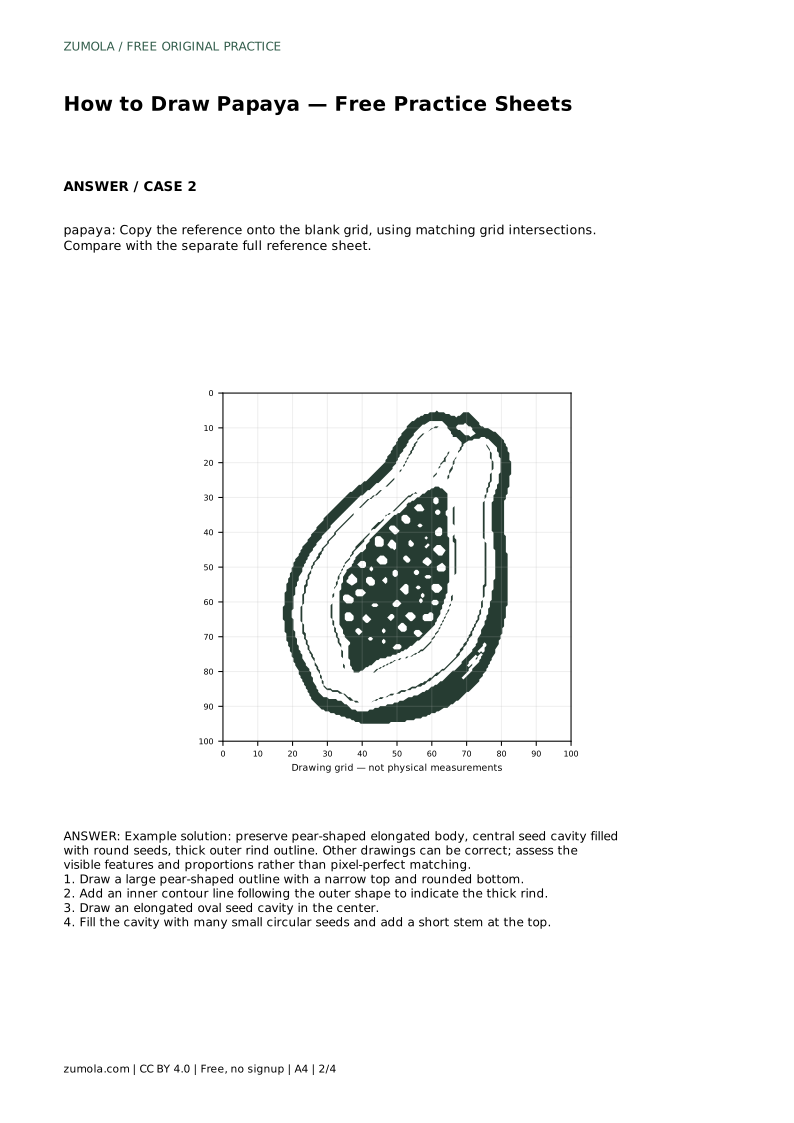
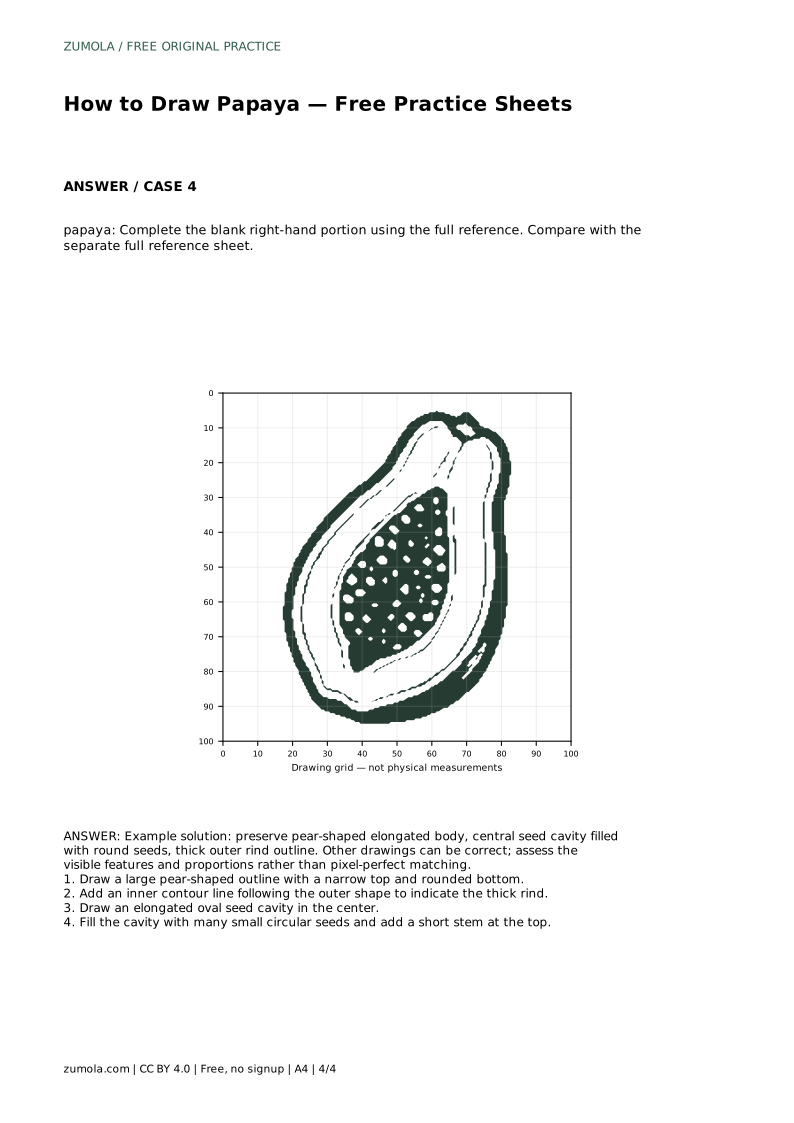
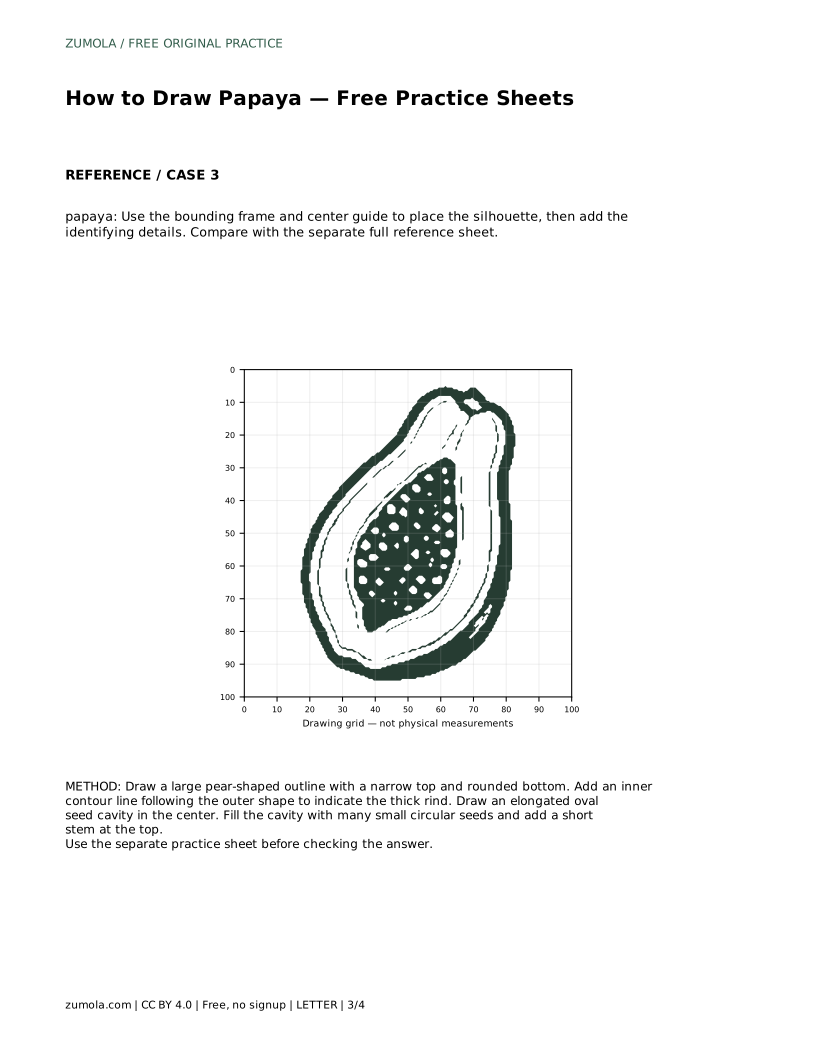
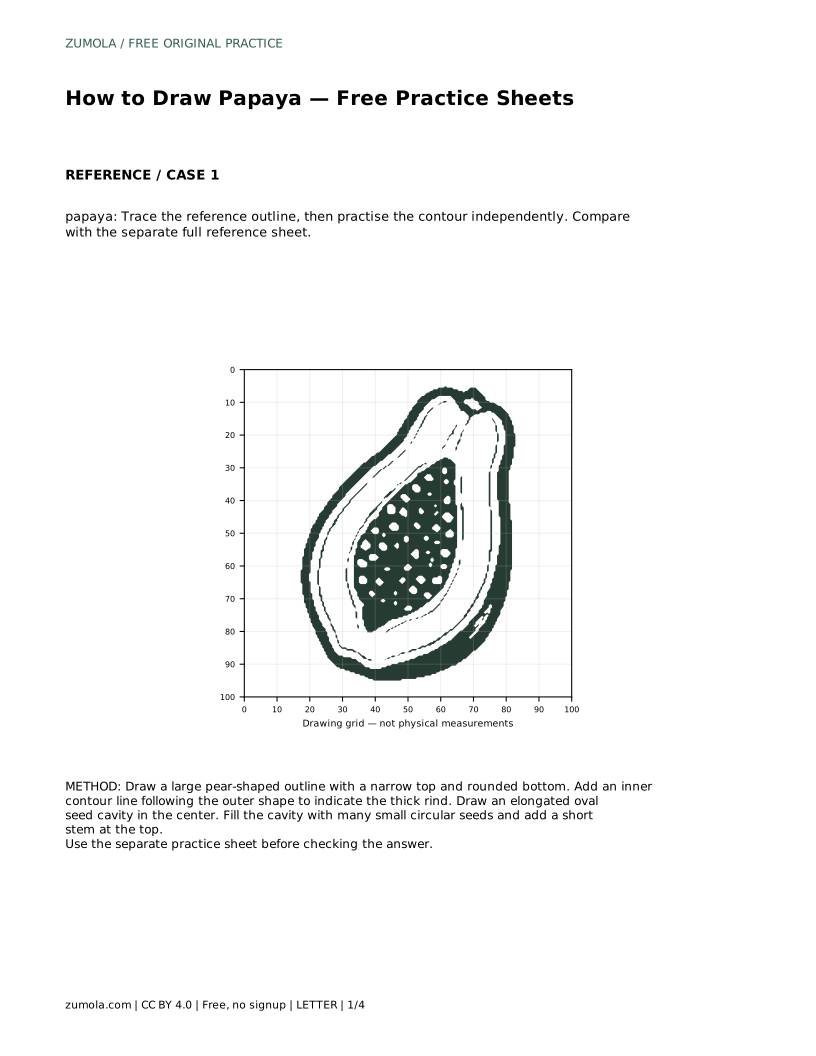
Grid copying trains placement. Copy the reference onto the blank grid using matching grid intersections, so the narrow top, widest point, and rounded base land in the right cells. The bounding frame and center guide method works differently: place the silhouette inside the frame first, then add identifying details. The partial-reference method asks you to complete the blank right-hand portion using the full reference, which tests whether you can continue curves and spacing consistently.
There is no single correct papaya drawing. Use a rubric: does the body read as elongated and pear-shaped, is the rind contour present and even, is the seed cavity central and oval, and are the seeds round and clustered inside it? Compare with the full reference sheet to spot proportion drift, but accept reasonable variation in seed count and outline smoothness.
papaya: Trace the reference outline, then practise the contour independently. Compare with the separate full reference sheet.
Example solution: preserve pear-shaped elongated body, central seed cavity filled with round seeds, thick outer rind outline. Other drawings can be correct; assess the visible features and proportions rather than pixel-perfect matching. Draw a large pear-shaped outline with a narrow top and rounded bottom. Add an inner contour line following the outer shape to indicate the thick rind. Draw an elongated oval seed cavity in the center. Fill the cavity with many small circular seeds and add a short stem at the top.
No. Draw enough small circles to fill the cavity convincingly; exact seed count is not assessed.
Keep it short. It is a small identifying detail, not a major part of the silhouette.
Compare visible features and proportions. Other drawings can be correct, so assess the pear-shaped body, rind contour, and central seed cavity rather than matching pixels.
All drawing practice · Free coordinate paper
Original resources · CC BY 4.0 · Free for personal and classroom use with attribution.