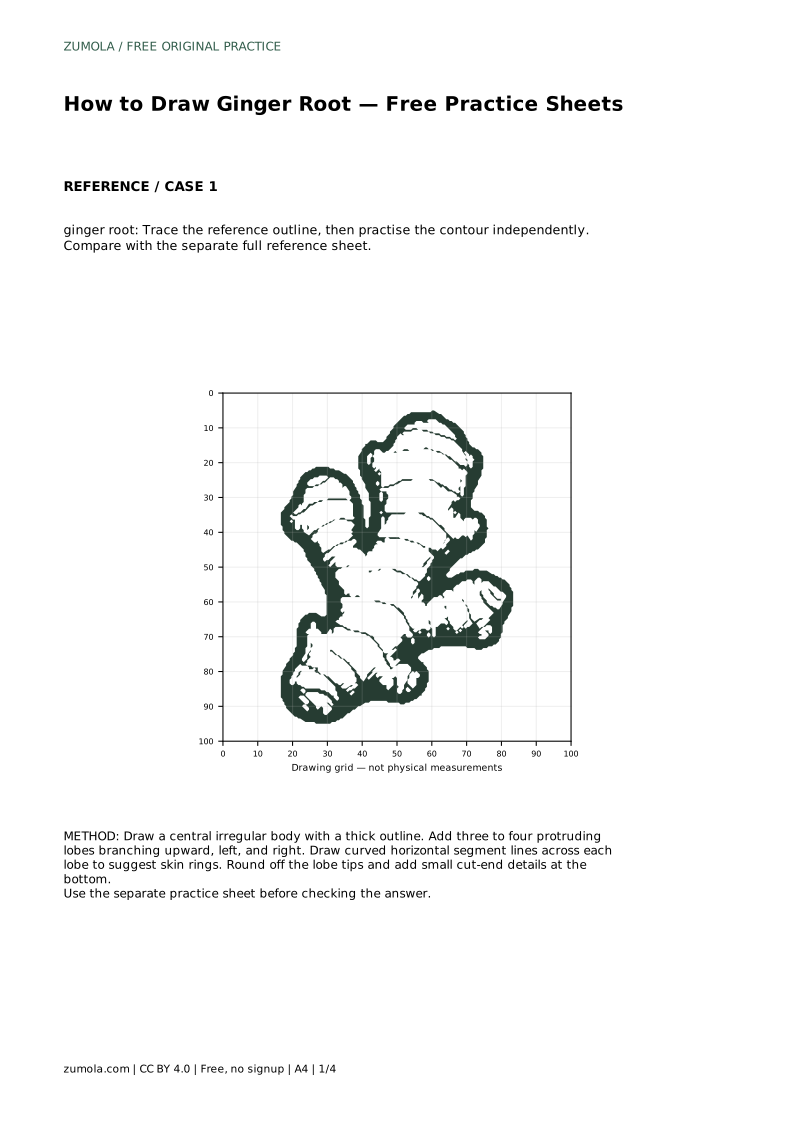
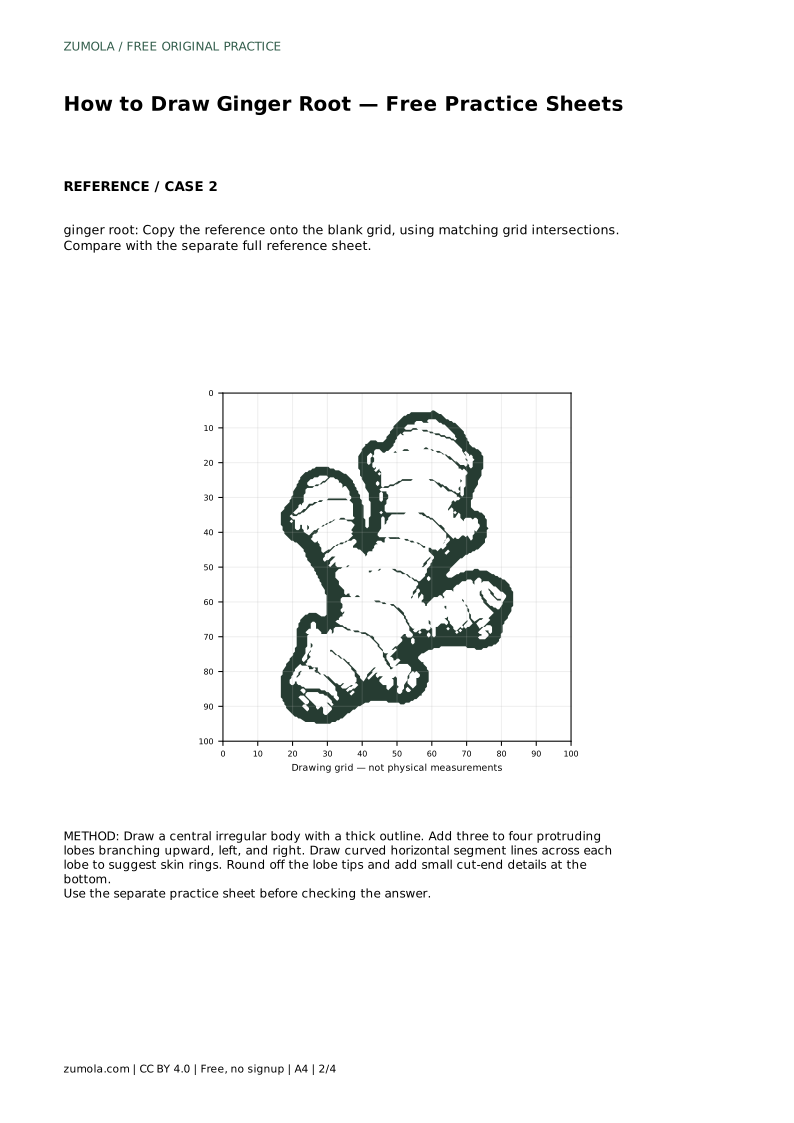
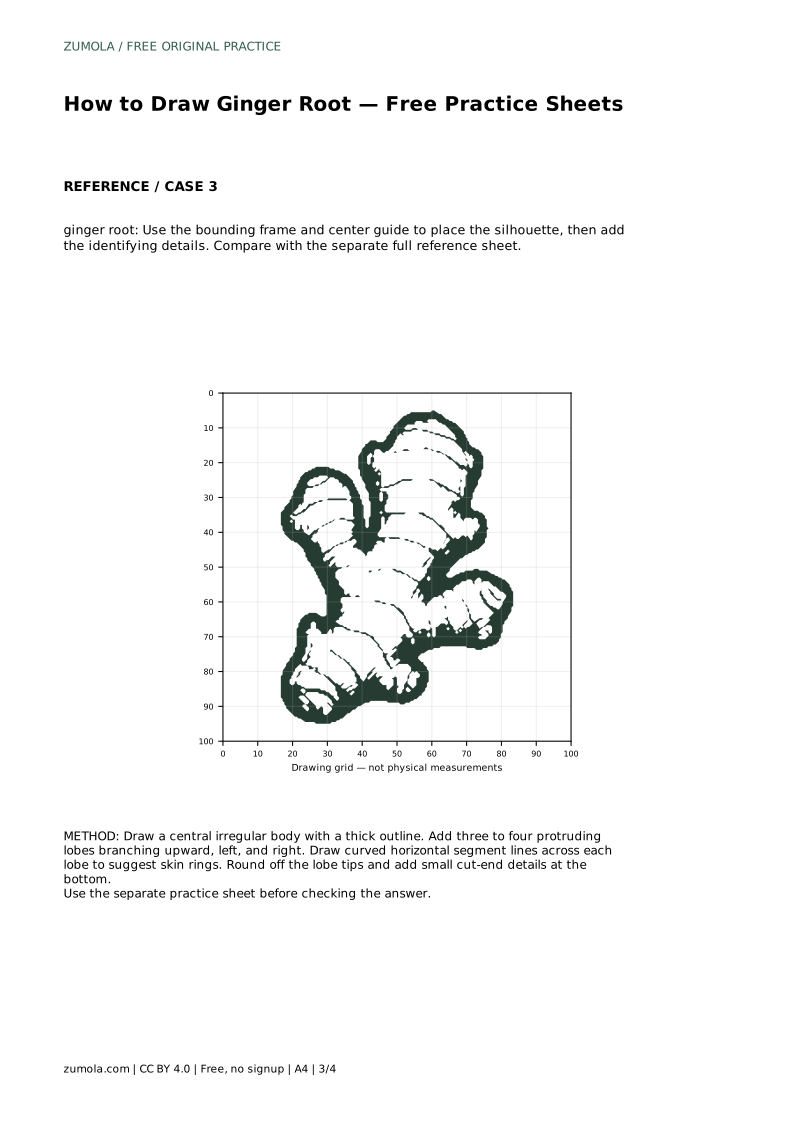
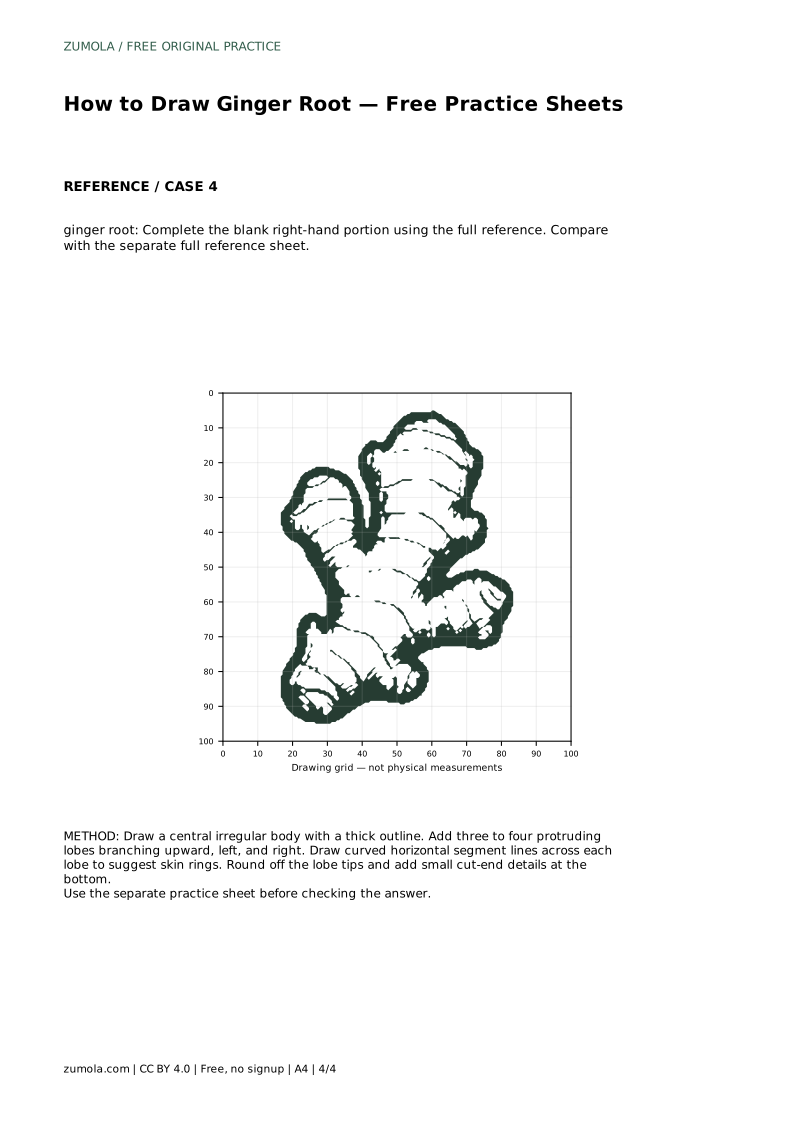
Reference diagrams
LETTER · Download PDF
A4 · Download PDF
Free original resources
Learn to draw a ginger root with a thick central body, finger-like lobes, skin rings, and rounded tips. Free printable practice sheets support tracing, grids, and guided placement.
Four original cases, with reference diagrams, practice sheets and worked answers. Everything is free; no signup required.
LETTER · Download PDF
A4 · Download PDF
LETTER · Download PDF
A4 · Download PDF
LETTER · Download PDF
A4 · Download PDF
Use A4 or US Letter to match your printer. Use the stated values and conditions to solve each exercise; diagrams are not physical measuring rulers.
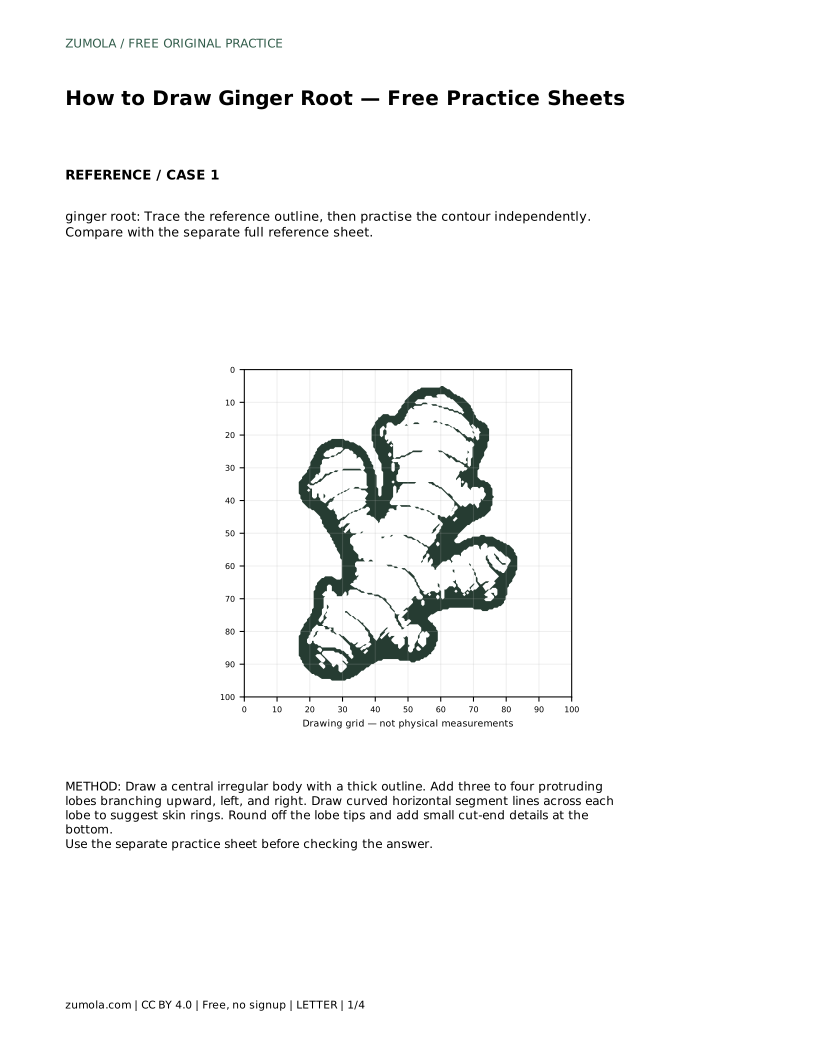
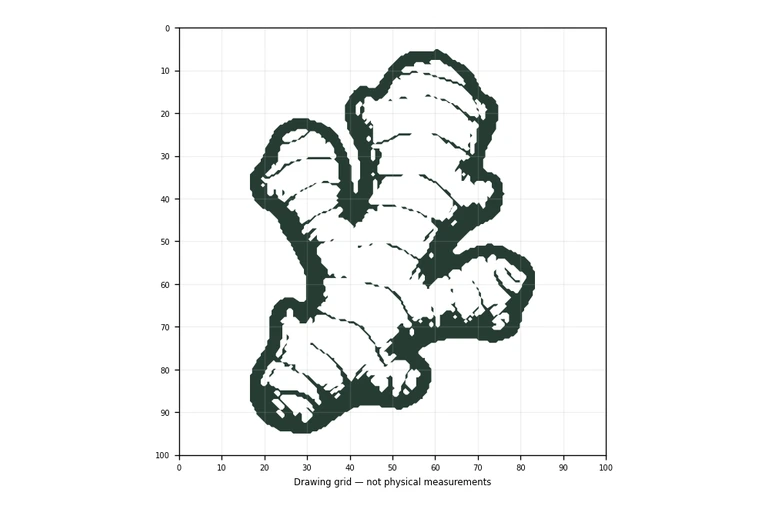
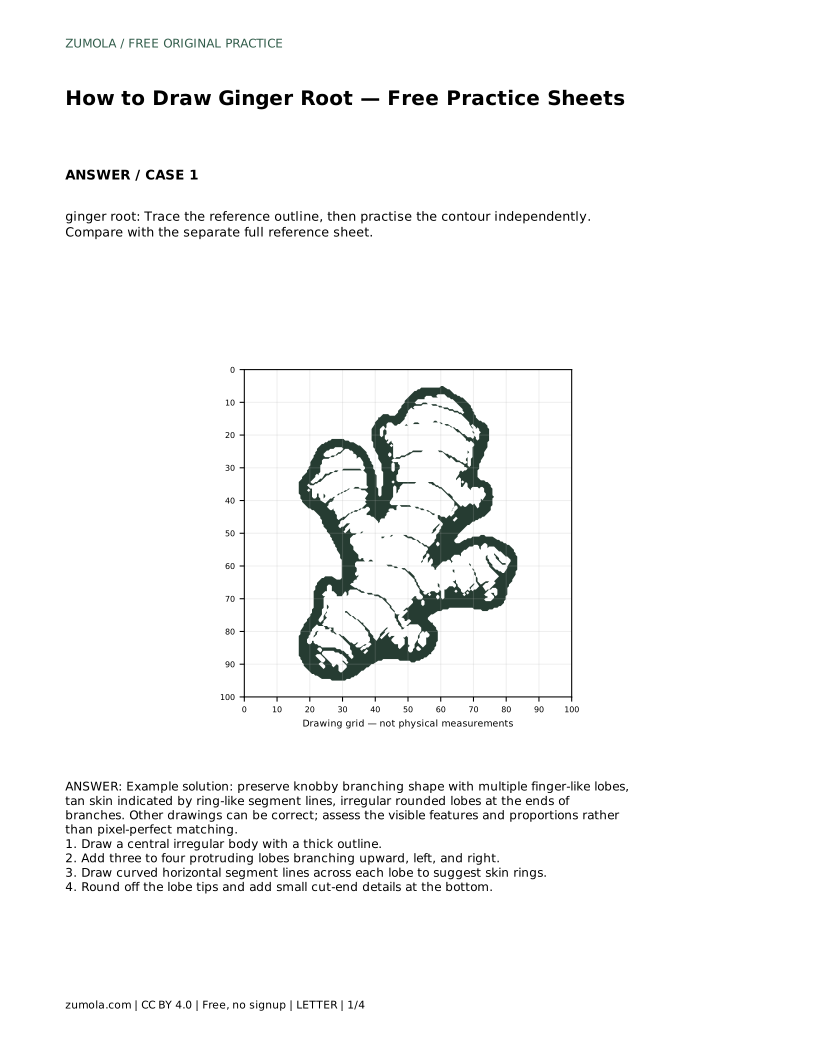
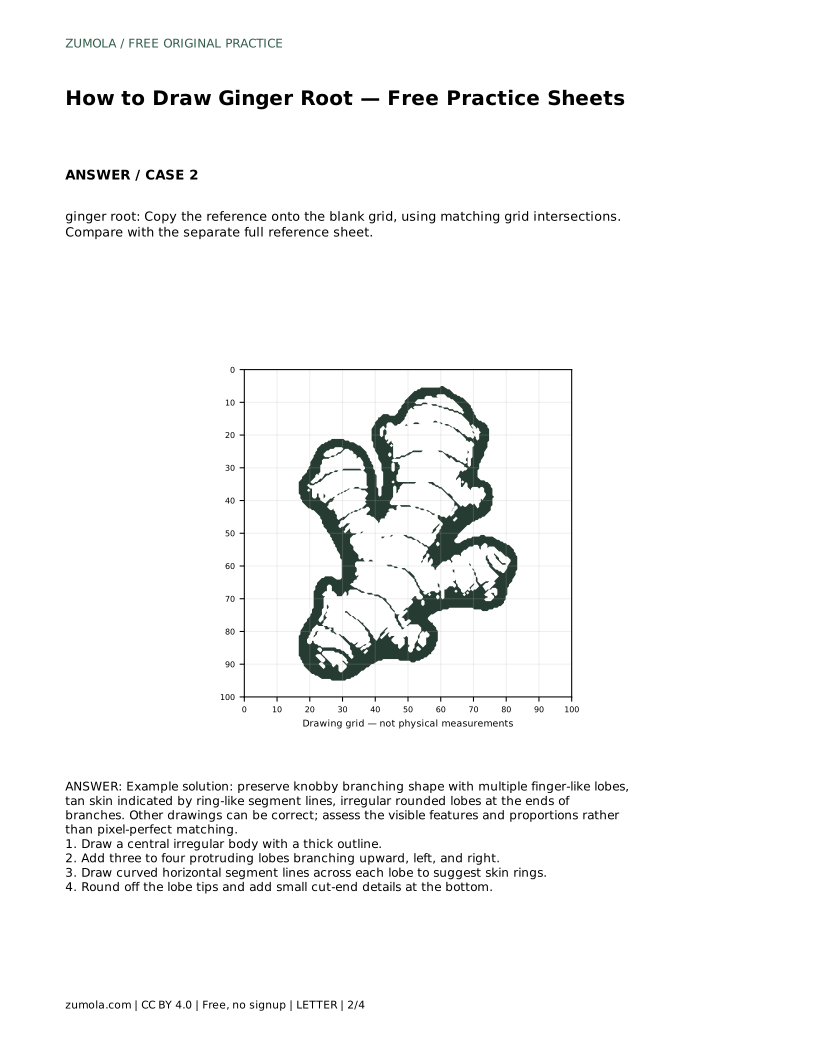
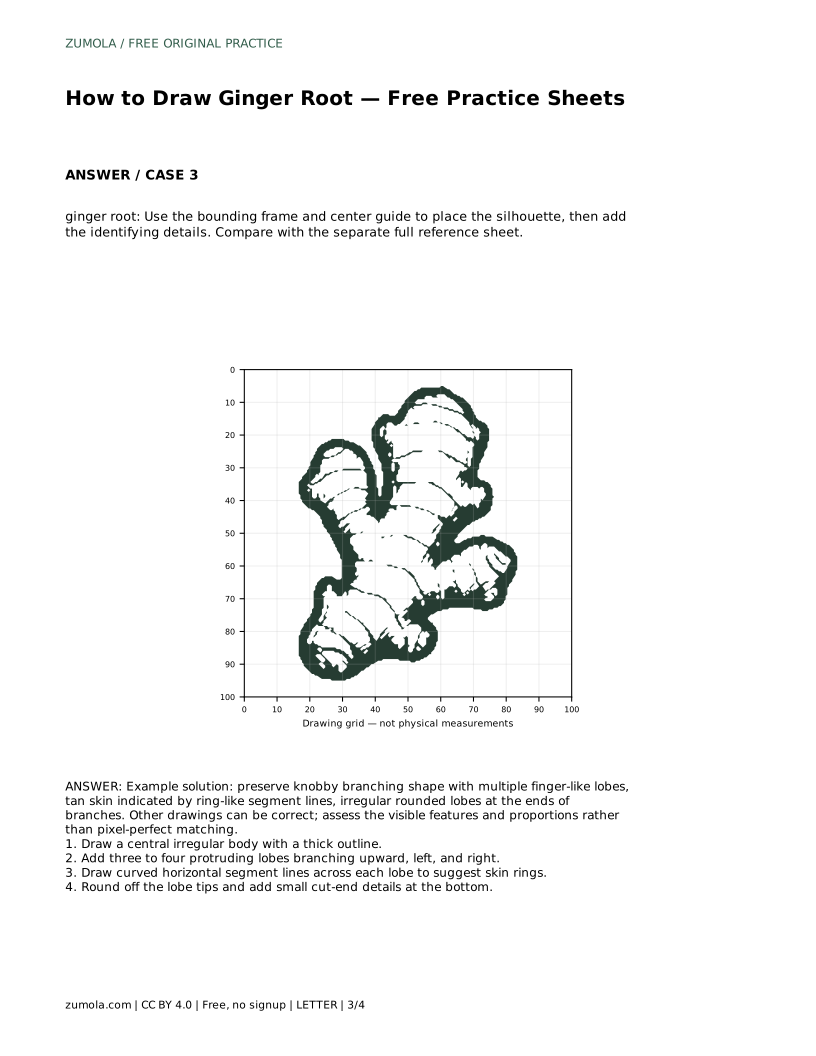
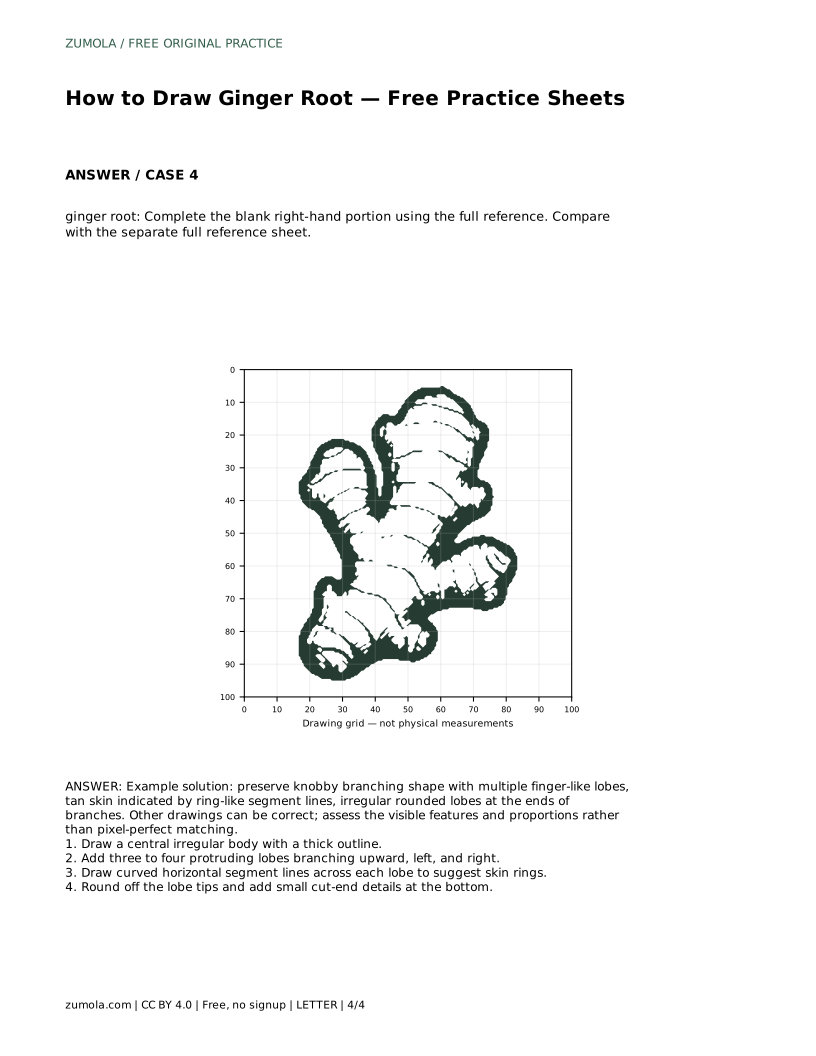
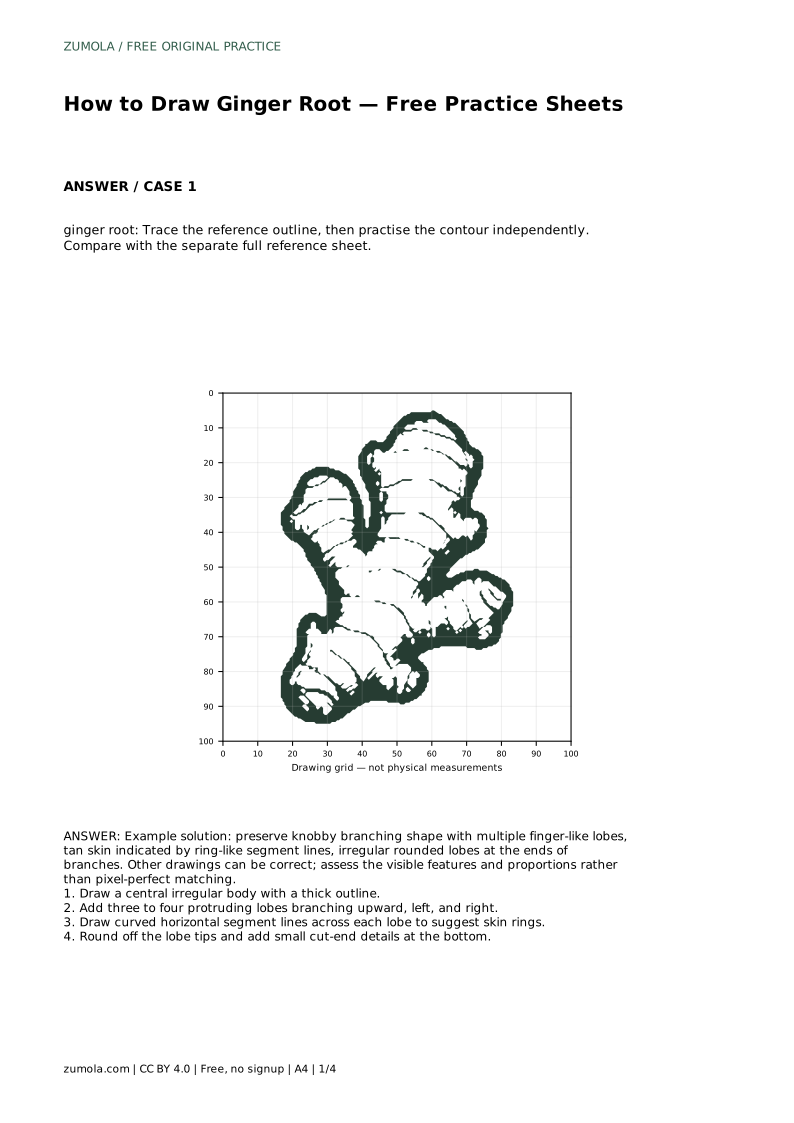
Ginger root is a rewarding subject because its shape is irregular but its features are easy to name. You are drawing a thick central body with several finger-like lobes branching outward, curved segment lines that suggest skin rings, and softly rounded tips. This page explains a reliable order for building that shape, then shows how tracing, grid copying, and guided placement sheets let you practise the same contour in different ways.
Begin by placing the main body. Draw one irregular, slightly elongated central shape with a thick outline. Keep the edges uneven rather than perfectly smooth; ginger is lumpy, and small changes in width along the body read as natural growth.
Next, add three to four protruding lobes. Let them branch upward, to the left, and to the right so the silhouette looks knobby rather than symmetrical. Each lobe should feel like a short finger joined to the body, wider where it meets the centre and narrowing gently toward its tip. Vary the length and angle of the lobes so no two look identical.
Once the silhouette is settled, draw curved horizontal segment lines across each lobe. These lines suggest the ring-like skin markings of ginger. Space them unevenly and let them follow the curve of the lobe rather than running straight across. A few short lines on the central body help tie the lobes together visually.
Round off every lobe tip. Sharp points make the drawing look like a twig rather than a root. Finish with small cut-end details at the bottom of the body, such as a short flattened edge or a tiny circular mark, to suggest where the root was separated.
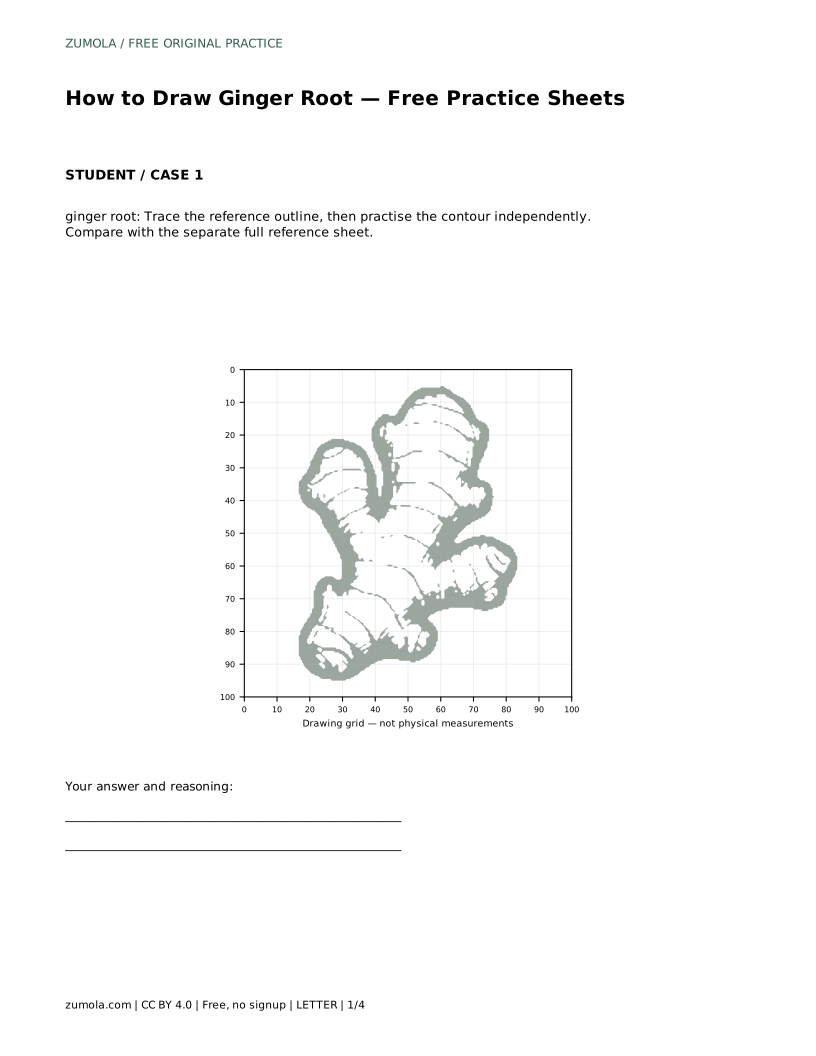
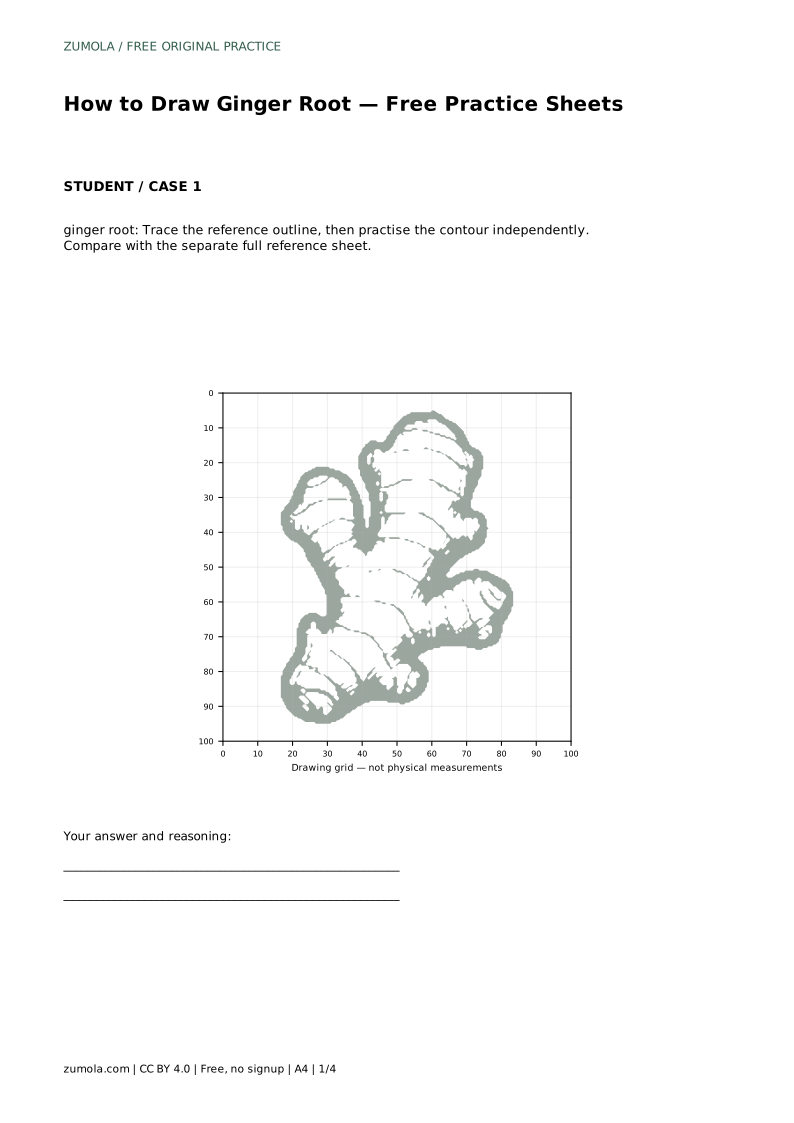
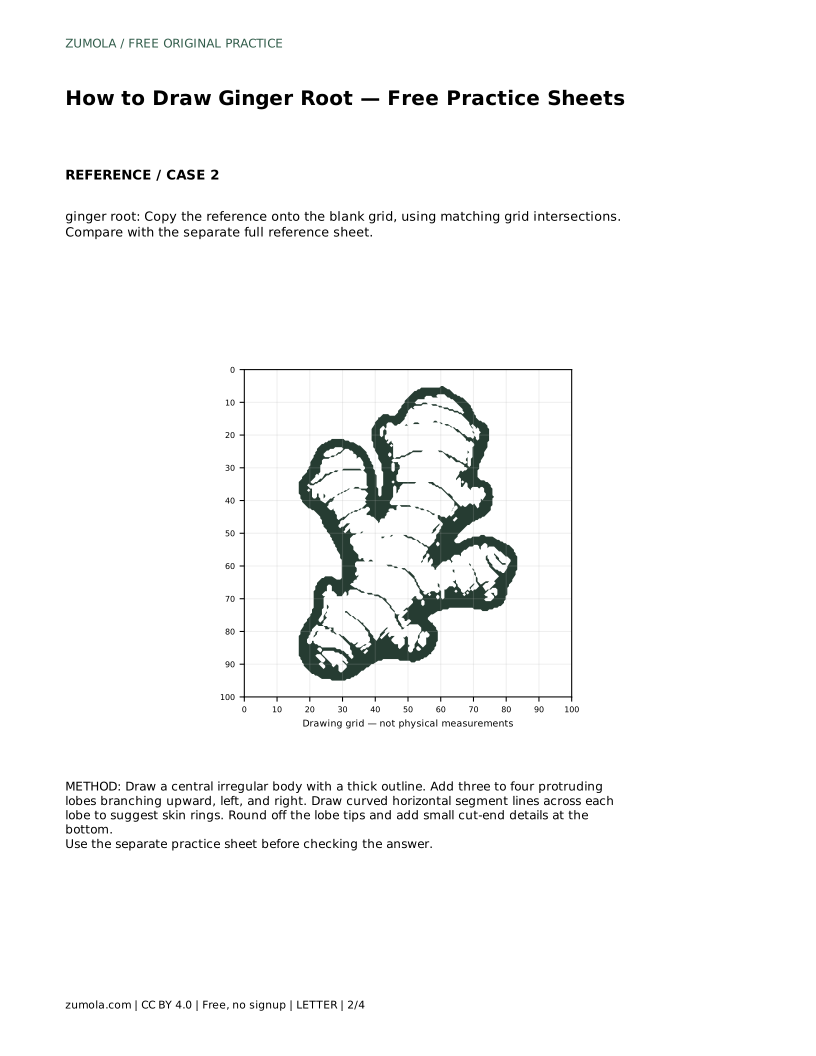
Tracing the reference outline first builds familiarity with the branching pattern. After tracing, cover the reference and redraw the contour independently, then compare your line with the separate full reference sheet.
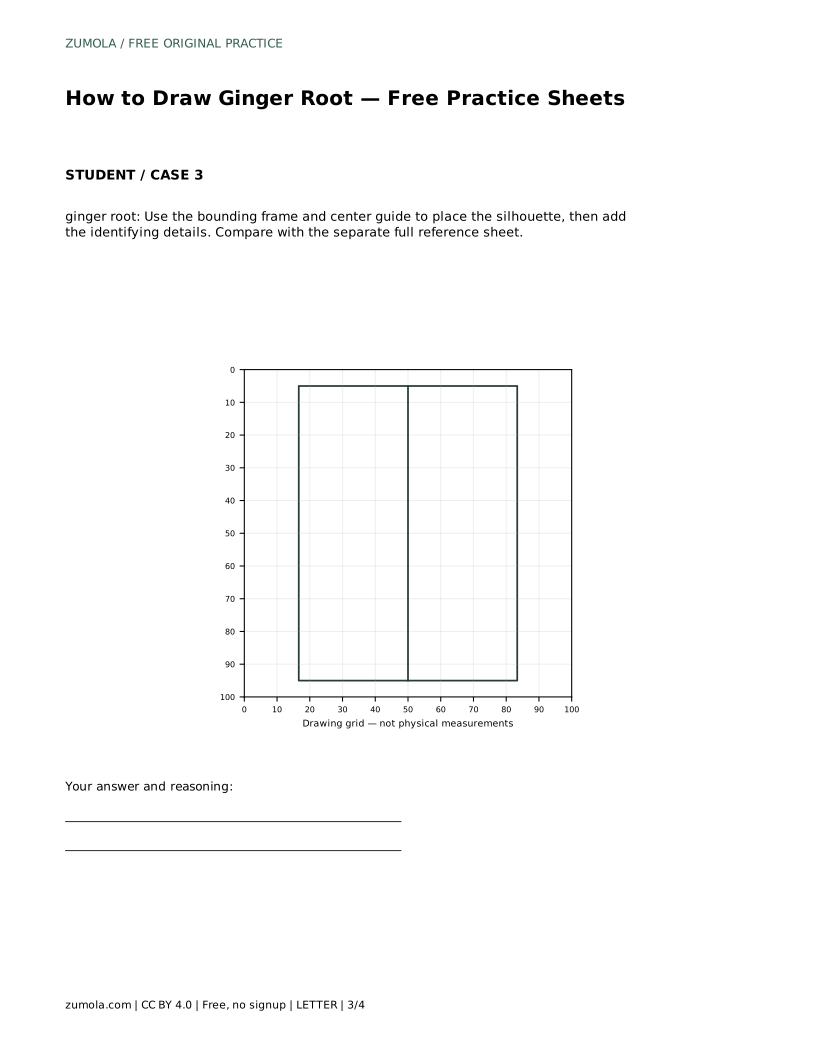
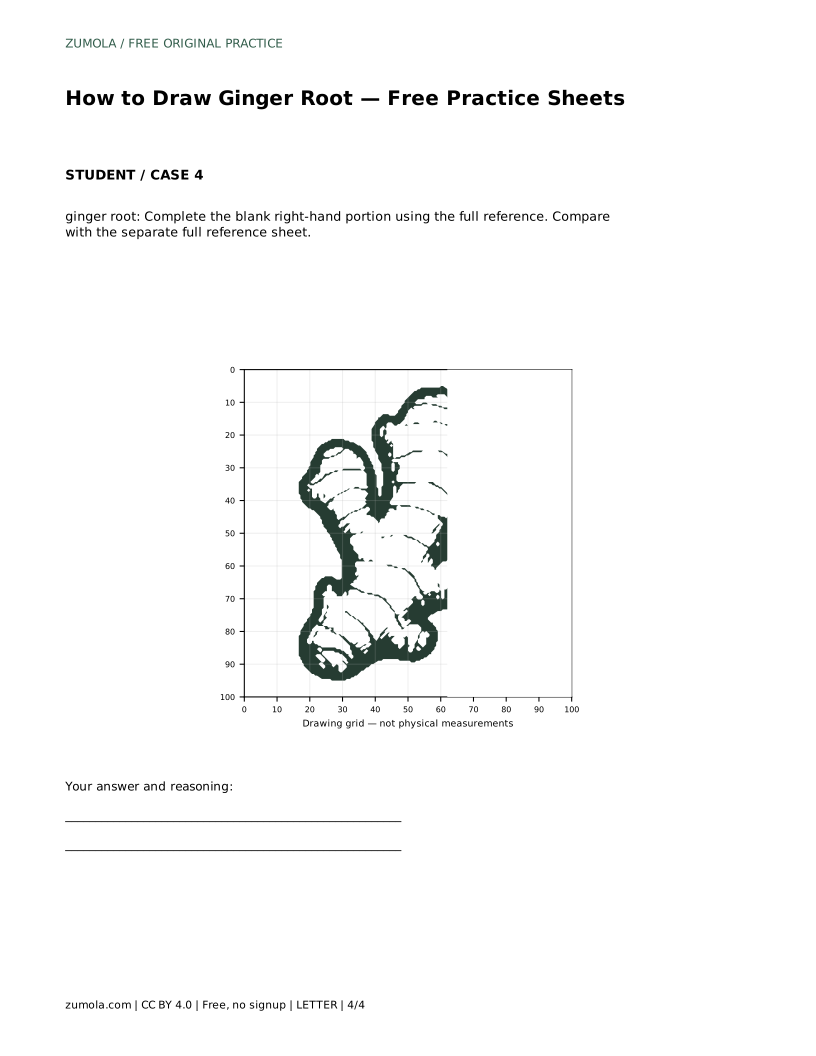
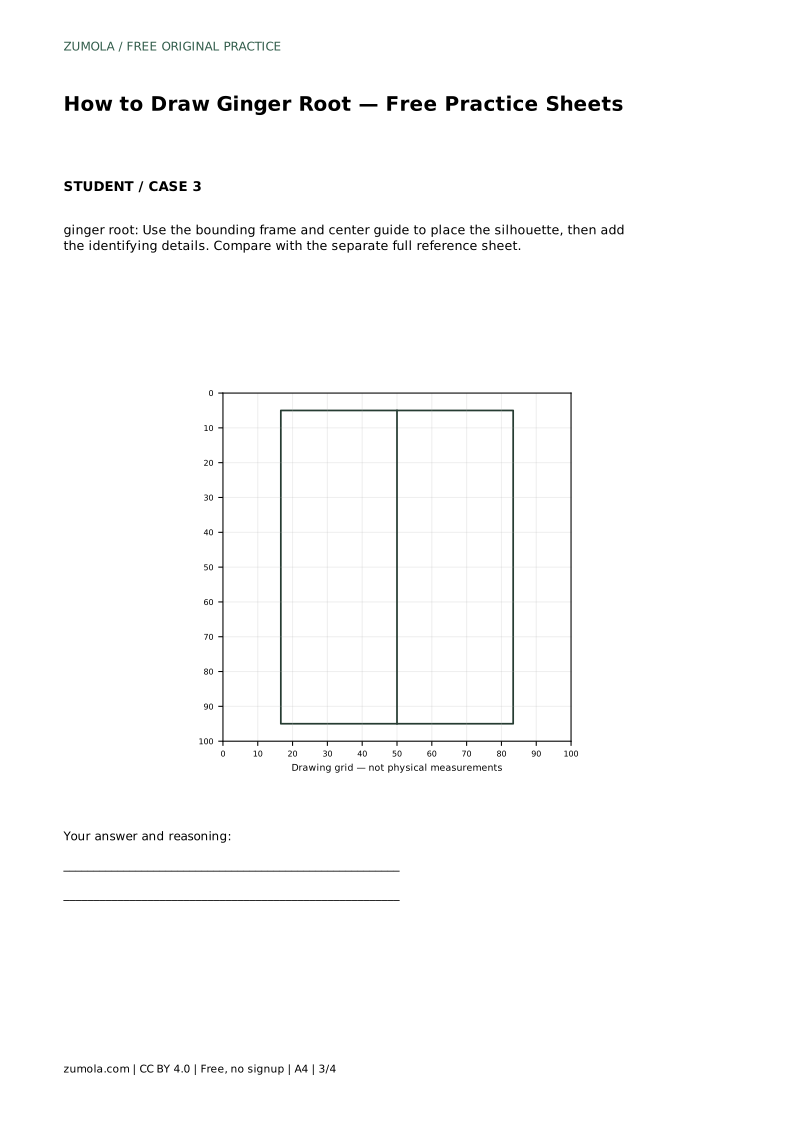
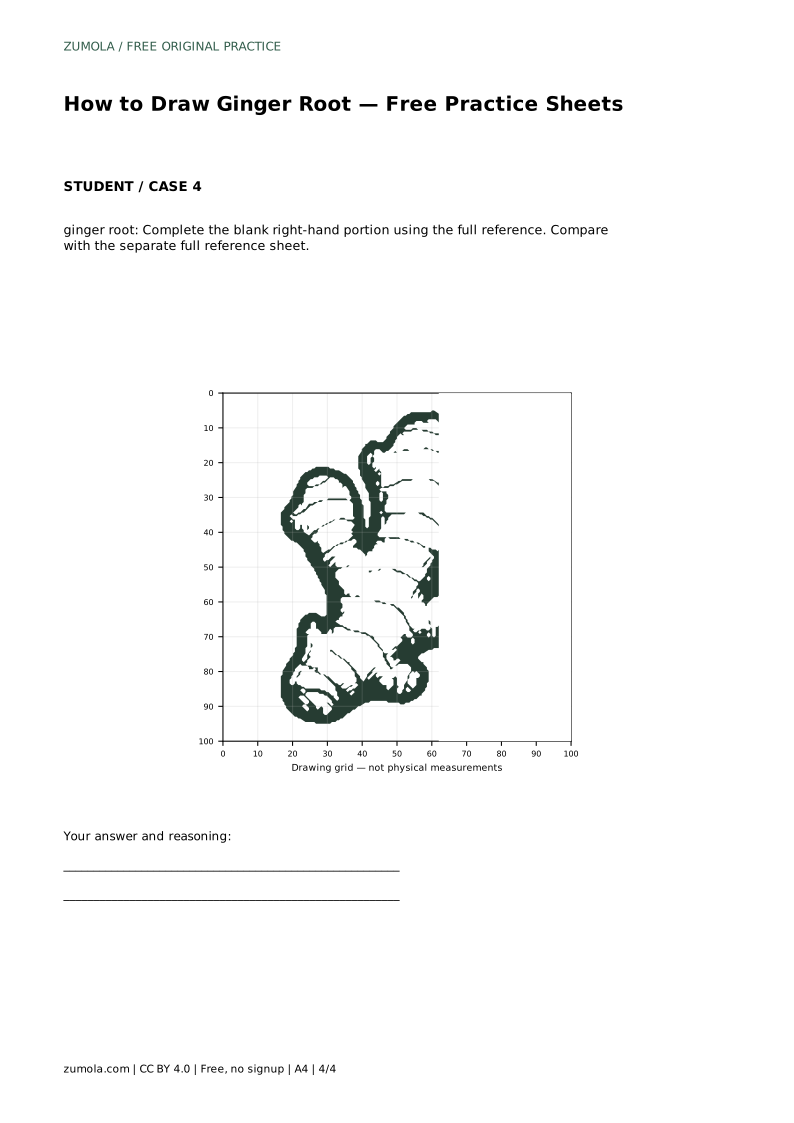
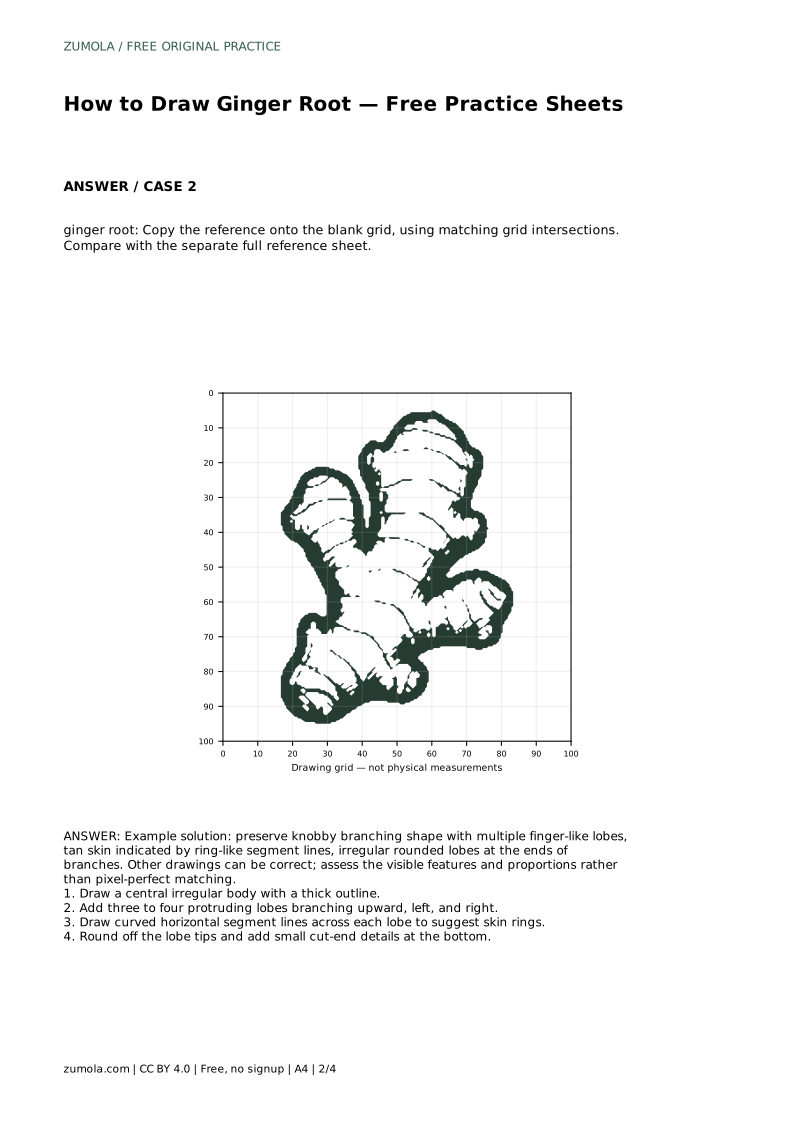
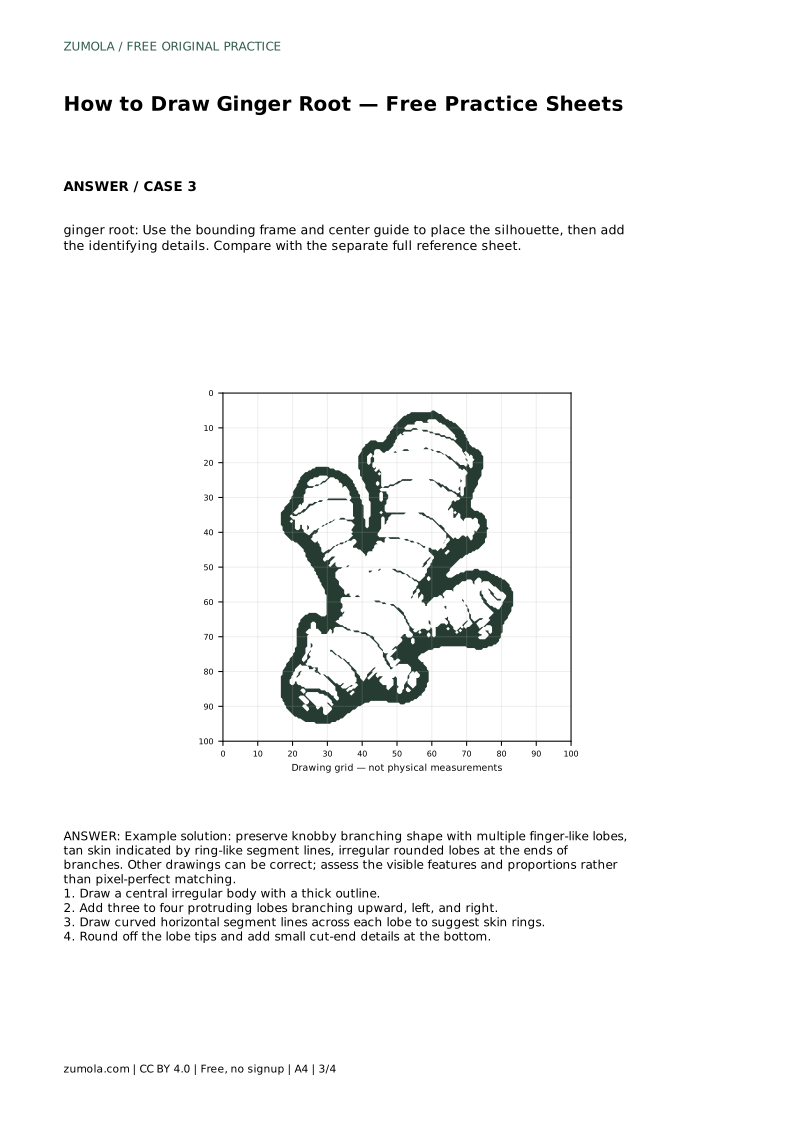
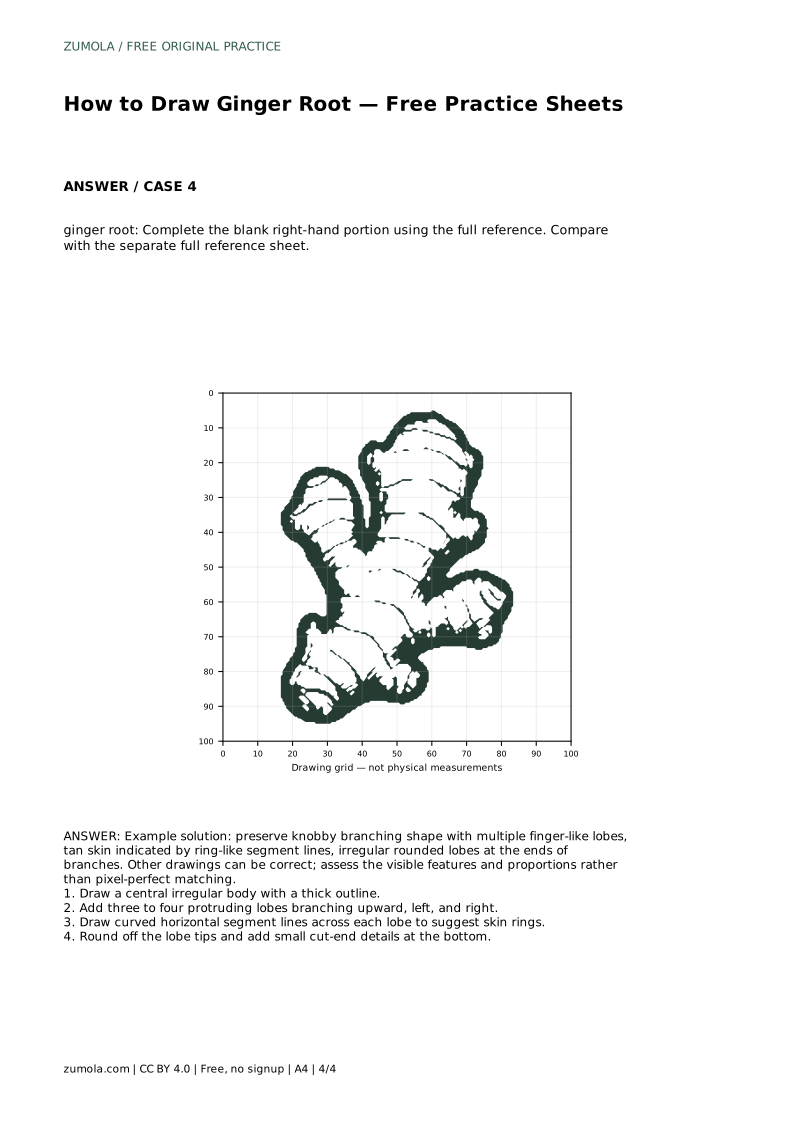
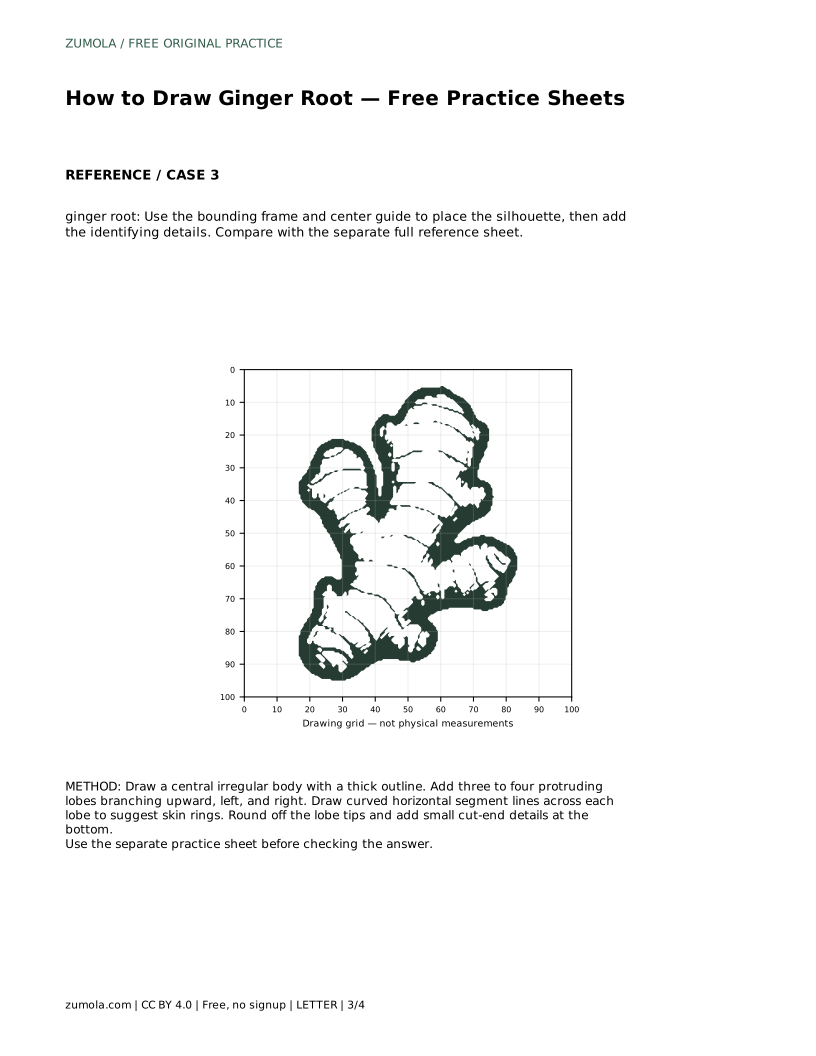
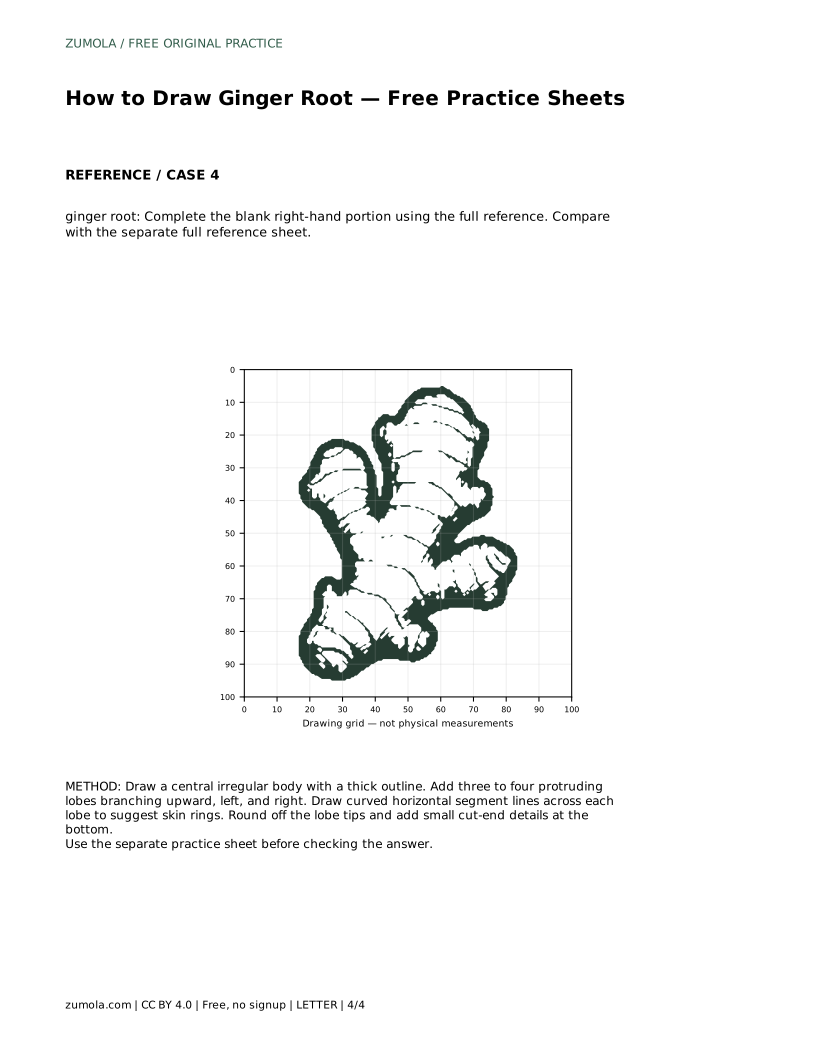
Grid copying trains proportion: copy the outline onto the blank grid, matching where the contour crosses grid intersections. The bounding frame and centre guide sheet helps you place the silhouette before adding details. The partial sheet asks you to complete the blank right-hand portion using the full reference, which tests whether you can continue a contour accurately.
Ginger drawings have many valid outcomes, so judge visible features rather than pixel-perfect matching. A strong drawing keeps the knobby branching shape, shows multiple finger-like lobes, indicates tan skin with ring-like segment lines, and ends each branch in an irregular rounded lobe. Proportions should feel balanced: no single lobe should dominate unless the reference shows that.
If your root looks like a potato, add more distinct lobes and separate them with clear joins. If it looks like a tree branch, thicken the body and round the tips. If the ring lines look mechanical, redraw them with uneven spacing and gentle curves.
ginger root: Trace the reference outline, then practise the contour independently. Compare with the separate full reference sheet.
Example solution: preserve knobby branching shape with multiple finger-like lobes, tan skin indicated by ring-like segment lines, irregular rounded lobes at the ends of branches. Other drawings can be correct; assess the visible features and proportions rather than pixel-perfect matching. Draw a central irregular body with a thick outline. Add three to four protruding lobes branching upward, left, and right. Draw curved horizontal segment lines across each lobe to suggest skin rings. Round off the lobe tips and add small cut-end details at the bottom.
Three to four protruding lobes is a practical target, branching upward, left, and right. The exact number can vary as long as the silhouette stays knobby and the lobes join the body clearly.
No. Uneven spacing and gentle curves look more natural. Keep each line following the shape of its lobe rather than running straight across.
Yes. The grid sheet works on its own by matching contour crossings to grid intersections. Tracing first is simply a way to learn the branching pattern before copying it.
All drawing practice · Free coordinate paper
Original resources · CC BY 4.0 · Free for personal and classroom use with attribution.