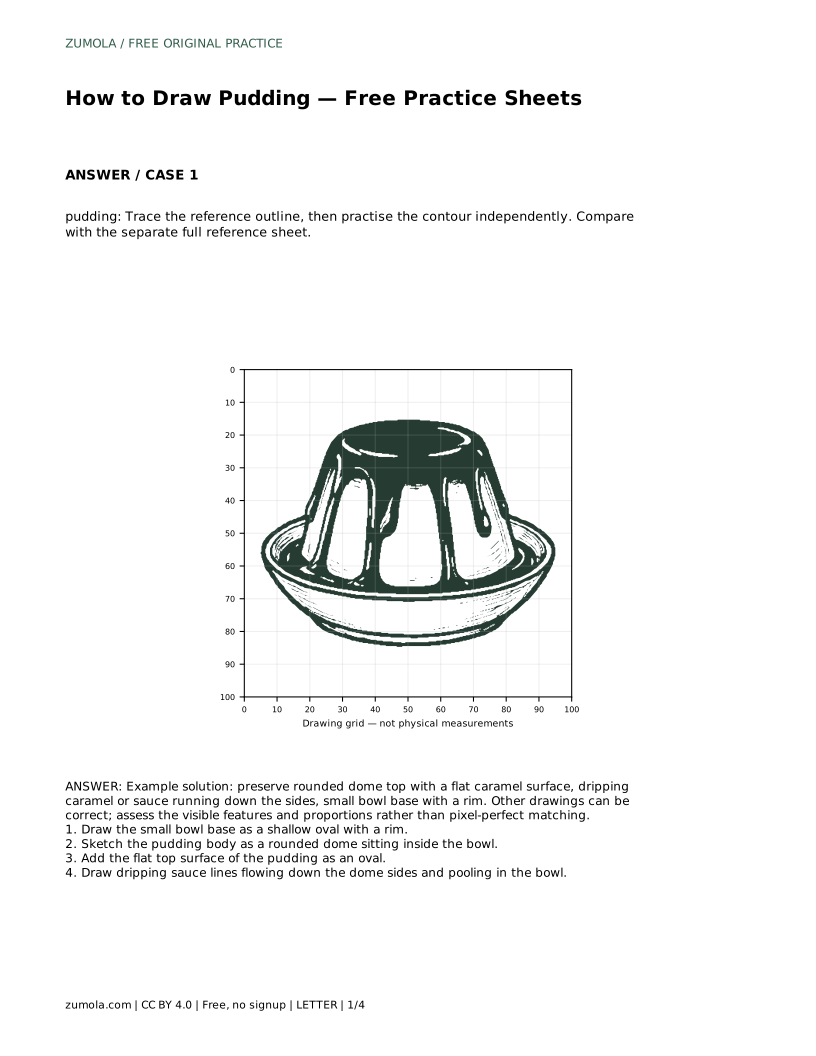
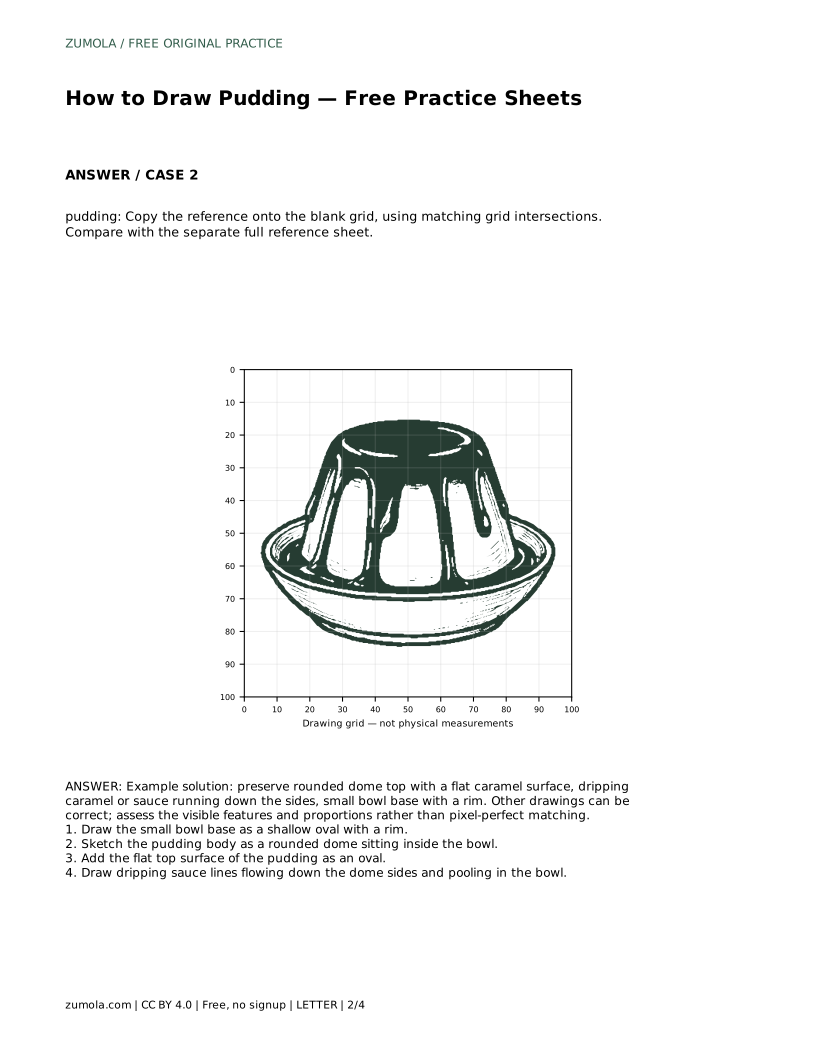
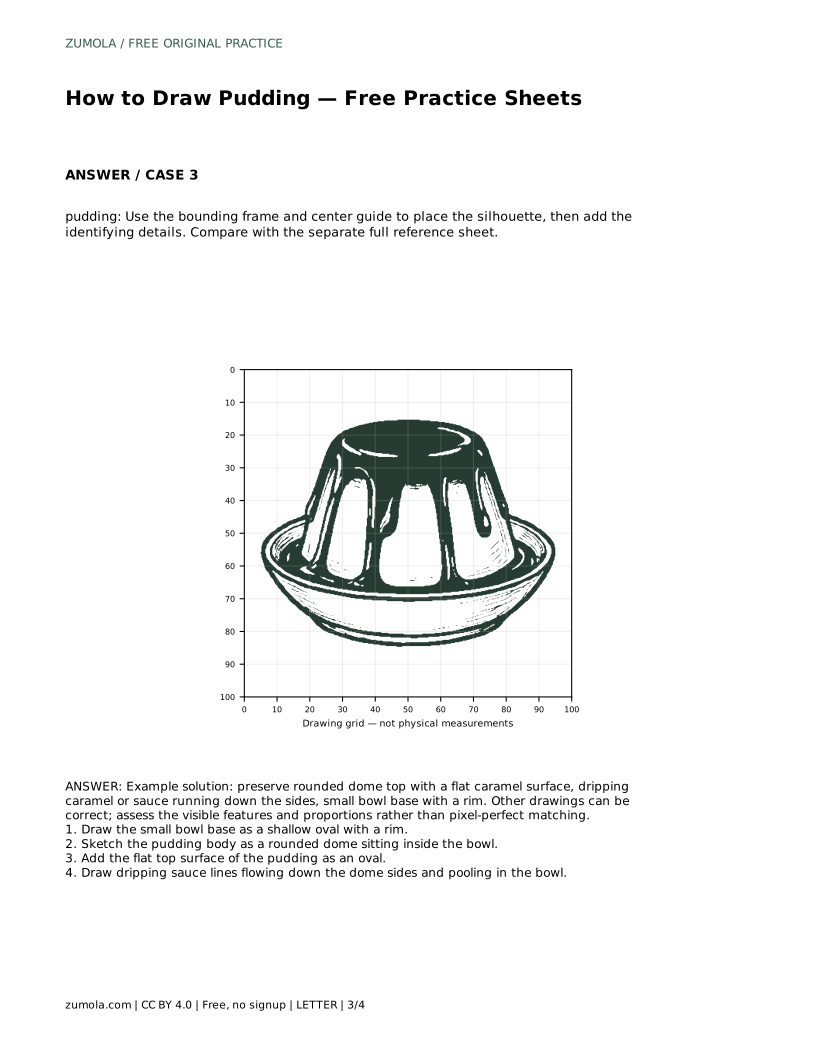
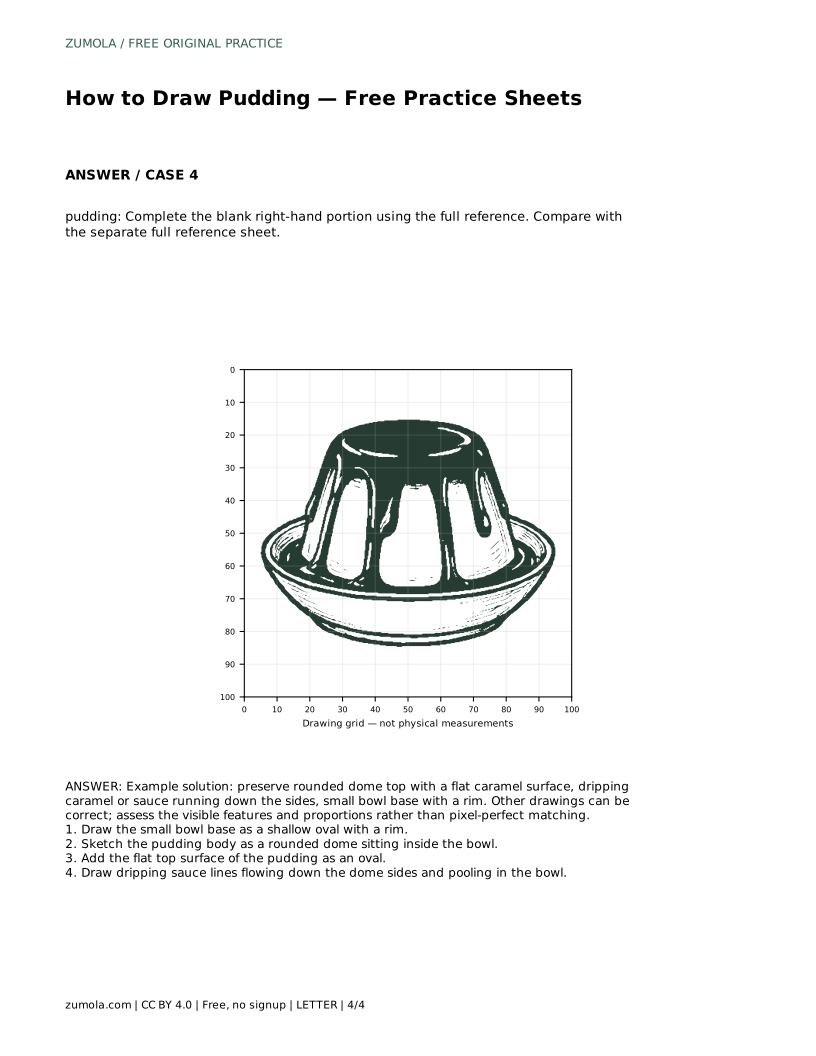
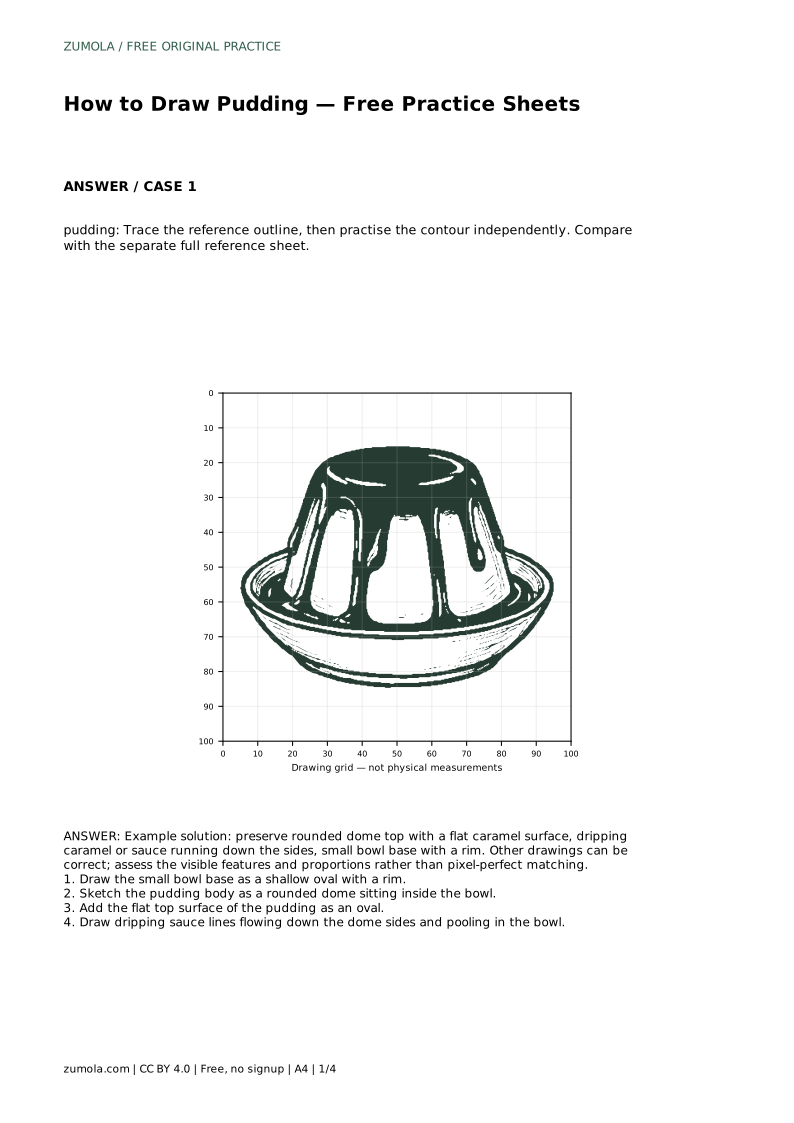
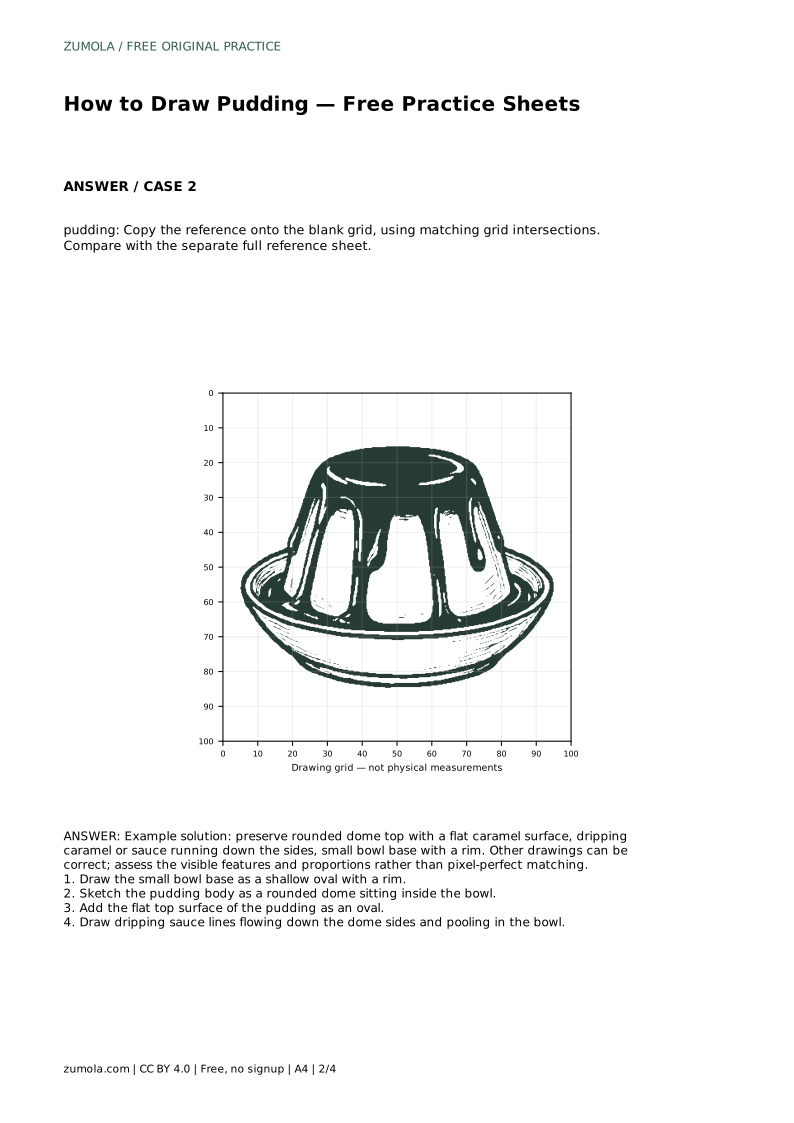
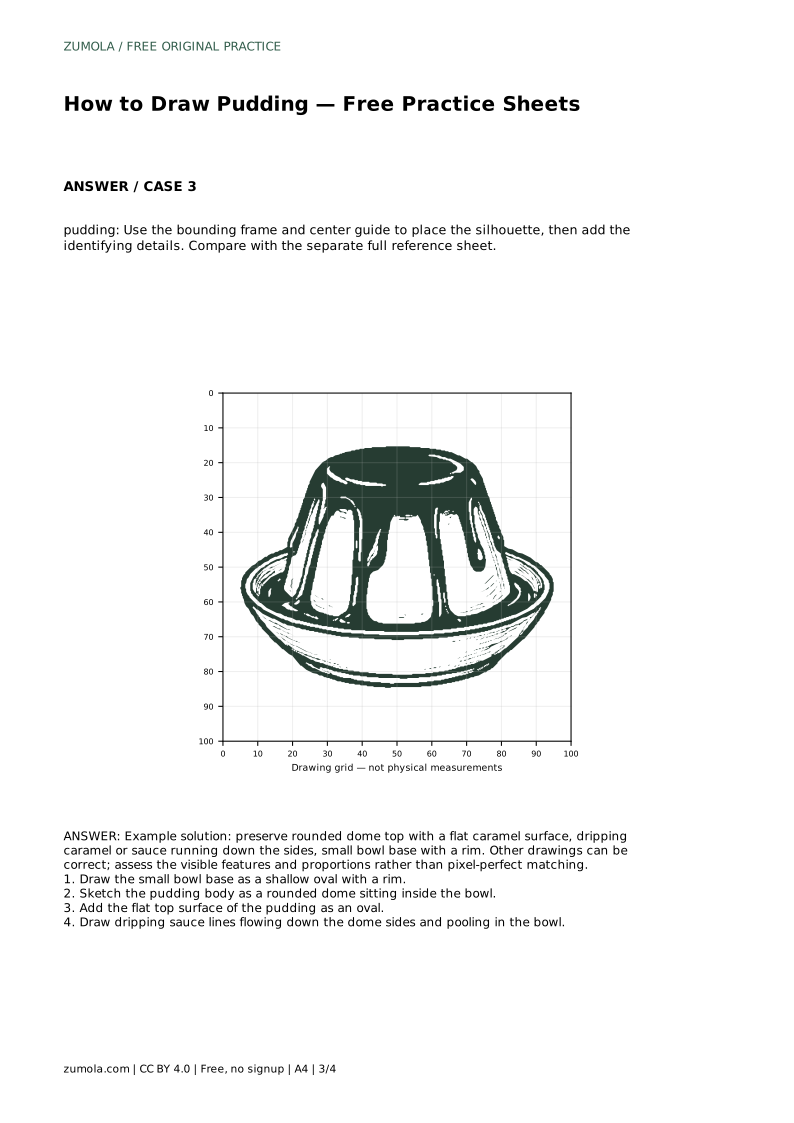
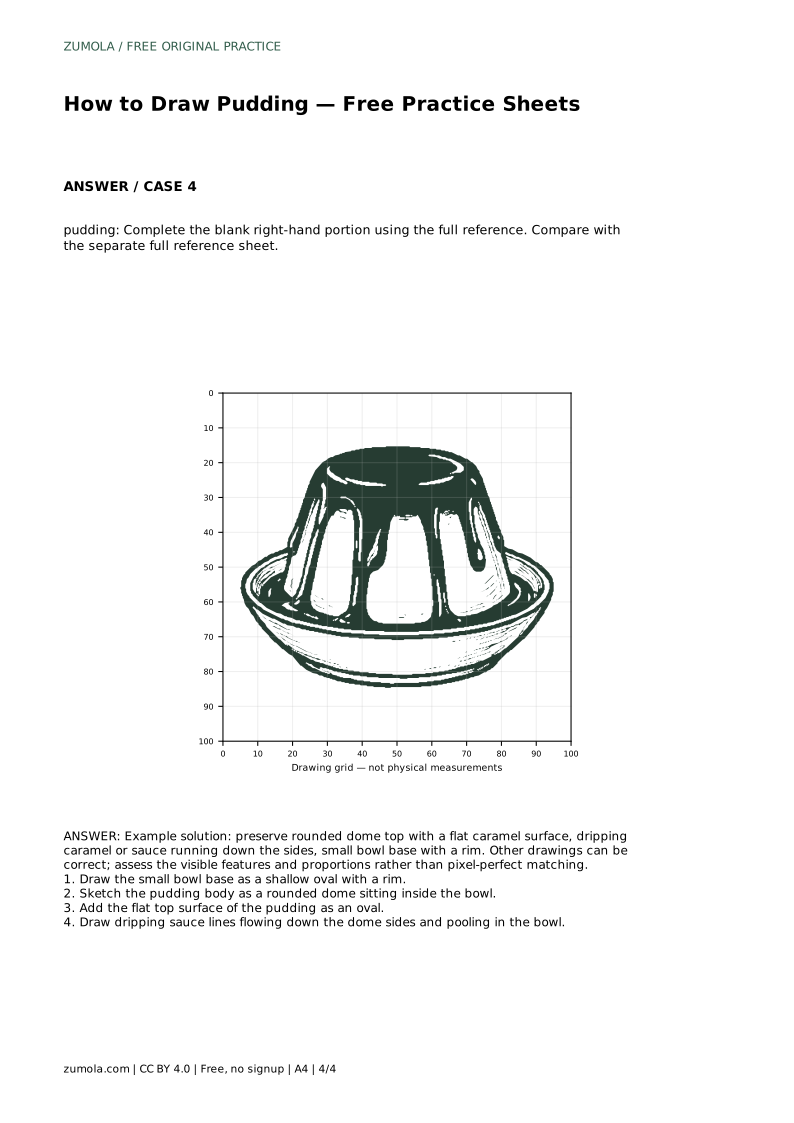
Reference diagrams
LETTER · Download PDF
A4 · Download PDF
Free original resources
Learn to draw a pudding with a bowl rim, rounded dome, flat top and dripping sauce. Trace, grid, guide and partial-reference practice sheets support the same core skill.
Four original cases, with reference diagrams, practice sheets and worked answers. Everything is free; no signup required.
LETTER · Download PDF
A4 · Download PDF
LETTER · Download PDF
A4 · Download PDF
LETTER · Download PDF
A4 · Download PDF
Use A4 or US Letter to match your printer. Use the stated values and conditions to solve each exercise; diagrams are not physical measuring rulers.
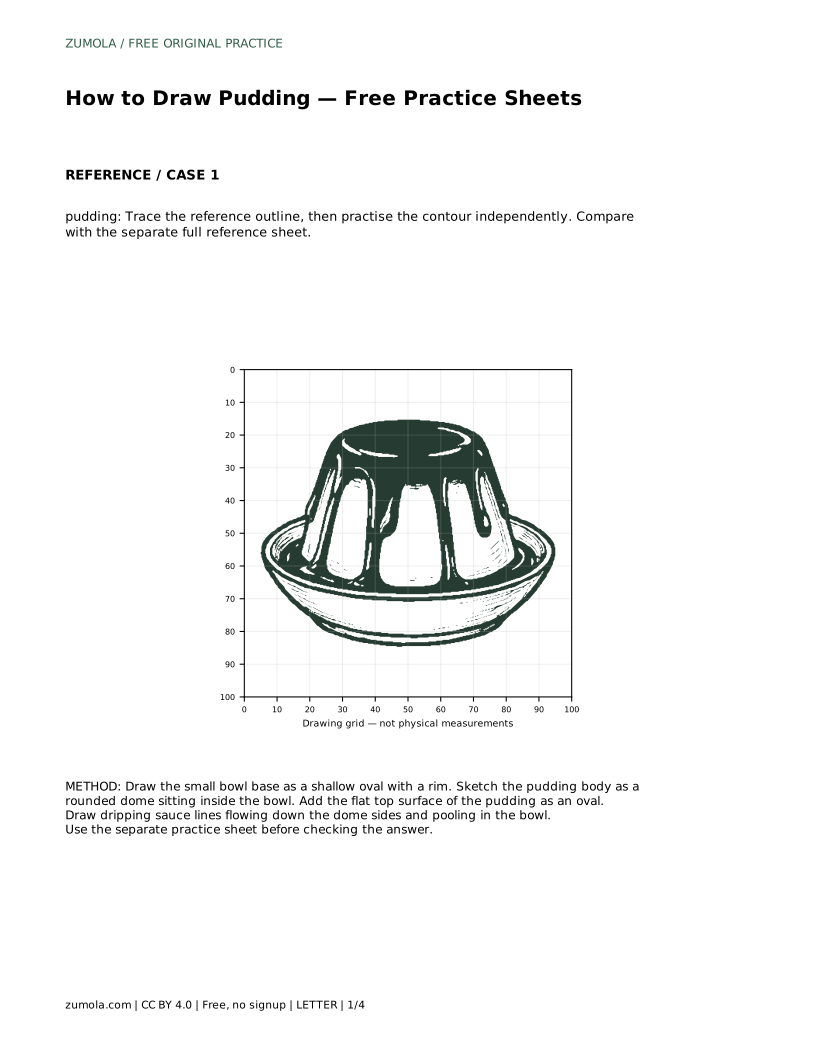
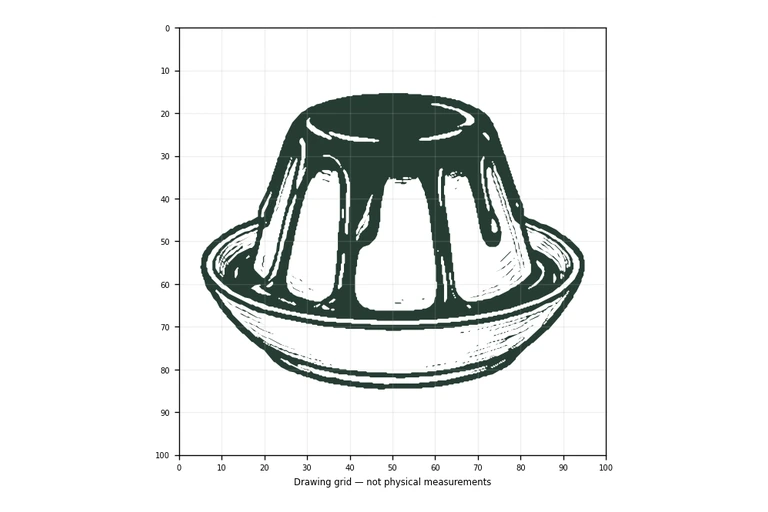
Drawing a pudding is mostly a lesson in stacking simple rounded shapes and keeping the sauce believable. The dessert has a small bowl base, a domed body, a flat top surface and drips that follow gravity down the sides. This page explains the order to draw those parts and how to use the practice sheets to check your proportions. Any drawing that keeps the visible features and their relationships can be correct, so compare structure rather than chasing a pixel-perfect match.
Start with the container, because it anchors everything else. A pudding bowl is usually wider than it is tall, so draw a shallow oval for the opening and a short curved wall beneath it. The rim is a visible edge, not a decoration: it tells the reader where the bowl ends and the pudding begins. Keep the oval fairly flat; a tall, circular opening will make the bowl look like a cup.
Next, sit the pudding body inside that opening. The body is a rounded dome that rises above the rim, widest near the bowl and narrowing gently toward the top. Avoid making it a perfect half-circle, which can look like a helmet. A pudding dome usually has a slightly flattened crown where the top surface meets the sides.
Then add the flat top as a small oval. This oval represents a horizontal surface seen at a slight angle, so it should echo the shape of the bowl opening but be smaller. Finally, draw the sauce: lines that begin on the top surface, cross the dome edge and run downward, ending in small pools where they meet the rim.
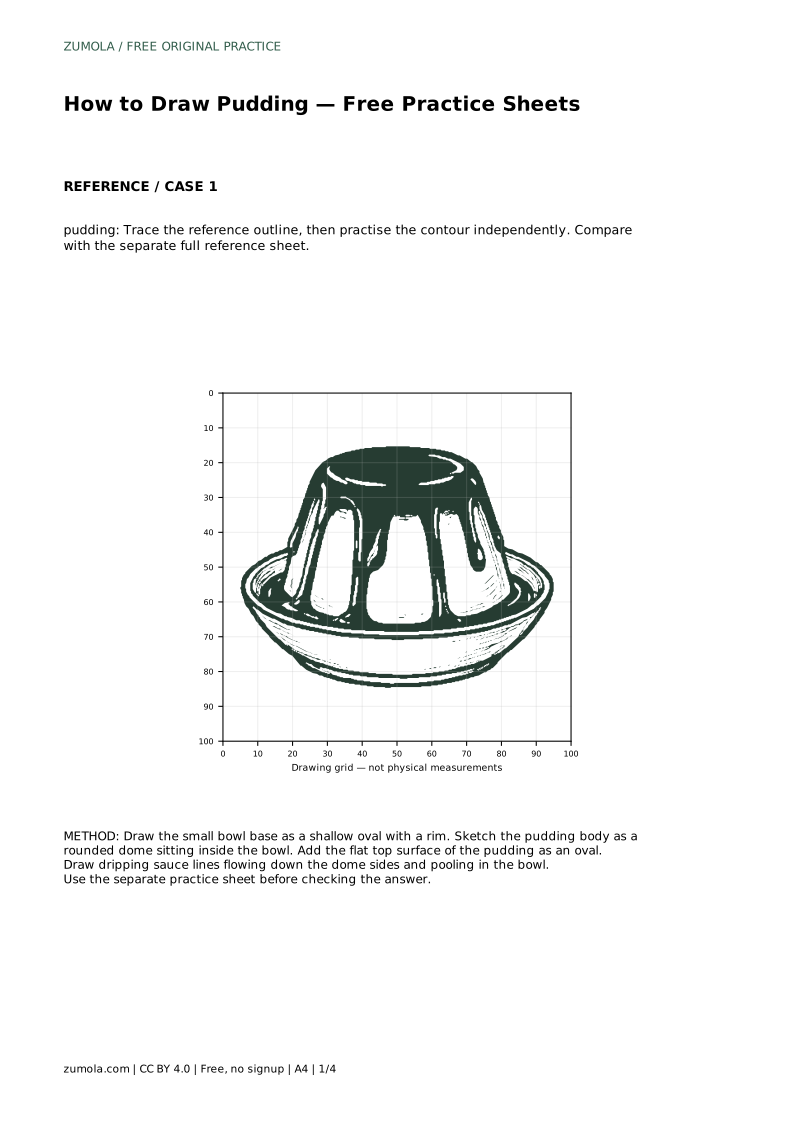
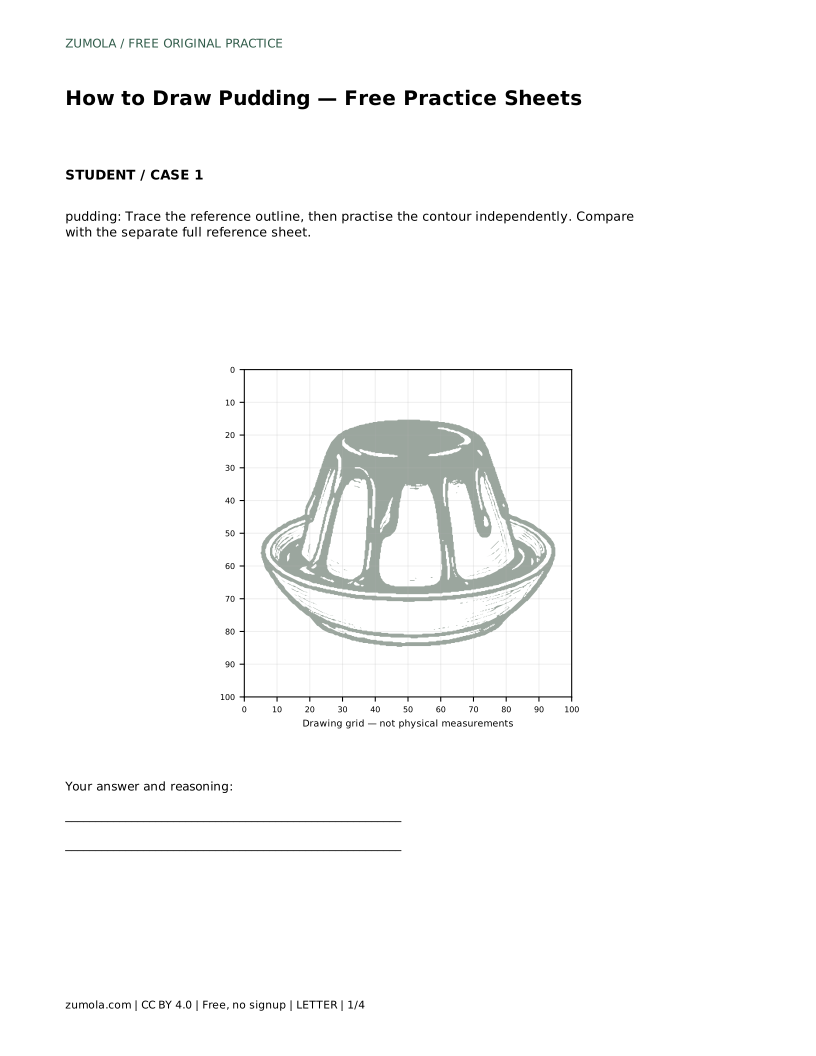
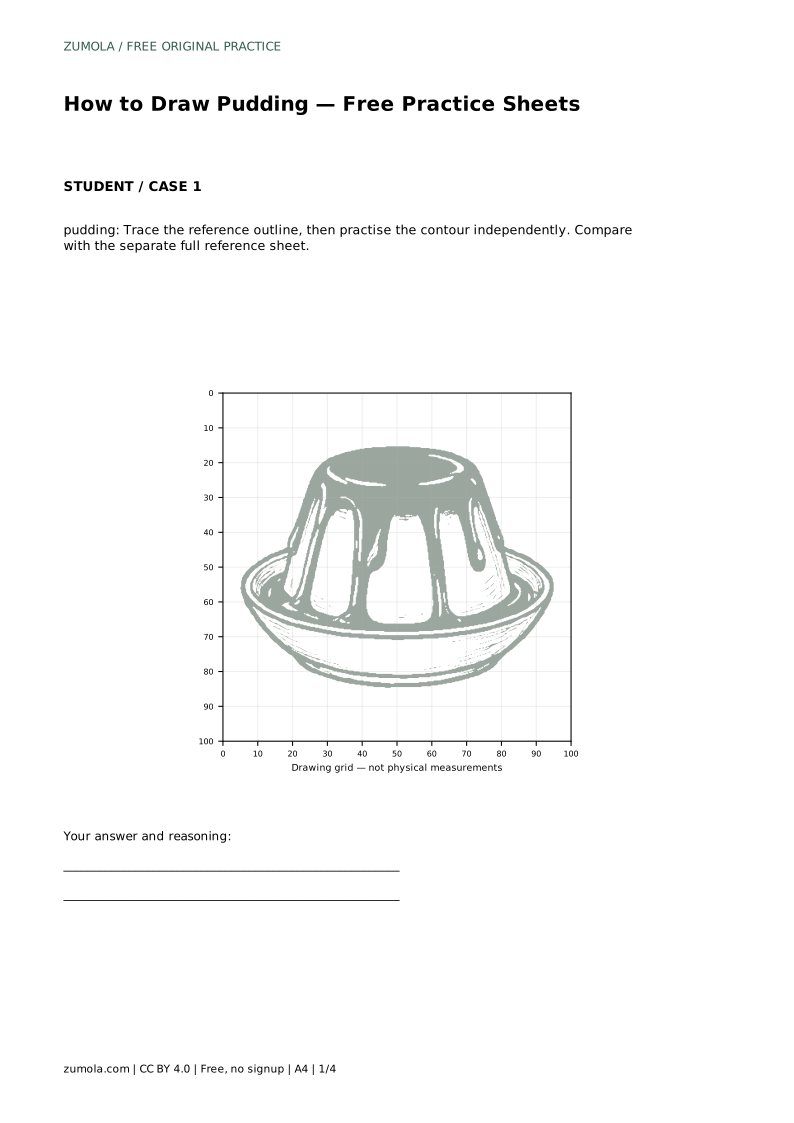
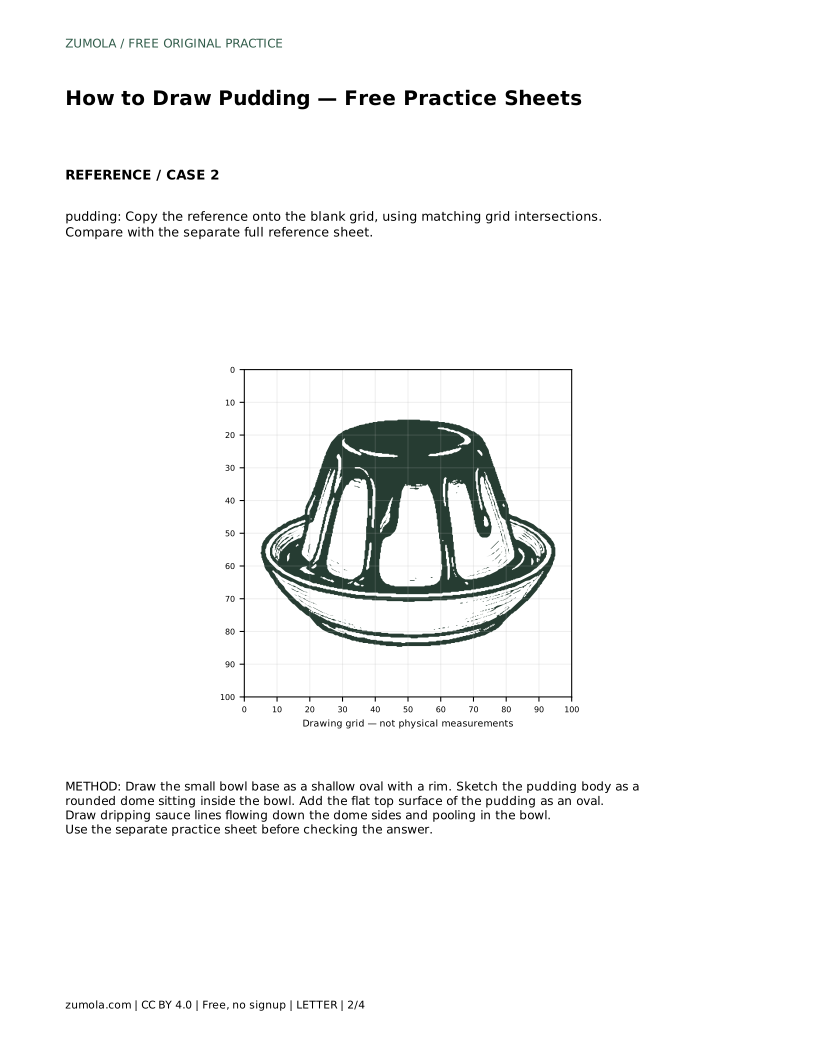
The trace sheet asks you to follow the reference outline first, then repeat the contour on your own. Tracing builds the sequence of the shapes; the independent pass shows whether you can reproduce that sequence without help. Compare your free drawing with the separate full reference sheet and ask which part drifted: the bowl width, the dome height or the top oval.
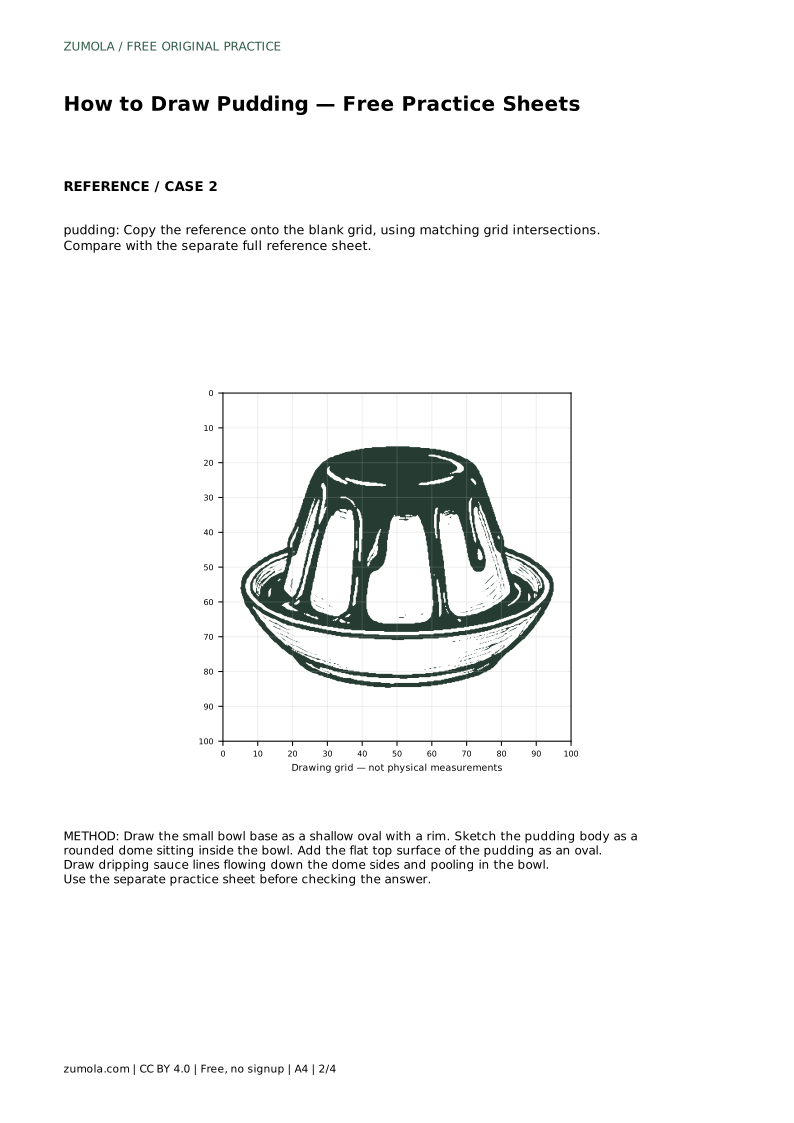
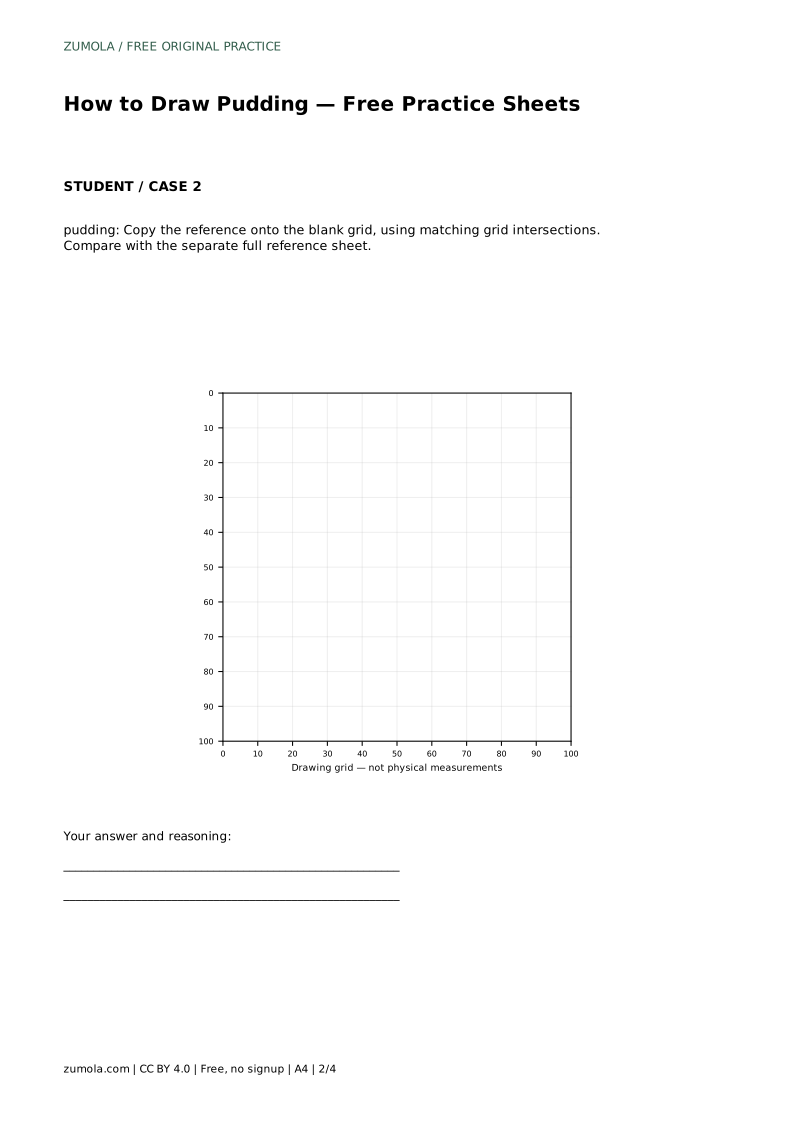
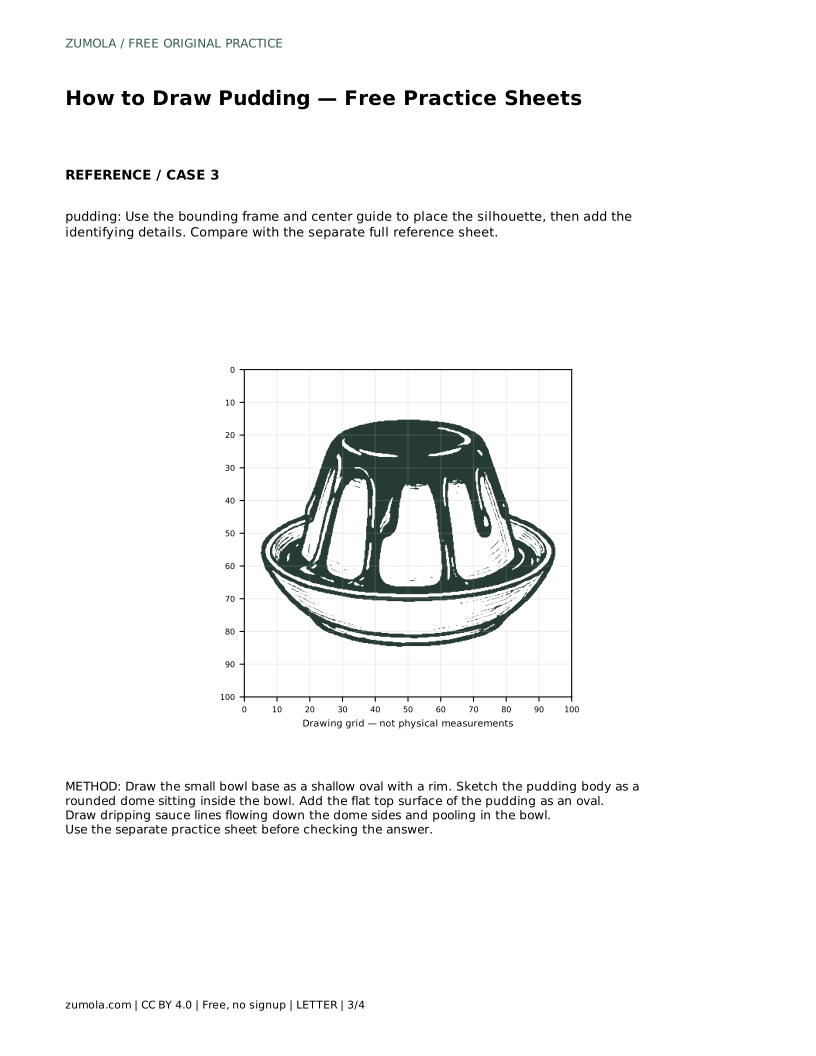
The grid sheet asks you to copy the reference onto a blank grid using matching intersections. Grids help with placement, not with style. If a curve passes through a particular intersection on the reference, aim for the same intersection on your blank grid, then smooth the line between points. Do not turn the drawing into a set of straight segments.
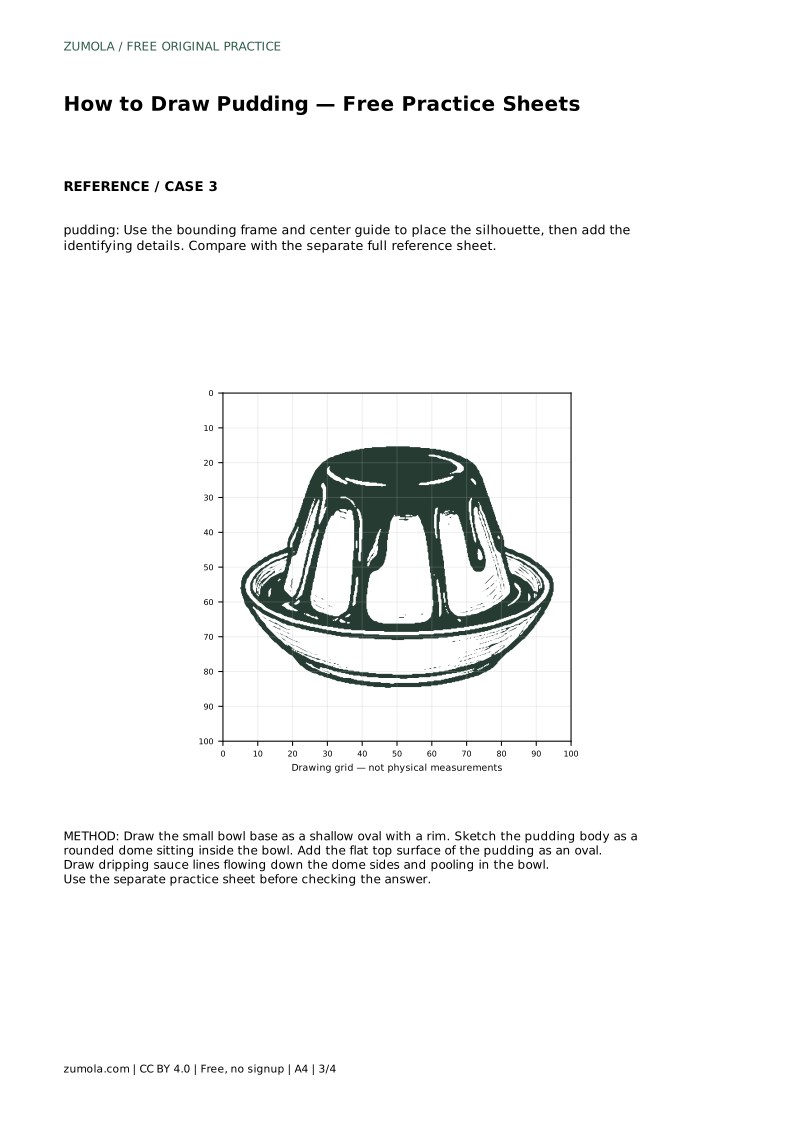
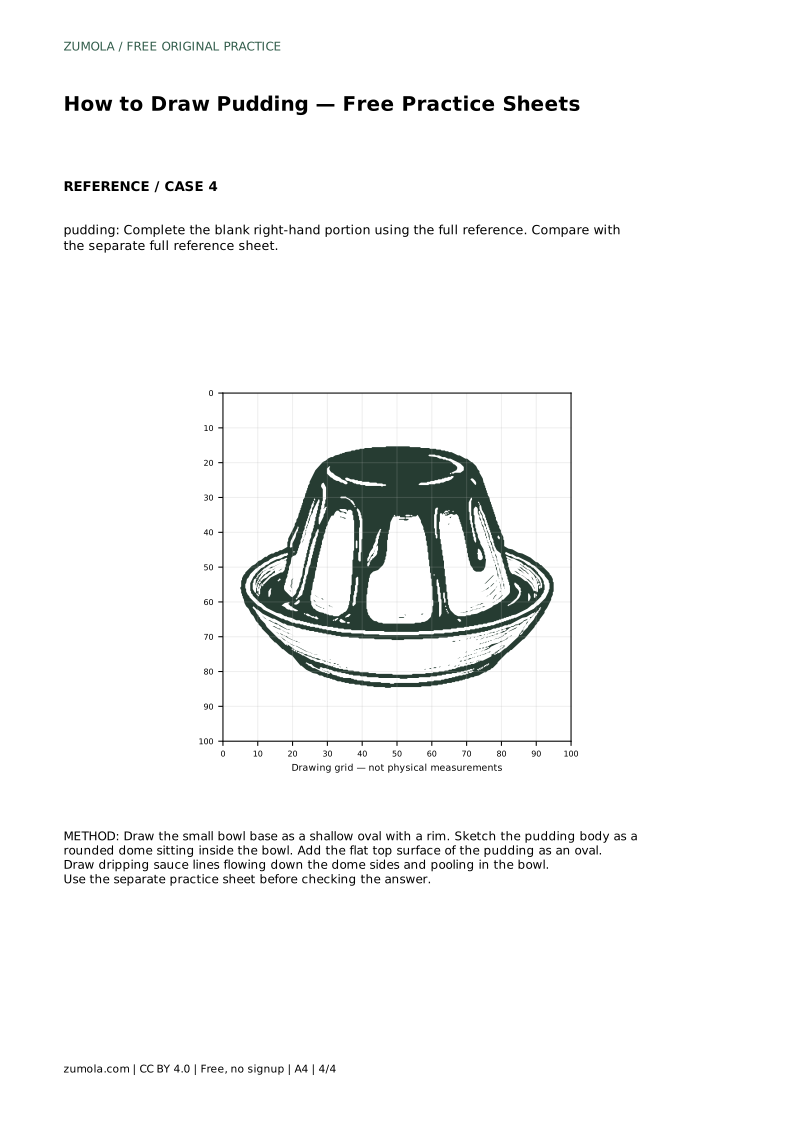
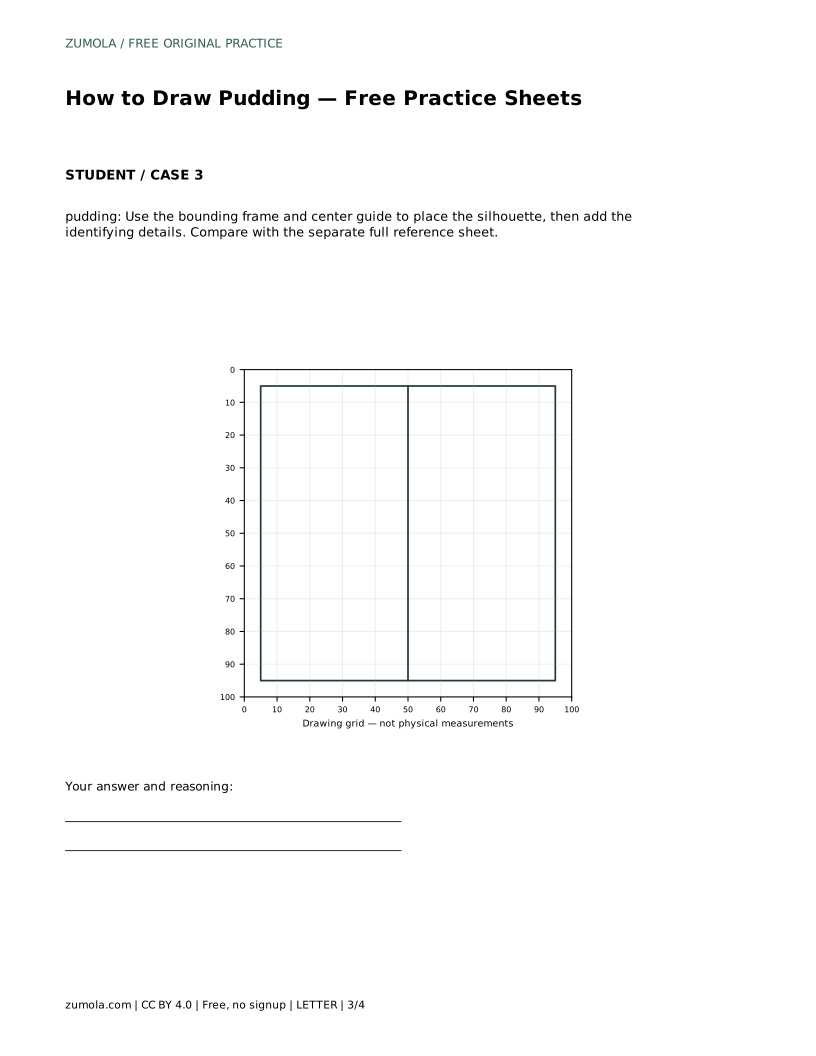
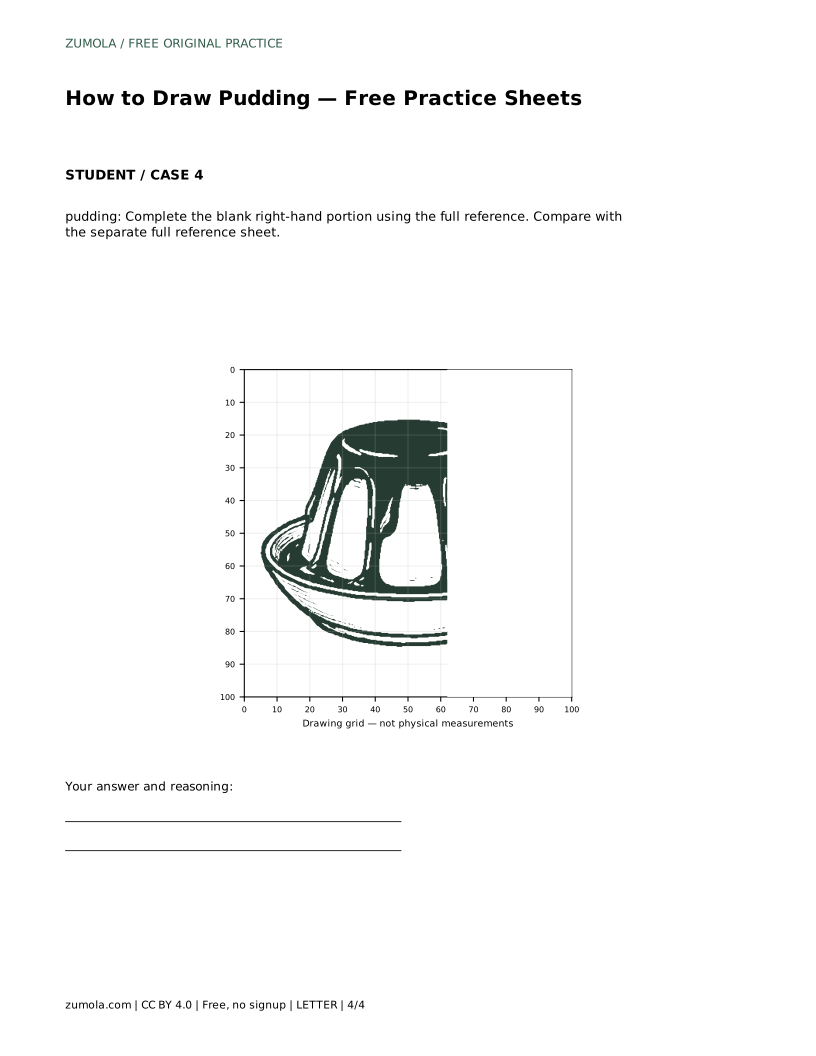
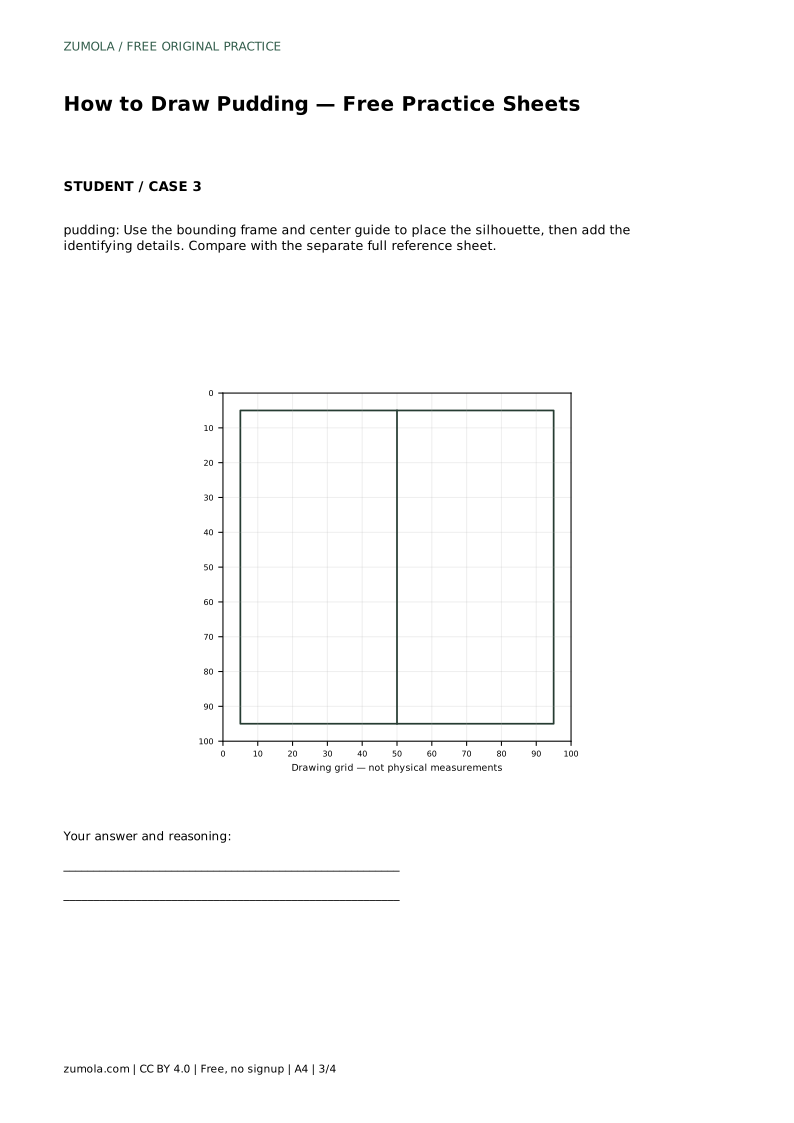
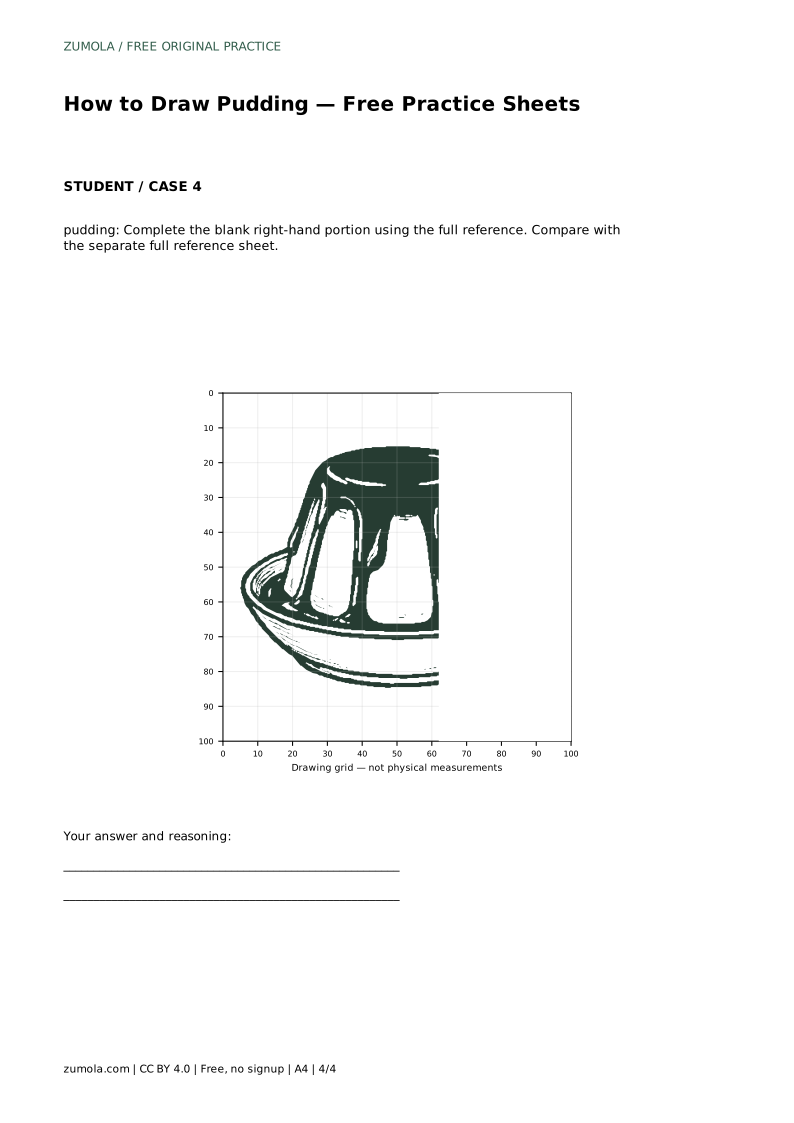
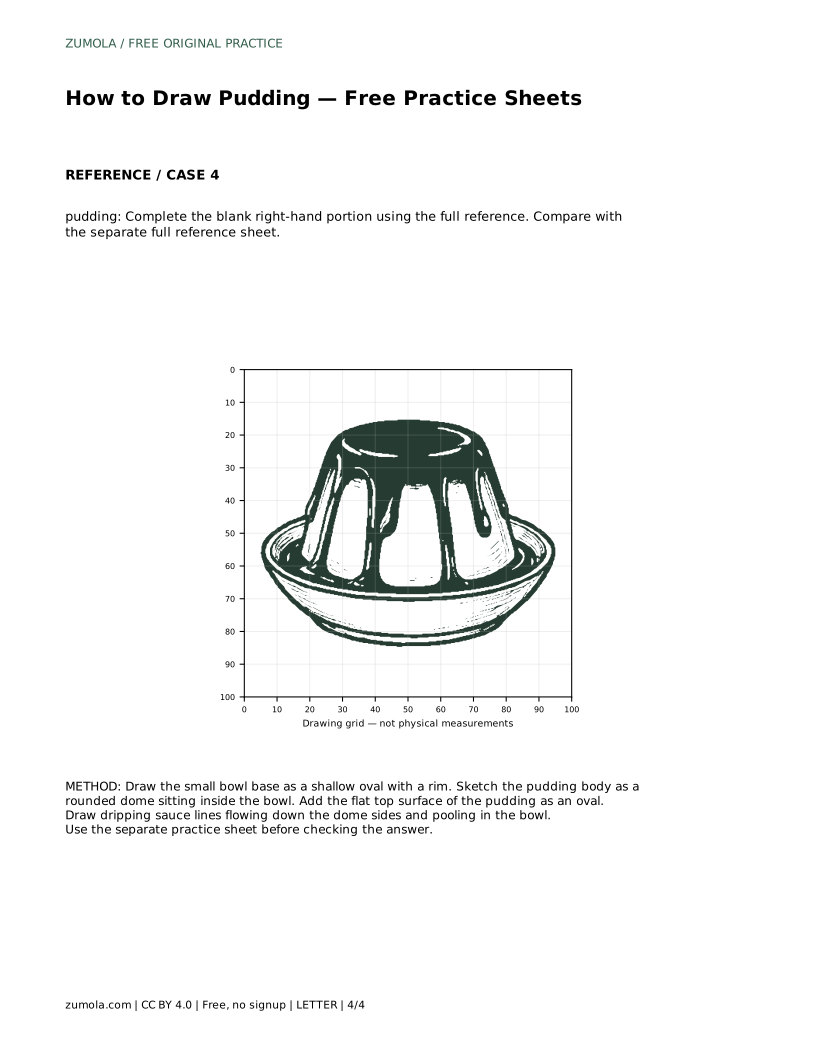
The bounding-frame sheet gives you an outer limit and a center guide. Use the frame to decide how much space the pudding occupies and the center guide to judge whether the dome sits symmetrically over the bowl. The partial-reference sheet gives you the full reference beside a blank right-hand portion; complete only the missing side, matching the height of the dome and the length of the drips at the join.
Sauce drips are the detail that makes a pudding recognizable, so treat them as hanging shapes rather than straight stripes. A drip starts wide where it leaves the top surface, narrows as it runs down the dome and ends in a small rounded blob or a pool at the rim. Drips on the near side of the dome appear longer because they face the viewer; drips near the silhouette edge appear shorter and thinner.
Keep the number of drips modest. Three to five well-placed drips usually communicate the idea better than a dense curtain of lines. Vary their lengths so the sauce looks uneven, and let at least one drip stop partway down the dome. Where a drip crosses the dome edge, the line should follow the curve of the surface rather than cutting straight across it.
A quick proportion check catches most problems. The bowl should be the widest element, the dome should be taller than the bowl wall but not dramatically so, and the top oval should be noticeably smaller than the bowl opening. The dome should sit centered over the bowl unless you deliberately draw a tilted pudding.
Compare the height of the pudding above the rim with the height of the bowl below it. If the bowl looks like a deep cup, flatten the oval and shorten the wall. If the dome looks like a sphere, flatten the crown slightly. These adjustments keep the drawing readable without changing the basic method.
pudding: Trace the reference outline, then practise the contour independently. Compare with the separate full reference sheet.
Example solution: preserve rounded dome top with a flat caramel surface, dripping caramel or sauce running down the sides, small bowl base with a rim. Other drawings can be correct; assess the visible features and proportions rather than pixel-perfect matching. Draw the small bowl base as a shallow oval with a rim. Sketch the pudding body as a rounded dome sitting inside the bowl. Add the flat top surface of the pudding as an oval. Draw dripping sauce lines flowing down the dome sides and pooling in the bowl.
No. Several drawings can be correct. Check that the bowl rim, rounded dome, flat top oval and dripping sauce are all present and proportioned sensibly relative to one another.
Start with the trace sheet to learn the order of the shapes, then move to the grid or bounding-frame sheet to practice placement without tracing. Use the partial-reference sheet last as a check.
Three to five varied drips are usually enough. Vary their lengths, let one stop partway down the dome and end the longest ones in small pools at the rim.
All drawing practice · Free coordinate paper
Original resources · CC BY 4.0 · Free for personal and classroom use with attribution.