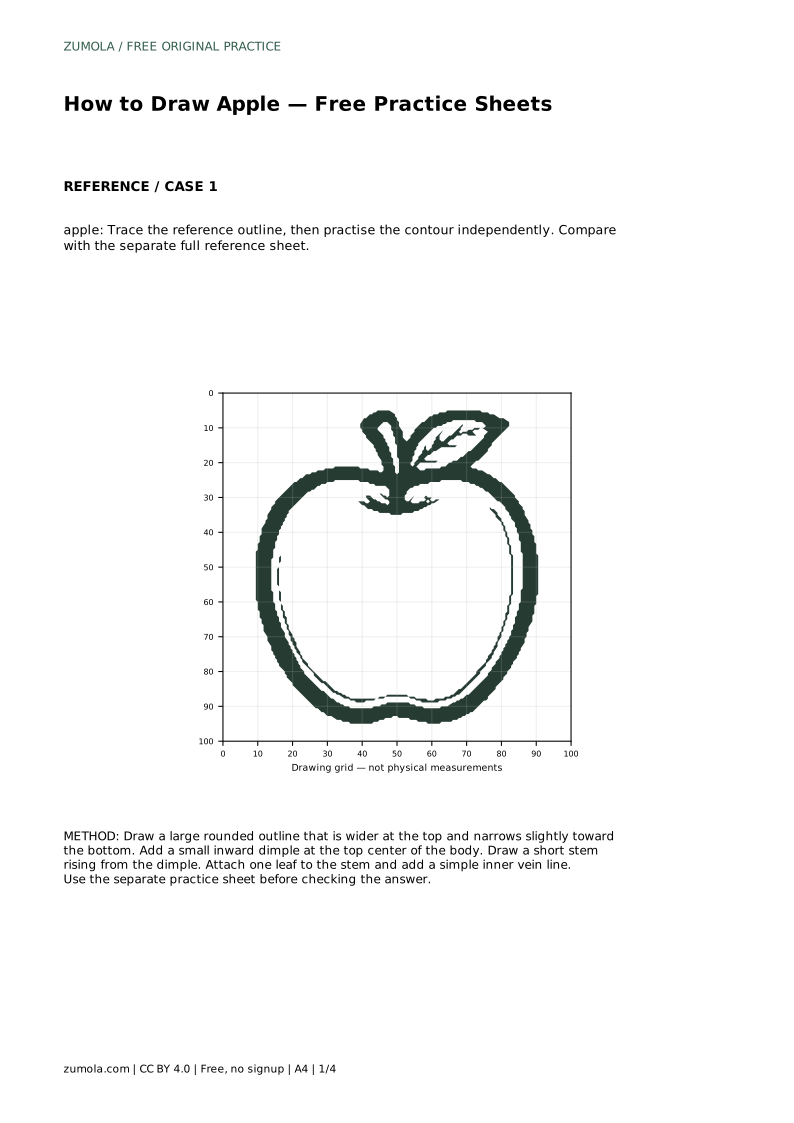
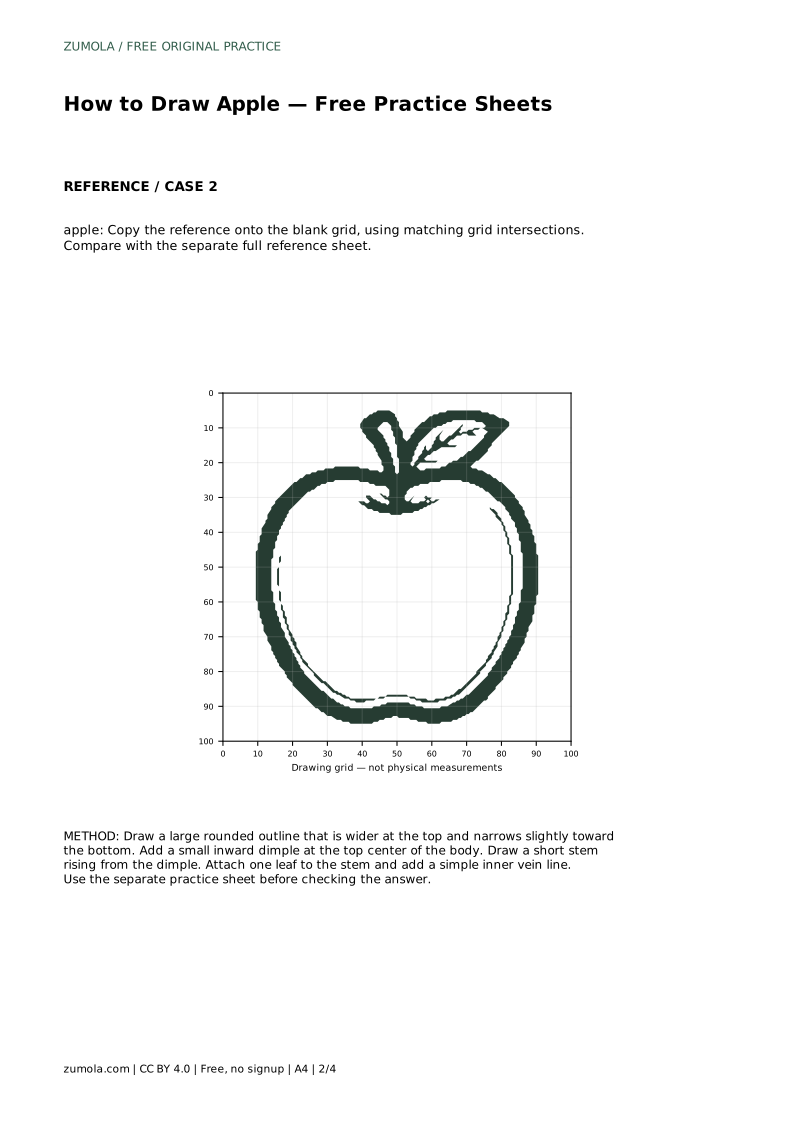
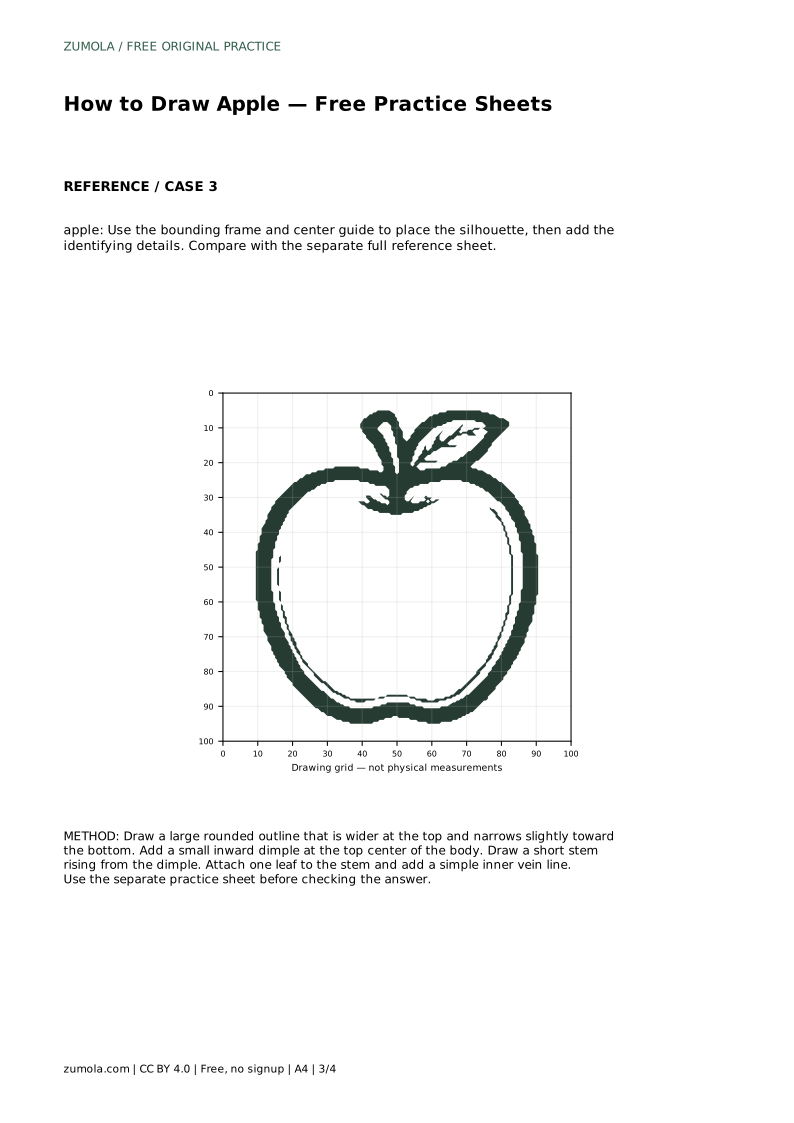
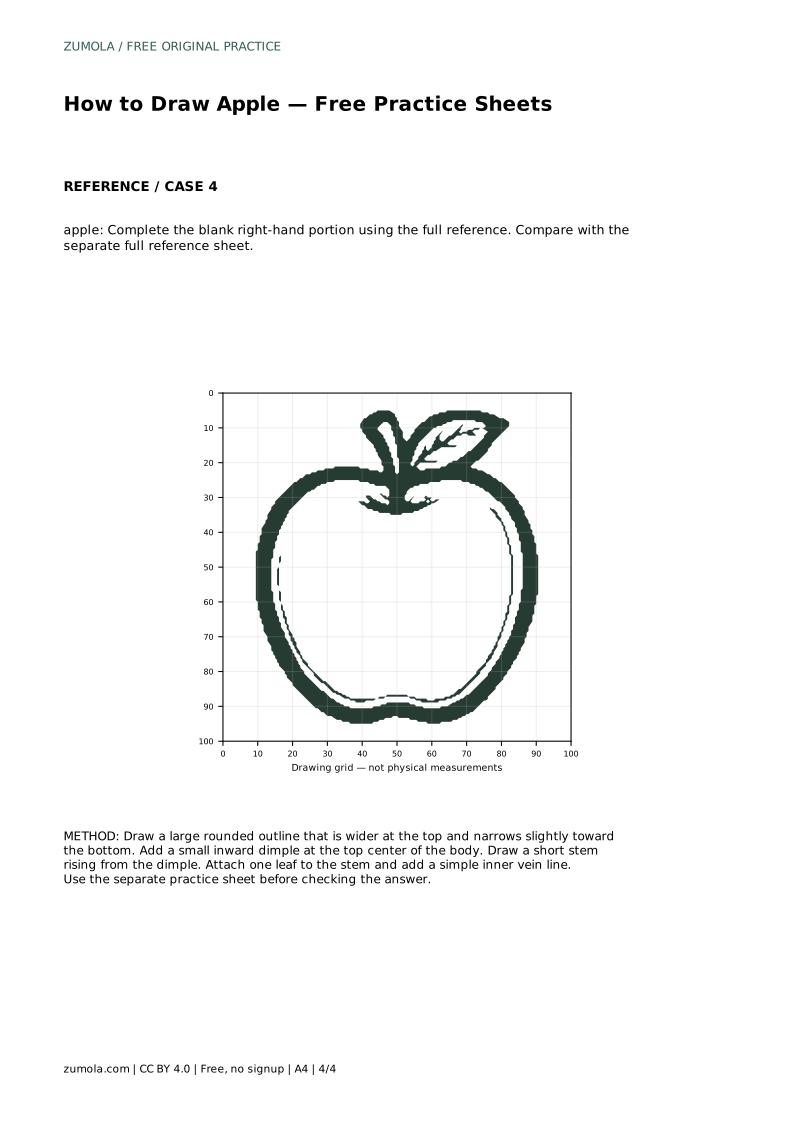
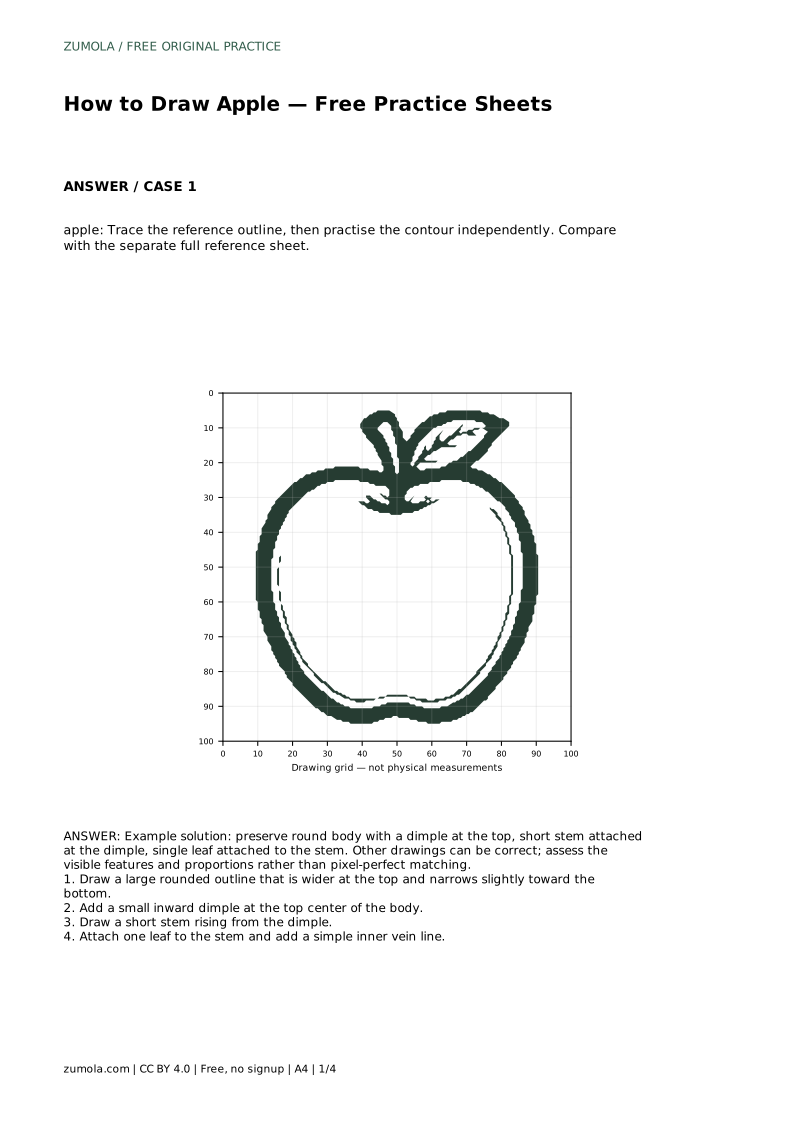
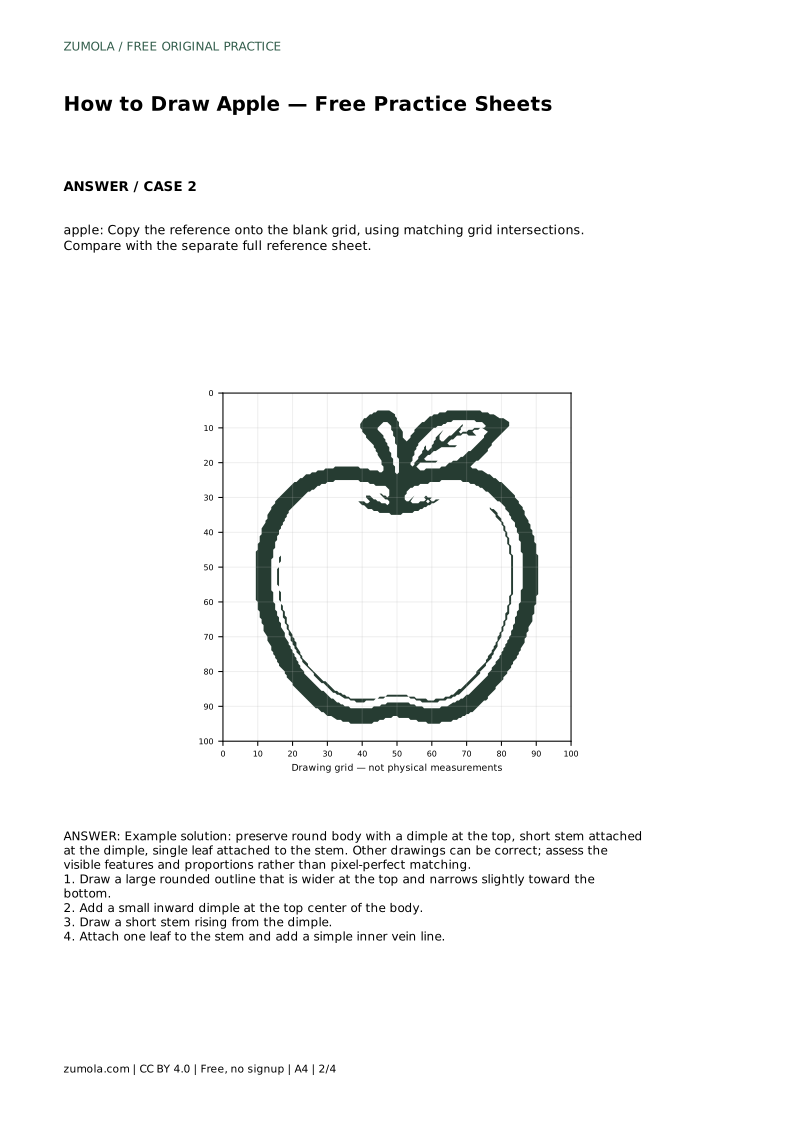
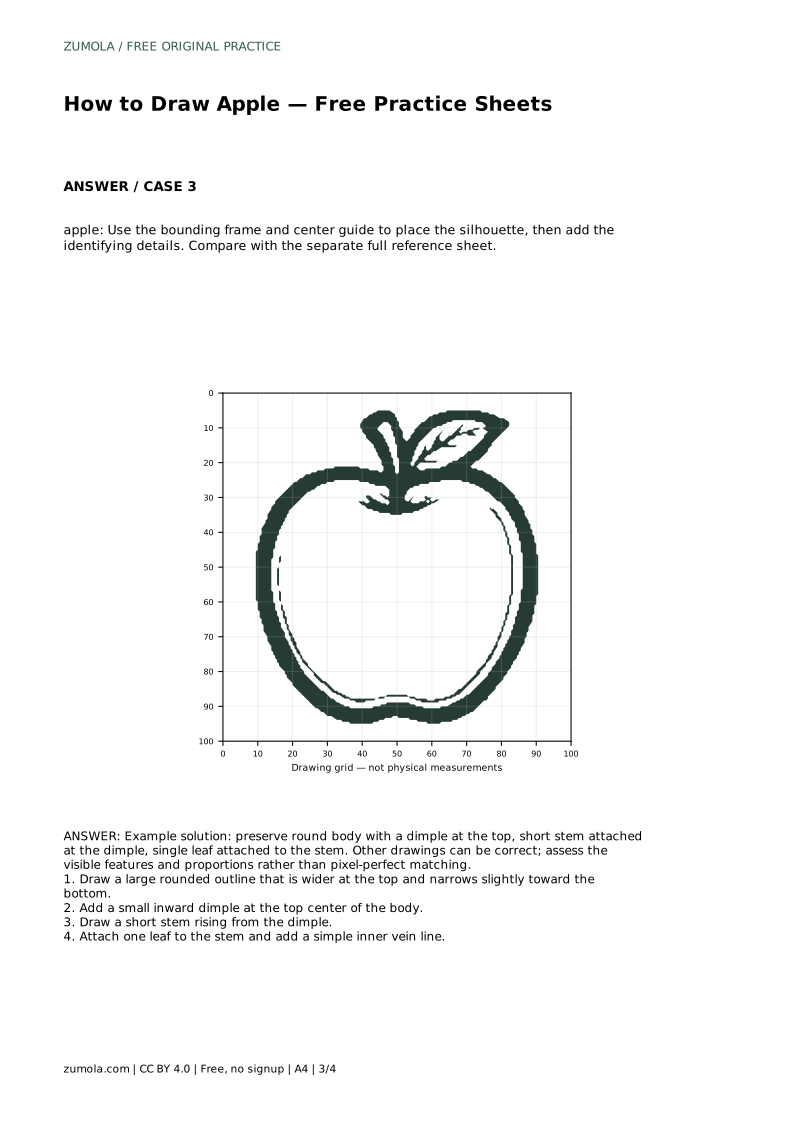
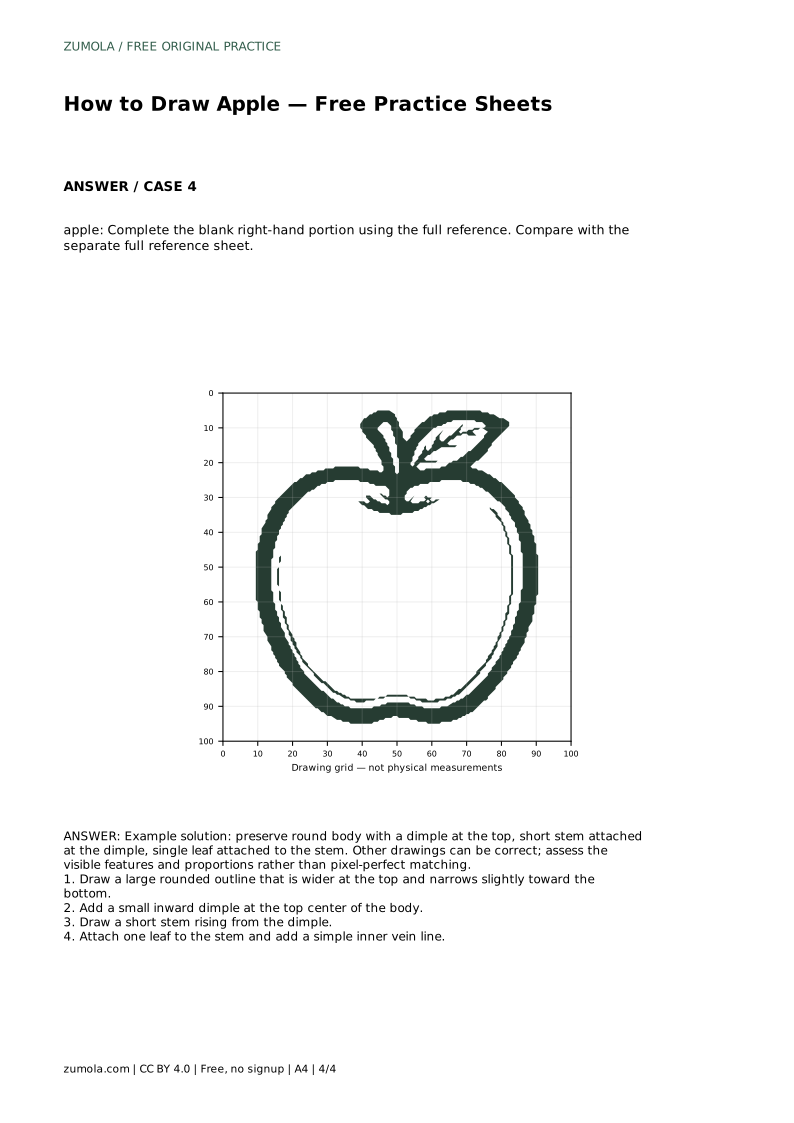
Reference diagrams
LETTER · Download PDF
A4 · Download PDF
Free original resources
Learn to draw an apple in pencil by tracing, copying a grid, using a center guide, and completing a partial reference. Build contour and detail skills step by step.
Four original cases, with reference diagrams, practice sheets and worked answers. Everything is free; no signup required.
LETTER · Download PDF
A4 · Download PDF
LETTER · Download PDF
A4 · Download PDF
LETTER · Download PDF
A4 · Download PDF
Use A4 or US Letter to match your printer. Use the stated values and conditions to solve each exercise; diagrams are not physical measuring rulers.
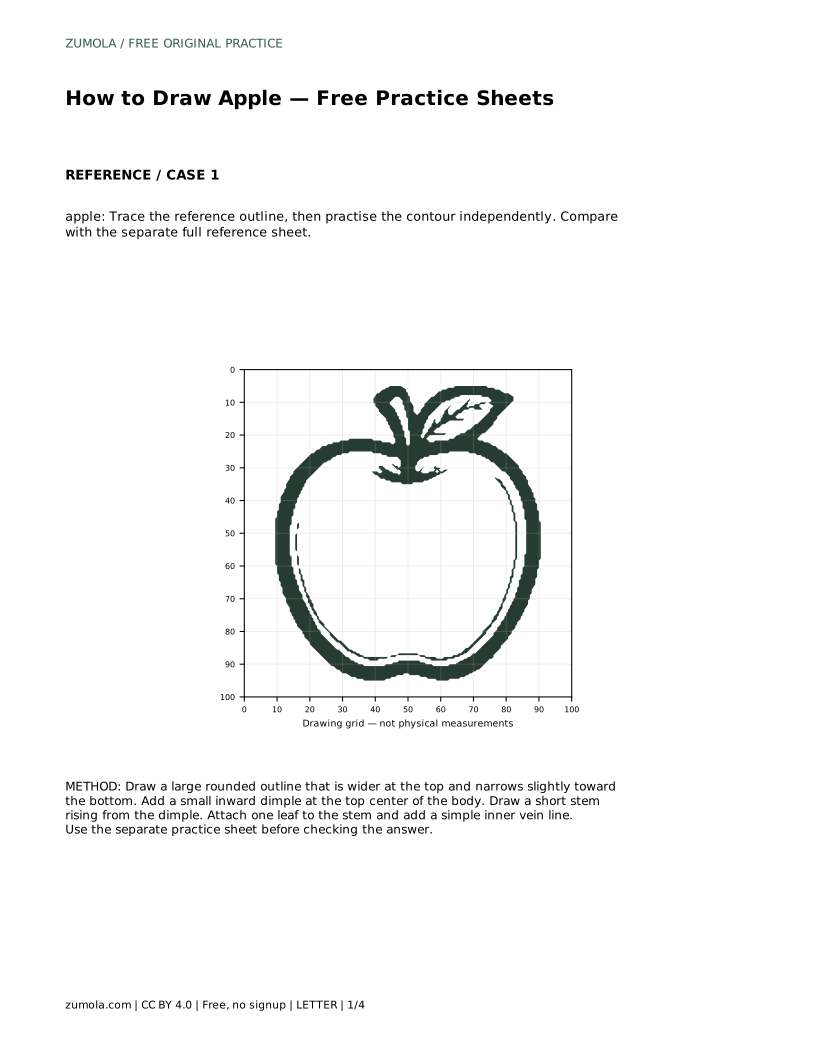
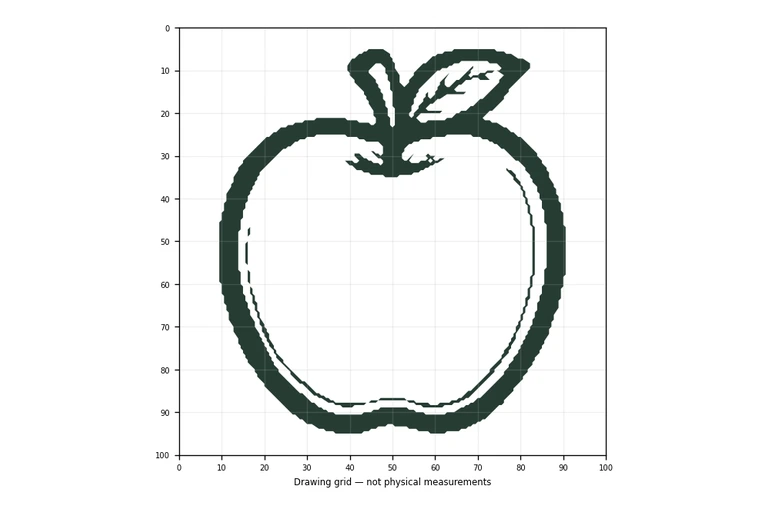
Drawing an apple is a useful pencil exercise because the shape is familiar but not perfectly regular. A convincing apple depends on a rounded body, a clear top dimple, a short stem, and a single attached leaf. This page explains how to practise those features using four sheet styles: tracing, grid copying, a bounding frame with a center guide, and completing a blank portion. Each method trains a slightly different skill, and all of them reward careful looking rather than rushed lines.
Begin by treating the apple body as one large rounded outline. Make it wider across the upper half and slightly narrower toward the bottom, so the silhouette reads as an apple rather than a circle. Keep the outline light at first; a pencil line that is easy to adjust lets you correct proportion before adding detail.
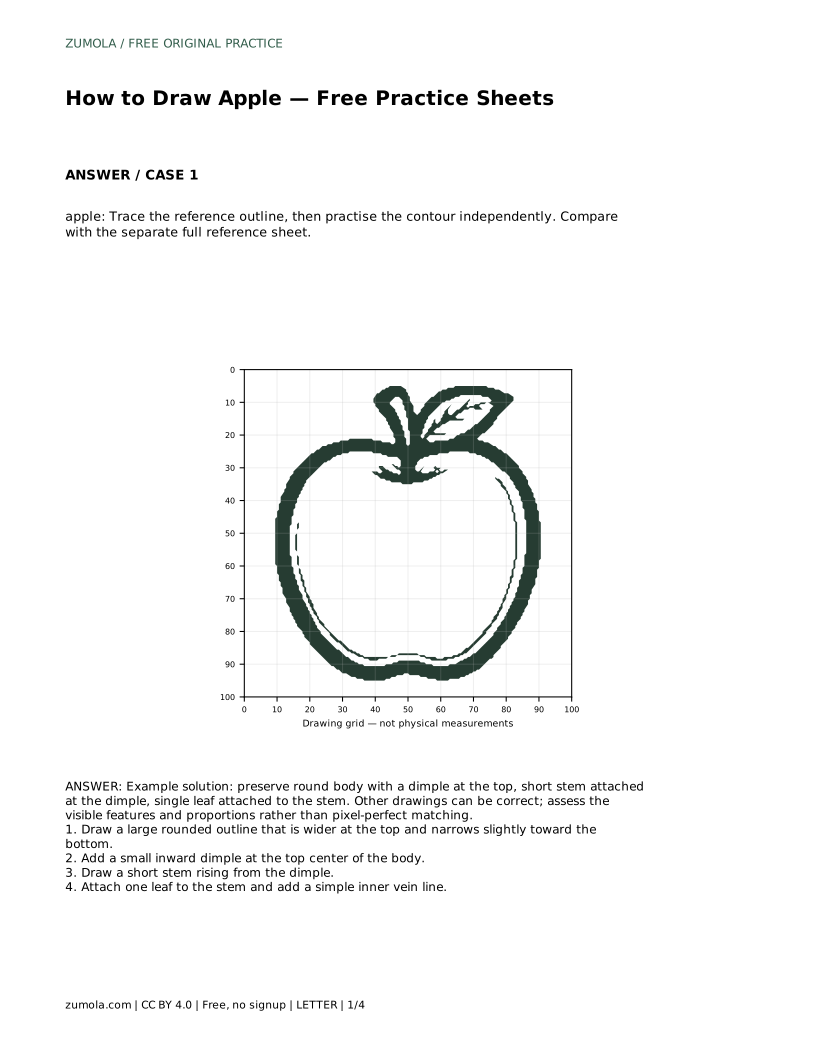
The top dimple is the feature that most clearly identifies the fruit. Place a small inward dip at the top center of the body. The stem should rise from inside that dip, not from the smooth shoulder beside it. A short stem is enough. Attach one leaf to the stem and add a simple inner vein line to suggest direction without overworking the surface.
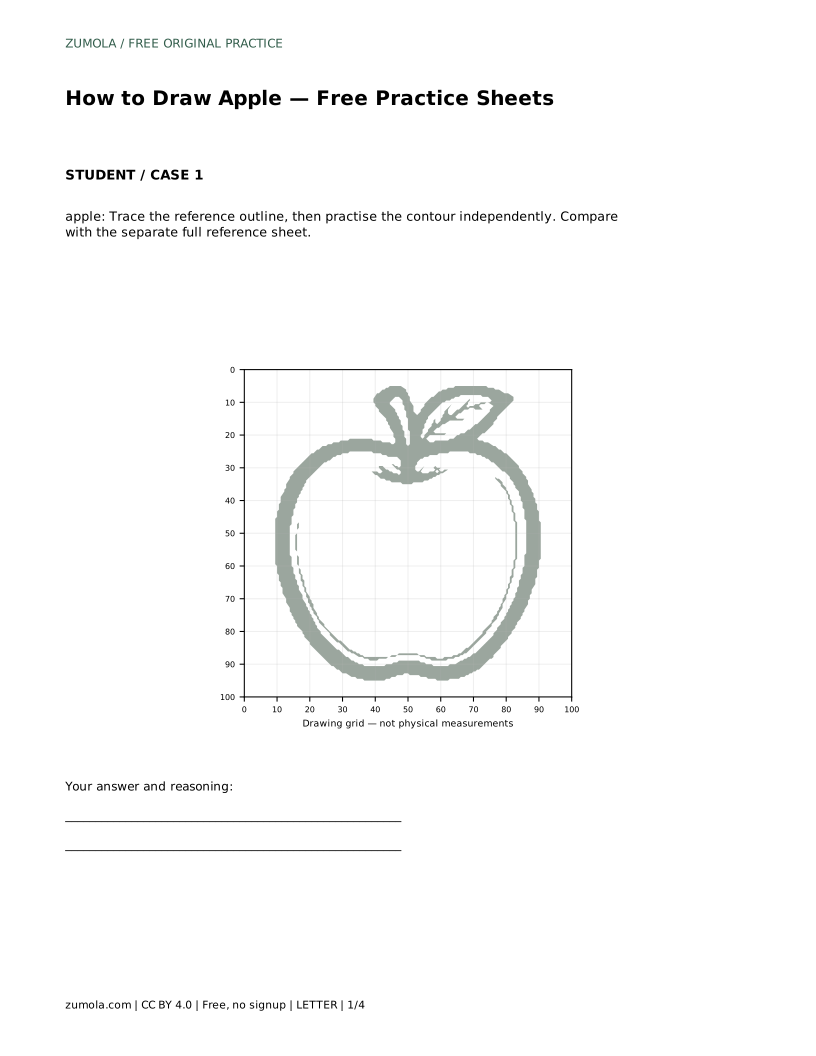
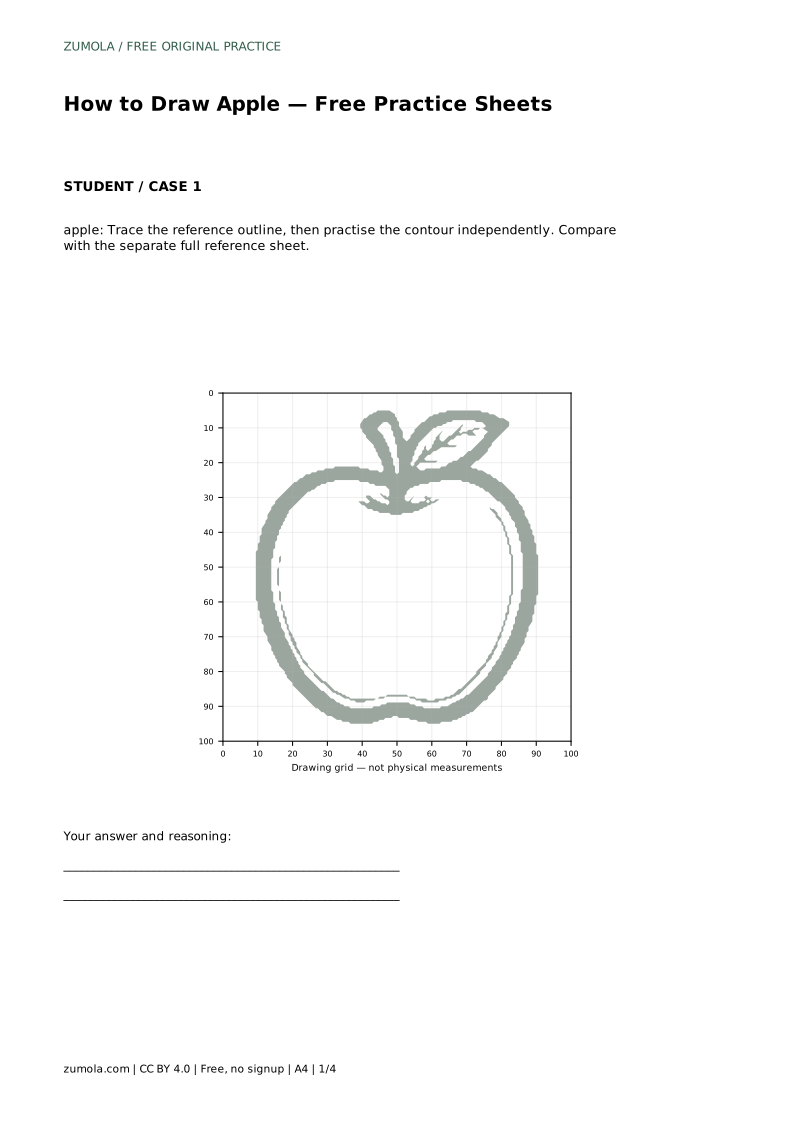
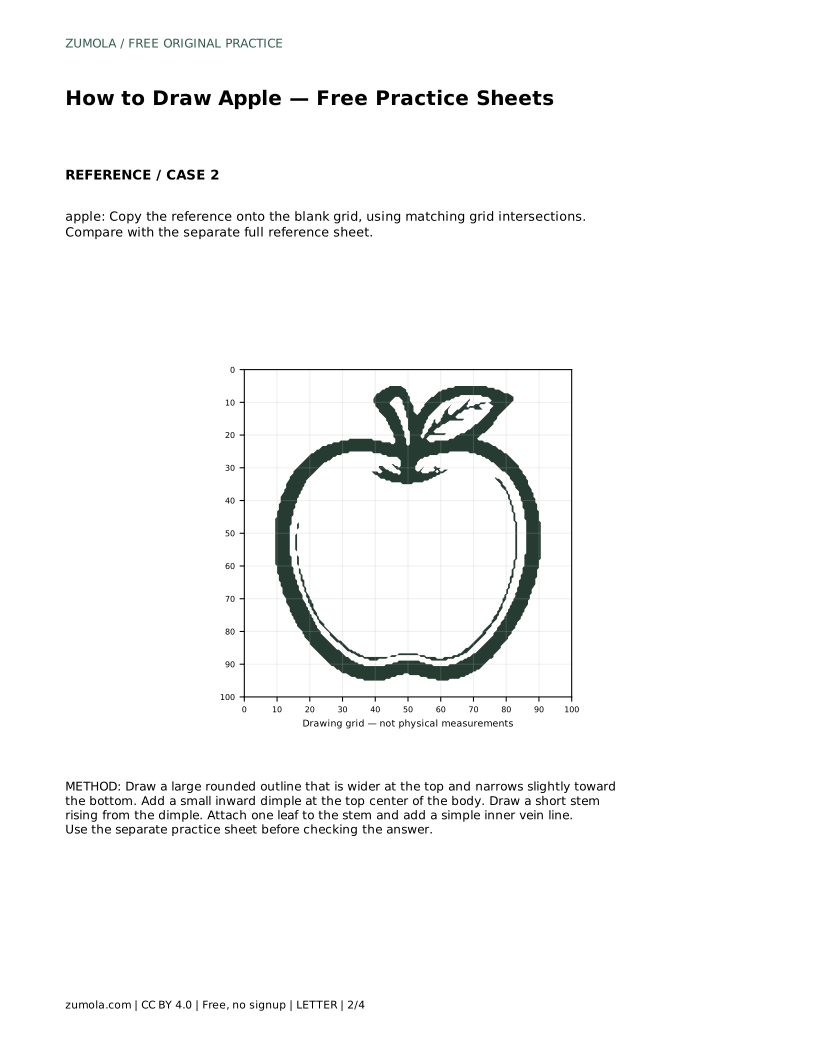
On a tracing sheet, follow the reference outline first, then try the contour independently on blank space. The tracing pass teaches hand placement; the independent pass shows whether you can reproduce the shape without support. Compare your result with the separate full reference sheet rather than judging from memory.
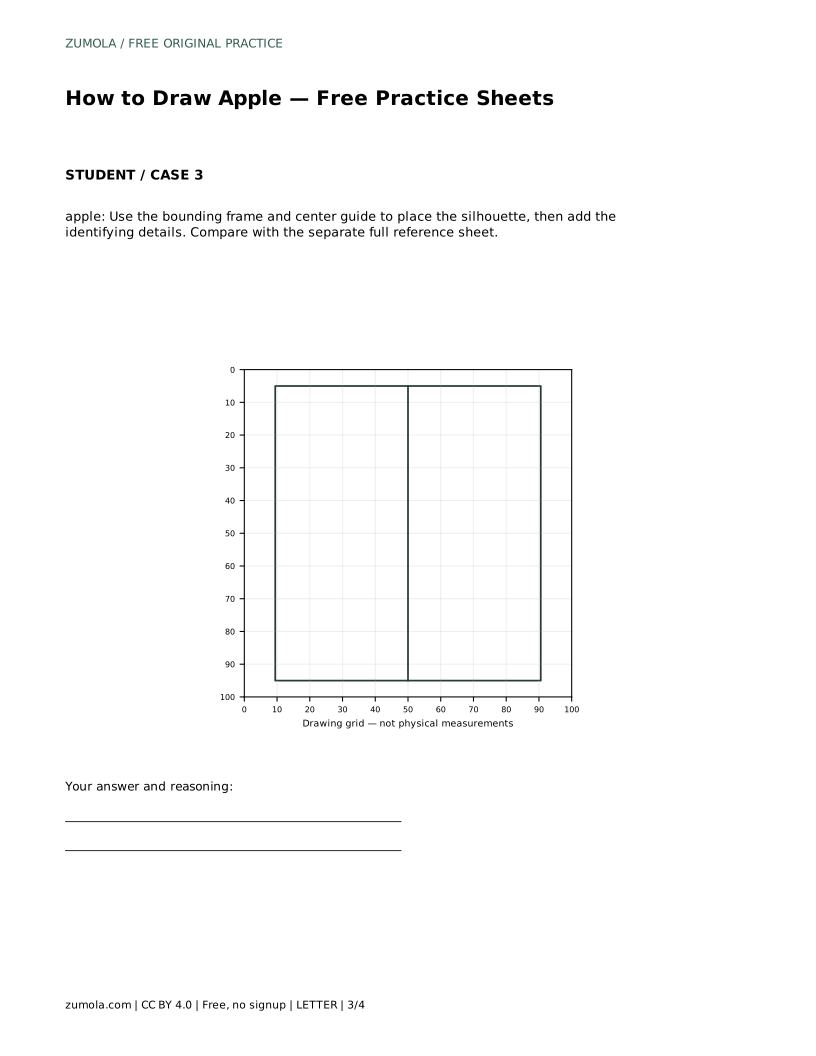
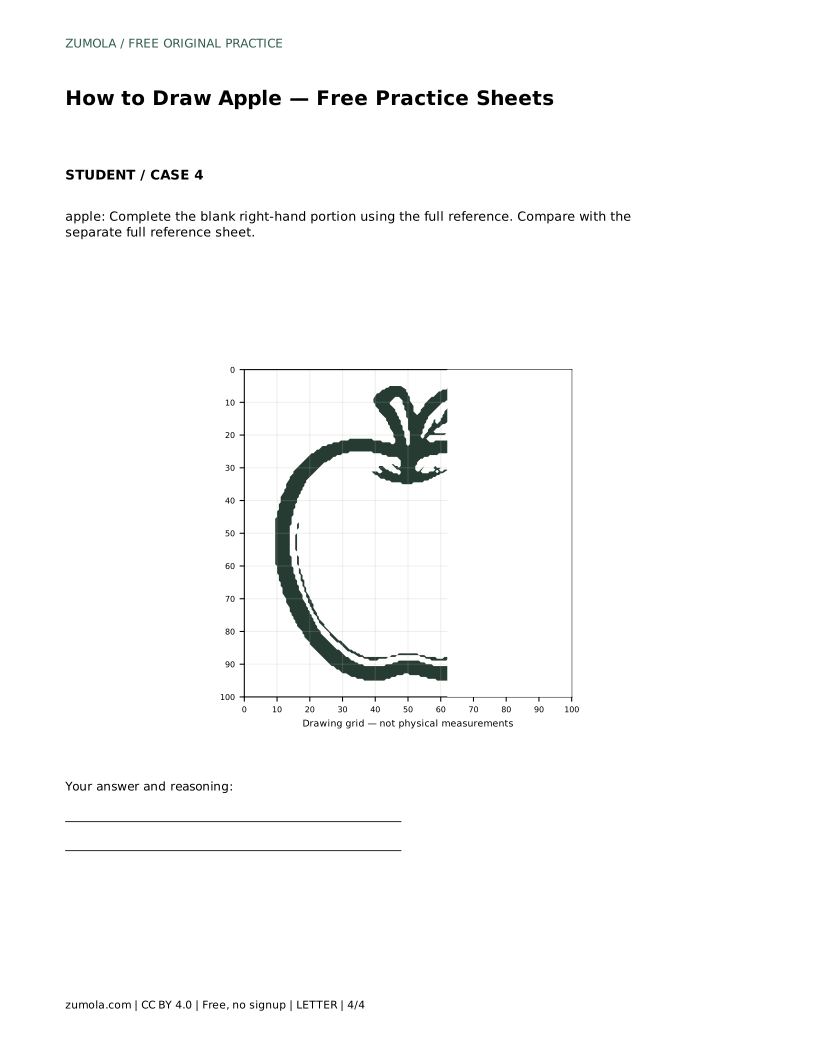
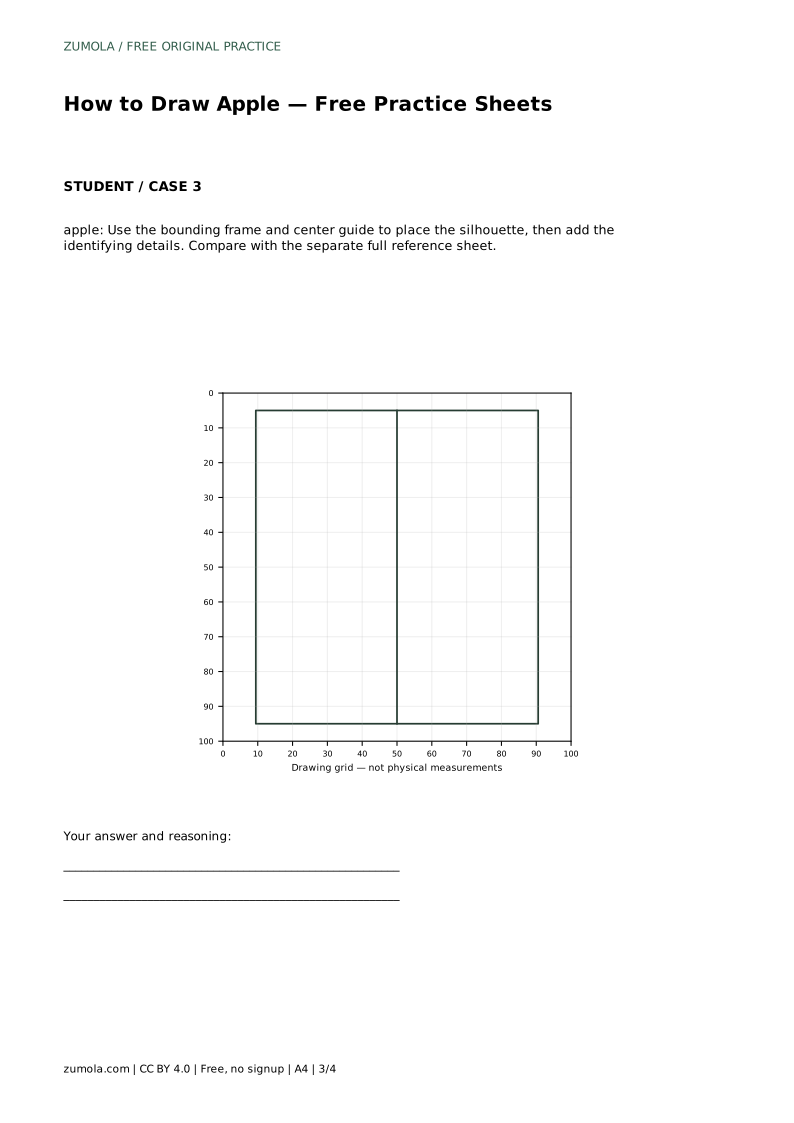
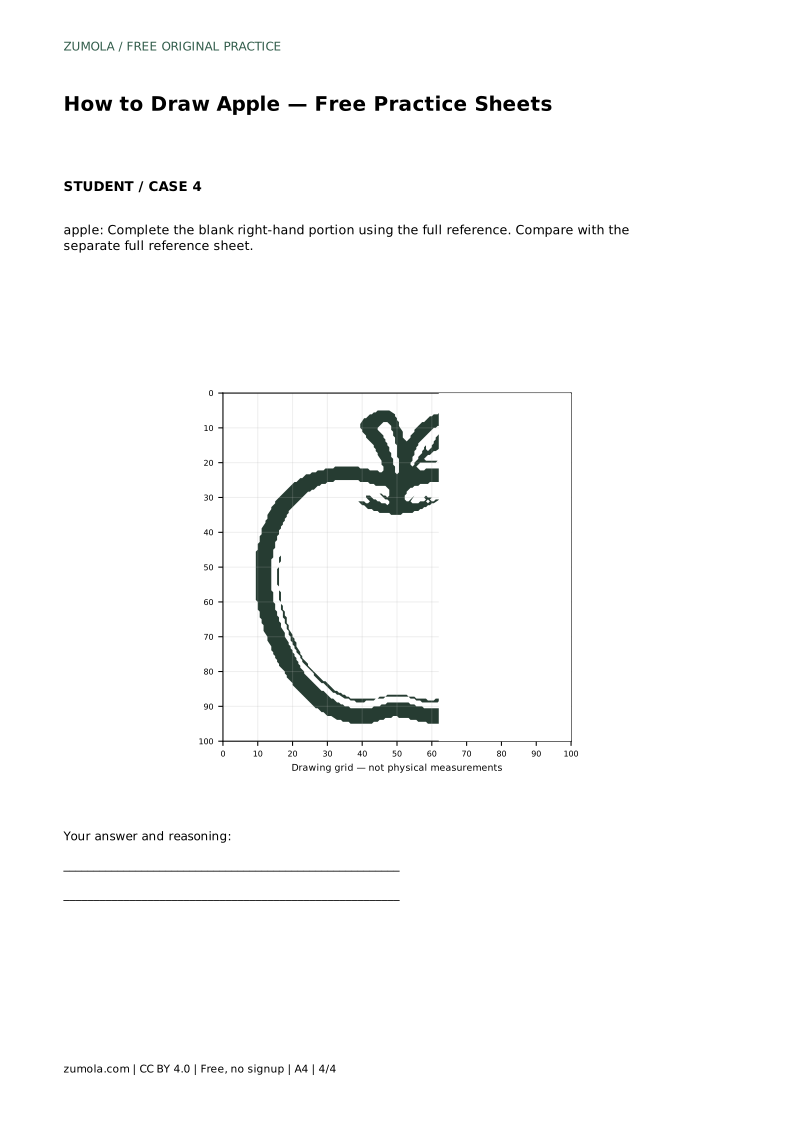
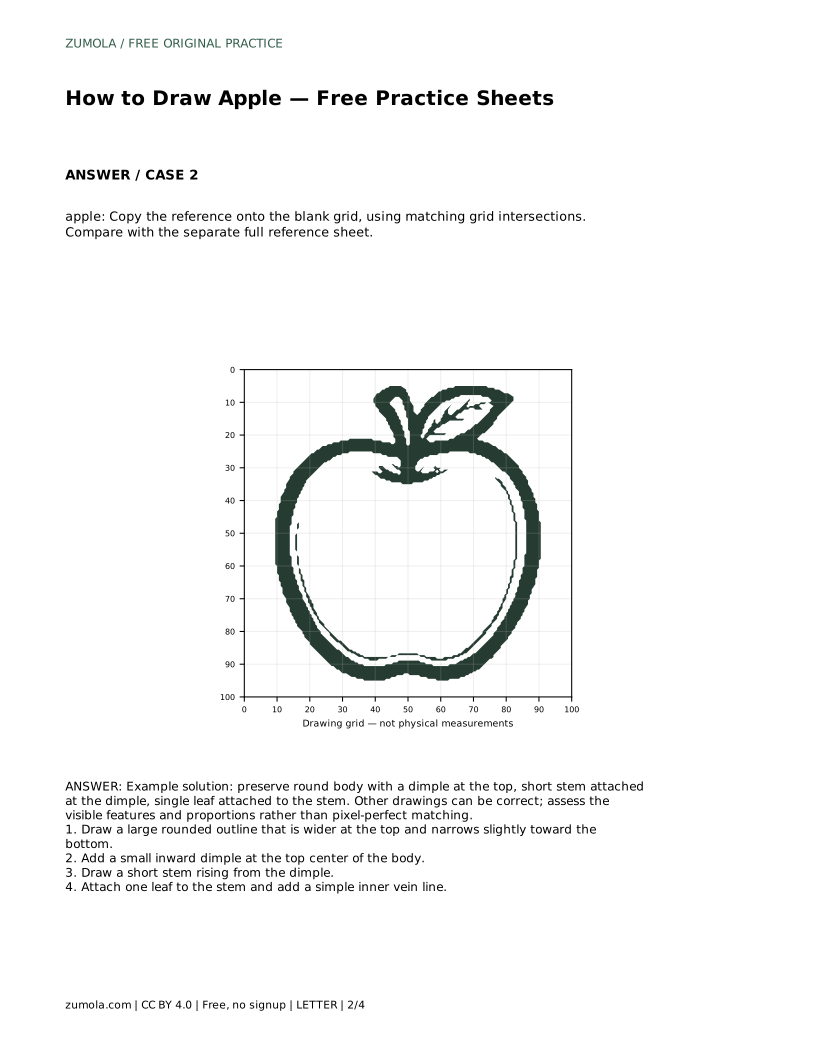
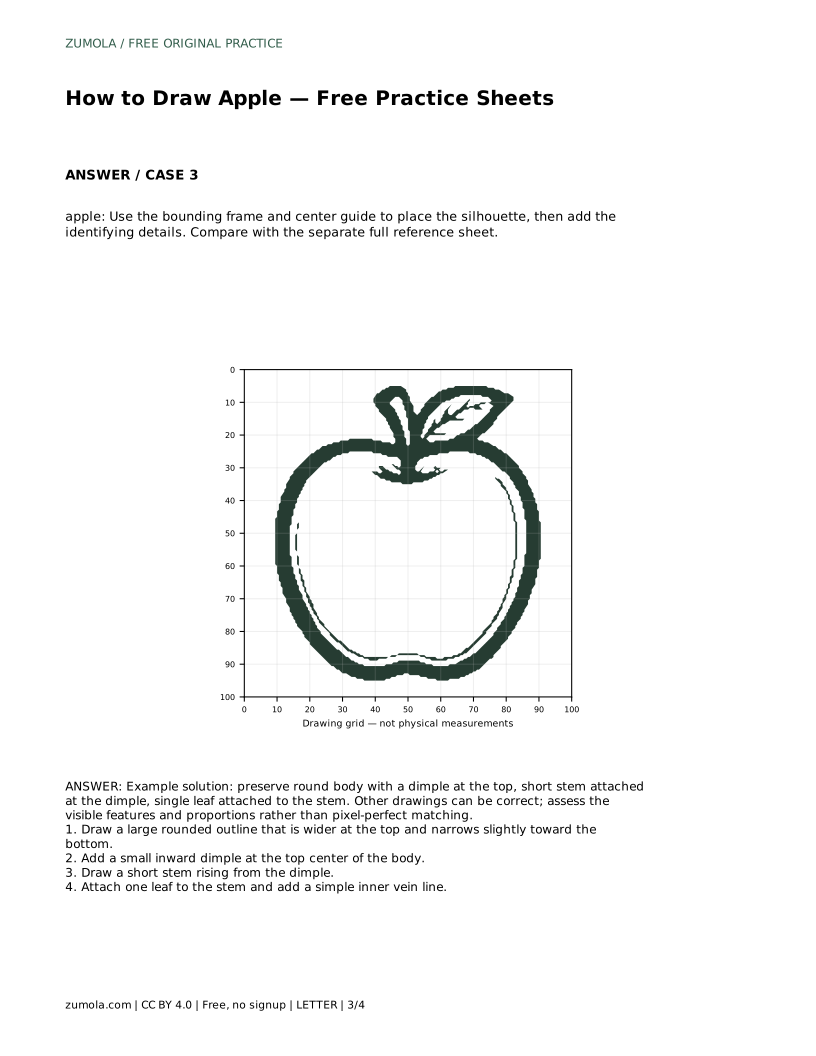
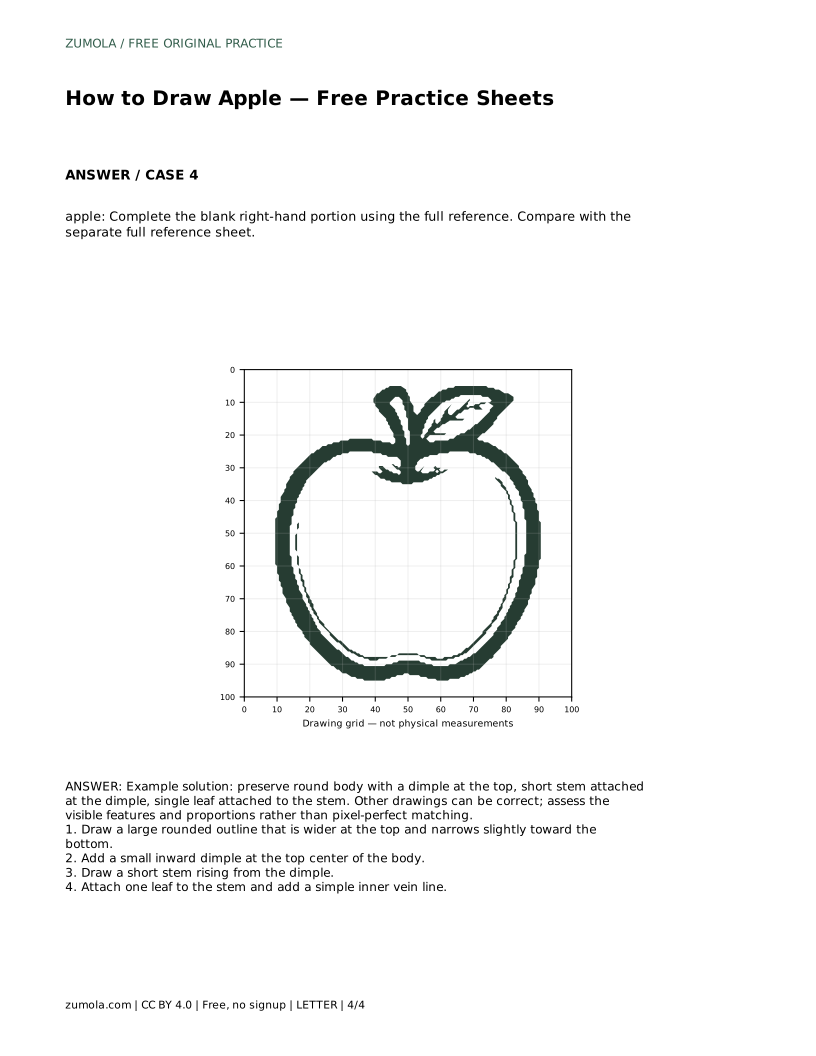
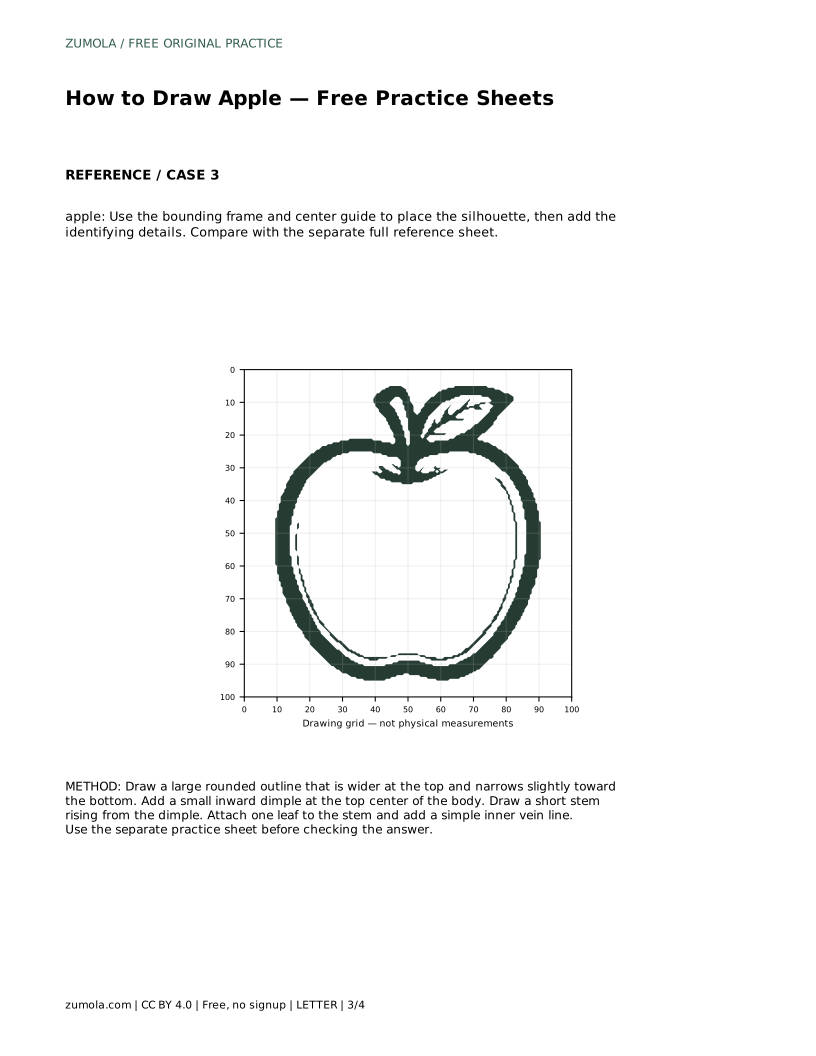
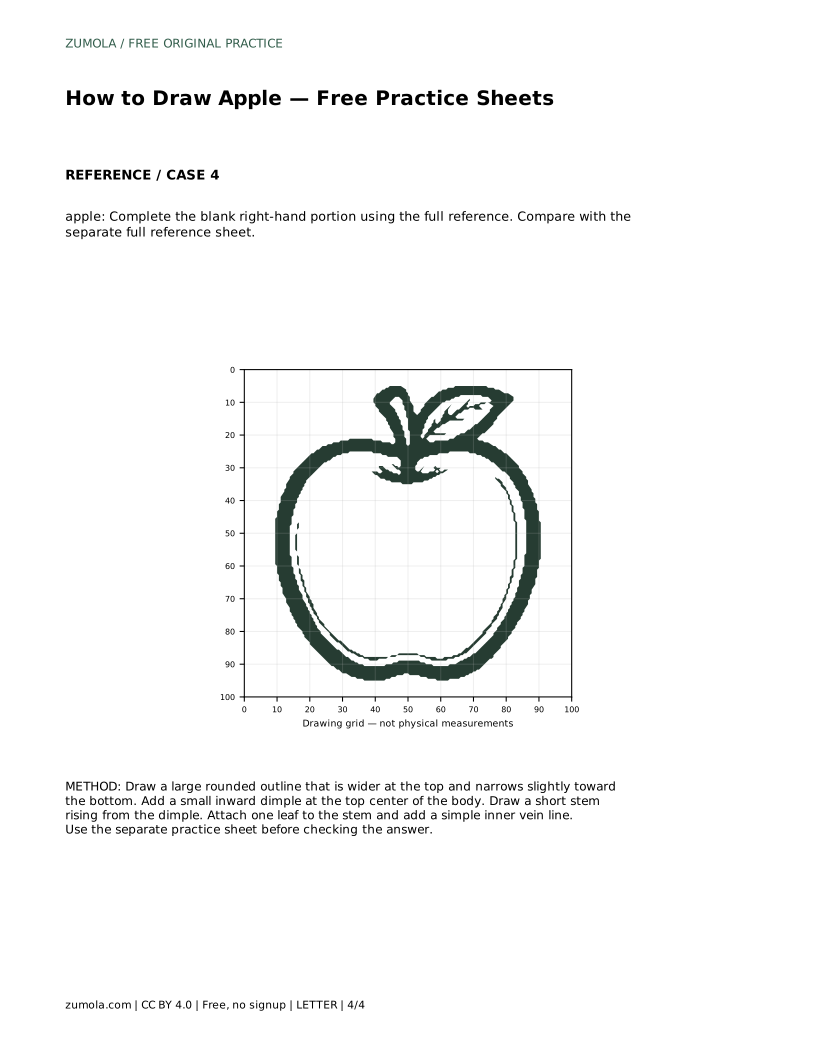
On a grid sheet, copy the reference onto the blank grid by matching intersections. Use the grid to compare where the widest part of the body sits and how far the leaf extends. On a frame-and-center-guide sheet, use the frame to set the overall size and the center guide to place the silhouette before adding the dimple, stem, and leaf. On a partial sheet, complete the blank right-hand portion using the full reference, keeping the body width and leaf angle consistent with the finished side.
An apple drawing has many valid outcomes. Two drawings can both be correct while differing in body width, leaf angle, or stem length. Assess the visible features and proportions instead: a rounded body, a dimple at the top, a short stem seated in the dimple, and one leaf attached to the stem.
Keep pencil pressure light while placing the contour, then darken only the lines you intend to keep. If the body looks too circular, compare the upper and lower widths against the reference. If the stem appears to float, check that it begins inside the dimple. These small corrections matter more than copying every curve exactly.
Spend a few minutes on the contour before adding details. Draw the body, place the dimple, then add the stem and leaf in that order. Finish by comparing your sheet with the full reference and noting one proportion to adjust on the next attempt. Repeating the sequence across the different sheet styles builds control without turning the exercise into a test.
apple: Trace the reference outline, then practise the contour independently. Compare with the separate full reference sheet.
Example solution: preserve round body with a dimple at the top, short stem attached at the dimple, single leaf attached to the stem. Other drawings can be correct; assess the visible features and proportions rather than pixel-perfect matching. Draw a large rounded outline that is wider at the top and narrows slightly toward the bottom. Add a small inward dimple at the top center of the body. Draw a short stem rising from the dimple. Attach one leaf to the stem and add a simple inner vein line.
No. Preserve the rounded body, top dimple, short stem, and single attached leaf, then assess proportions rather than pixel-perfect matching.
Start with tracing to learn the contour, then move to the grid, frame guide, and partial sheet as your control improves.
Keep the first contour light so you can adjust the body width and dimple position before darkening the final lines.
All drawing practice · Free coordinate paper
Original resources · CC BY 4.0 · Free for personal and classroom use with attribution.