Reference diagrams
LETTER · Download PDF
A4 · Download PDF
Free original resources
Learn to draw a sourdough loaf by tracing its outline, then working independently. Practise the oval body, crust edge, curved slashes and surface dots.
Four original cases, with reference diagrams, practice sheets and worked answers. Everything is free; no signup required.
LETTER · Download PDF
A4 · Download PDF
LETTER · Download PDF
A4 · Download PDF
LETTER · Download PDF
A4 · Download PDF
Use A4 or US Letter to match your printer. Use the stated values and conditions to solve each exercise; diagrams are not physical measuring rulers.
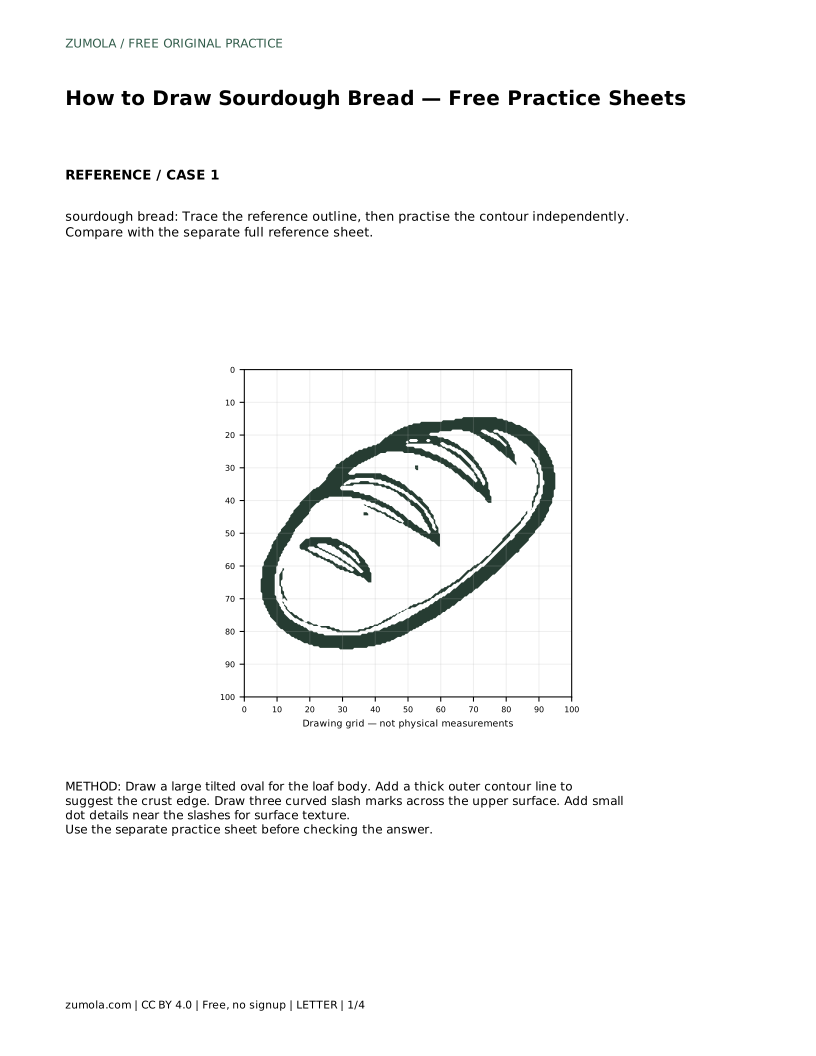
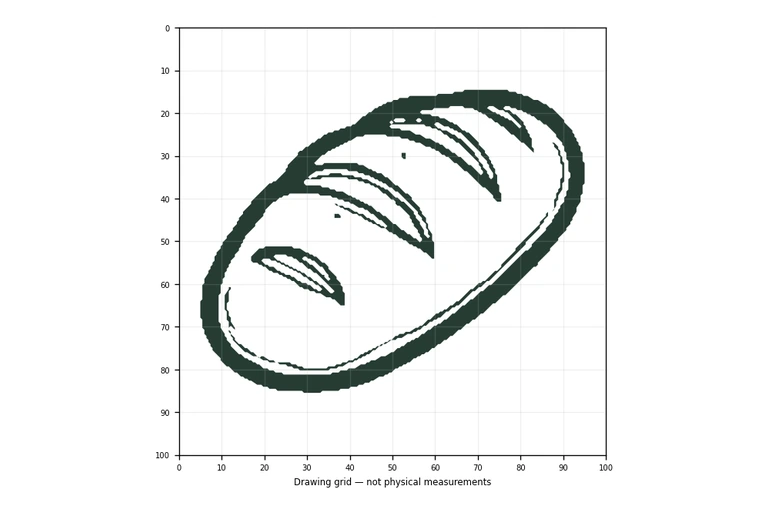
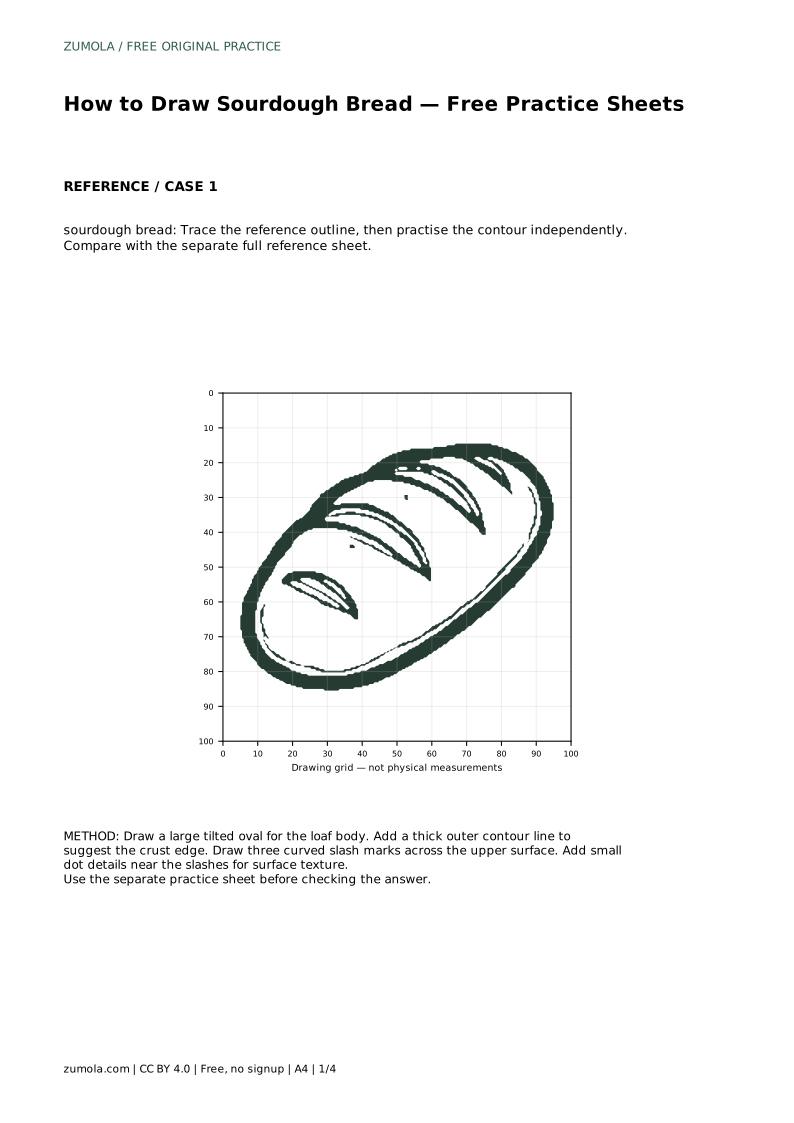
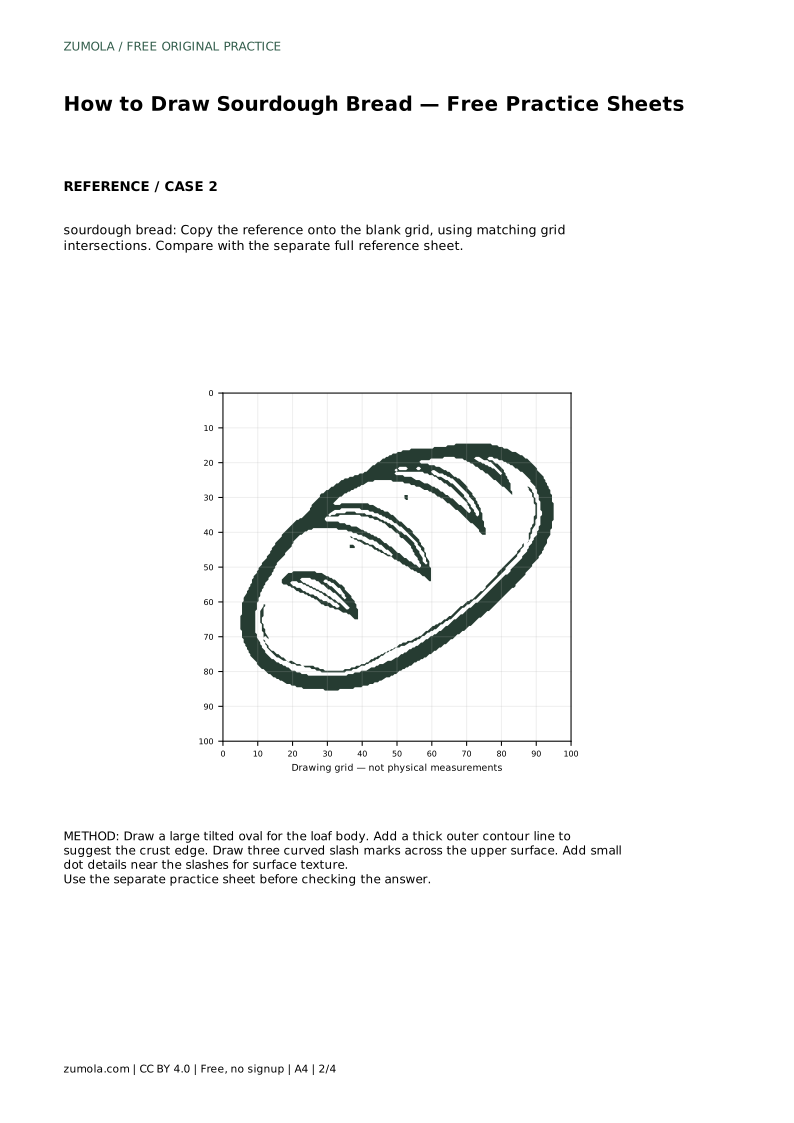
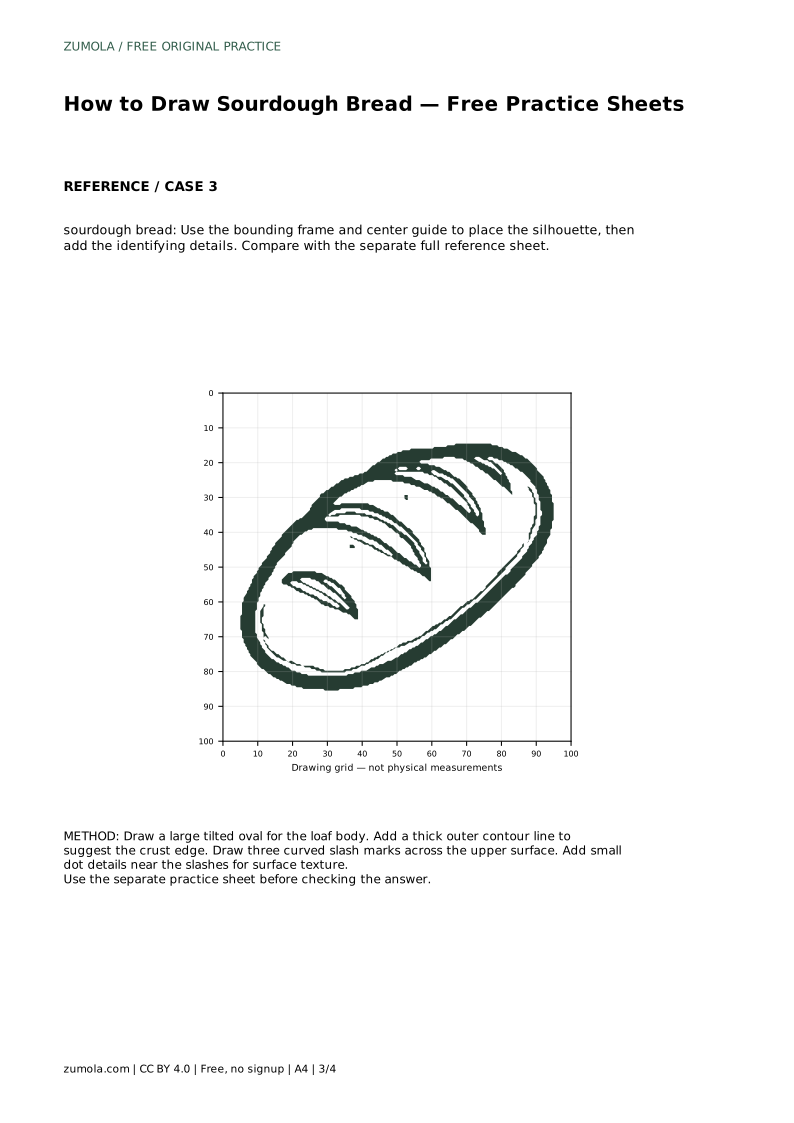
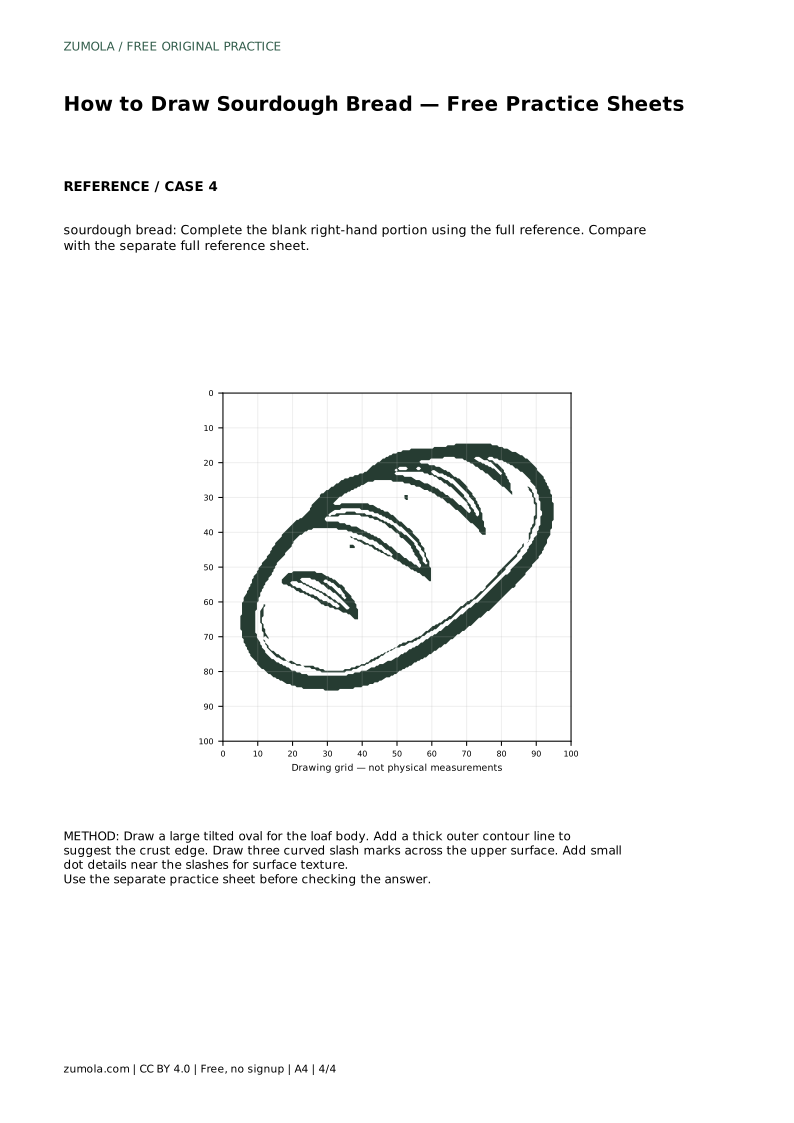
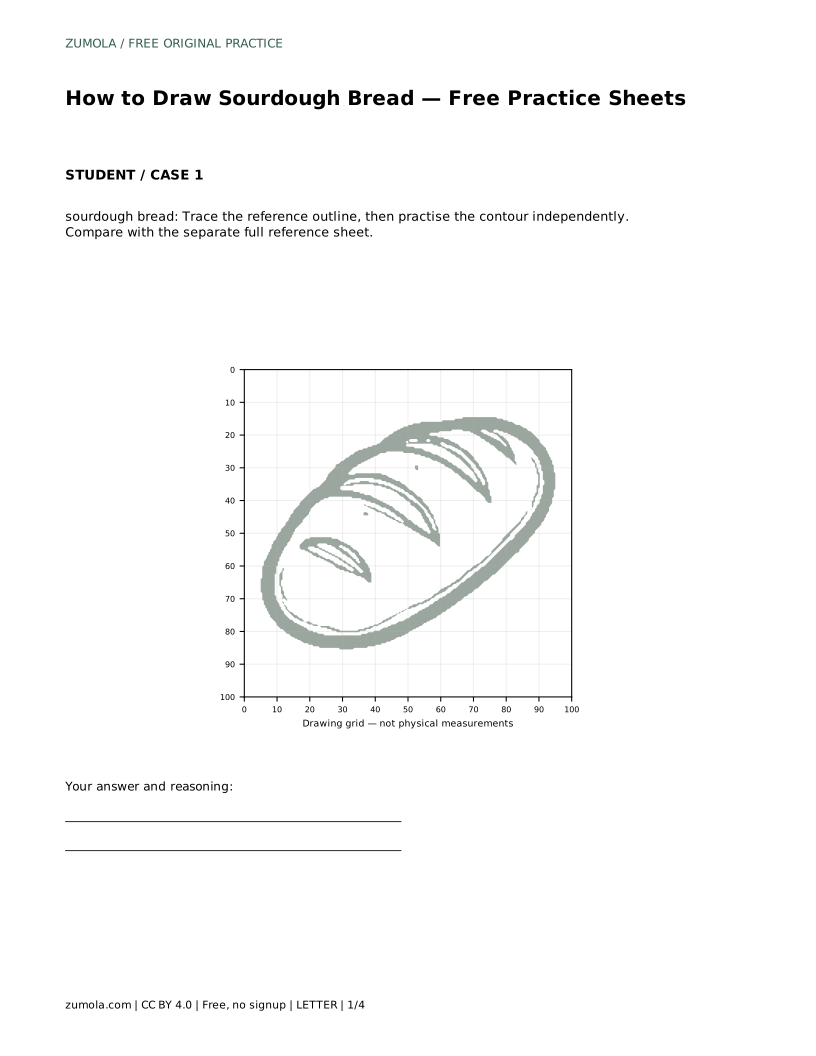
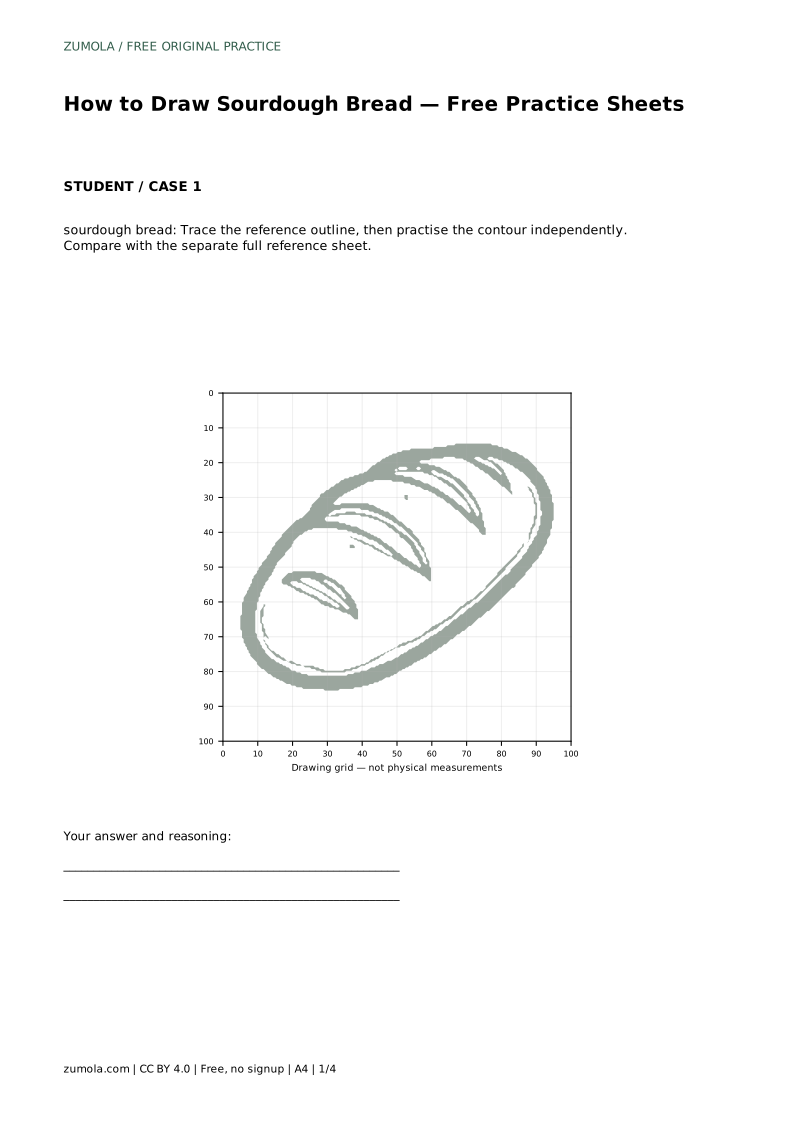
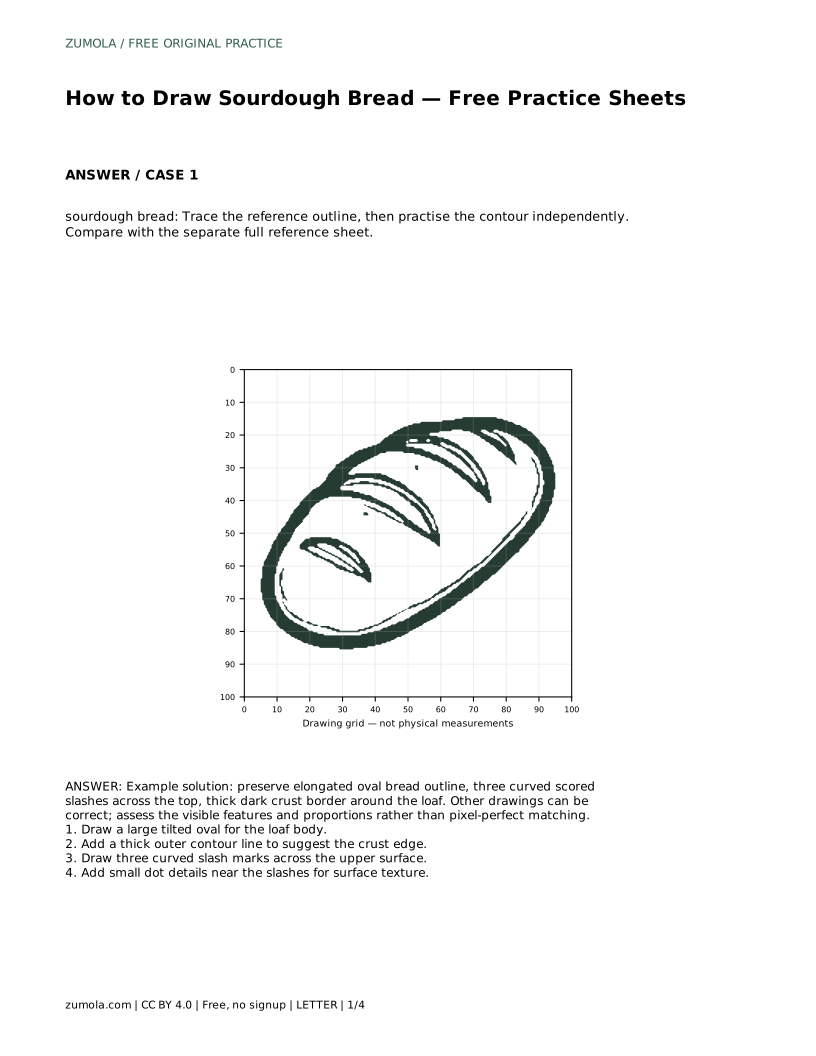
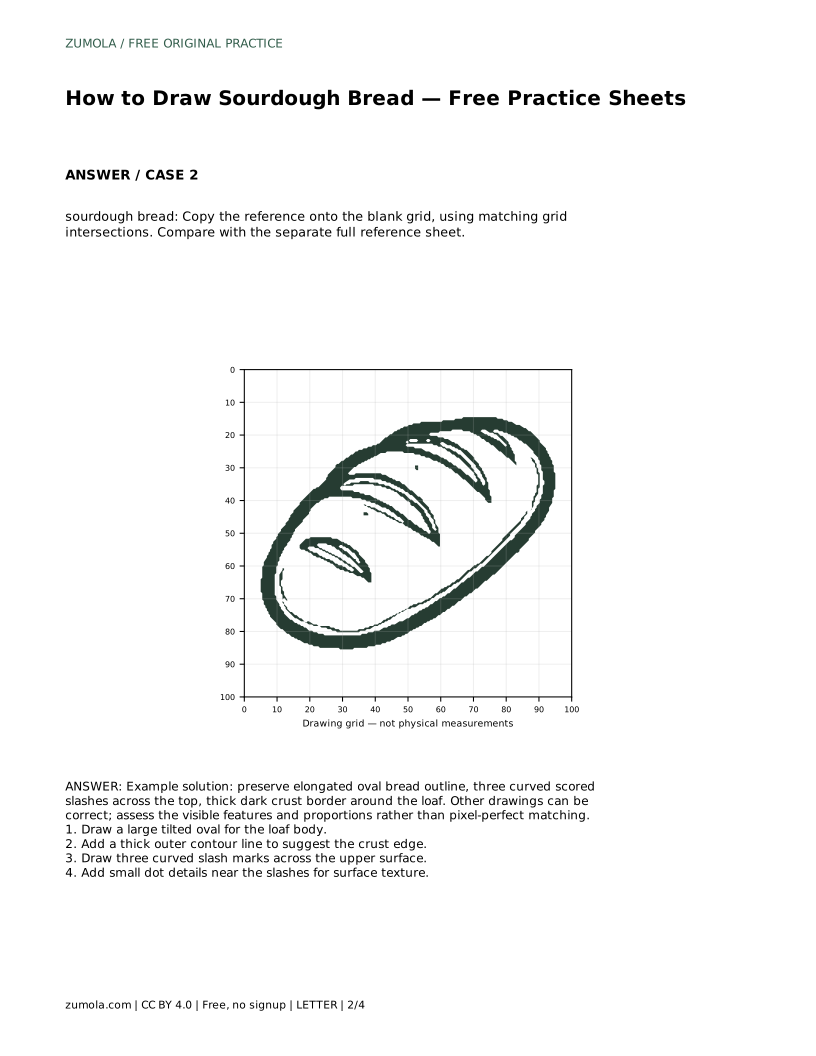
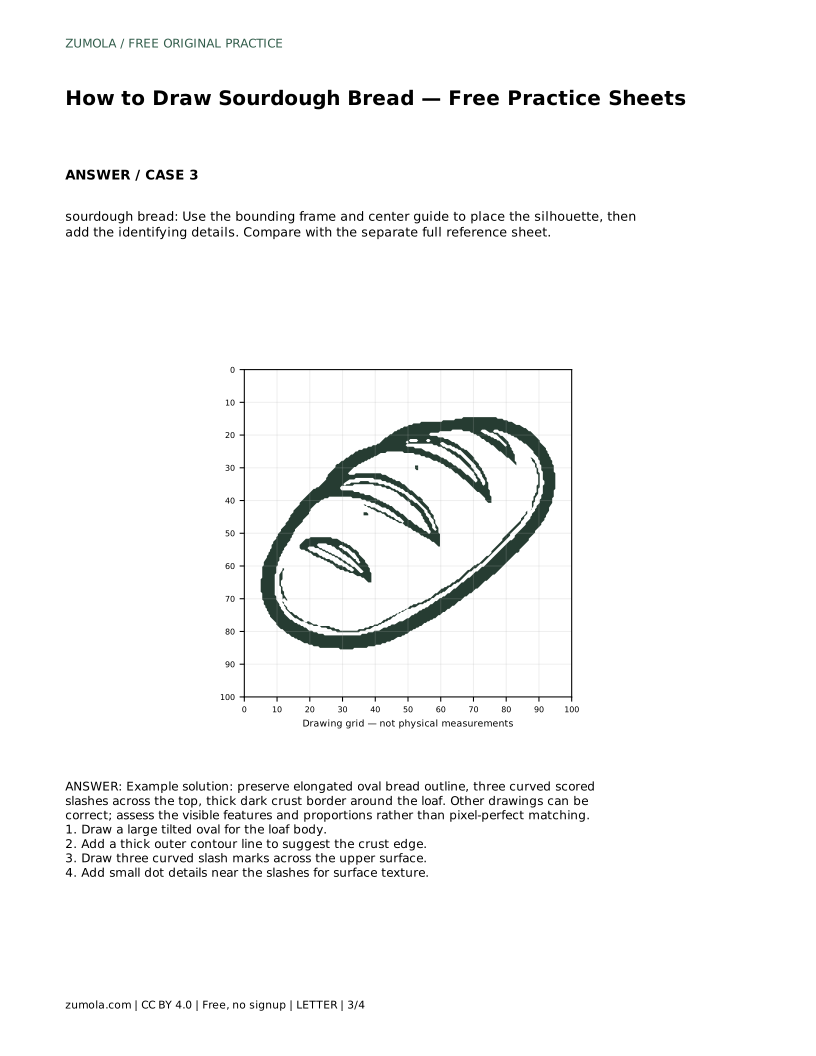
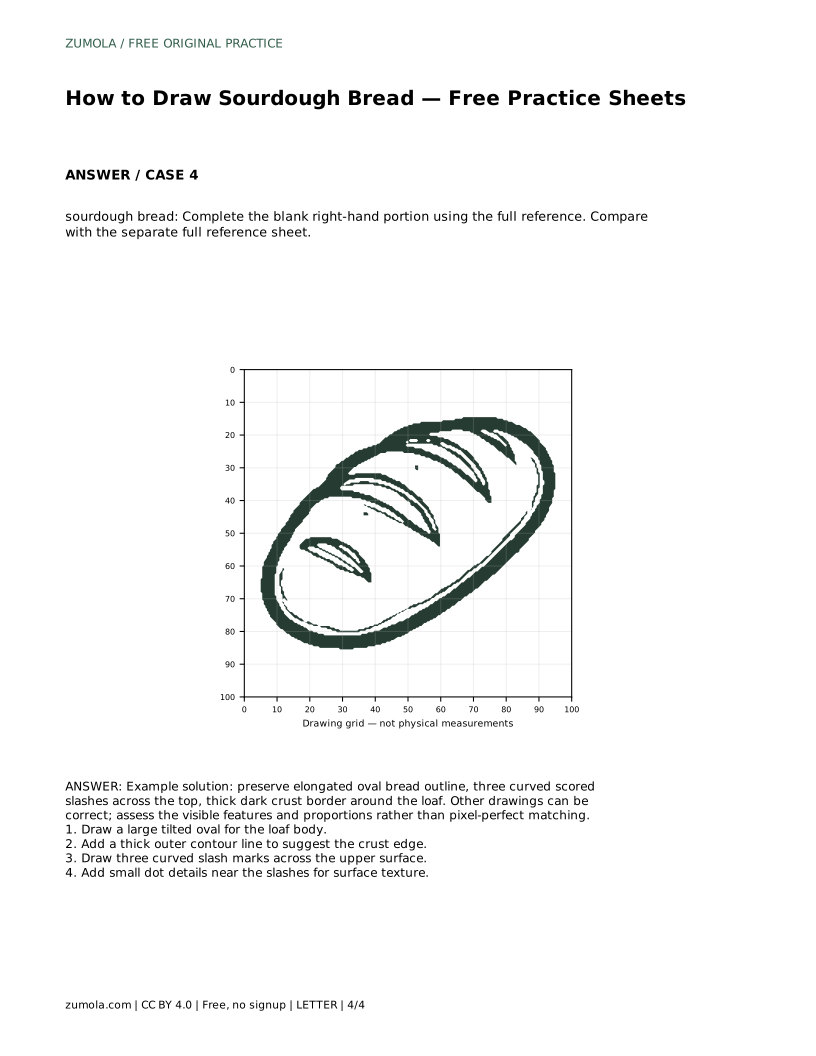
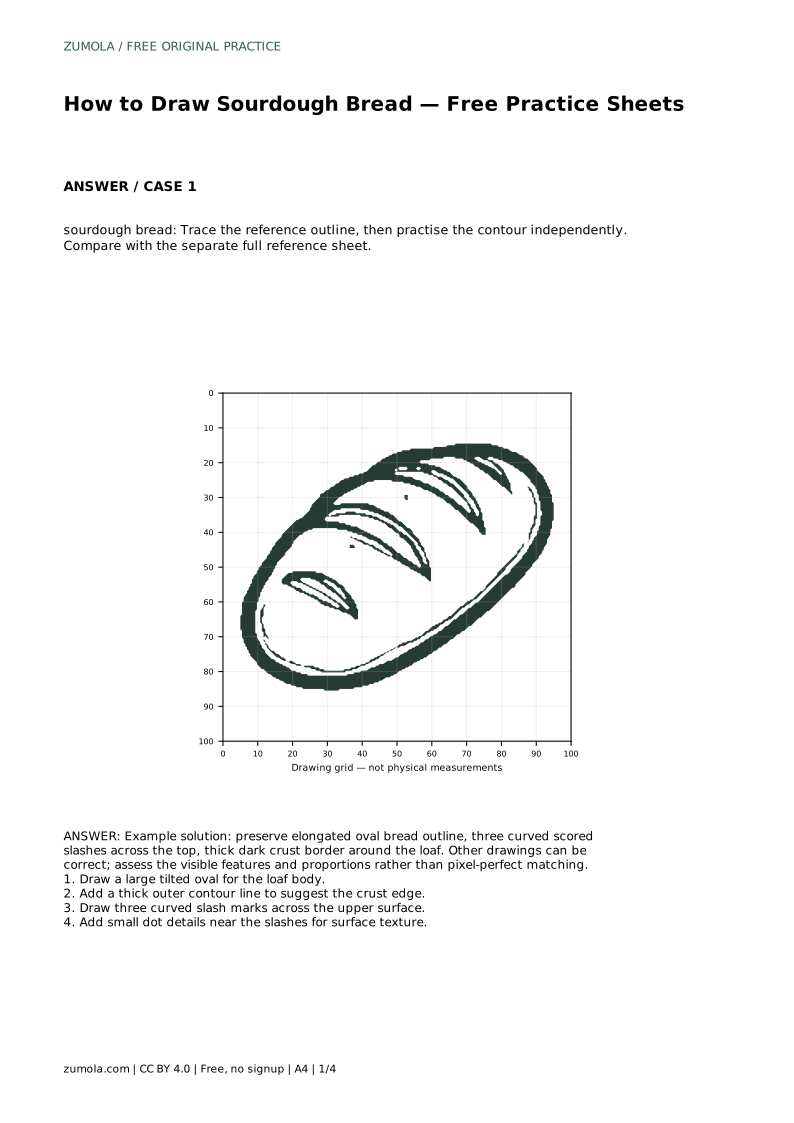
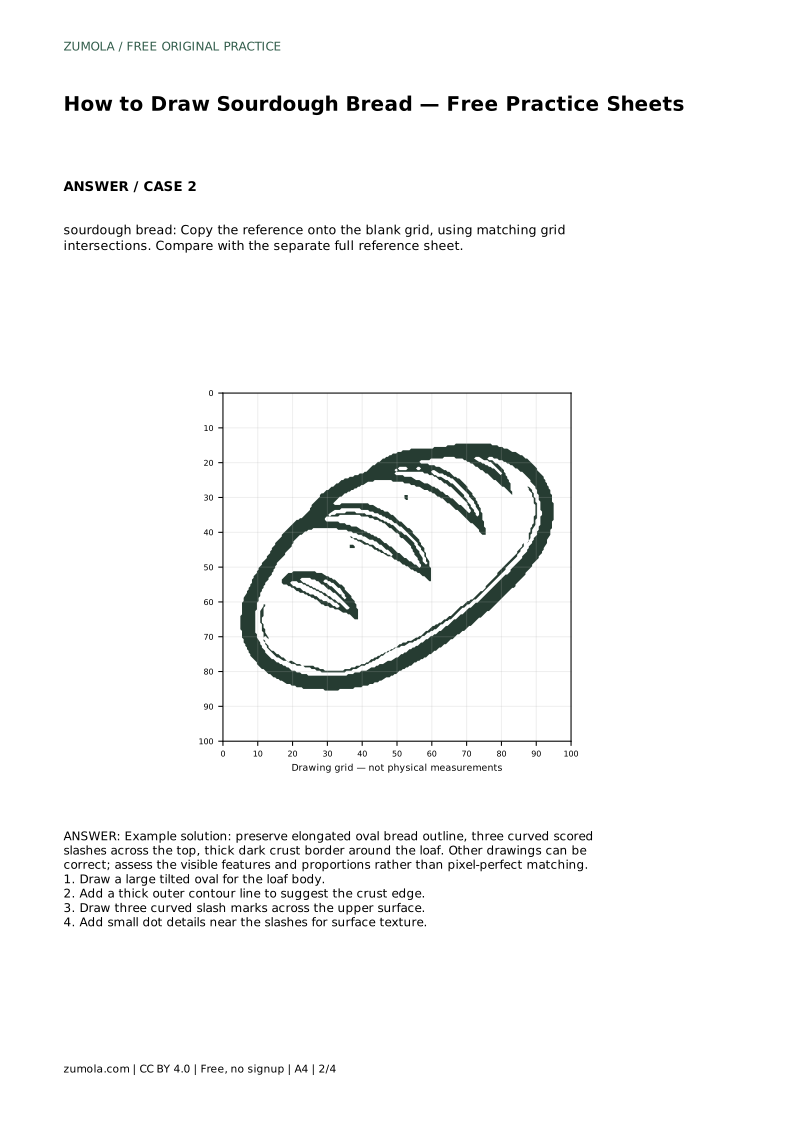
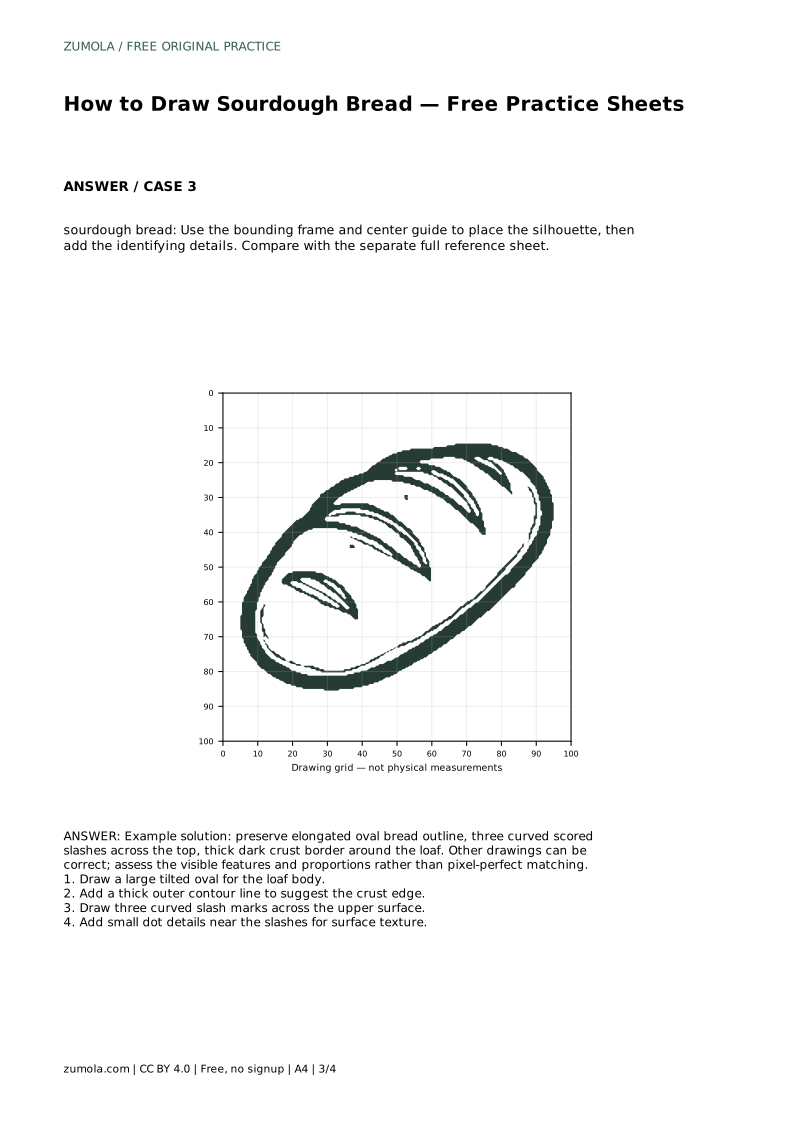
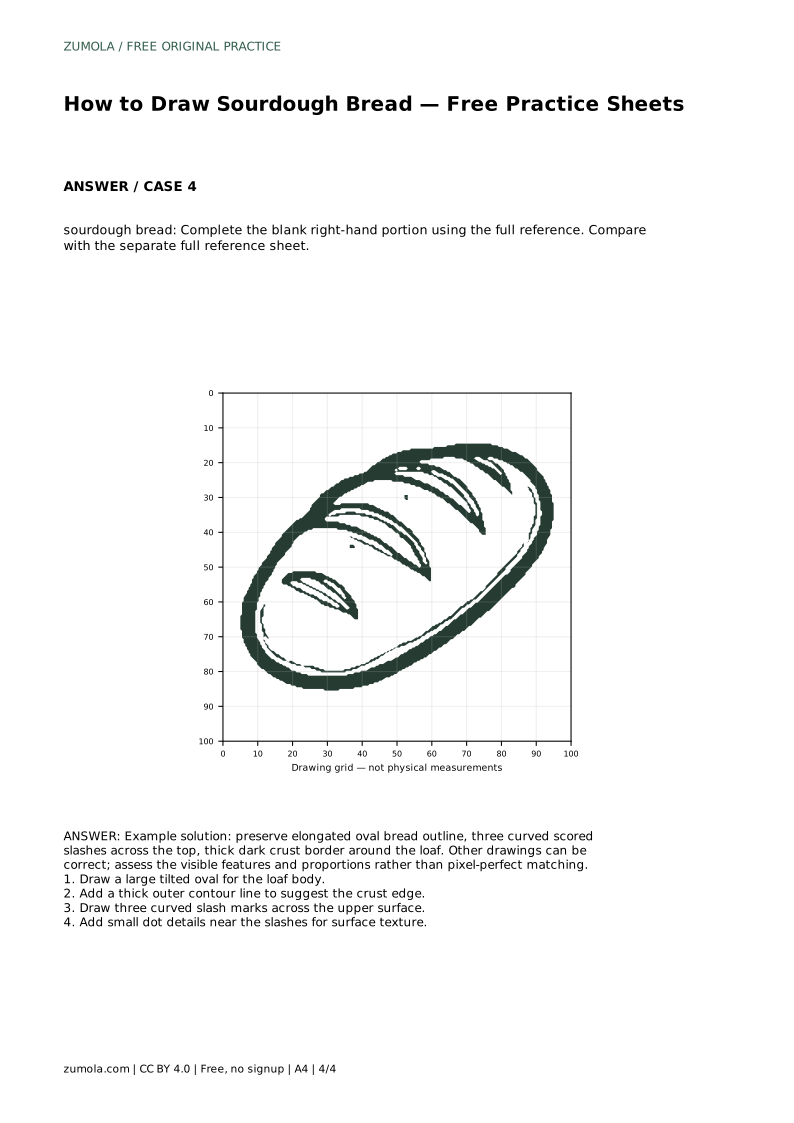
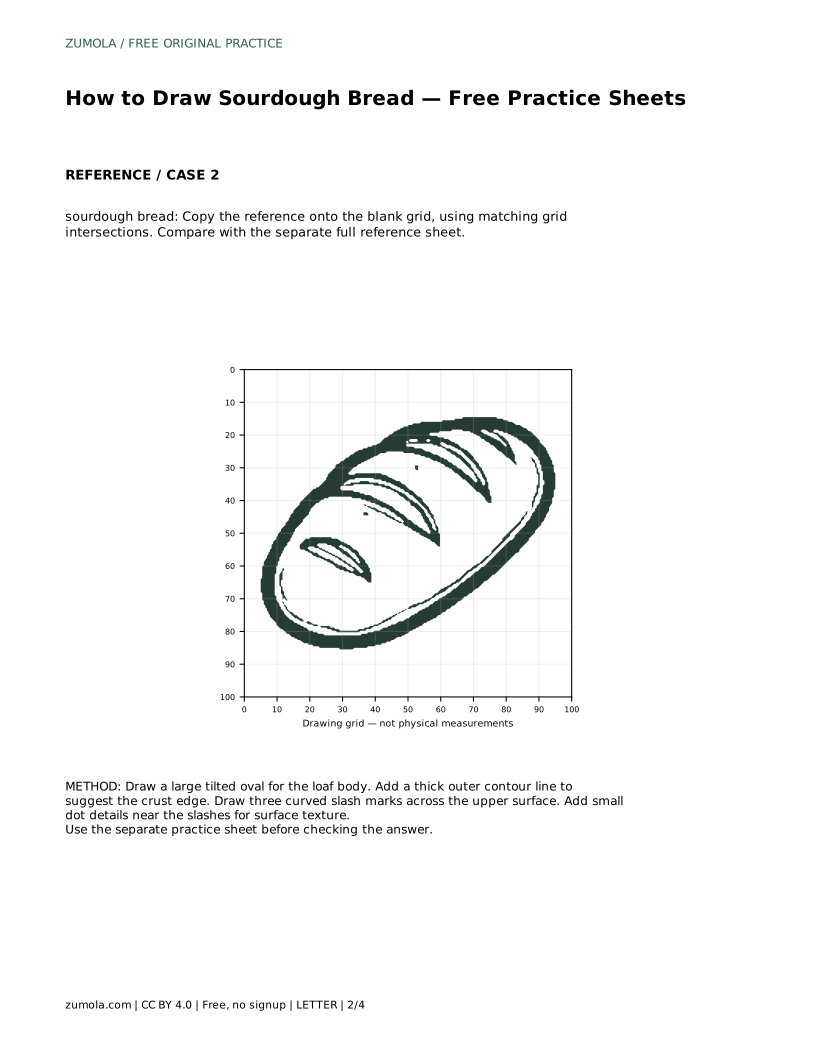
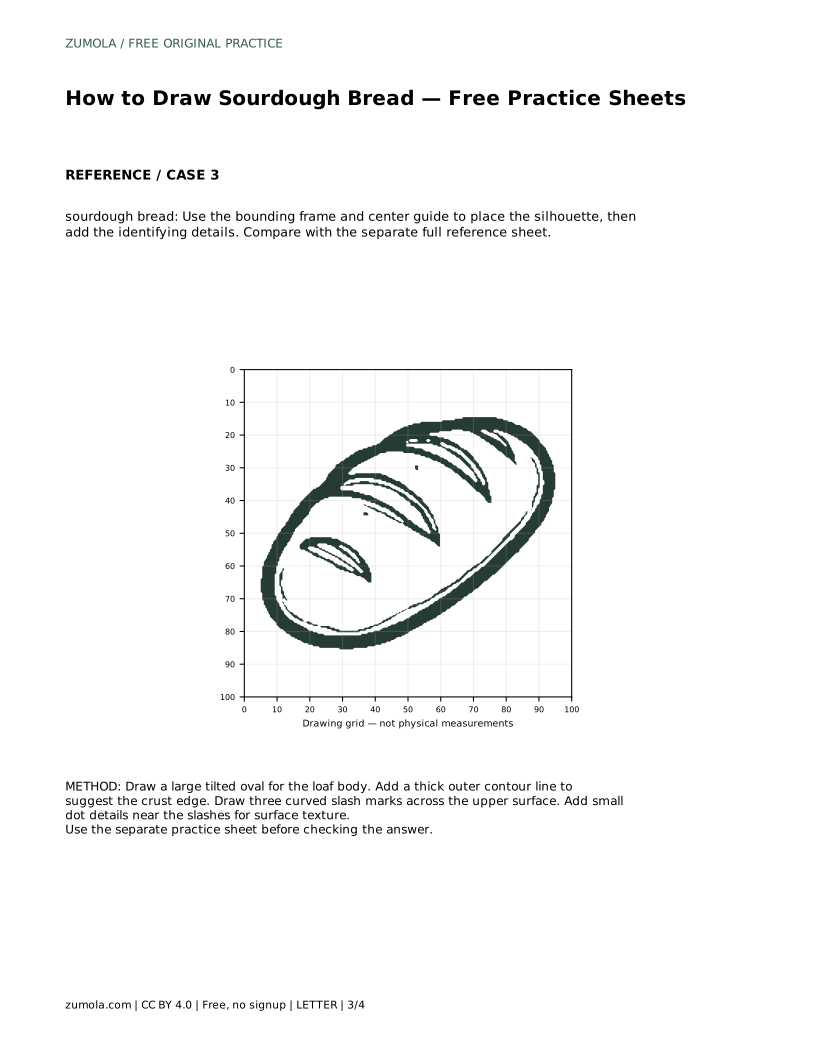
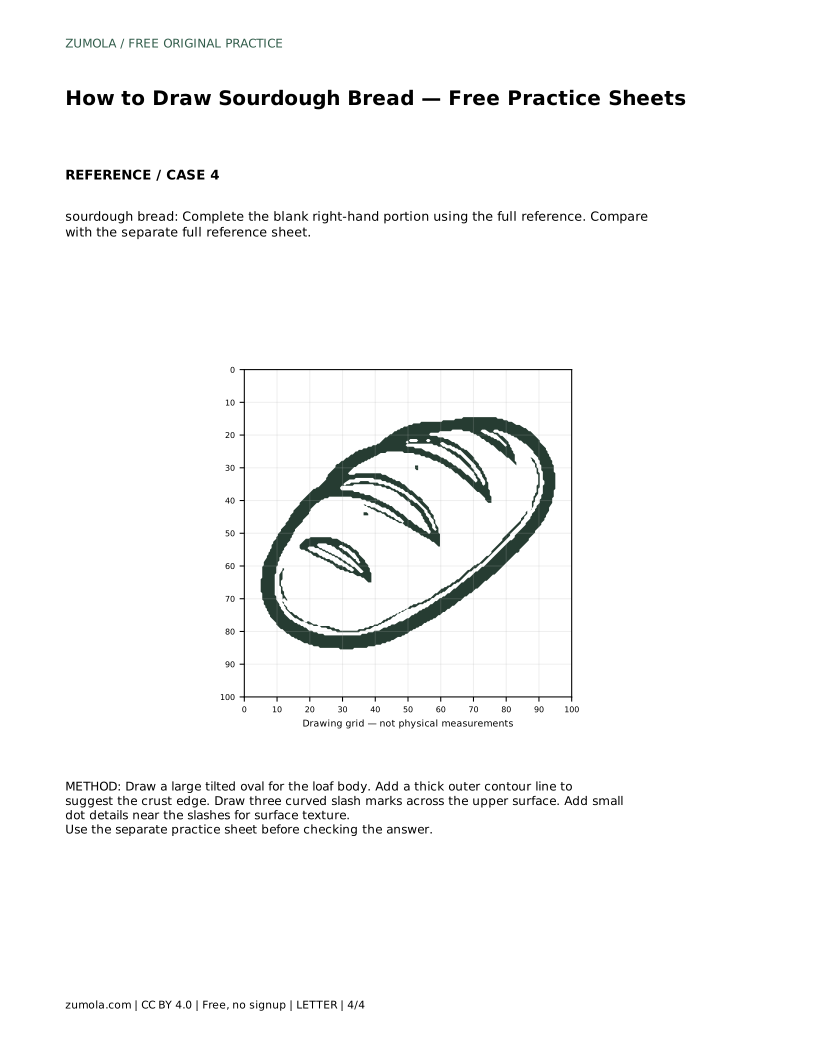
Drawing sourdough bread is a good exercise in combining a simple overall shape with a few distinctive surface details. The loaf is usually an elongated oval, often tilted, with a thick outer contour that suggests the crust and three curved slashes across the top. This page explains how to trace a reference outline, then repeat the contour without tracing, and how to judge your drawing by visible features and proportions rather than exact matching.
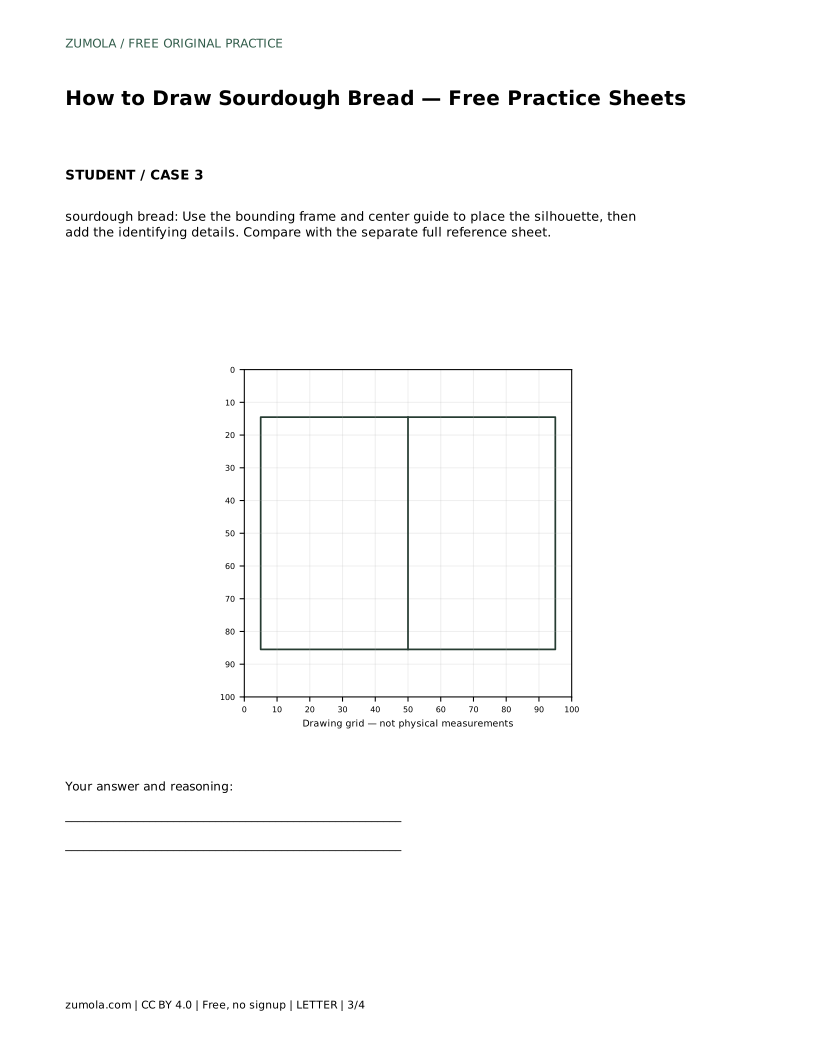
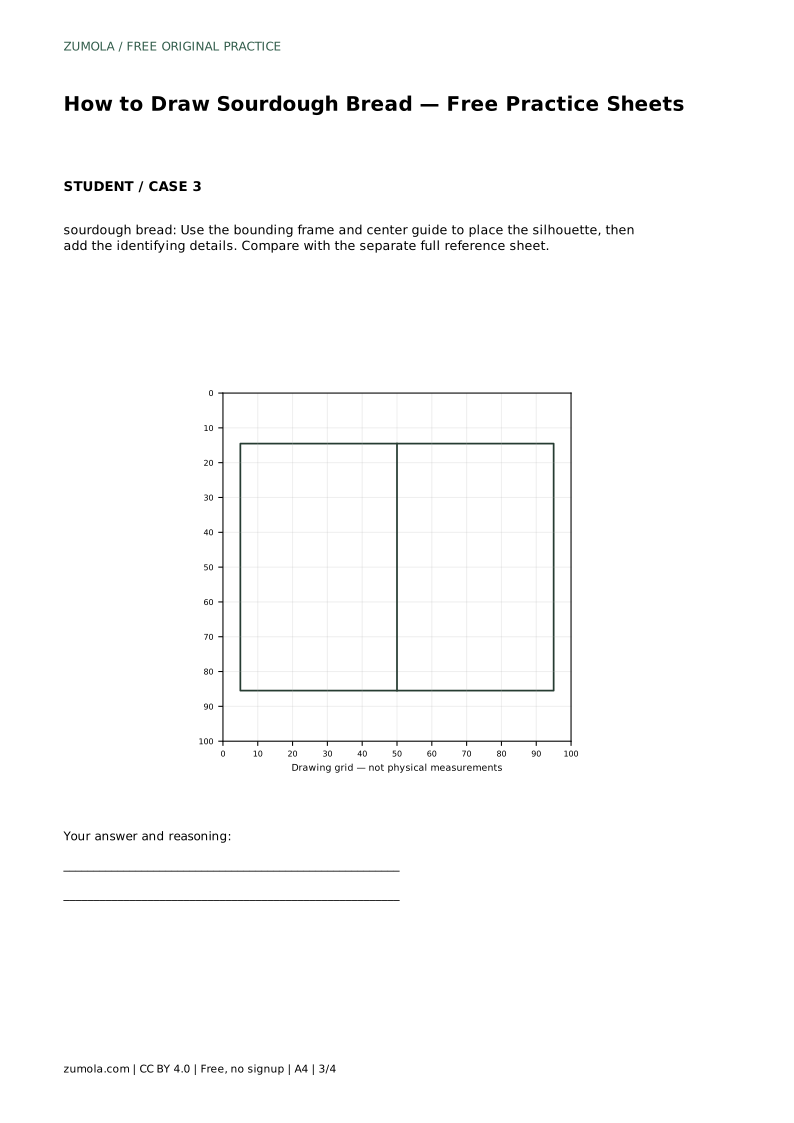
Begin by looking at the whole loaf before drawing any detail. A sourdough loaf is wider than it is tall, so treat it as an elongated oval rather than a circle. Notice whether the oval is level or tilted; a slight tilt often makes the loaf look more natural. Keep the outline smooth and continuous, and leave enough space around it for the crust border and the slashes on top.
When tracing the reference outline, follow the outer edge steadily rather than stopping and starting. Once you have traced it, set the reference aside and draw the same contour on a blank area. Compare the two shapes side by side: check the length-to-height ratio, the direction of any tilt, and whether the ends are rounded evenly. Adjust the independent drawing before adding details.
The thick outer contour line represents the crust edge, so draw it just inside or along the loaf outline, keeping the line weight heavier than the surface details. This border should follow the oval closely without becoming a second, separate shape. Keep it even around the loaf so the crust reads as a rim rather than a random outline.
The three curved slashes sit across the upper surface. Space them so they follow the curve of the loaf rather than sitting in a straight row. Each slash should curve in a similar direction, and none should cross the crust border. Small dot details near the slashes suggest surface texture; keep them sparse and close to the scored area so they do not compete with the main features.
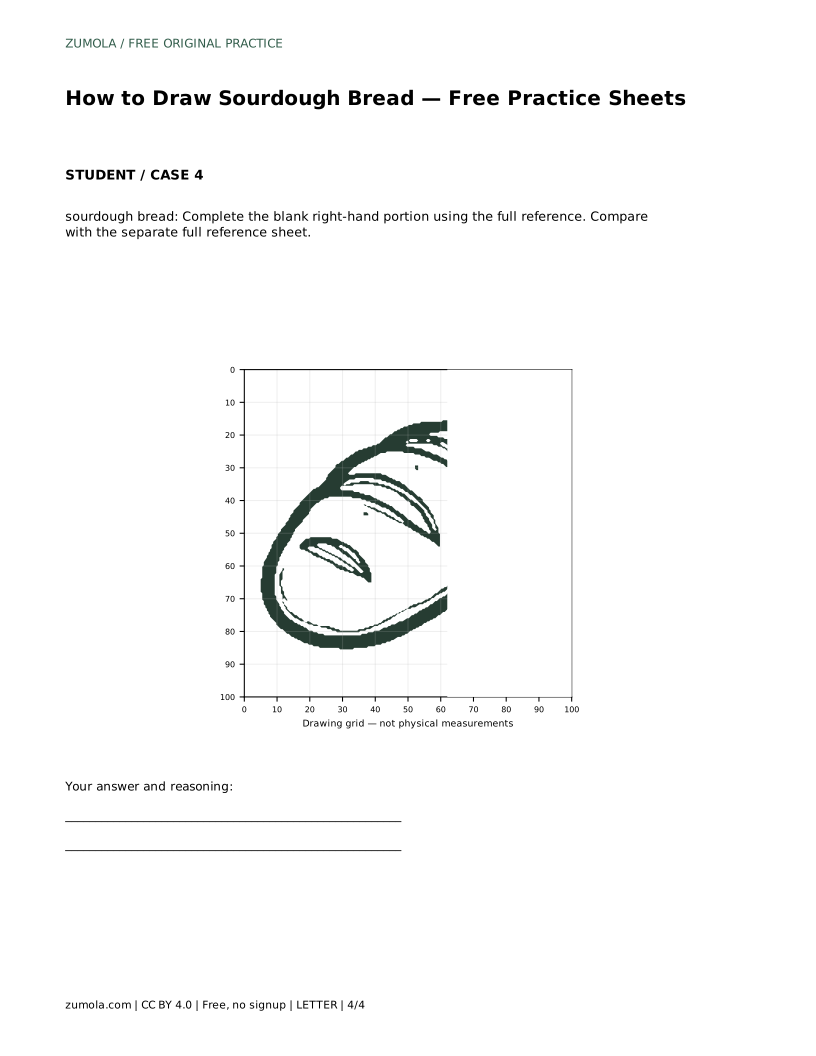
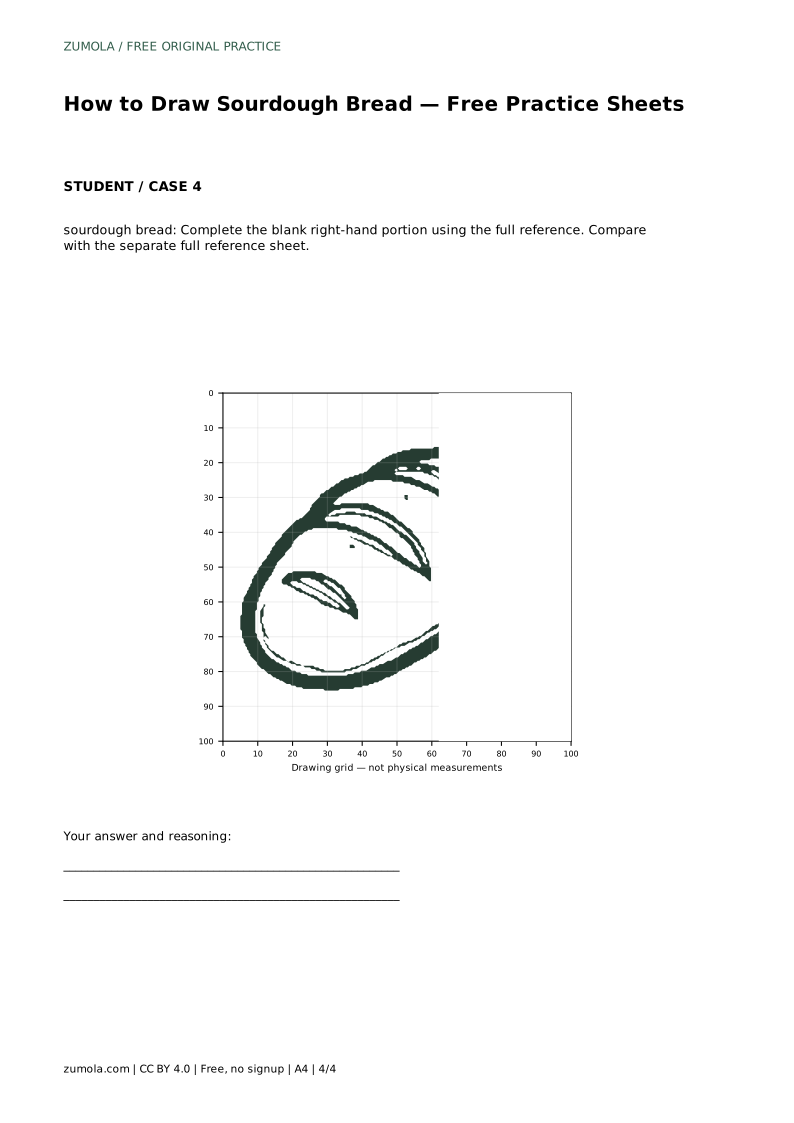
After drawing, compare your work with the separate full reference sheet. Check the four identifying features: the elongated oval outline, the thick crust border, the three curved slashes and the small surface dots. Then check proportions: is the loaf too round, too short, or tilted the wrong way? Are the slashes evenly spaced and similarly curved?
Other drawings can be correct even when they differ from the reference. Assess the visible features and proportions rather than aiming for a pixel-perfect match. If a feature is missing or misplaced, redraw that part rather than starting over. A short second attempt often improves the contour and the spacing of the slashes.
sourdough bread: Trace the reference outline, then practise the contour independently. Compare with the separate full reference sheet.
Example solution: preserve elongated oval bread outline, three curved scored slashes across the top, thick dark crust border around the loaf. Other drawings can be correct; assess the visible features and proportions rather than pixel-perfect matching. Draw a large tilted oval for the loaf body. Add a thick outer contour line to suggest the crust edge. Draw three curved slash marks across the upper surface. Add small dot details near the slashes for surface texture.
No. Other drawings can be correct. Assess the visible features and proportions rather than pixel-perfect matching.
An elongated oval outline, a thick crust border, three curved scored slashes across the top, and small dot details near the slashes.
Trace the reference outline first to learn the contour, then practise the same contour independently and compare the two.
All drawing practice · Free coordinate paper
Original resources · CC BY 4.0 · Free for personal and classroom use with attribution.