Reference diagrams
LETTER · Download PDF
A4 · Download PDF
Free original resources
Learn to draw a graduation cap with a flat board in perspective, fitted base, and tassel. Use trace, grid, frame, and partial-reference sheets to build the skill.
Four original cases, with reference diagrams, practice sheets and worked answers. Everything is free; no signup required.
LETTER · Download PDF
A4 · Download PDF
LETTER · Download PDF
A4 · Download PDF
LETTER · Download PDF
A4 · Download PDF
Use A4 or US Letter to match your printer. Use the stated values and conditions to solve each exercise; diagrams are not physical measuring rulers.
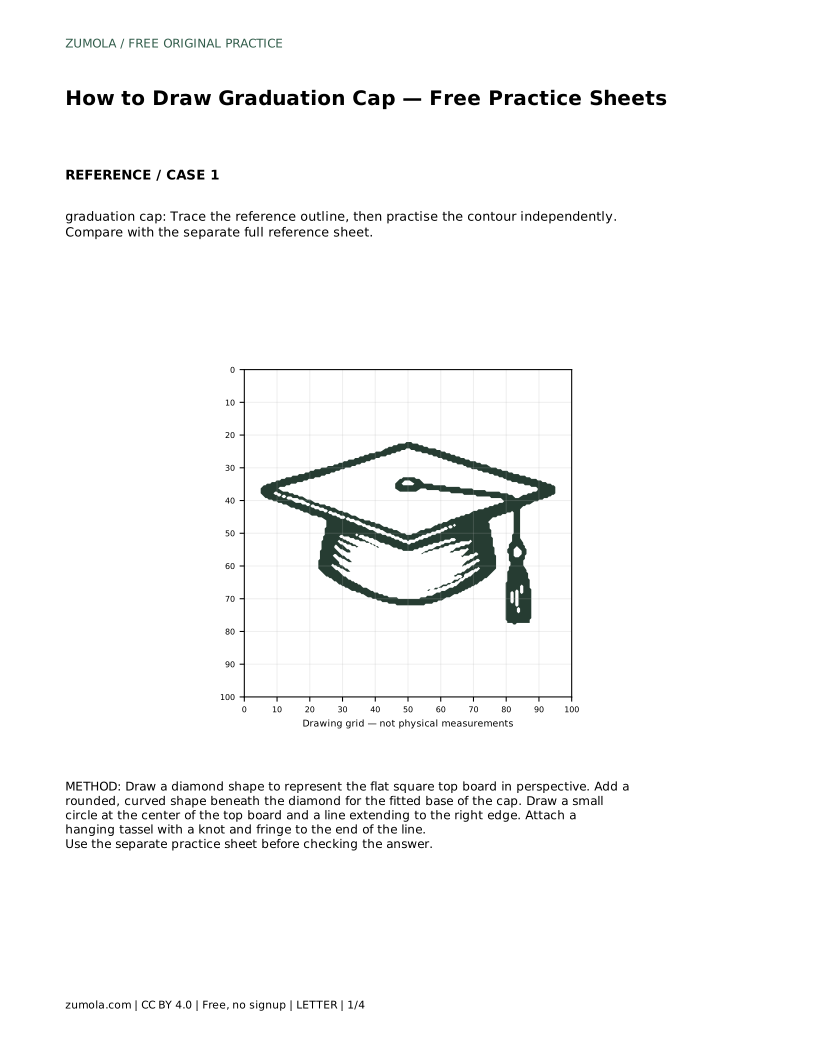
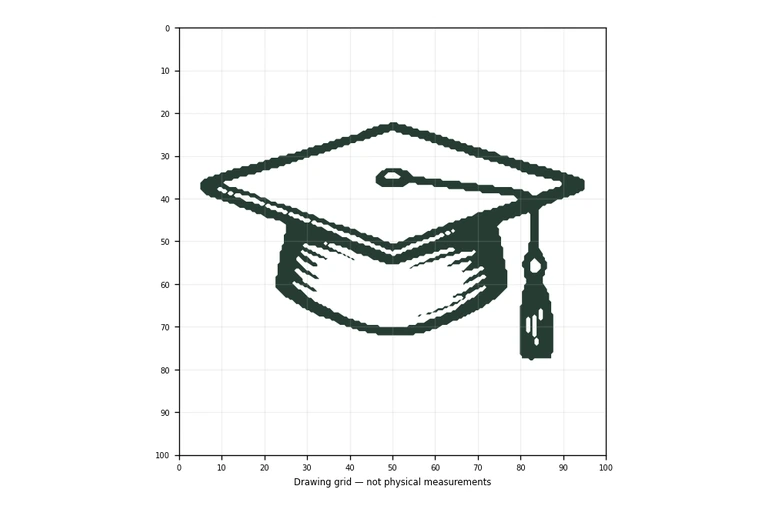
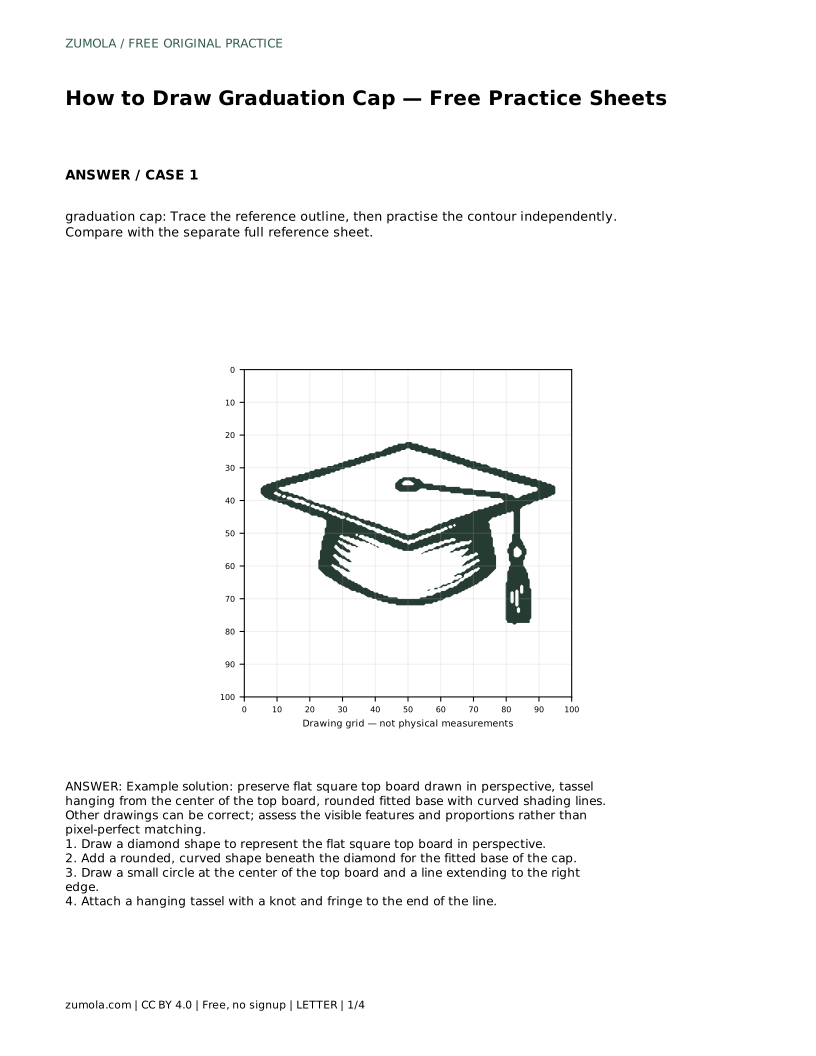
A graduation cap is a familiar shape, but drawing it well depends on a few clear decisions: how the flat top board sits in perspective, how the rounded base fits beneath it, and where the tassel hangs. This page explains those parts in order and gives you practice routines for tracing, grid copying, frame placement, and completing a partial reference. The goal is not a pixel-perfect copy but a drawing that preserves the cap’s visible features and proportions.
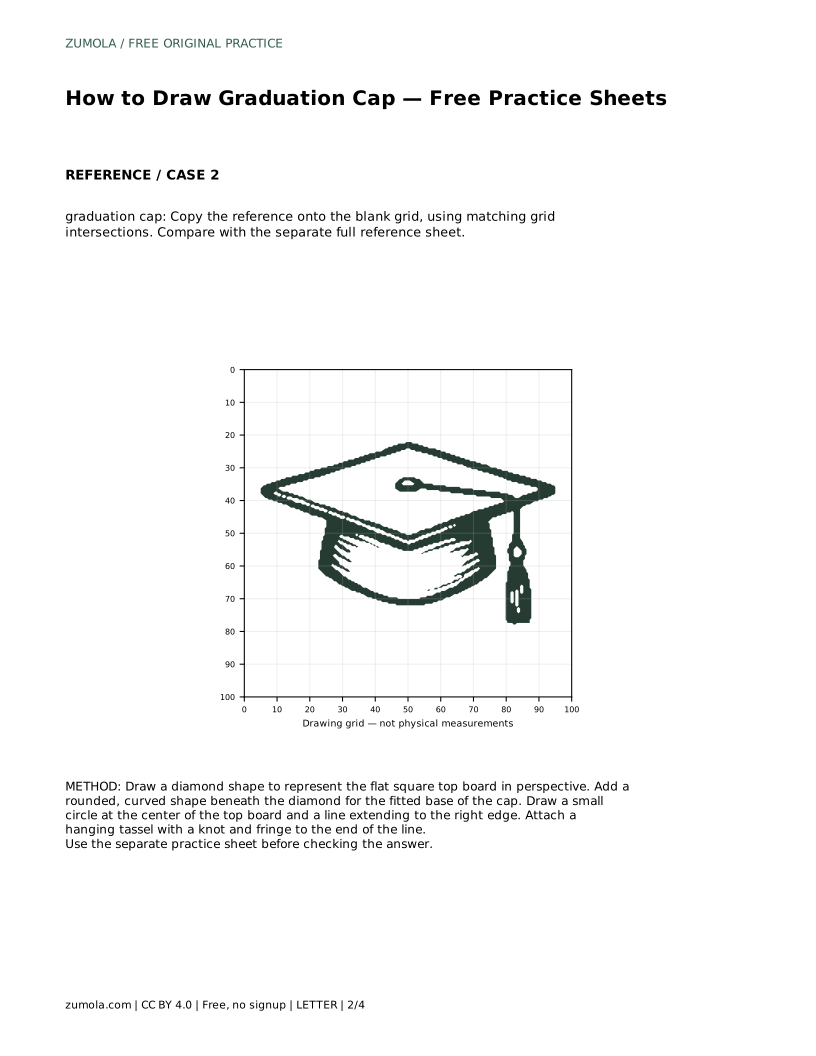
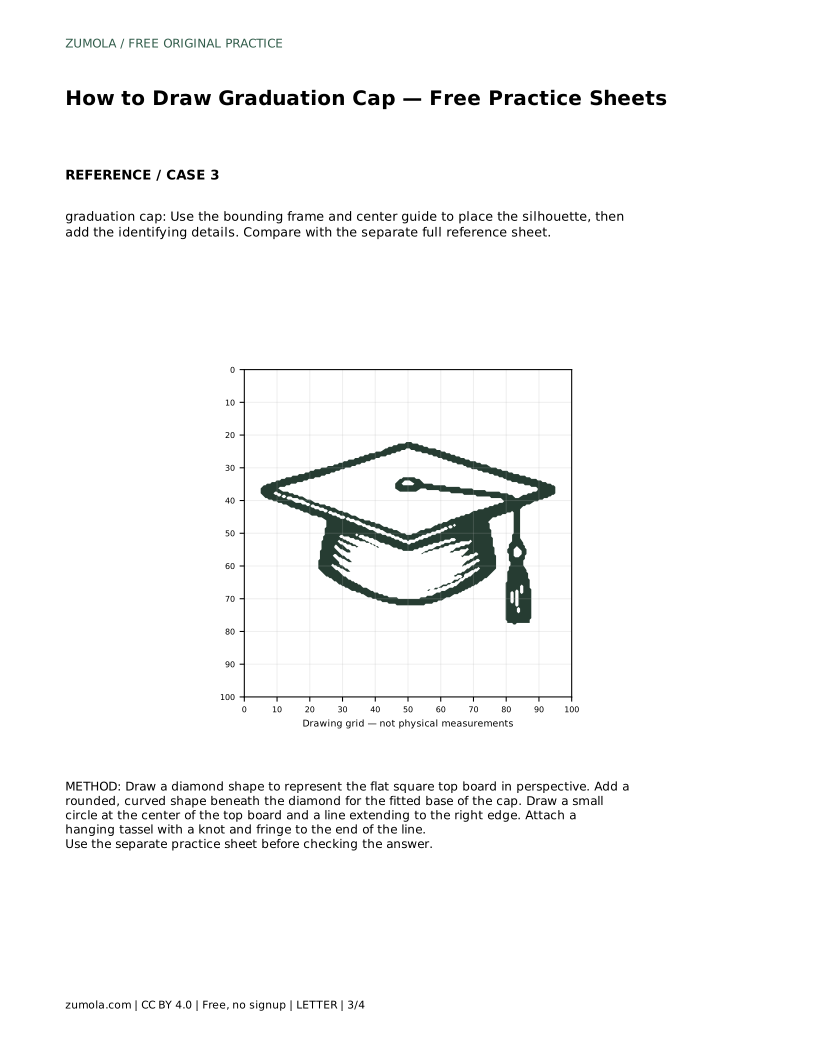
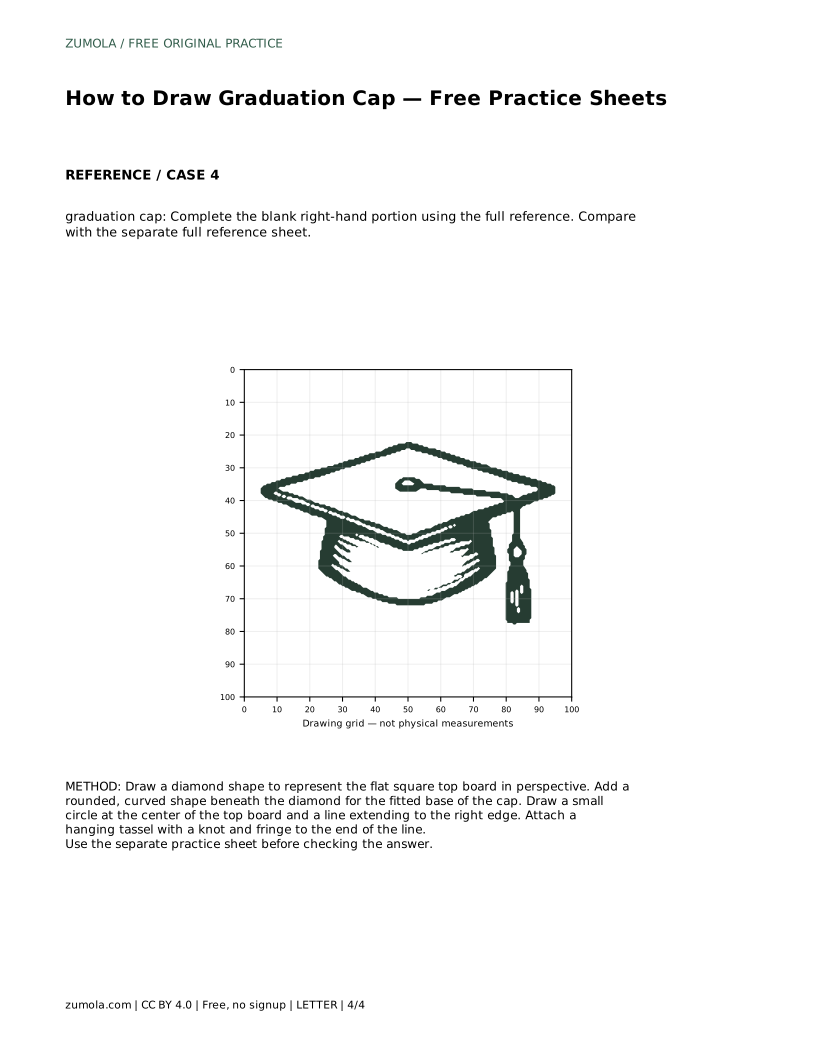
The top of a graduation cap is a flat square board. When you look at it from an angle, the square appears as a diamond or parallelogram rather than a true square. Begin by drawing that diamond shape lightly. Keep opposite sides parallel and make the front corner point downward. The board should look flat, not puffy or curved. A common error is drawing a perfect square, which makes the cap look like a box seen from above. Check that the left and right corners sit at roughly the same height, and that the top and bottom corners are centered between them.
Once the diamond is in place, add the fitted base beneath it. This is the rounded part that sits on the head. It should curve downward from the board’s lower edges and meet in a soft, rounded bottom. The base is narrower than the board, so leave a margin of board visible on each side. Draw the base with a gentle curve rather than a straight cylinder. Curved shading lines can suggest the fabric’s fit, but keep them light and consistent with the base’s shape.
The tassel hangs from the center of the top board. Mark a small circle at the diamond’s center, then draw a line from that circle to the right edge of the board. The line represents the cord lying across the board. At the edge, attach the hanging tassel: a small knot followed by fringe. The fringe can be drawn as several short, slightly curved lines. Keep the tassel’s length proportional to the cap; it should hang below the base but not dominate the drawing.
The center point matters because it anchors the tassel and helps you judge symmetry. If the circle is off-center, the tassel will look misplaced. Use the diamond’s diagonals to find the center: where the two diagonals cross is the center of the board. Place the small circle there. Then draw the cord line to the right edge, not to a corner. The tassel should hang from the edge, not from the middle of the board.
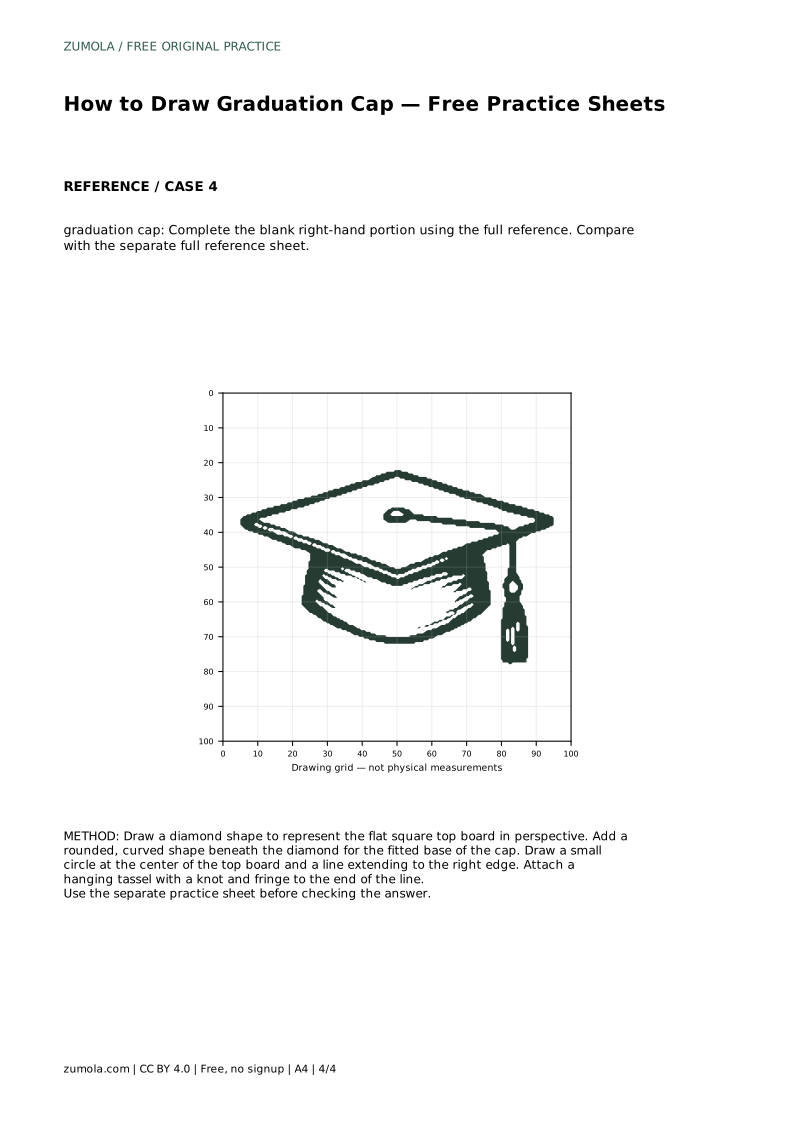
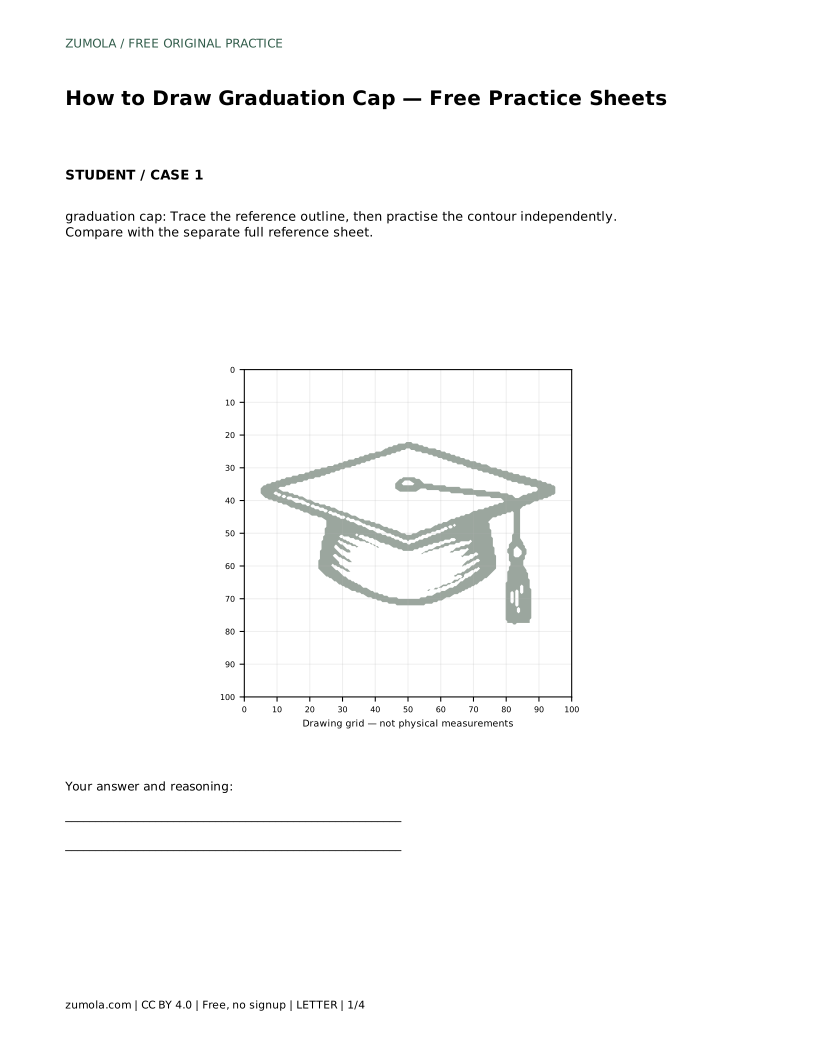
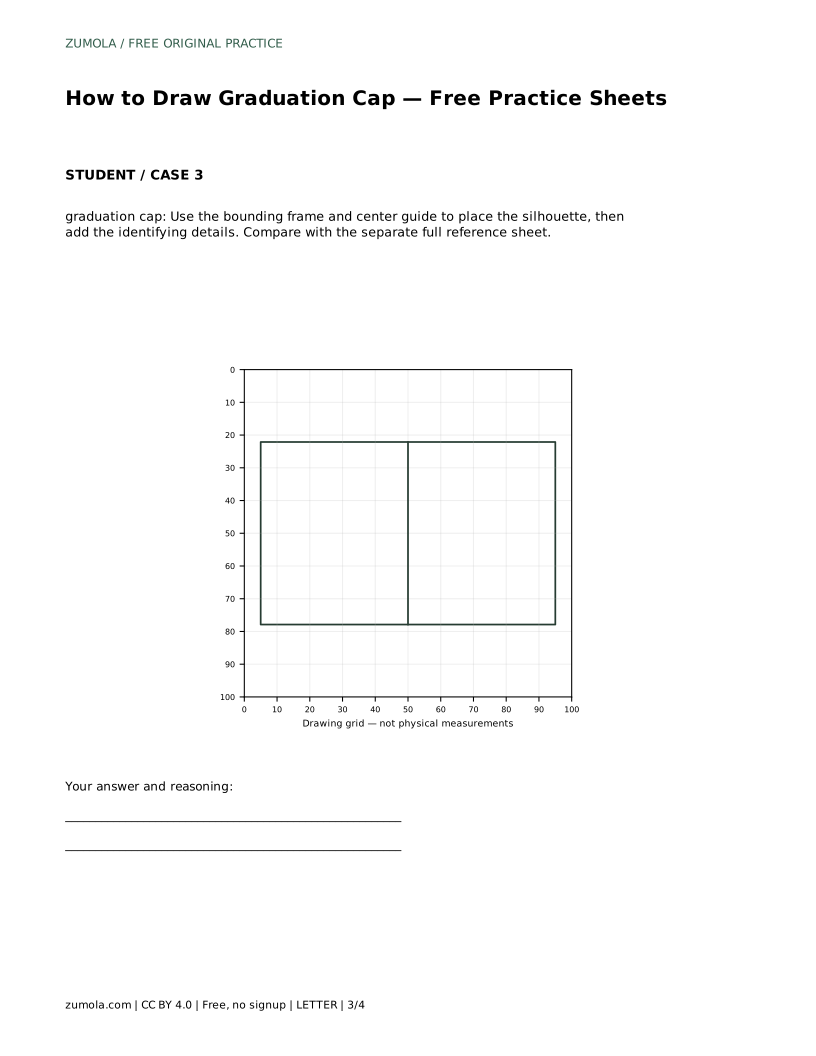
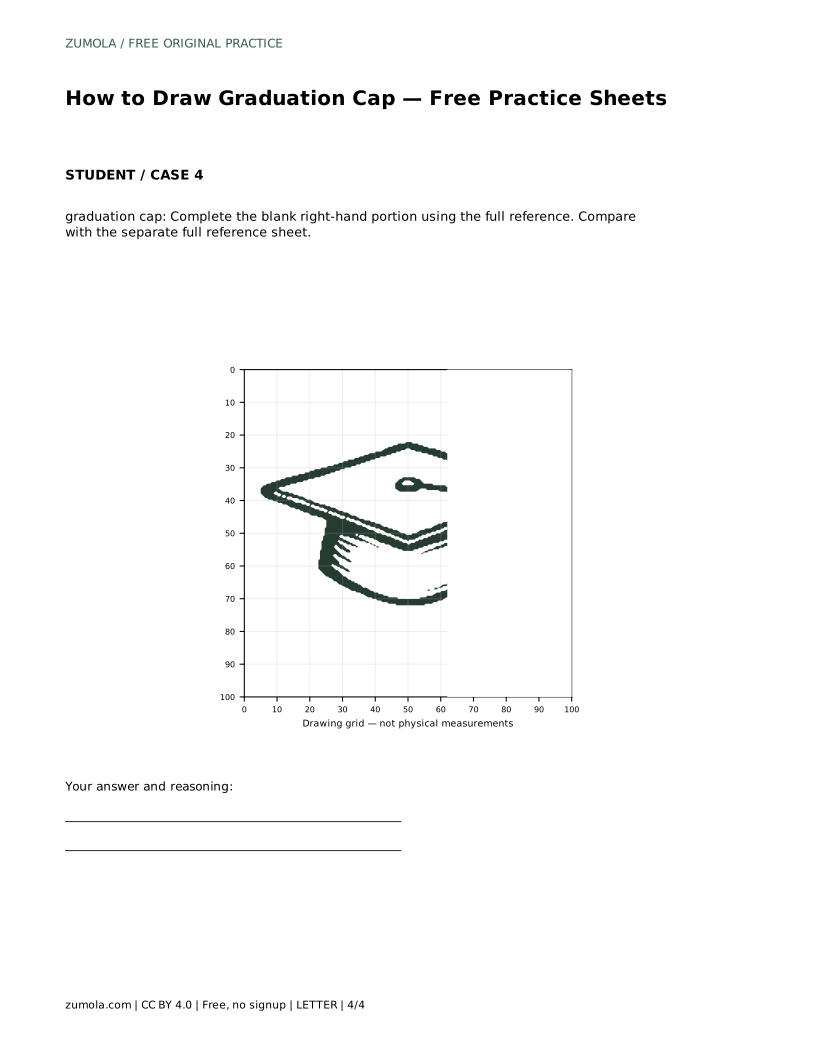
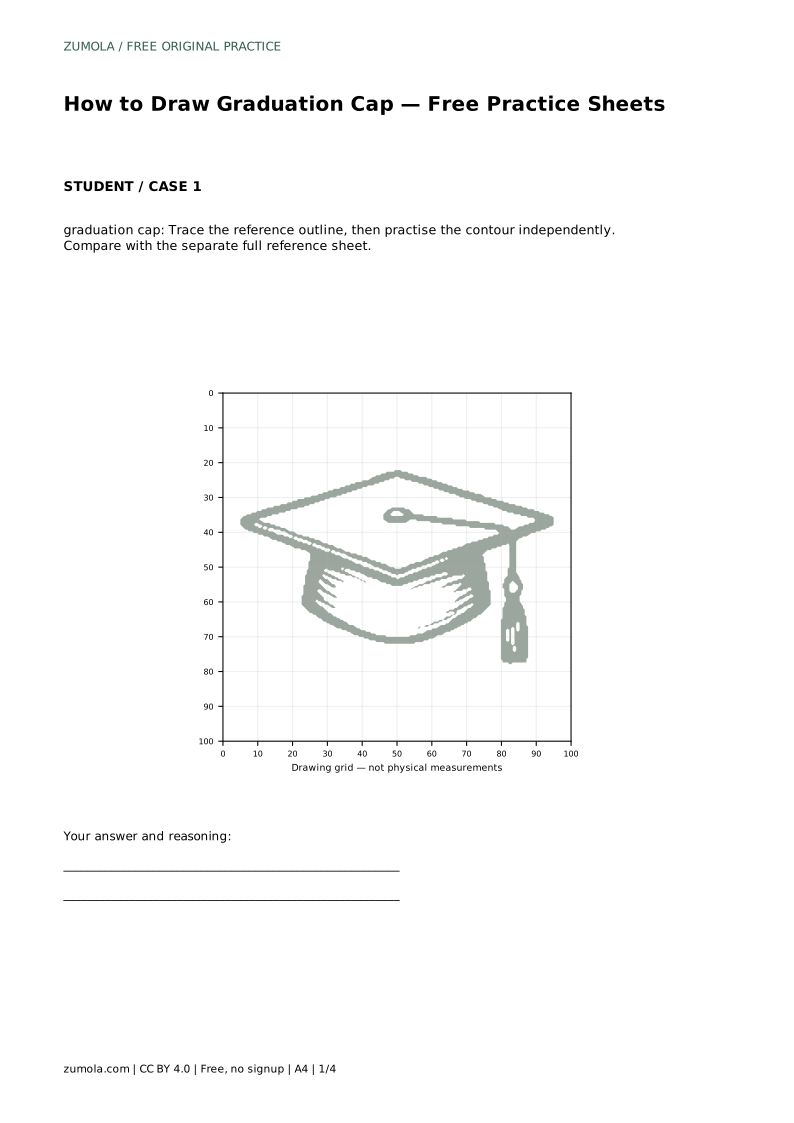
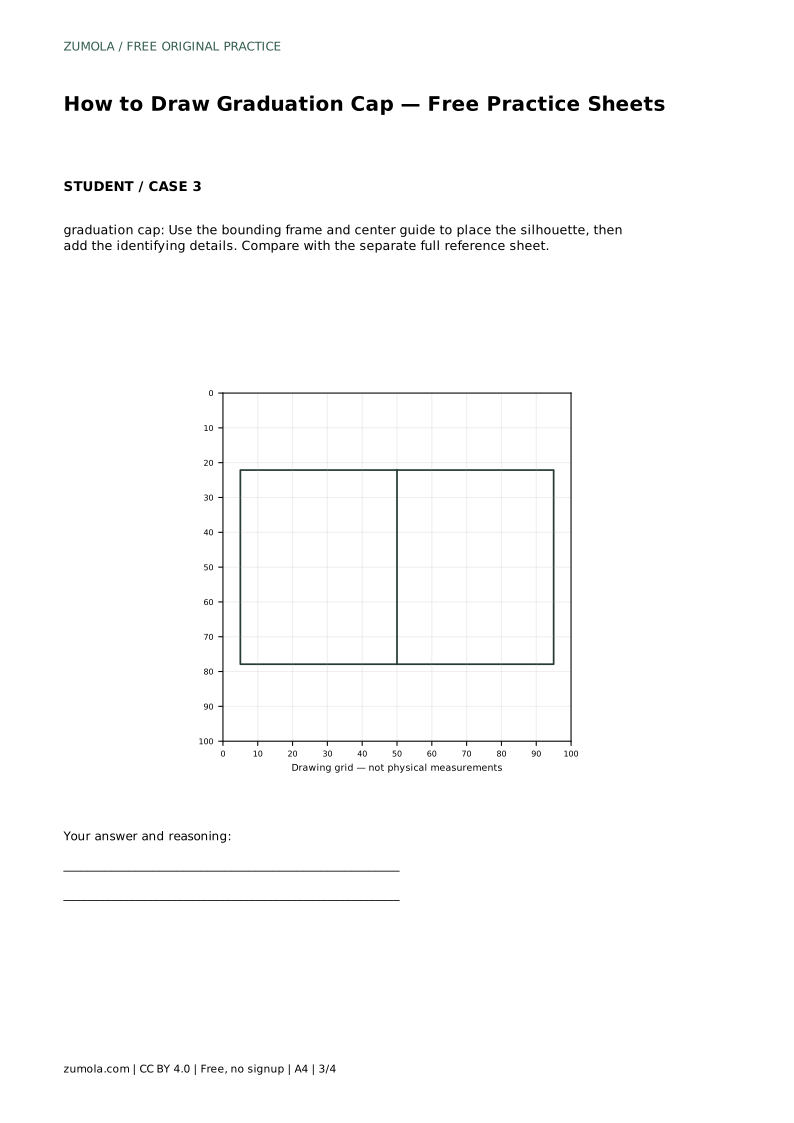
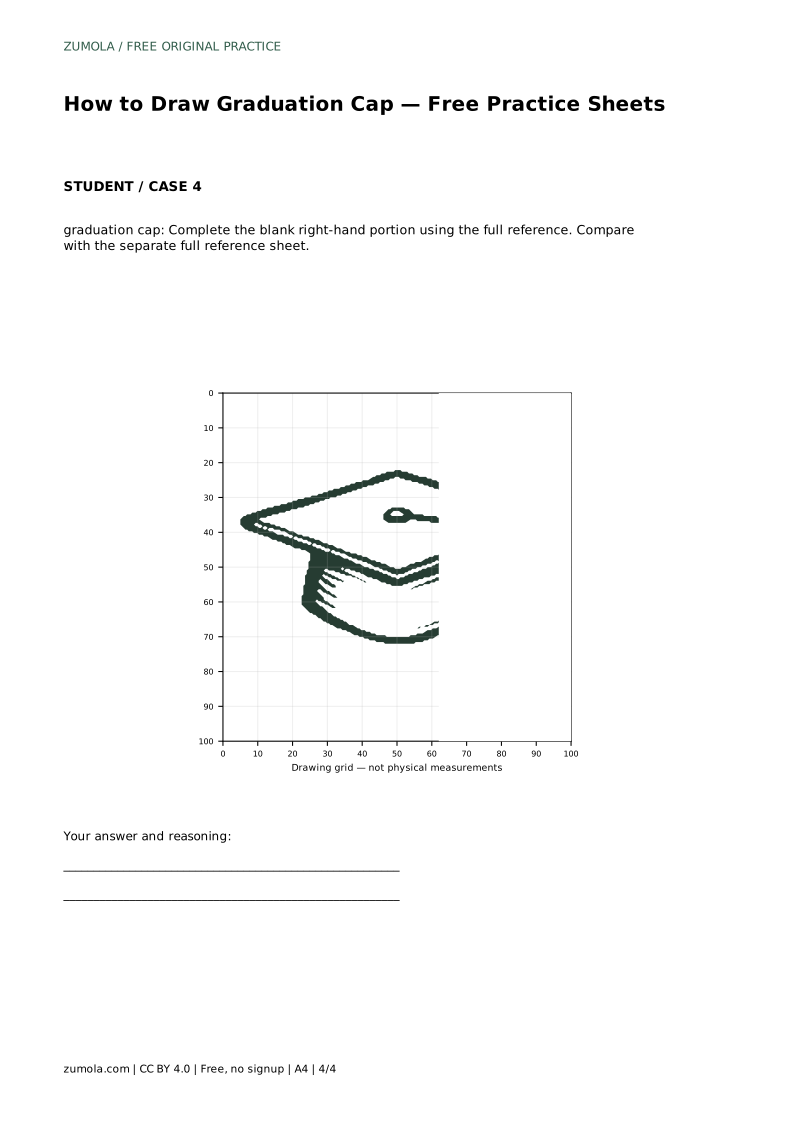
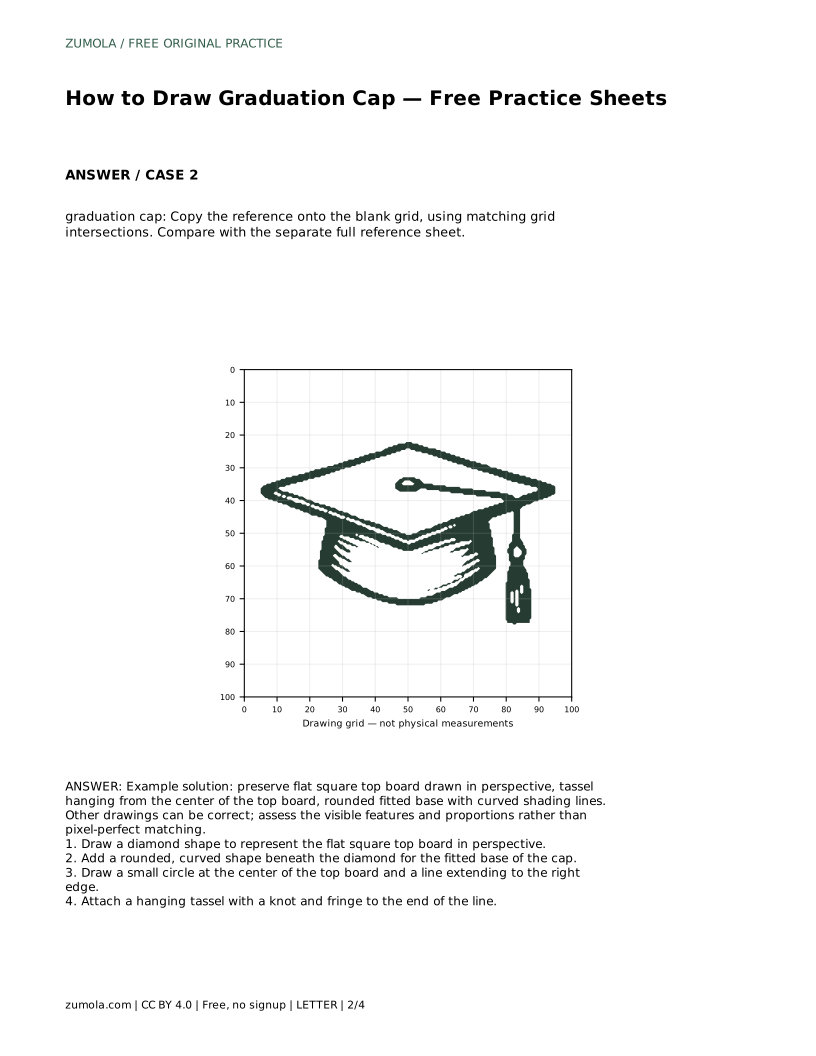
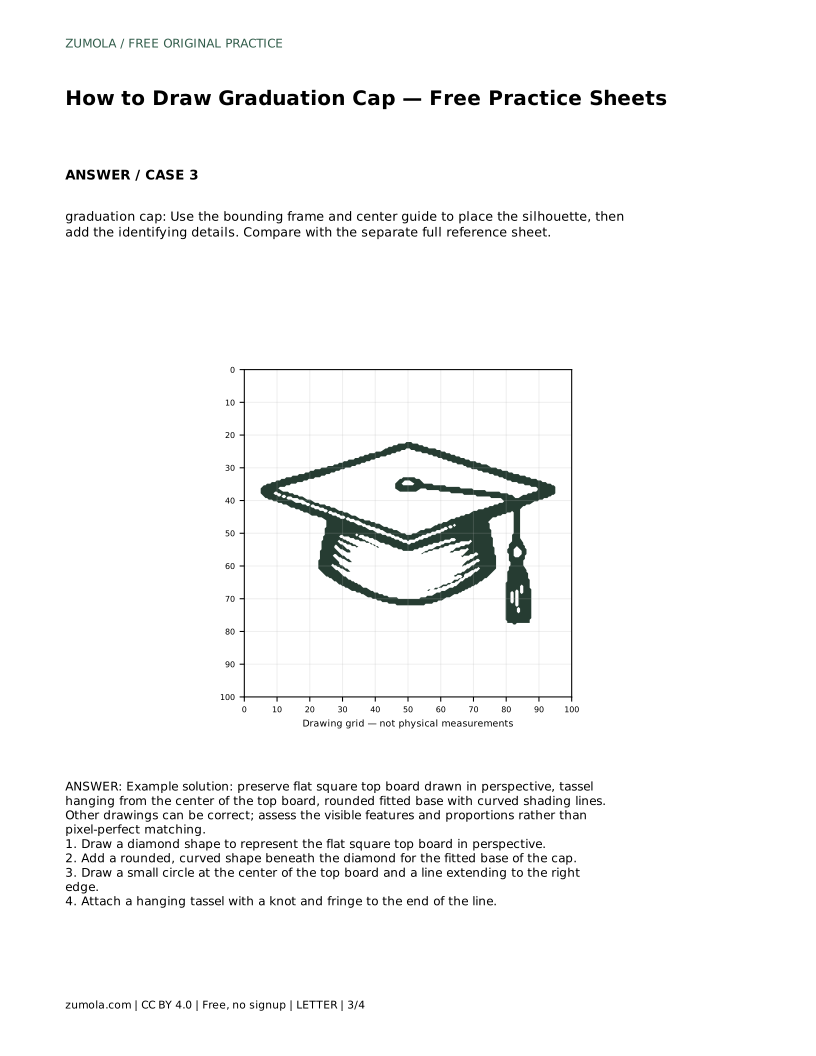
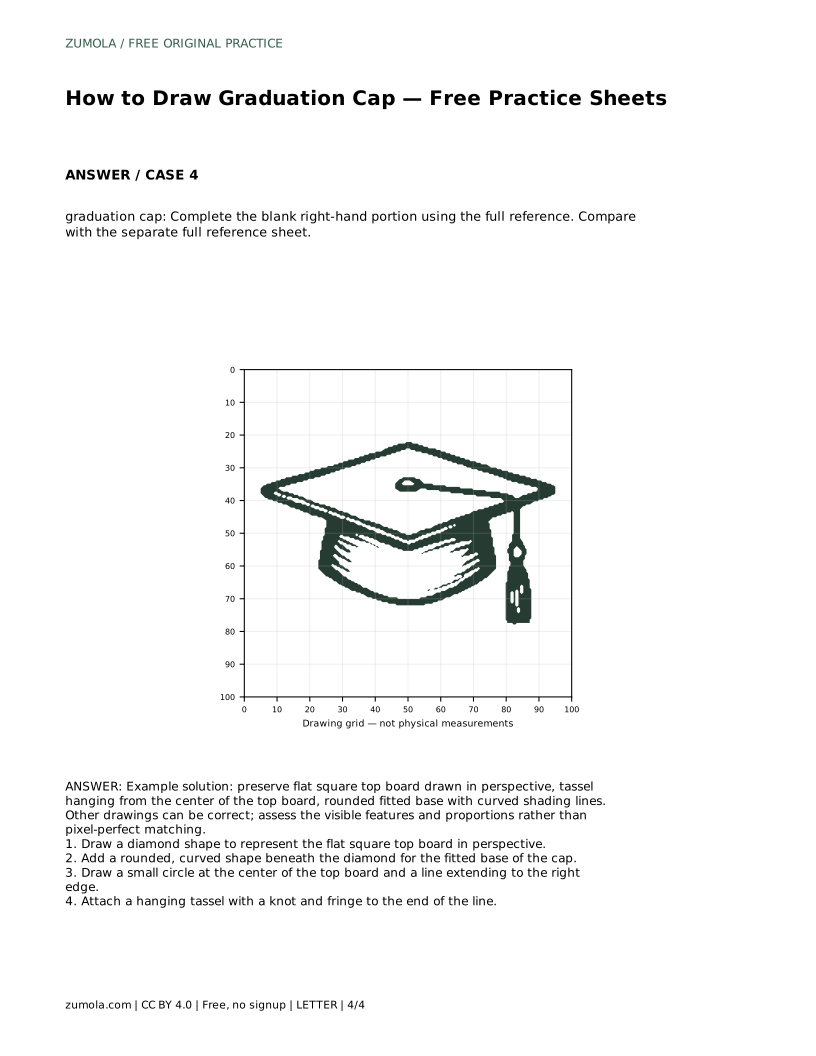
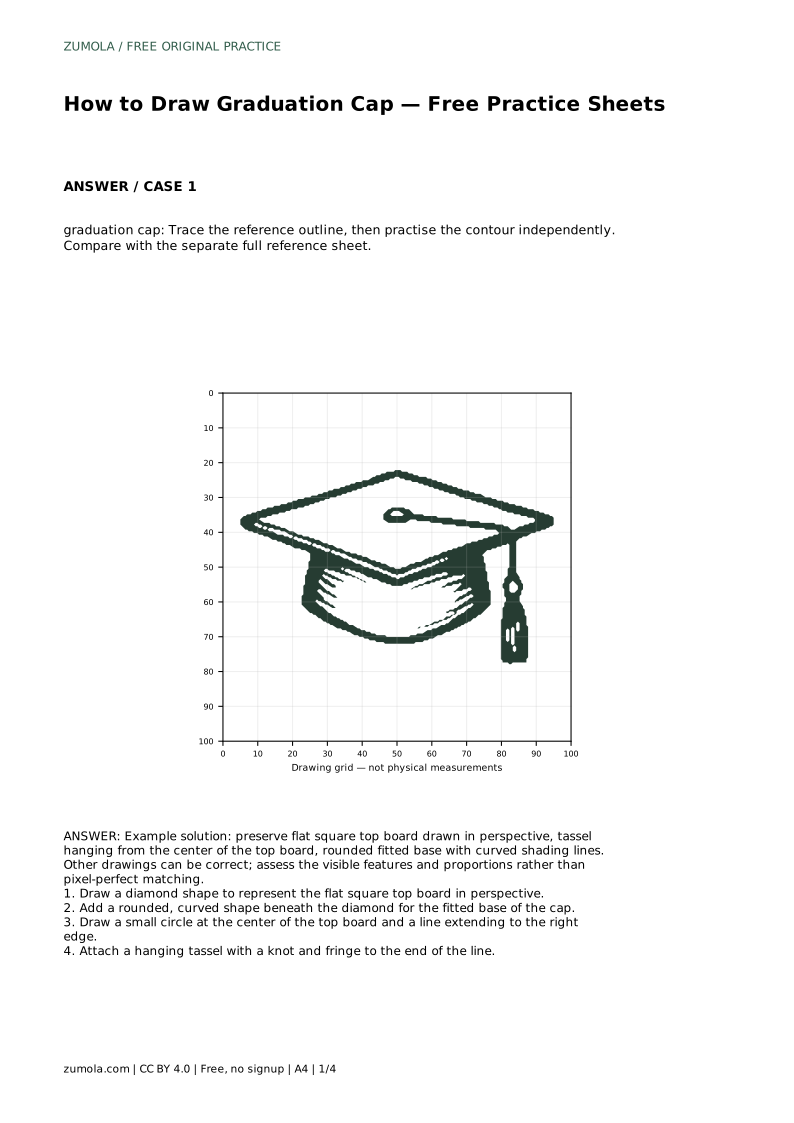
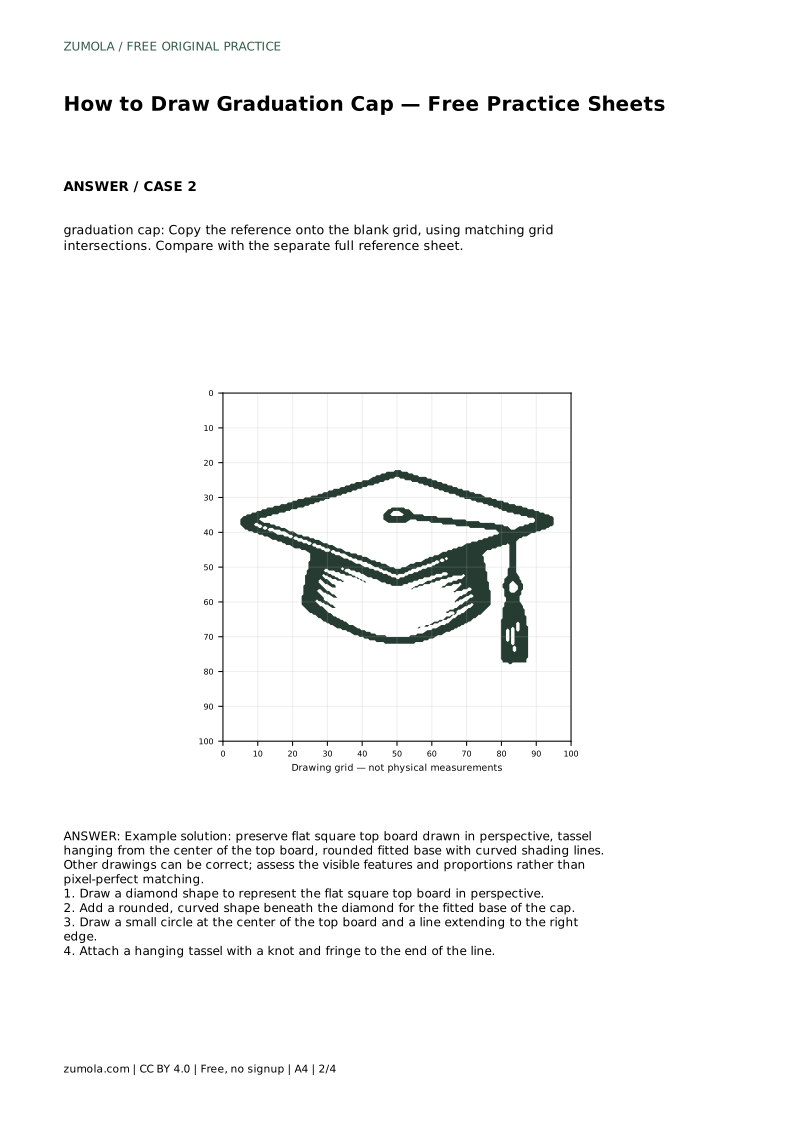
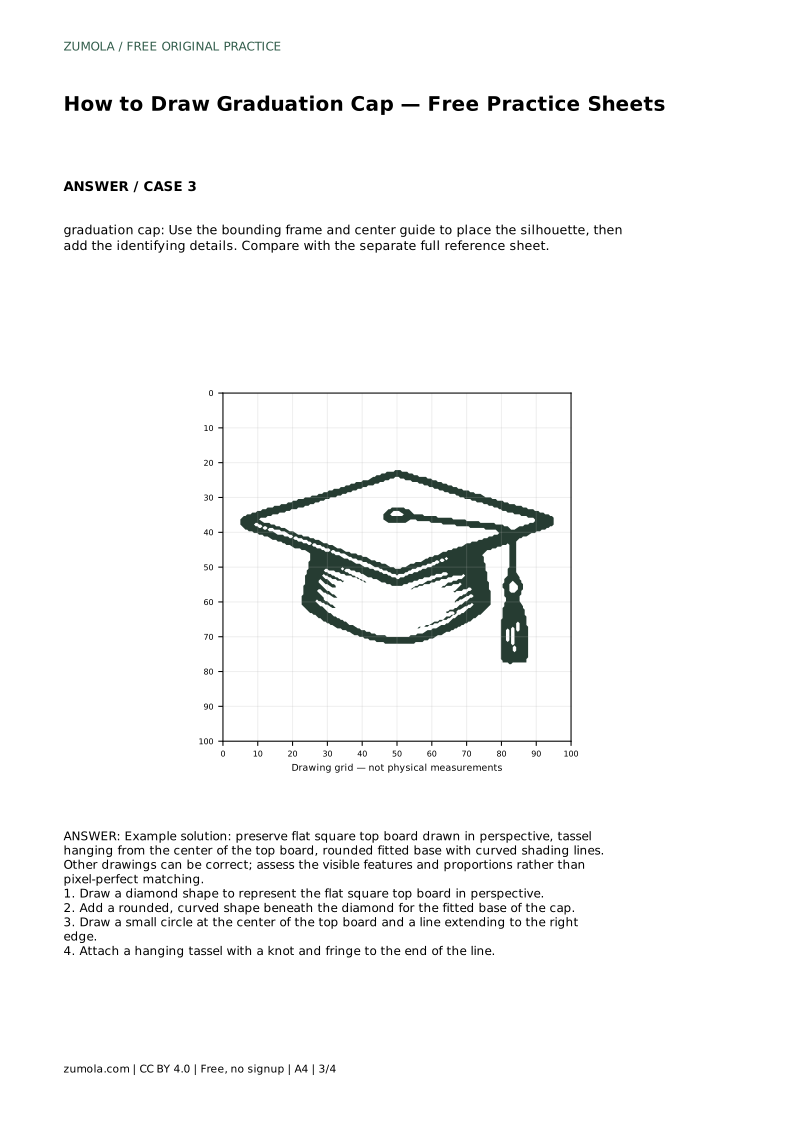
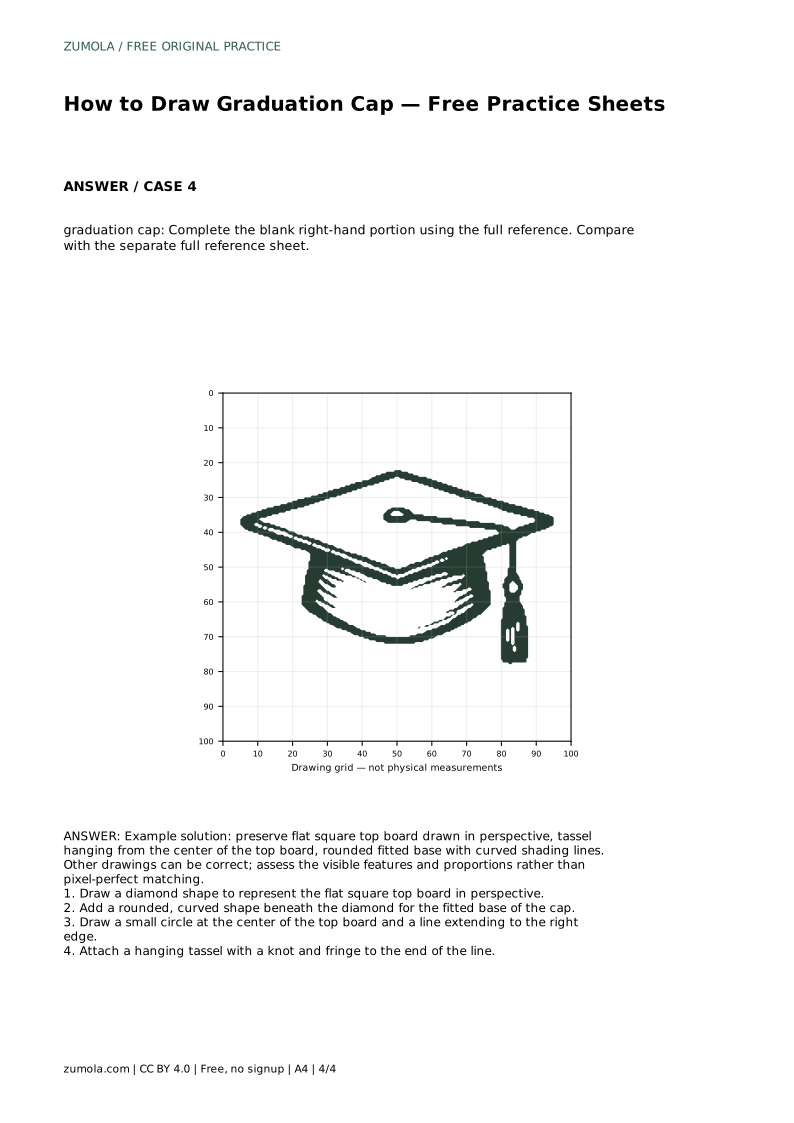
Different practice sheets isolate different skills. Tracing the reference outline helps you feel the contour and proportions. After tracing, try the contour independently on a blank area, then compare with the separate full reference sheet. Grid copying asks you to match grid intersections, which trains placement and scale. Use the grid to note where the diamond’s corners and the tassel’s knot fall, then copy those positions square by square. The bounding frame and center guide help you place the silhouette before adding details; use the frame to set the overall size and the center guide to keep the cap balanced. The partial-reference sheet gives you the left side and asks you to complete the right, so you must infer the missing contour from the full reference.
In every routine, compare your drawing to the reference by checking features rather than exact pixels. Ask: Is the top board flat and diamond-shaped? Is the base rounded and narrower than the board? Is the tassel centered and hanging from the right edge? Are the proportions plausible? Other drawings can be correct even if they differ slightly. Use the rubric below to assess visible features and proportions.
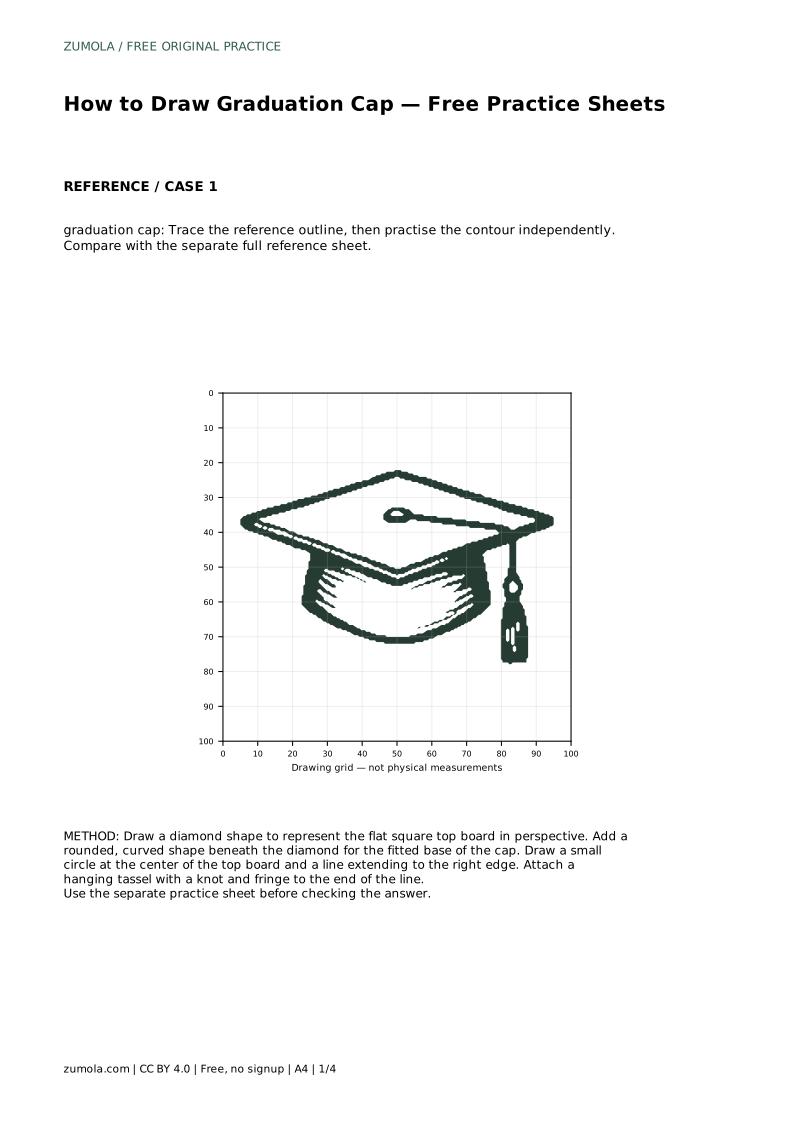
graduation cap: Trace the reference outline, then practise the contour independently. Compare with the separate full reference sheet.
Example solution: preserve flat square top board drawn in perspective, tassel hanging from the center of the top board, rounded fitted base with curved shading lines. Other drawings can be correct; assess the visible features and proportions rather than pixel-perfect matching. Draw a diamond shape to represent the flat square top board in perspective. Add a rounded, curved shape beneath the diamond for the fitted base of the cap. Draw a small circle at the center of the top board and a line extending to the right edge. Attach a hanging tassel with a knot and fringe to the end of the line.
No. The reference is a guide. A correct drawing preserves the flat diamond-shaped board, the rounded narrower base, and the centered tassel hanging from the right edge. Small differences in proportion or line quality are acceptable.
Compare visible features: opposite sides of the board should be parallel, the base should curve beneath the board, and the tassel should start near the center and hang from the edge. Use the rubric criteria as a checklist.
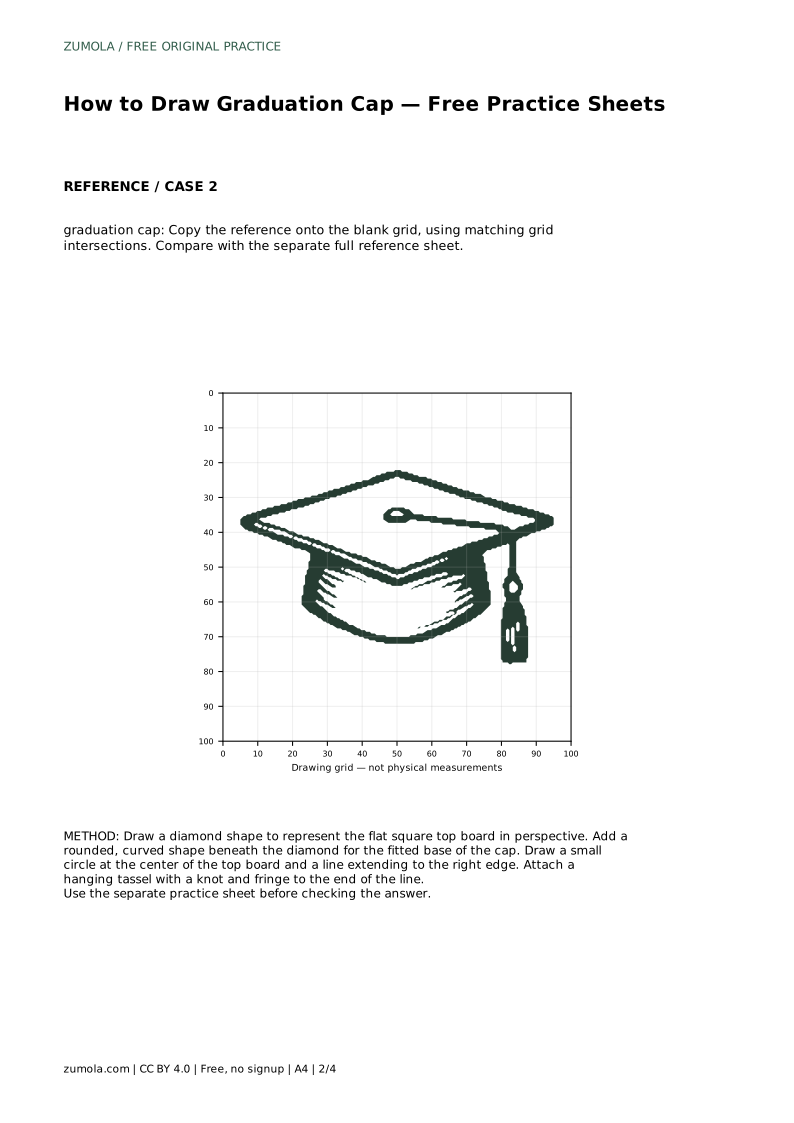
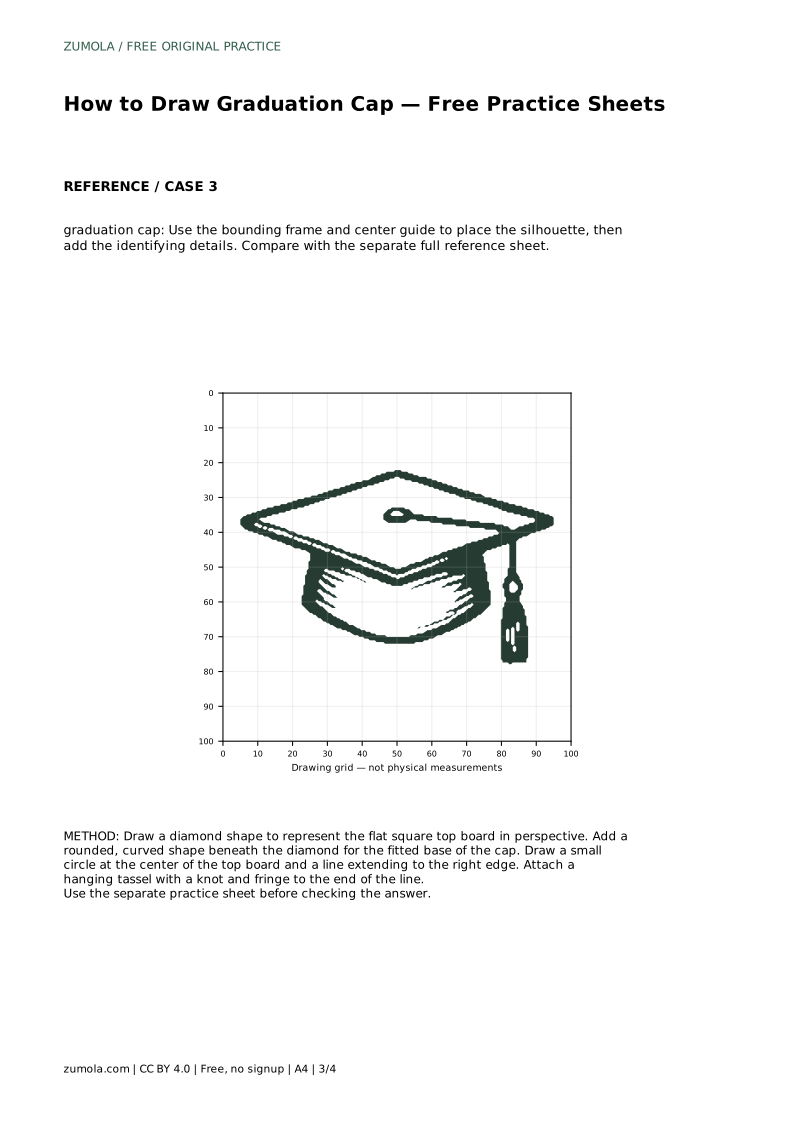
The grid sheet asks you to match positions at grid intersections, which trains scale and placement. The frame sheet gives a bounding frame and center guide so you can place the overall silhouette before adding details.
All drawing practice · Free coordinate paper
Original resources · CC BY 4.0 · Free for personal and classroom use with attribution.