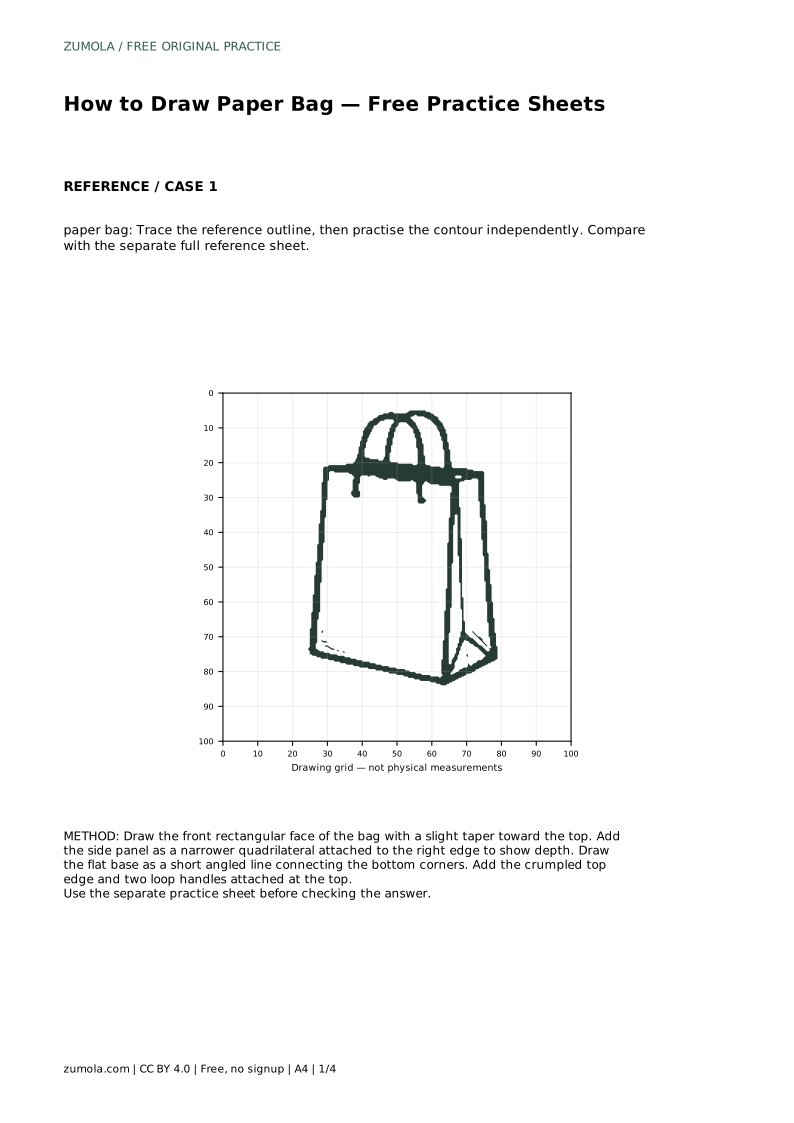
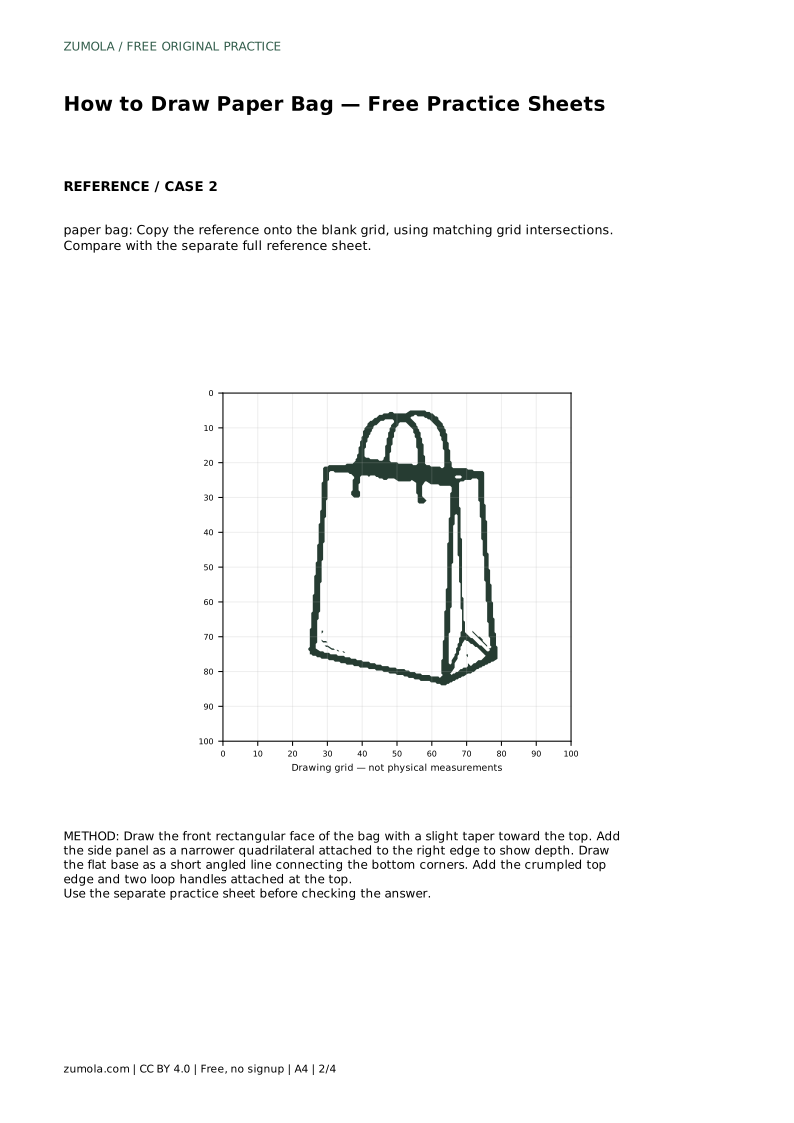
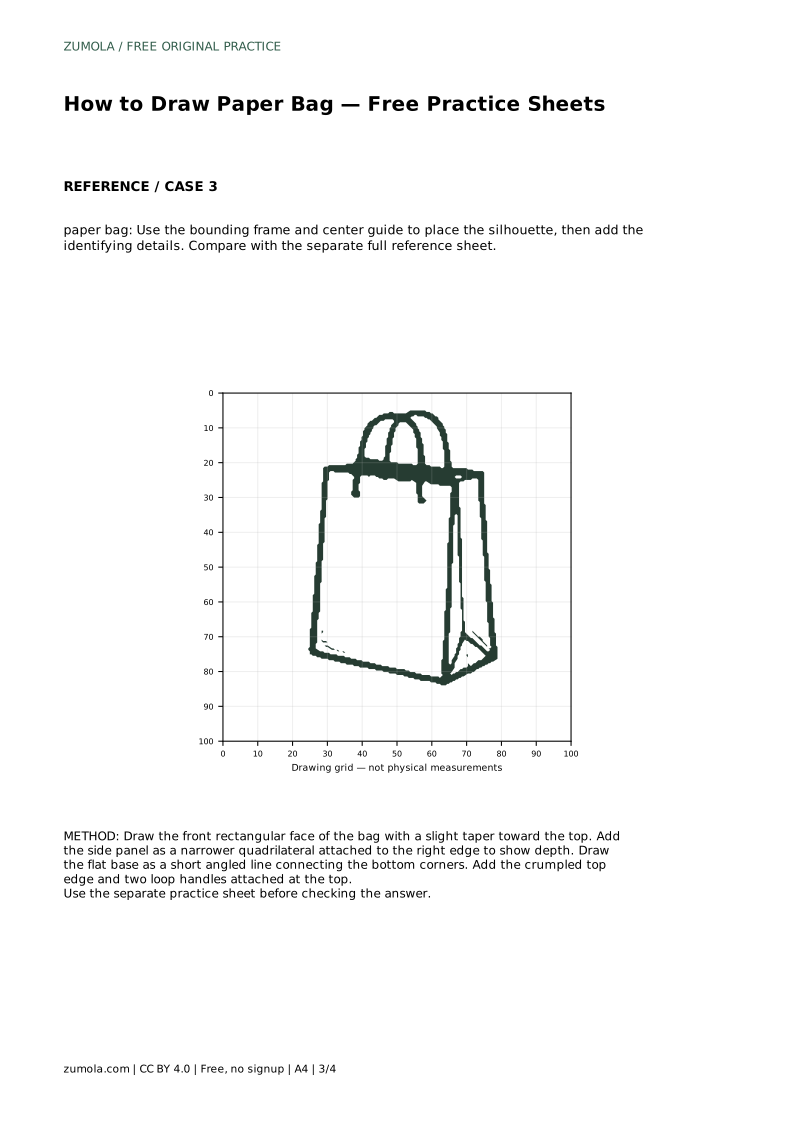
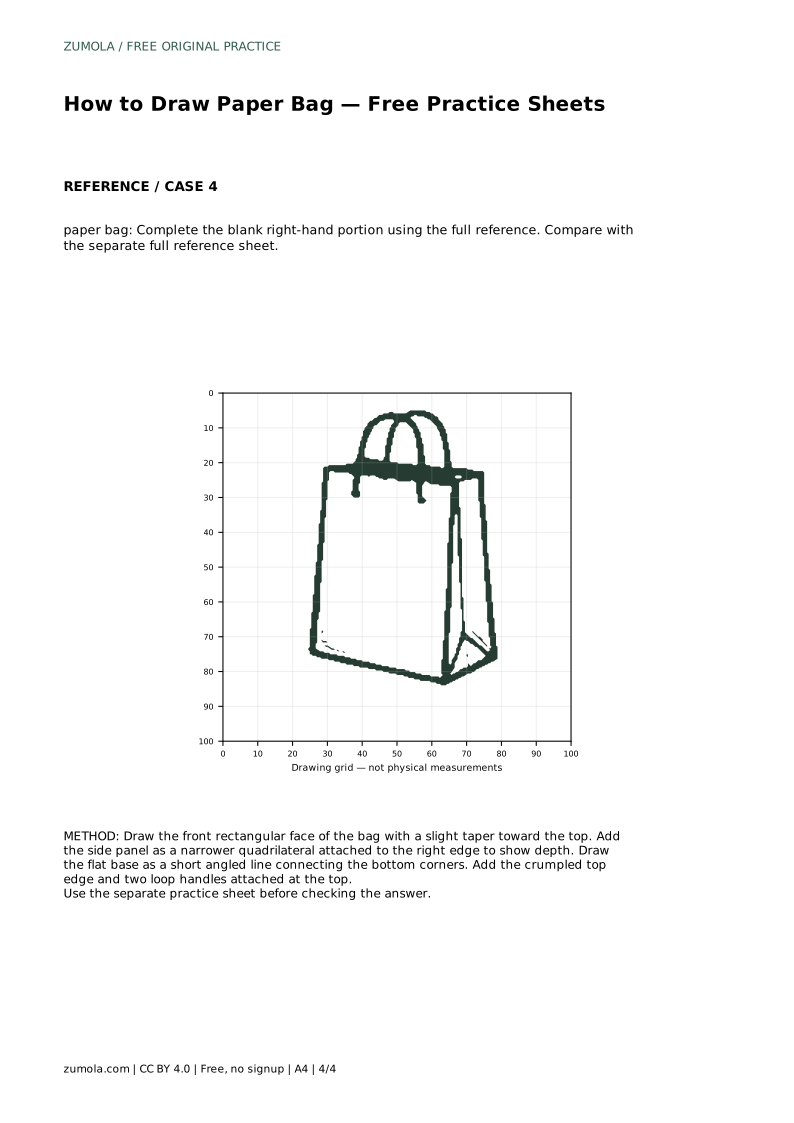
Reference diagrams
LETTER · Download PDF
A4 · Download PDF
Free original resources
Learn to draw a paper bag with a folded rectangular body, side panel, flat base, crumpled top, and two loop handles. Practise with free printable sheets.
Four original cases, with reference diagrams, practice sheets and worked answers. Everything is free; no signup required.
LETTER · Download PDF
A4 · Download PDF
LETTER · Download PDF
A4 · Download PDF
LETTER · Download PDF
A4 · Download PDF
Use A4 or US Letter to match your printer. Use the stated values and conditions to solve each exercise; diagrams are not physical measuring rulers.
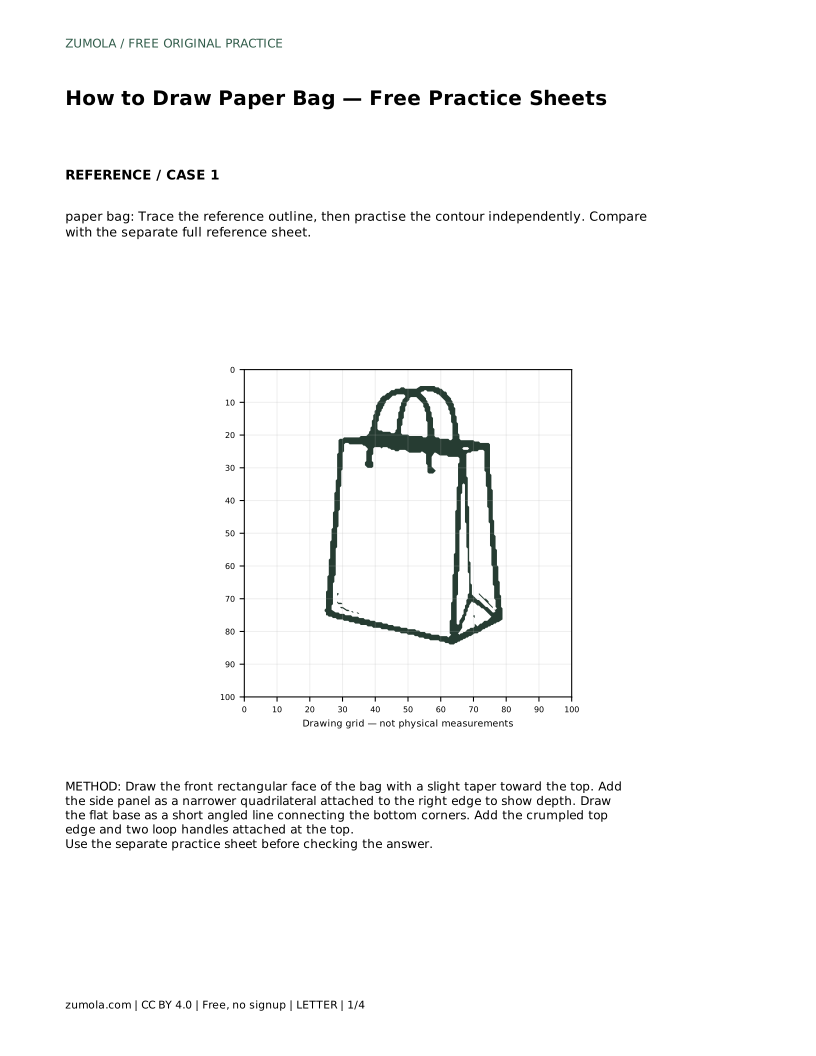
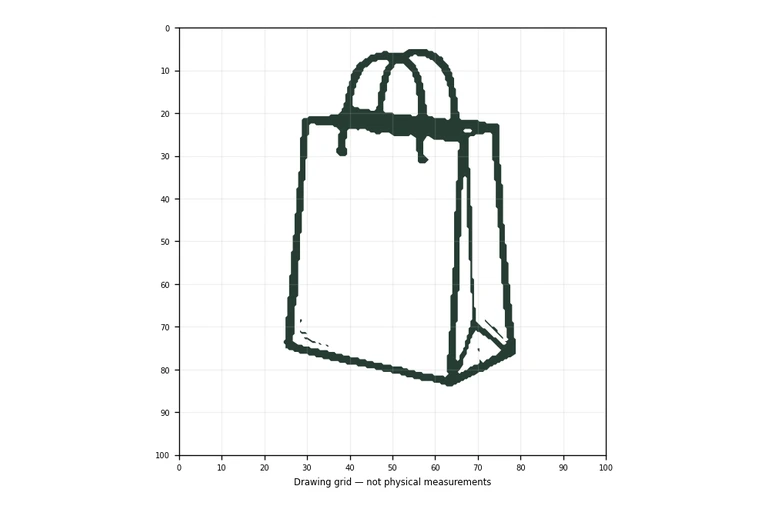
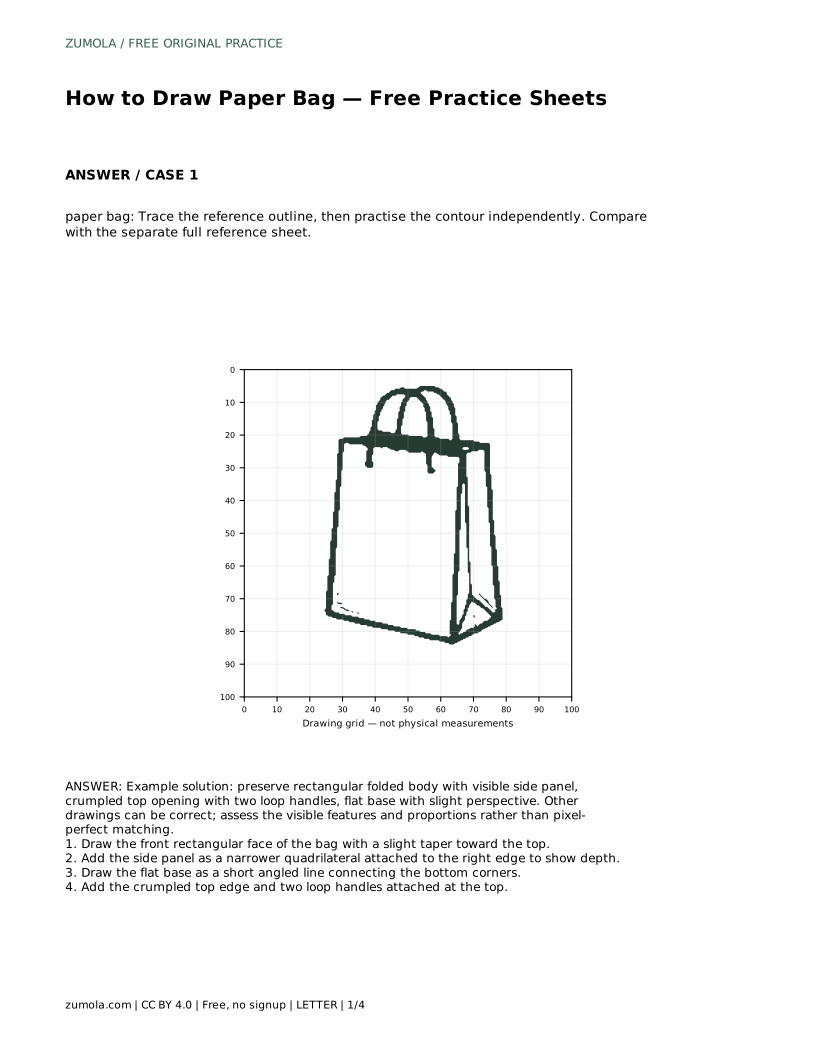
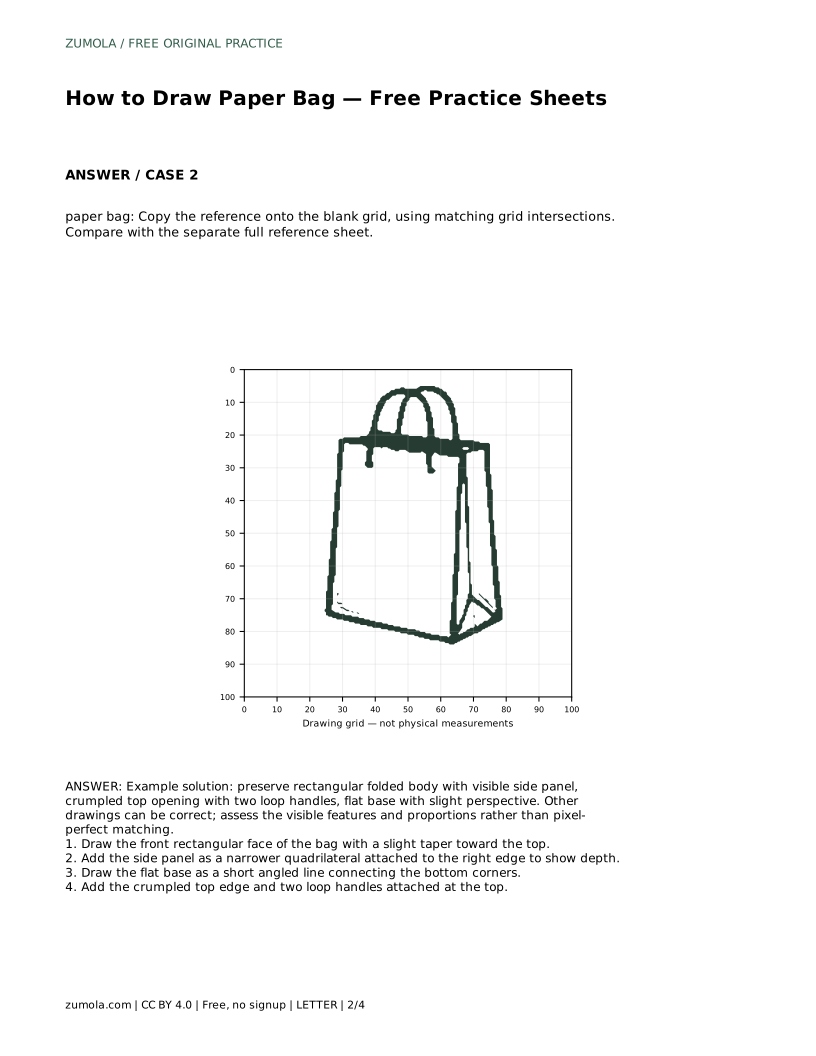
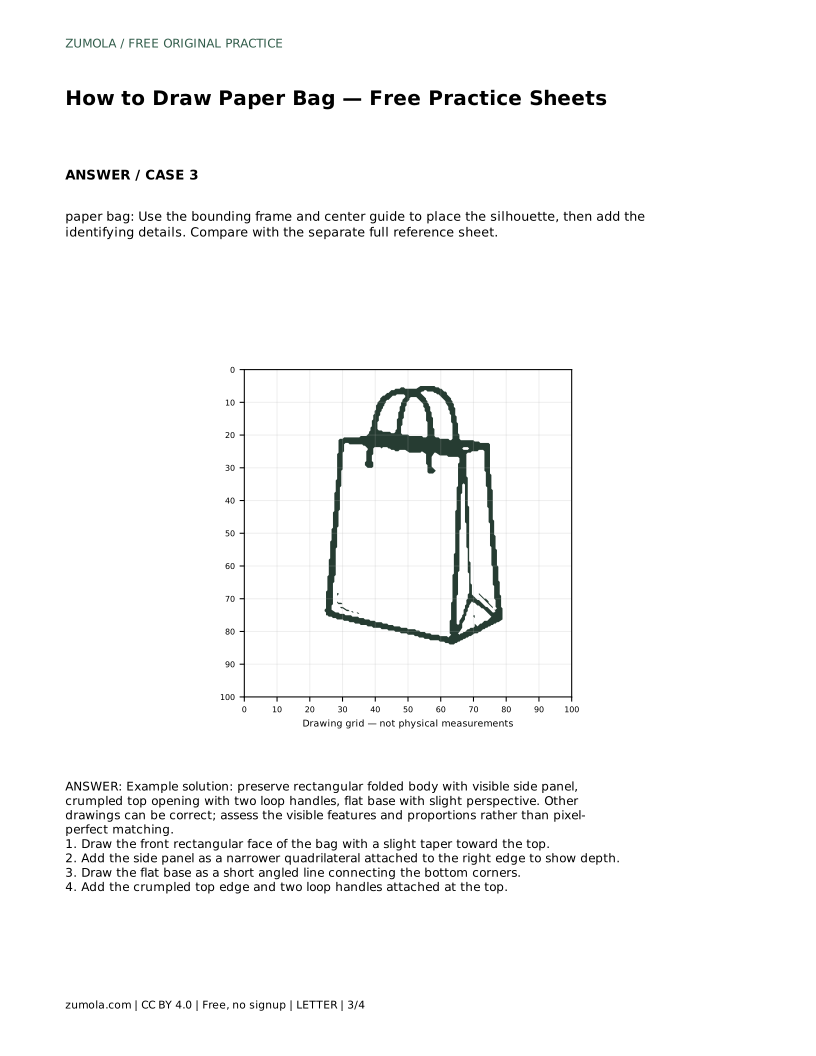
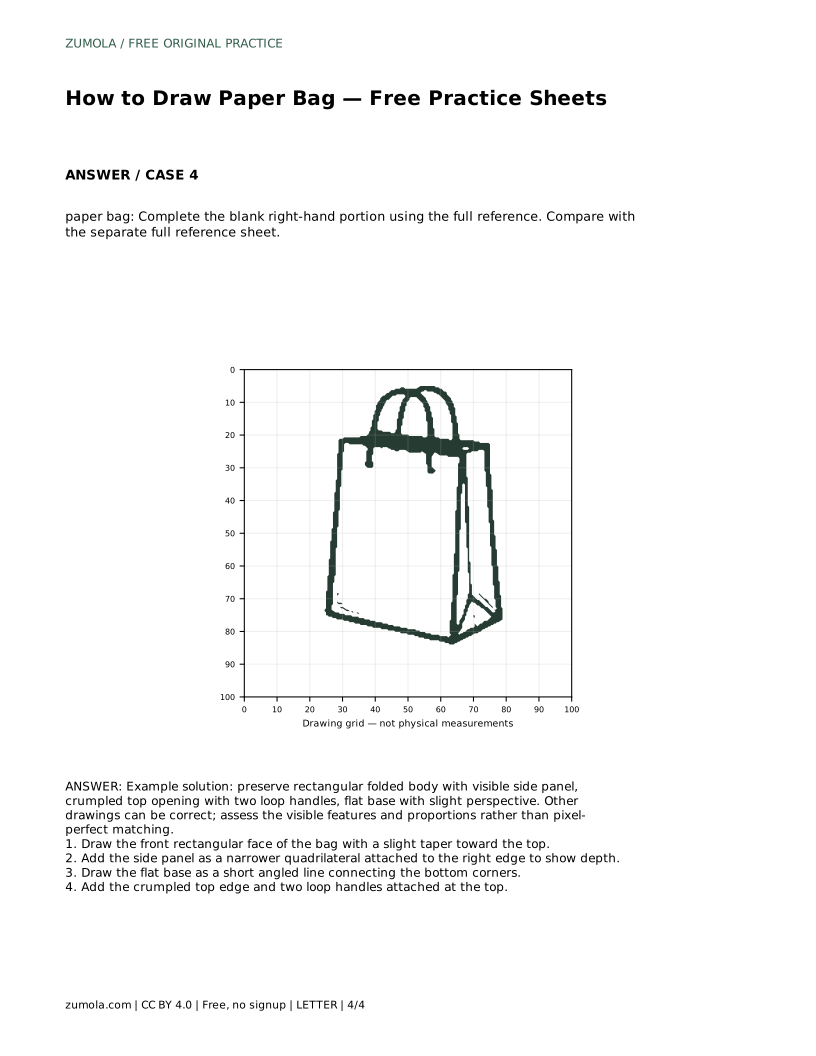
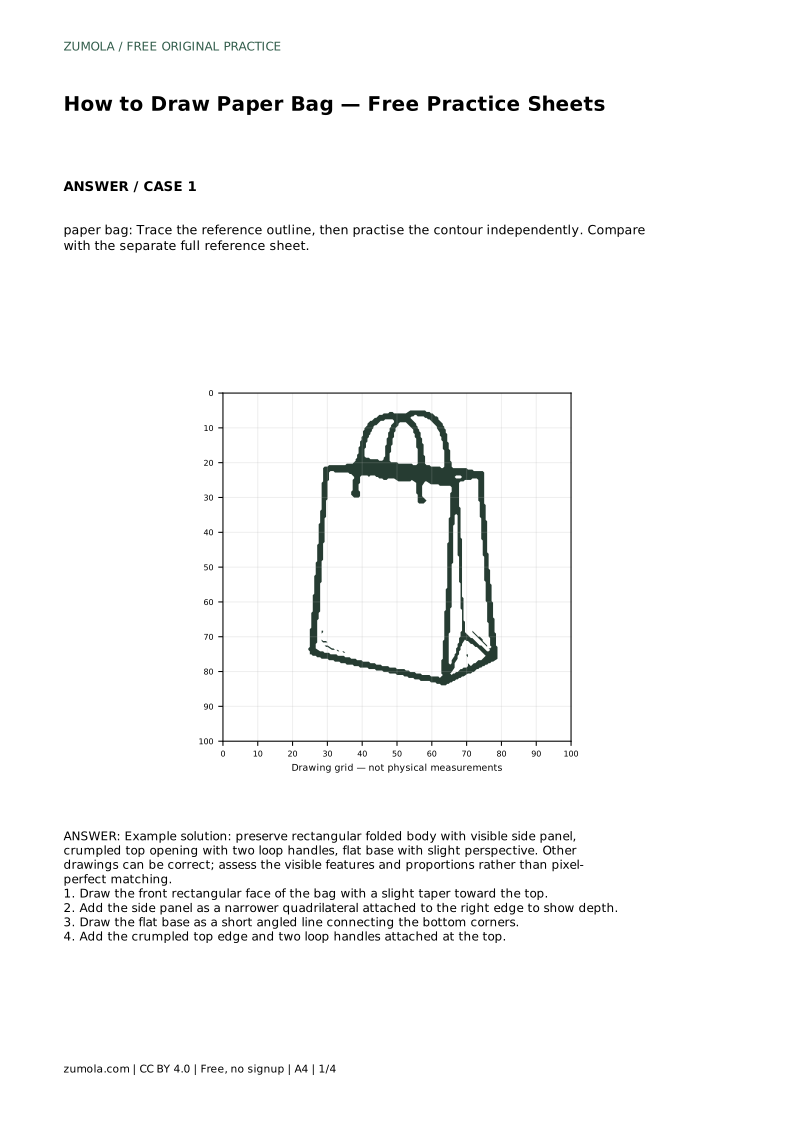
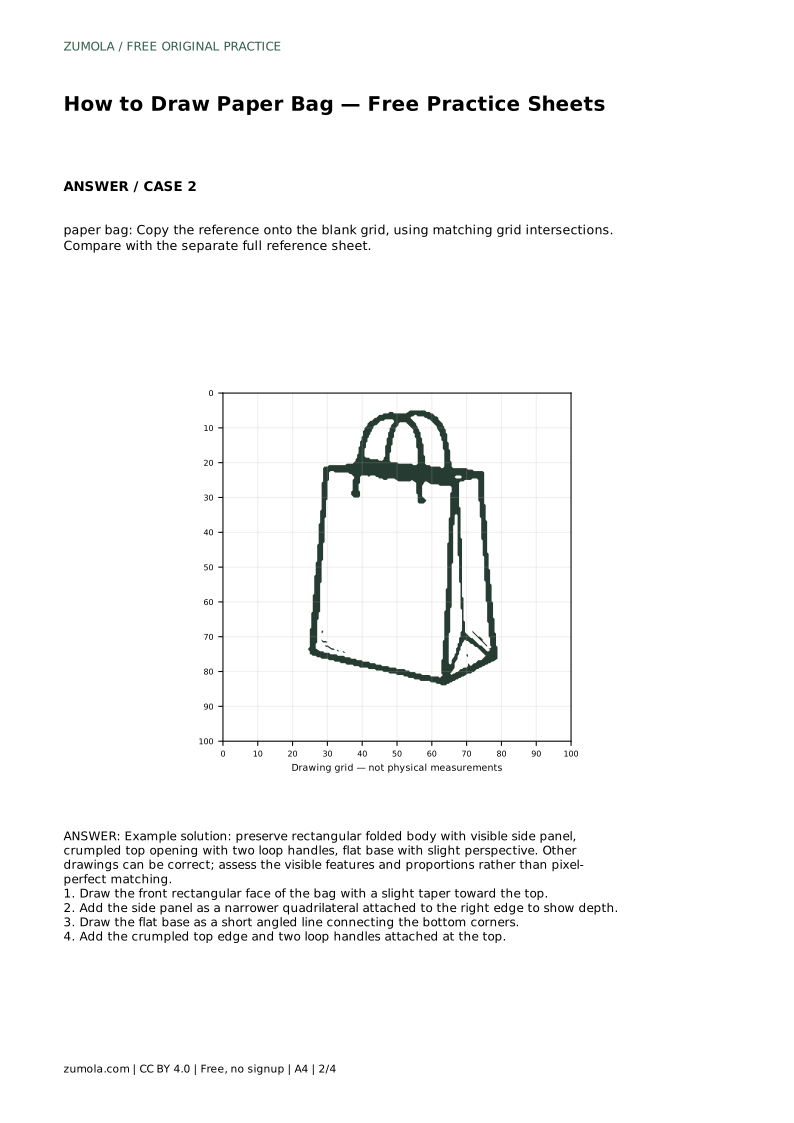
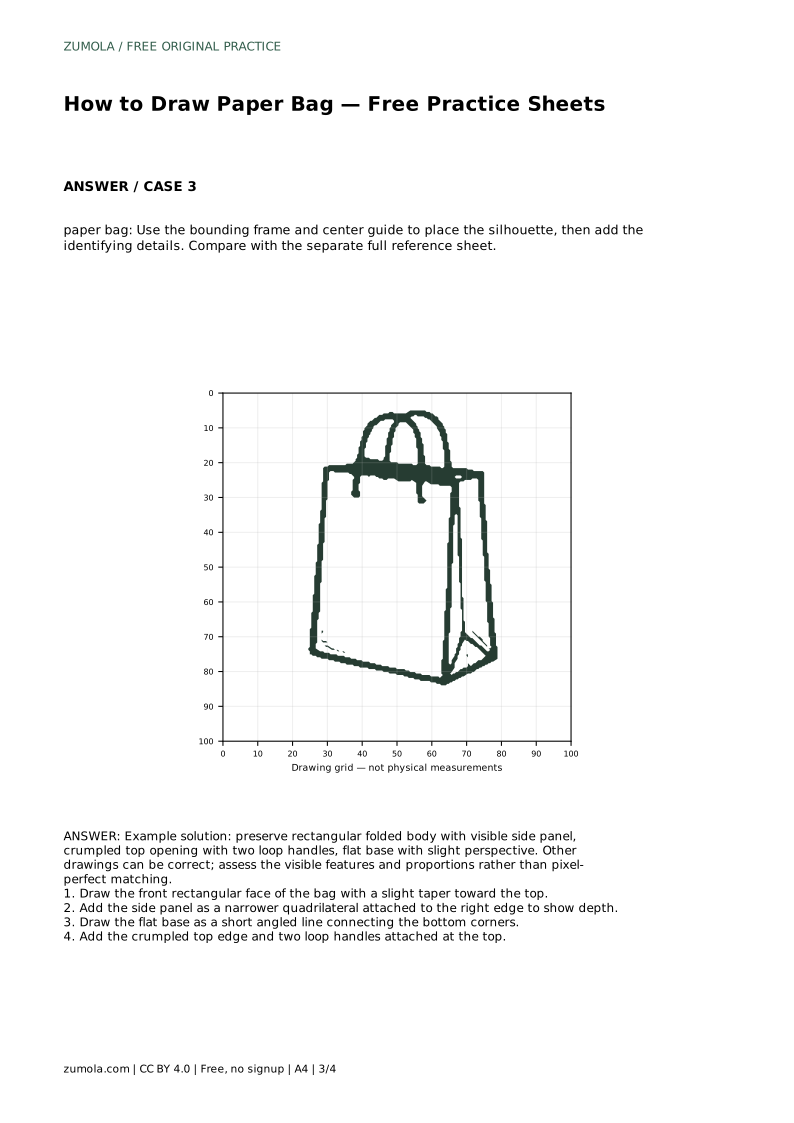
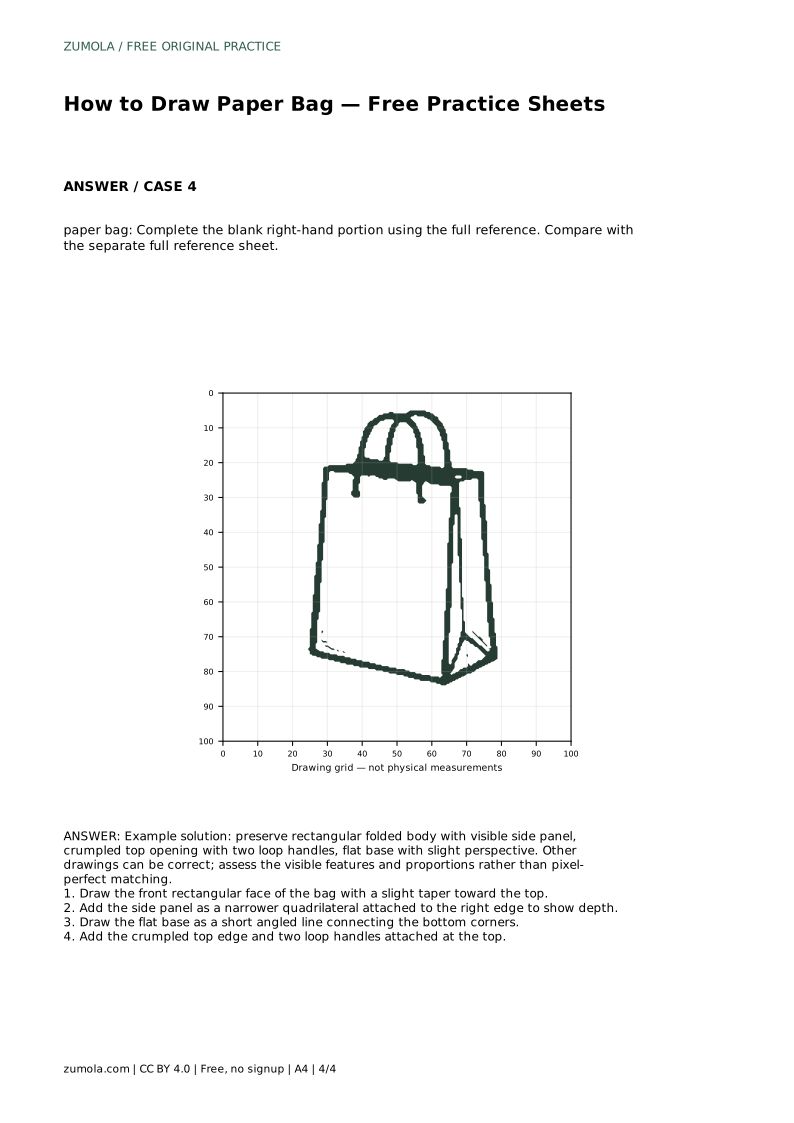
A paper bag is a useful drawing subject because its shape is simple but its depth is visible. The front face, side panel, base, and handles each show a different part of the same object. This guide explains how to build the bag from large shapes to small details, then how to check your drawing against the reference. The practice sheets let you trace, copy onto a grid, place the silhouette with a center guide, or complete a partly drawn version.
Start with the front face rather than the handles. A paper bag usually has a broad rectangular front that narrows slightly toward the top, because the folded sides pull inward. Keep that taper gentle; a strong taper makes the bag look like a cone.
Next, attach a narrower side panel to one edge. This panel is a quadrilateral, not a rectangle, because its top and bottom edges follow the perspective of the bag. Its width should be clearly smaller than the front face so the bag reads as a folded object rather than a flat card.
The base is a short angled line or narrow shape connecting the bottom corners. It shows that the bag stands on a surface. Keep it shallow unless the reference clearly shows more of the underside.
The top opening is where a paper bag looks soft rather than rigid. Draw an uneven edge across the top, with small changes in height. Avoid making it perfectly straight, but keep the variation modest so the bag still looks folded.
The two loop handles attach near the top edge. Each loop should have a similar size and curve, and both should sit on the same general level. If one handle is much larger, the bag may look tilted or unbalanced.
Check that the handles connect to the bag rather than floating above it. A short attachment point at each end of a loop makes the connection clear.
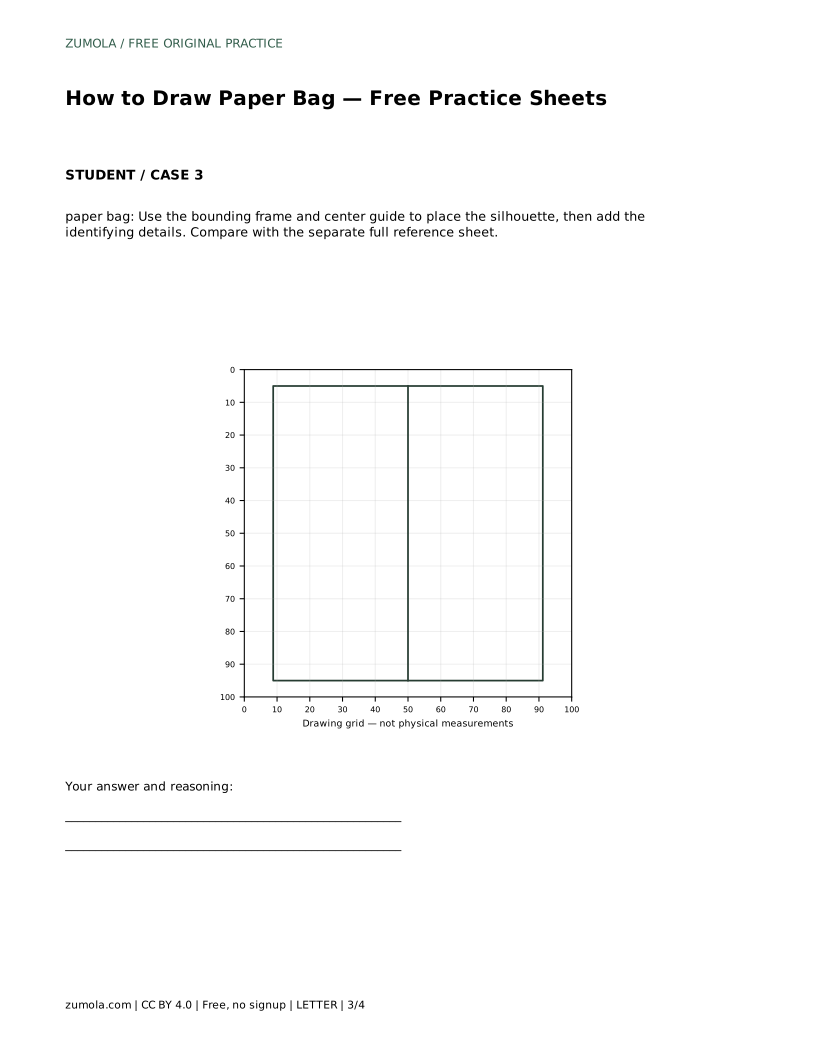
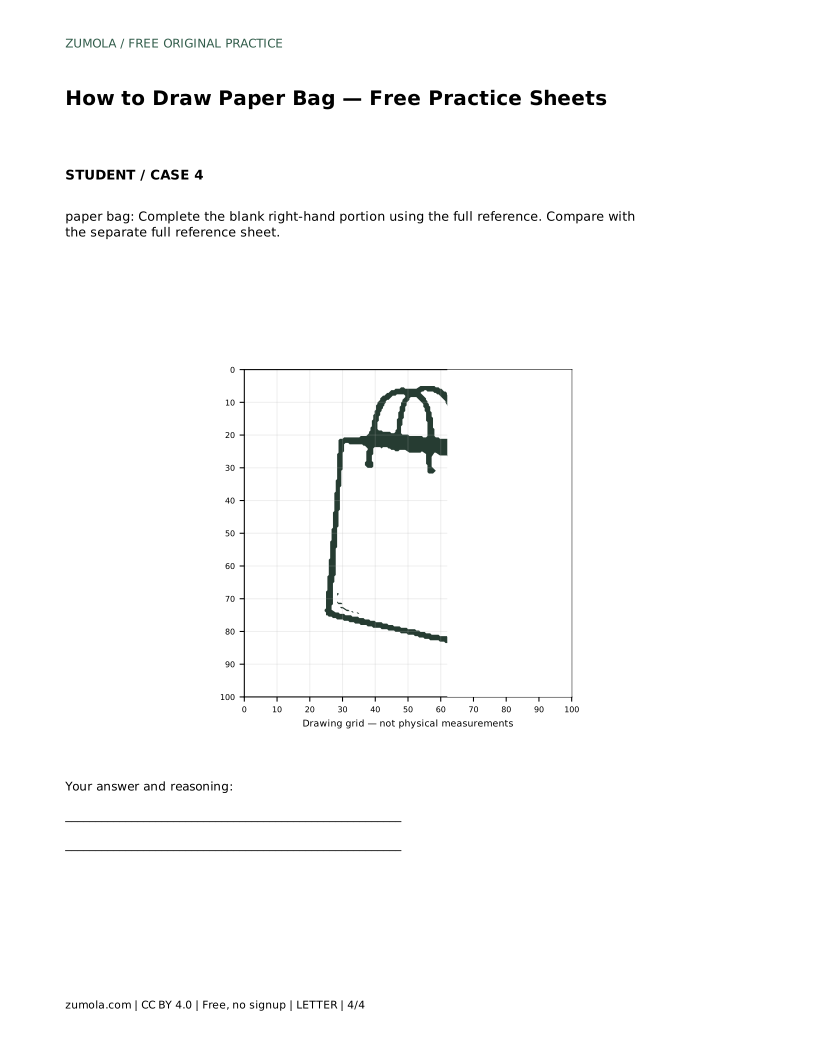
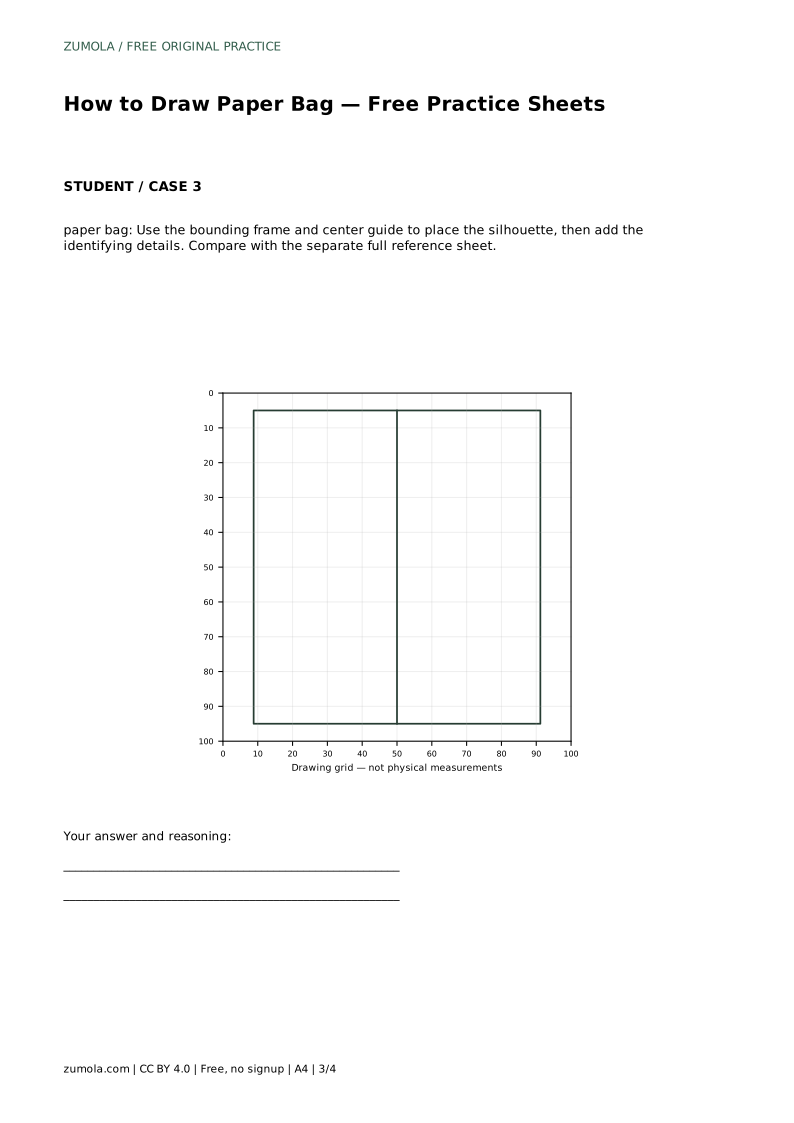
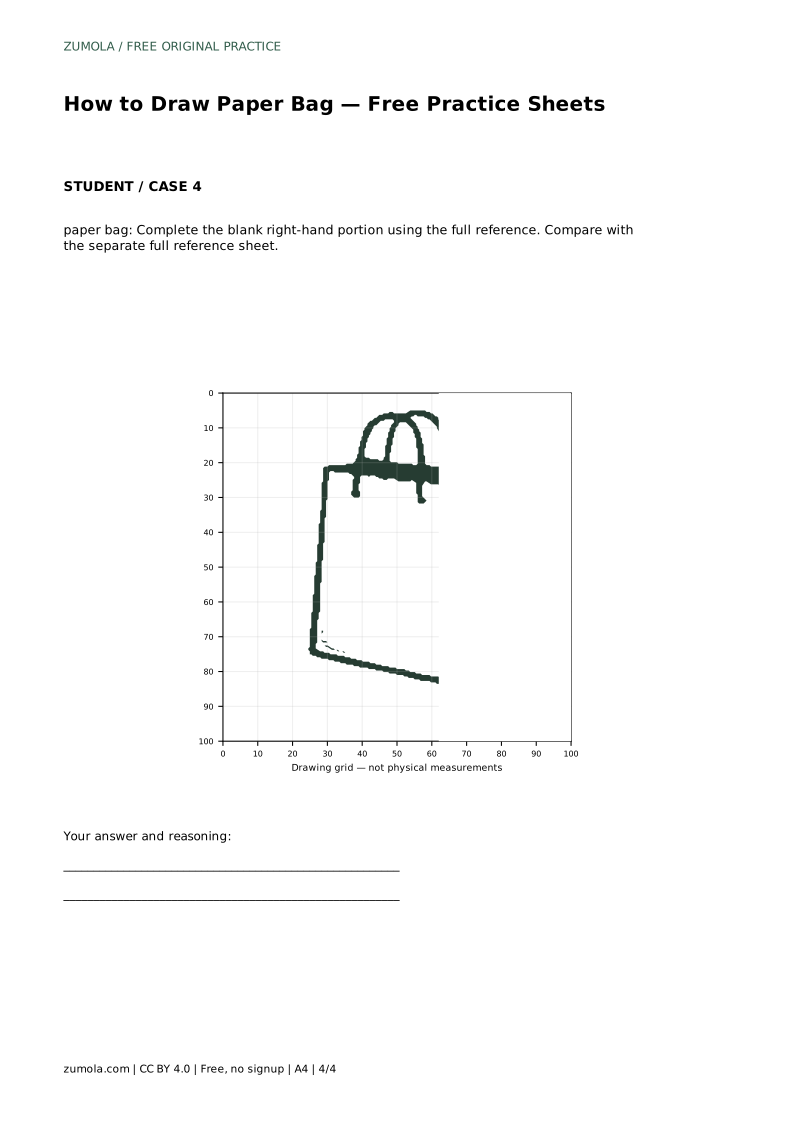
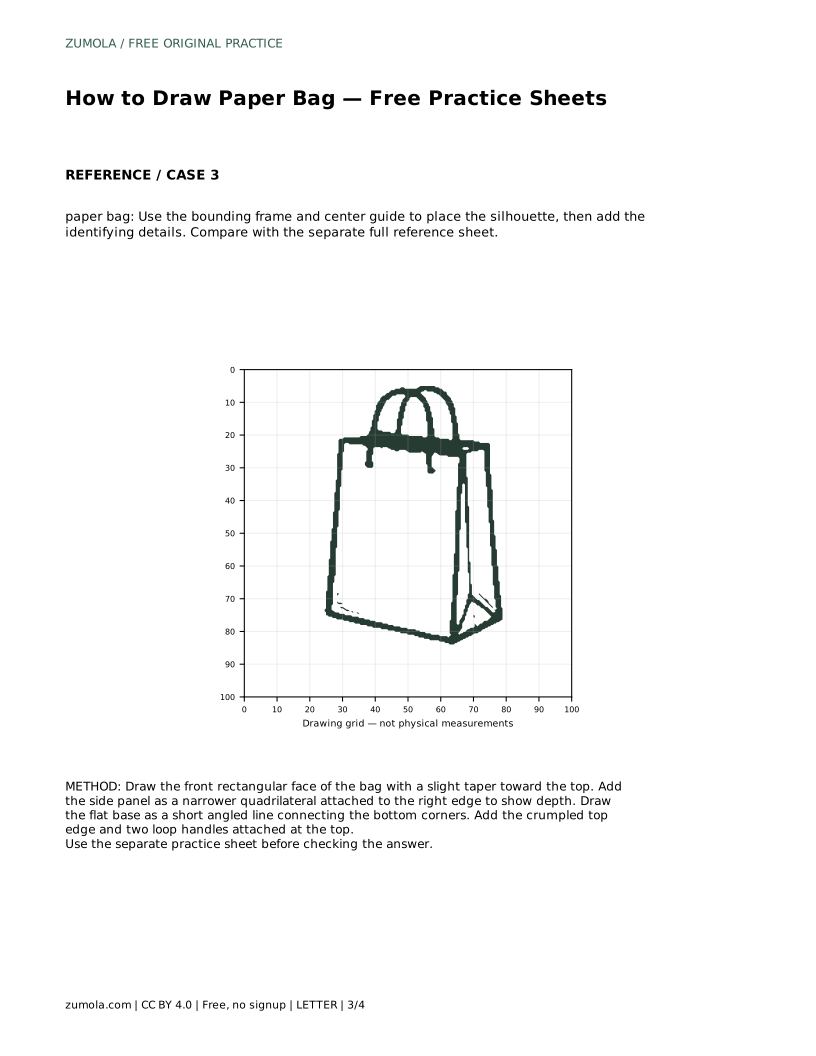
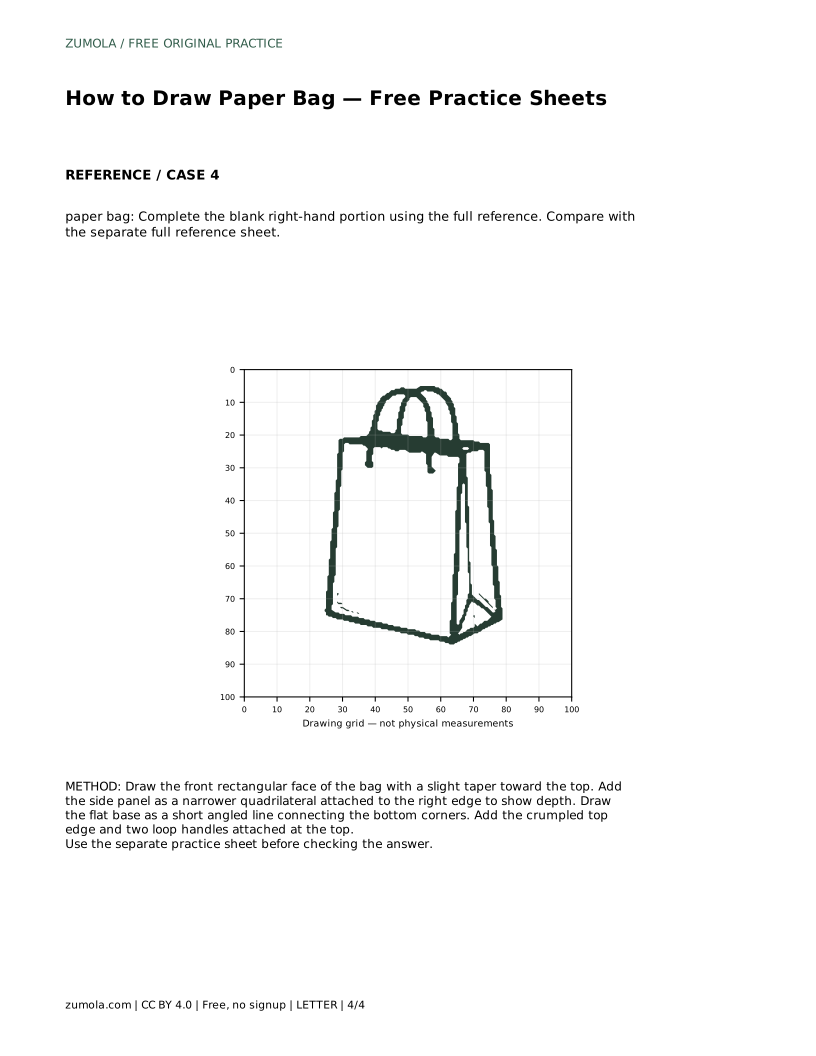
Tracing helps you learn the outline and the order of the main shapes. Copying onto a grid helps you judge proportions by matching intersections. The bounding frame and center guide help you place the whole silhouette before adding details. The partial drawing asks you to complete the missing portion using the full reference.
Each sheet has a separate full reference, so you can compare your result without copying directly over the answer. The goal is not a pixel-perfect match. A correct drawing keeps the rectangular folded body, visible side panel, crumpled top opening, two loop handles, and flat base with slight perspective.
Compare the height of the front face with its width. Then compare the side panel width with the front face width. These two relationships control most of the bag's look.
Look at the base line and the top edge together. The base should feel parallel to the surface the bag stands on, while the top edge can be slightly uneven.
Finally, check the handles against the top opening. Their loops should not extend far beyond the bag's width unless the reference shows that.
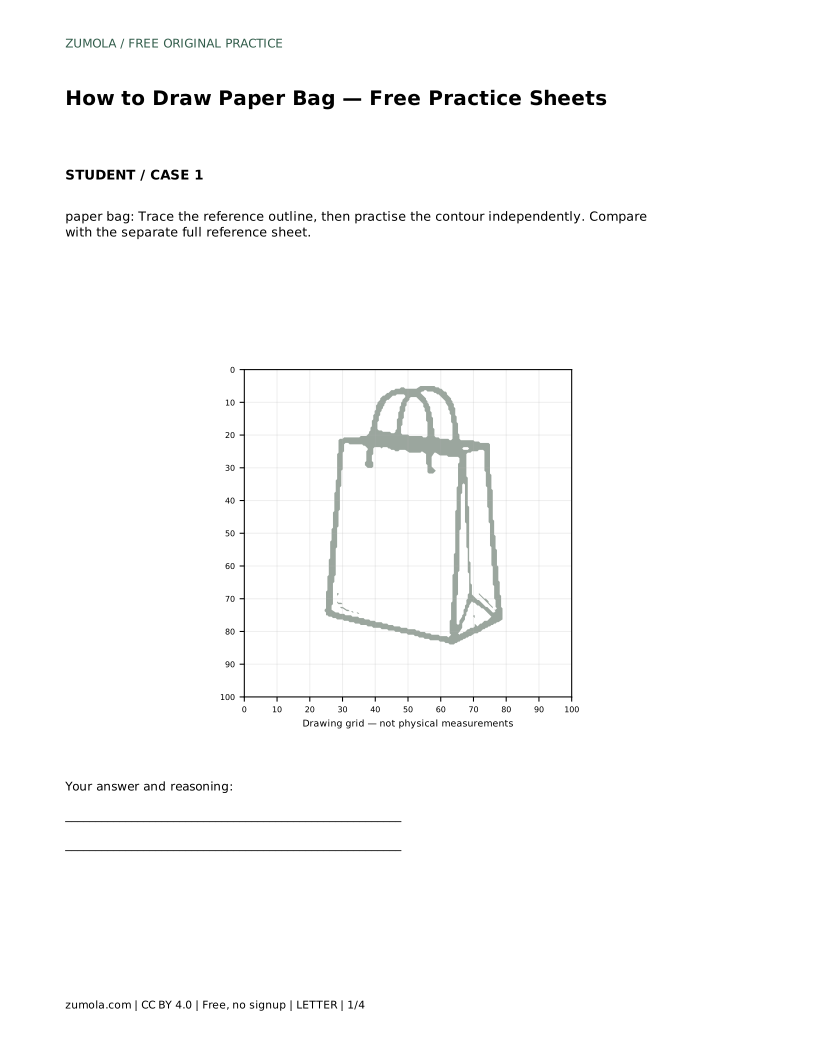
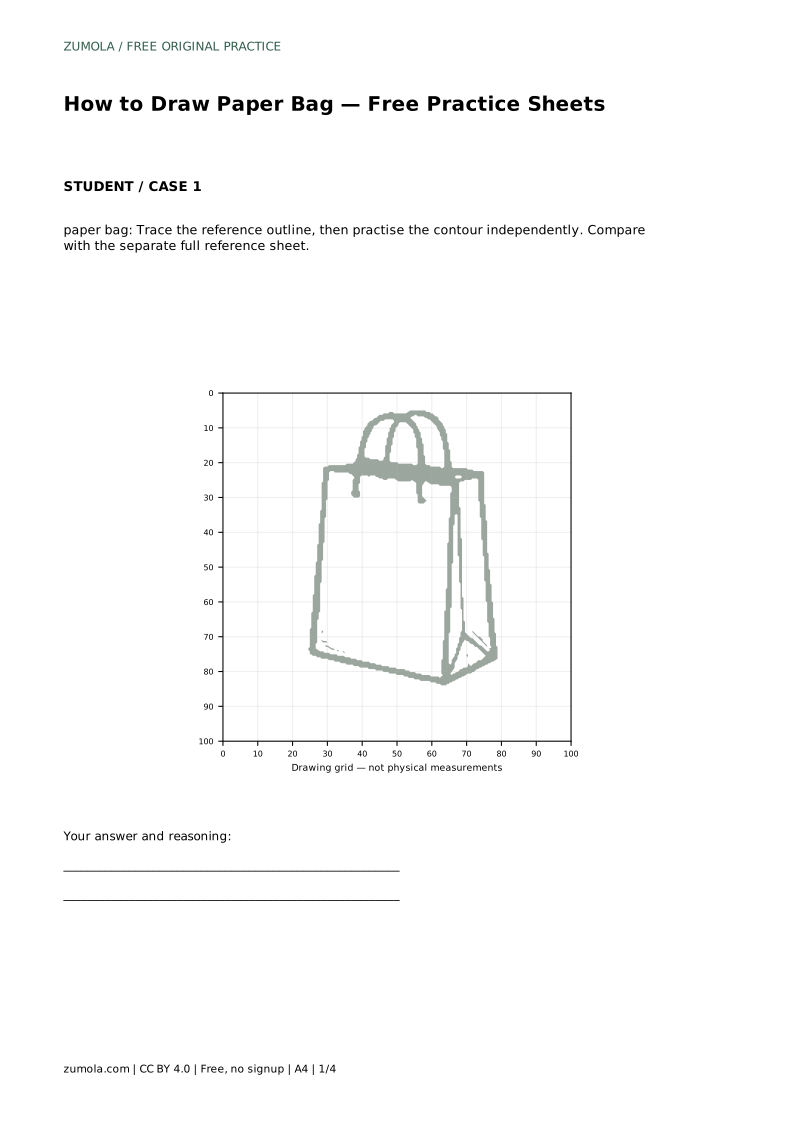
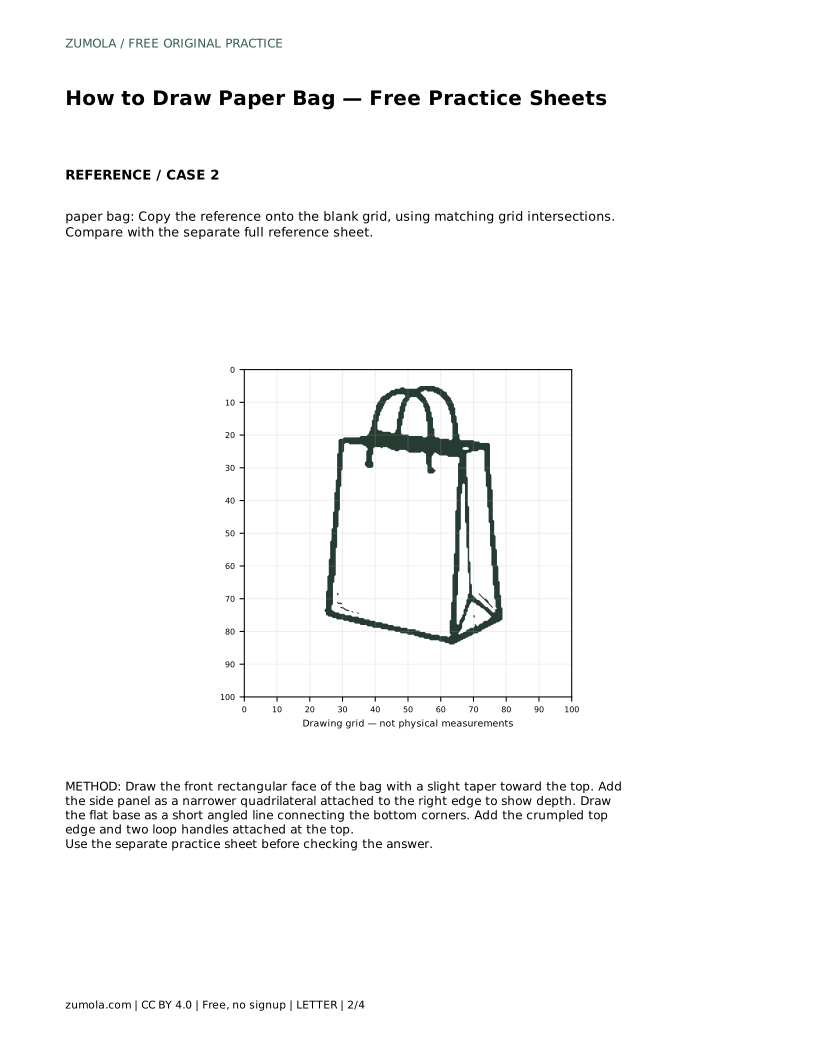
paper bag: Trace the reference outline, then practise the contour independently. Compare with the separate full reference sheet.
Example solution: preserve rectangular folded body with visible side panel, crumpled top opening with two loop handles, flat base with slight perspective. Other drawings can be correct; assess the visible features and proportions rather than pixel-perfect matching. Draw the front rectangular face of the bag with a slight taper toward the top. Add the side panel as a narrower quadrilateral attached to the right edge to show depth. Draw the flat base as a short angled line connecting the bottom corners. Add the crumpled top edge and two loop handles attached at the top.
A side panel makes the bag look three-dimensional. If the reference shows the bag from the front only, follow that view, but most practice references include a visible side panel.
Use small changes in height. The top should look soft and folded, not torn or wildly irregular.
Check the front face proportions and the side panel width. These control the overall shape more than small details do.
All drawing practice · Free coordinate paper
Original resources · CC BY 4.0 · Free for personal and classroom use with attribution.