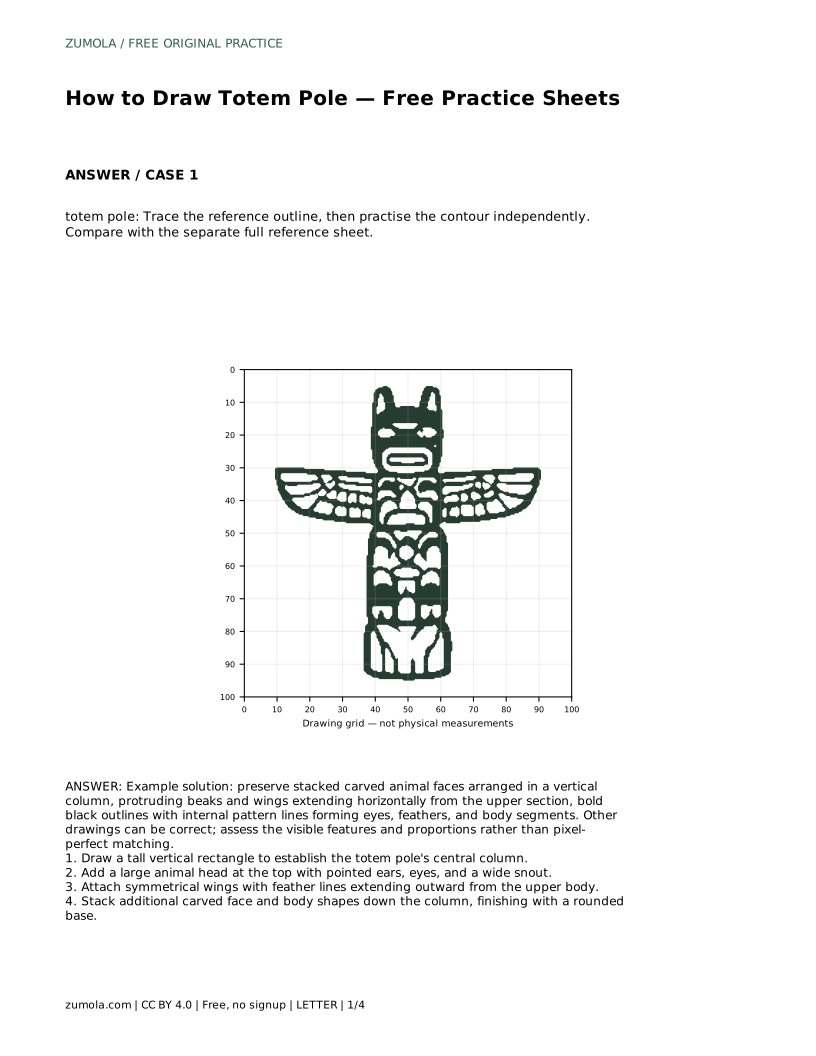
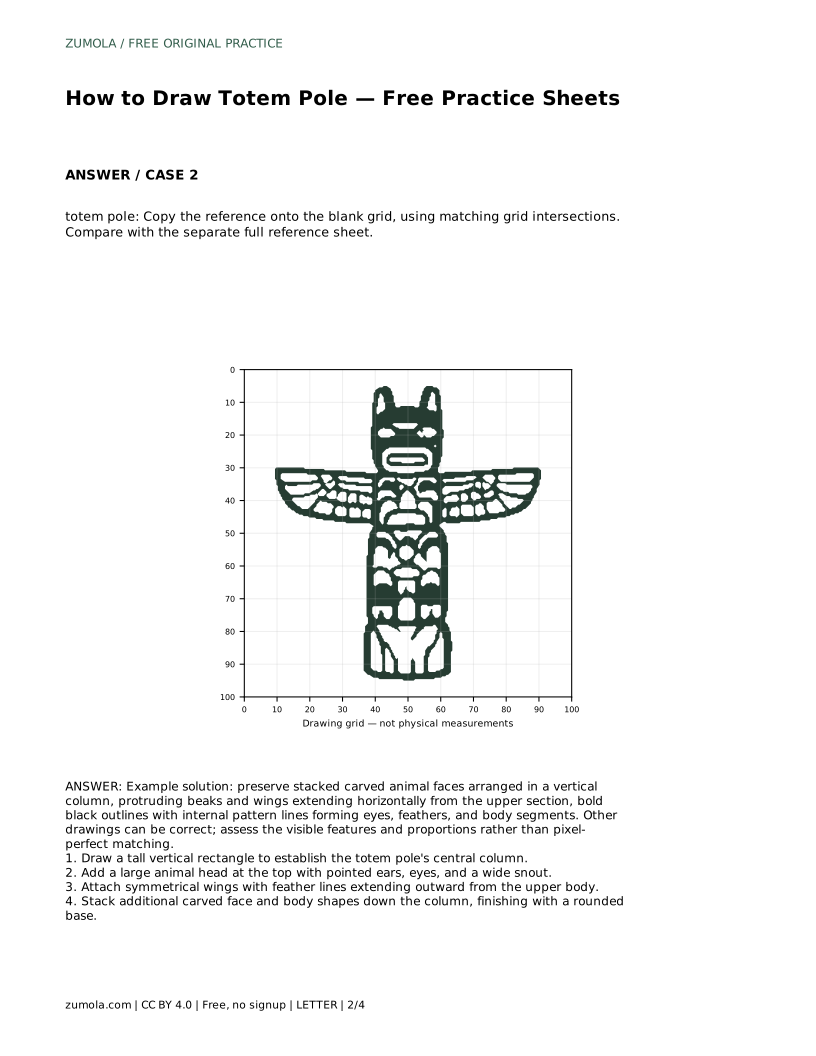
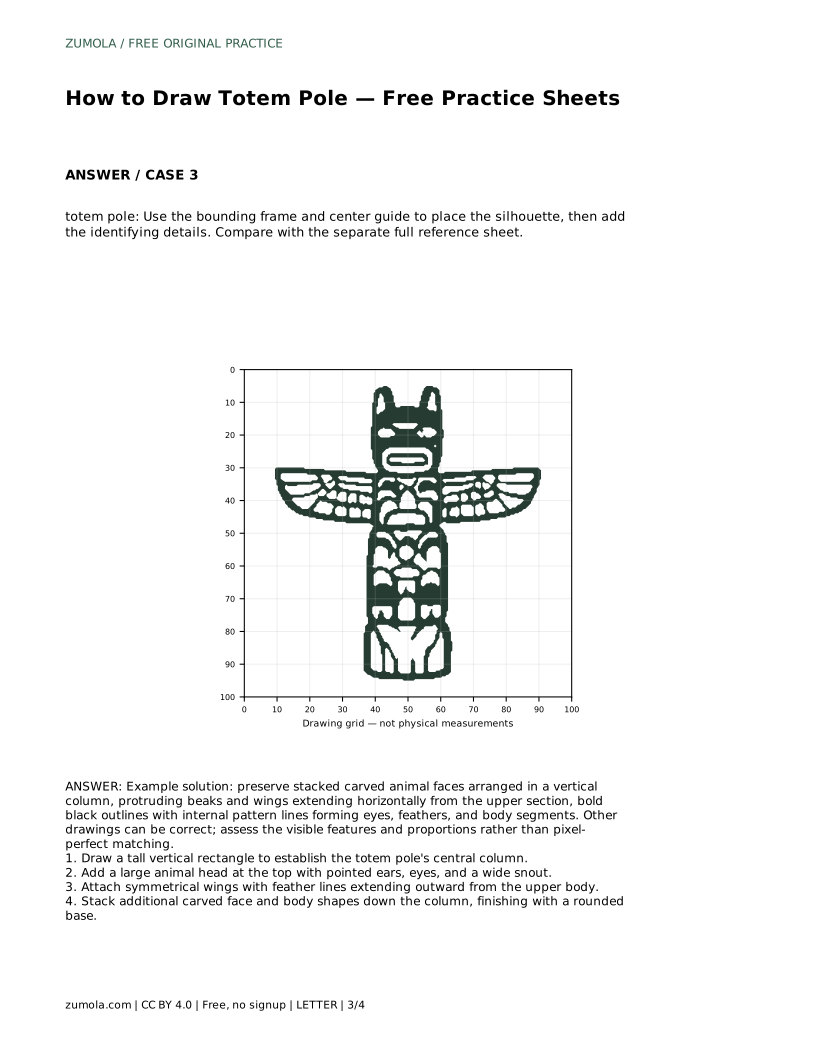
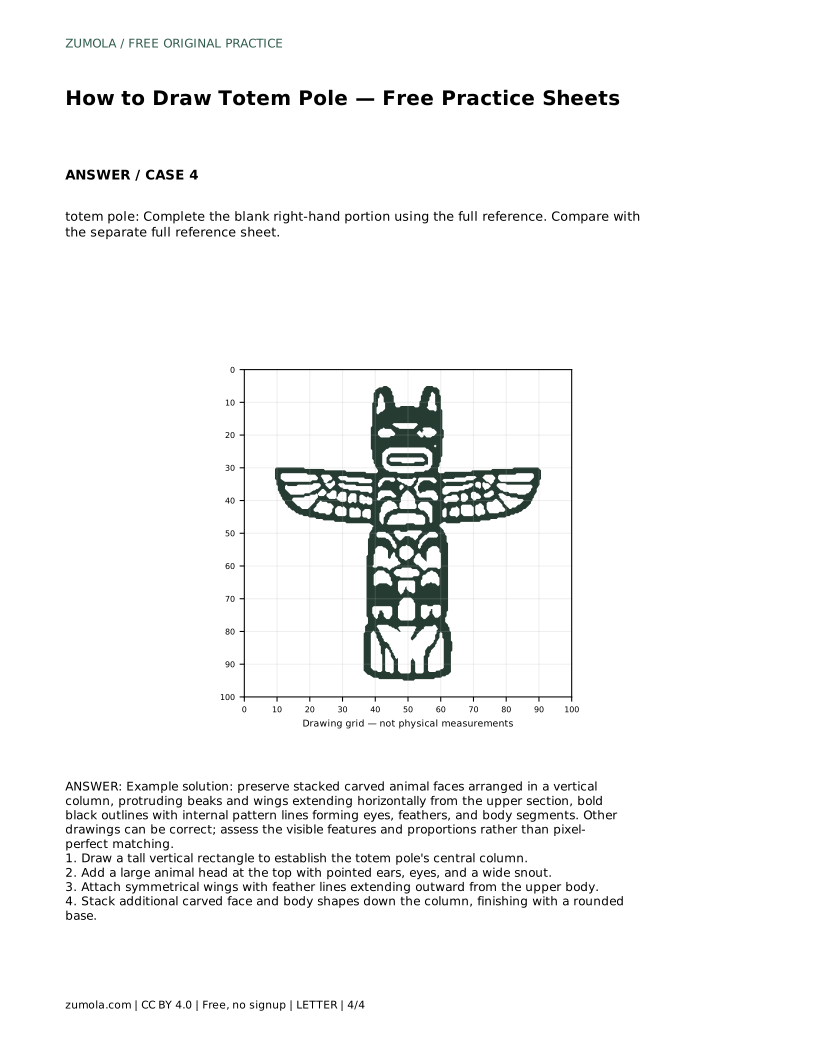
Reference diagrams
LETTER · Download PDF
A4 · Download PDF
Free original resources
Learn to draw a totem pole by building a vertical column, stacking carved animal faces, and adding wings, beaks, and bold pattern lines with practice sheets.
Four original cases, with reference diagrams, practice sheets and worked answers. Everything is free; no signup required.
LETTER · Download PDF
A4 · Download PDF
LETTER · Download PDF
A4 · Download PDF
LETTER · Download PDF
A4 · Download PDF
Use A4 or US Letter to match your printer. Use the stated values and conditions to solve each exercise; diagrams are not physical measuring rulers.
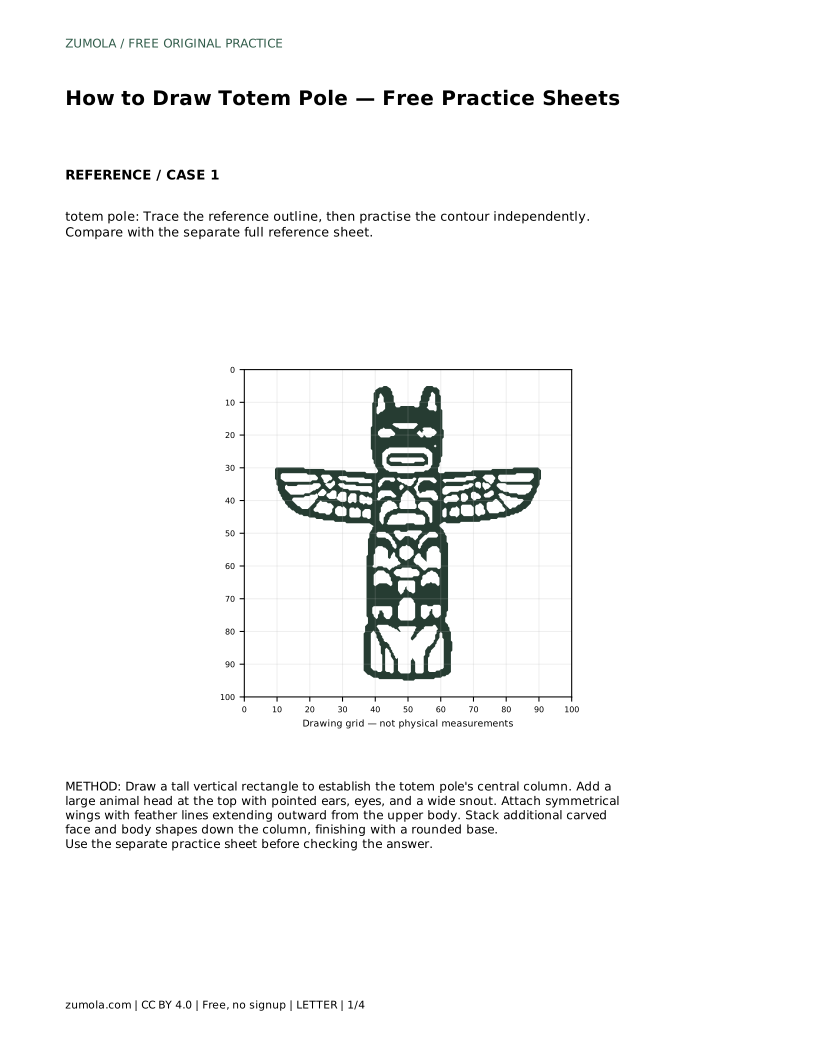
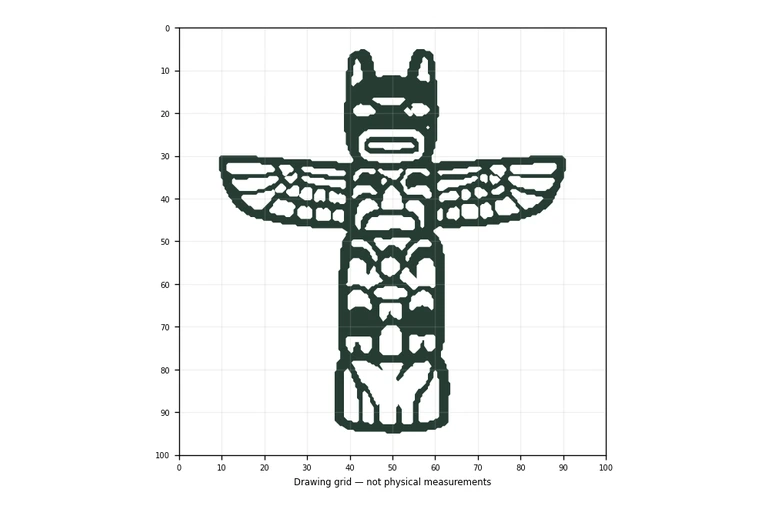
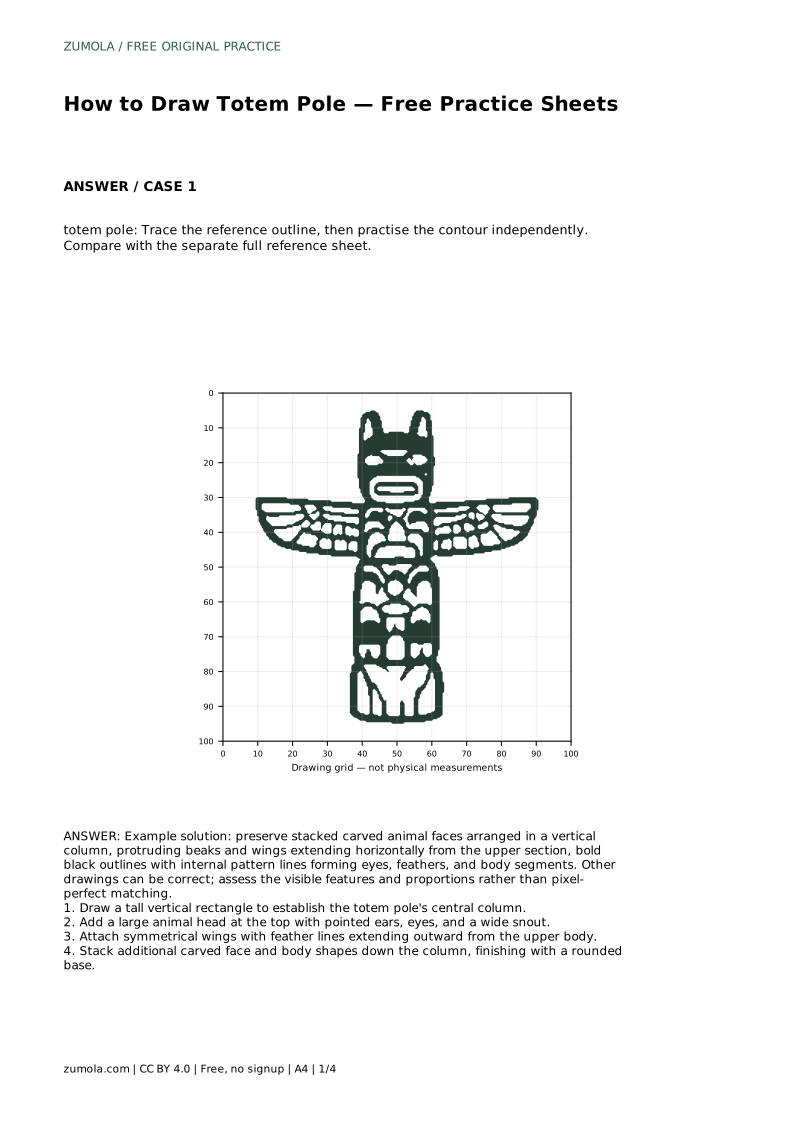
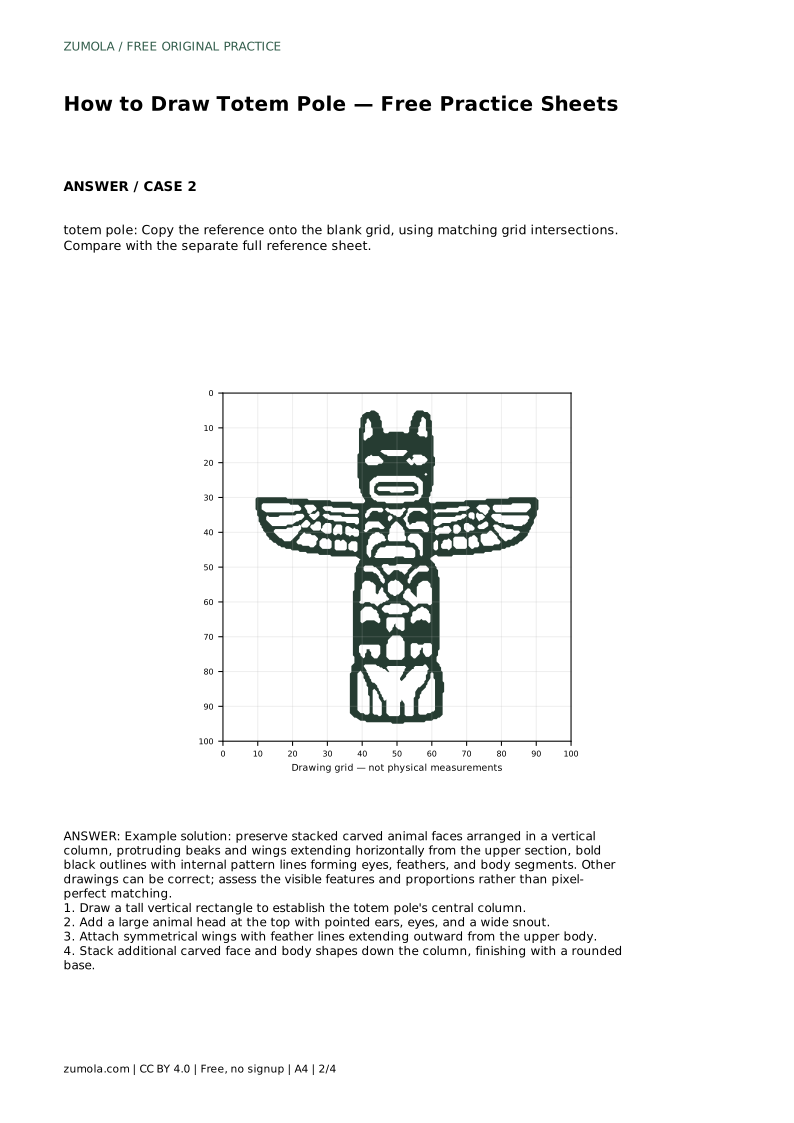
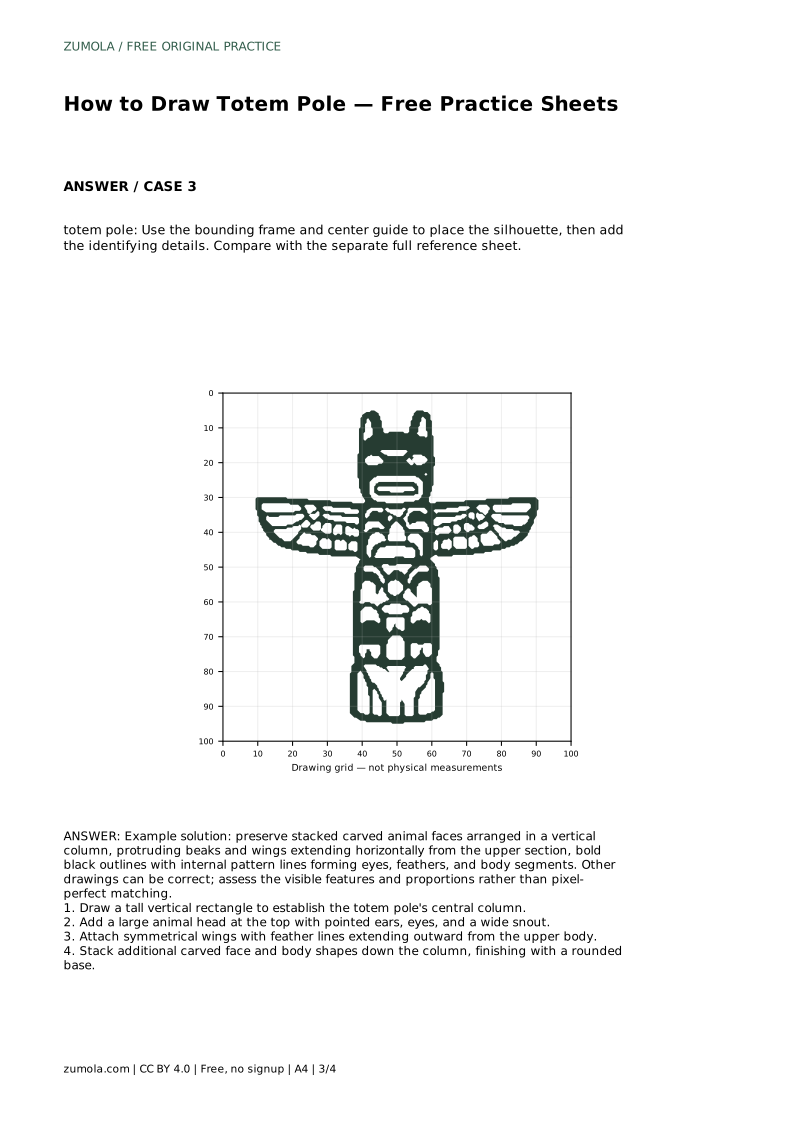
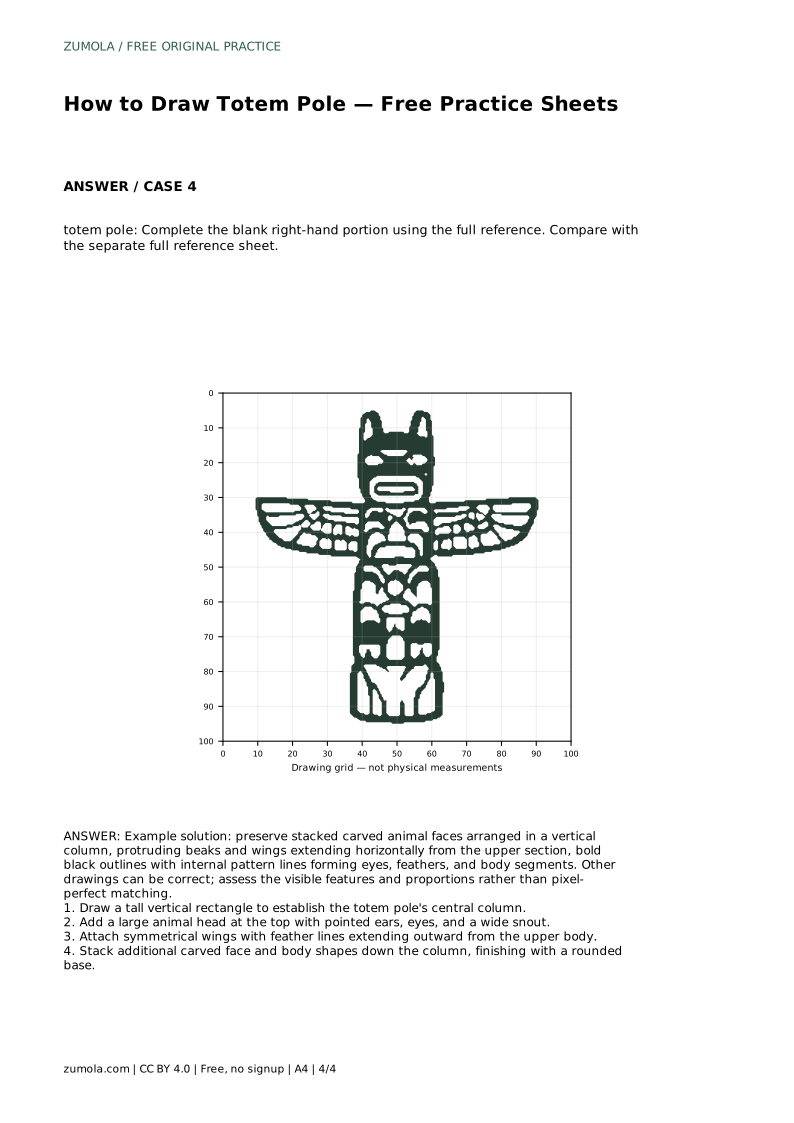
A totem pole drawing is built from a tall central column and a stack of carved animal forms, each with its own face, body, and pattern lines. This page shows how to place the column first, then add the top head, wings, and lower figures in order. The practice sheets let you trace, copy to a grid, or complete a partial outline, so you can compare your drawing with a full reference sheet and judge the visible features rather than a pixel-perfect match.
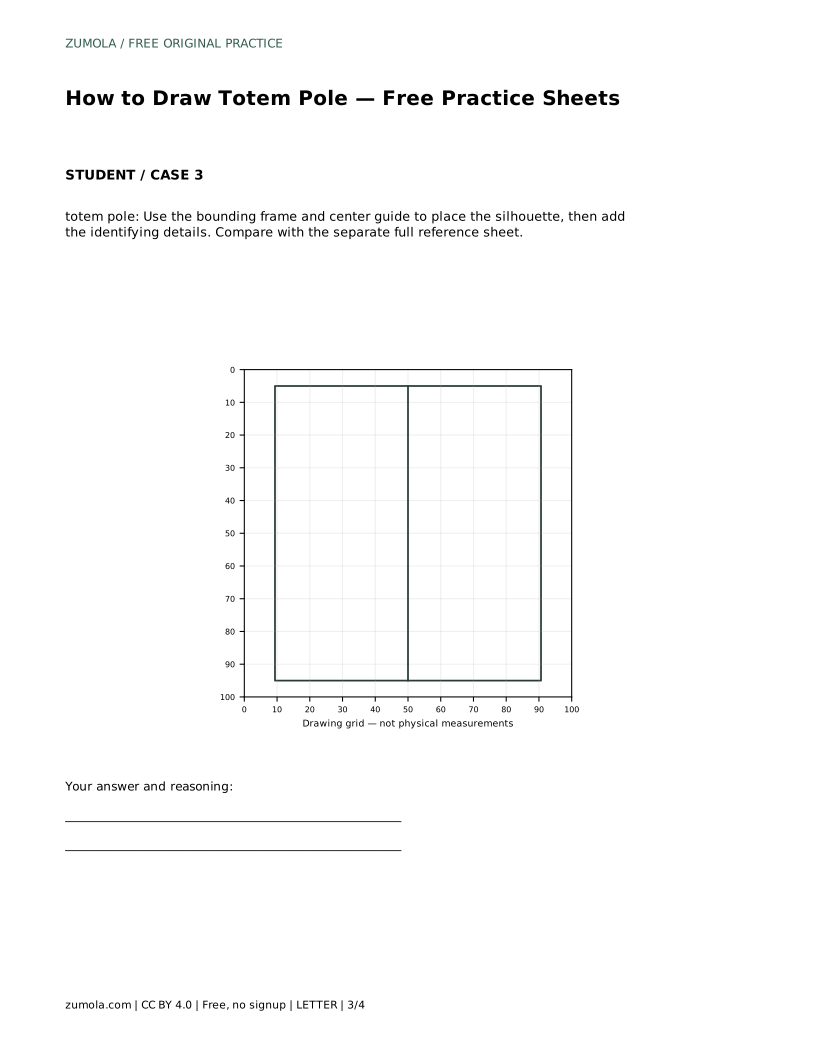
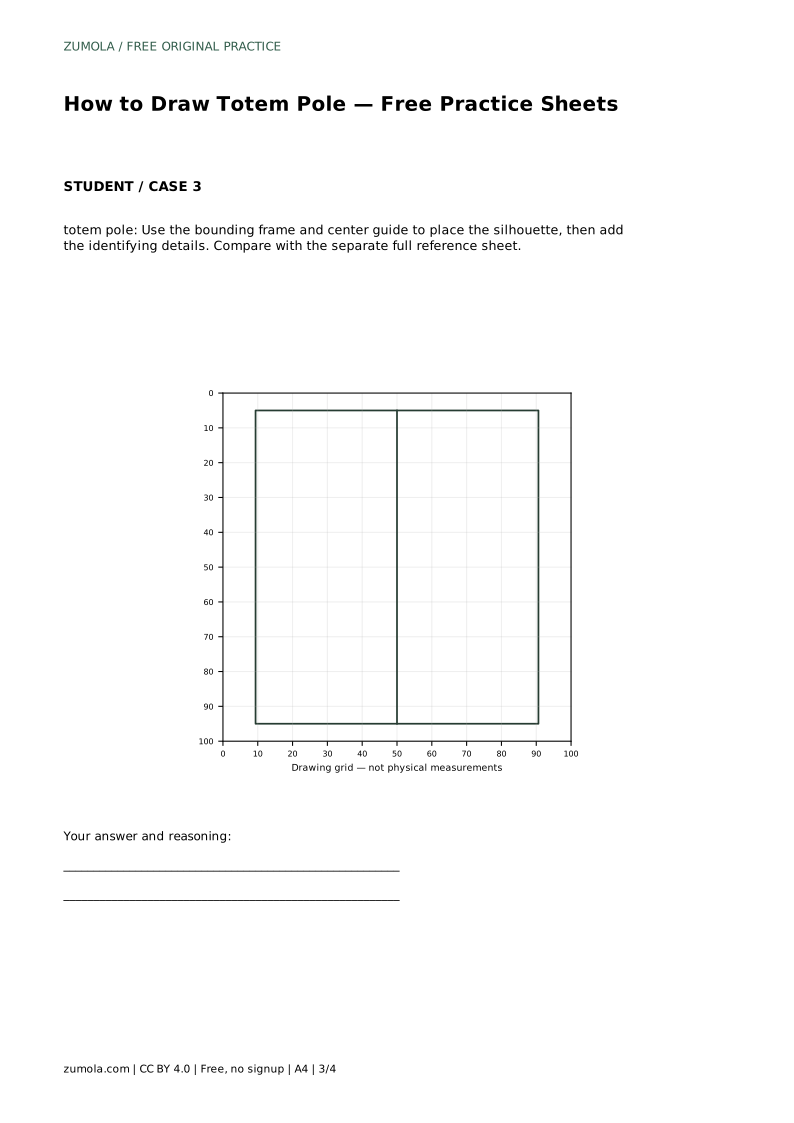
Begin by drawing a tall vertical rectangle. This rectangle is the central column that holds every figure, so keep its sides straight and roughly parallel. Decide how much of the page height it will use before adding details; a column that runs from near the top of the page to a rounded base leaves room for three or four stacked forms.
Place the largest animal head at the top of the column. Give it pointed ears, two eyes, and a wide snout. The head should sit centered on the column, with the ears rising above the rectangle's top edge. Keep the eyes level with each other and the snout centered below them. These simple landmarks make the head read as a carved face rather than a flat shape.
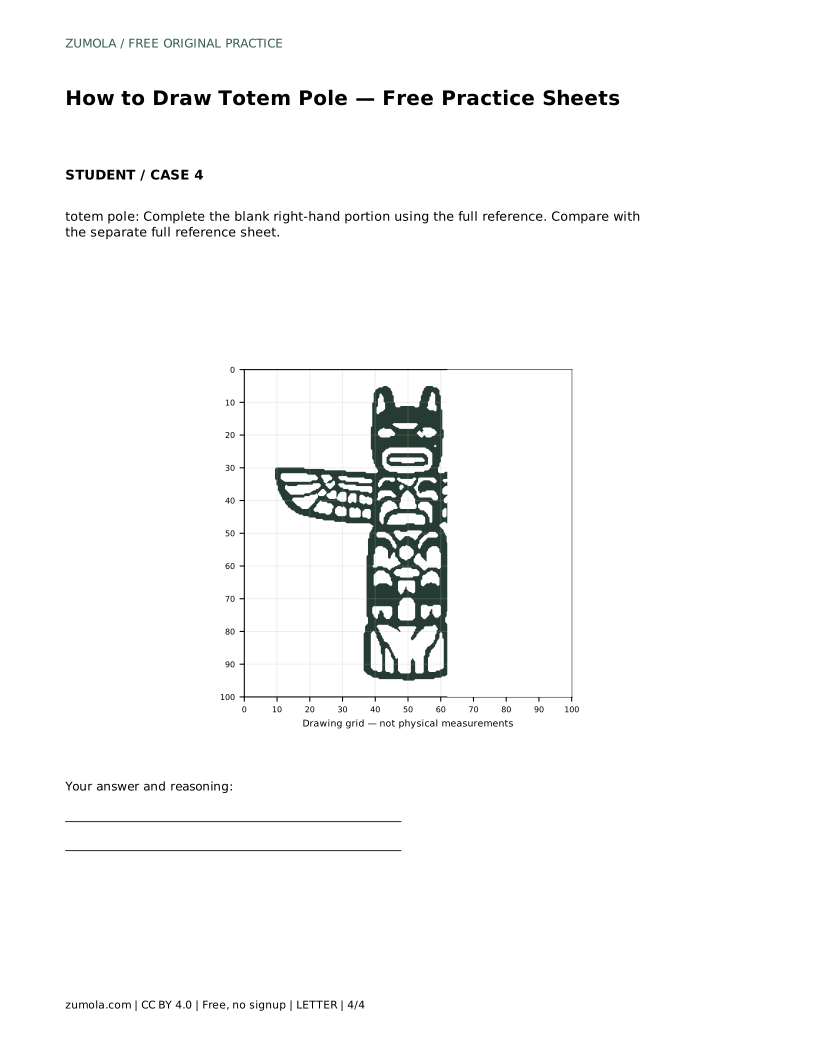
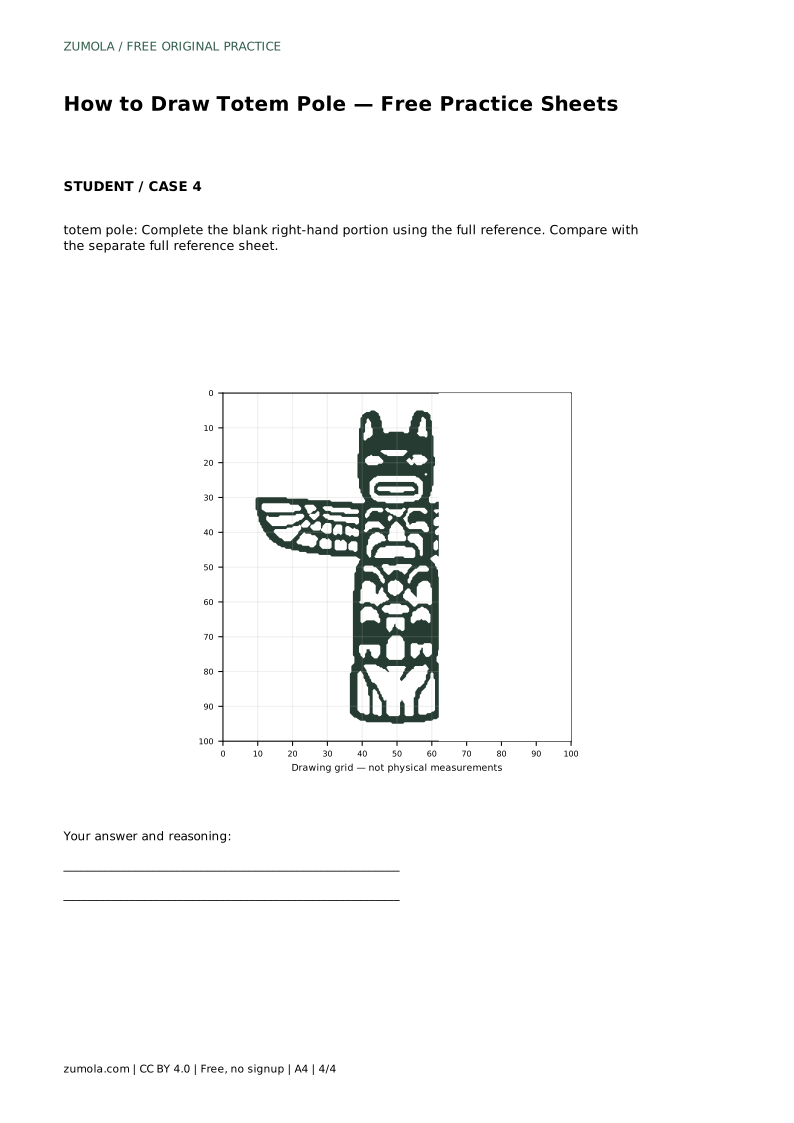
Attach symmetrical wings to the upper body, extending outward from the column. Draw one wing, then mirror its feather lines on the other side so the pair matches in length and angle. Feather lines can be simple parallel strokes inside each wing shape. The wings should reach horizontally beyond the column, which gives the pole its wide upper silhouette.
Below the top head, stack additional carved face and body shapes down the column. Each figure can differ: one might have a beak, another a rounded body with segment lines. Keep each form centered on the column and let the shapes touch or overlap slightly so the stack reads as one carved pole. Finish with a rounded base at the bottom.
Totem pole drawings read clearly when the outer outlines are bold and the internal pattern lines are lighter. Use a strong line around each head, wing, and body shape, then add thinner lines inside for eyes, feathers, and body segments. Internal lines describe carved detail; they should follow the shape of the form rather than cross it randomly.
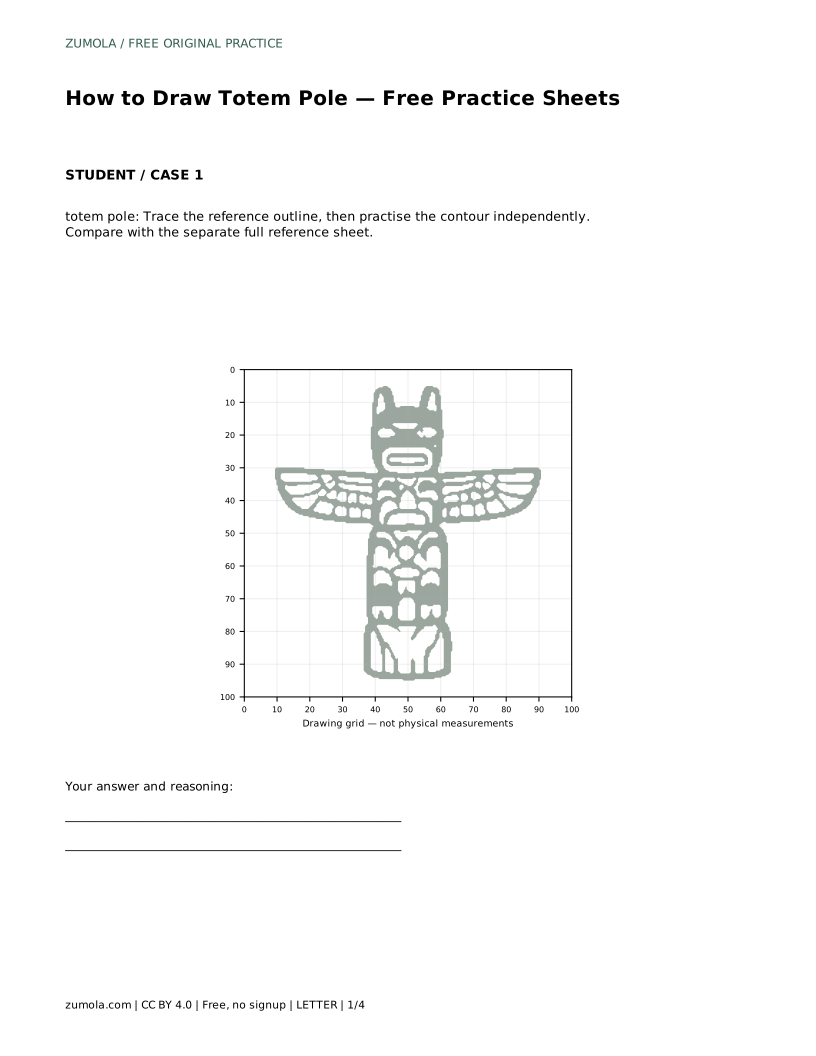
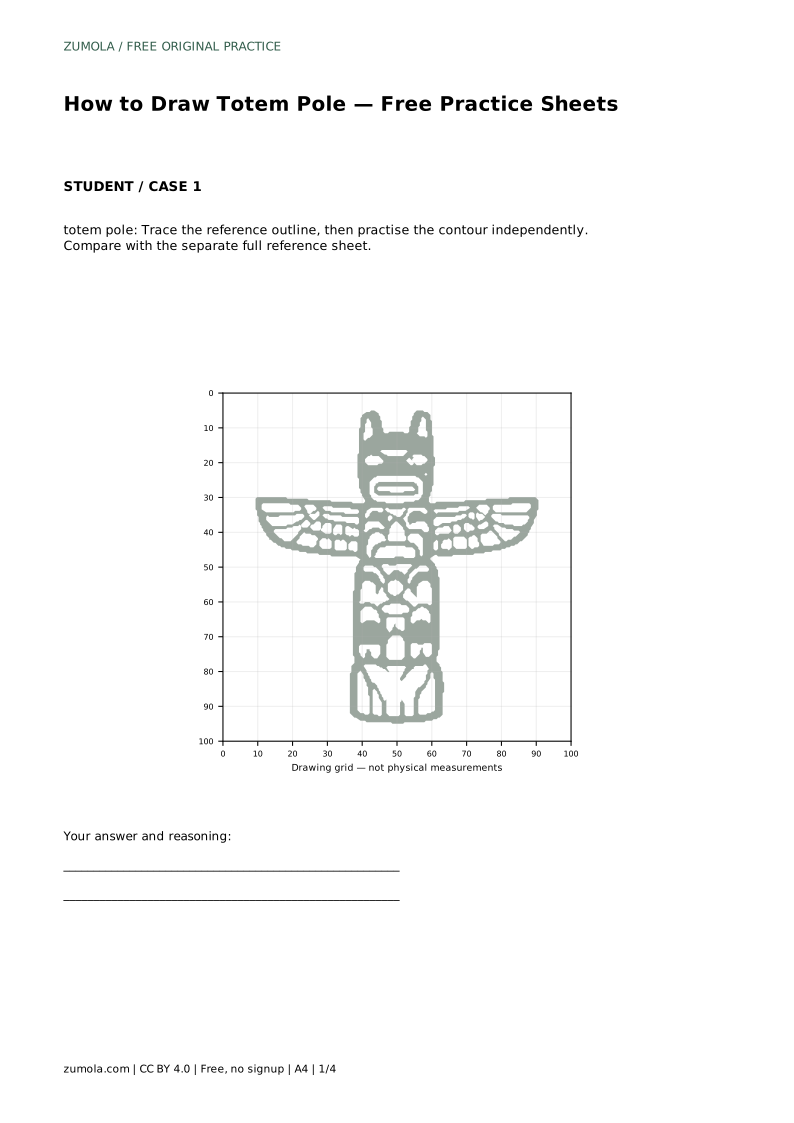
When you practise with a sheet, trace the reference outline first, then try the contour independently on a blank area. Compare your drawing with the separate full reference sheet and check the visible features: stacked faces in a vertical column, protruding beaks, horizontal wings, and bold outlines with internal pattern lines. Different drawings can be correct, so assess the features and proportions rather than exact matching.
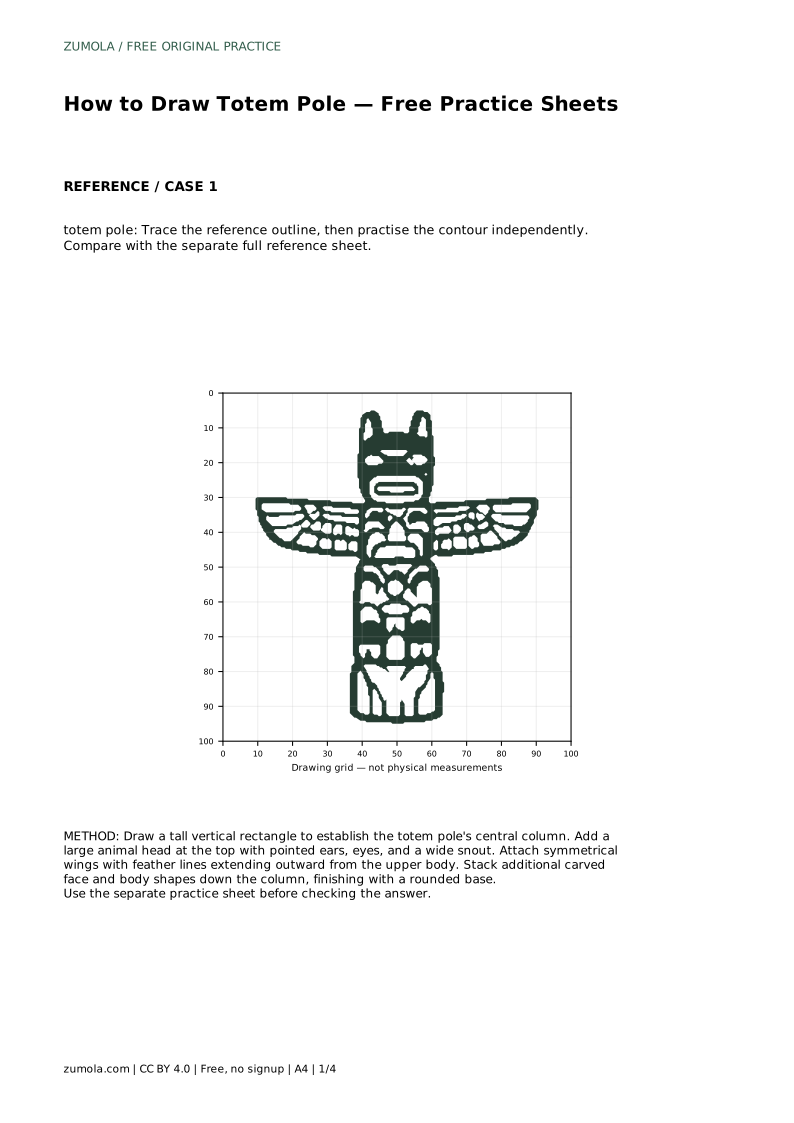
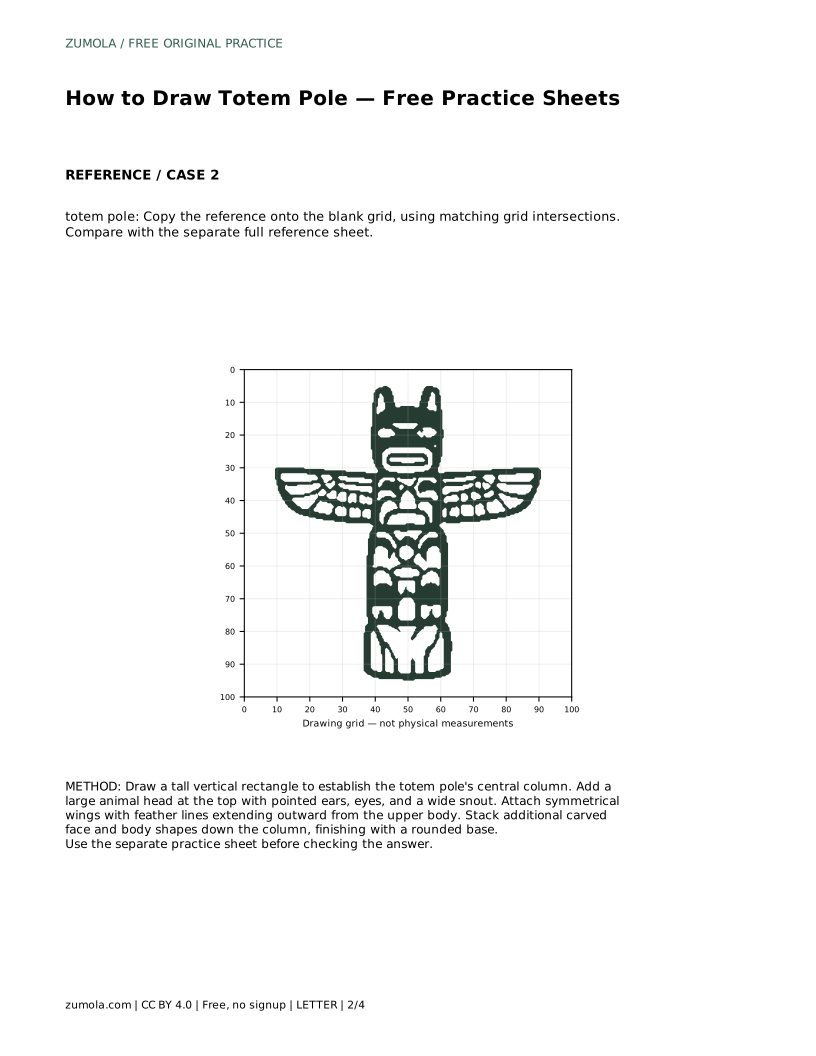
totem pole: Trace the reference outline, then practise the contour independently. Compare with the separate full reference sheet.
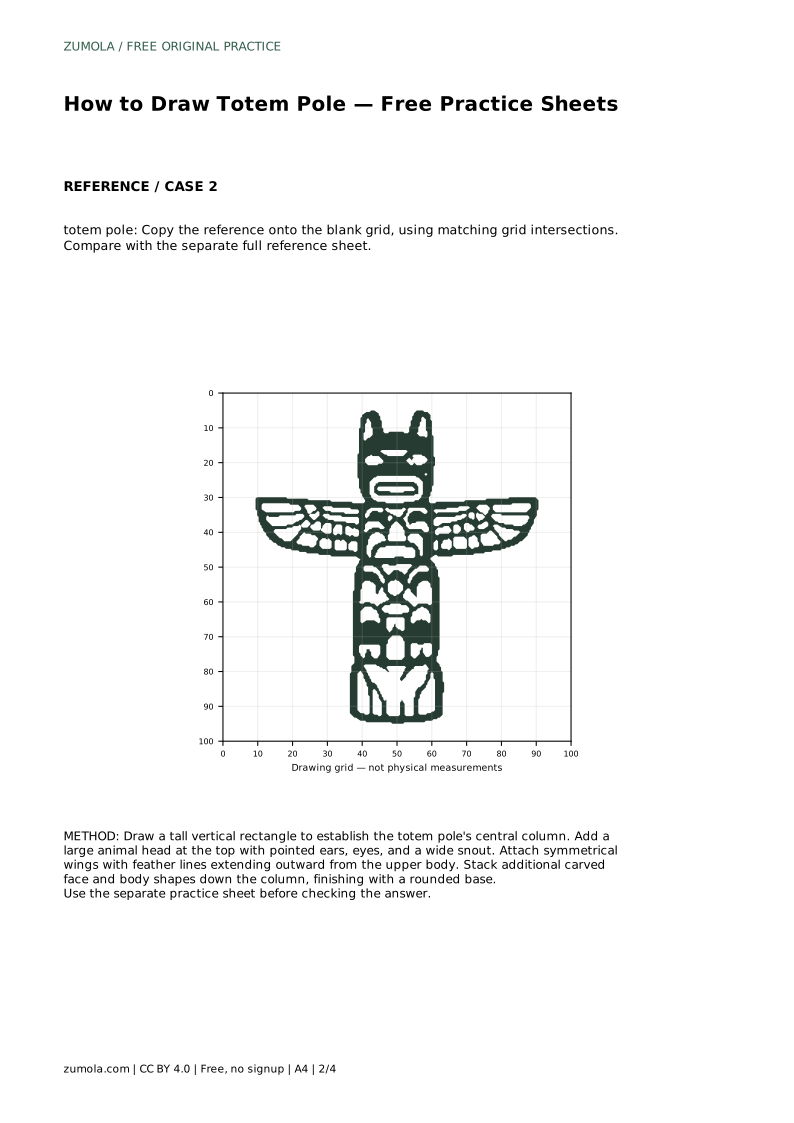
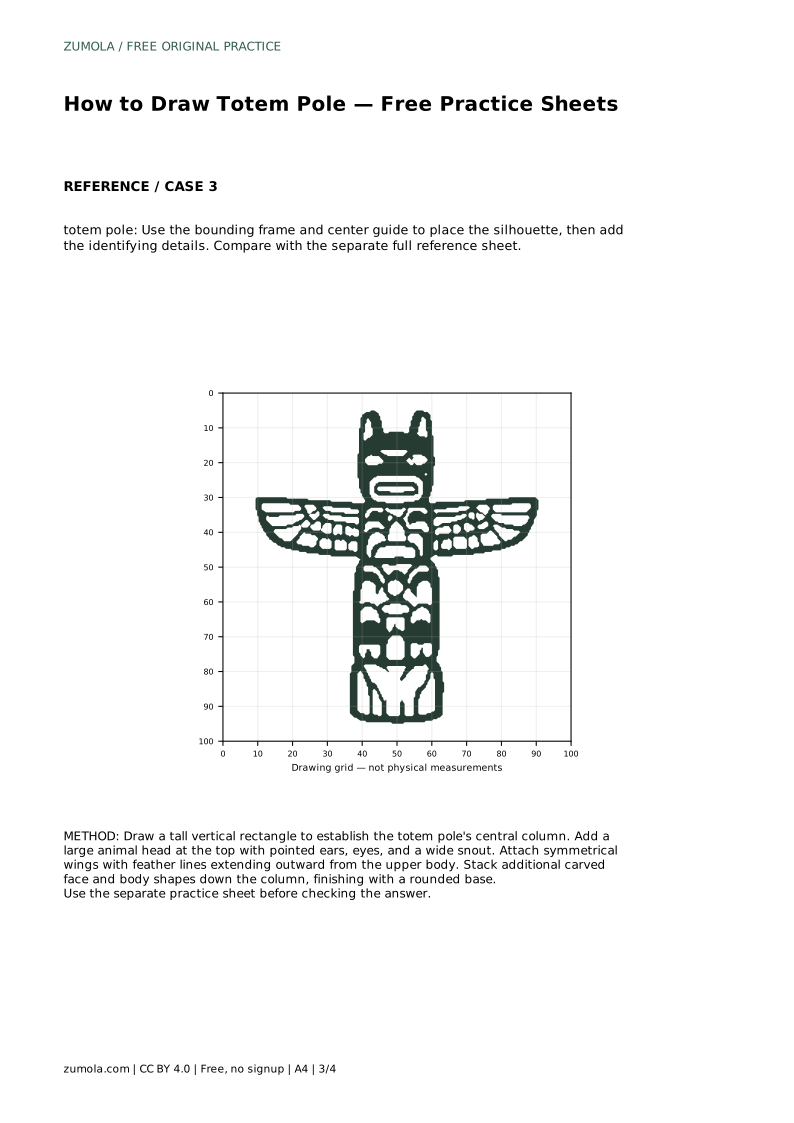
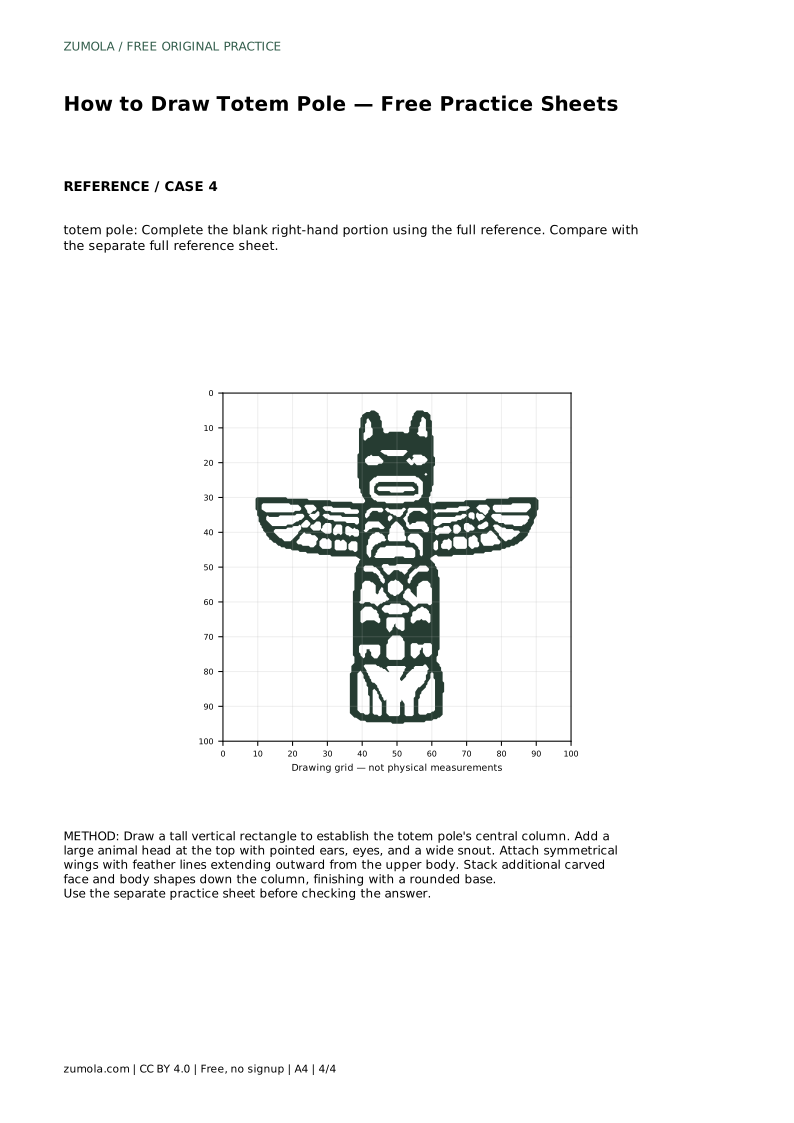
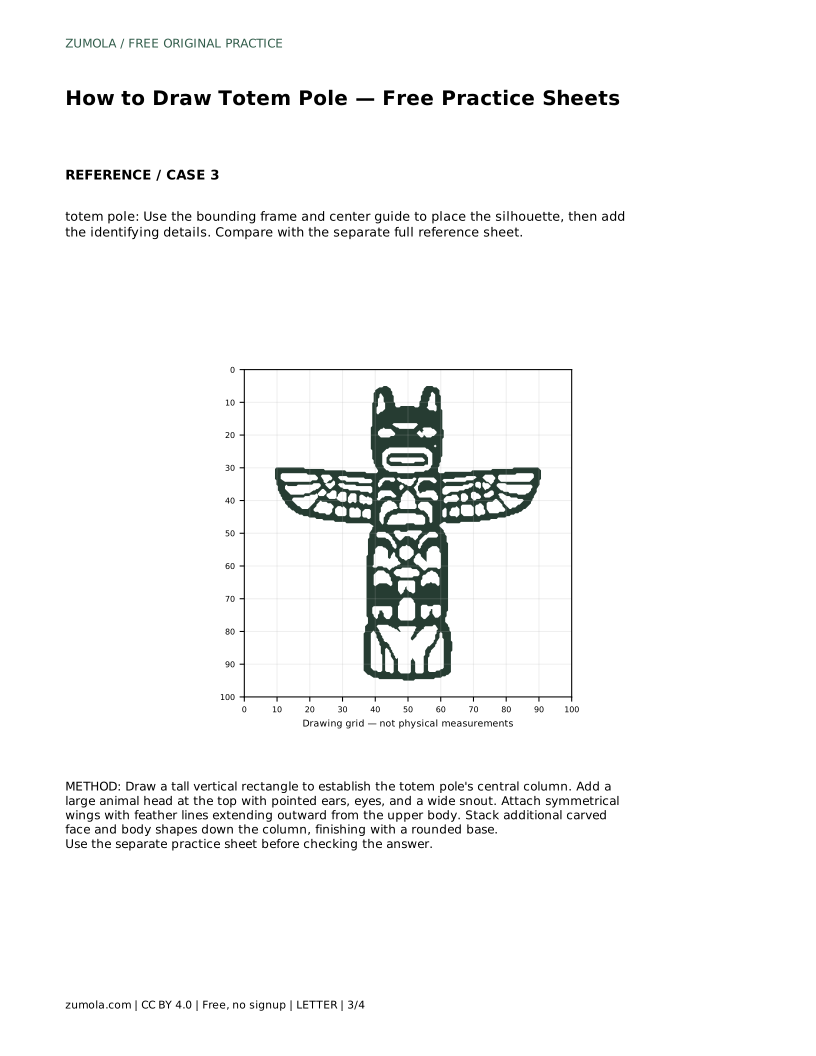
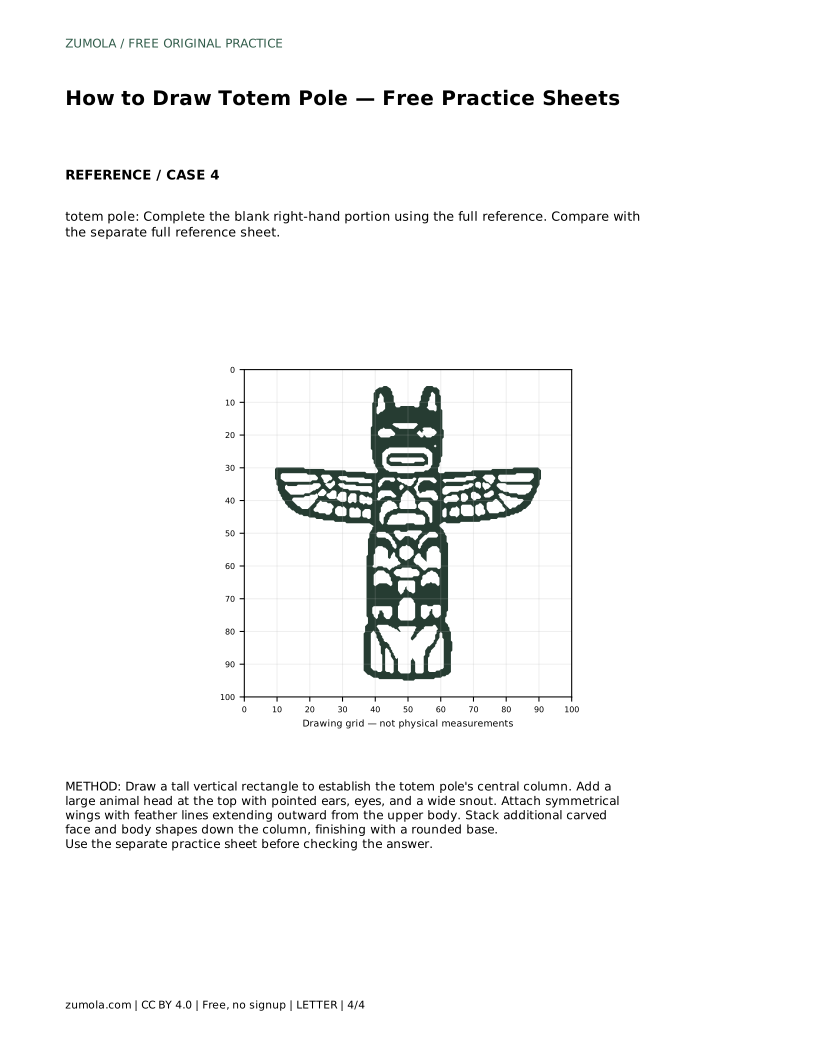
Example solution: preserve stacked carved animal faces arranged in a vertical column, protruding beaks and wings extending horizontally from the upper section, bold black outlines with internal pattern lines forming eyes, feathers, and body segments. Other drawings can be correct; assess the visible features and proportions rather than pixel-perfect matching. Draw a tall vertical rectangle to establish the totem pole's central column. Add a large animal head at the top with pointed ears, eyes, and a wide snout. Attach symmetrical wings with feather lines extending outward from the upper body. Stack additional carved face and body shapes down the column, finishing with a rounded base.
No. Preserve the stacked carved faces in a vertical column, the protruding beaks and horizontal wings, and the bold outlines with internal pattern lines. Other drawings can be correct; assess visible features and proportions.
Column first, then the top head, then the wings, then the lower stacked figures, and finally the rounded base. Internal pattern lines come last.
Choose a number that fits your column height. Three or four stacked forms usually leave room for clear faces and body shapes without crowding.
All drawing practice · Free coordinate paper
Original resources · CC BY 4.0 · Free for personal and classroom use with attribution.