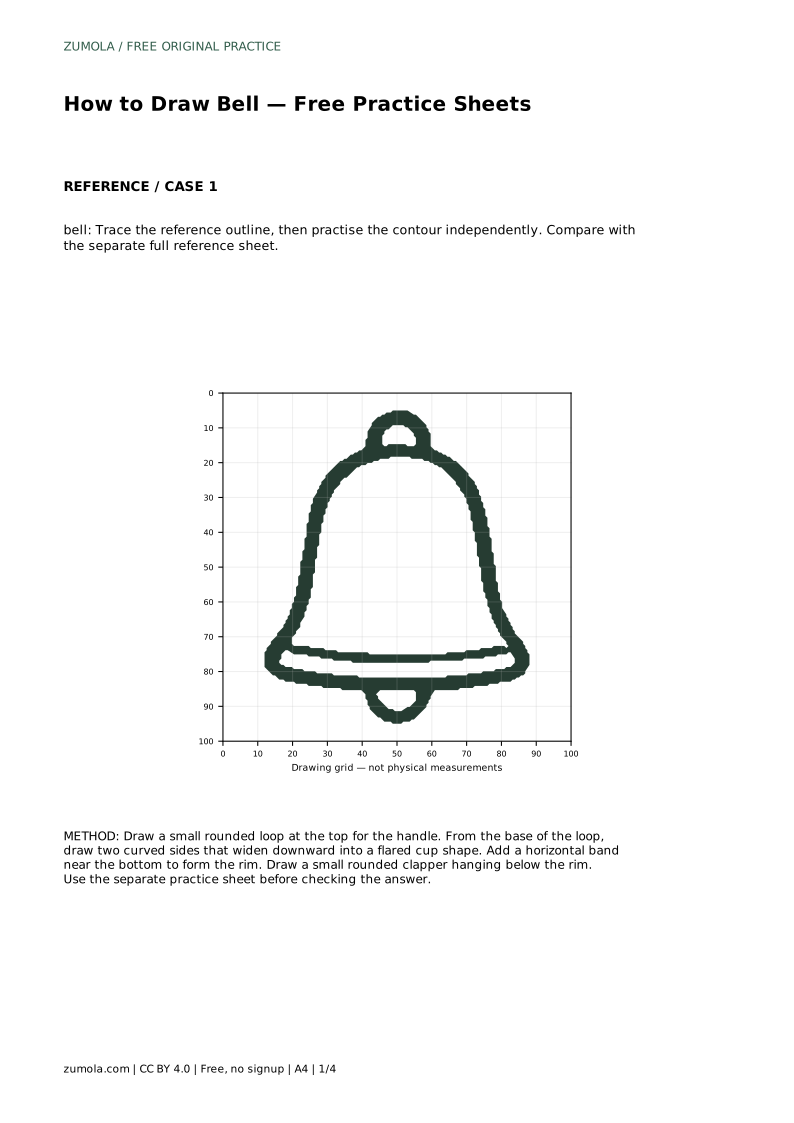
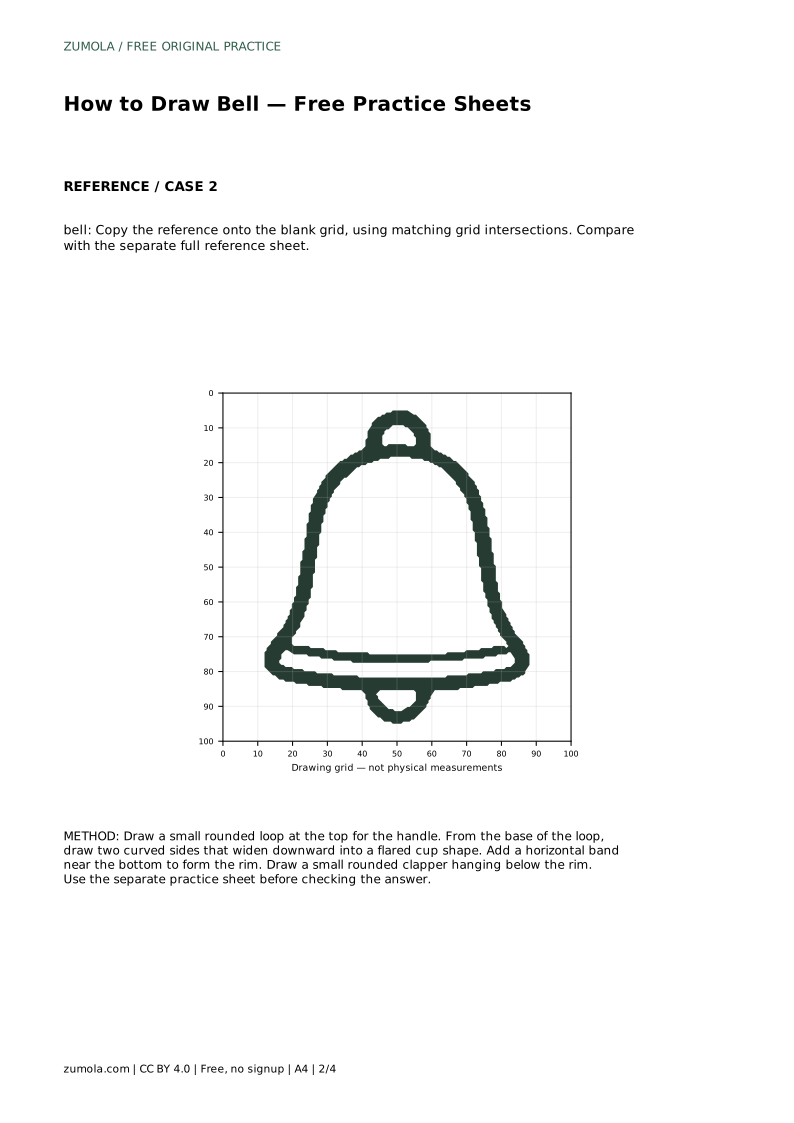
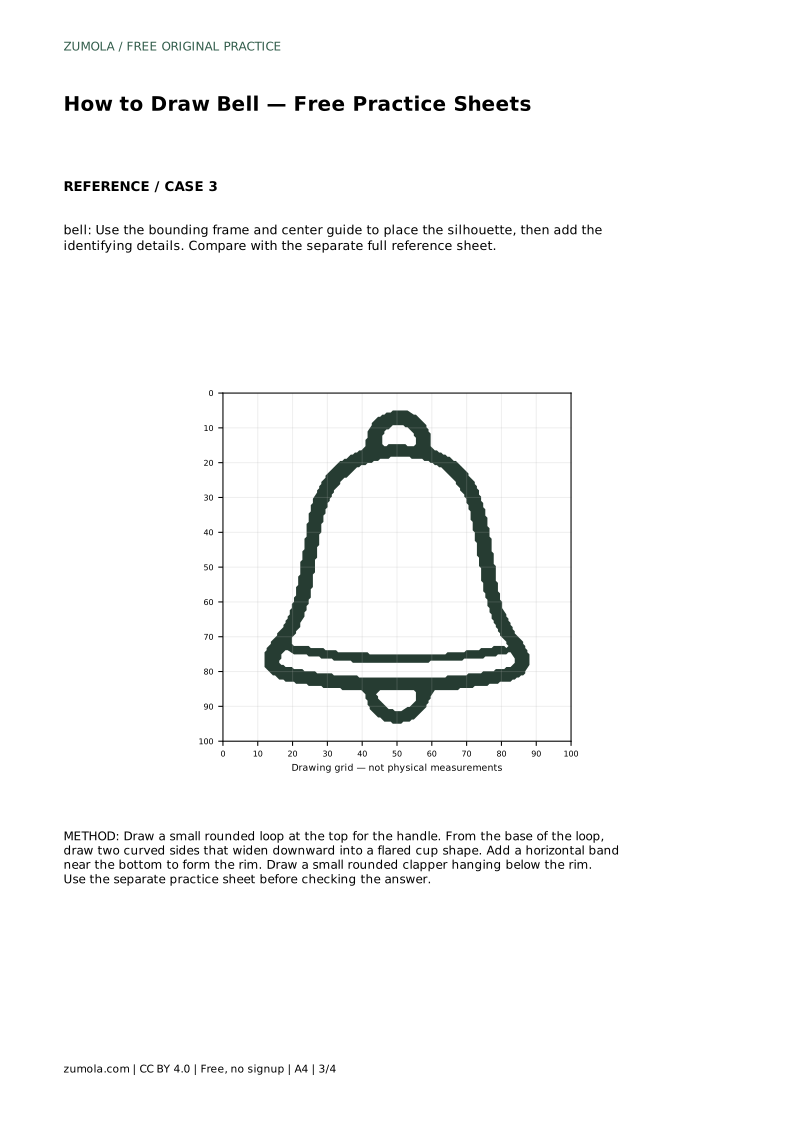
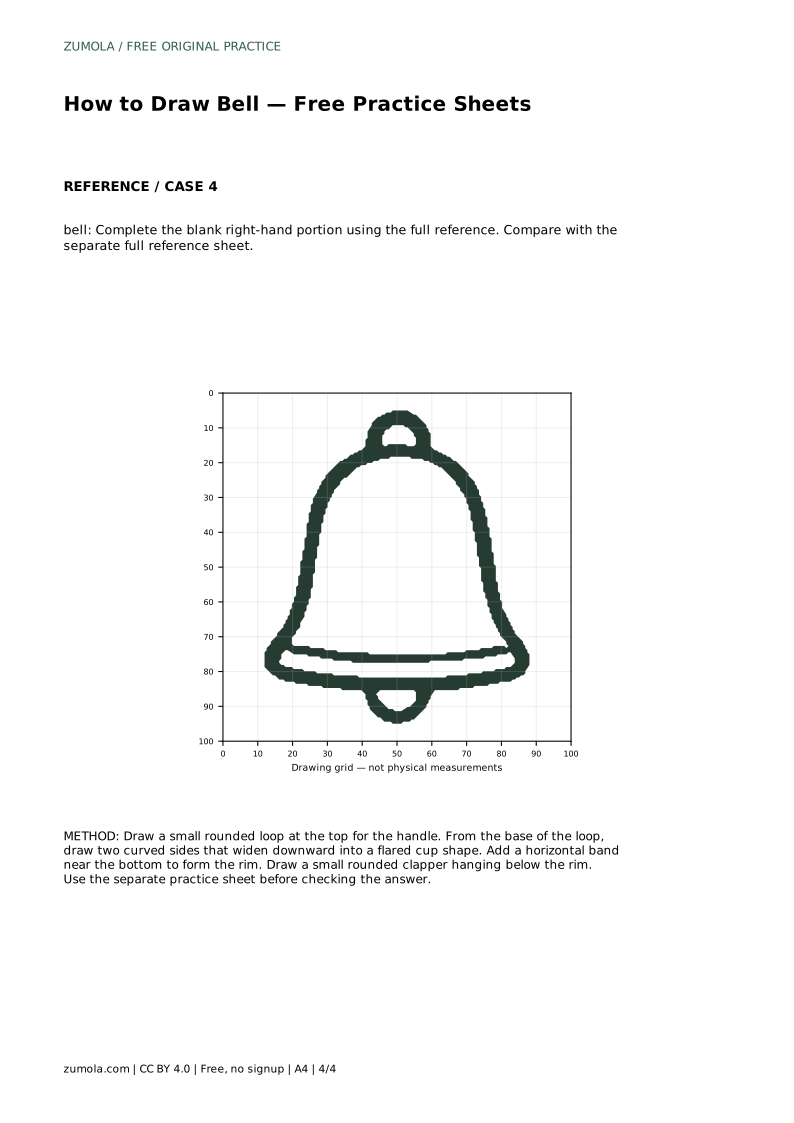
Reference diagrams
LETTER · Download PDF
A4 · Download PDF
Free original resources
Learn to draw a bell by building a loop handle, flared cup, bottom rim, and hanging clapper. Practice with tracing, grid, frame, and partial-reference sheets.
Four original cases, with reference diagrams, practice sheets and worked answers. Everything is free; no signup required.
LETTER · Download PDF
A4 · Download PDF
LETTER · Download PDF
A4 · Download PDF
LETTER · Download PDF
A4 · Download PDF
Use A4 or US Letter to match your printer. Use the stated values and conditions to solve each exercise; diagrams are not physical measuring rulers.
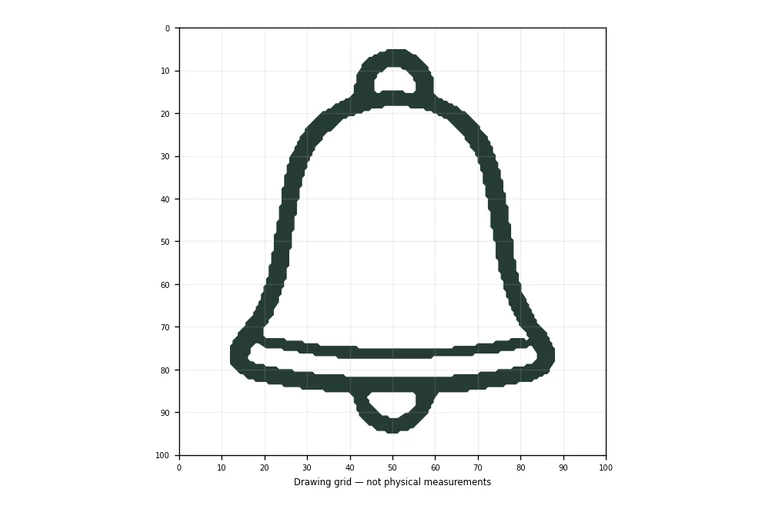
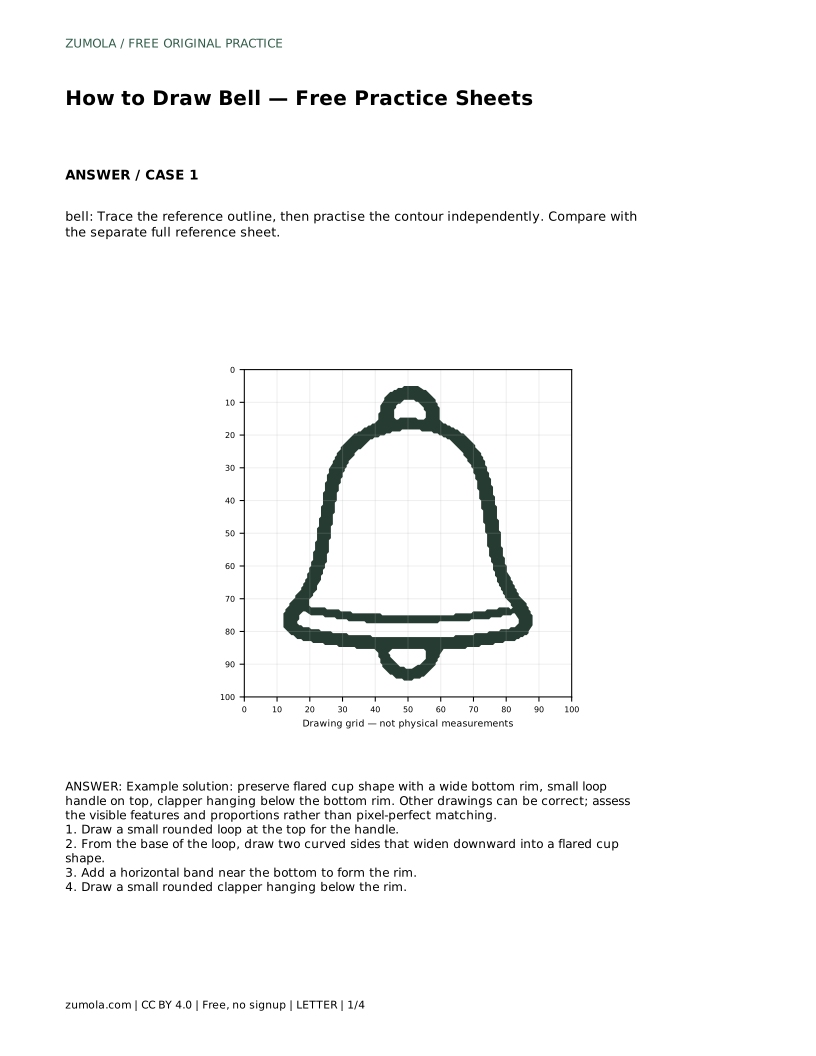
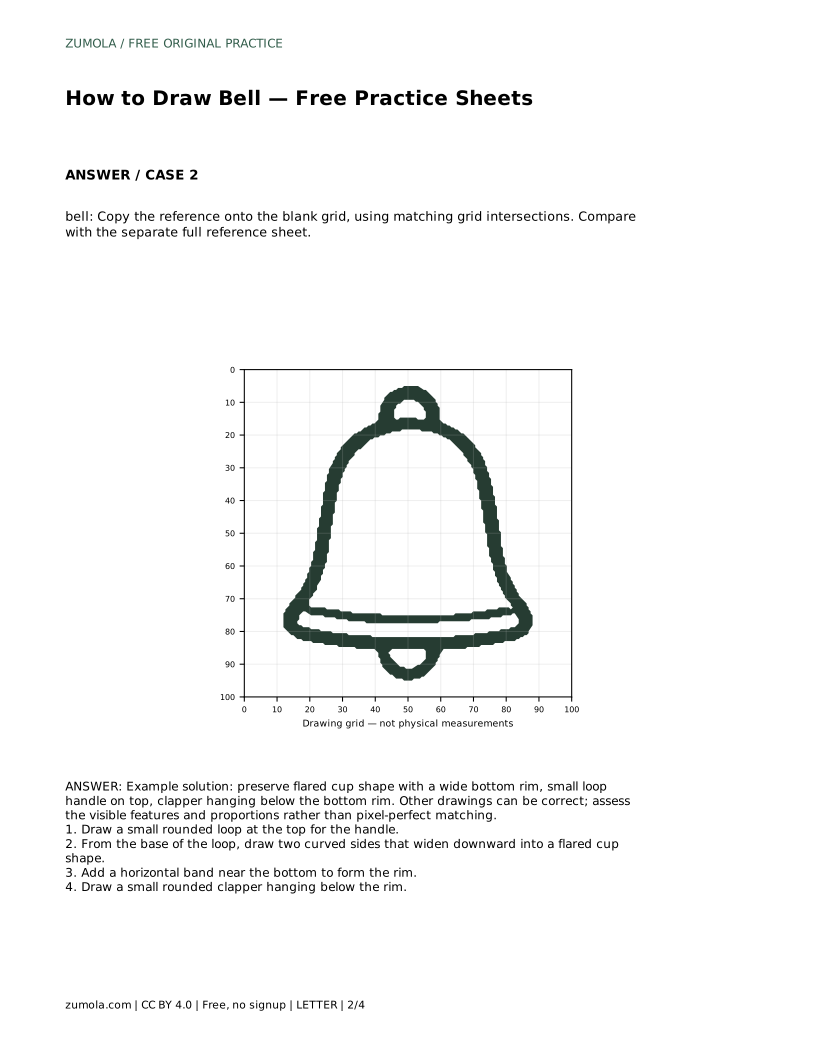
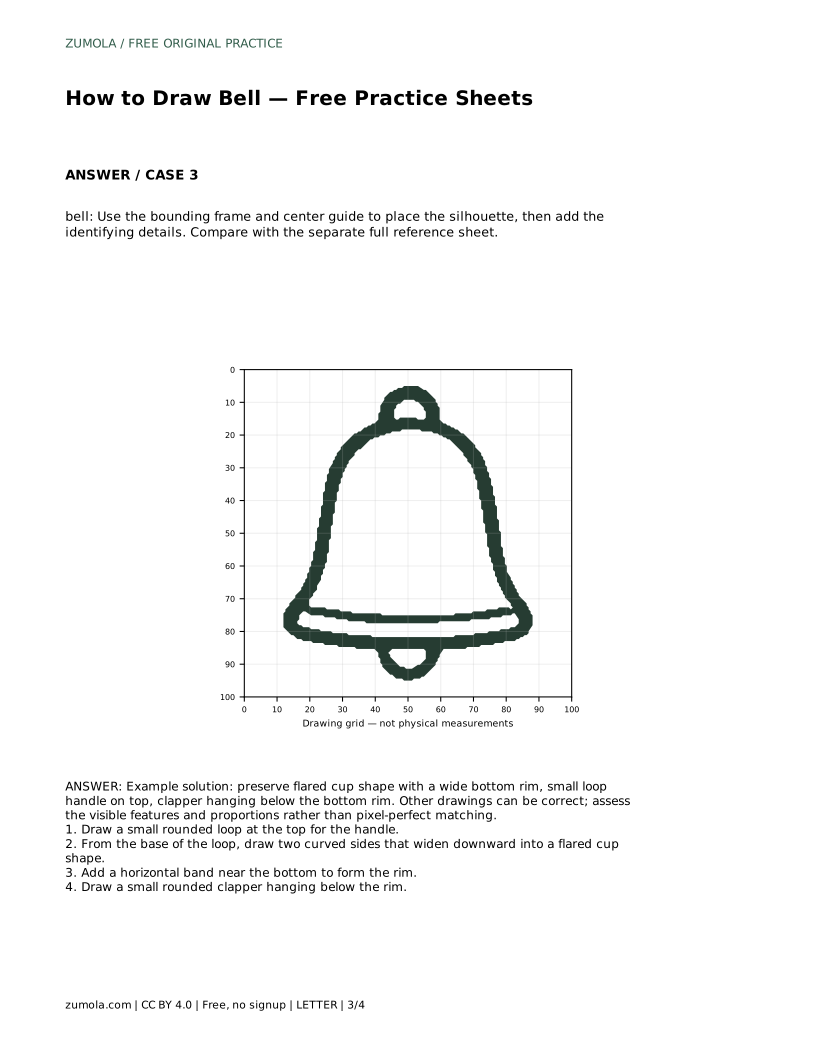
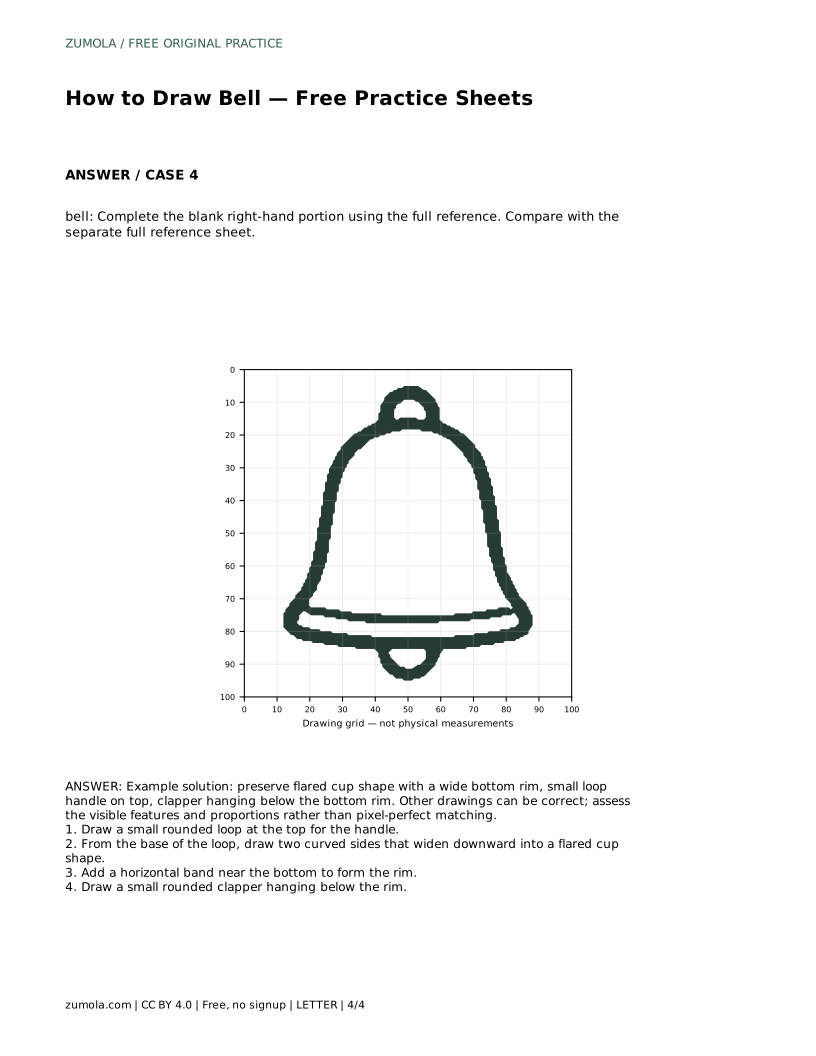
A bell is easy to recognize but surprisingly easy to draw lopsided. The key is to build it in a clear order: handle first, then the widening cup, then the rim, then the clapper. This page explains that order and shows how to use the practice sheets to check your shape. Because drawings can be correct in more than one way, you will judge your work by visible features and proportions, not by matching every line exactly.
Start with the smallest part: the loop handle. Draw a small rounded loop at the top of the page area you are using. Keep it modest in size, because a large handle makes the bell body look short. The loop should sit centered above the body, with a little space between the loop and the top of the cup.
From the base of the loop, draw two curved sides that widen as they go down. Think of a cup that opens outward rather than a straight-sided cylinder. The left and right curves should mirror each other closely, though small differences are normal in freehand drawing. Check that both sides begin near the same point under the handle and spread outward at a similar rate.
Near the bottom, add a horizontal band to form the rim. This band gives the bell its weight and makes the wide bottom read clearly. Finish with a small rounded clapper hanging below the rim, centered under the body. The clapper should be visible below the rim, not hidden inside the cup.
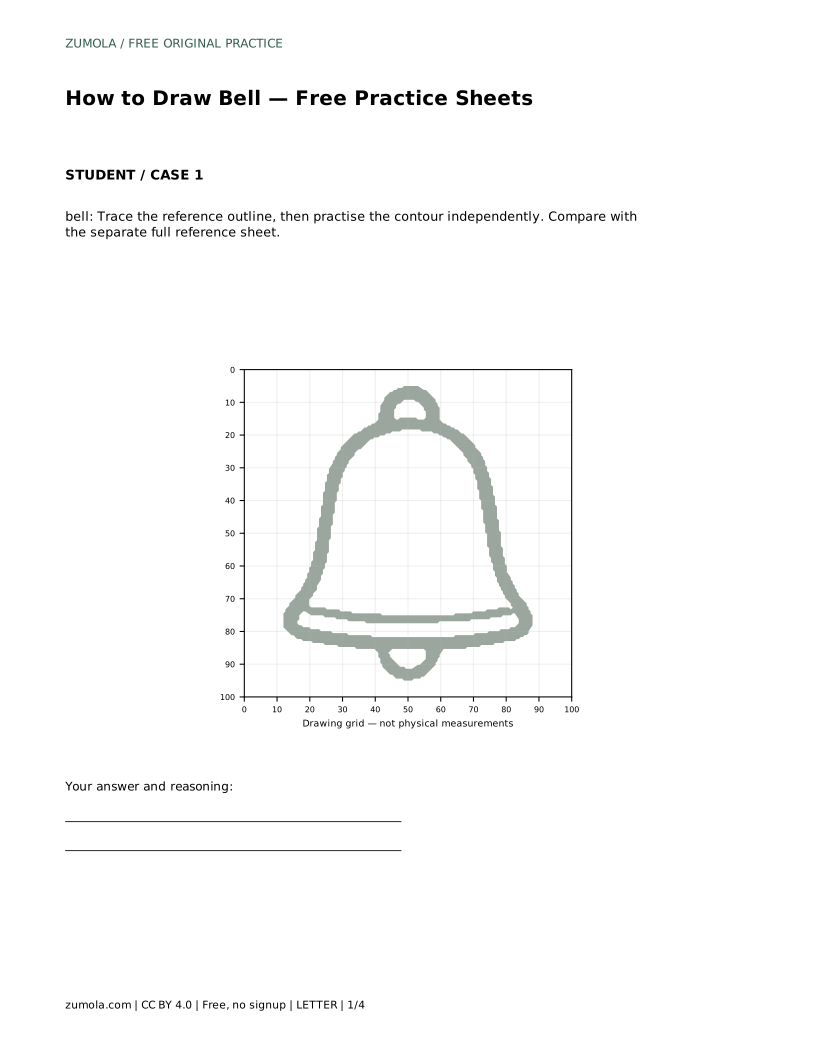
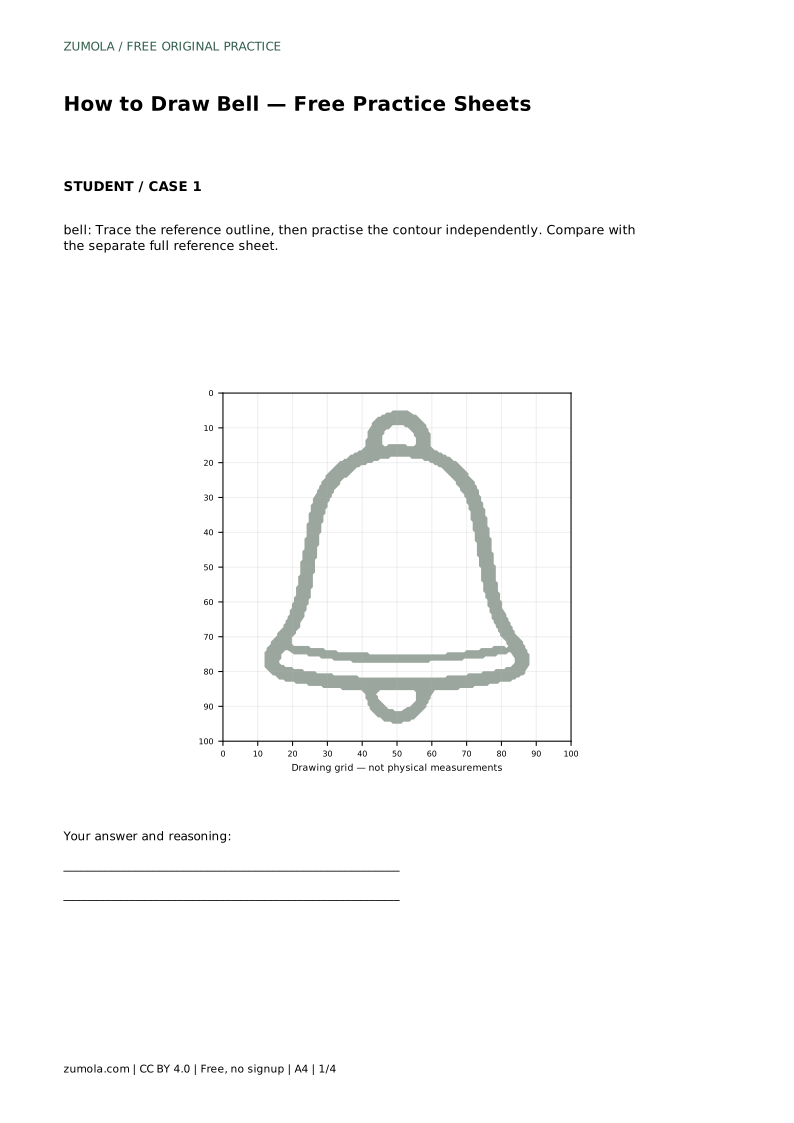
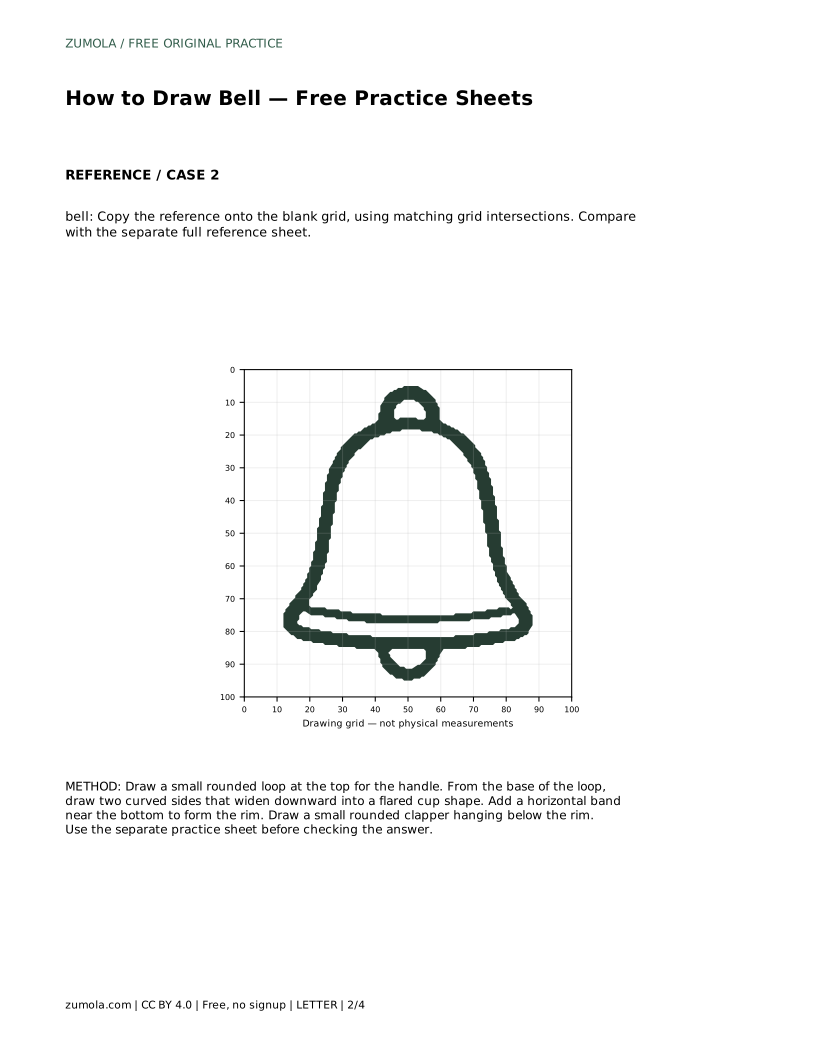
The tracing sheet asks you to follow the reference outline first, then try the contour independently. Tracing builds the hand motion; the independent attempt shows whether you can reproduce the shape without help. Compare your free drawing with the separate full reference sheet rather than with your traced line.
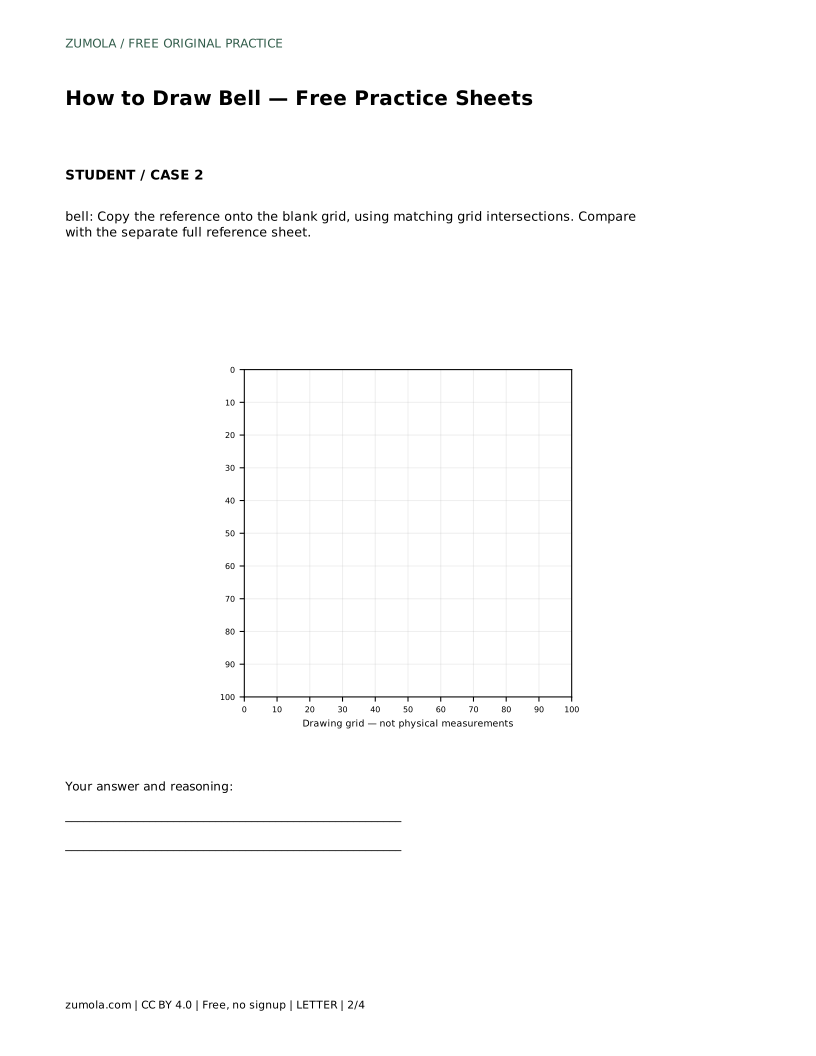
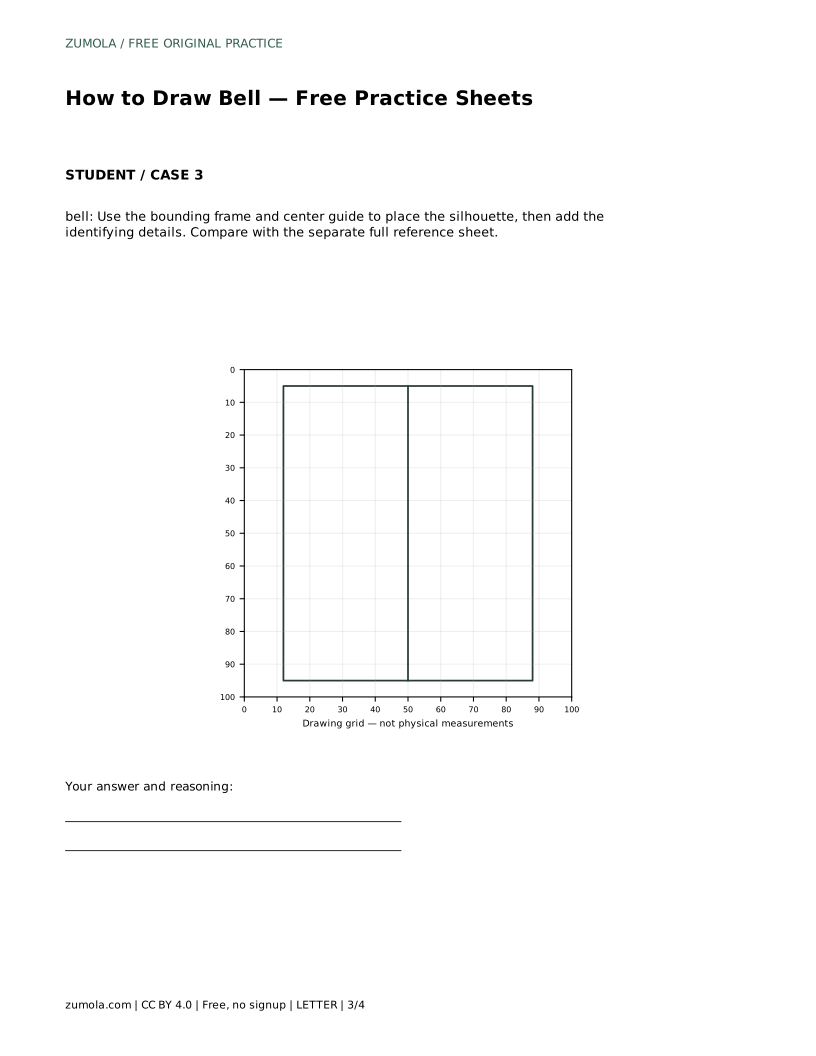
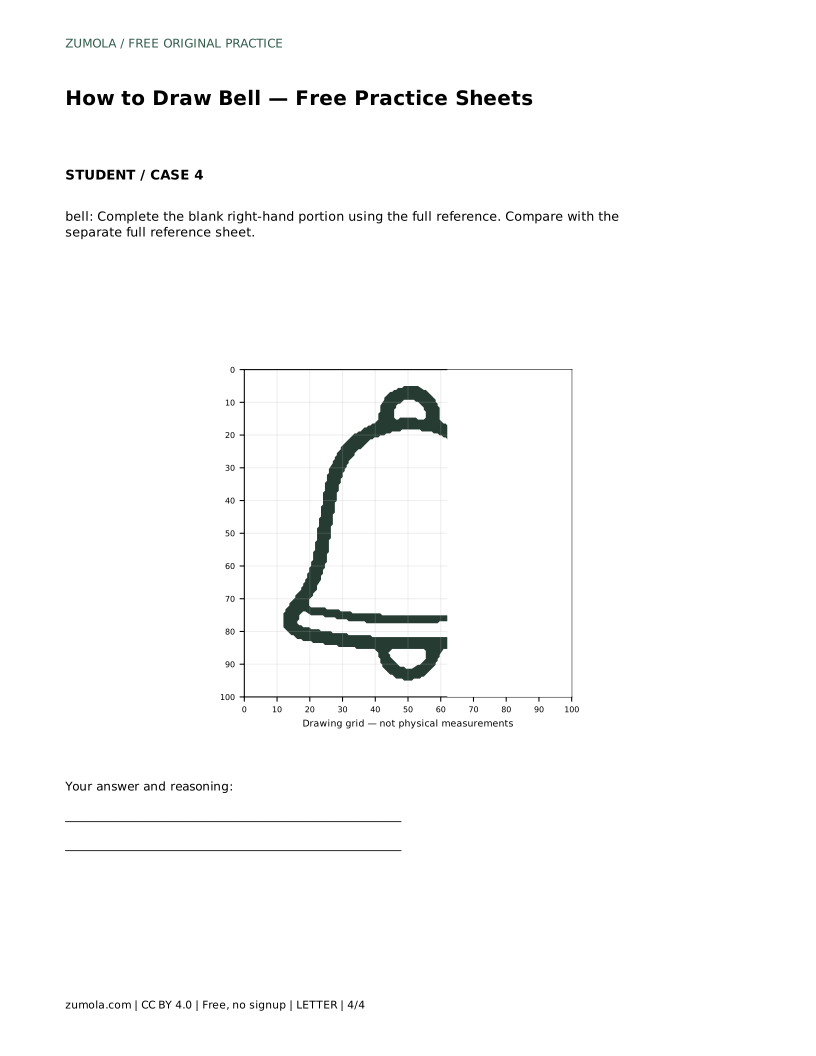
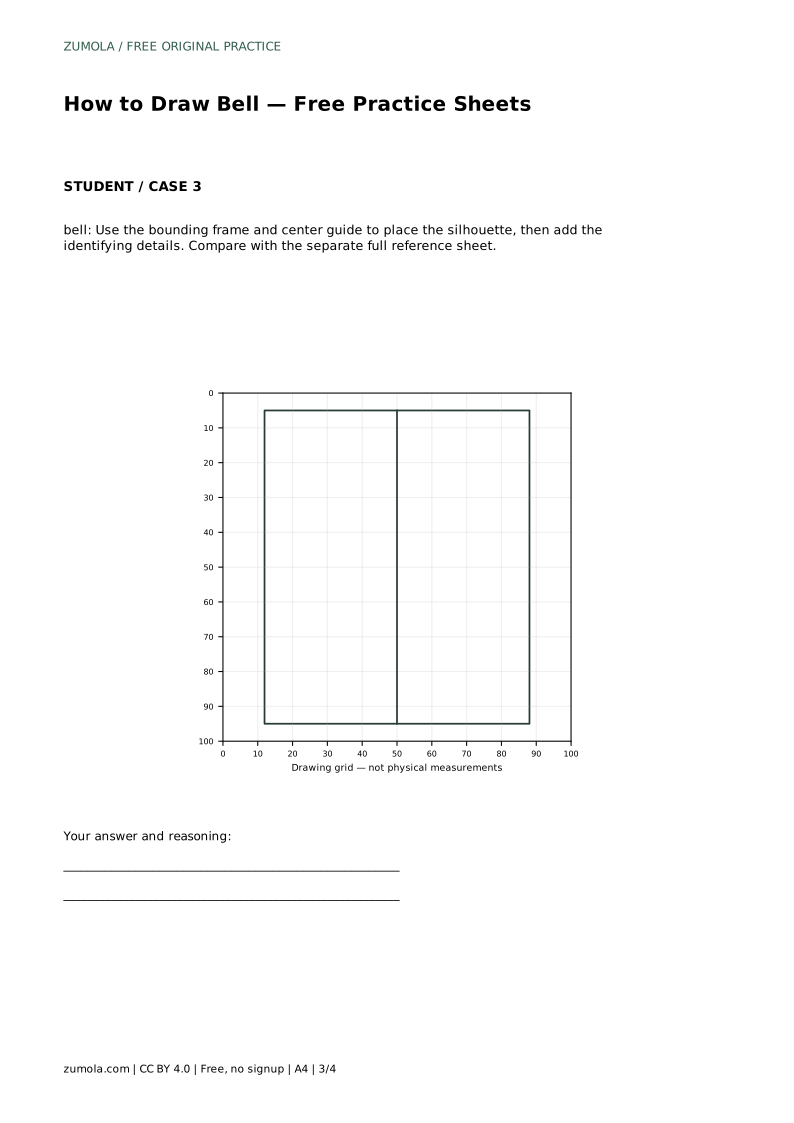
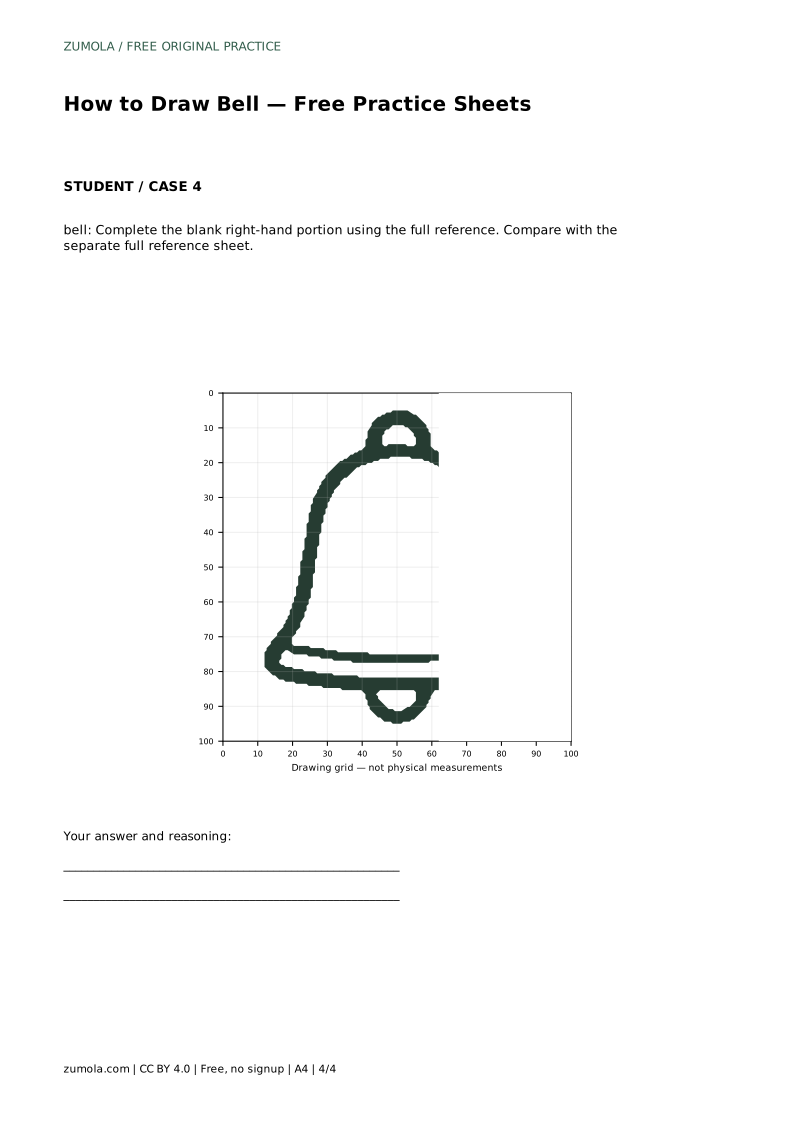
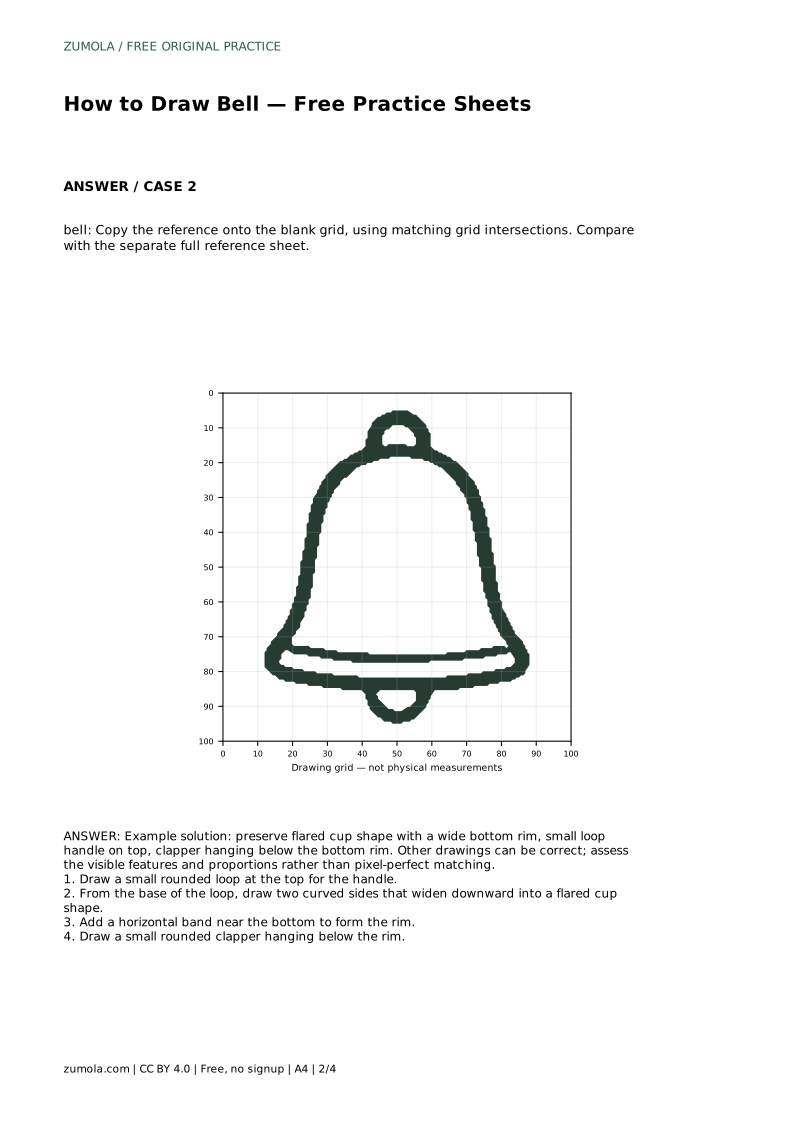
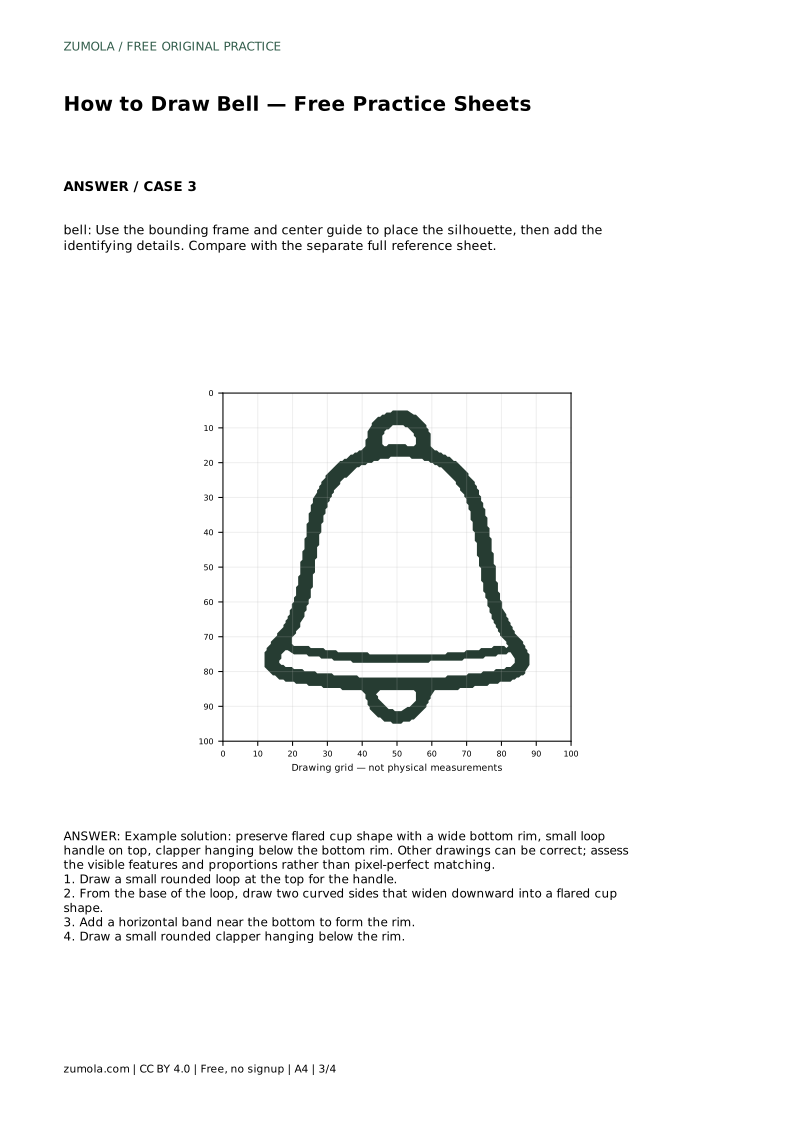
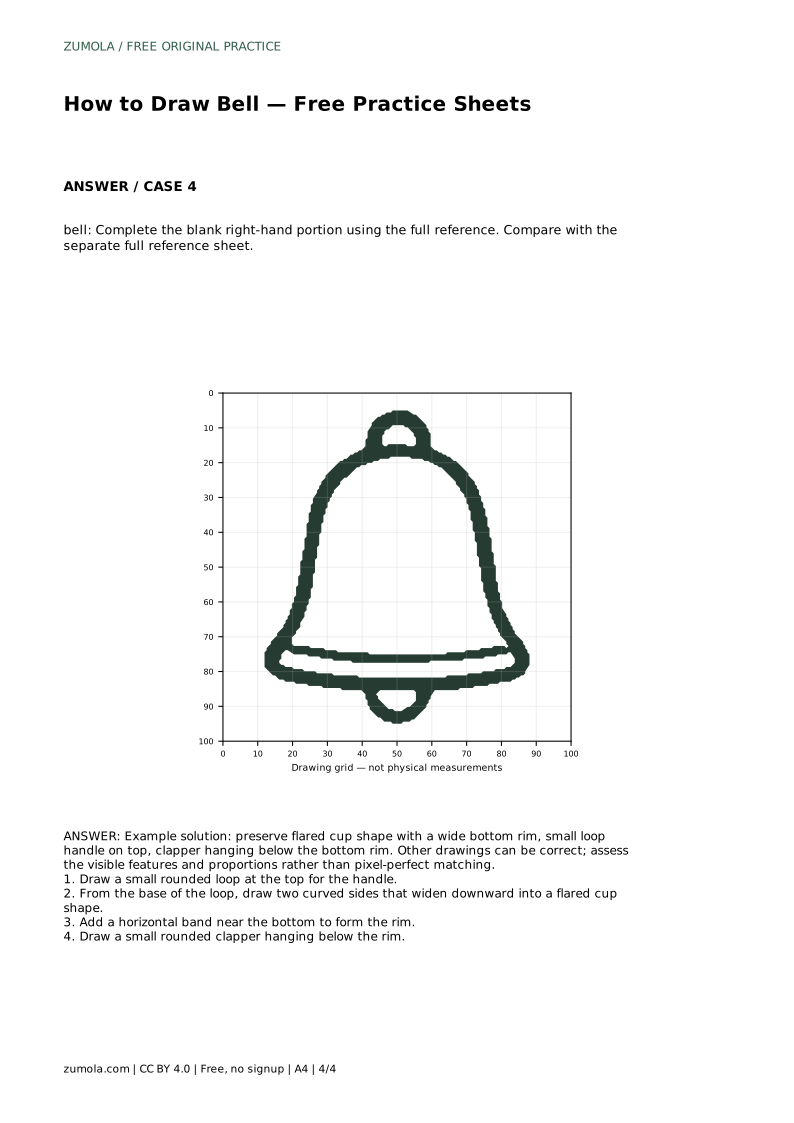
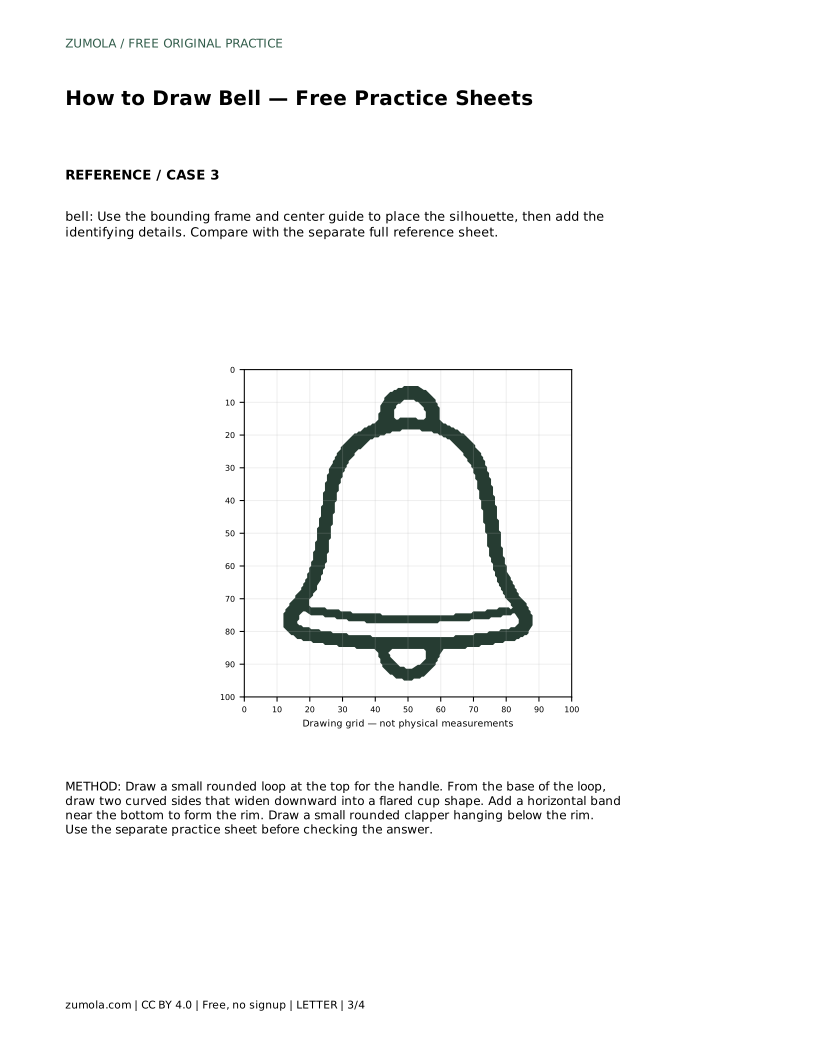
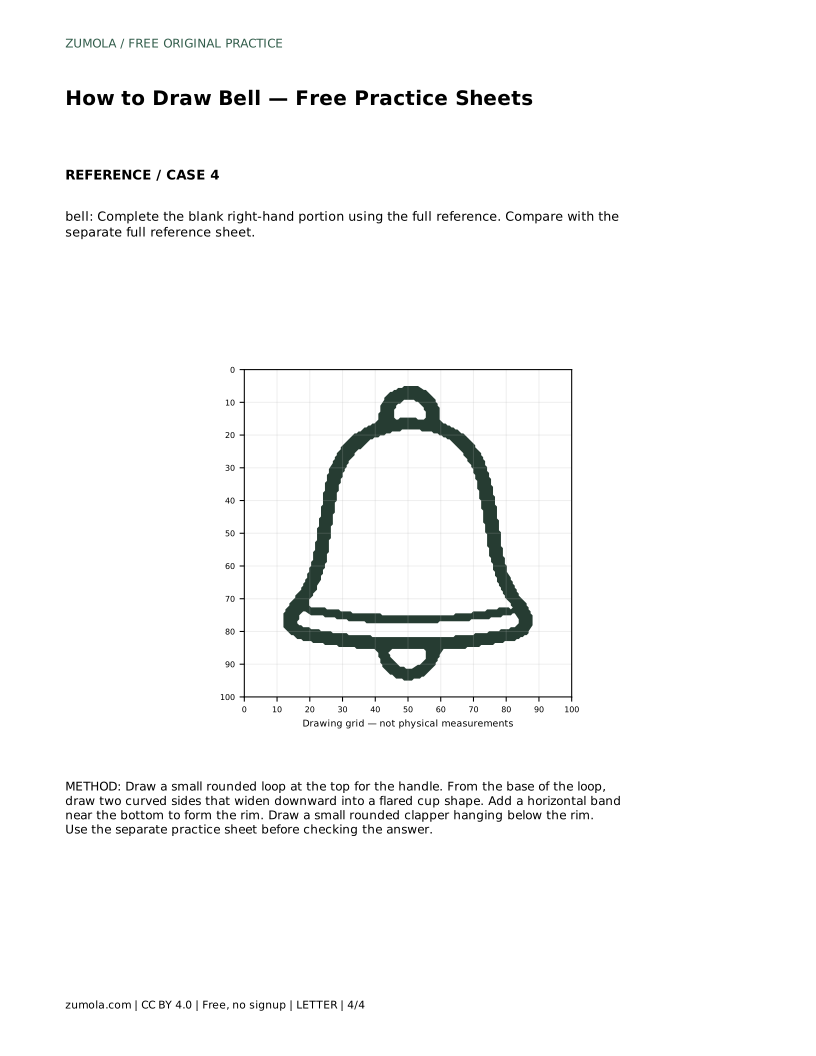
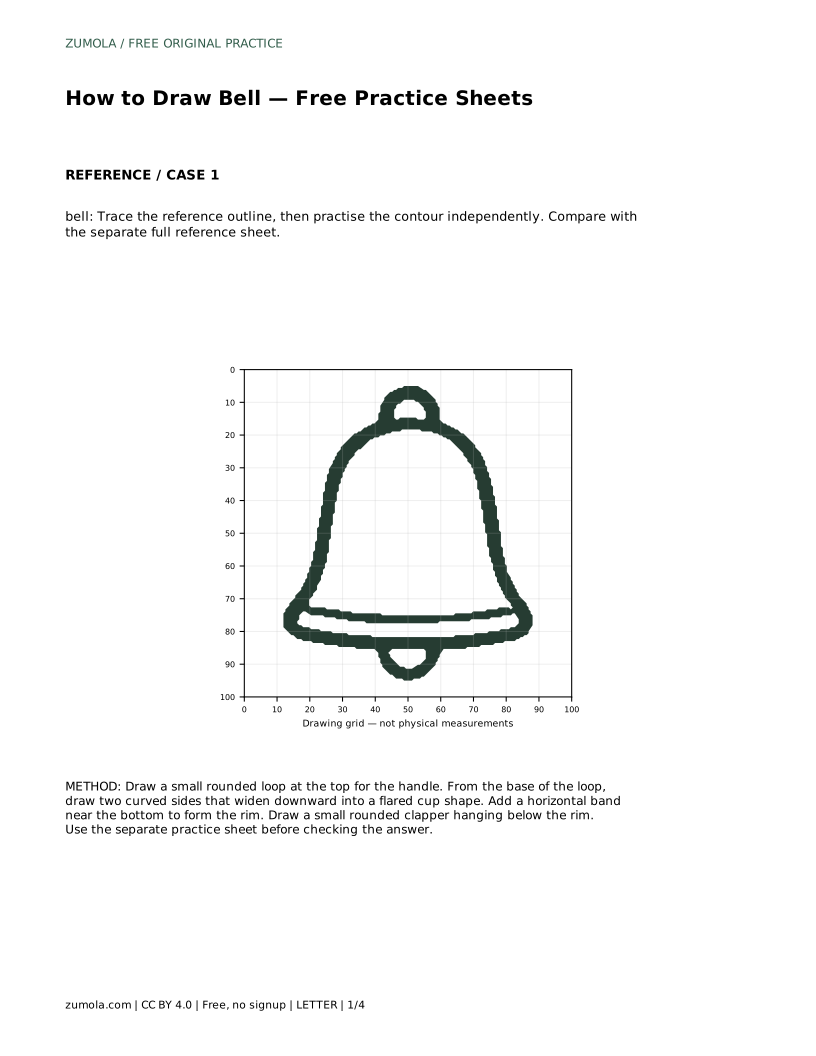
The grid sheet asks you to copy the reference onto a blank grid using matching grid intersections. Use the grid to judge where the handle sits, how far the sides spread, and where the rim crosses. Do not treat the grid as a strict cage; it is a placement aid. The bounding-frame sheet works differently: use the frame and center guide to place the silhouette first, then add the identifying details. The partial-reference sheet gives you the full reference for the blank right-hand portion, so complete that side using the same proportions.
A useful check is the relationship between the widest part of the cup and the height of the body. In a typical bell drawing, the bottom rim is clearly the widest point, and the body is taller than the handle. If your handle looks as wide as the rim, or your cup narrows toward the bottom, the silhouette will not read as a bell.
Another check is symmetry. Fold-free freehand drawing rarely produces perfect mirror sides, but the two curves should spread at similar rates. Look at the gap between each side and an imaginary center line. If one side bulges much farther out, adjust that curve rather than redrawing everything.
Finally, confirm the clapper is visible below the rim and roughly centered. A clapper that floats far to one side or disappears behind the rim weakens the drawing. Small corrections to these features matter more than polishing the outline.
Bells appear in many styles, and a drawing does not need to copy one reference exactly to be successful. A narrower cup, a thicker rim band, or a slightly larger loop can all be valid choices if the bell still reads clearly. Use the rubric below to assess visible features and proportions. Avoid treating a bell drawing as an anatomical diagram; it is a decorative object, and its construction is about shape and balance, not clinical accuracy.
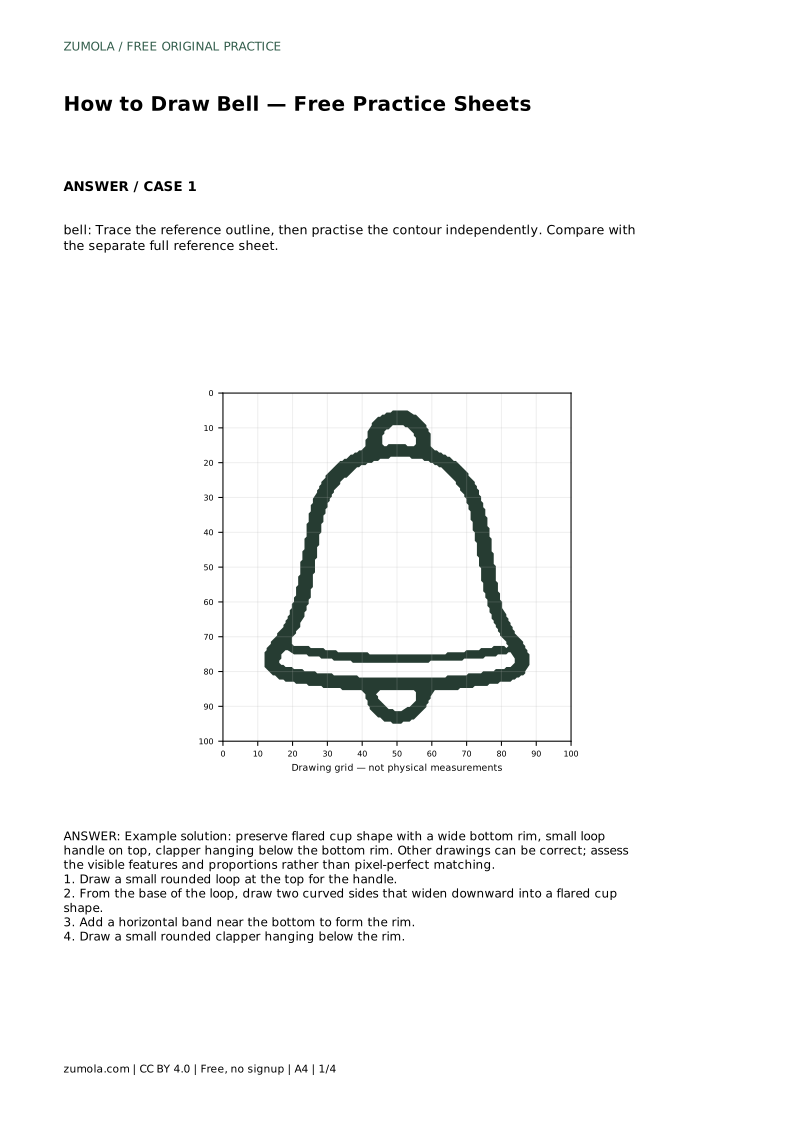
Prompt: bell: Trace the reference outline, then practise the contour independently. Compare with the separate full reference sheet.
Example solution: preserve flared cup shape with a wide bottom rim, small loop handle on top, clapper hanging below the bottom rim. Other drawings can be correct; assess the visible features and proportions rather than pixel-perfect matching.
bell: Trace the reference outline, then practise the contour independently. Compare with the separate full reference sheet.
Example solution: preserve flared cup shape with a wide bottom rim, small loop handle on top, clapper hanging below the bottom rim. Other drawings can be correct; assess the visible features and proportions rather than pixel-perfect matching. Draw a small rounded loop at the top for the handle. From the base of the loop, draw two curved sides that widen downward into a flared cup shape. Add a horizontal band near the bottom to form the rim. Draw a small rounded clapper hanging below the rim.
No. Other drawings can be correct. Assess the visible features and proportions, such as the loop, flared cup, wide bottom rim, and hanging clapper, rather than pixel-perfect matching.
Draw the small rounded loop first, then the two curved sides that widen downward, then the horizontal rim band, and finally the clapper below the rim.
Compare the rim width with the body height, check that both sides widen at a similar rate, and confirm the clapper hangs below the rim near the center.
All drawing practice · Free coordinate paper
Original resources · CC BY 4.0 · Free for personal and classroom use with attribution.