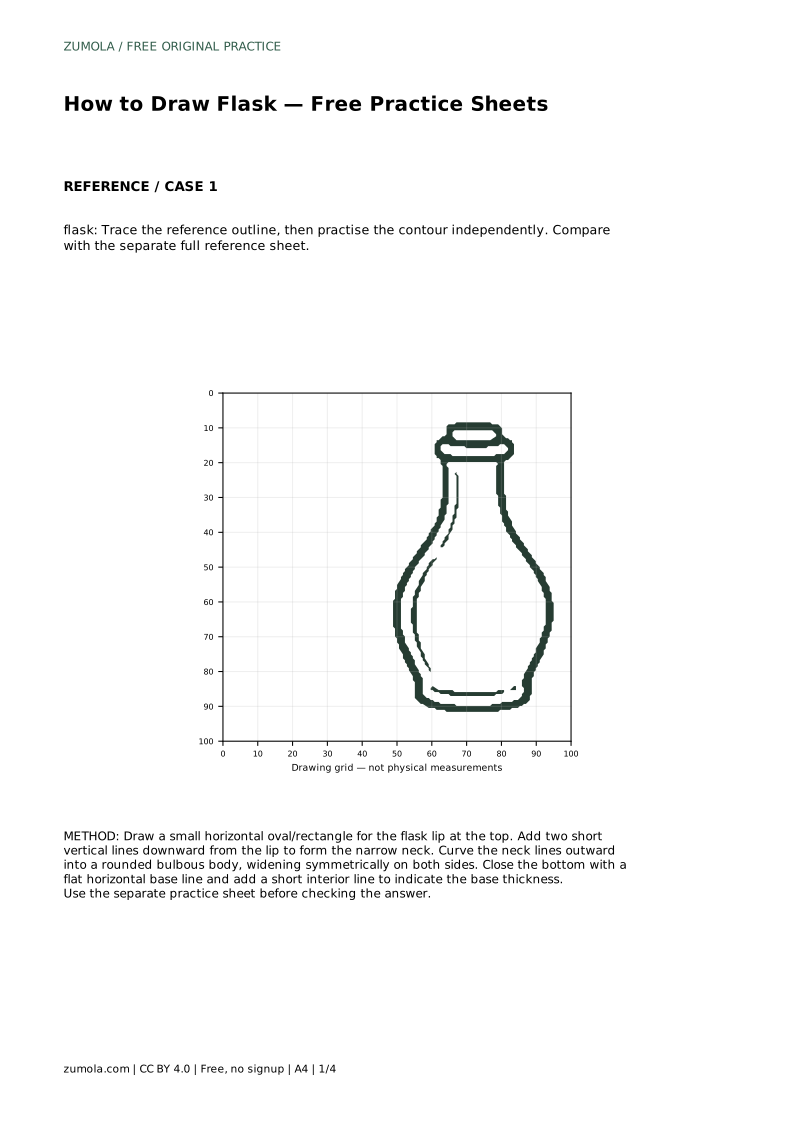
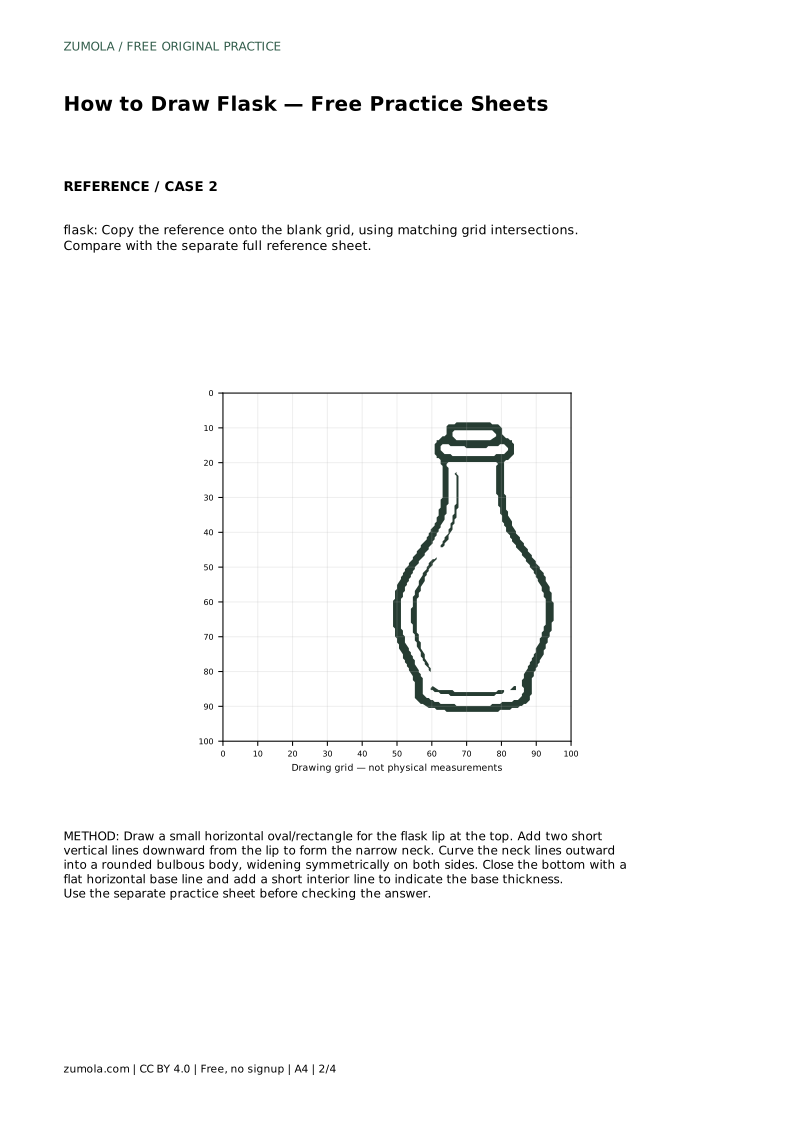
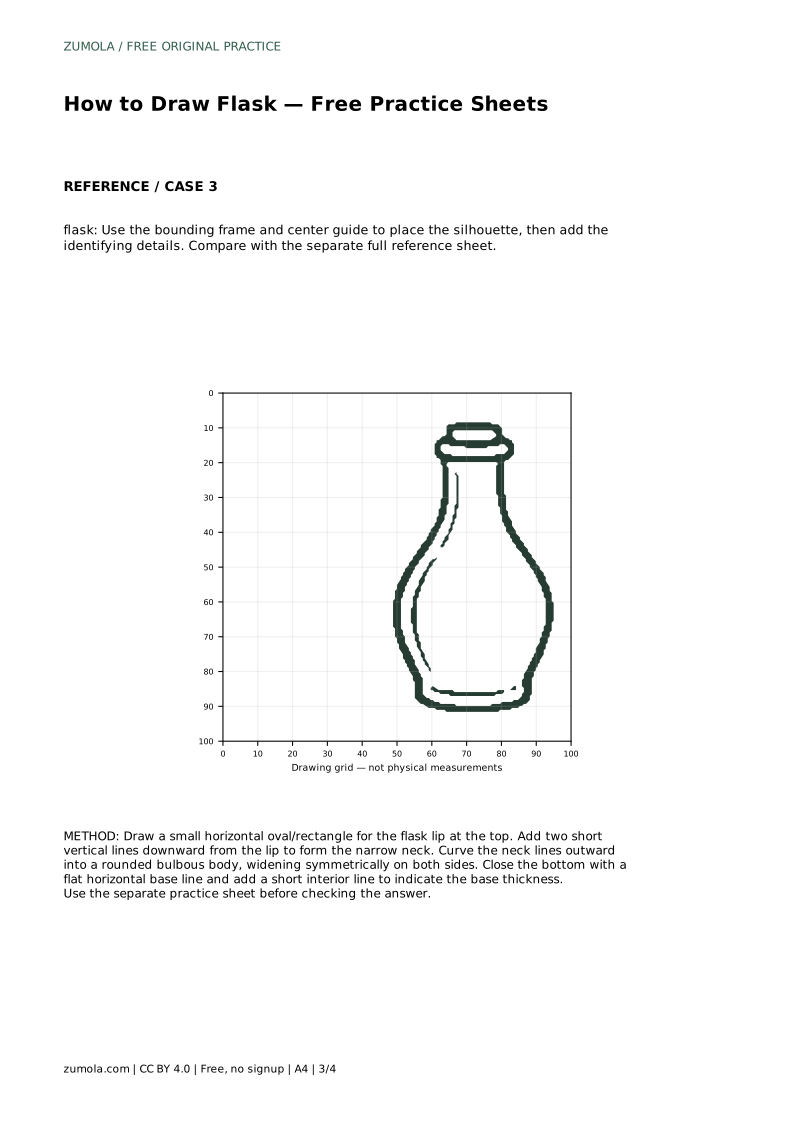
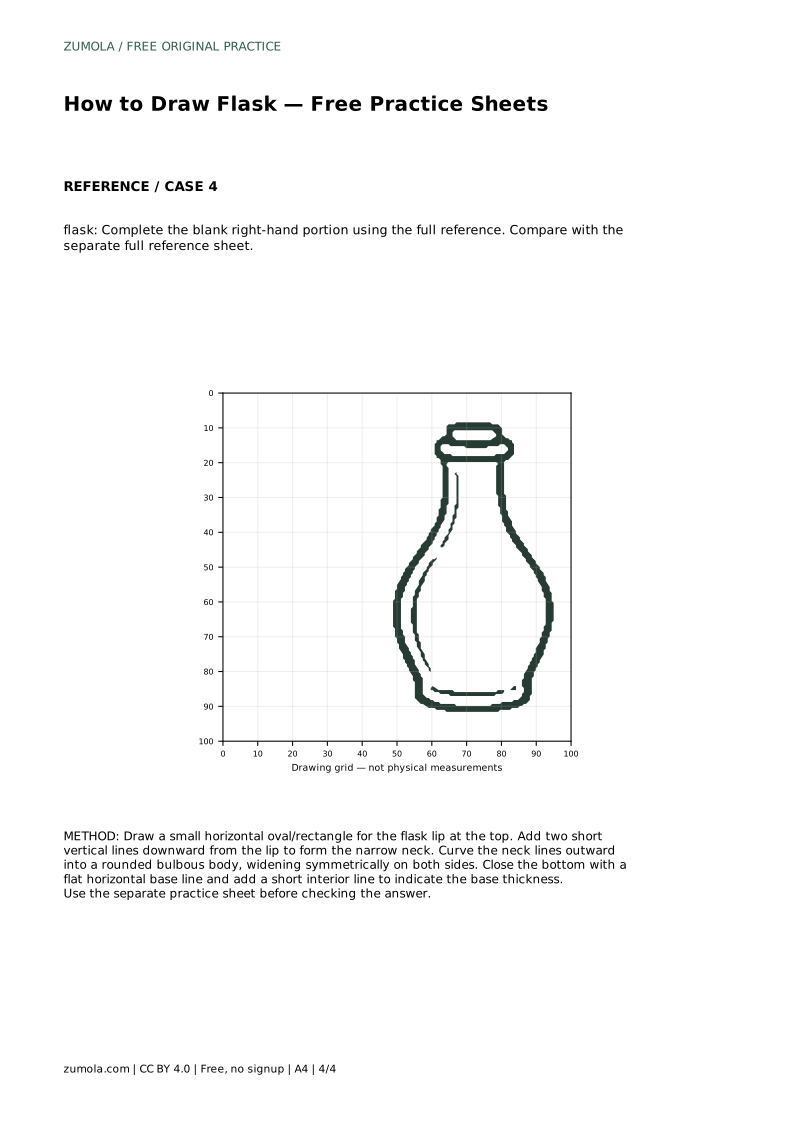
Reference diagrams
LETTER · Download PDF
A4 · Download PDF
Free original resources
Learn to draw a flask by building its lip, narrow neck, rounded body and flat base. Trace, grid and complete-the-outline practice sheets support the same method.
Four original cases, with reference diagrams, practice sheets and worked answers. Everything is free; no signup required.
LETTER · Download PDF
A4 · Download PDF
LETTER · Download PDF
A4 · Download PDF
LETTER · Download PDF
A4 · Download PDF
Use A4 or US Letter to match your printer. Use the stated values and conditions to solve each exercise; diagrams are not physical measuring rulers.
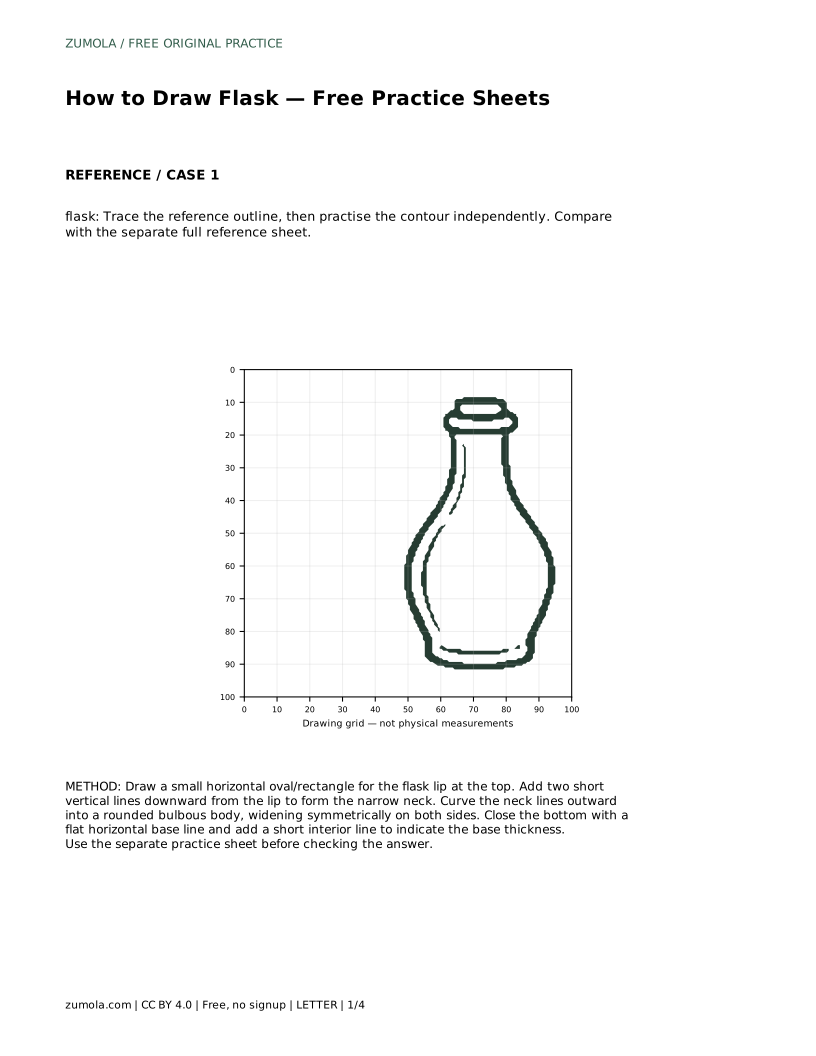
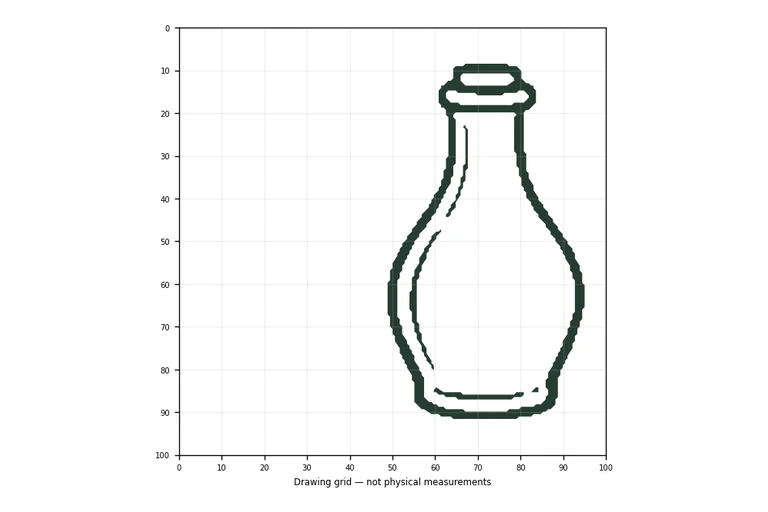
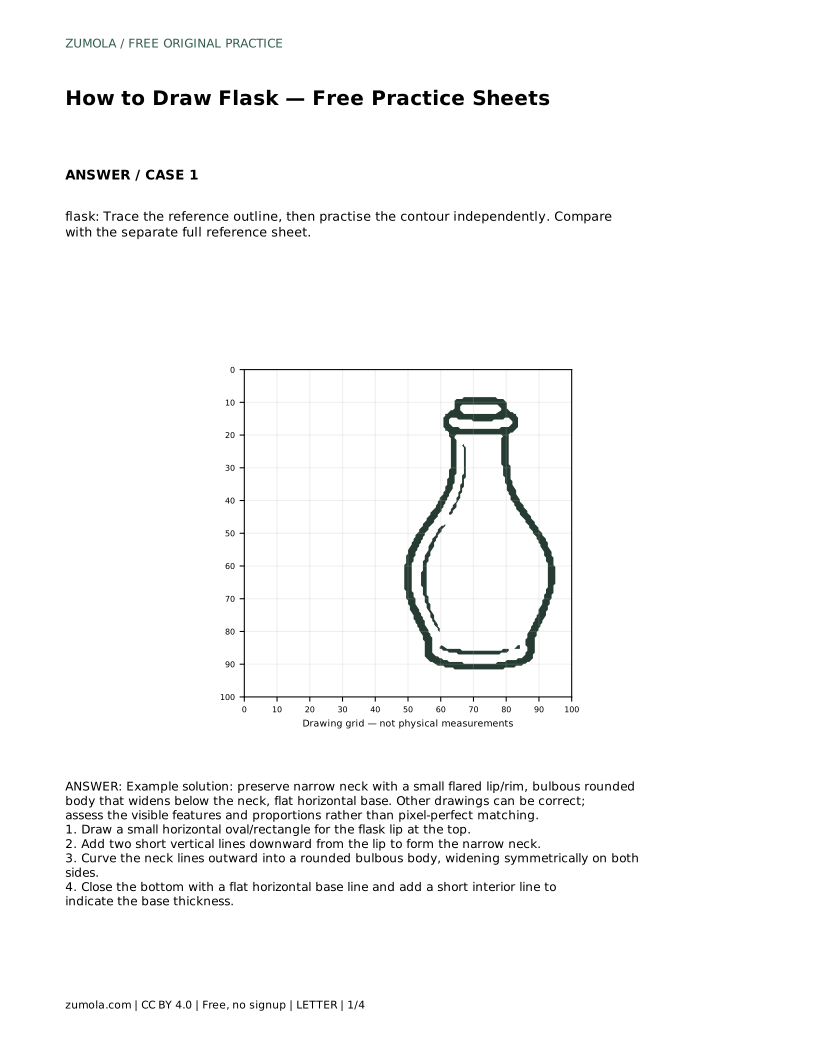
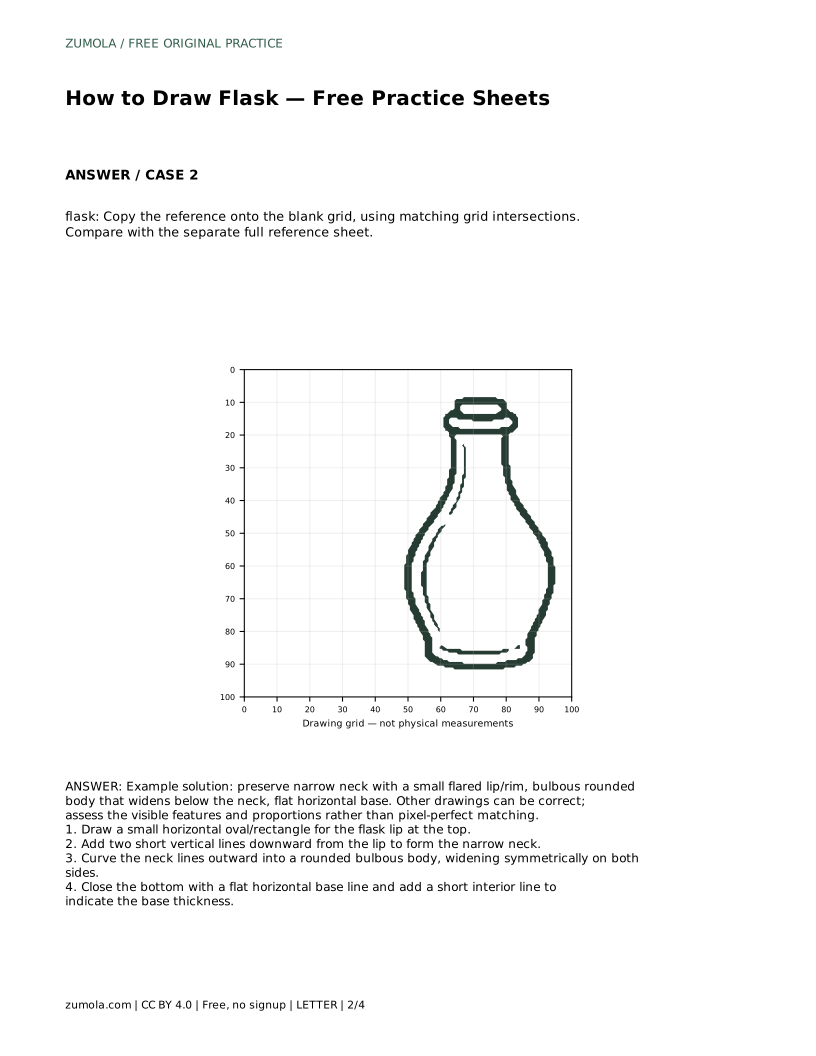
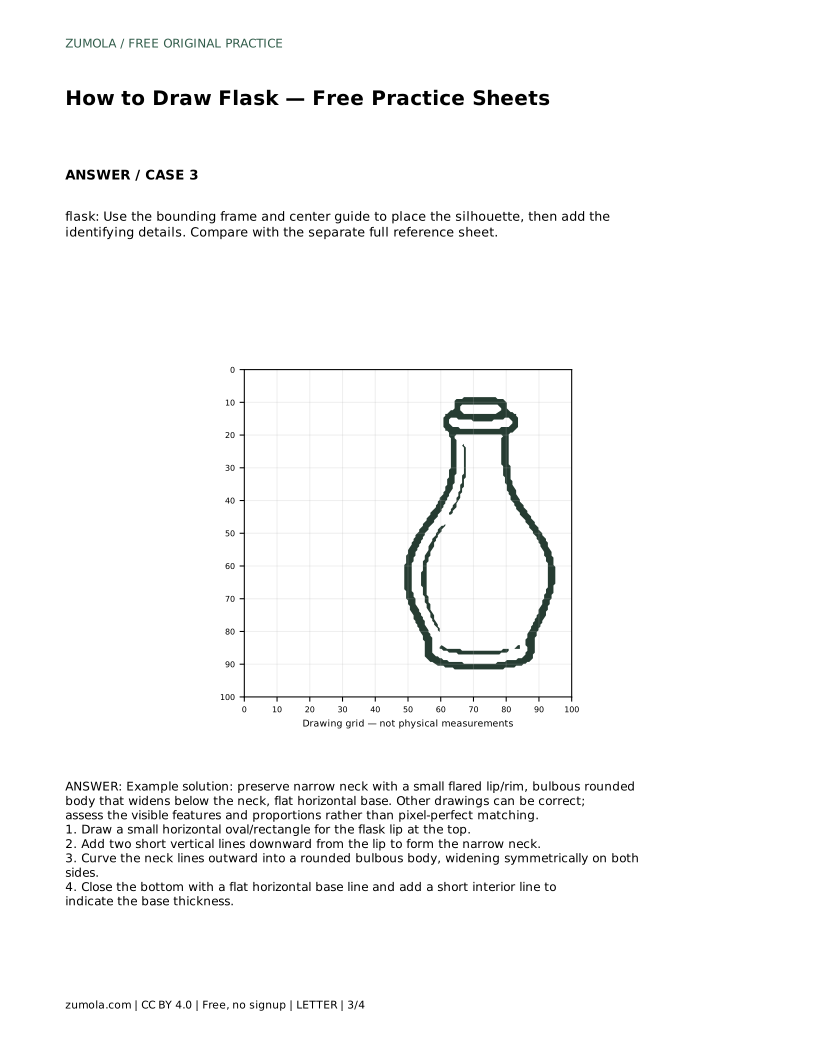
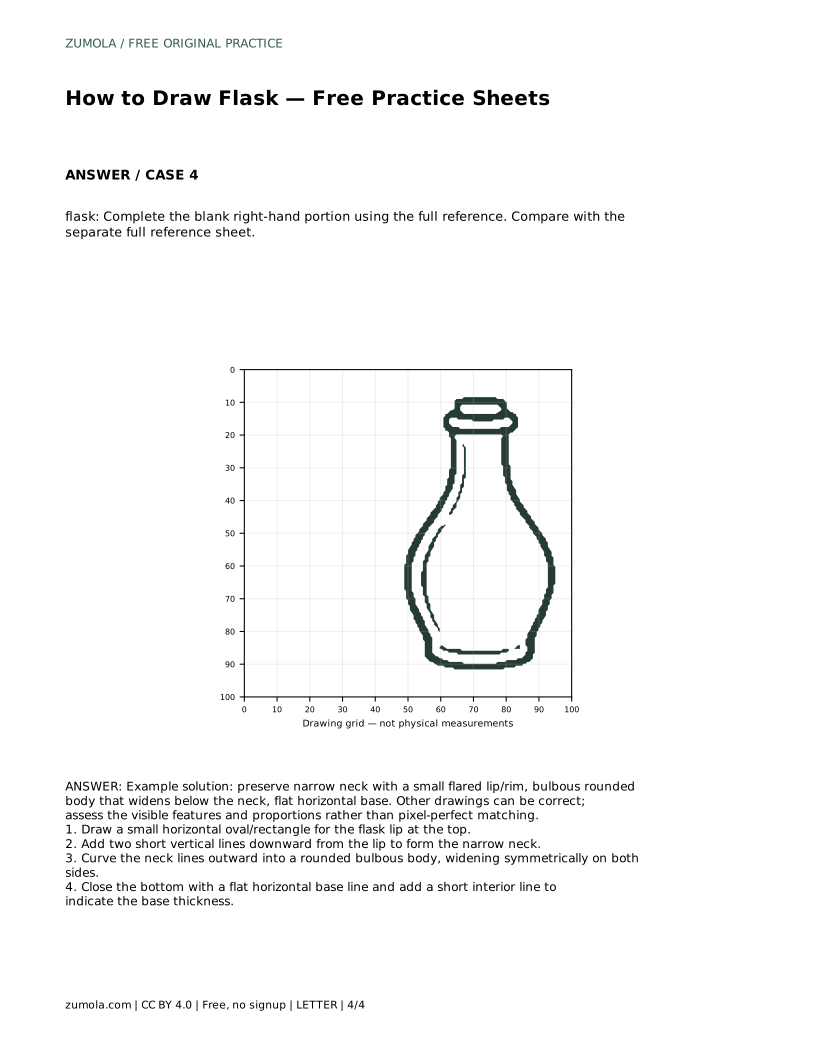
A flask is easy to recognise but surprisingly easy to draw lopsided. The shape depends on a few clear features: a small lip at the top, a narrow neck, a rounded body that widens below the neck, and a flat base. This page explains how to build those features in order, then use the practice sheets to trace, copy and complete the outline. The goal is a believable flask, not a pixel-perfect copy.
Start with the lip, because it sets the width of everything above the body. A small horizontal oval or narrow rectangle works well; keep it modest so the neck still reads as narrow. From the lip, draw two short vertical lines downward. These form the neck, and they should stay roughly parallel rather than tapering sharply.
Where the neck ends, curve both lines outward into the body. Work on both sides together so the body widens symmetrically. The widest point sits below the neck, and the curve should feel rounded rather than angular. Close the bottom with a flat horizontal line, then add a short interior line just above it to suggest the thickness of the base. Check the silhouette before adding any optional detail.
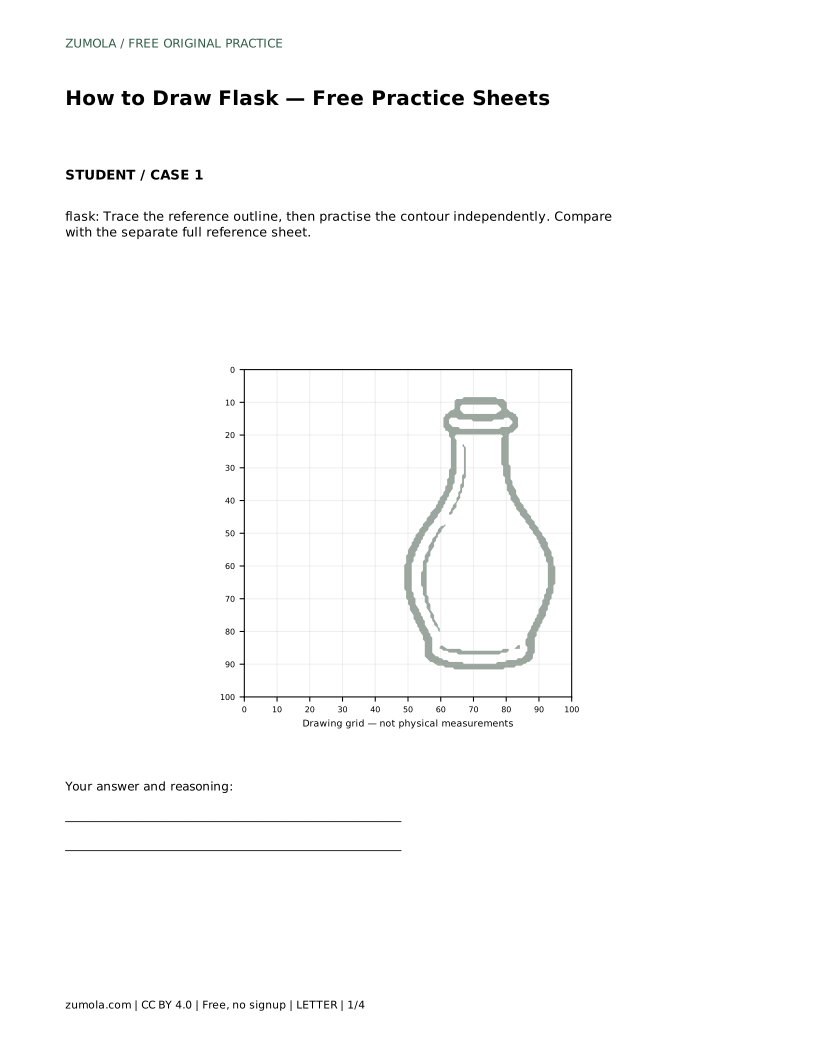
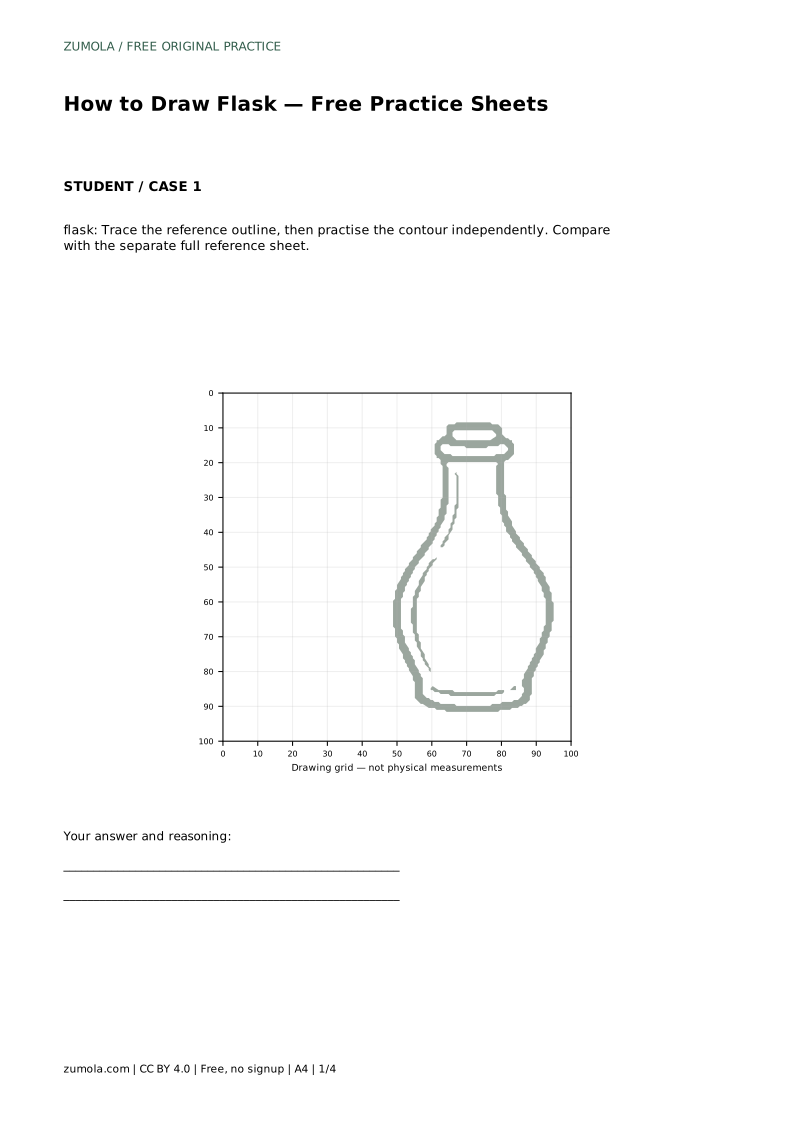
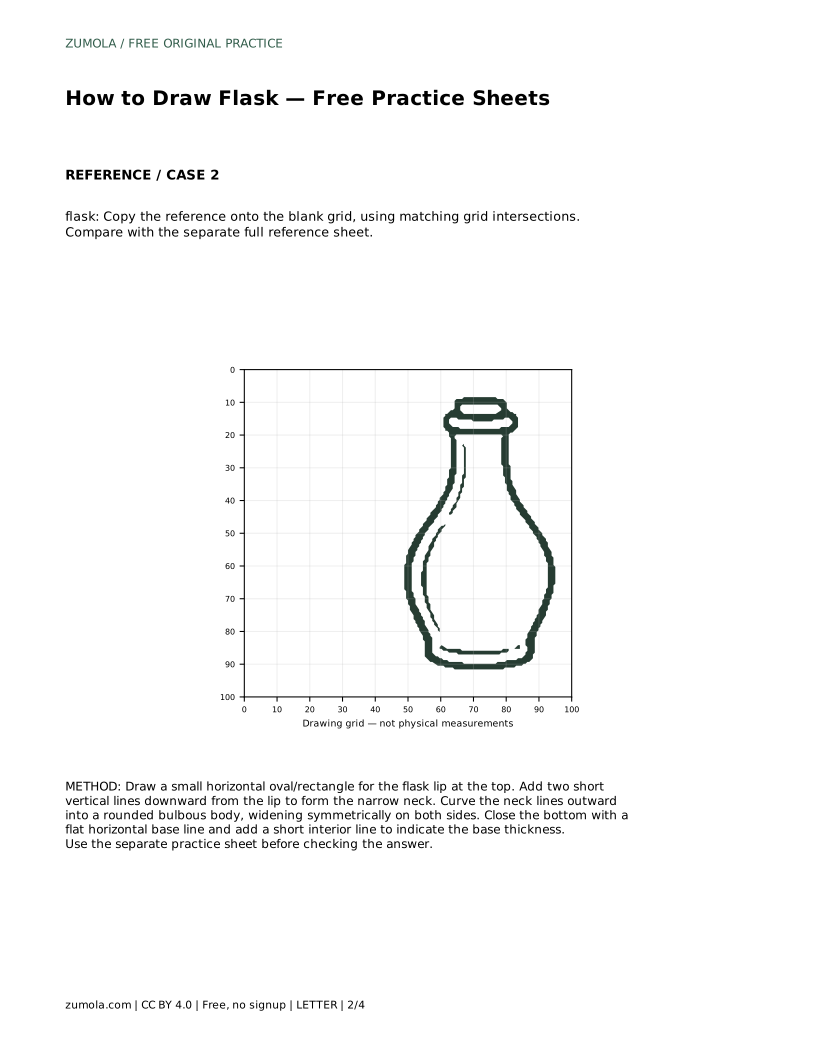
The trace sheet asks you to follow the reference outline first, then repeat the contour on your own. Tracing builds familiarity with the transitions between lip, neck and body; the independent attempt shows whether you can reproduce them without guidance. Compare your drawing with the separate full reference sheet rather than with the traced line alone.
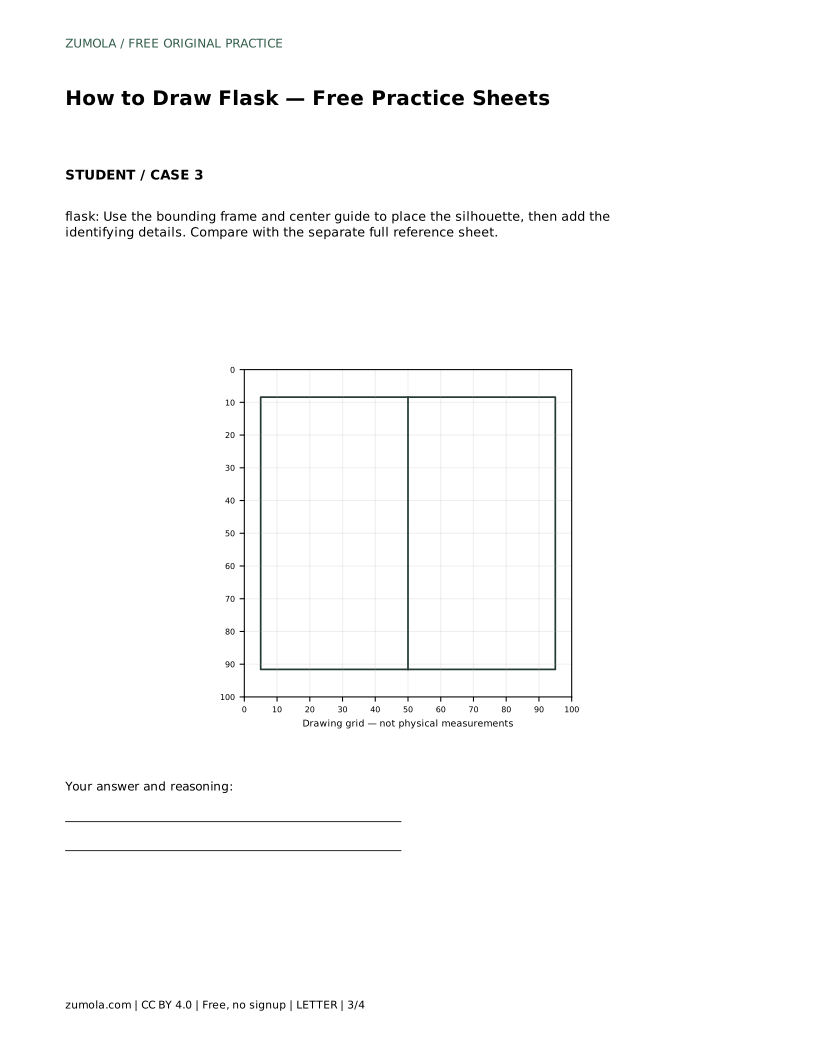
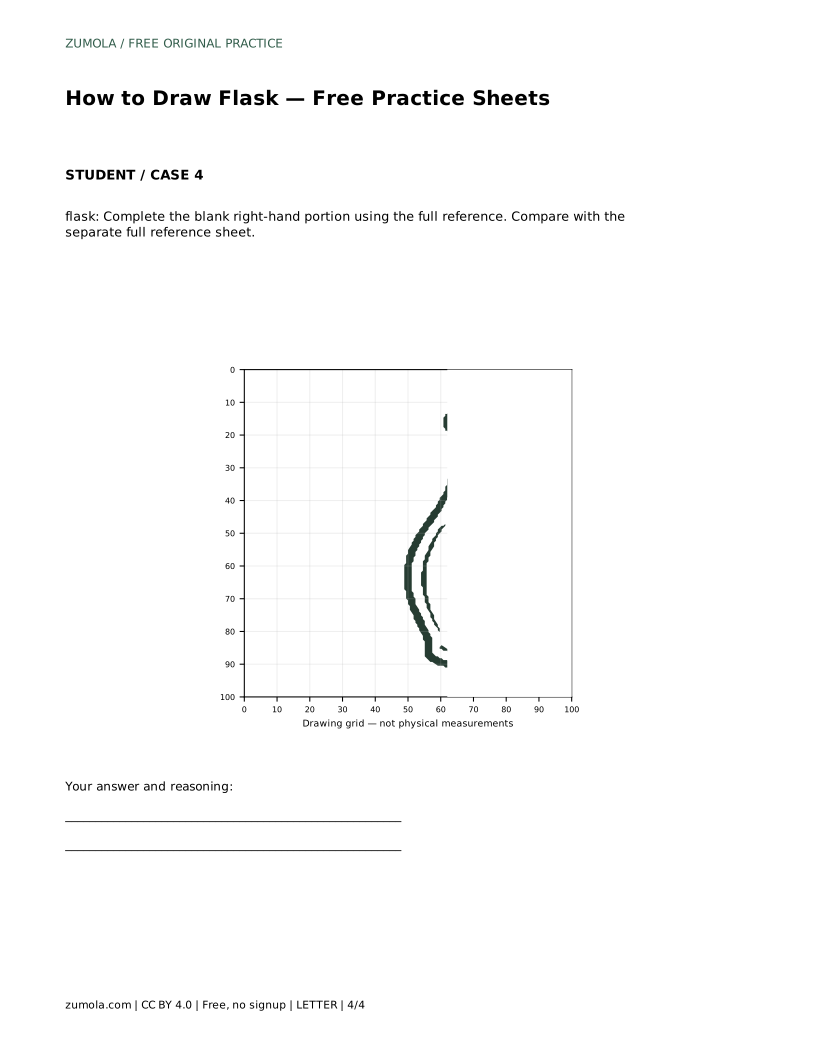
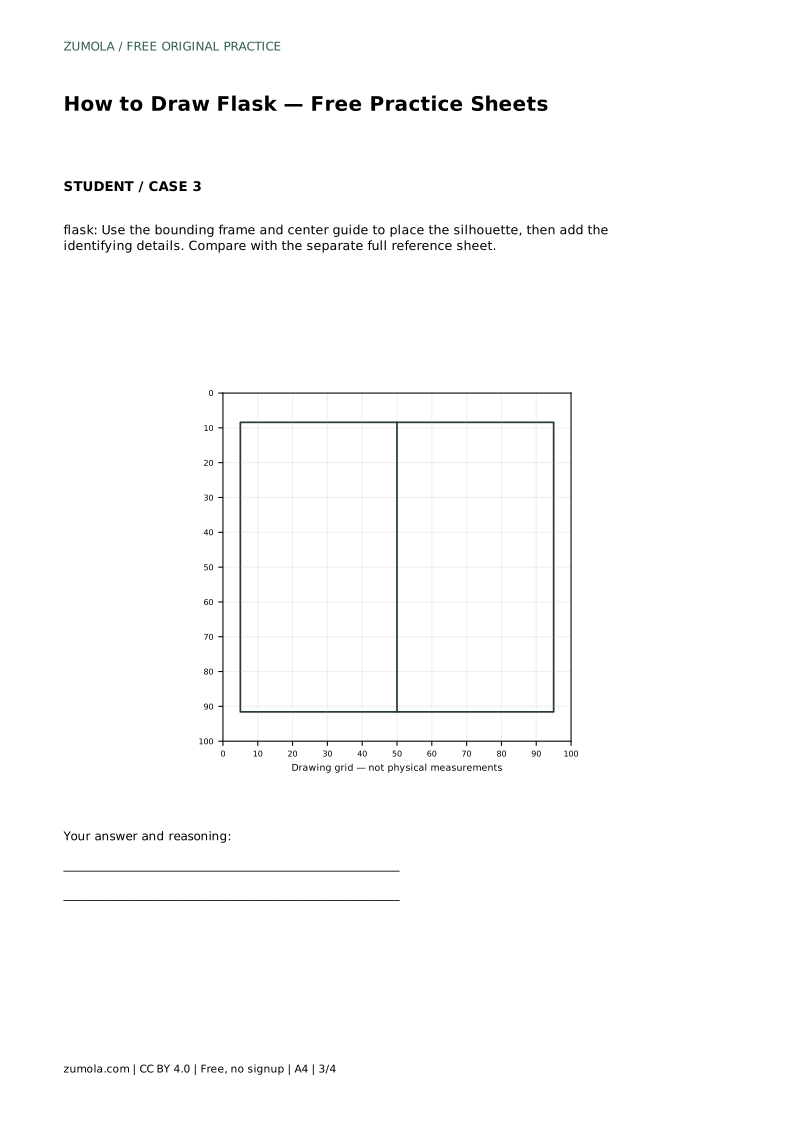
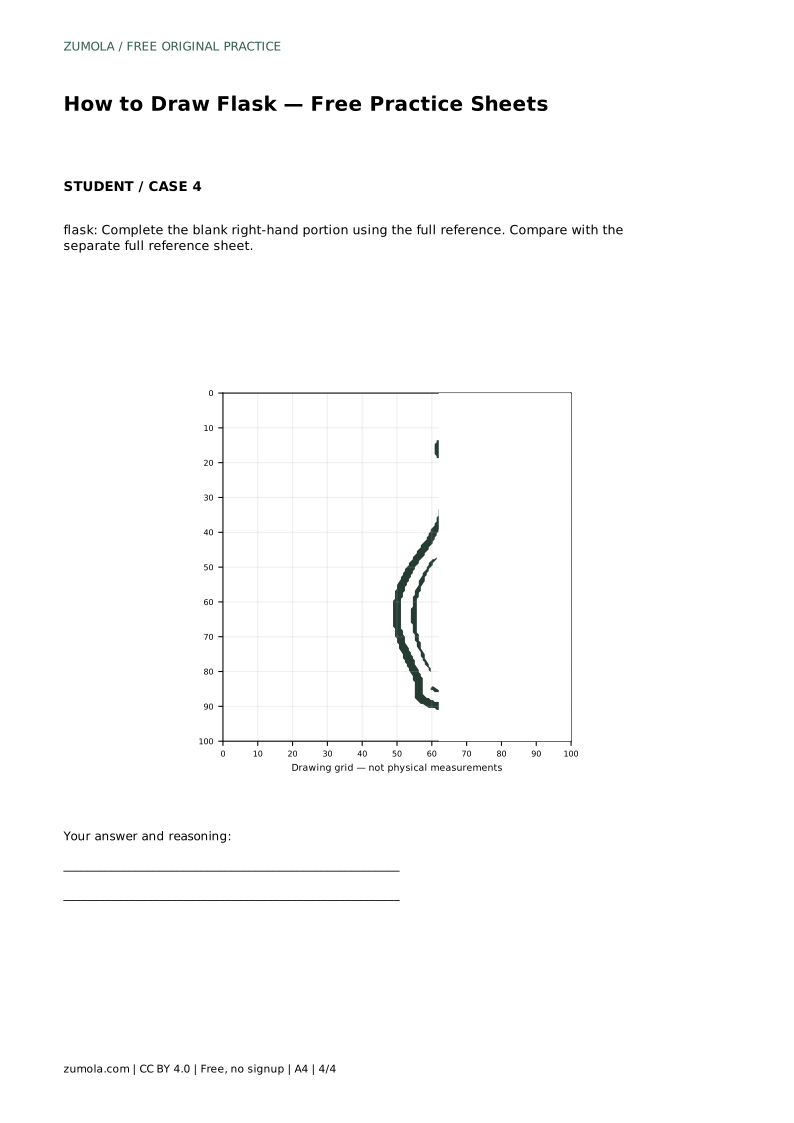
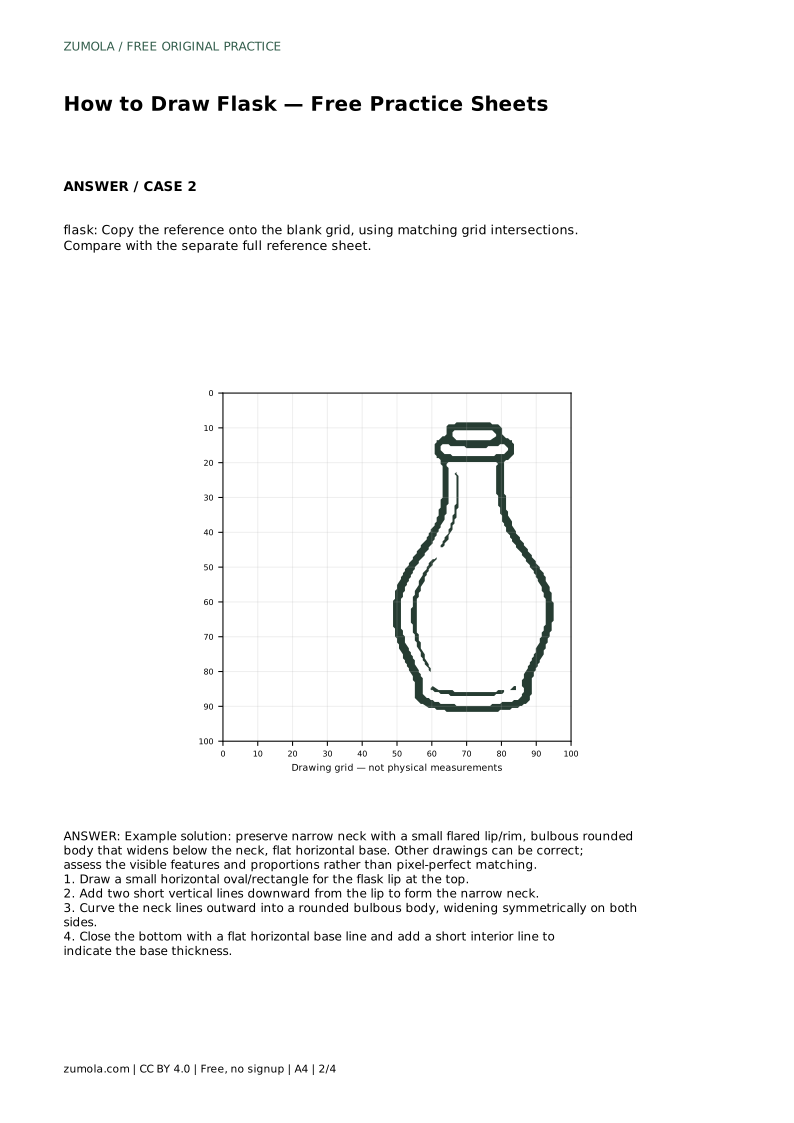
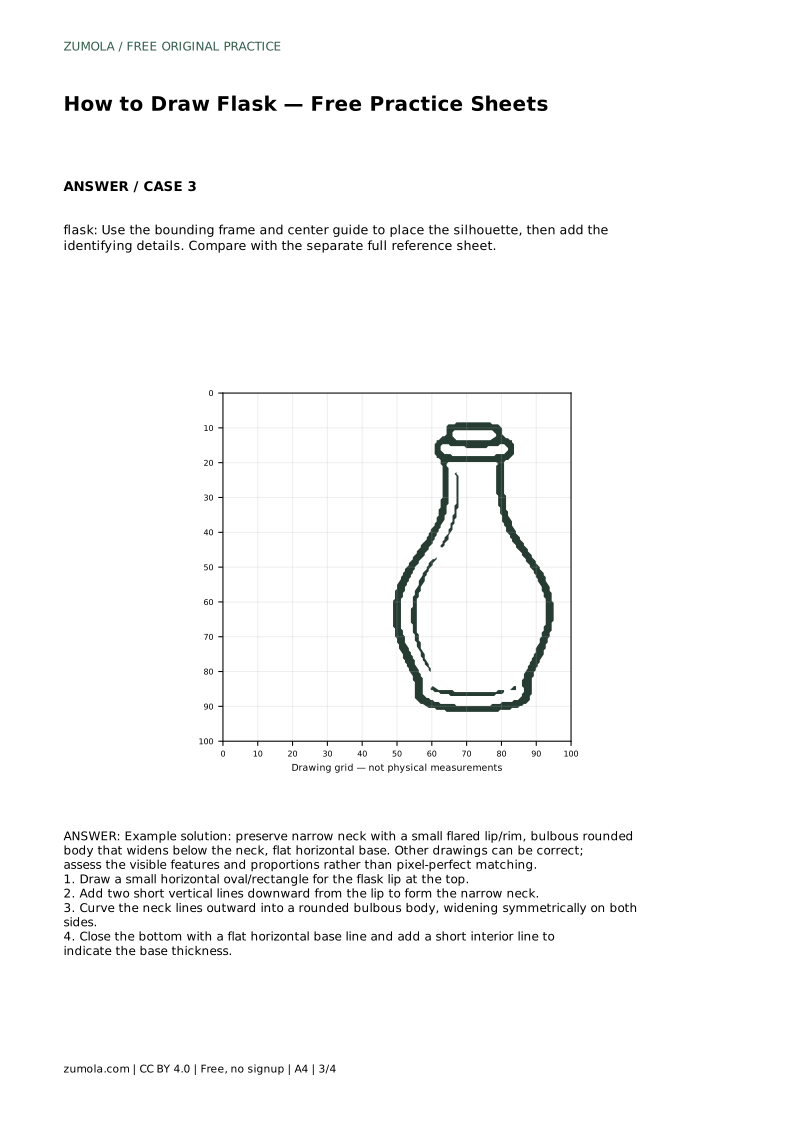
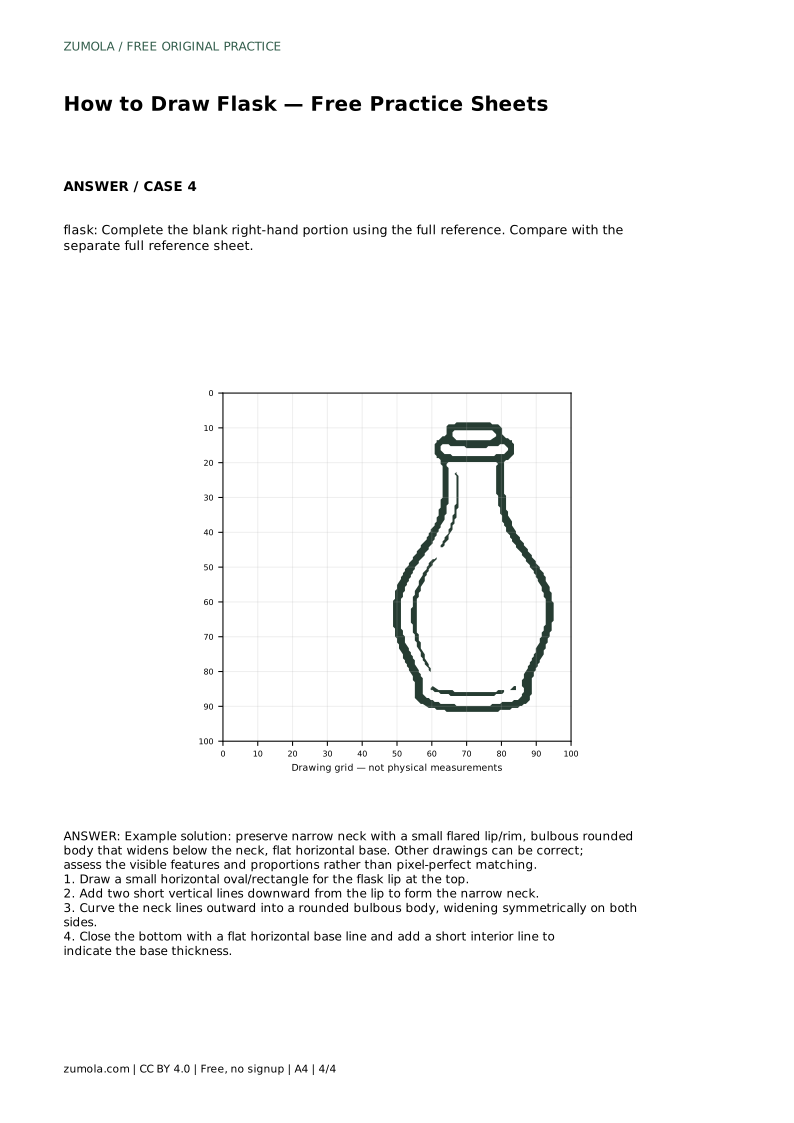
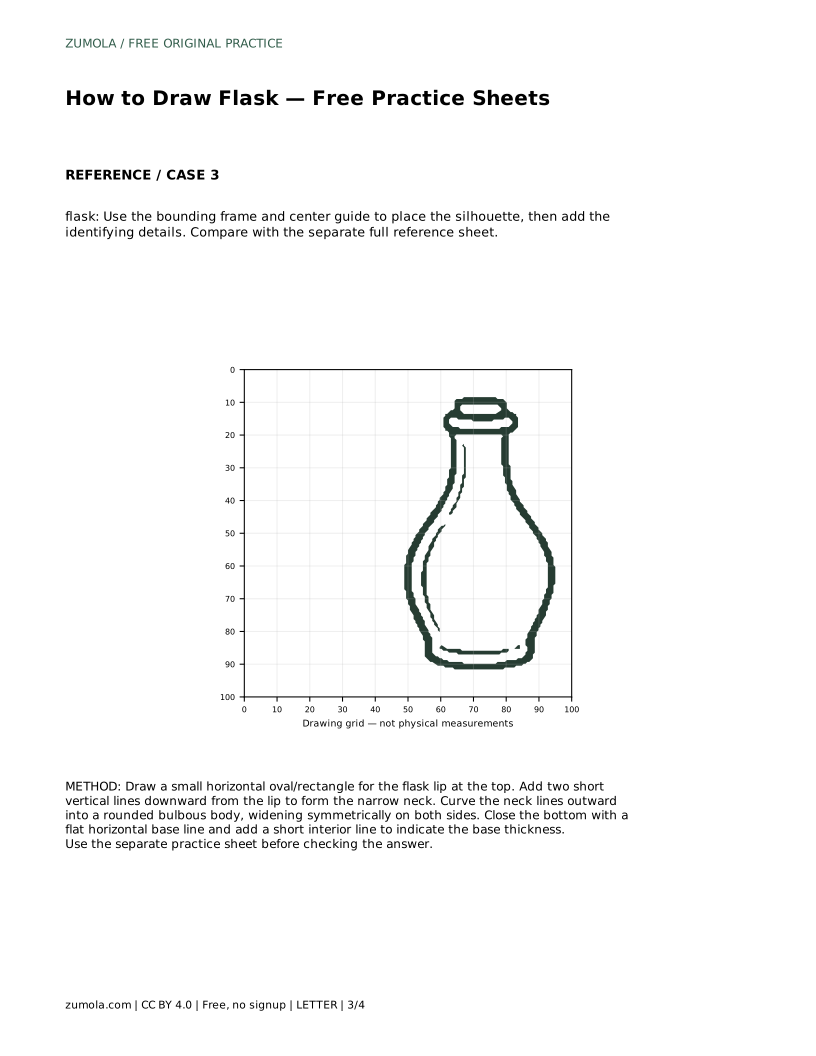
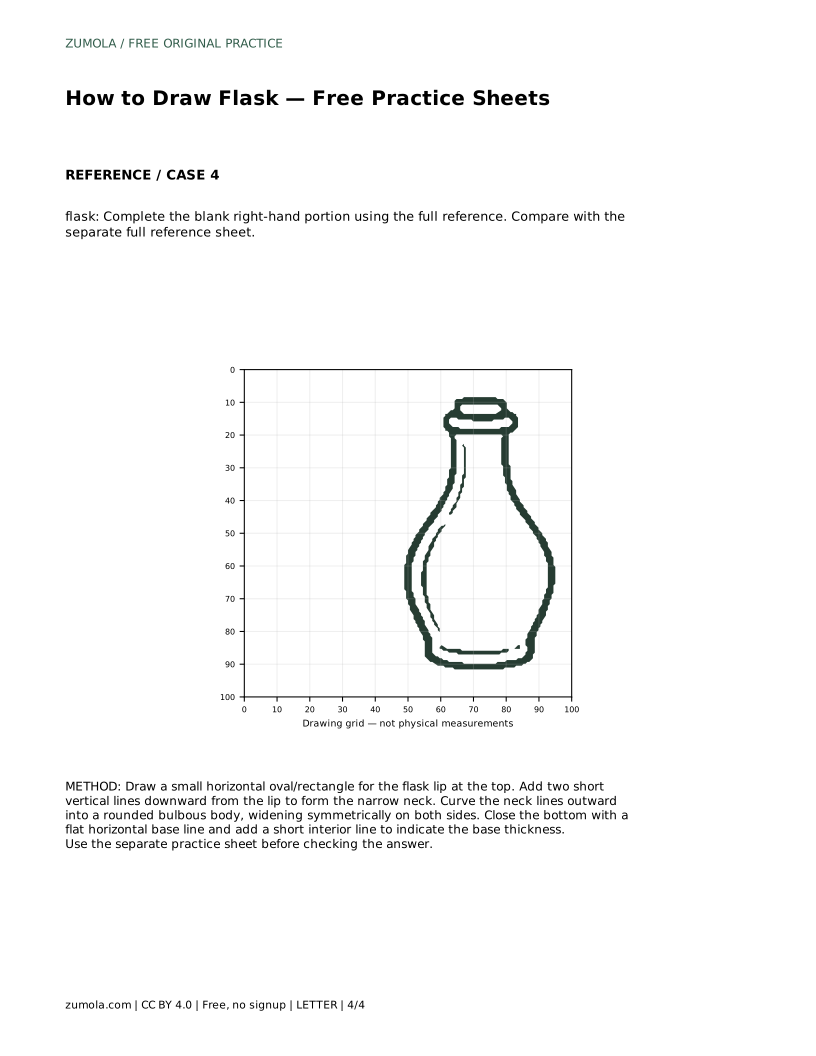
The grid sheet works differently. Copy the reference onto the blank grid by matching where the outline crosses grid intersections. This forces you to judge position and proportion instead of relying on memory. The bounding-frame sheet gives you a centre guide and outer limits, so place the silhouette inside the frame before adding the identifying details. The complete-the-outline sheet provides the left portion only; finish the right-hand side using the full reference, keeping the two sides balanced.
Compare the neck width with the body width. The neck should be clearly narrower, and the body should widen gradually rather than bulging abruptly at one point. Check that the lip sits centred above the neck and that the base is level. A quick way to test symmetry is to imagine a vertical line through the centre: the left and right curves should mirror each other in shape, even if small differences remain.
Because drawings can be correct in more than one way, assess the visible features and proportions rather than demanding an exact match. A slightly wider body or a taller neck can still produce a convincing flask if the relationships hold together.
Once the silhouette is sound, you can add a line inside the neck to suggest the opening, or a subtle curve to indicate the rounded surface of the body. Keep such marks light and consistent with the outline. Avoid adding detail before the basic shape is settled, since extra lines make proportion errors harder to spot. If a detail distorts the silhouette, remove it and redraw the contour first.
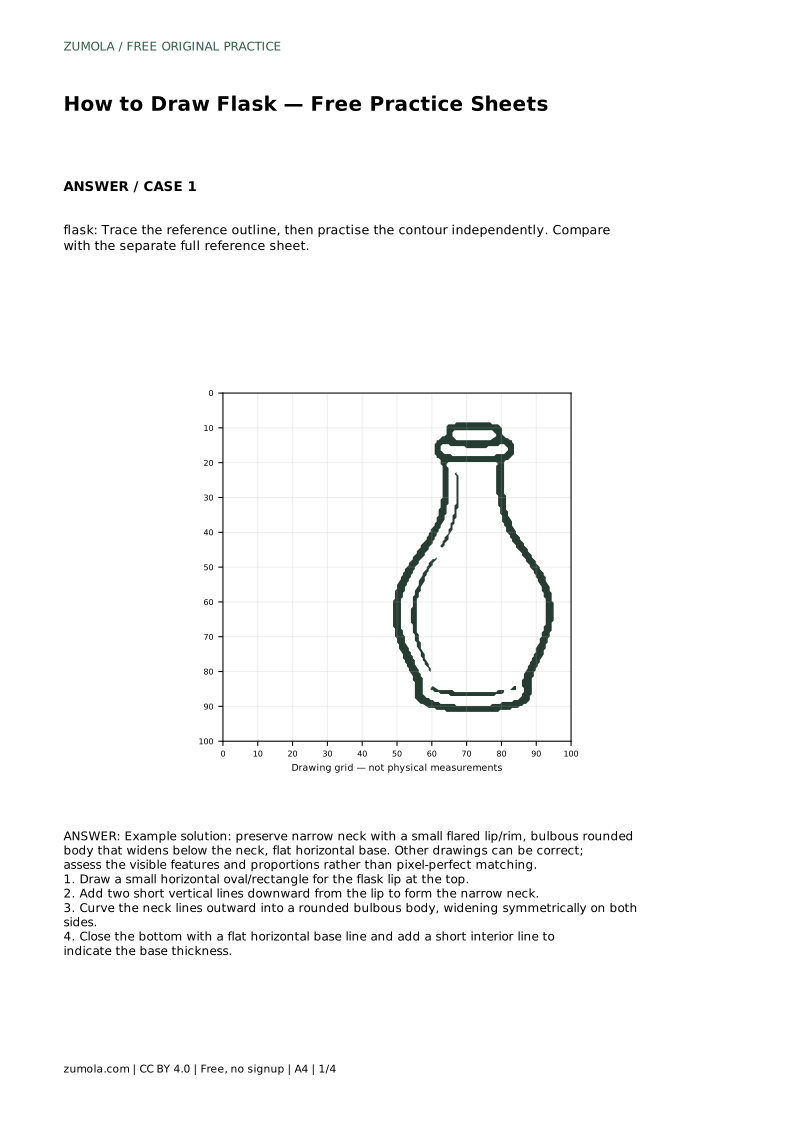
flask: Trace the reference outline, then practise the contour independently. Compare with the separate full reference sheet.
Example solution: preserve narrow neck with a small flared lip/rim, bulbous rounded body that widens below the neck, flat horizontal base. Other drawings can be correct; assess the visible features and proportions rather than pixel-perfect matching. Draw a small horizontal oval/rectangle for the flask lip at the top. Add two short vertical lines downward from the lip to form the narrow neck. Curve the neck lines outward into a rounded bulbous body, widening symmetrically on both sides. Close the bottom with a flat horizontal base line and add a short interior line to indicate the base thickness.
No. Several drawings can be correct. Assess the visible features and proportions, such as a narrow neck, rounded body and flat base, rather than pixel-perfect matching.
Begin with the trace sheet to learn the contour, then move to the grid or bounding-frame sheet to practise placing the shape without tracing.
Imagine a vertical line through the centre. The left and right body curves should mirror each other, the lip should sit centred, and the base should be level.
All drawing practice · Free coordinate paper
Original resources · CC BY 4.0 · Free for personal and classroom use with attribution.