Reference diagrams
LETTER · Download PDF
A4 · Download PDF
Free original resources
Learn to draw a fork by building its looped handle, narrow stem, U-shaped head, and four tines. Practice with tracing, grid, and frame sheets.
Four original cases, with reference diagrams, practice sheets and worked answers. Everything is free; no signup required.
LETTER · Download PDF
A4 · Download PDF
LETTER · Download PDF
A4 · Download PDF
LETTER · Download PDF
A4 · Download PDF
Use A4 or US Letter to match your printer. Use the stated values and conditions to solve each exercise; diagrams are not physical measuring rulers.
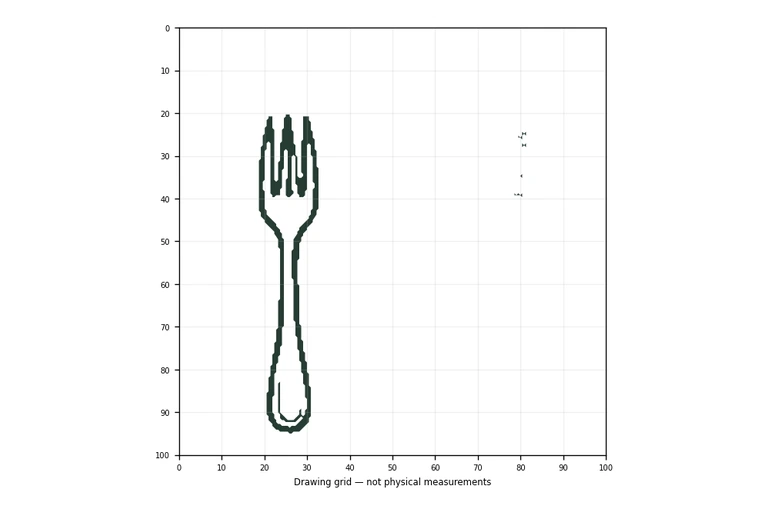
A fork is a useful drawing subject because its shape is simple but its proportions matter. The handle is long and narrow, the head widens into a U shape, and four tines sit at the top. This guide shows a reliable order for constructing those parts, then explains how to use tracing, grid, and frame practice sheets to check your work. Drawings can vary and still be correct, so judge visible features and proportions rather than exact matching.
Start with the handle base, because it anchors the whole drawing. A vertical oval loop gives the bottom of the handle a clear rounded end. From that loop, extend two long parallel lines upward. Keep them evenly spaced; a handle that narrows or bulges unexpectedly will make the fork look unstable.
At the top of the handle, widen the outline into a U-shaped head. The head should be wider than the handle but not dramatically so. Inside the head, draw four vertical tines. Leave small gaps between them, and give the tips a slight curve so they read as fork tines rather than plain lines. Check that all four tines begin within the head and end at roughly the same height.
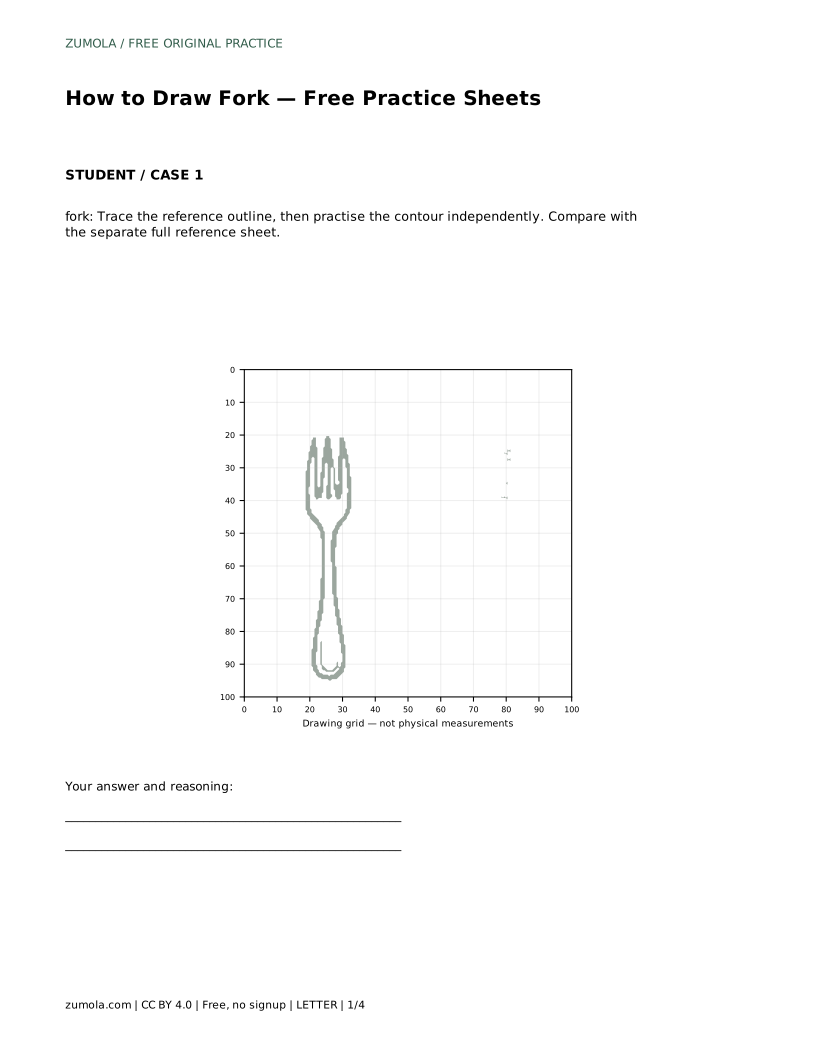
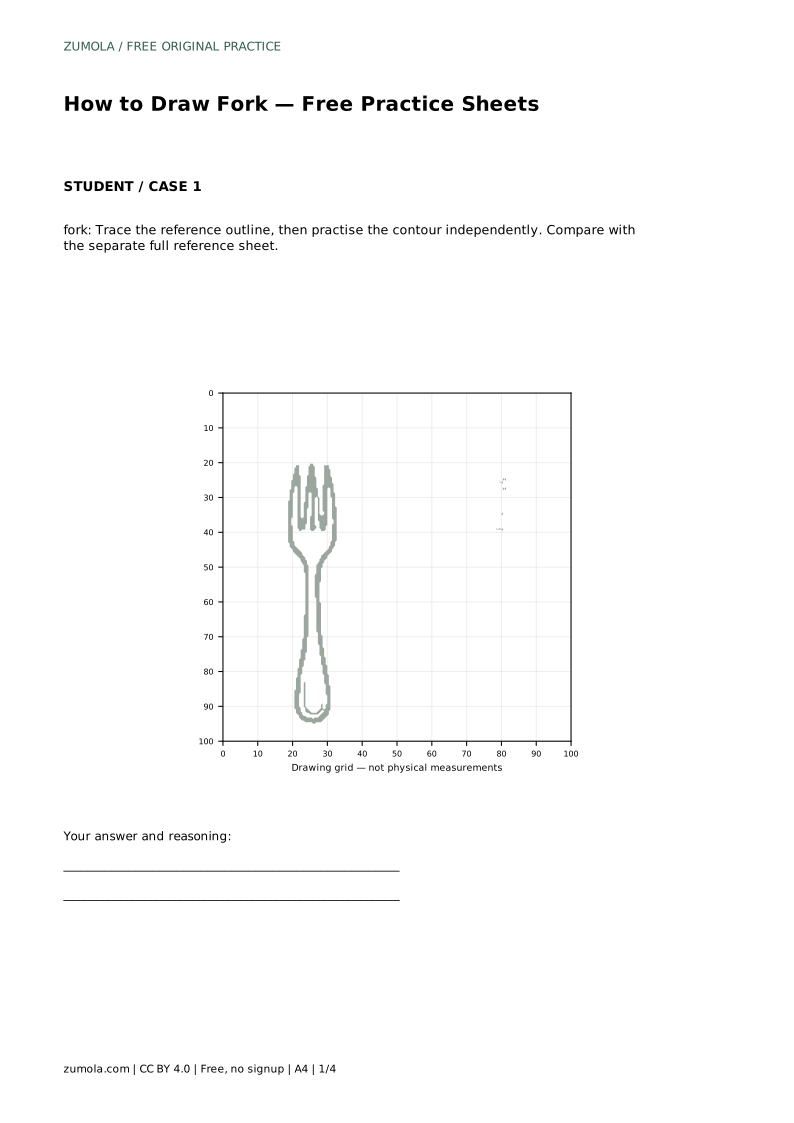
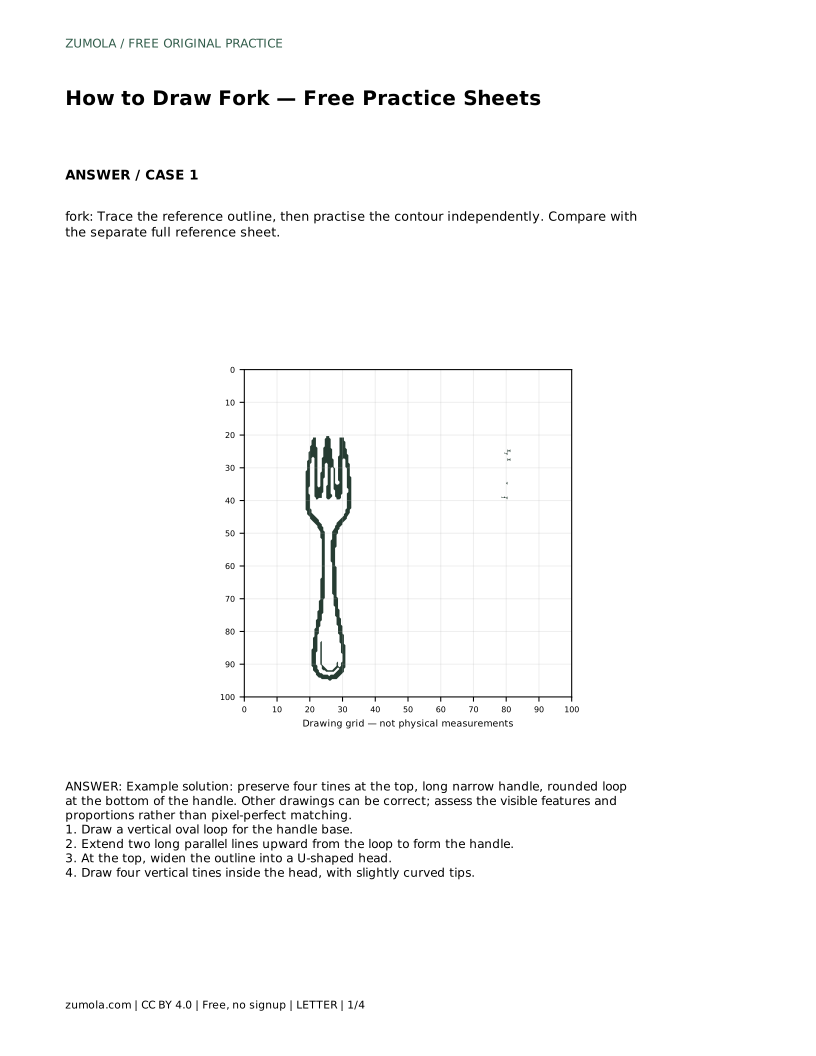
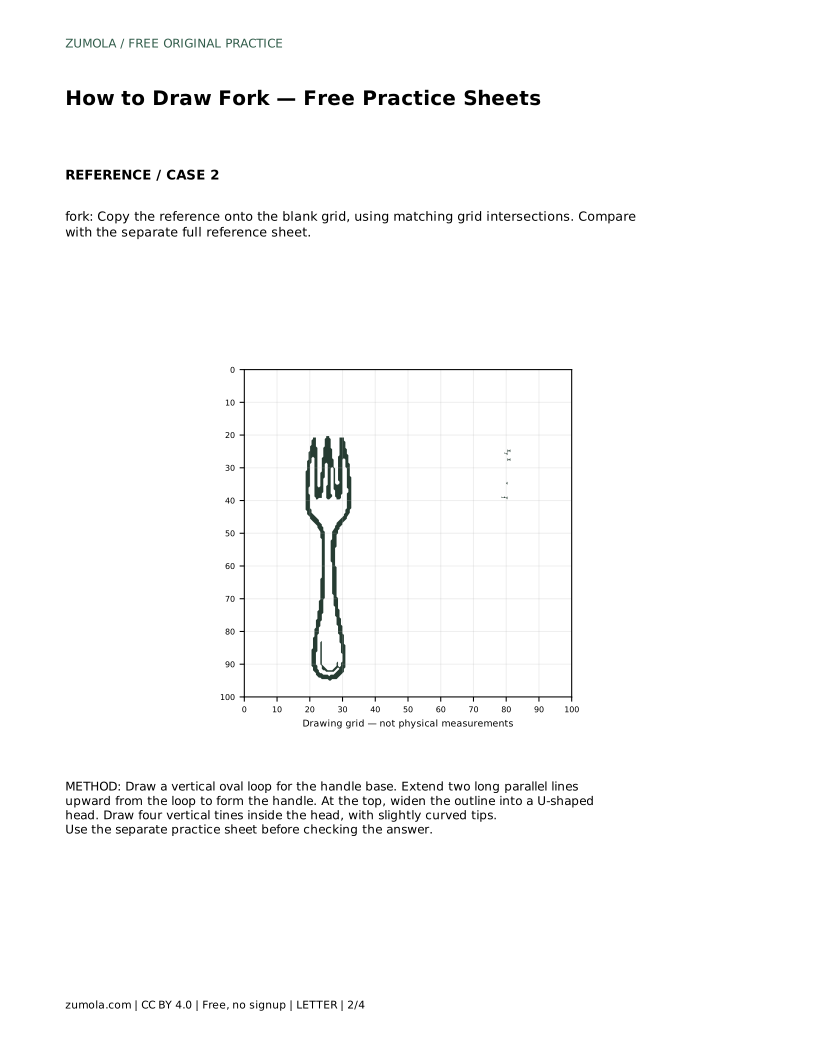
Tracing helps you learn the contour before drawing it independently. Trace the reference outline once, then cover or set aside the reference and draw the same contour on blank paper. Compare your independent drawing with the separate full reference sheet, not with your traced copy.
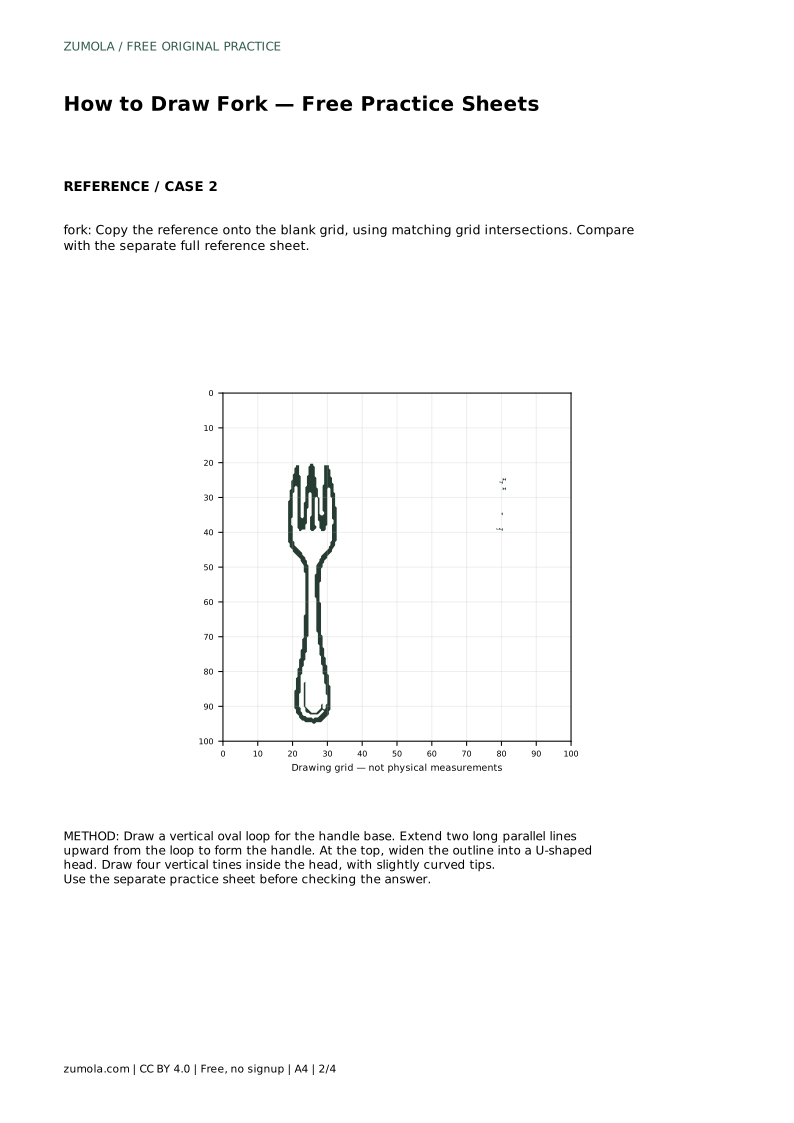
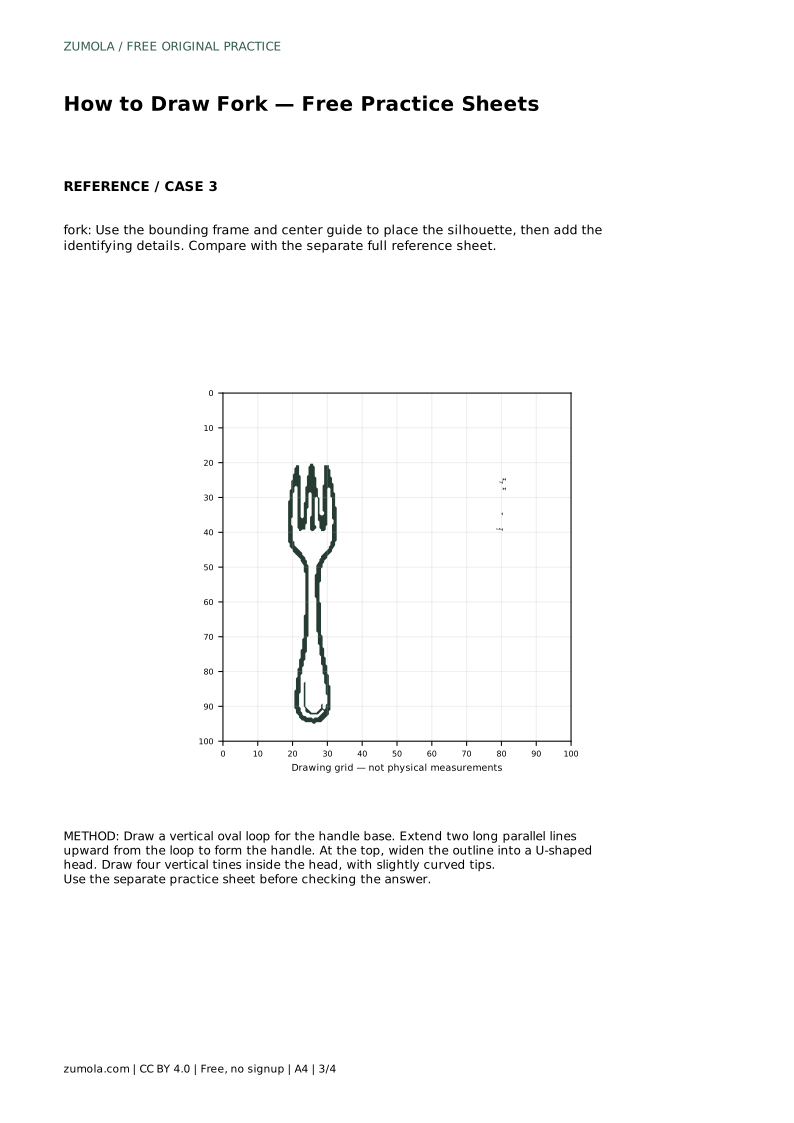
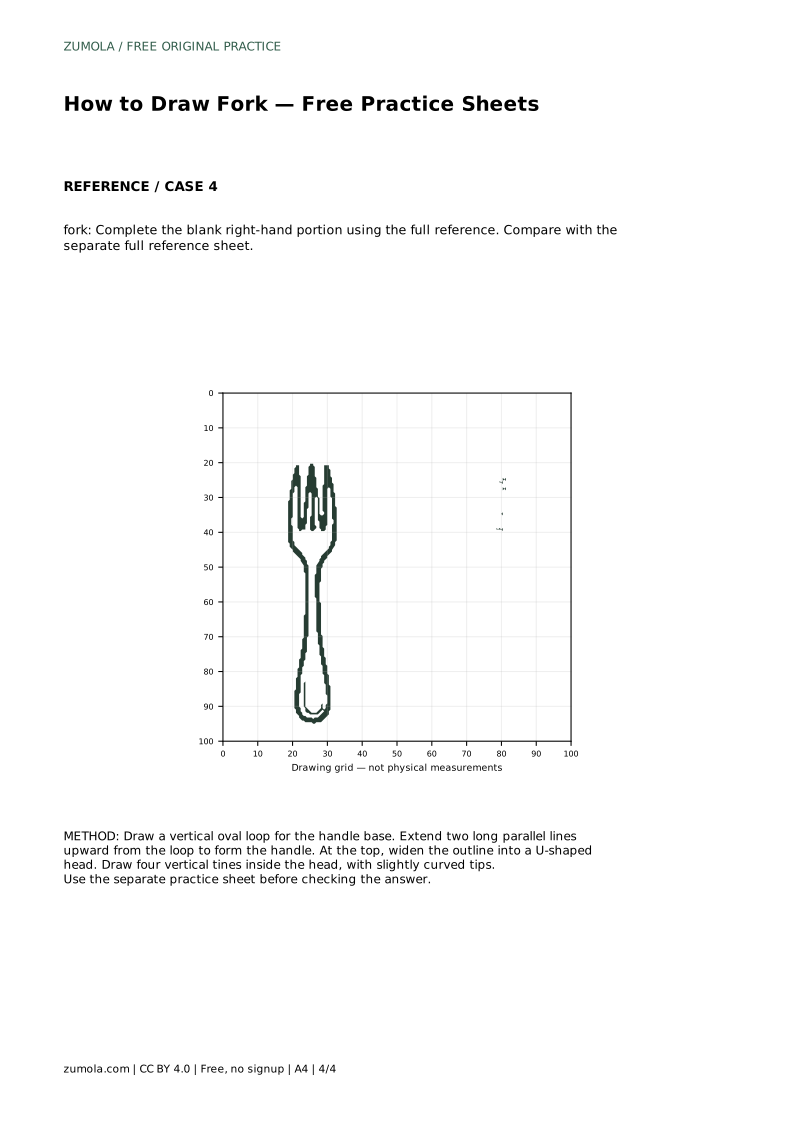
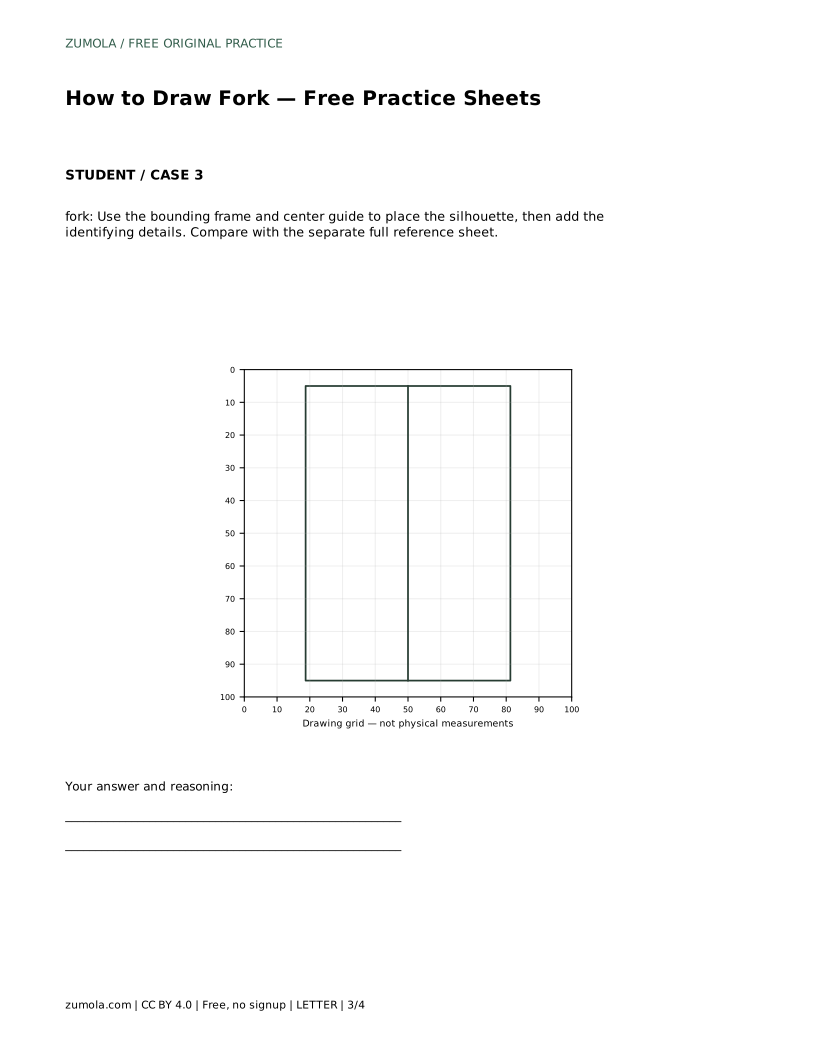
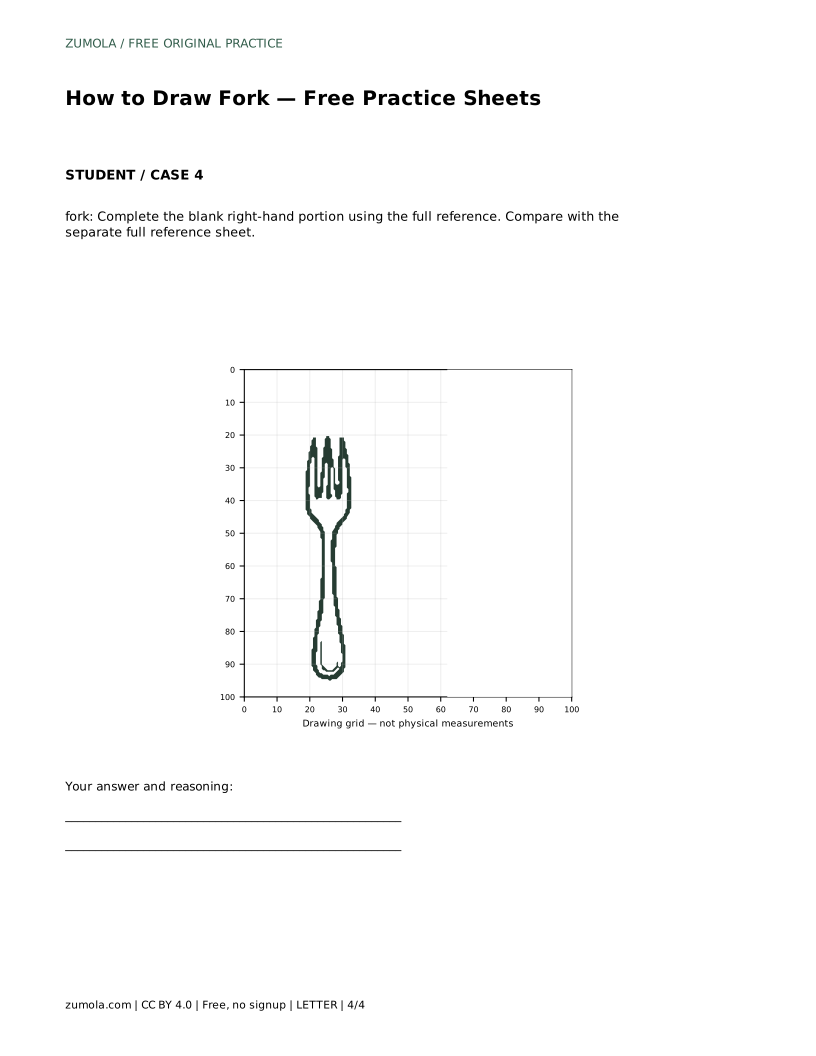
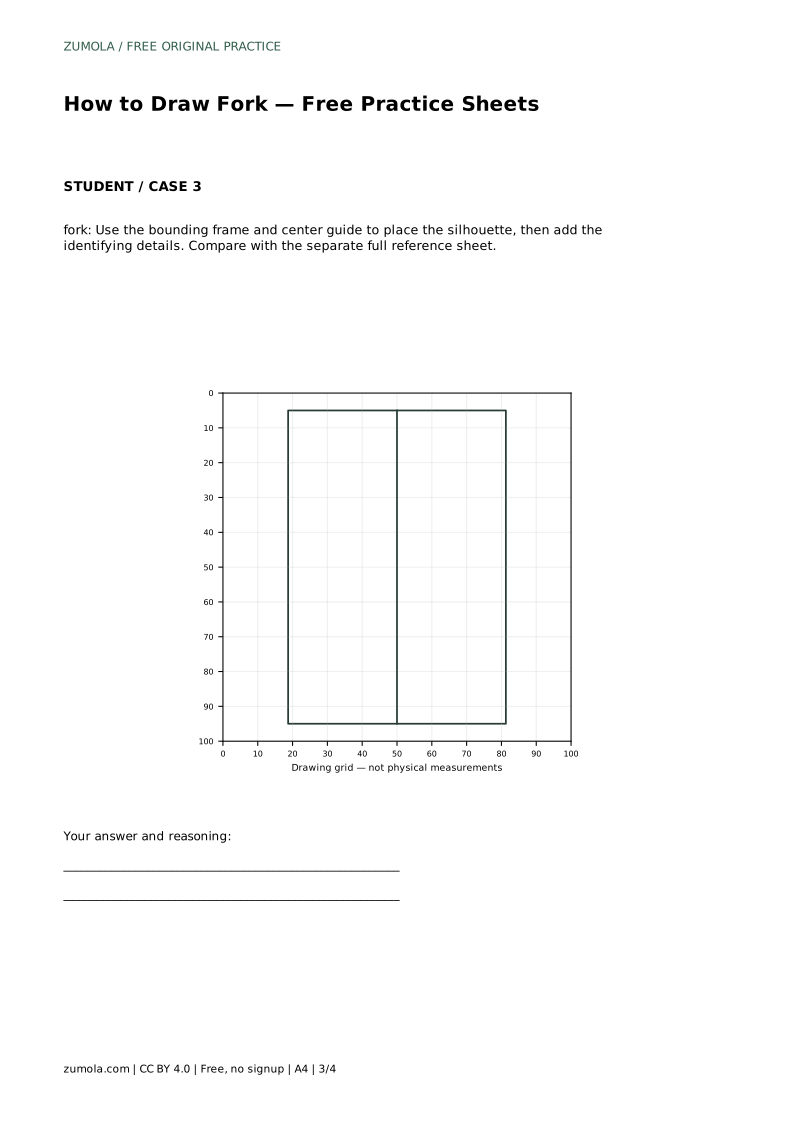
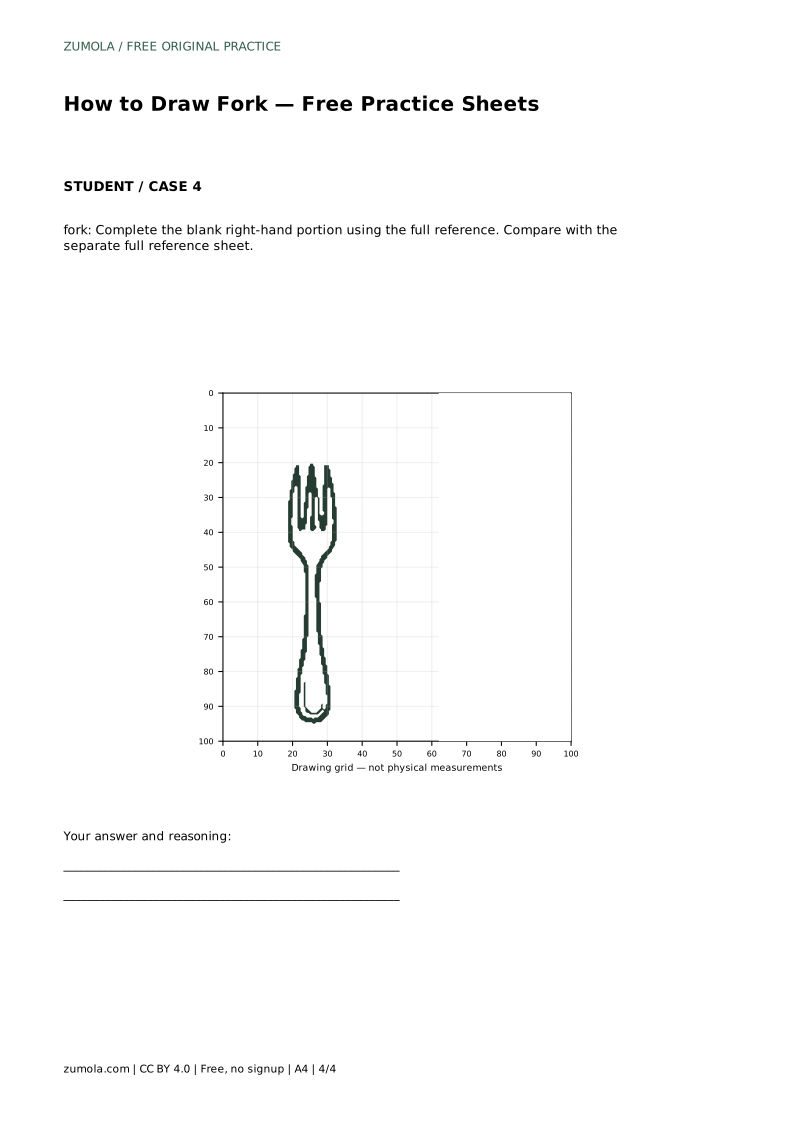
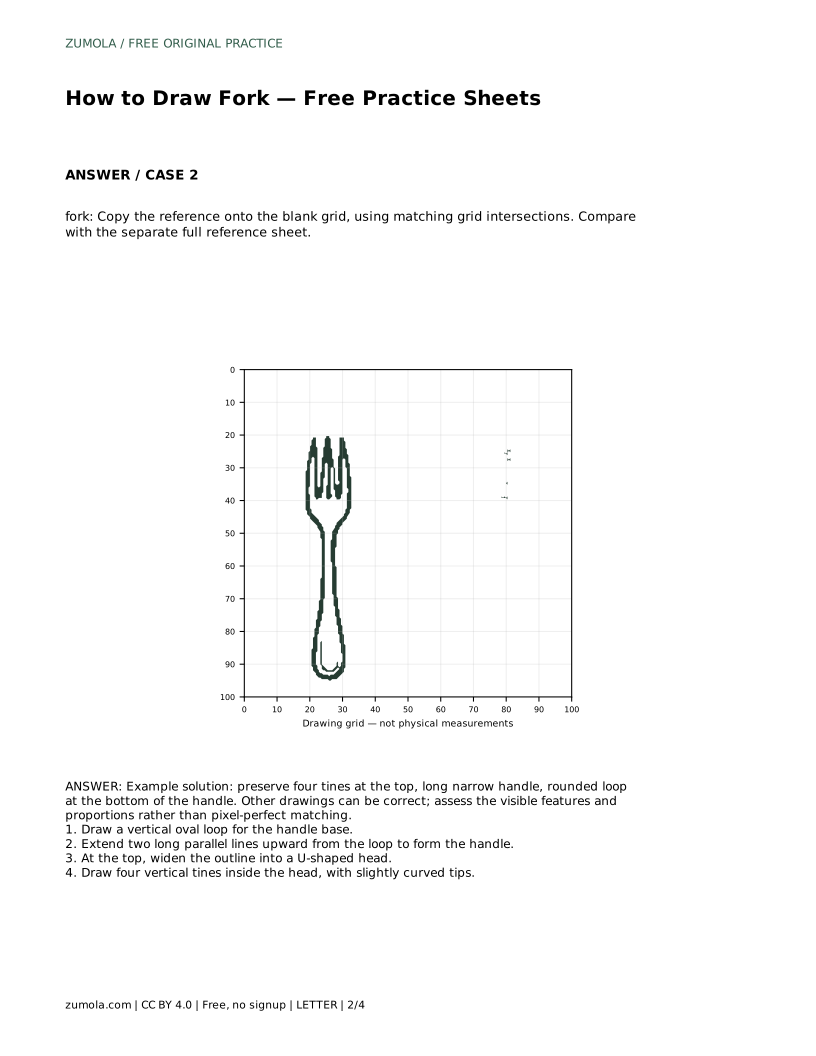
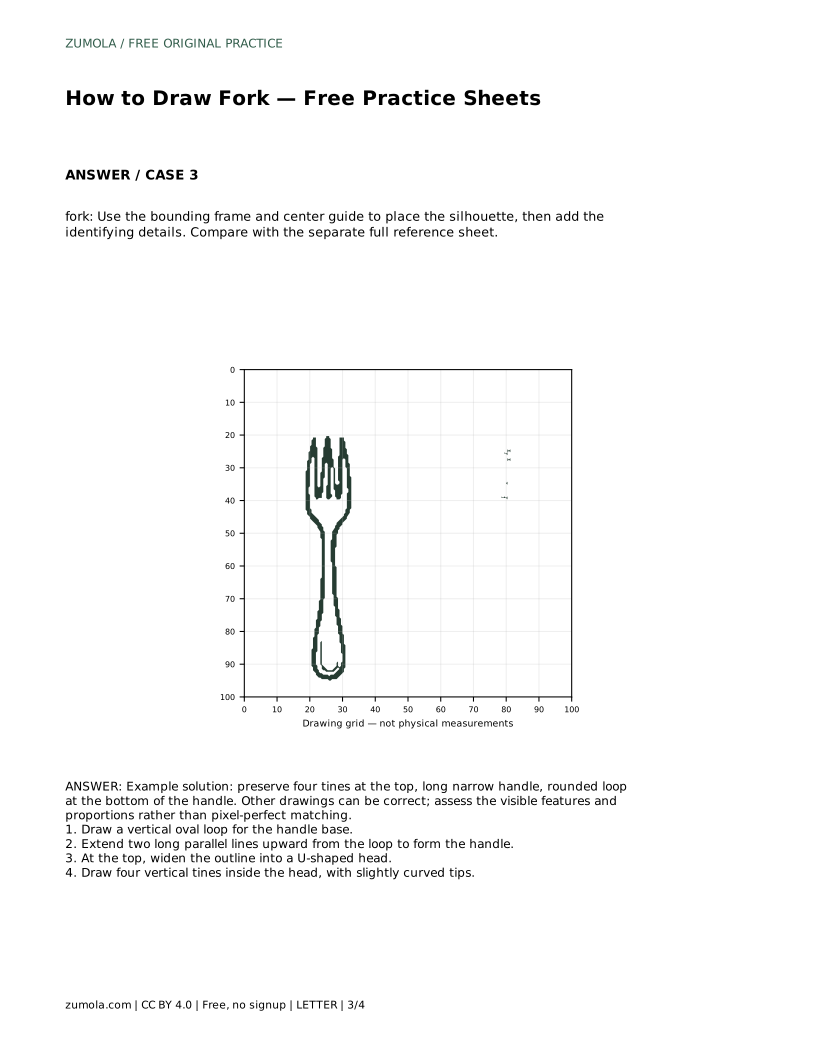
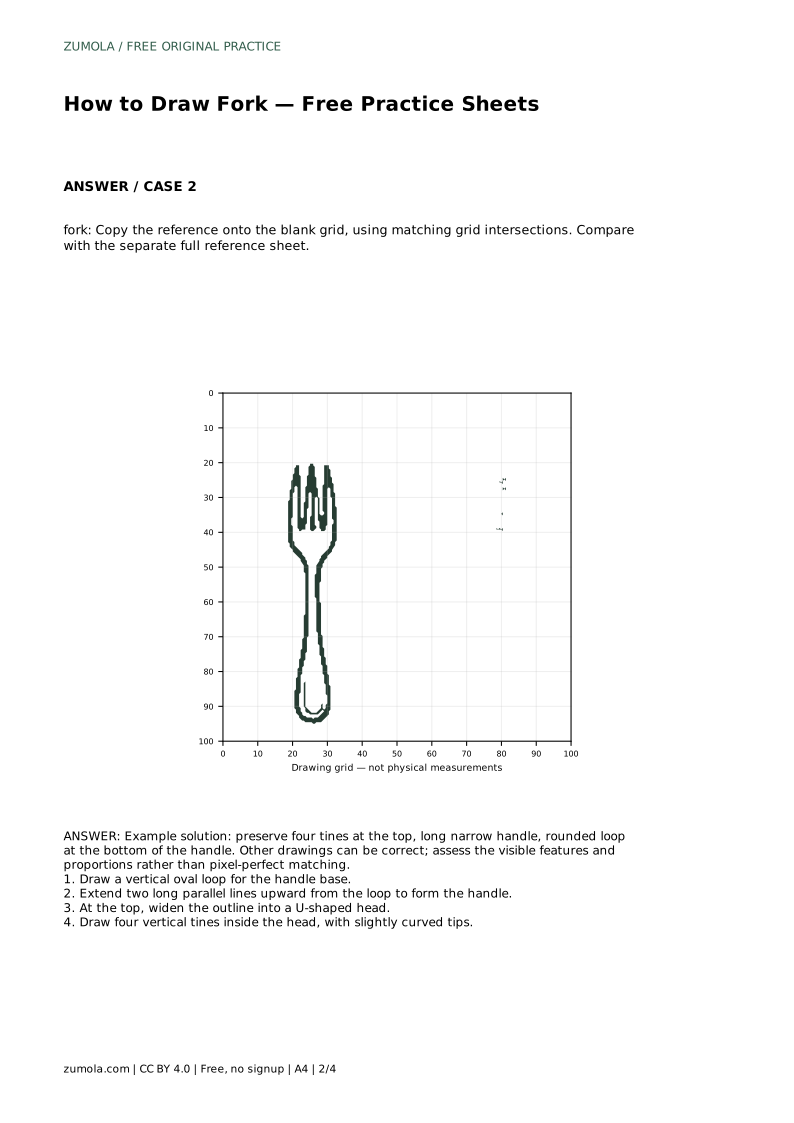
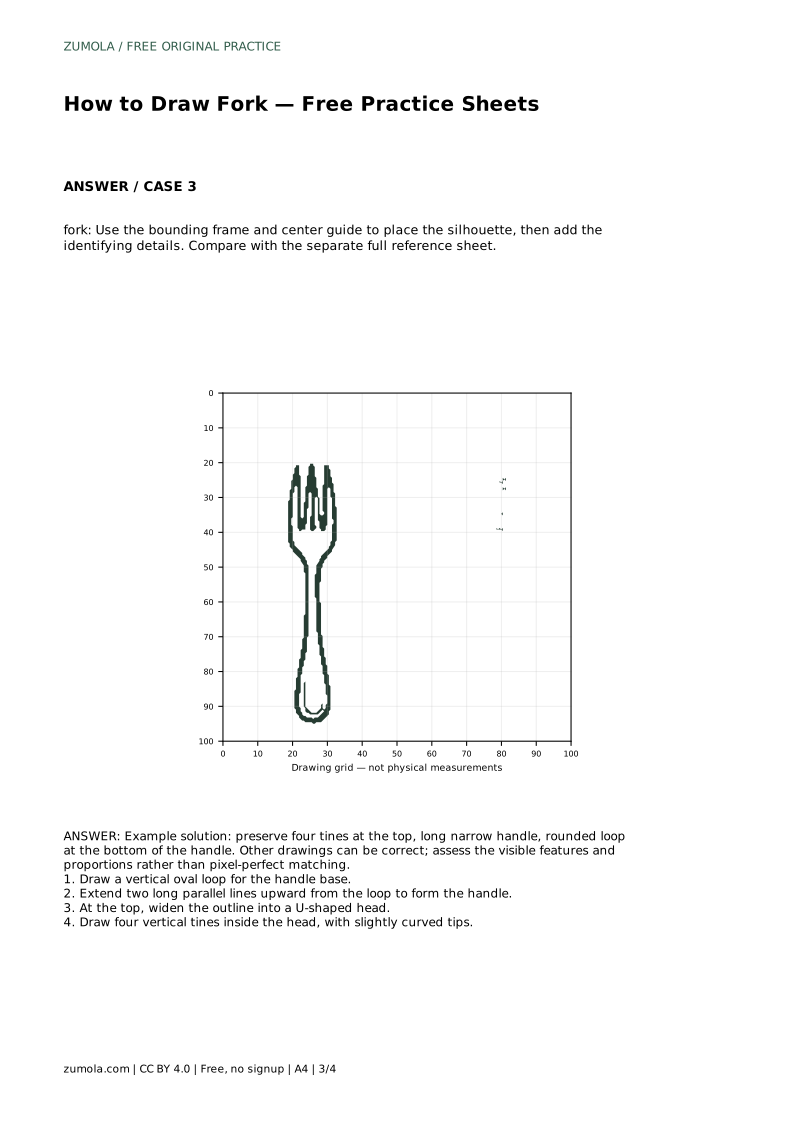
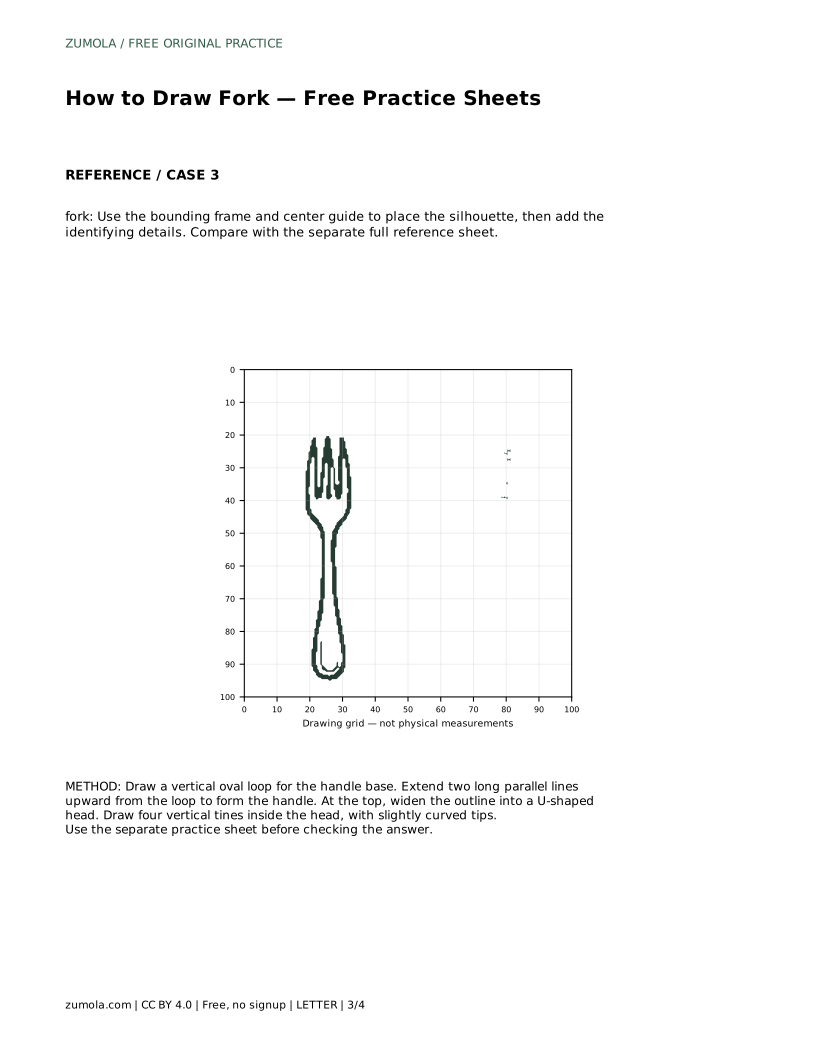
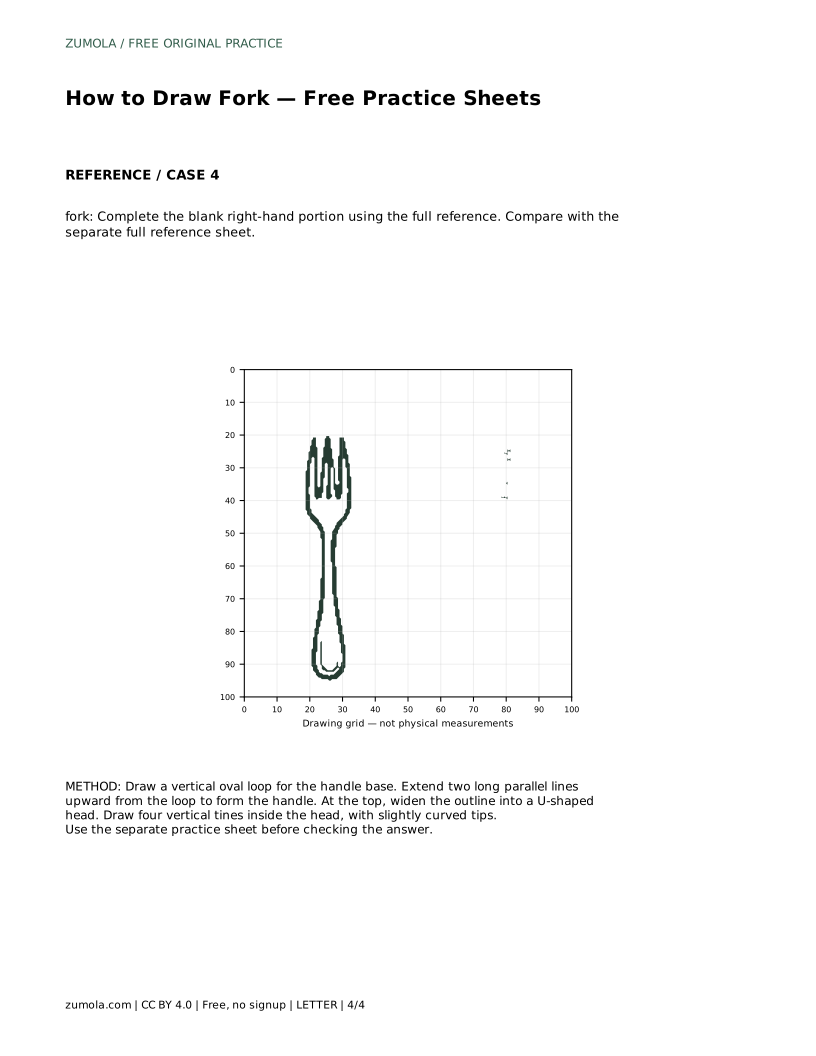
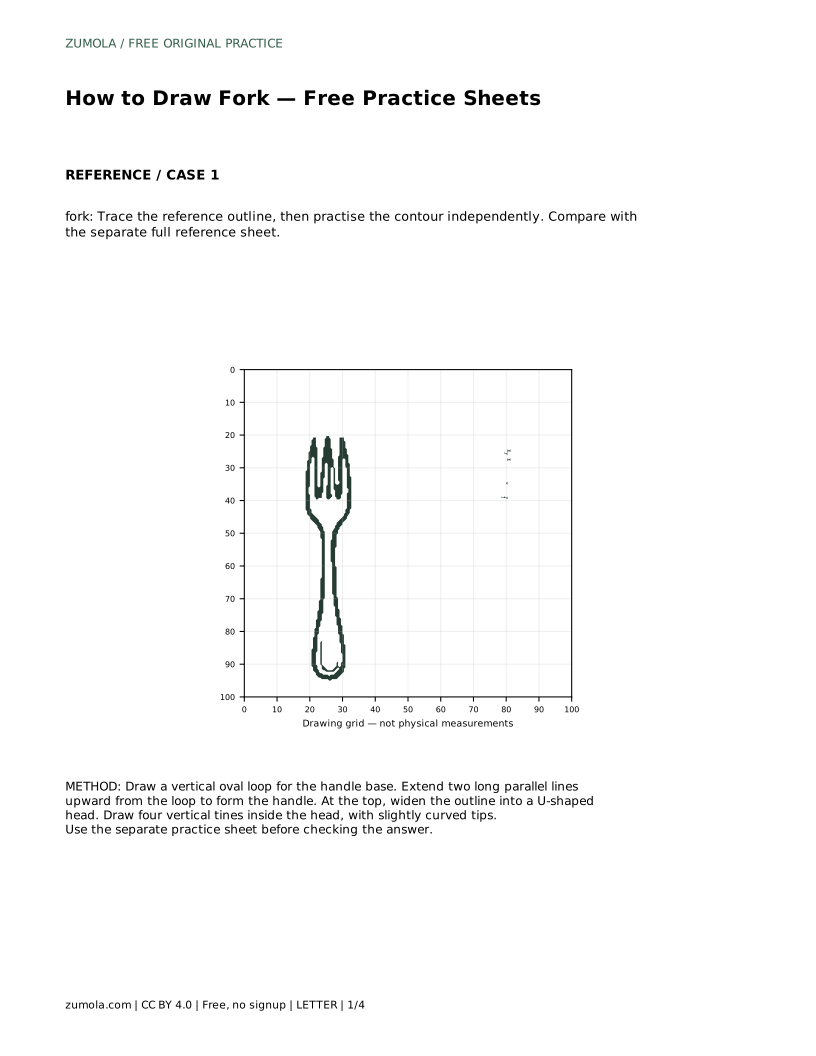
A grid sheet supports placement. Copy the reference onto the blank grid by matching where the outline crosses grid intersections. Work one section at a time: handle base, handle sides, head, then tines. A bounding frame and center guide help you place the silhouette before adding identifying details. On a partial sheet, complete the blank right-hand portion using the full reference, keeping the handle width and tine spacing consistent across the join.
Compare the handle length with the head width. On most forks the handle is clearly longer than the head is wide, and the head is only slightly wider than the handle. Check that the two handle sides stay parallel for most of their length. Confirm that the oval loop is centered under the handle rather than shifted to one side.
Look at the tines as a group. They should be similar in length and evenly spaced, with the outer two forming the sides of the U-shaped head. Slightly curved tips are fine, but avoid tines that cross or merge. If a tine looks too short, adjust its base or tip rather than redrawing the whole fork.
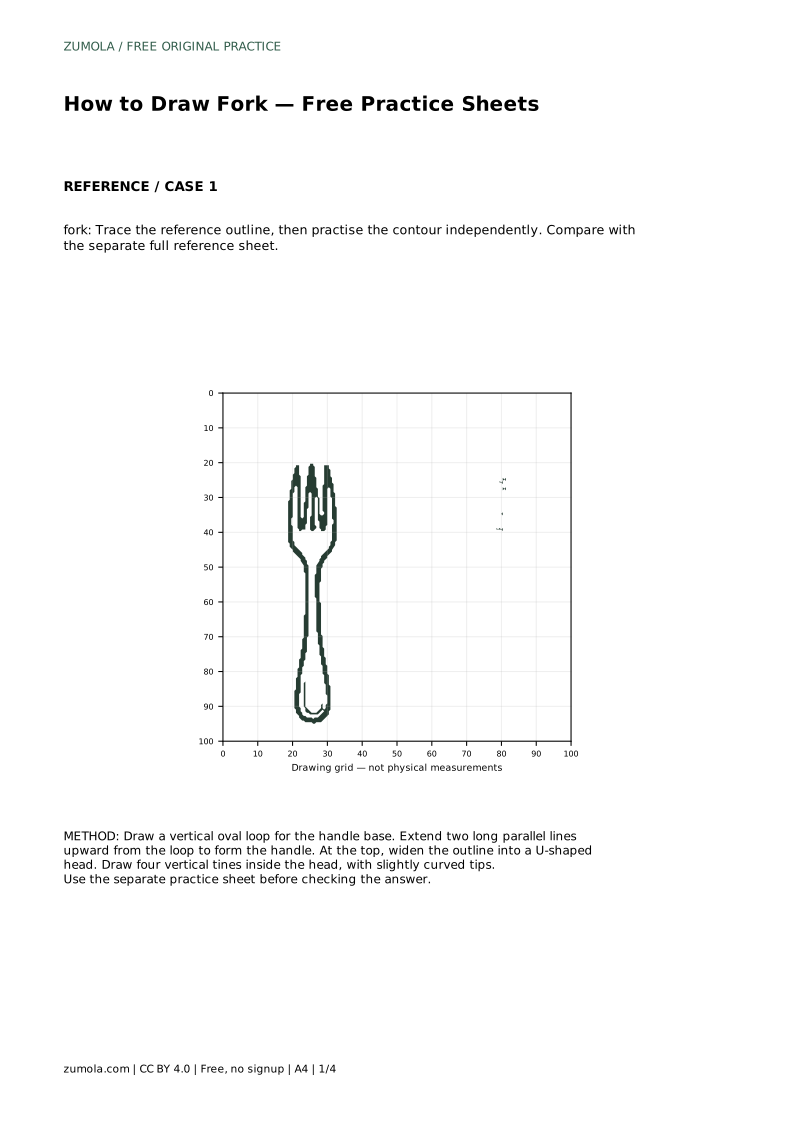
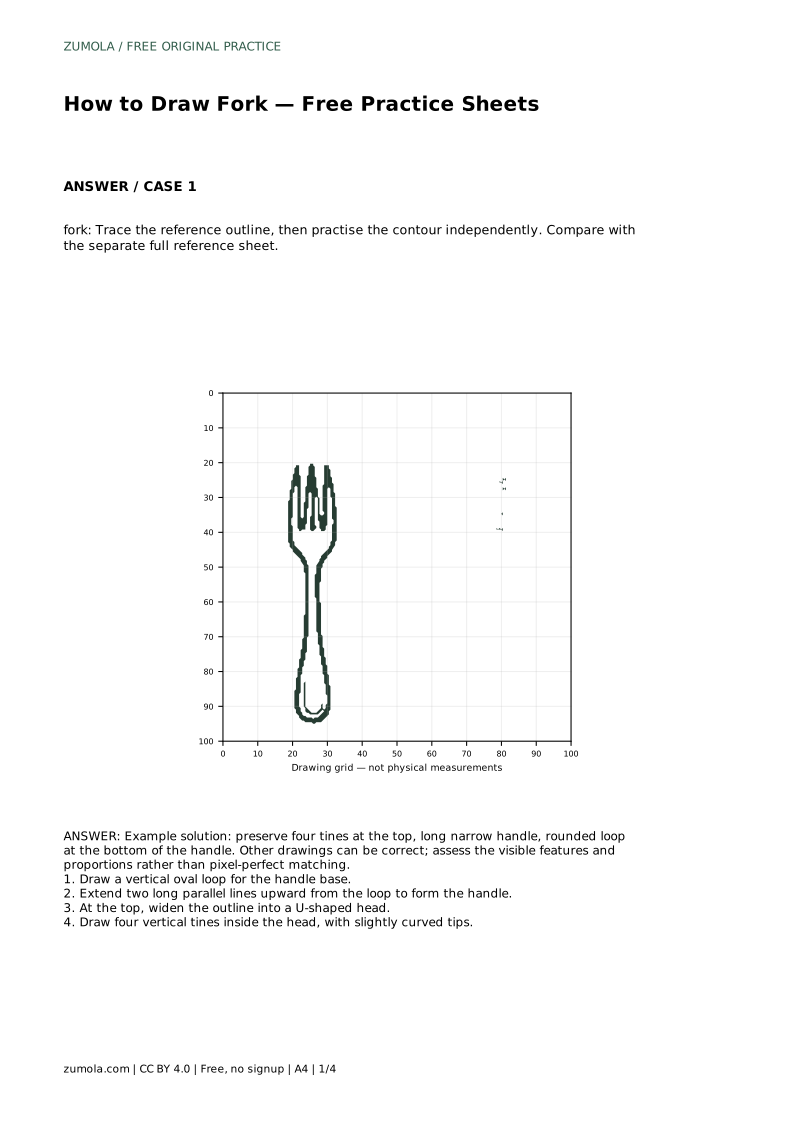
fork: Trace the reference outline, then practise the contour independently. Compare with the separate full reference sheet.
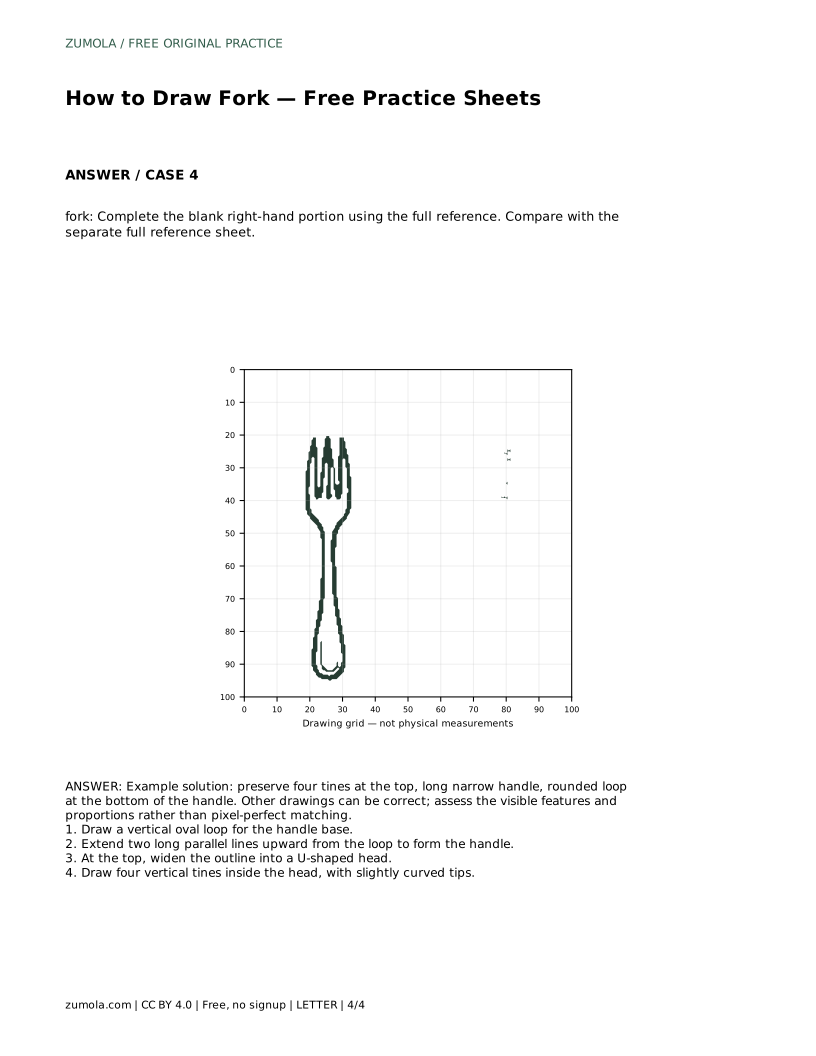
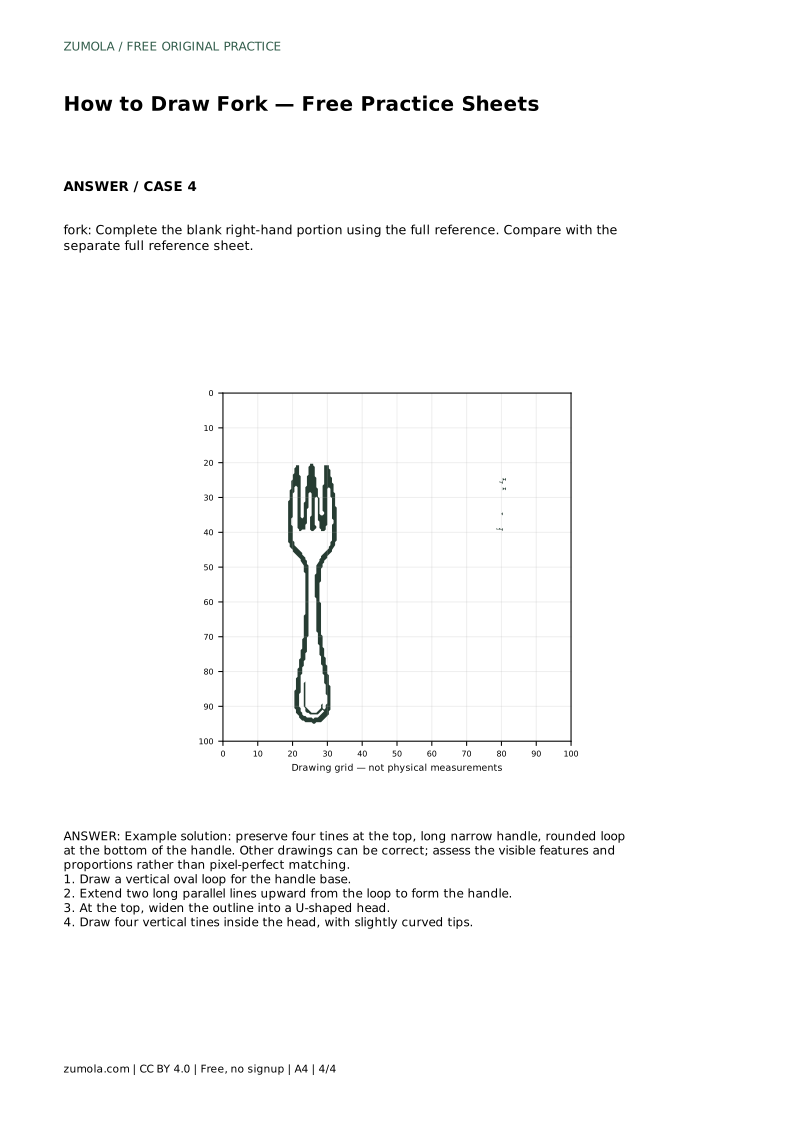
Example solution: preserve four tines at the top, long narrow handle, rounded loop at the bottom of the handle. Other drawings can be correct; assess the visible features and proportions rather than pixel-perfect matching. Draw a vertical oval loop for the handle base. Extend two long parallel lines upward from the loop to form the handle. At the top, widen the outline into a U-shaped head. Draw four vertical tines inside the head, with slightly curved tips.
No. Preserve the visible features: four tines at the top, a long narrow handle, and a rounded loop at the bottom. Other drawings can be correct, so assess features and proportions rather than pixel-perfect matching.
Draw the oval loop first, extend the parallel handle lines upward, widen the top into a U-shaped head, then add four vertical tines with slightly curved tips.
Complete the blank right-hand portion using the full reference. Keep the handle width and tine spacing consistent where your drawing meets the printed portion.
All drawing practice · Free coordinate paper
Original resources · CC BY 4.0 · Free for personal and classroom use with attribution.