Reference diagrams
LETTER · Download PDF
A4 · Download PDF
Free original resources
Learn an easy knife drawing by tracing, gridding, and completing a reference. Focus on the tapered blade, pointed tip, guard, rounded handle, rivets, and end hole.
Four original cases, with reference diagrams, practice sheets and worked answers. Everything is free; no signup required.
LETTER · Download PDF
A4 · Download PDF
LETTER · Download PDF
A4 · Download PDF
LETTER · Download PDF
A4 · Download PDF
Use A4 or US Letter to match your printer. Use the stated values and conditions to solve each exercise; diagrams are not physical measuring rulers.
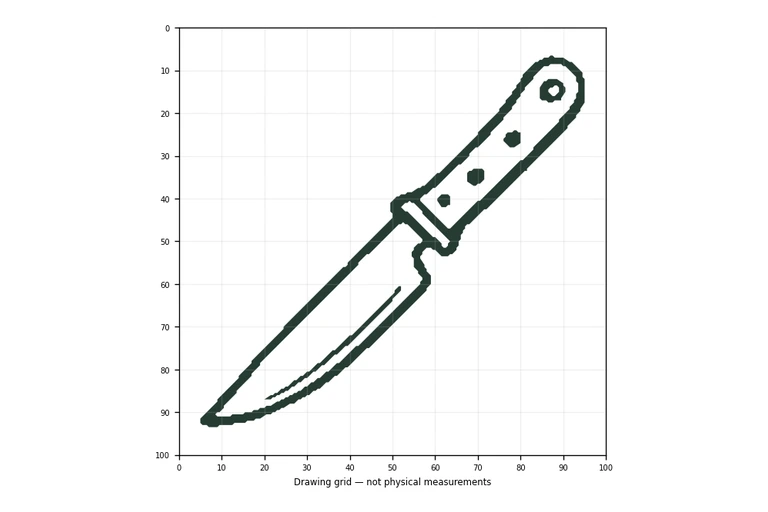
Drawing a knife is mostly a lesson in long, controlled shapes. The blade tapers from a pointed tip to a wider base, a small guard separates it from the handle, and the handle carries simple details such as rivets and an end hole. This page explains how to study those features, then practise them through tracing, grid copying, guided placement, and partial completion. Each method trains observation rather than memorised strokes, so your finished drawing can differ from the reference and still be correct.
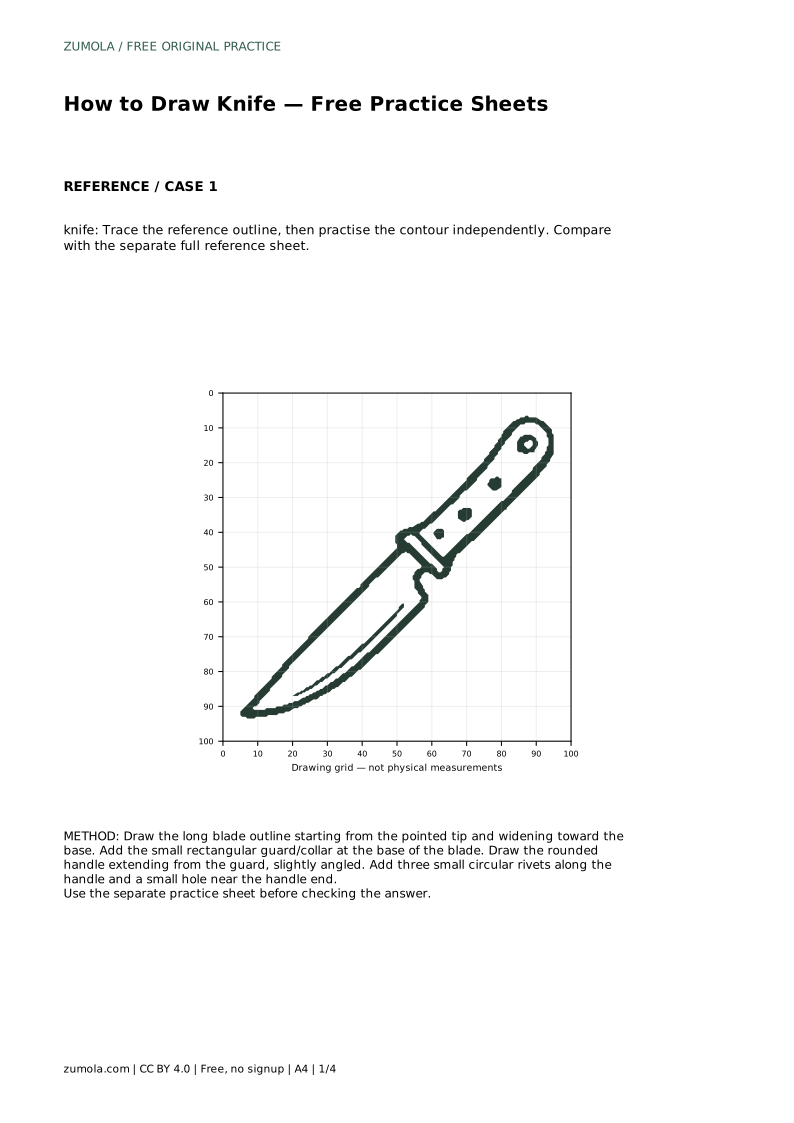
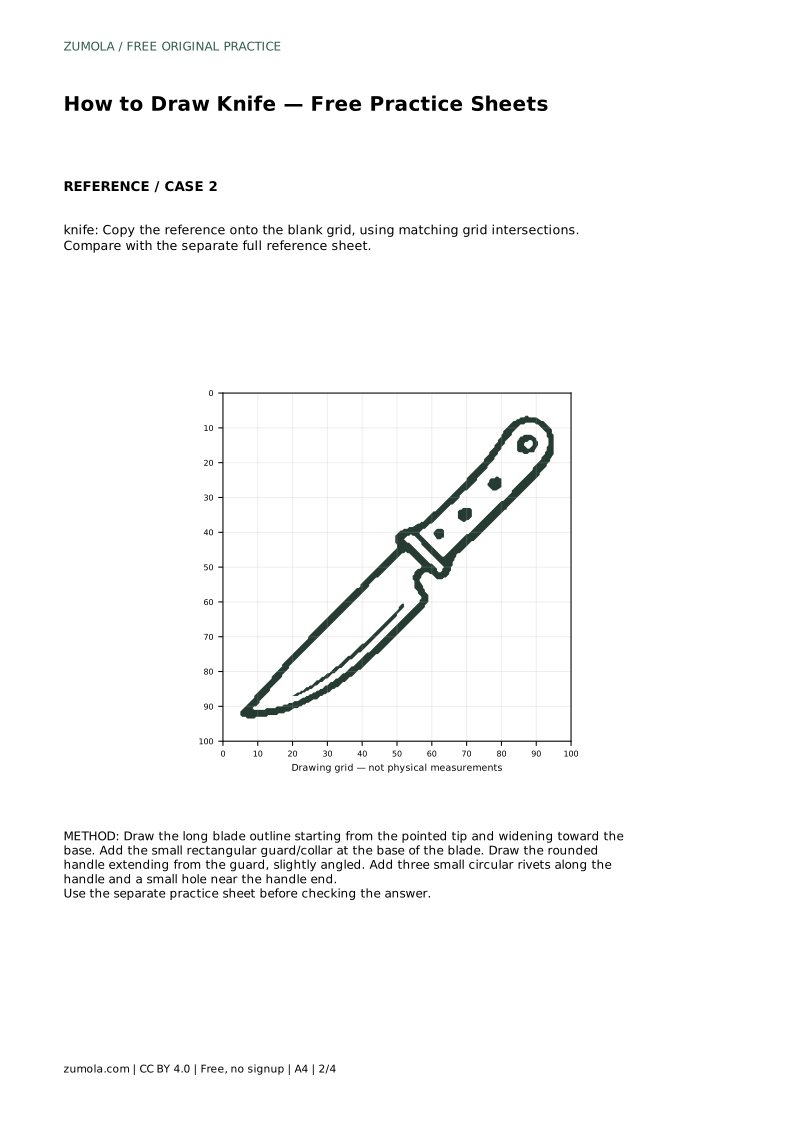
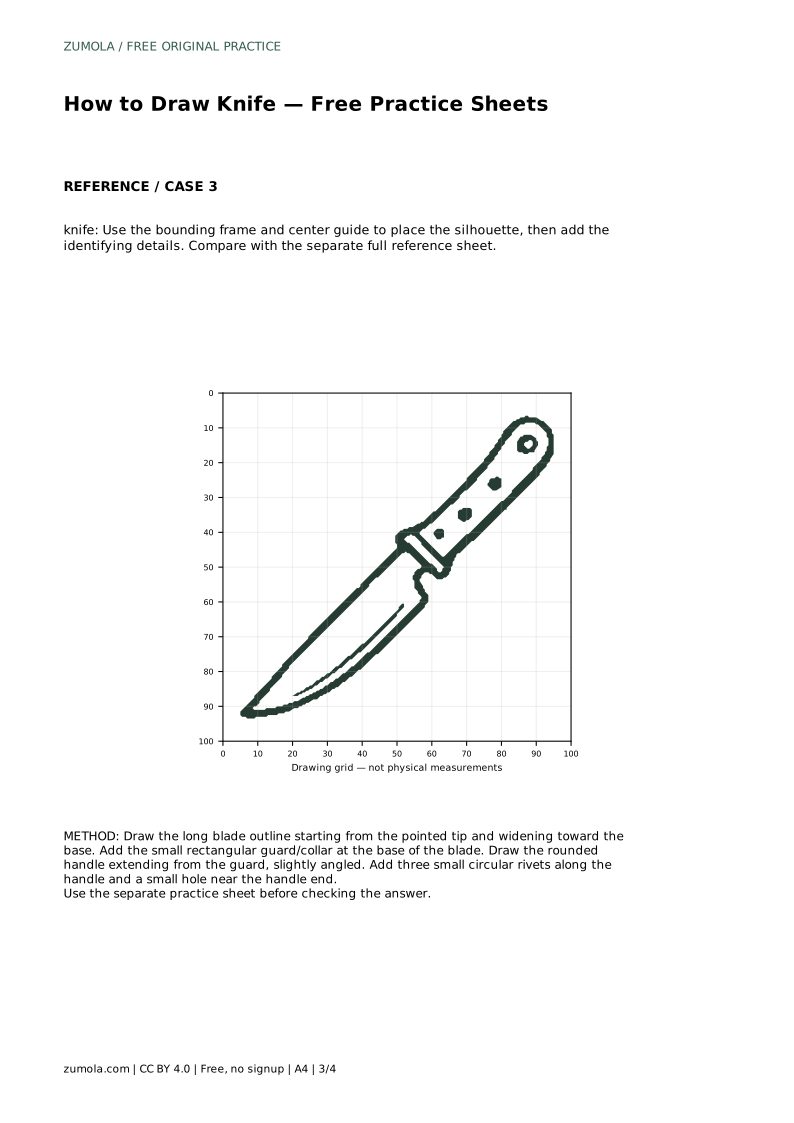
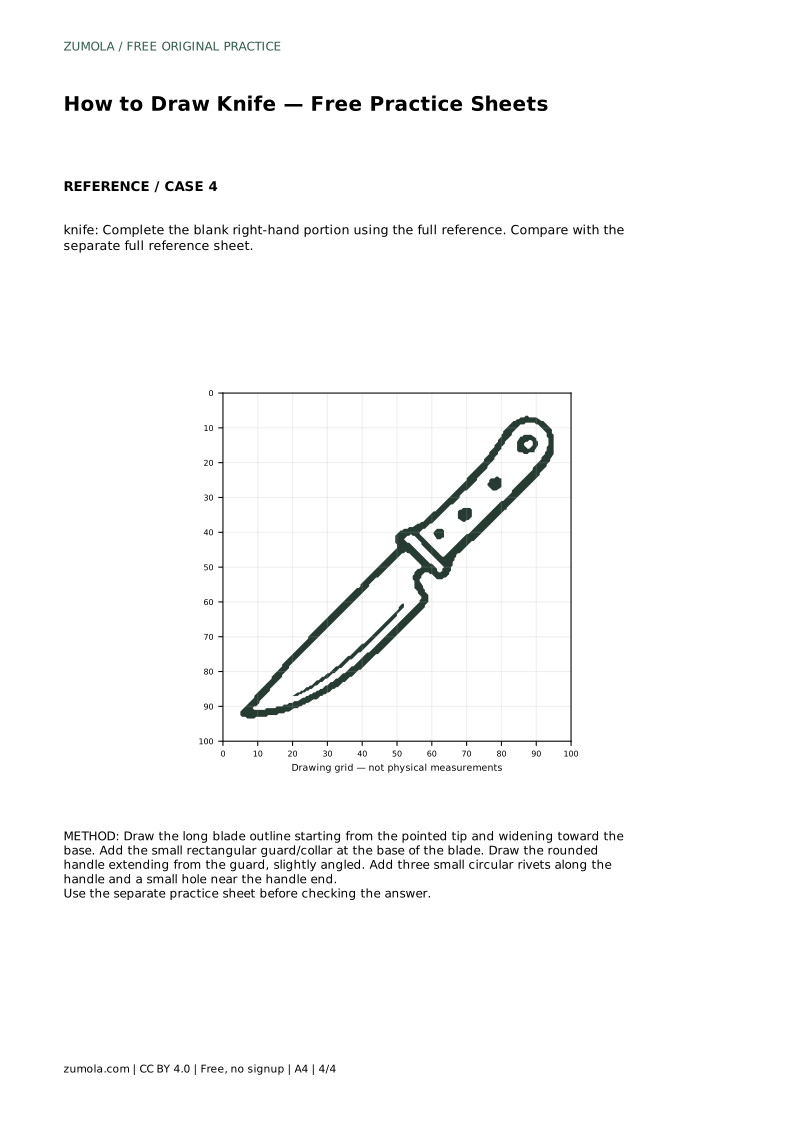
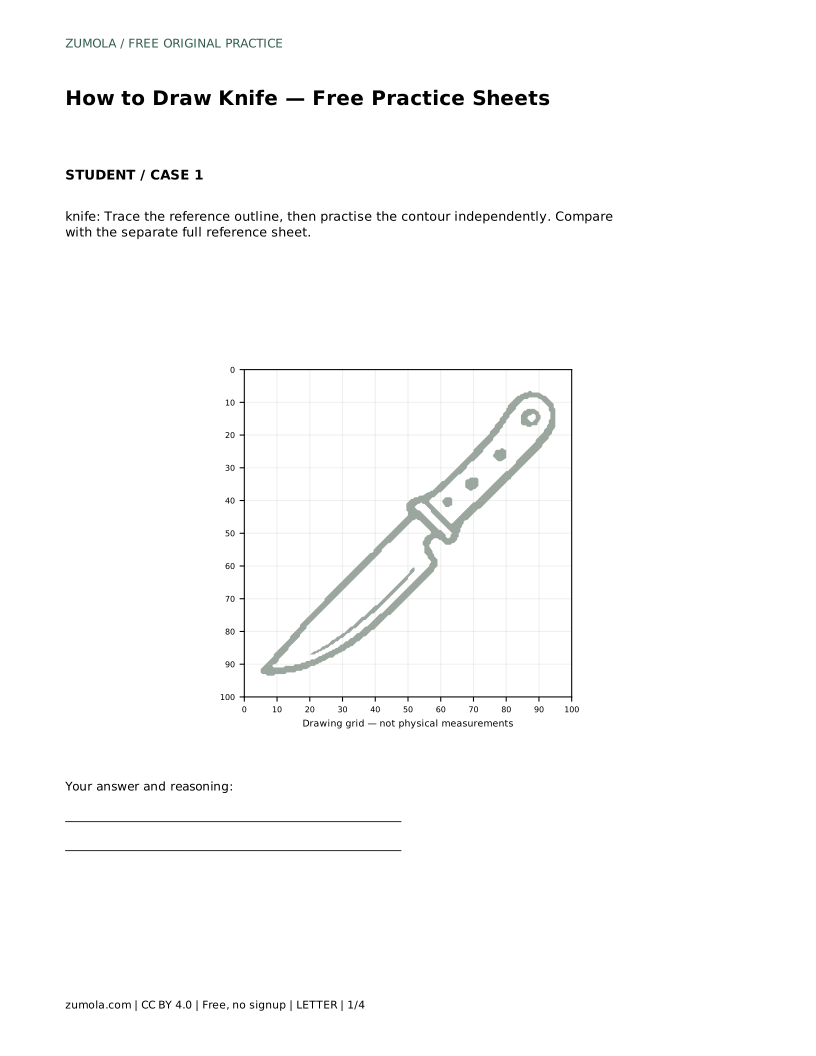
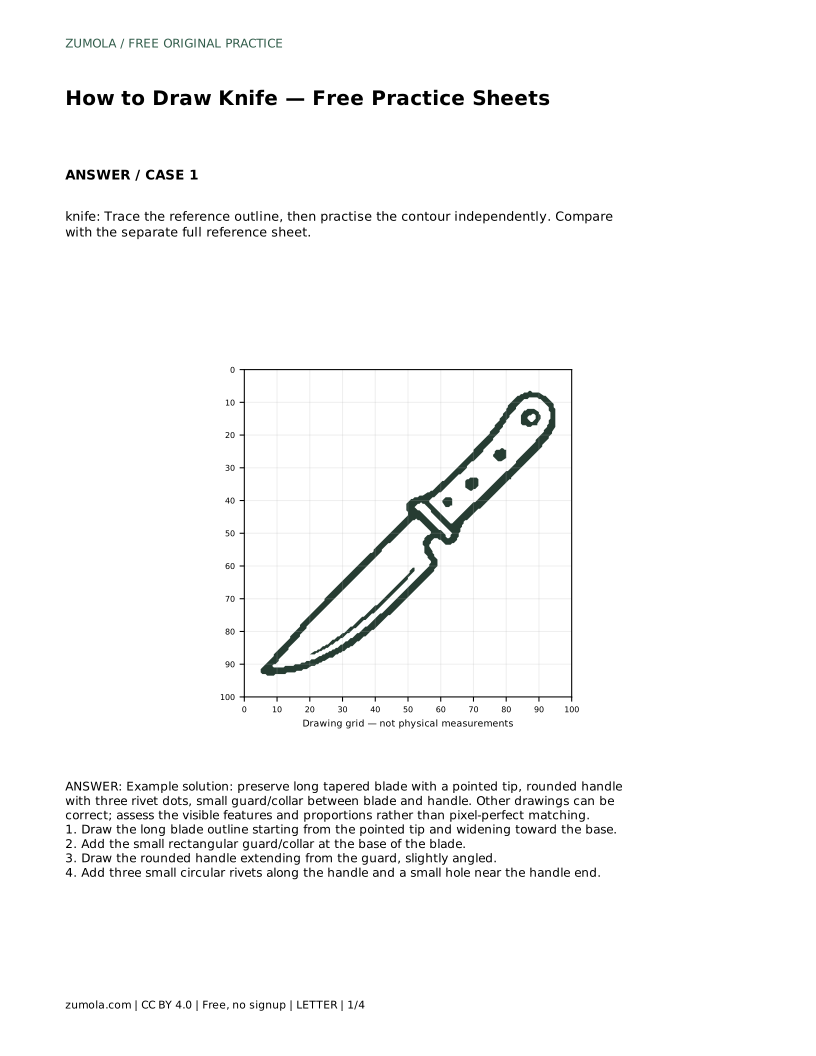
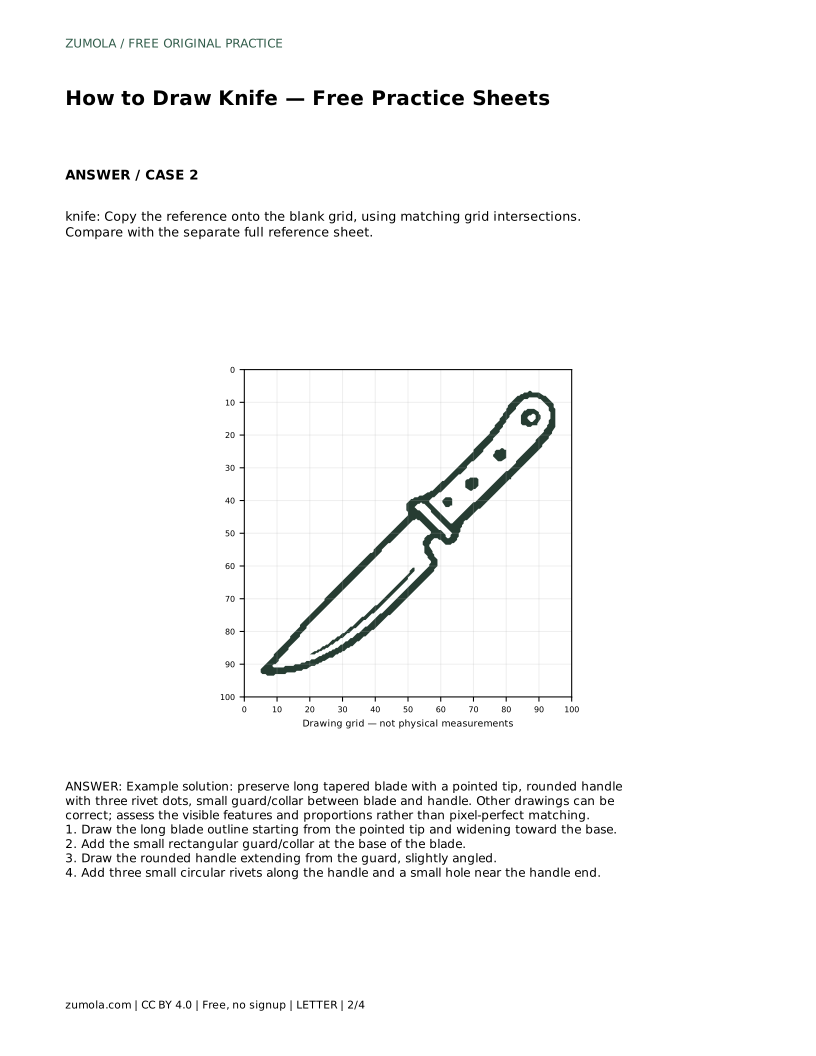
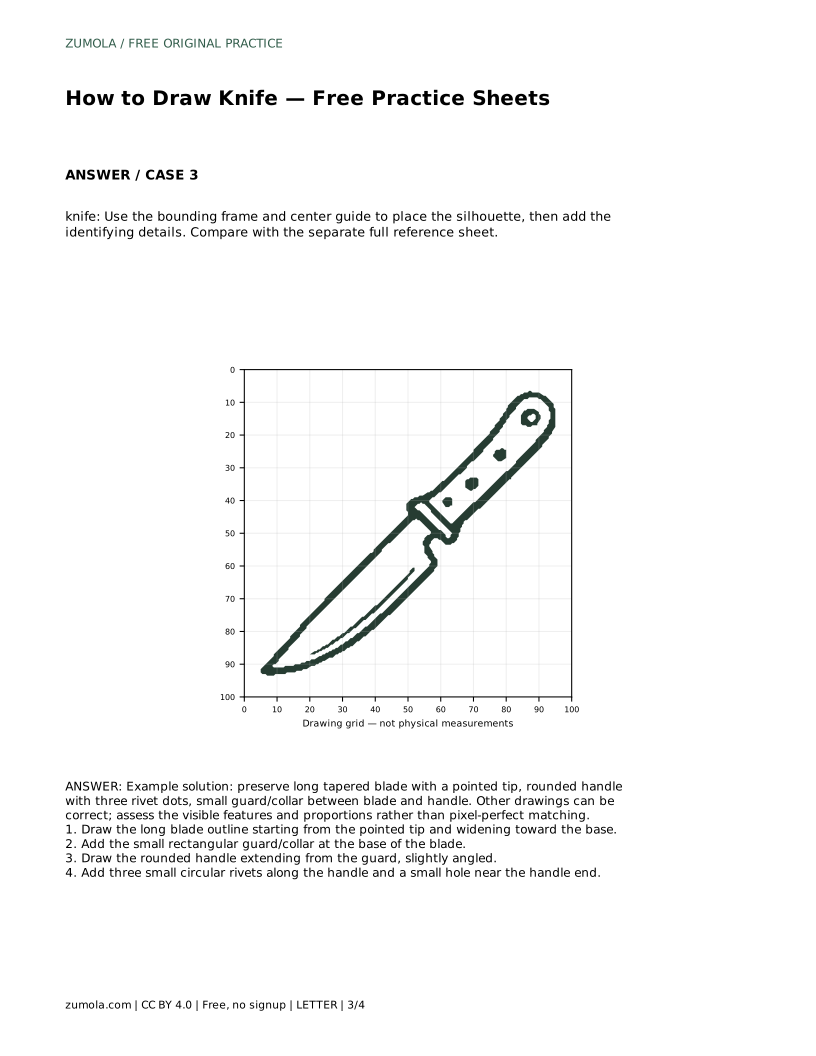
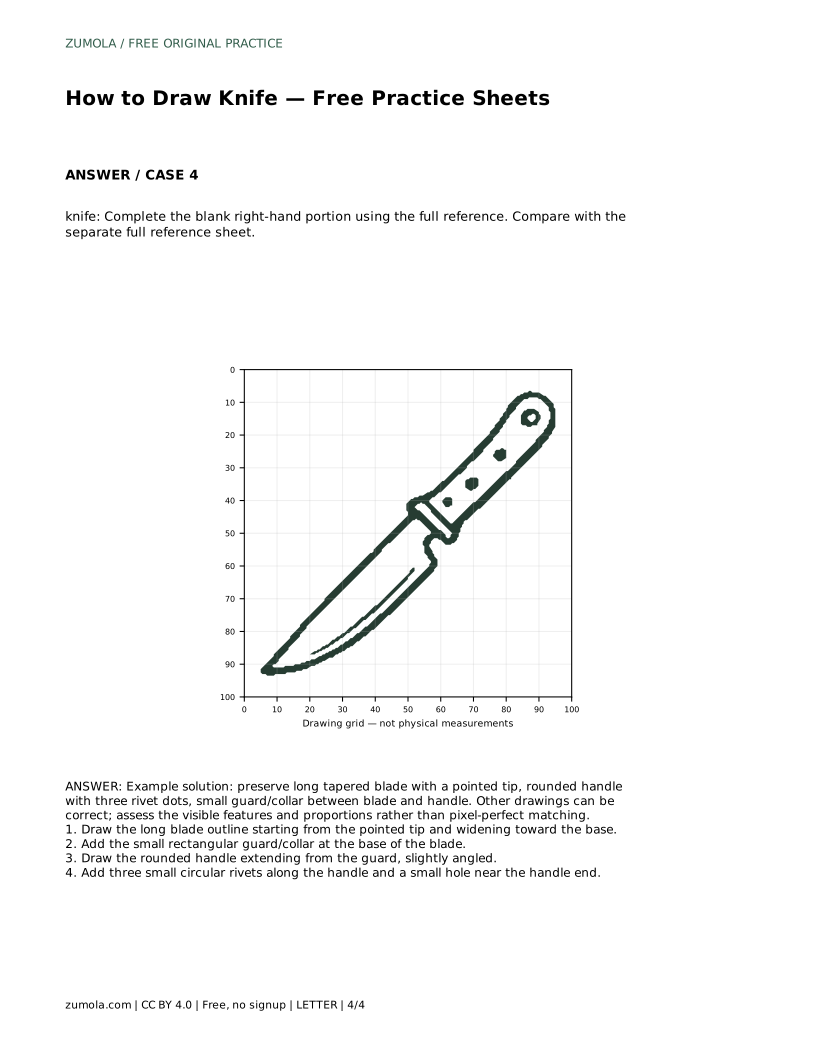
Before drawing, look at the reference and name its visible parts in order: pointed tip, long blade that widens toward the base, small rectangular guard or collar, rounded handle set at a slight angle, three small circular rivets along the handle, and a small hole near the handle end. Treating these as a sequence of connected shapes keeps the proportions readable. The blade is the longest element, so it should dominate the silhouette; the guard is short and sits between blade and handle; the handle is rounded rather than sharply angular.
Proportion matters more than exact line placement. Compare the blade length with the handle length, and check that the tip stays pointed rather than blunt. The handle should look comfortable to grip, which usually means a gentle curve rather than a straight tube. Keep the rivets evenly spaced and small, and place the end hole close to the rounded end without touching the outline.
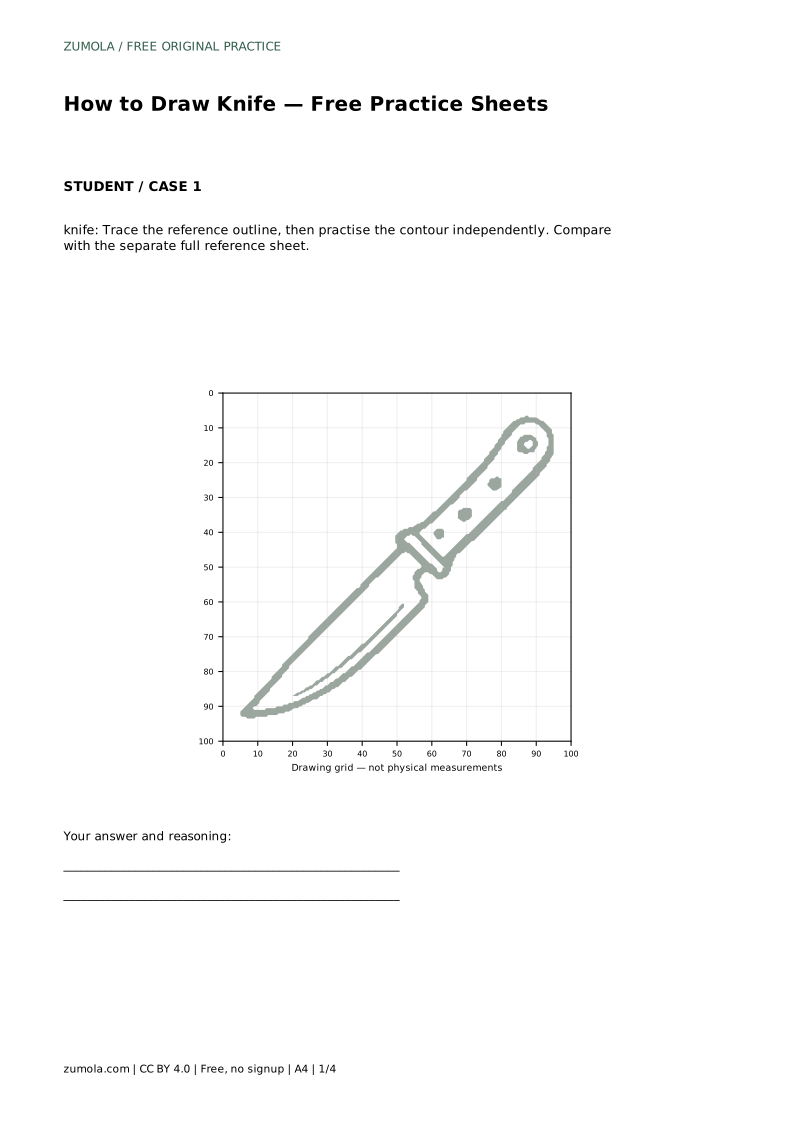
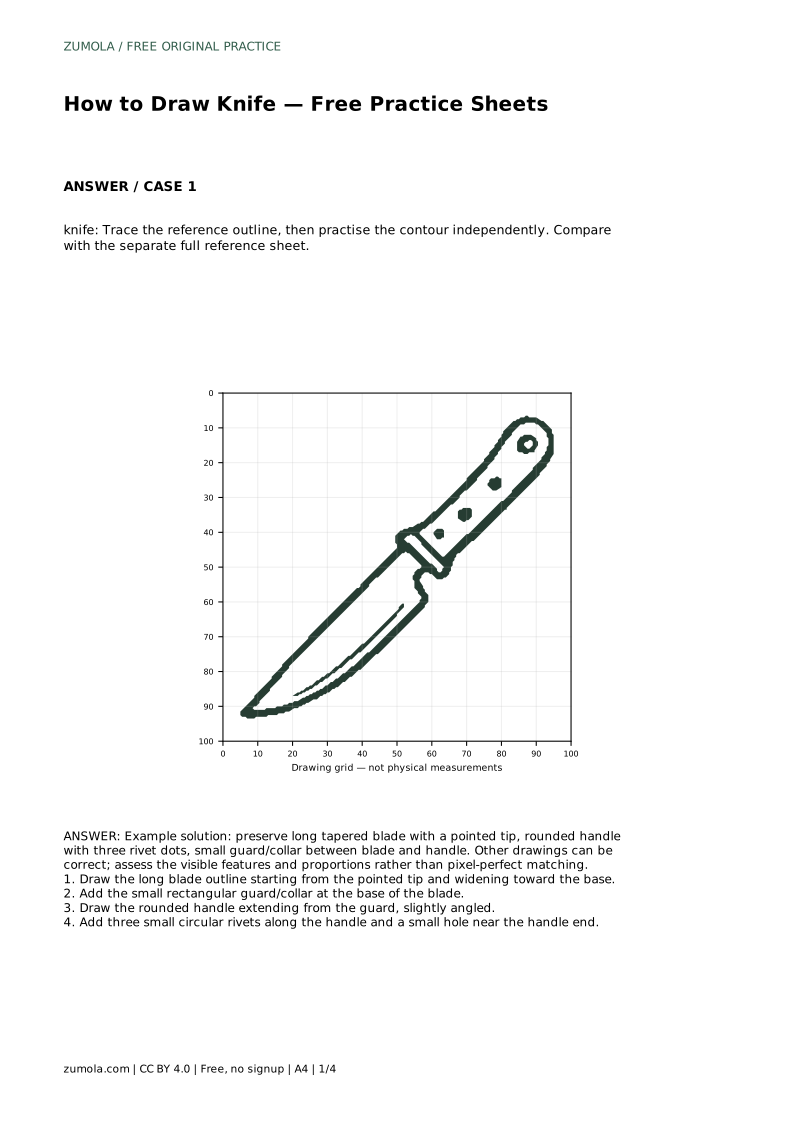
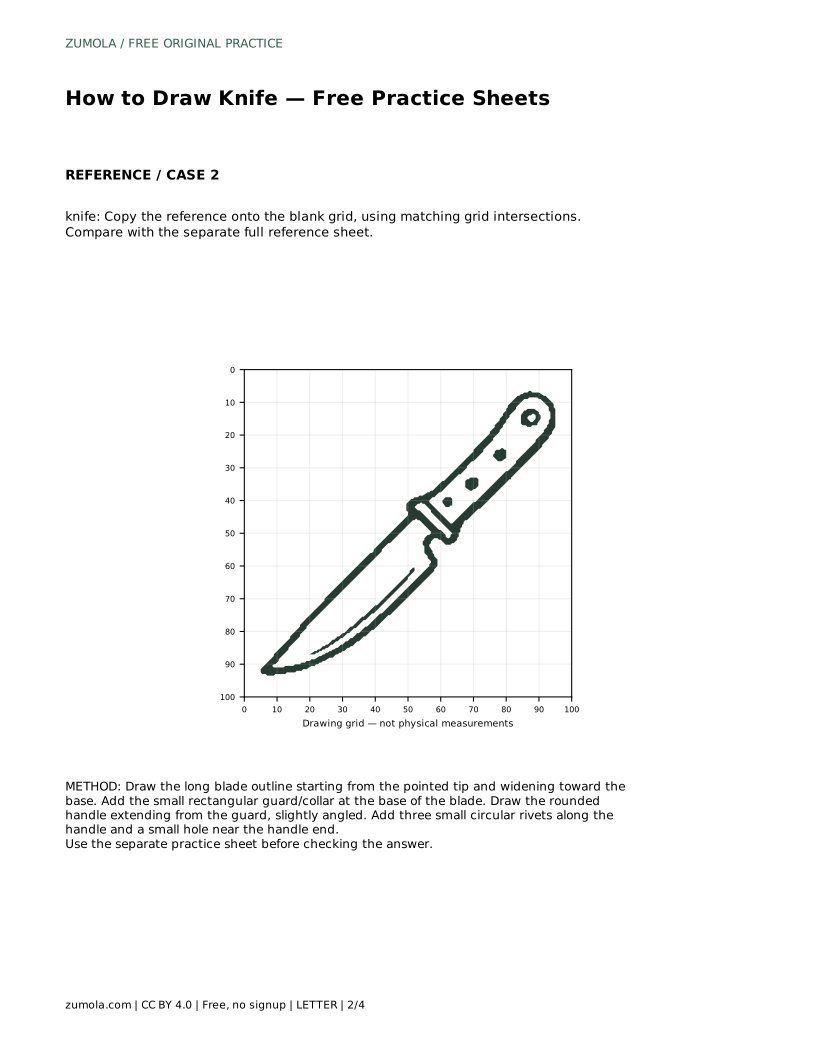
Tracing the reference outline helps your hand learn the long taper of the blade and the curve of the handle. Move slowly along the blade edge so the line stays smooth, then trace the guard and handle as separate short sections. After tracing, set the reference aside and draw the same knife on blank paper. This second attempt is where learning happens: you must recall the order of parts and the relative lengths without following a line.
Compare your independent drawing with the separate full reference sheet rather than with your traced copy. Ask whether the tip is pointed, the blade widens toward the base, the guard is present, the handle is rounded and slightly angled, and the three rivets plus end hole are visible. Small differences in angle or curve are acceptable; missing or misplaced features are the useful things to correct.
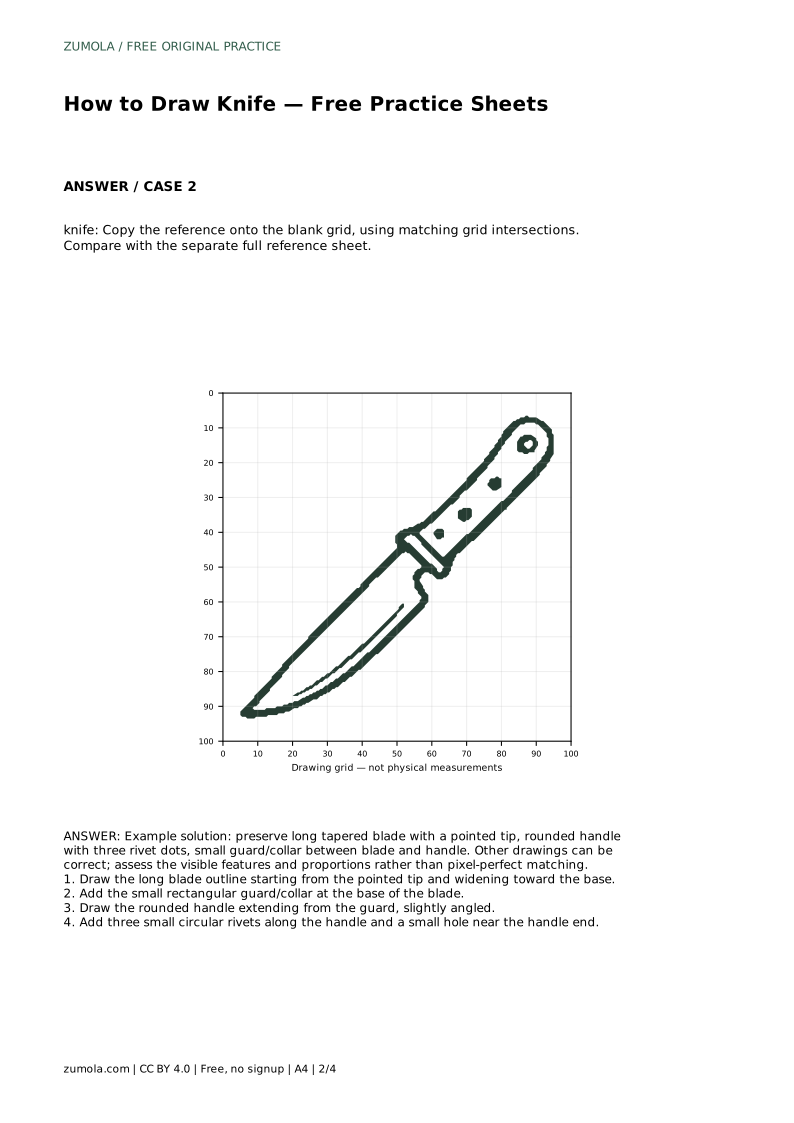
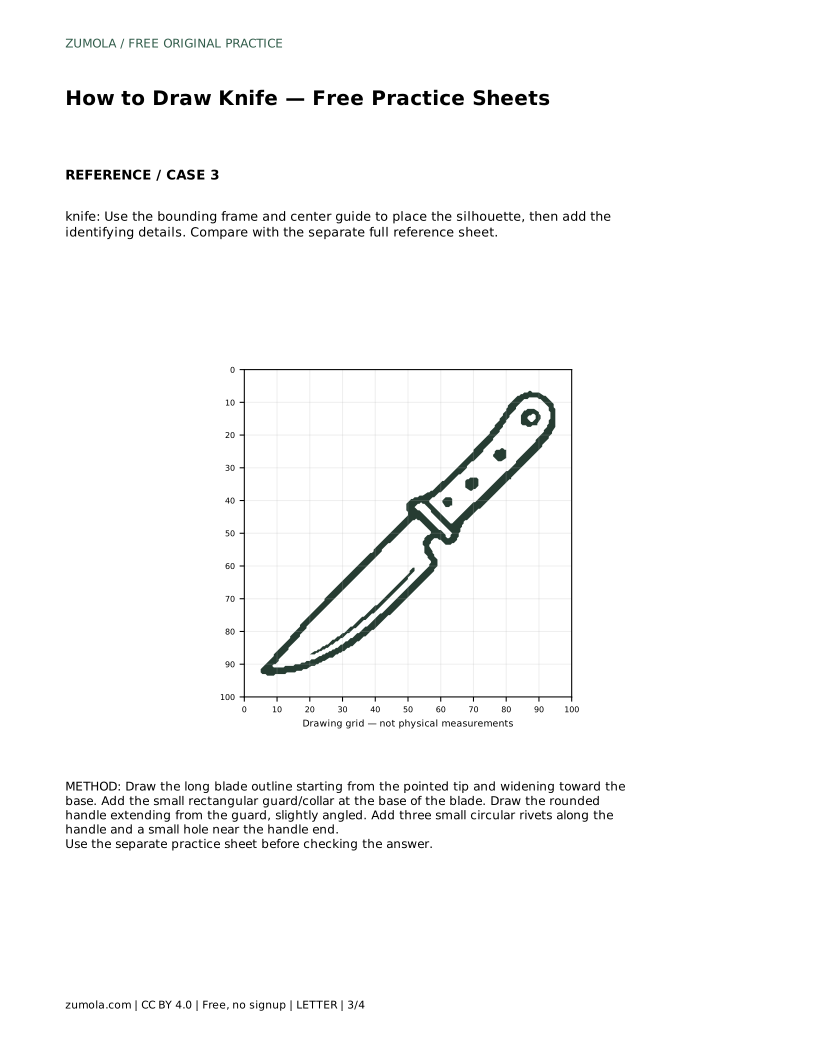
A grid turns the drawing into a set of small placement decisions. Copy the reference onto the blank grid by matching where the outline crosses grid intersections. Start with the pointed tip, then follow the blade edges to the guard, and finish with the handle curve. The grid helps you keep the blade long and the handle proportionate instead of shrinking one part to fit the page.
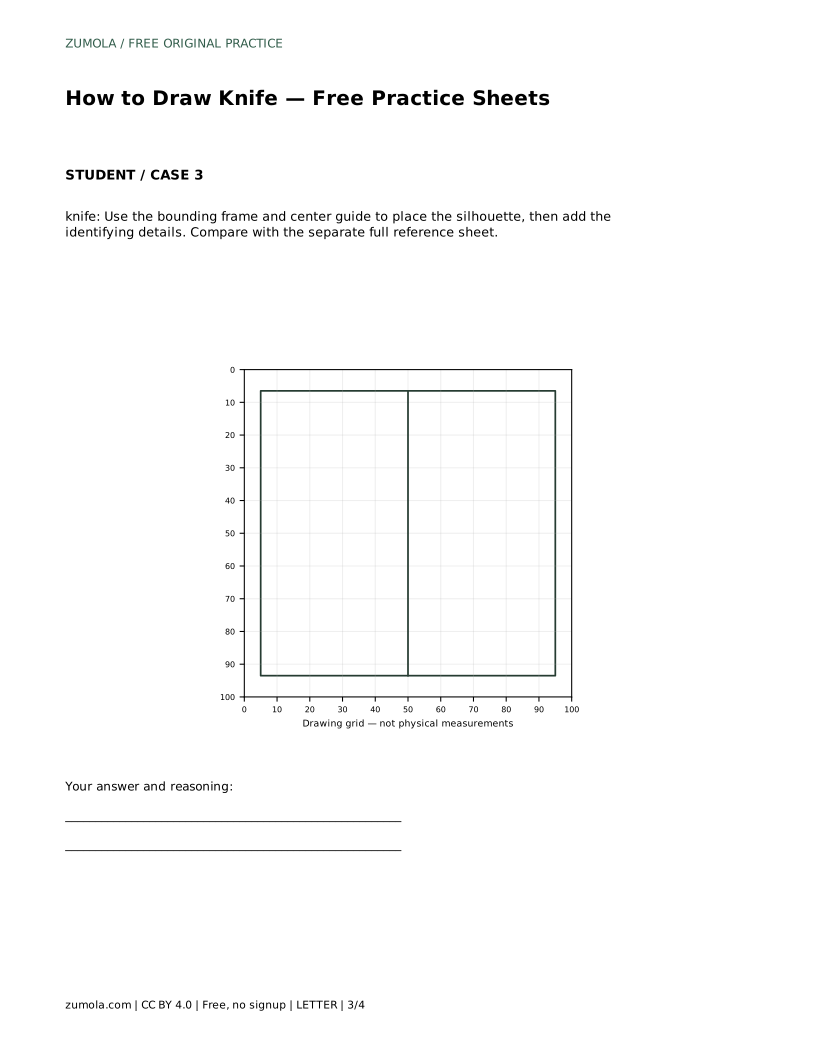
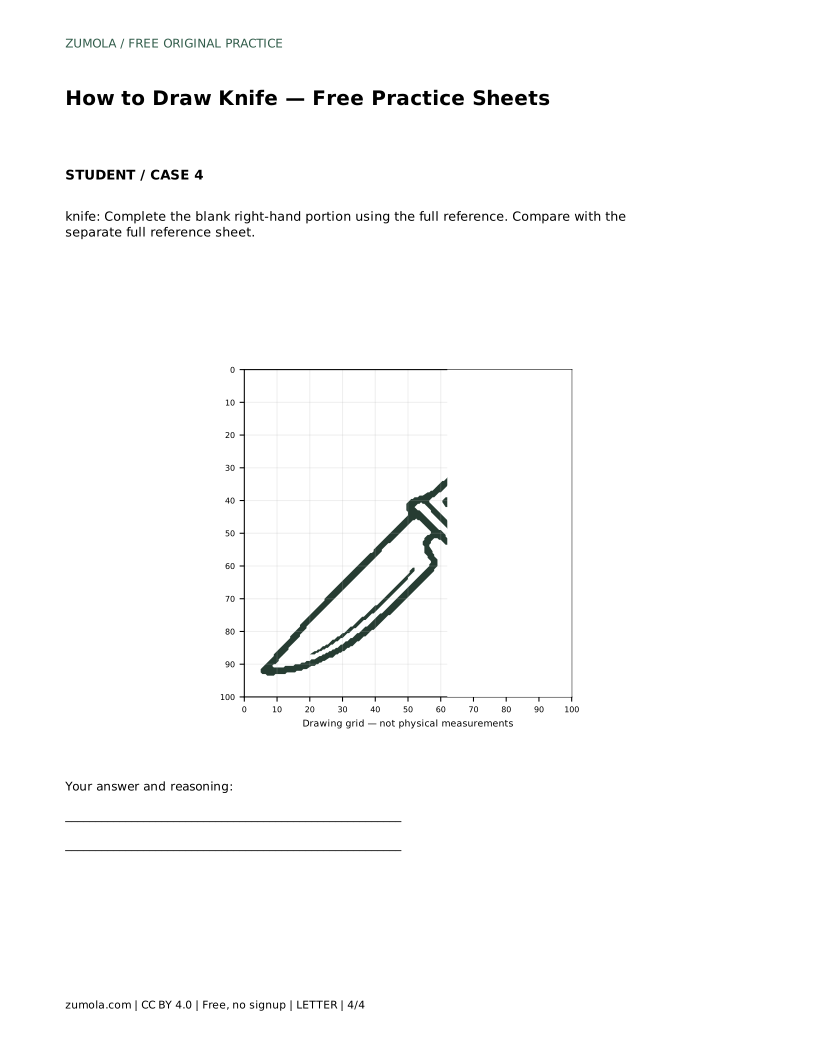
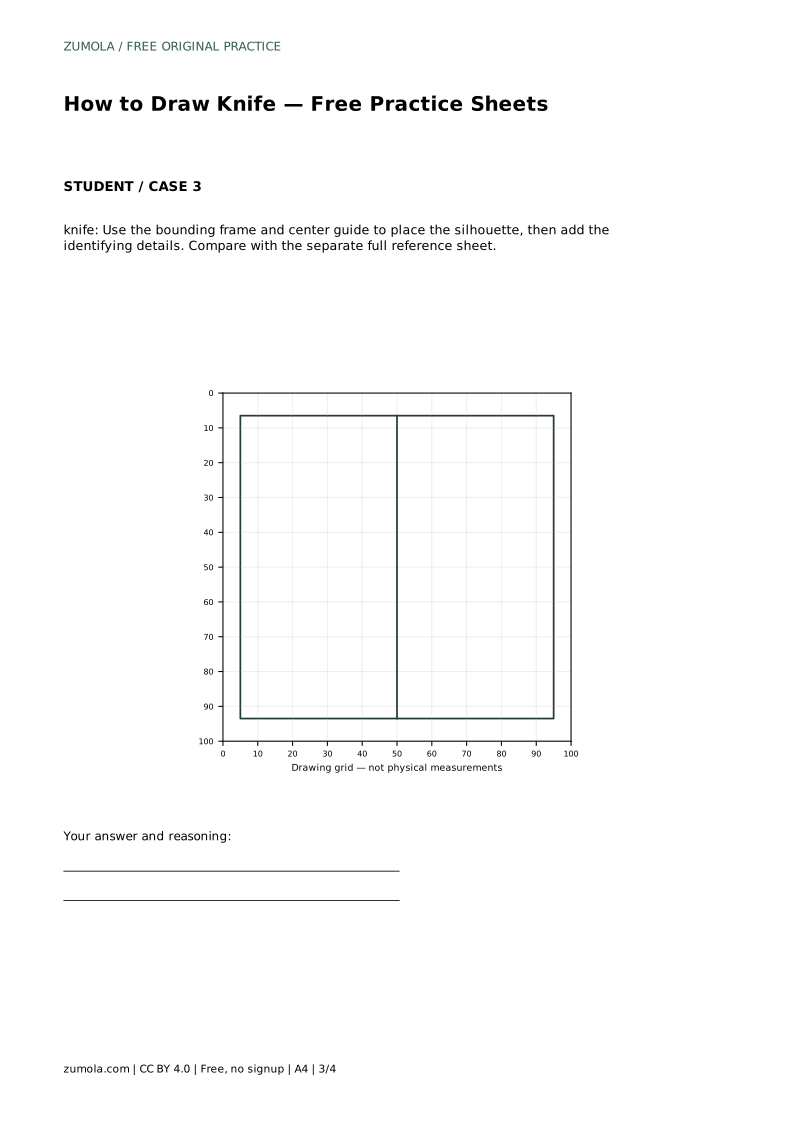
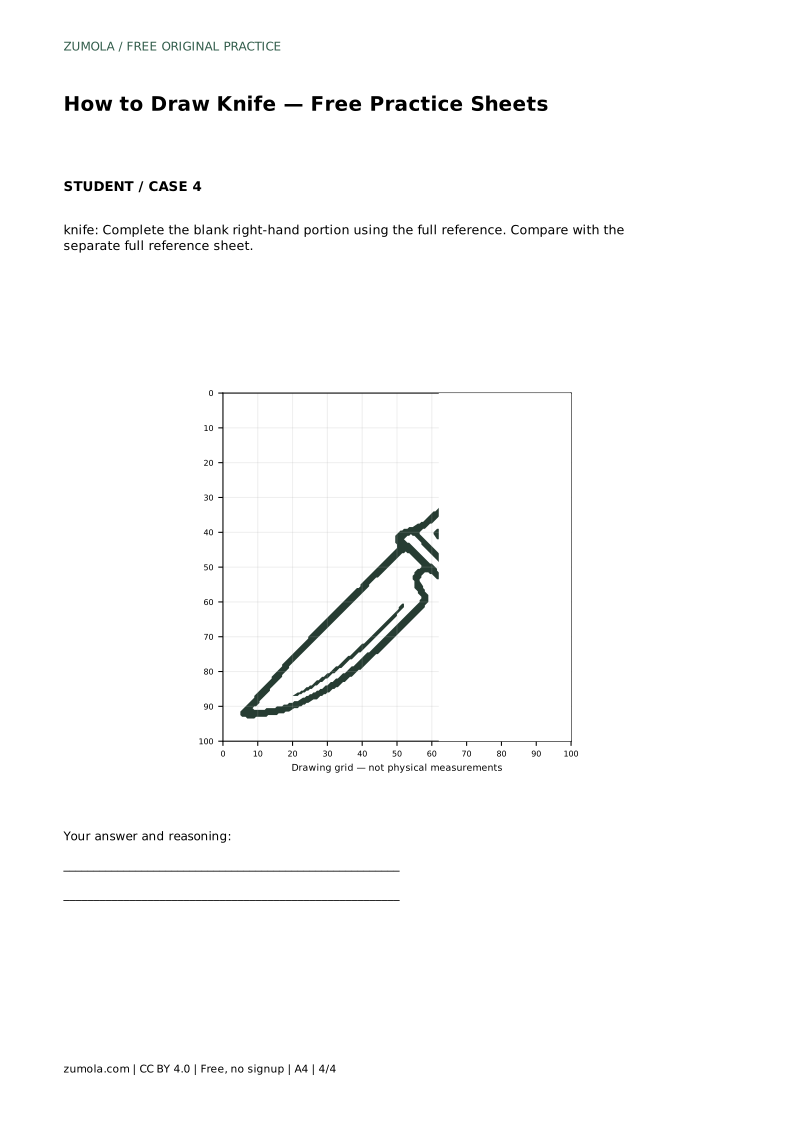
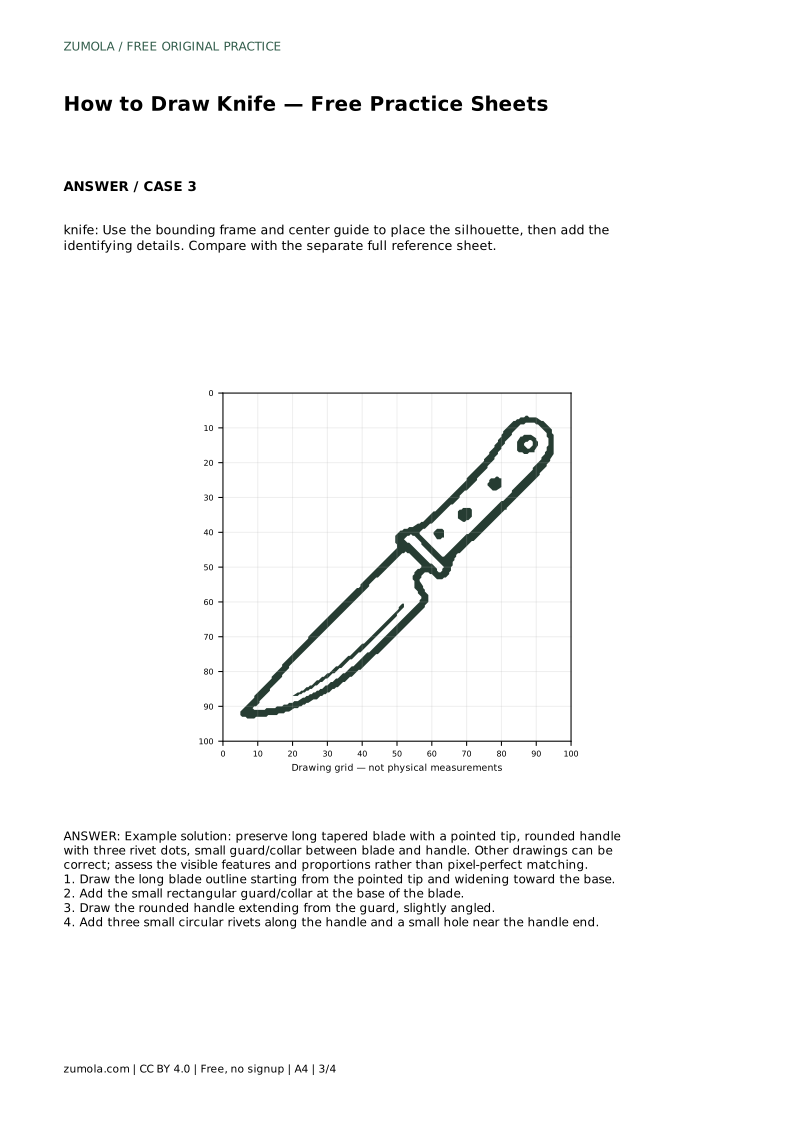
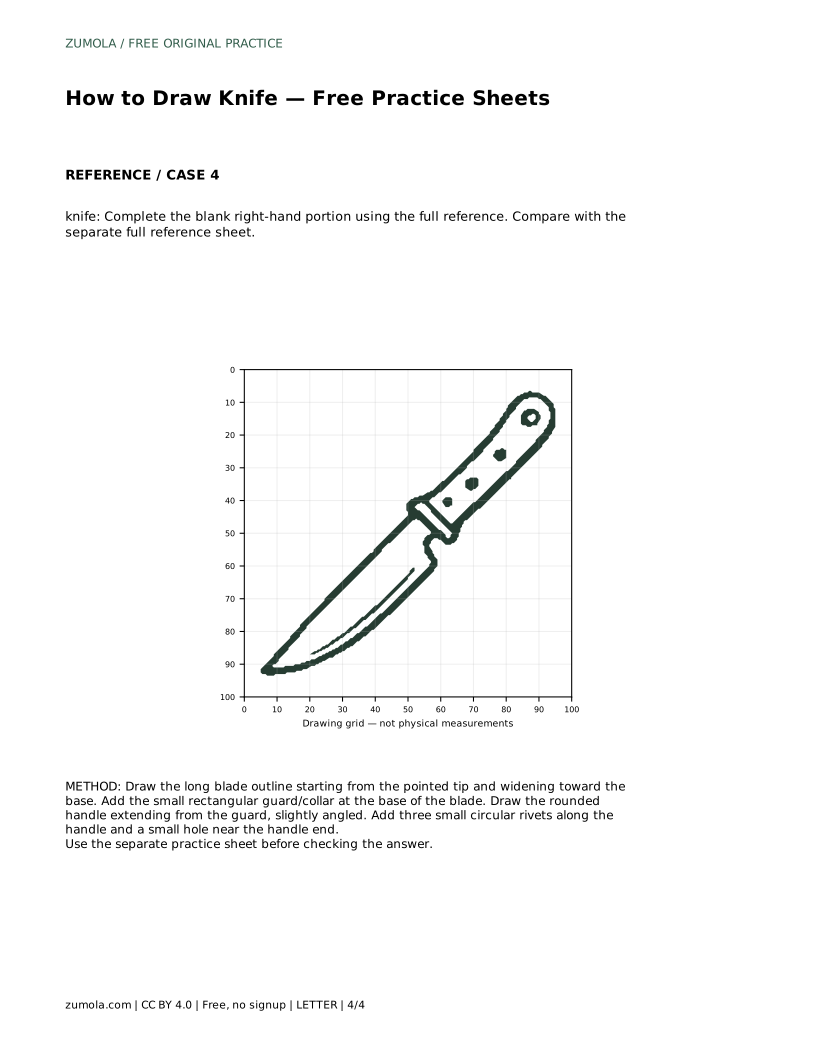
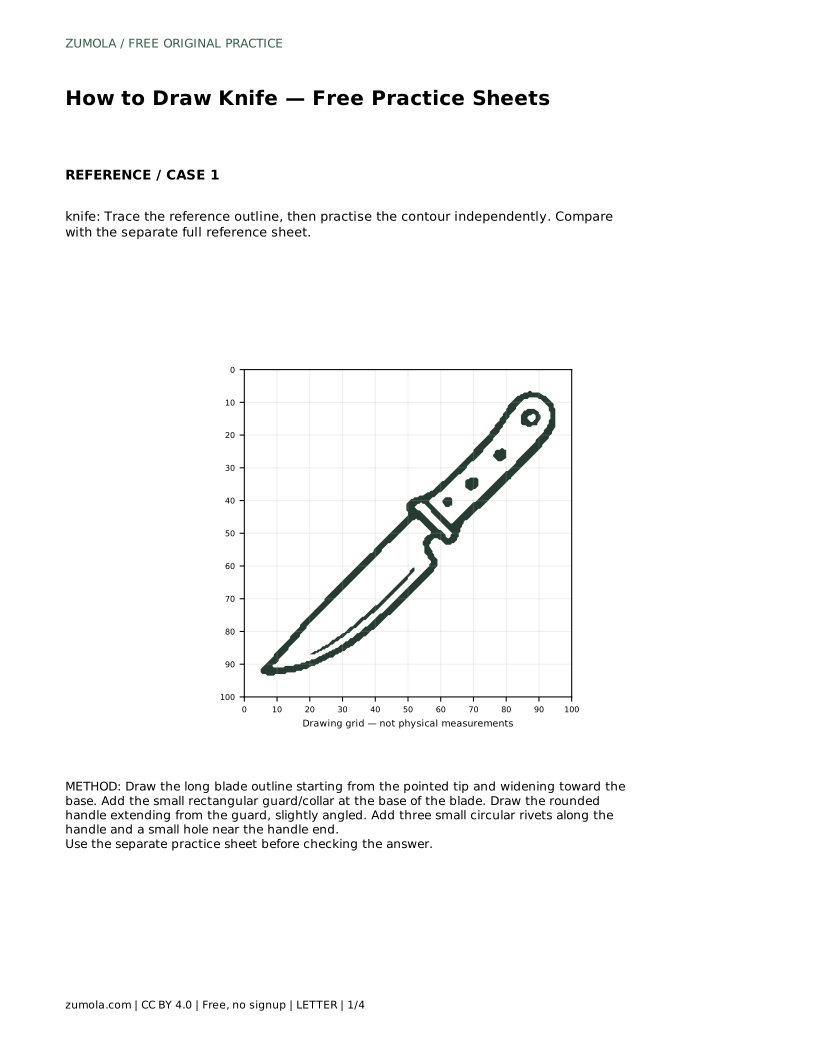
A bounding frame and centre guide work differently: they establish the overall space first. Place the silhouette inside the frame so the knife fills it sensibly, using the centre guide to judge whether the blade and handle are balanced. Then add the identifying details: guard, three rivets, and end hole. For partial-completion practice, use the full reference to finish the blank right-hand portion, matching the visible left side so the two halves form one coherent knife.
Because drawings can be correct in different ways, judge visible features and proportions rather than pixel-perfect matching. A strong drawing shows a long tapered blade with a pointed tip, a small guard between blade and handle, a rounded handle at a slight angle, three small rivets, and a hole near the handle end. Lines should be smooth enough that each part reads clearly. If one feature is weak, redraw only that section rather than starting over.
knife: Trace the reference outline, then practise the contour independently. Compare with the separate full reference sheet.
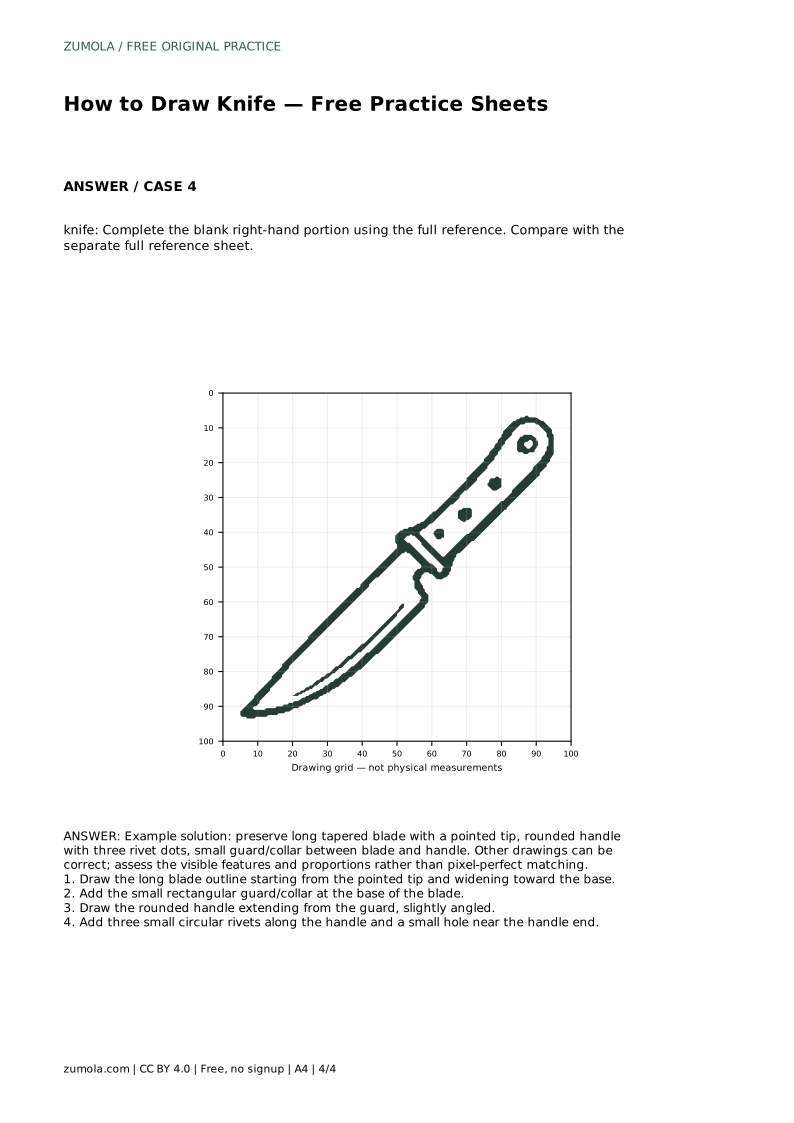
Example solution: preserve long tapered blade with a pointed tip, rounded handle with three rivet dots, small guard/collar between blade and handle. Other drawings can be correct; assess the visible features and proportions rather than pixel-perfect matching. Draw the long blade outline starting from the pointed tip and widening toward the base. Add the small rectangular guard/collar at the base of the blade. Draw the rounded handle extending from the guard, slightly angled. Add three small circular rivets along the handle and a small hole near the handle end.
No. Several drawings can be correct. Assess the visible features and proportions, such as the pointed tapered blade, guard, rounded handle, three rivets, and end hole, rather than pixel-perfect matching.
Practise the long blade taper from pointed tip to wider base, then add the guard and rounded handle. These three shapes carry most of the knife's identity.
Complete the blank right-hand portion using the full reference, matching the visible left side so the blade, guard, handle, rivets, and end hole form one coherent drawing.
All drawing practice · Free coordinate paper
Original resources · CC BY 4.0 · Free for personal and classroom use with attribution.