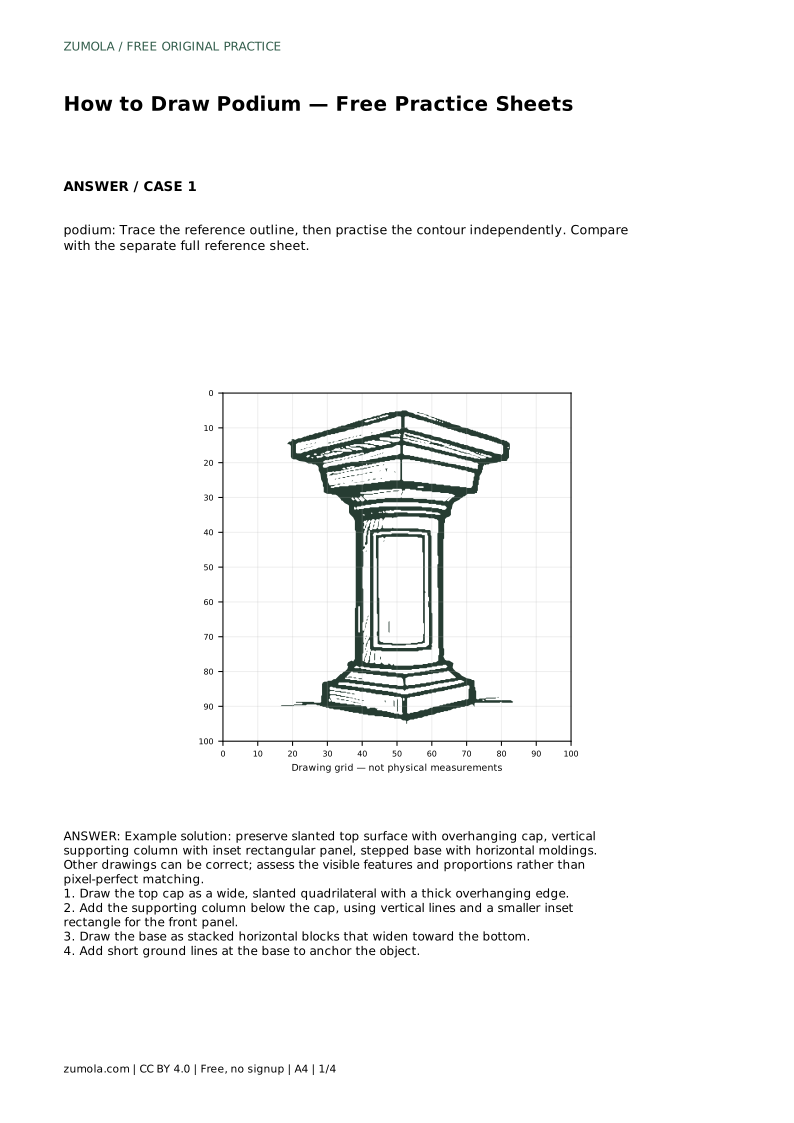
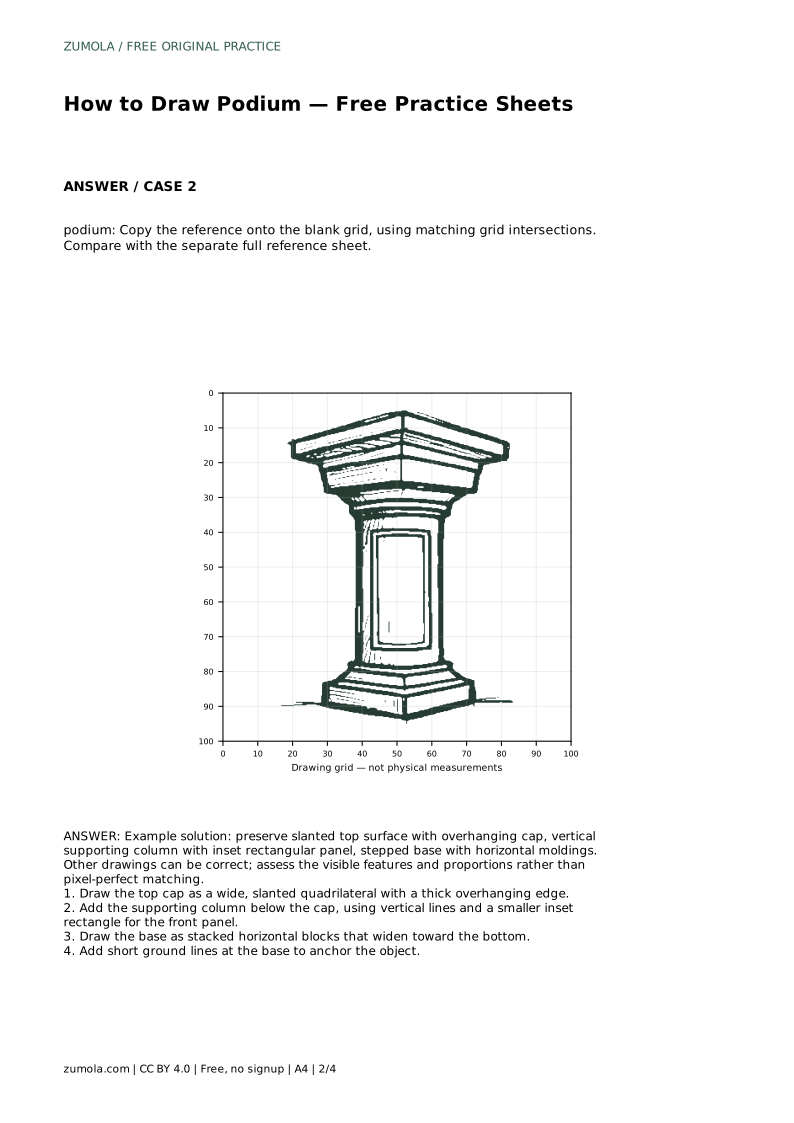
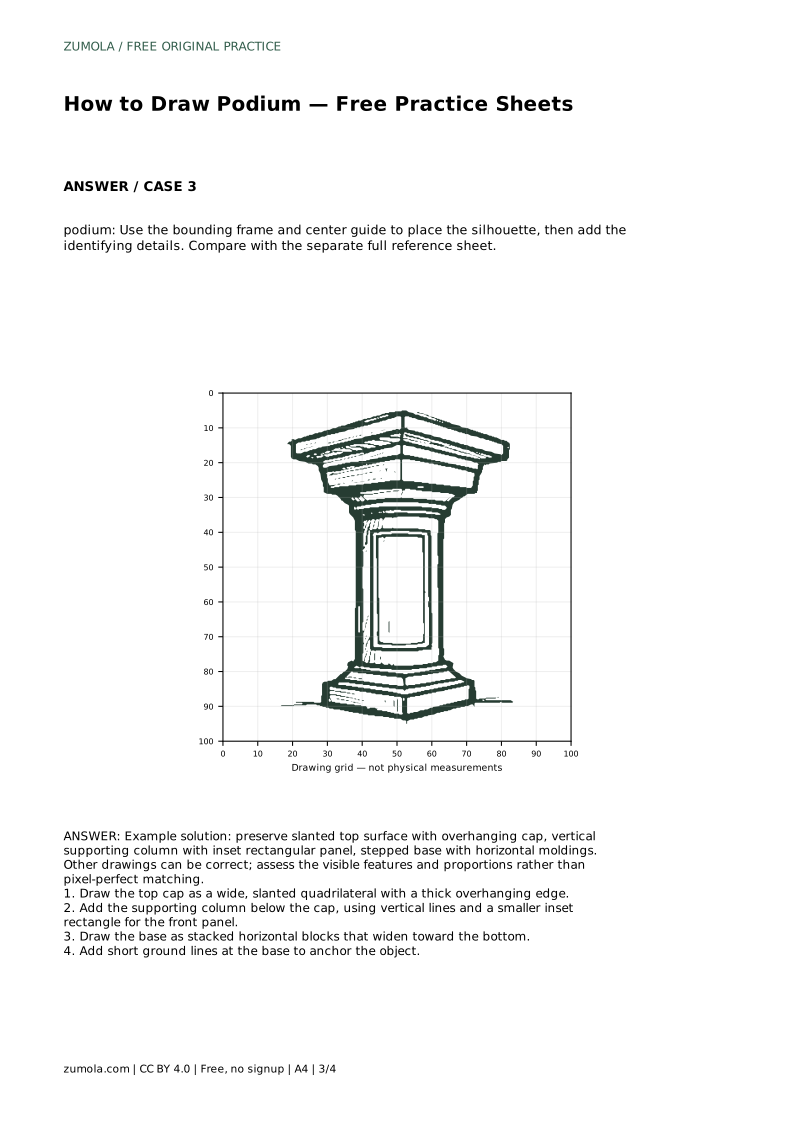
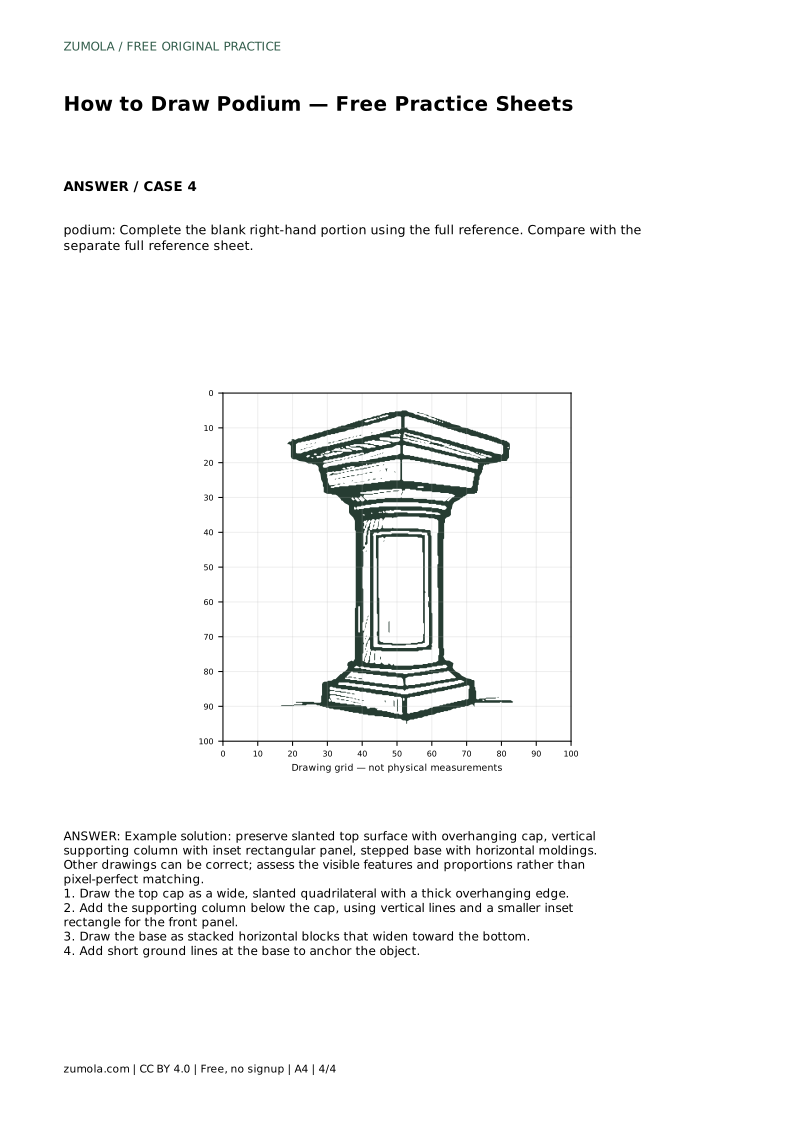
Reference diagrams
LETTER · Download PDF
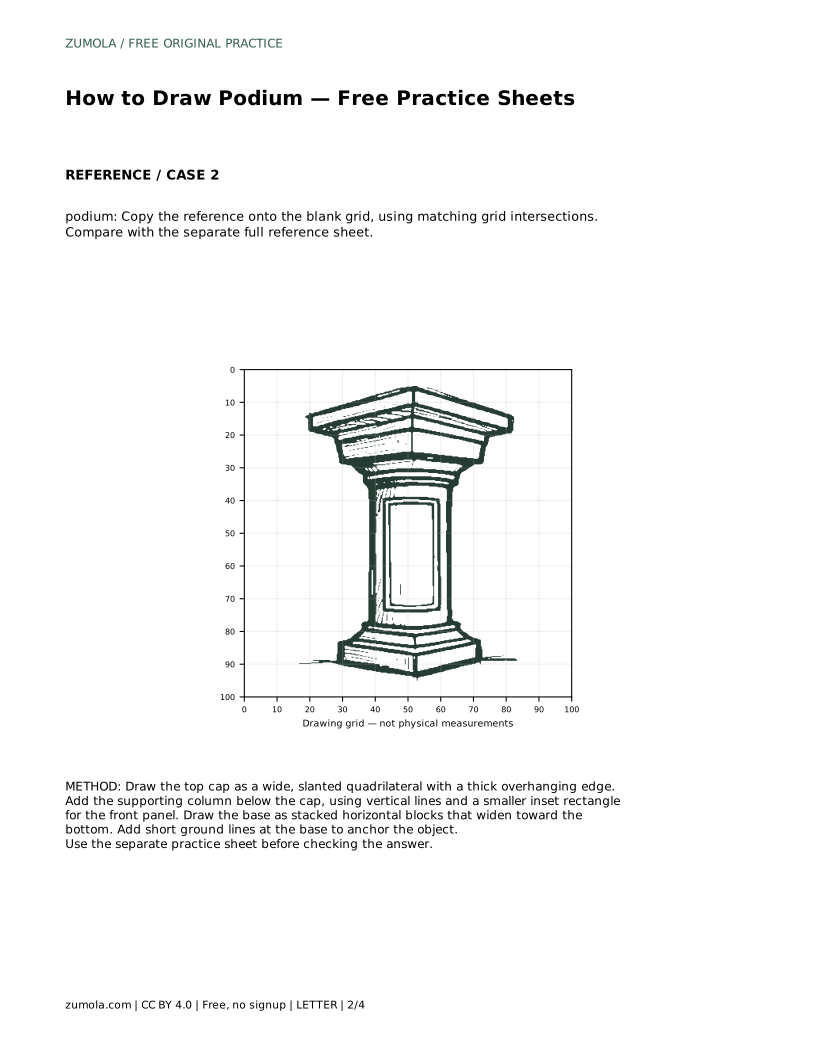
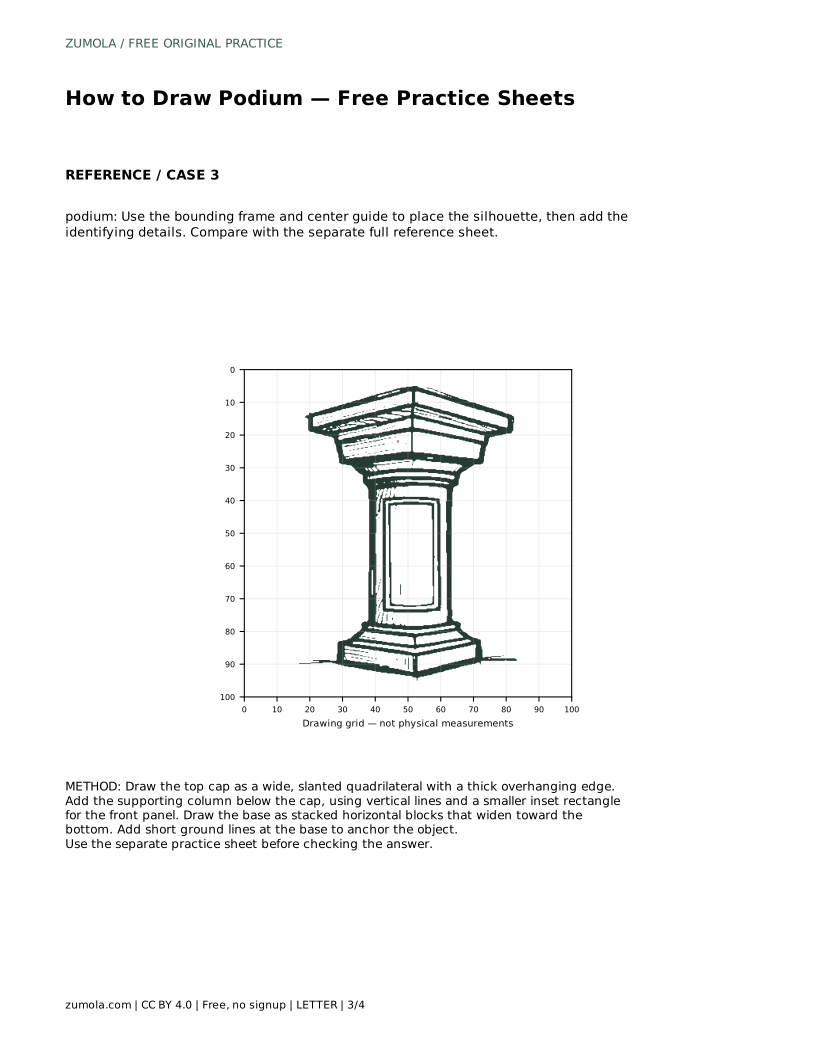
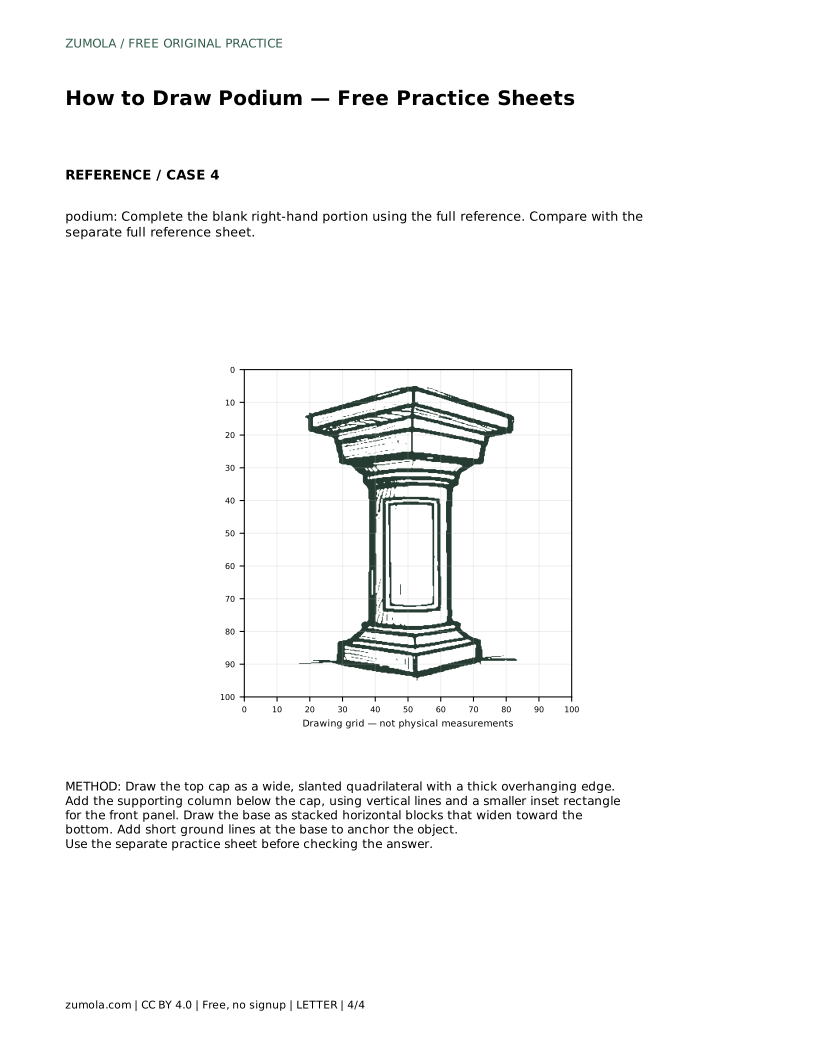
A4 · Download PDF
Free original resources
Learn to draw a podium by building its slanted cap, overhanging edge, vertical column, inset panel, and stepped base. Free practice sheets support each stage.
Four original cases, with reference diagrams, practice sheets and worked answers. Everything is free; no signup required.
LETTER · Download PDF
A4 · Download PDF
LETTER · Download PDF
A4 · Download PDF
LETTER · Download PDF
A4 · Download PDF
Use A4 or US Letter to match your printer. Use the stated values and conditions to solve each exercise; diagrams are not physical measuring rulers.
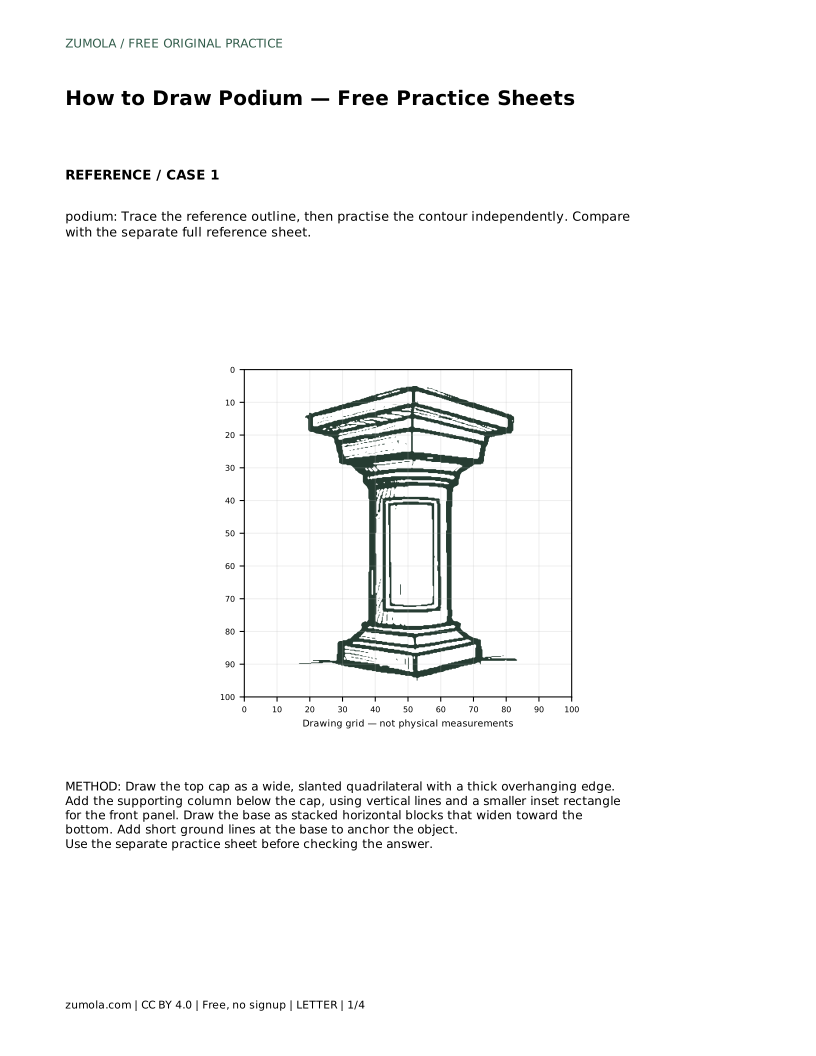
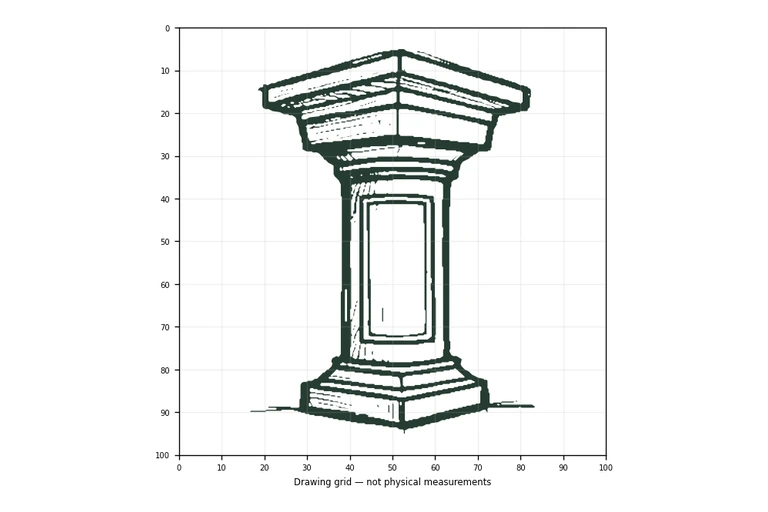
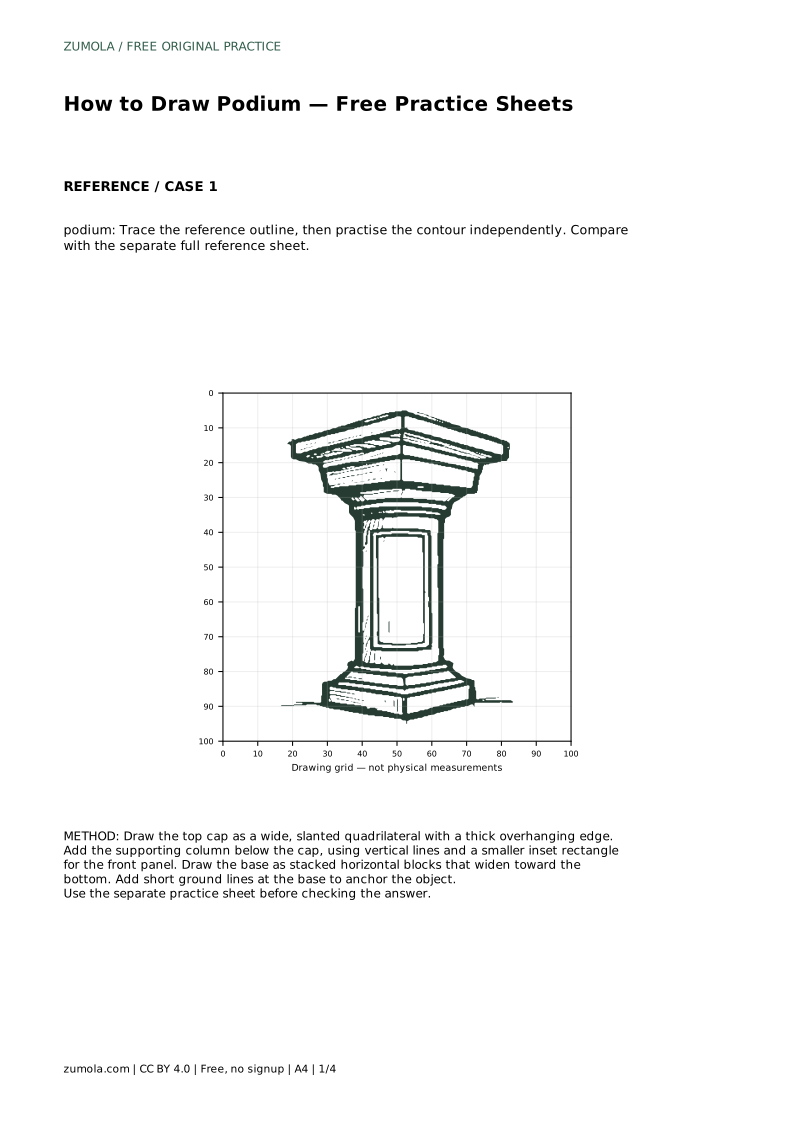
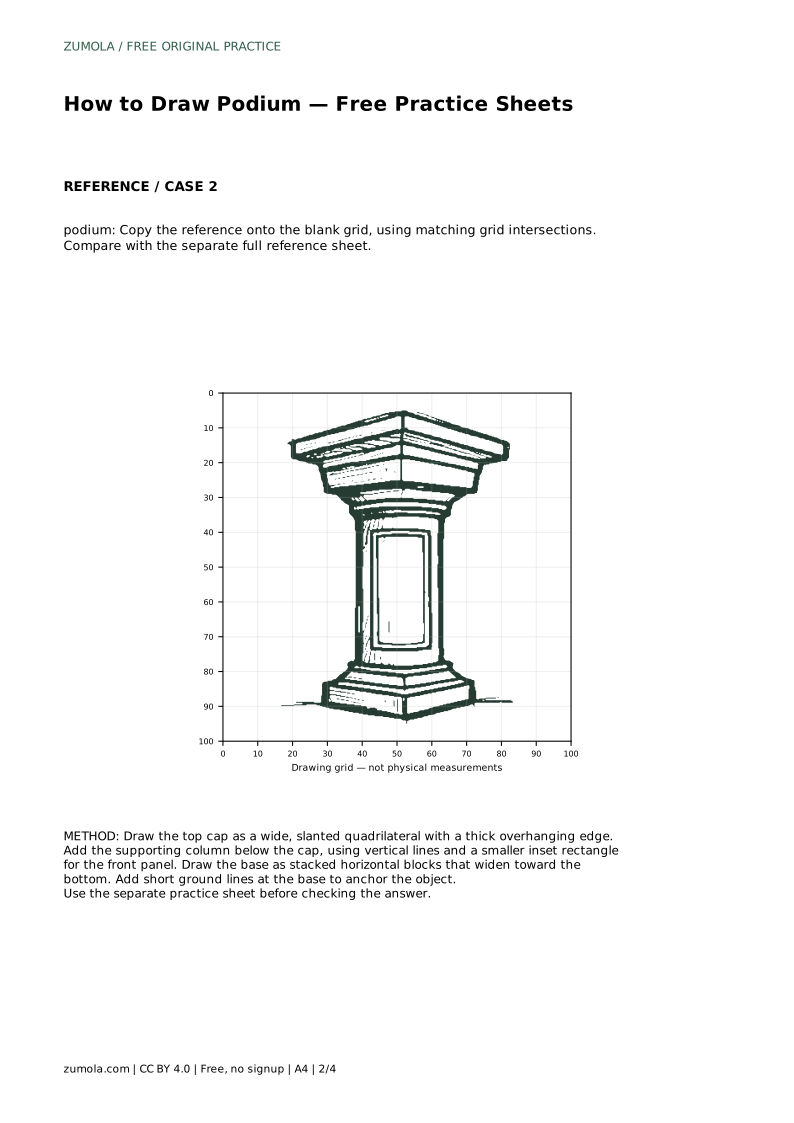
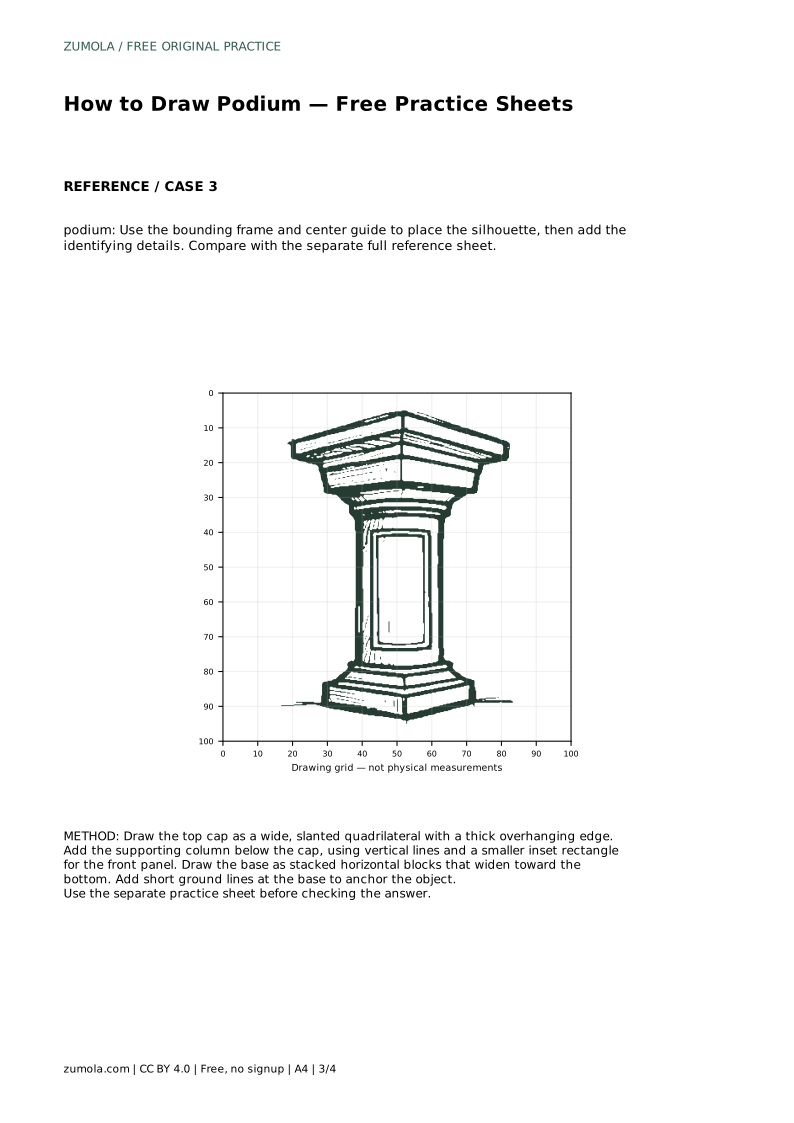
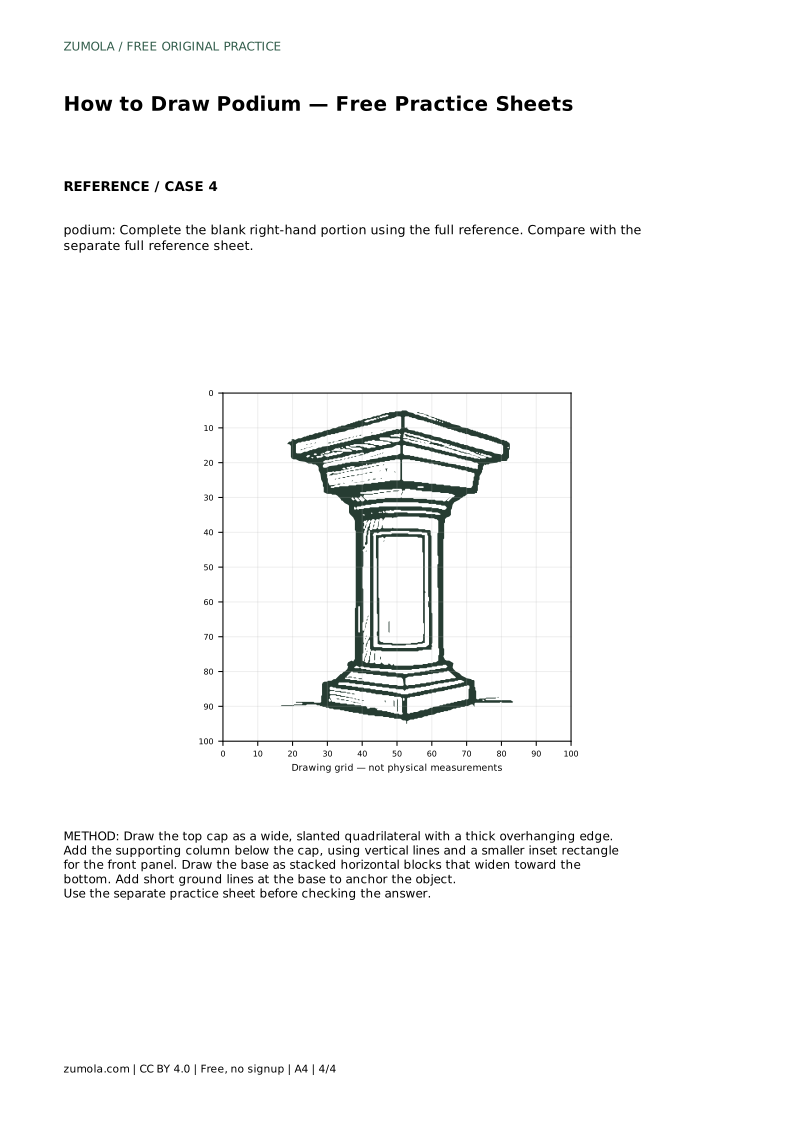
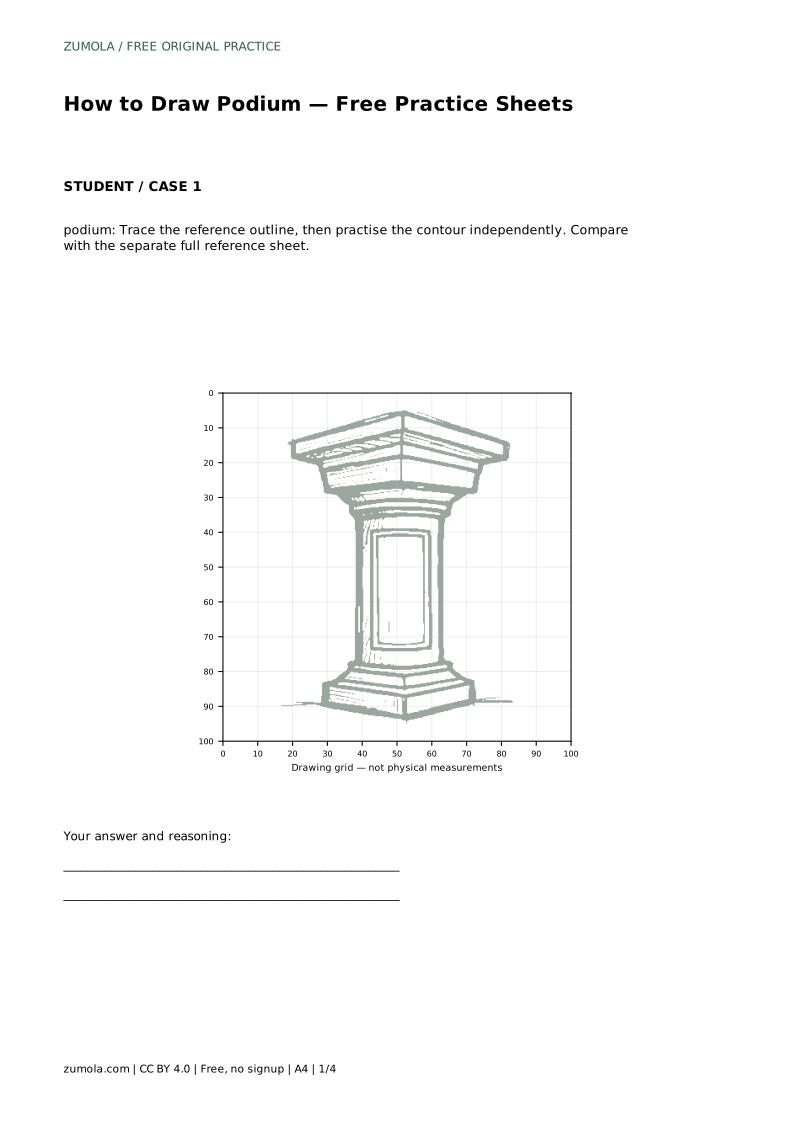
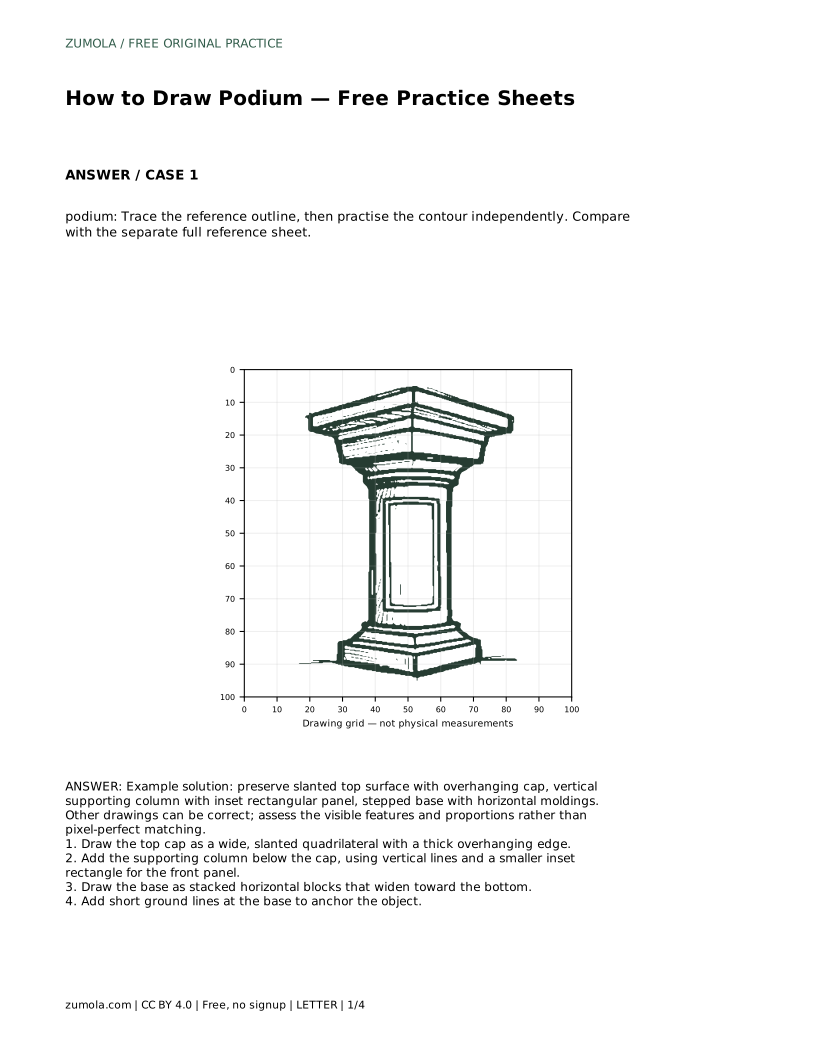
A podium is a compact drawing subject with a clear structure: a wide top surface, a supporting column, and a base that widens toward the floor. Because those parts repeat in many real podiums, you can learn the shape once and adjust proportions later. This guide explains how to trace a reference outline, then draw the contour independently, and how to compare your work with a separate full reference sheet. The goal is recognizable structure and sensible proportion, not a pixel-perfect copy.
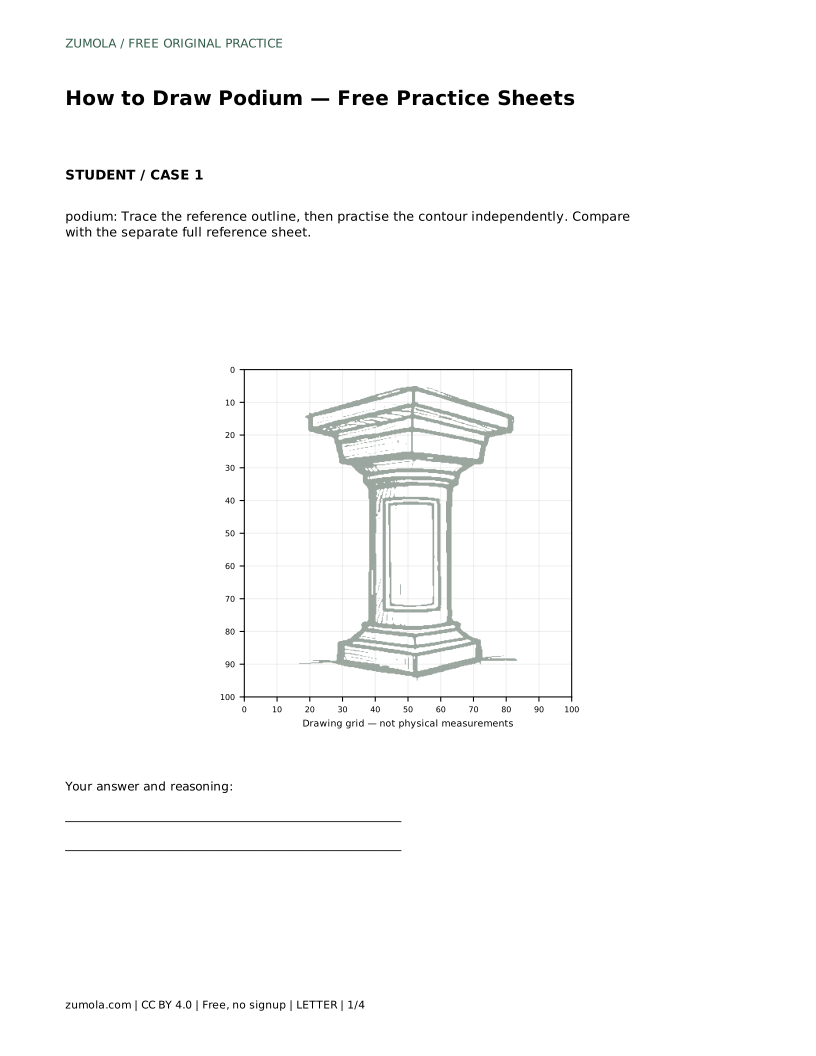
The top cap is the podium's most recognizable feature. Treat it as a wide, slanted quadrilateral rather than a flat rectangle. The slant suggests that the top surface recedes slightly, so the front edge sits lower than the back edge. Give the cap a thick overhanging edge: a second line running just below the front edge, parallel to it, so the top appears to project beyond the column beneath.
Keep the cap wider than the column. That difference in width is what makes the overhang read clearly. If the cap and column share the same width, the drawing looks like a plain box rather than a podium.
Below the cap, draw the supporting column with vertical side lines. Keep those lines close to vertical so the column looks stable; a slight taper is acceptable if you want a narrower base, but avoid strong curves unless your reference shows them. Inside the column, add a smaller inset rectangle for the front panel. The inset should sit within the column's edges, leaving a visible border on all sides.
The inset panel gives the column a front face and helps the viewer read depth. Place it roughly centered, and keep its sides parallel to the column's sides so the structure stays coherent.
The base is built from stacked horizontal blocks that widen toward the bottom. Draw each block as a shallow horizontal band, with the lowest band widest. Horizontal moldings, meaning thin lines or narrow bands between blocks, separate the steps and make the base look constructed rather than solid.
Finish with short ground lines at the base. These lines anchor the object and show where it meets the floor. Keep them short and level; long ground lines can make the podium look tilted.
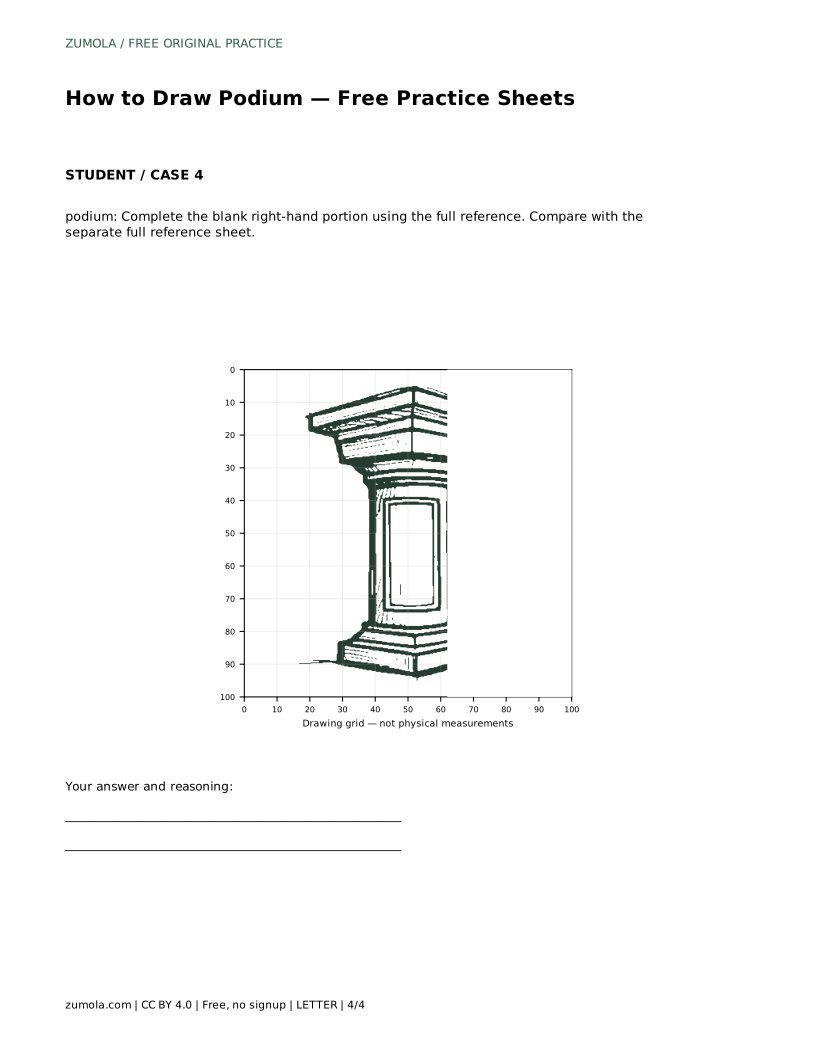
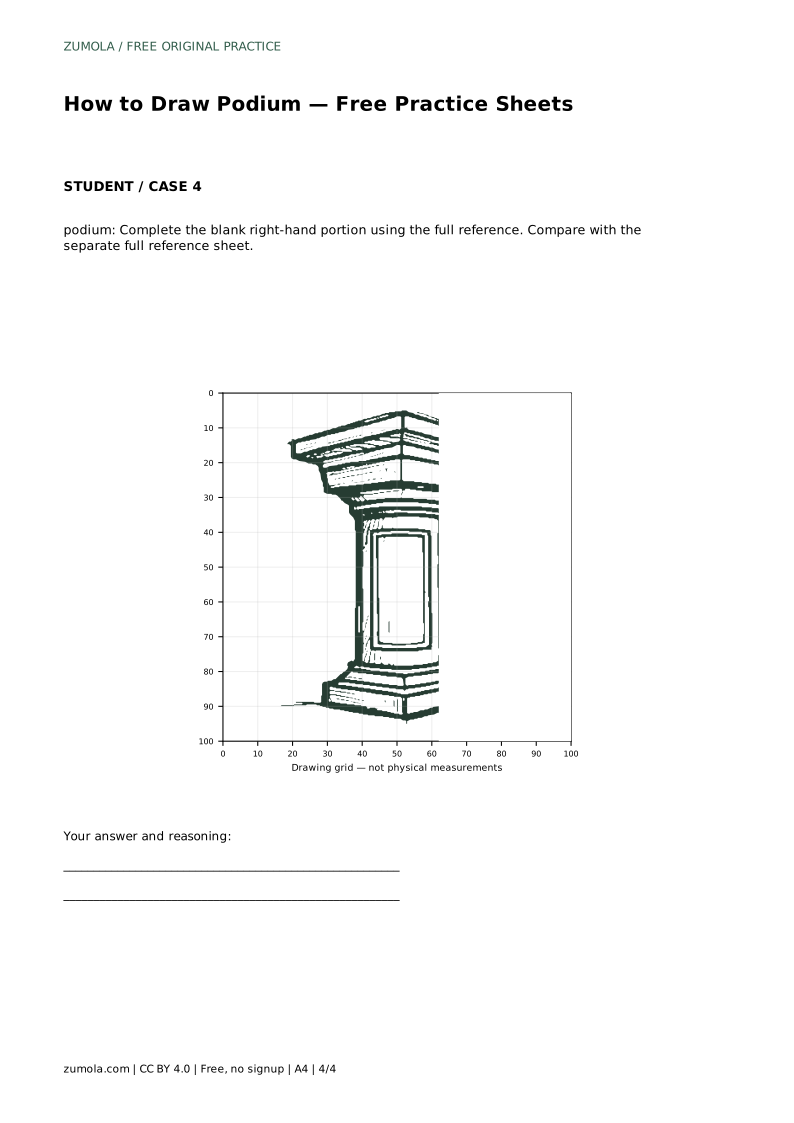
Begin by tracing the reference outline to learn the order of the parts: cap, overhang, column, inset panel, base, ground lines. Once the sequence feels familiar, draw the contour on a blank sheet without tracing. Compare your independent drawing with the separate full reference sheet, checking the slanted top, the overhanging cap, the vertical column, the inset panel, and the stepped base.
Other drawings can be correct. Assess the visible features and proportions rather than pixel-perfect matching. A podium with a slightly different cap width or base height can still be a successful drawing if the structure reads clearly.
podium: Trace the reference outline, then practise the contour independently. Compare with the separate full reference sheet.
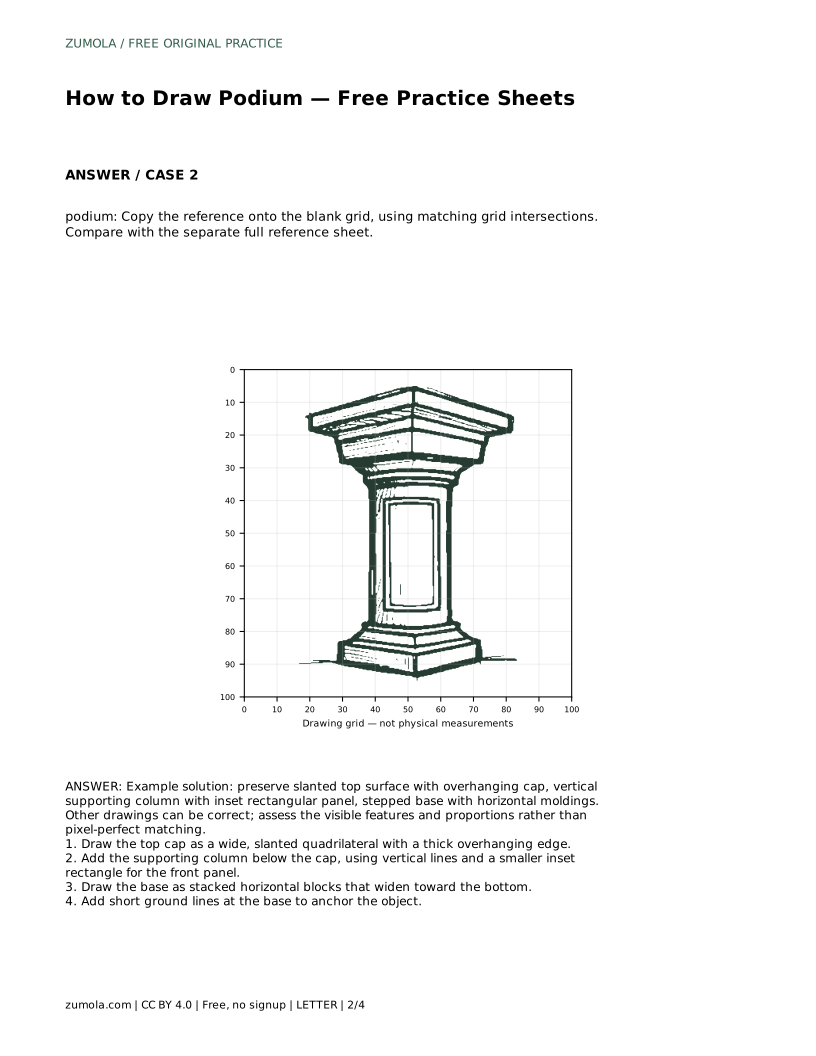
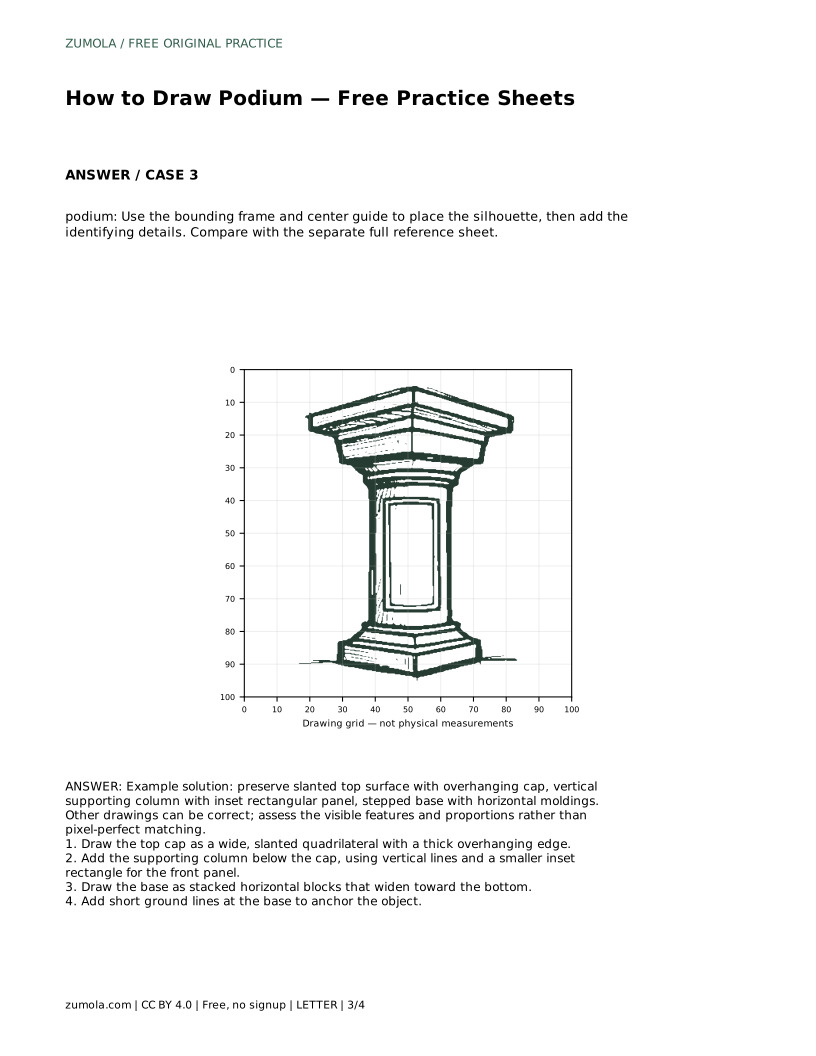
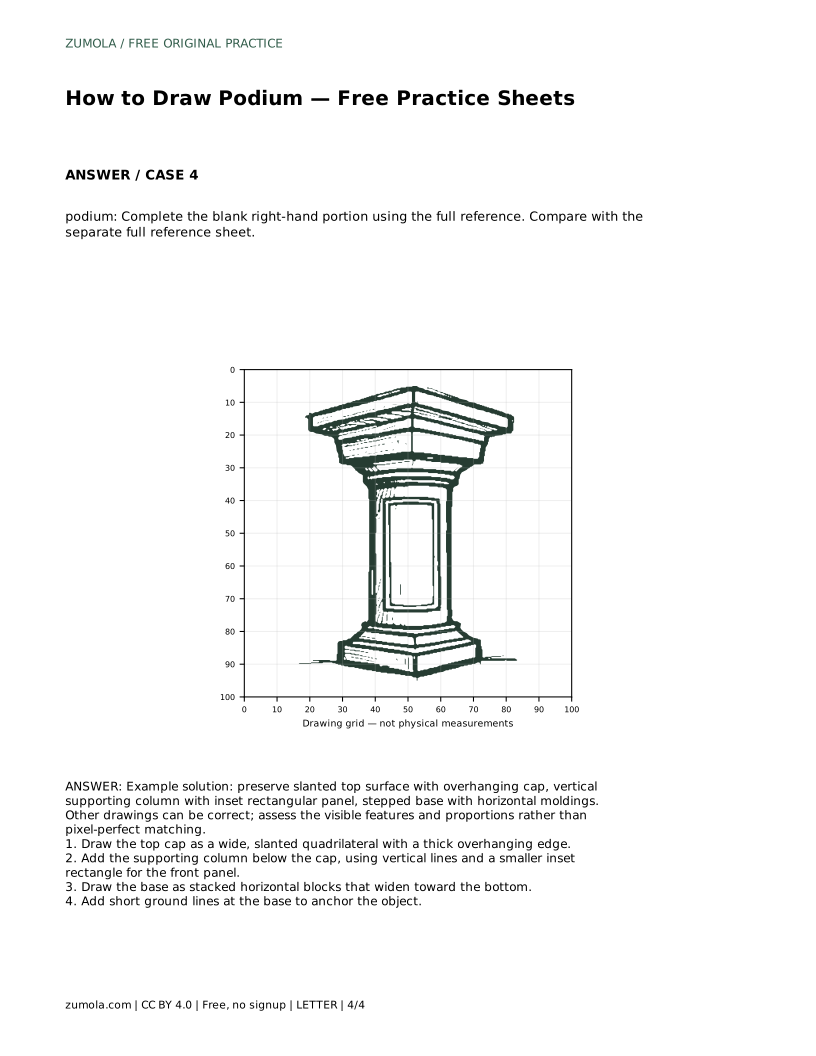
Example solution: preserve slanted top surface with overhanging cap, vertical supporting column with inset rectangular panel, stepped base with horizontal moldings. Other drawings can be correct; assess the visible features and proportions rather than pixel-perfect matching. Draw the top cap as a wide, slanted quadrilateral with a thick overhanging edge. Add the supporting column below the cap, using vertical lines and a smaller inset rectangle for the front panel. Draw the base as stacked horizontal blocks that widen toward the bottom. Add short ground lines at the base to anchor the object.
No. Other drawings can be correct. Check the visible features and proportions, such as the slanted cap, overhang, vertical column, inset panel, and stepped base, rather than pixel-perfect matching.
Draw the top cap and overhang first, then the column and inset panel, then the stepped base and ground lines. Tracing once helps you learn this sequence before drawing independently.
Compare your drawing with the separate full reference sheet. The cap should be wider than the column, the panel should sit inside the column with a border, and the base blocks should widen toward the bottom.
All drawing practice · Free coordinate paper
Original resources · CC BY 4.0 · Free for personal and classroom use with attribution.