Reference diagrams
LETTER · Download PDF
A4 · Download PDF
Free original resources
Learn to draw a whistle by building its rounded body, tapered mouthpiece, top loop, and end-face ring. Use the free practice sheets to trace, grid, or complete the outline.
Four original cases, with reference diagrams, practice sheets and worked answers. Everything is free; no signup required.
LETTER · Download PDF
A4 · Download PDF
LETTER · Download PDF
A4 · Download PDF
LETTER · Download PDF
A4 · Download PDF
Use A4 or US Letter to match your printer. Use the stated values and conditions to solve each exercise; diagrams are not physical measuring rulers.
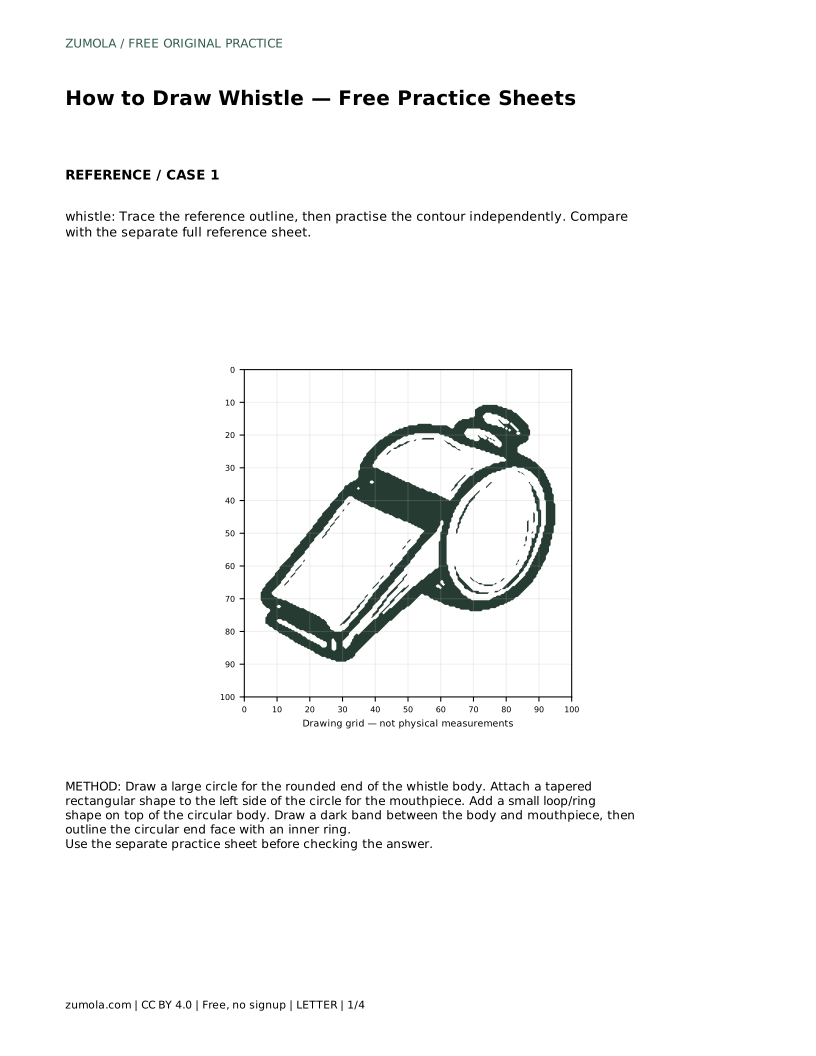
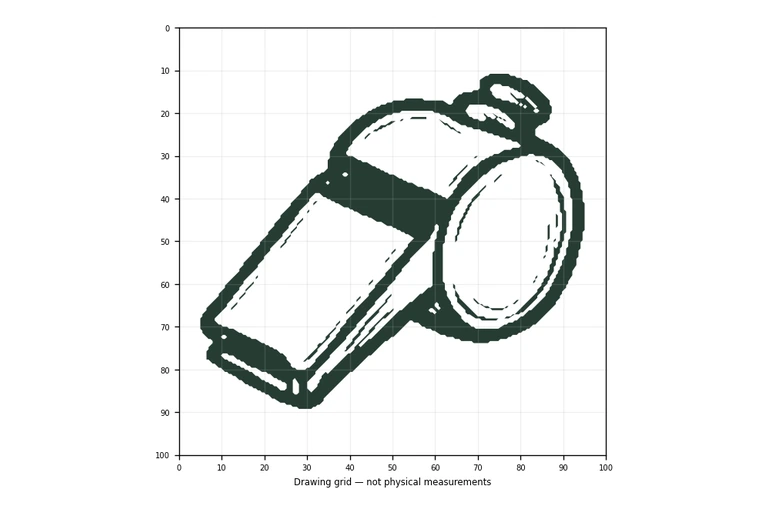
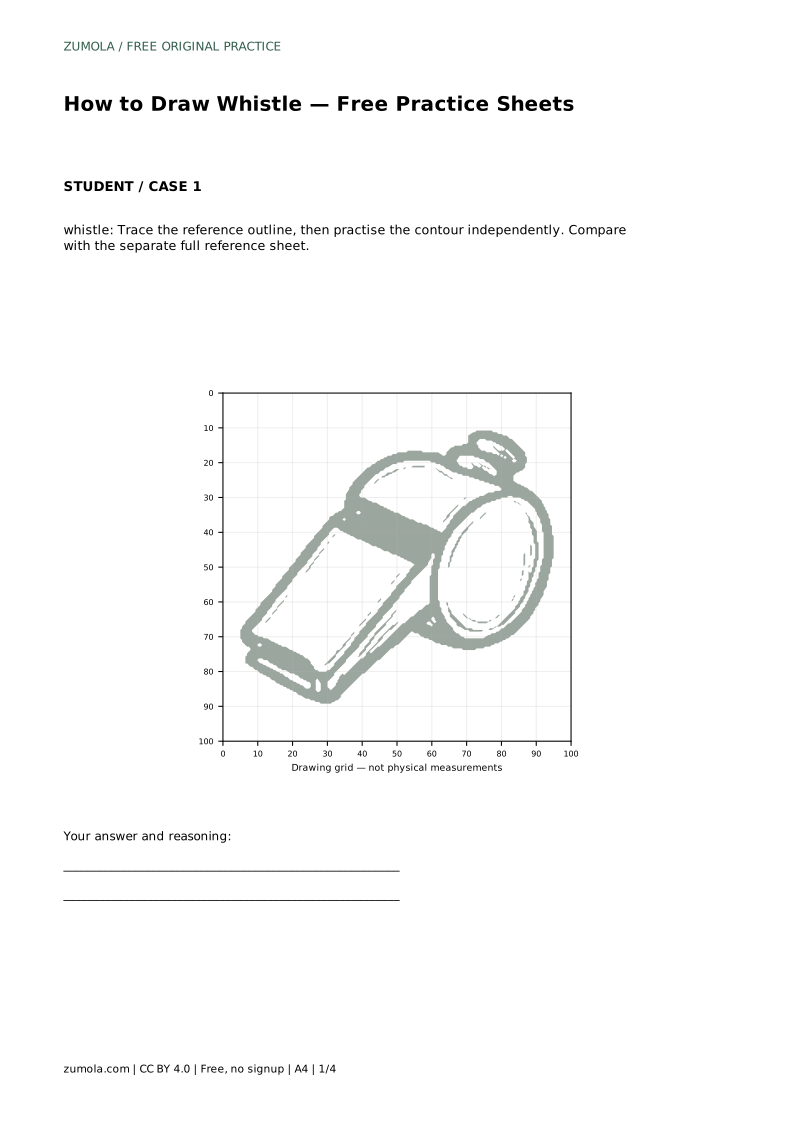
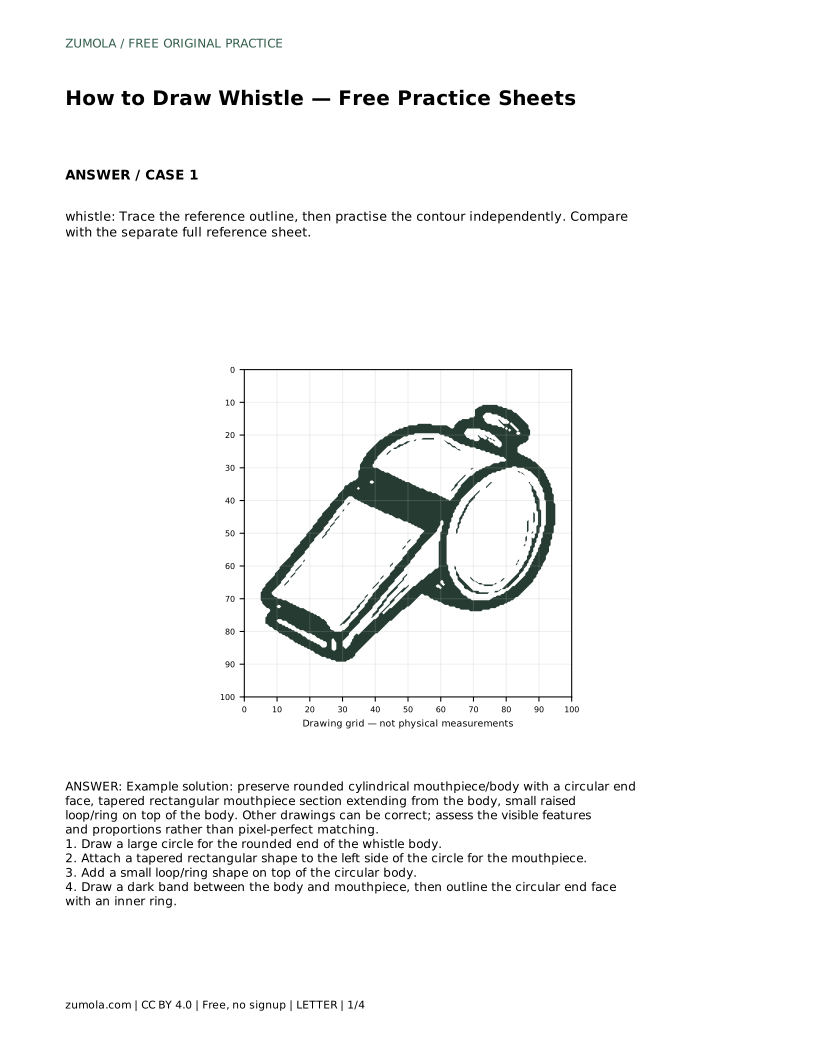
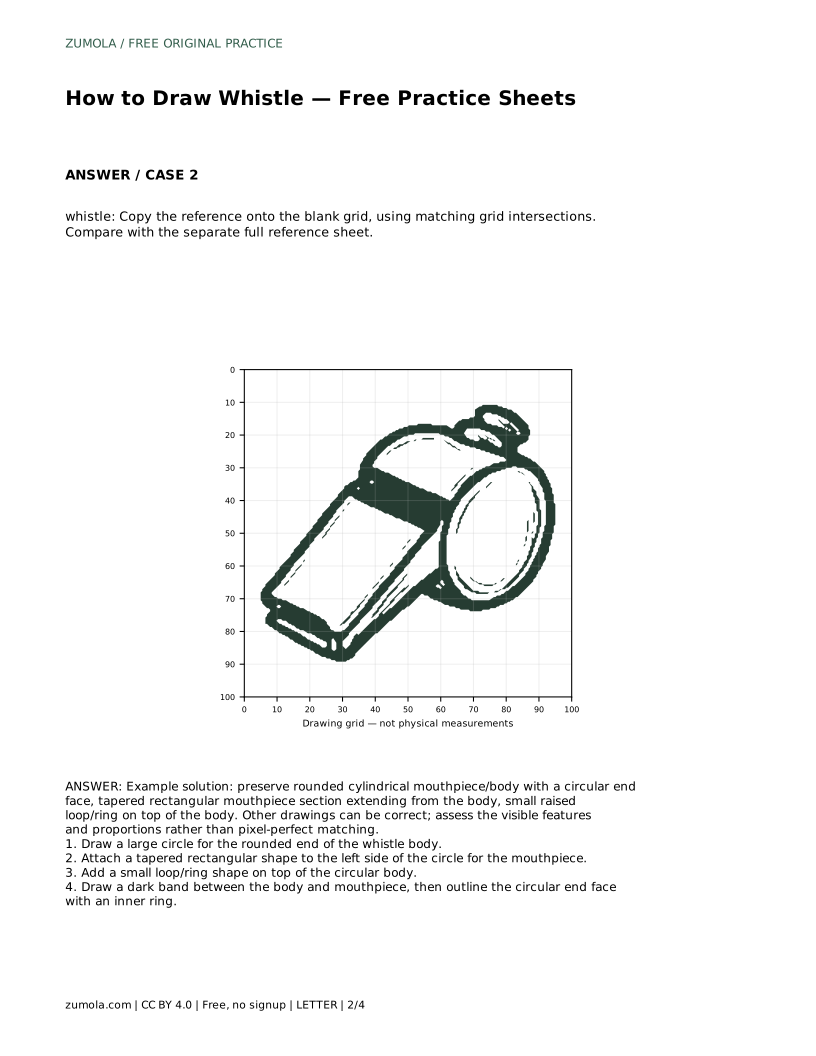
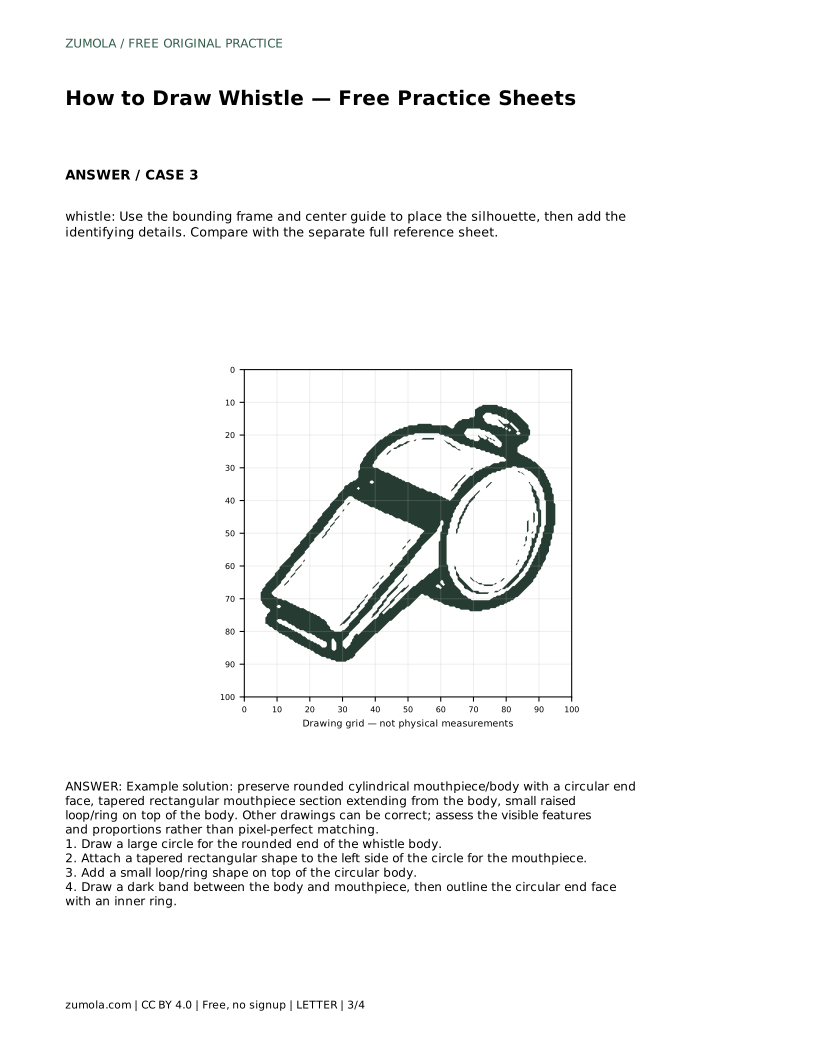
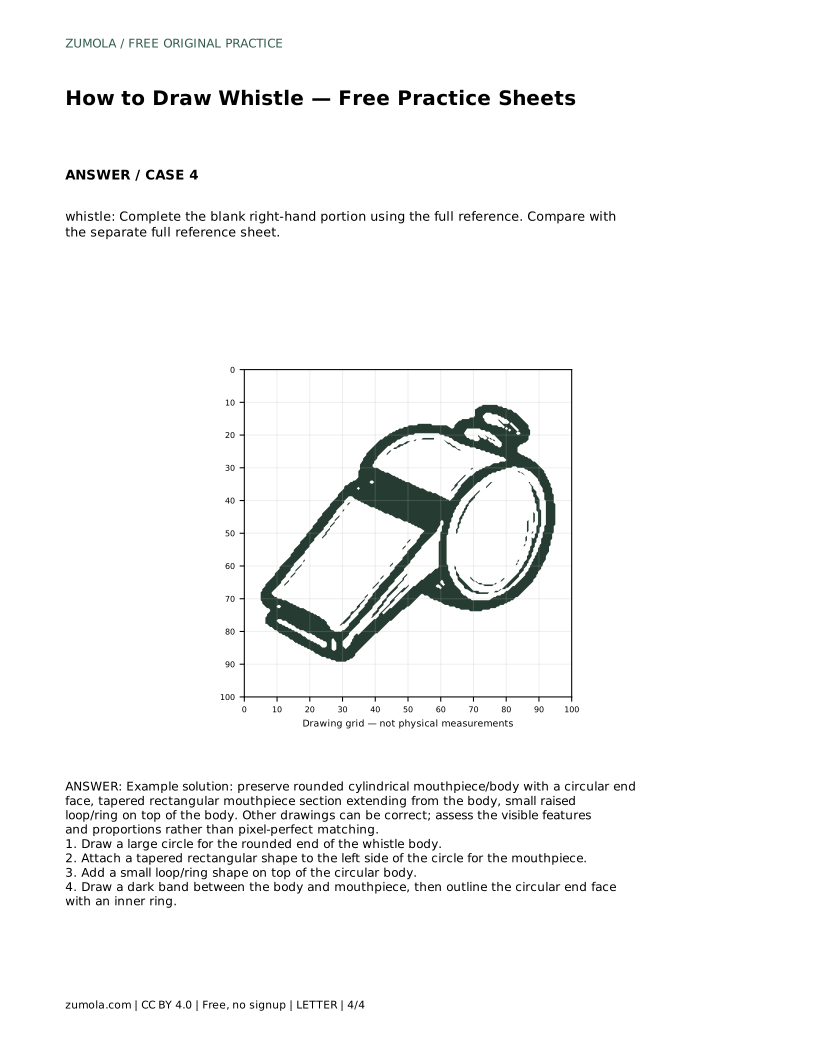
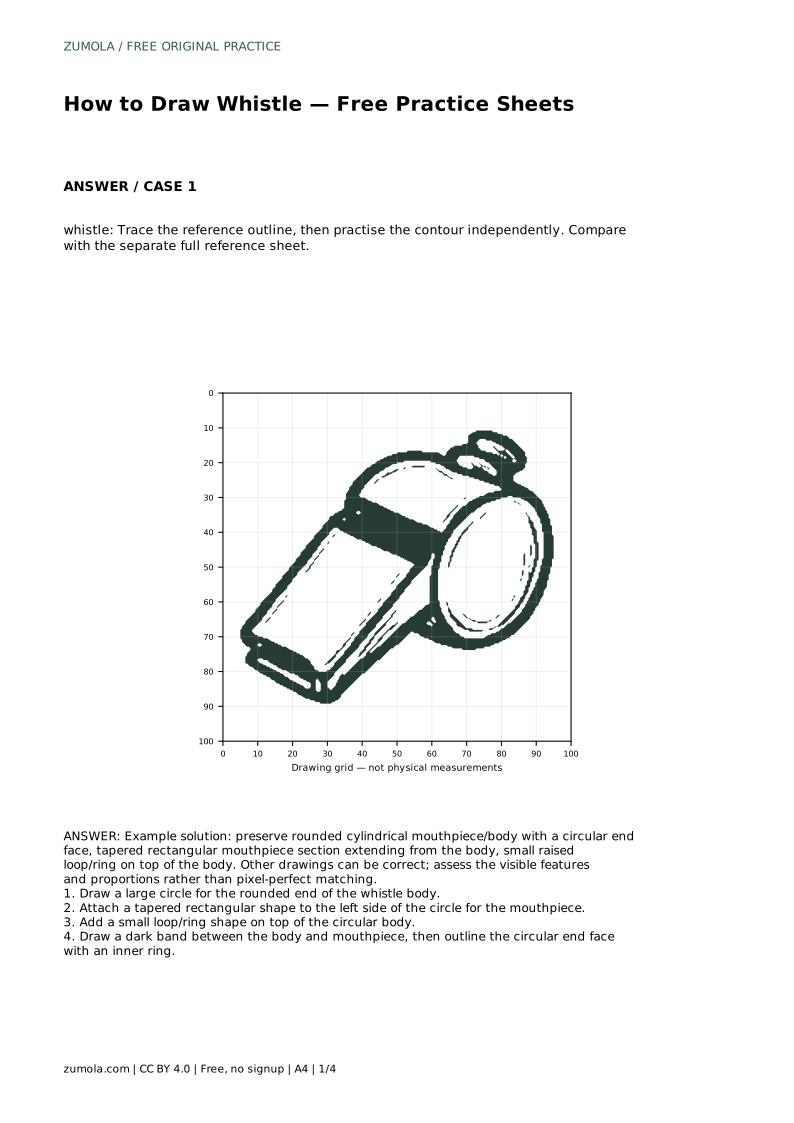
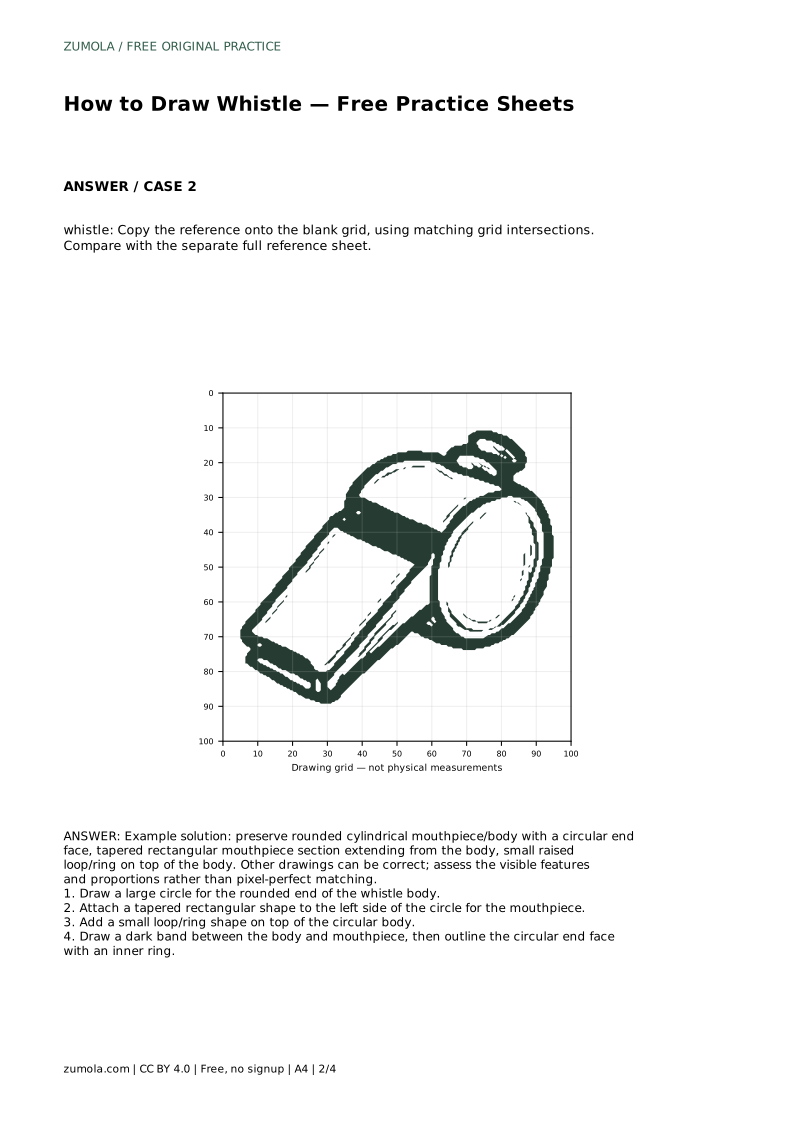
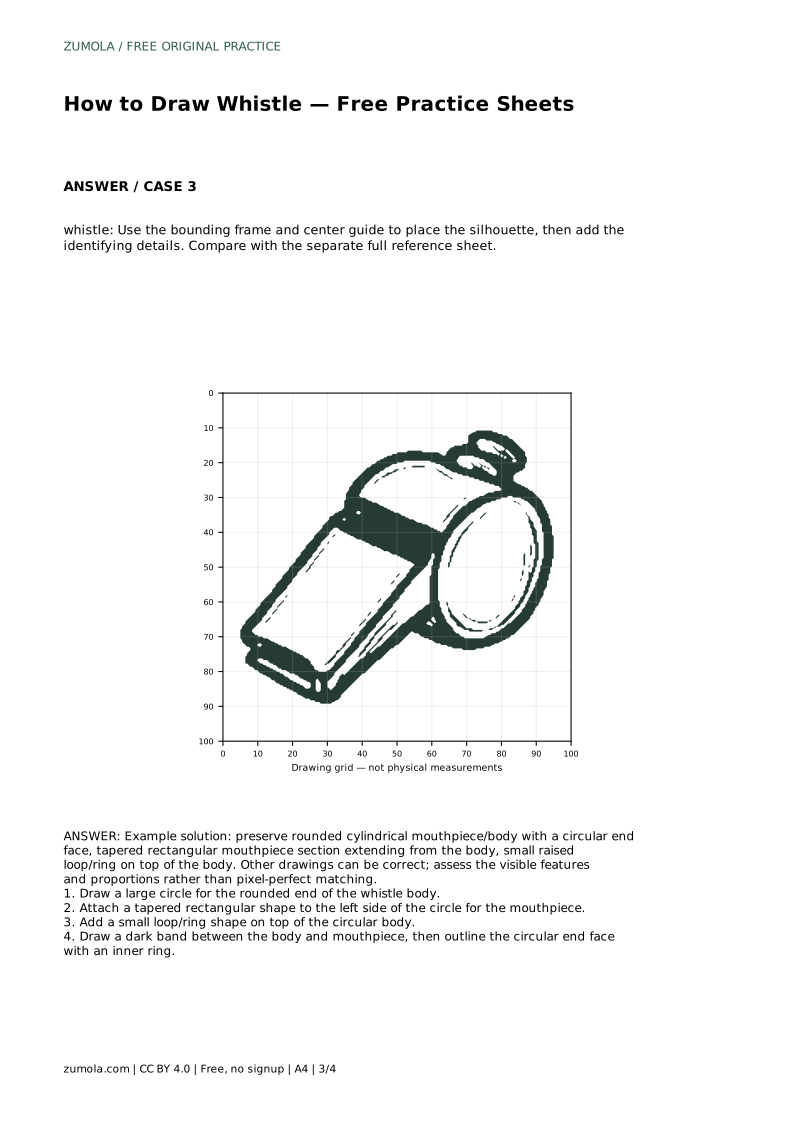
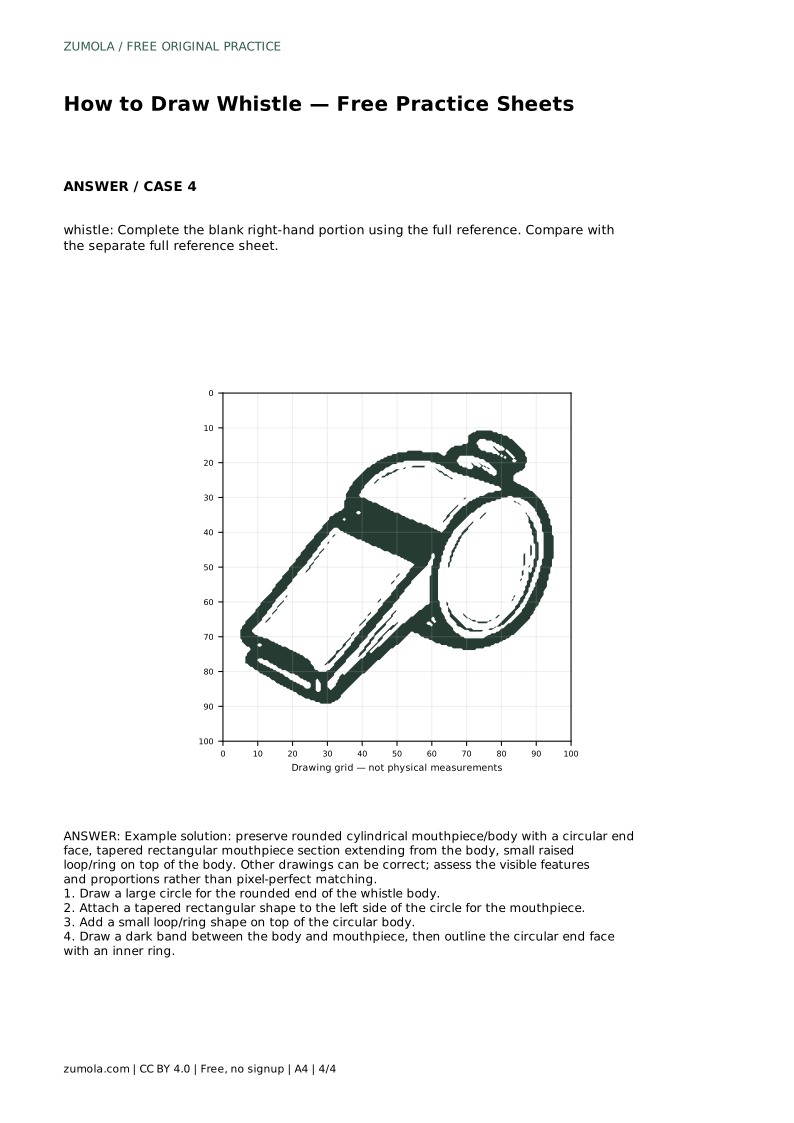
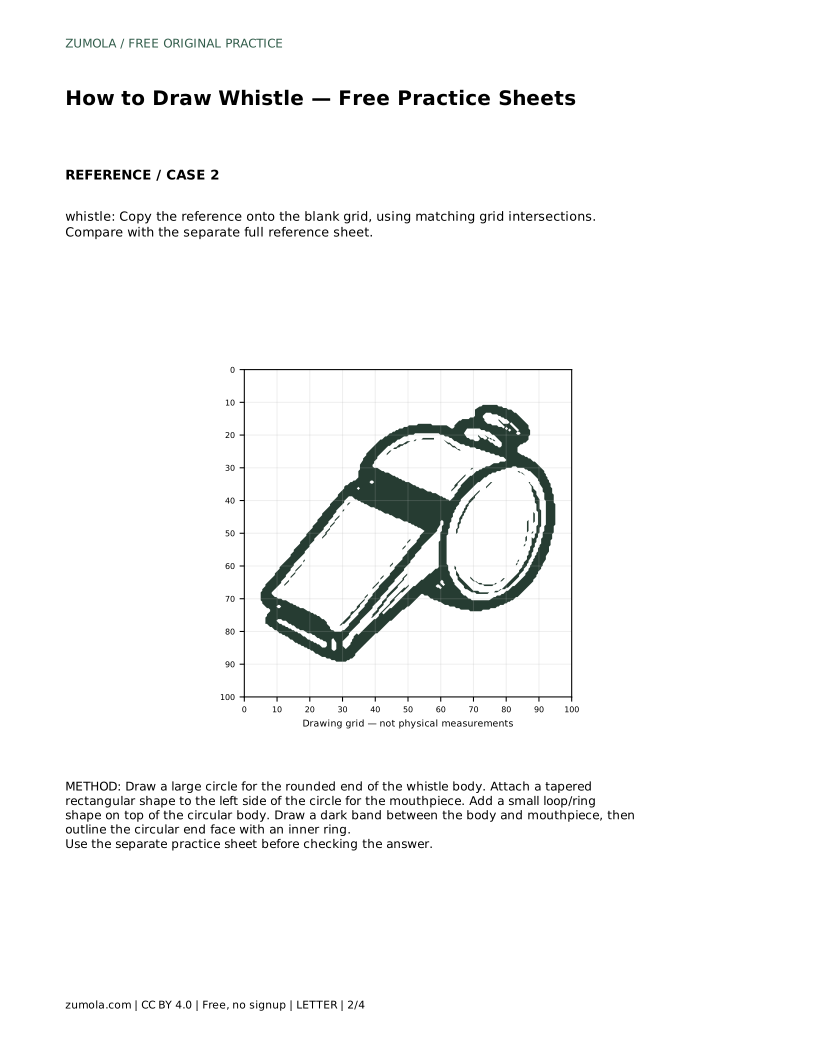
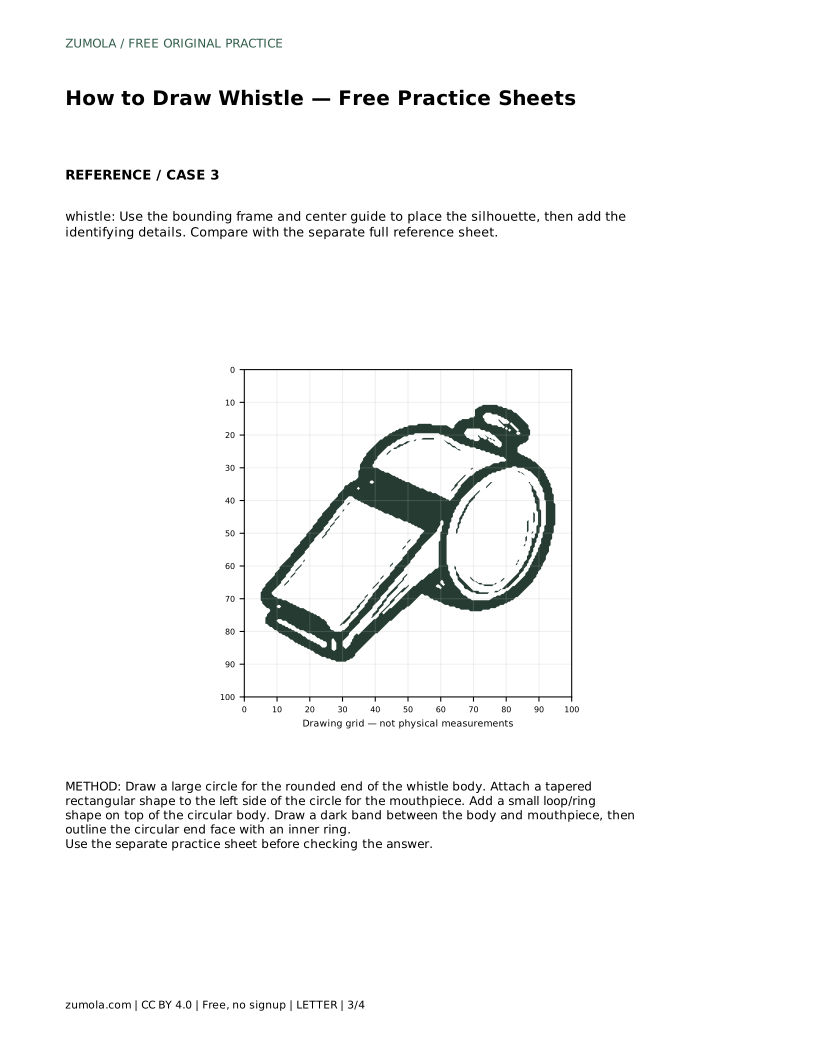
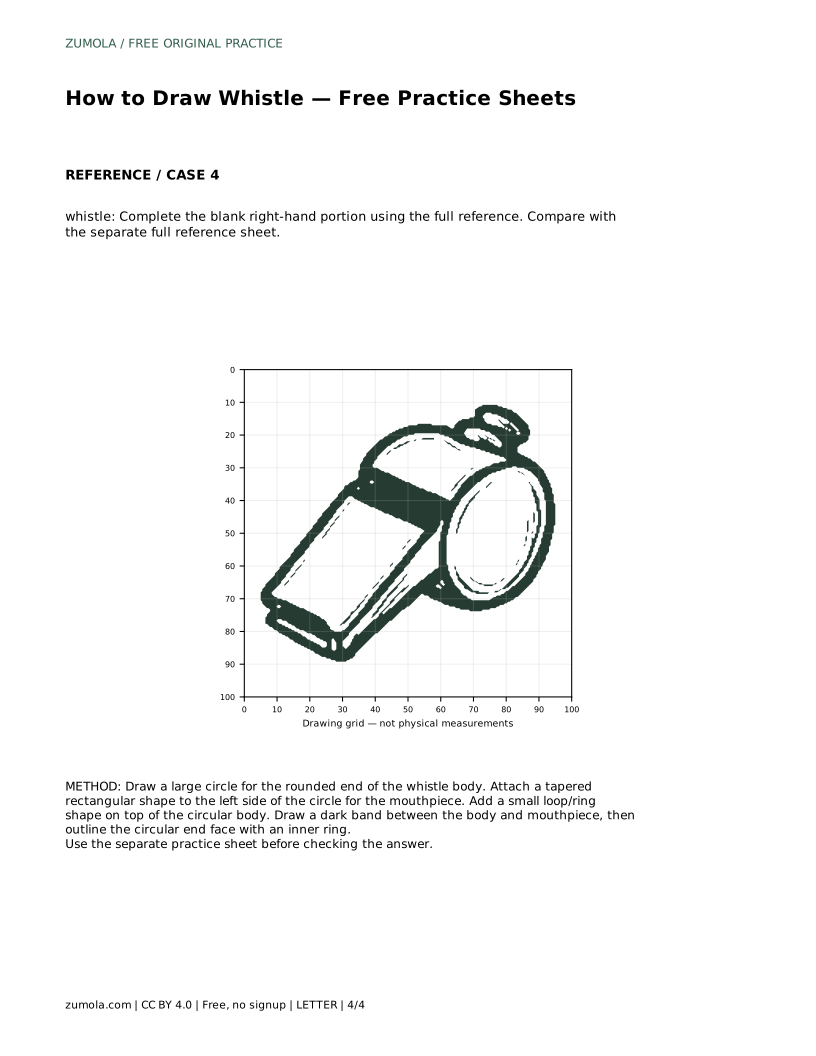
A whistle is a compact object with a few clear landmarks: a rounded cylindrical body, a circular end face, a tapered rectangular mouthpiece, a small raised loop on top, and a dark band where the mouthpiece meets the body. This guide shows how to place those parts in order, then use the practice sheets to trace the outline, copy it on a grid, or complete a partially drawn version. The goal is a recognizable whistle with sensible proportions, not a pixel-perfect copy.
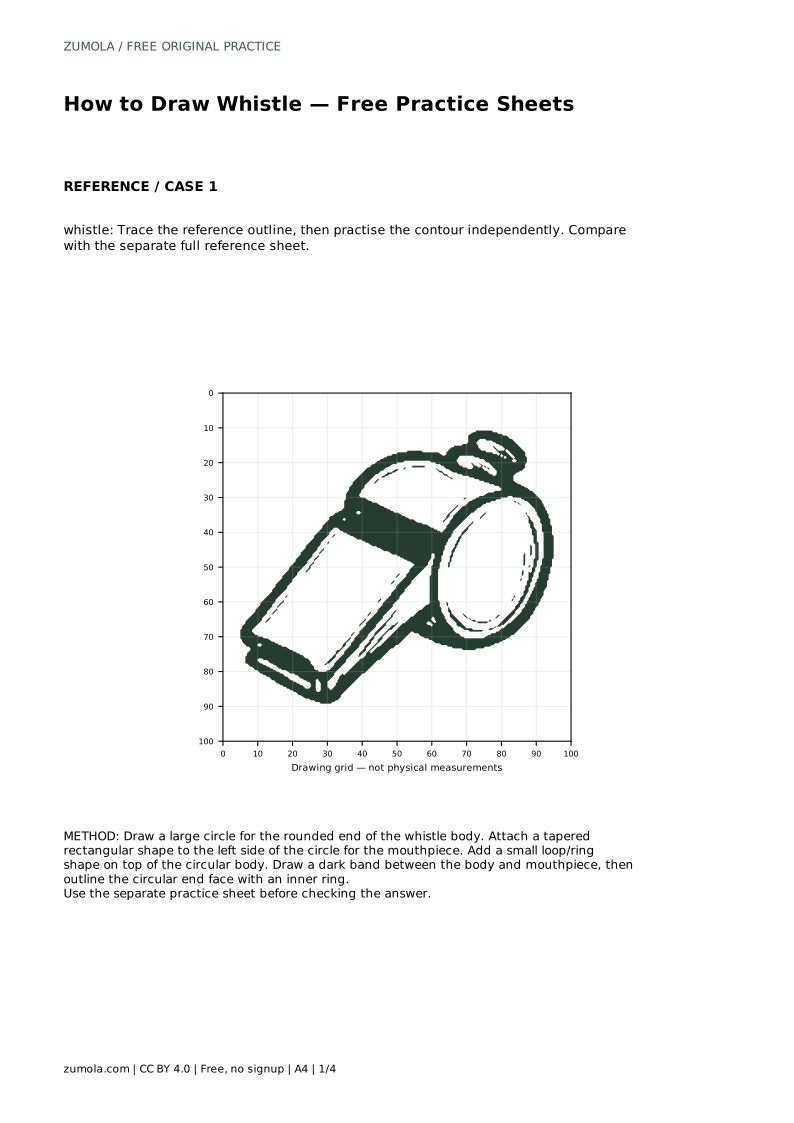
Begin with the largest simple shape: a circle for the rounded end of the whistle body. This circle represents the circular end face, so keep it large enough to read as the main volume. Next, attach a tapered rectangular shape to the left side of the circle for the mouthpiece. The mouthpiece should narrow slightly toward its outer end and meet the body cleanly. Do not merge the mouthpiece into the circle; the two forms should remain distinguishable.
The body is a rounded cylinder, not a flat disc. The circle you draw is the visible end face, while the body extends behind it. The mouthpiece is a separate tapered rectangular section extending from the body. Keeping these two forms separate helps the drawing read correctly from the first few lines.
Place a small loop or ring shape on top of the circular body. This loop is a raised detail, so it should sit above the body outline rather than inside it. Next, draw a dark band between the body and the mouthpiece. This band marks the joint and helps separate the two forms. Finally, outline the circular end face with an inner ring. The inner ring suggests the rim of the end face and gives the body a sense of depth.
Keep the loop small relative to the body. A loop that is too large will dominate the drawing and make the whistle look unbalanced. The dark band should be narrow and sit at the junction, not spread across the body or mouthpiece.
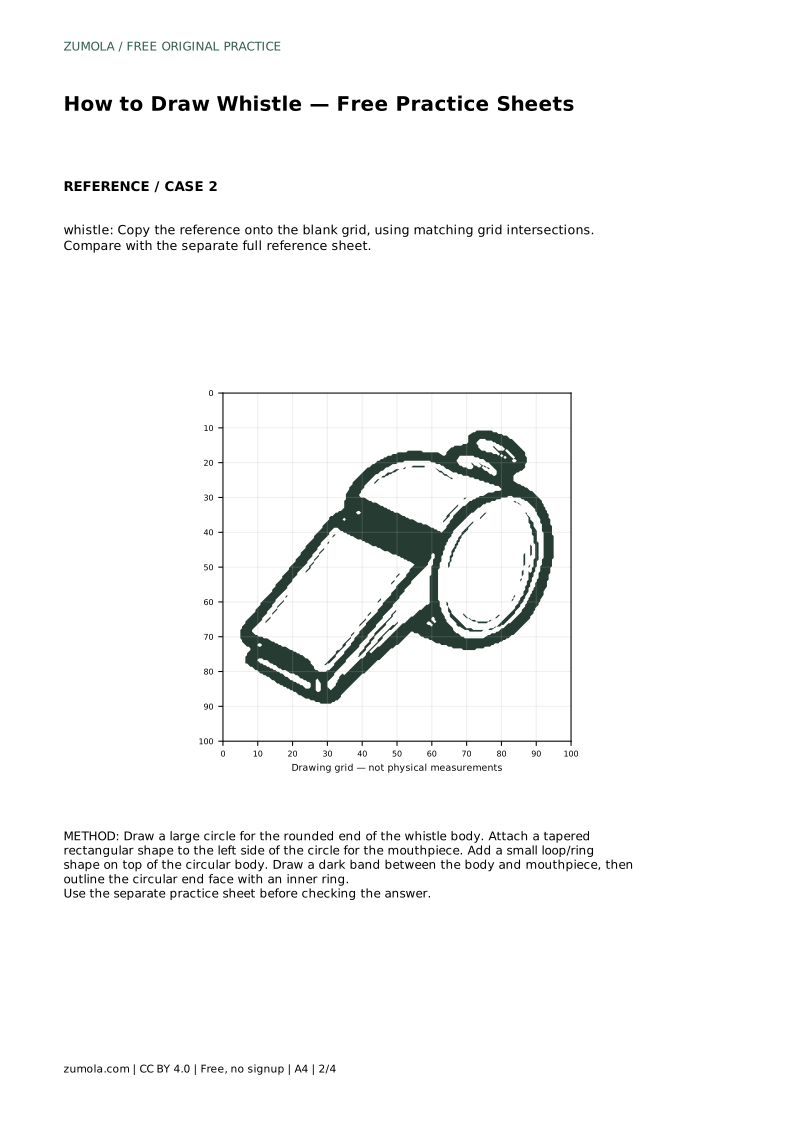
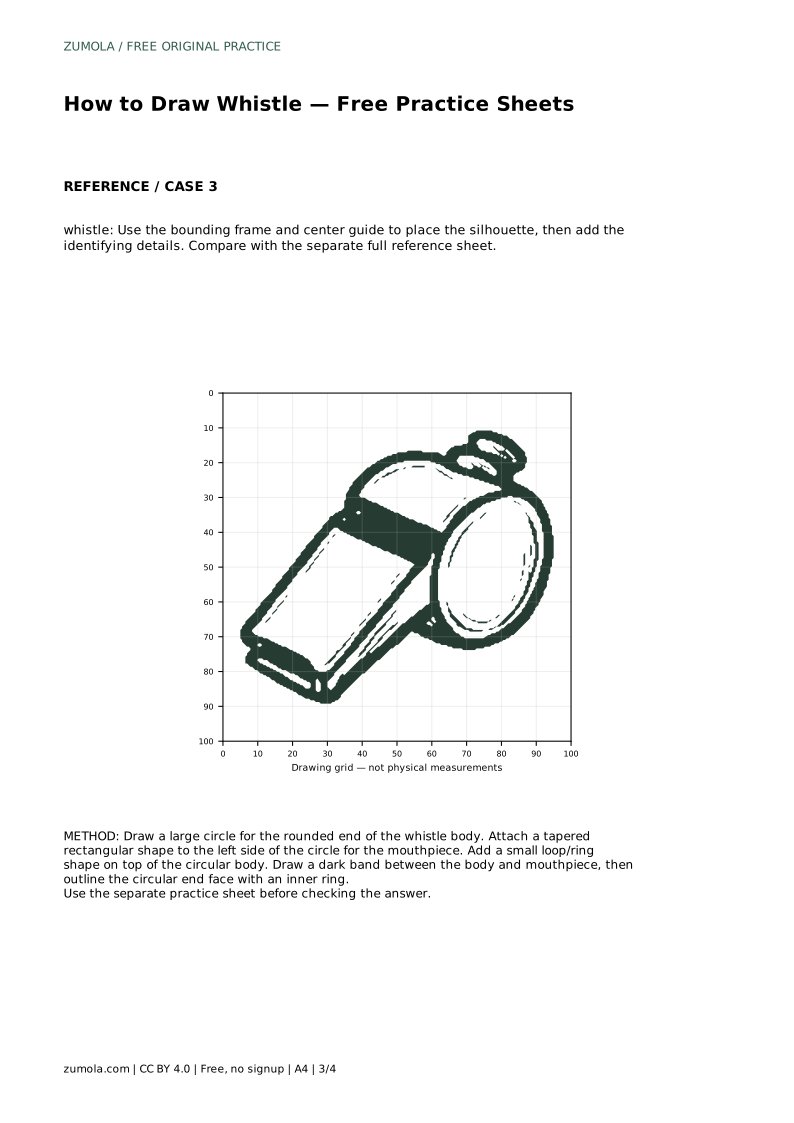
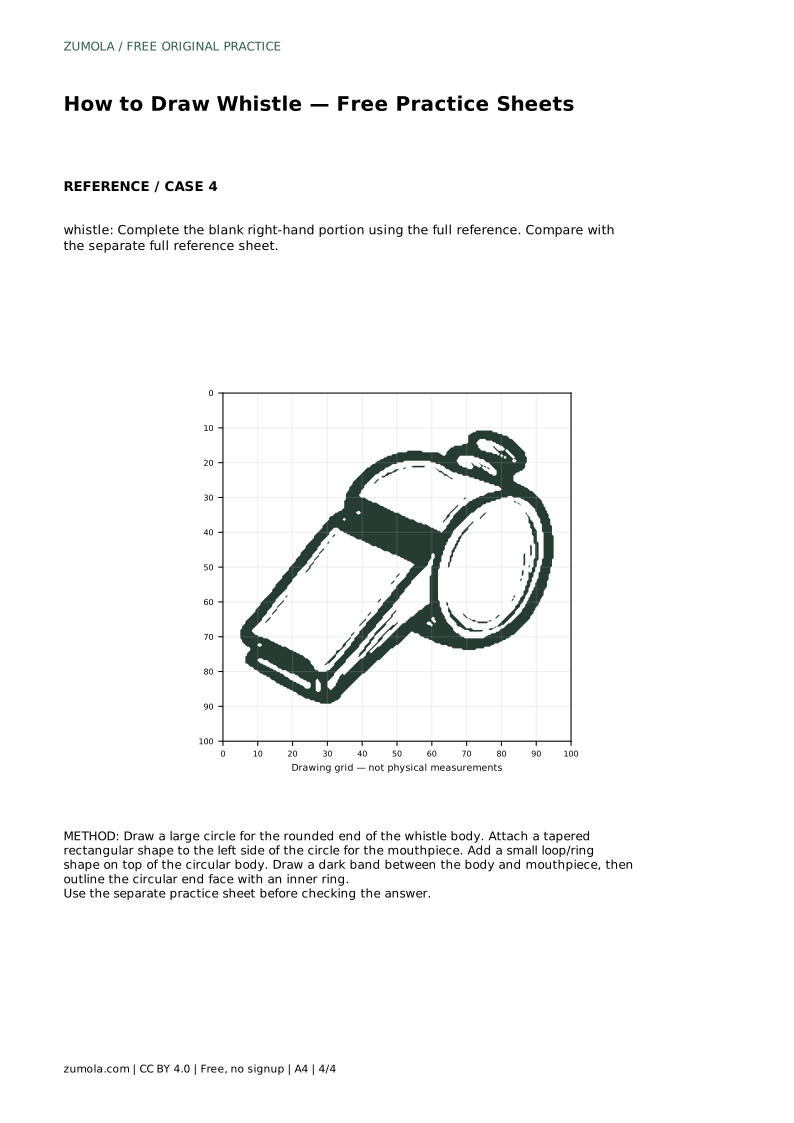
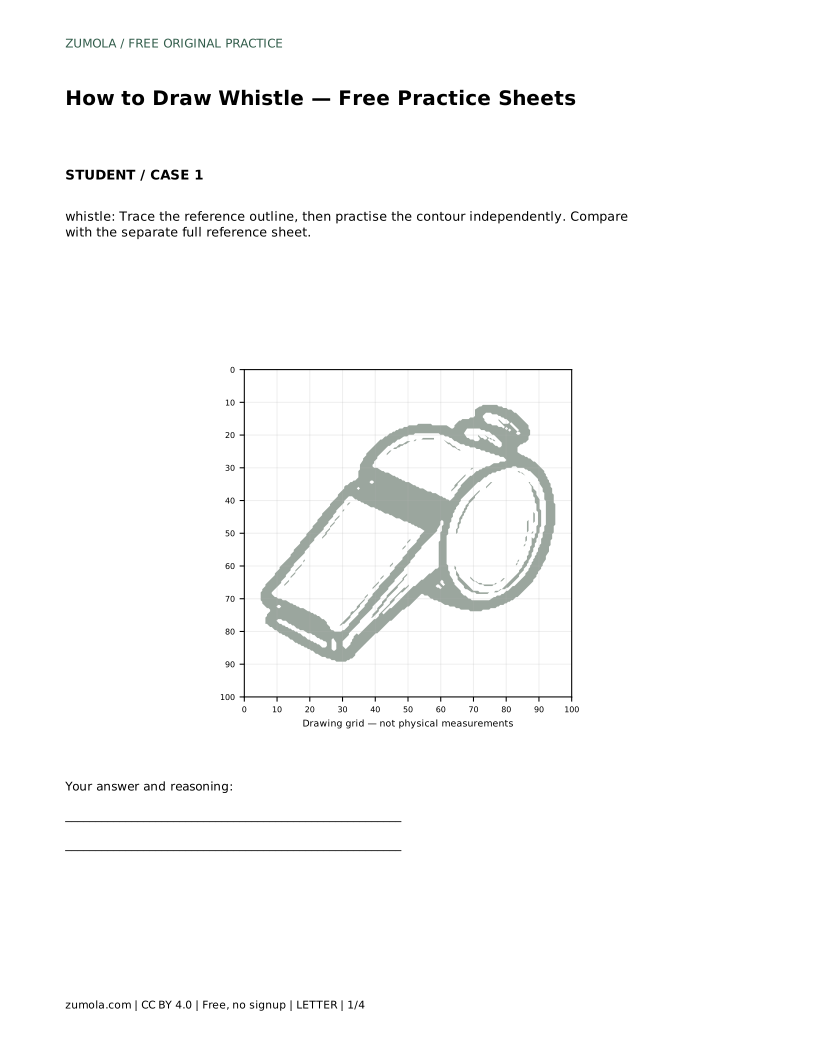
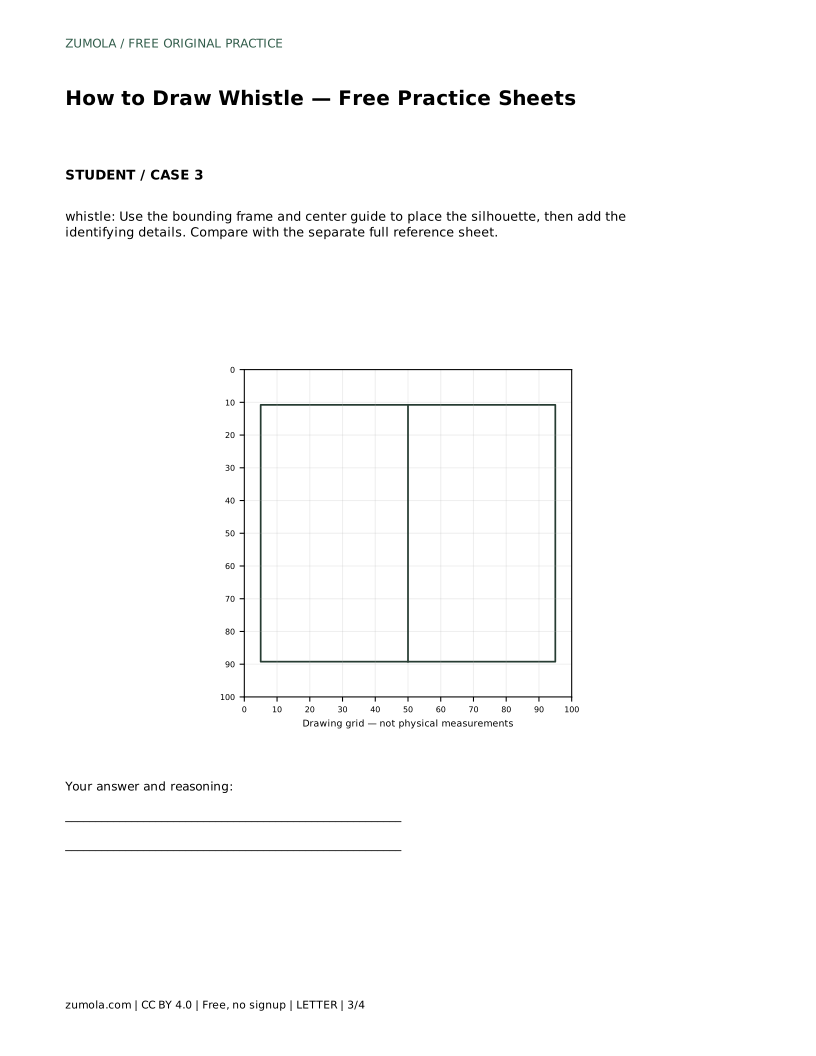
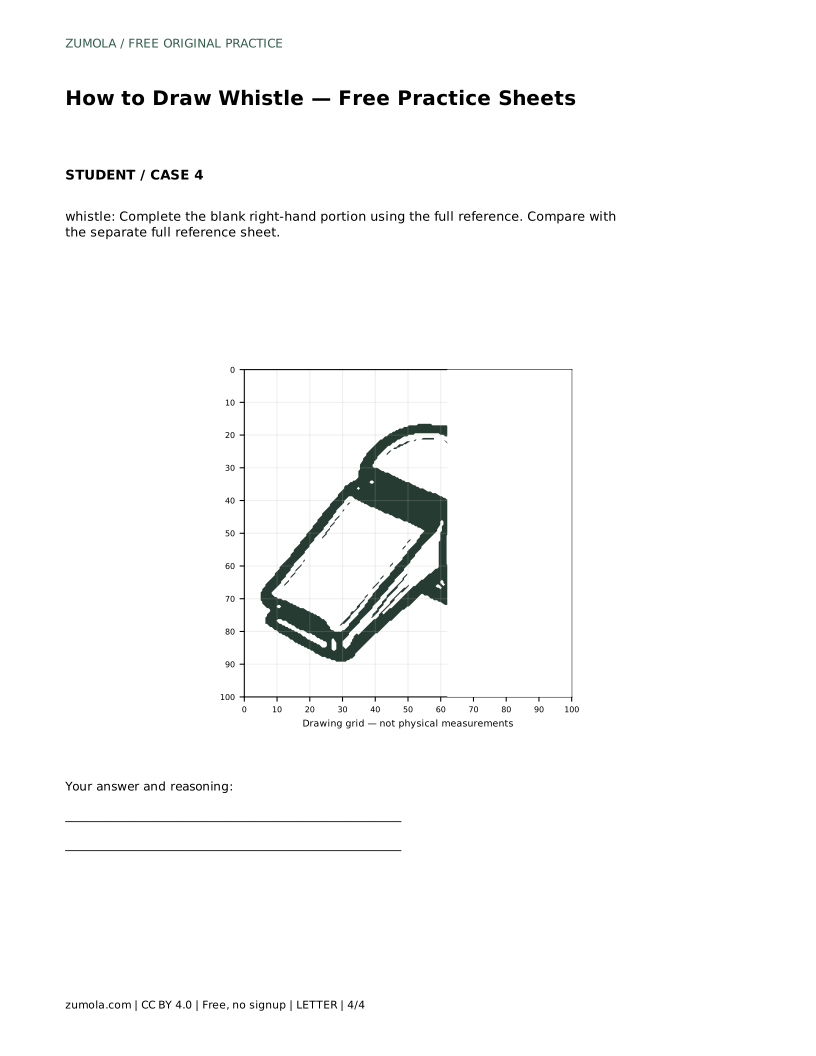
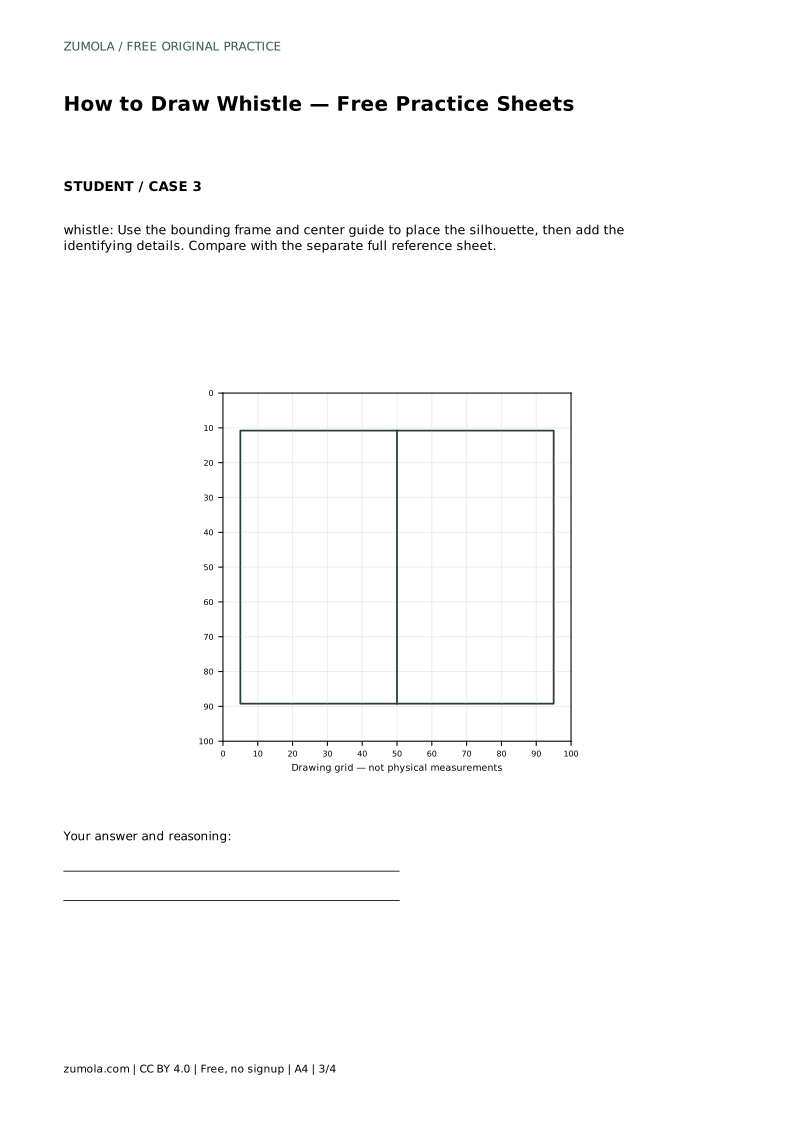
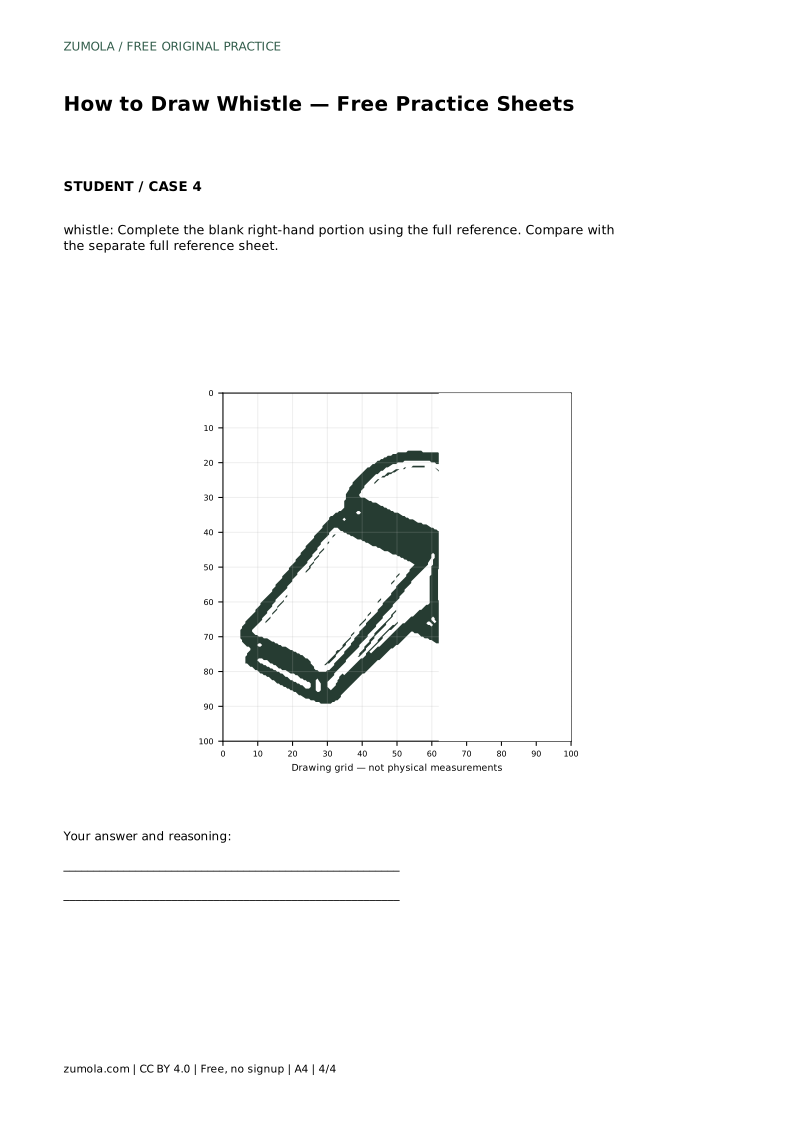
The practice sheets offer different ways to build the same skill. On the trace sheet, follow the reference outline first, then try the contour independently and compare with the separate full reference sheet. On the grid sheet, copy the reference onto the blank grid using matching grid intersections; this trains placement and proportion. On the bounding-frame sheet, use the frame and center guide to place the silhouette before adding the identifying details. On the partial sheet, complete the blank right-hand portion using the full reference.
Each sheet asks for the same visible features: a rounded cylindrical body with a circular end face, a tapered rectangular mouthpiece extending from the body, a small raised loop on top of the body, a dark band between body and mouthpiece, and an inner ring on the end face. Other drawings can be correct, so assess the visible features and proportions rather than pixel-perfect matching.
whistle: Trace the reference outline, then practise the contour independently. Compare with the separate full reference sheet.
Example solution: preserve rounded cylindrical mouthpiece/body with a circular end face, tapered rectangular mouthpiece section extending from the body, small raised loop/ring on top of the body. Other drawings can be correct; assess the visible features and proportions rather than pixel-perfect matching. Draw a large circle for the rounded end of the whistle body. Attach a tapered rectangular shape to the left side of the circle for the mouthpiece. Add a small loop/ring shape on top of the circular body. Draw a dark band between the body and mouthpiece, then outline the circular end face with an inner ring.
A rounded cylindrical body with a circular end face, a tapered rectangular mouthpiece extending from the body, a small raised loop on top of the body, a dark band between body and mouthpiece, and an inner ring on the end face.
No. Other drawings can be correct. Assess the visible features and proportions rather than pixel-perfect matching.
Copy the reference onto the blank grid using matching grid intersections. This helps you place the silhouette and keep proportions consistent.
All drawing practice · Free coordinate paper
Original resources · CC BY 4.0 · Free for personal and classroom use with attribution.