Reference diagrams
LETTER · Download PDF
A4 · Download PDF
Free original resources
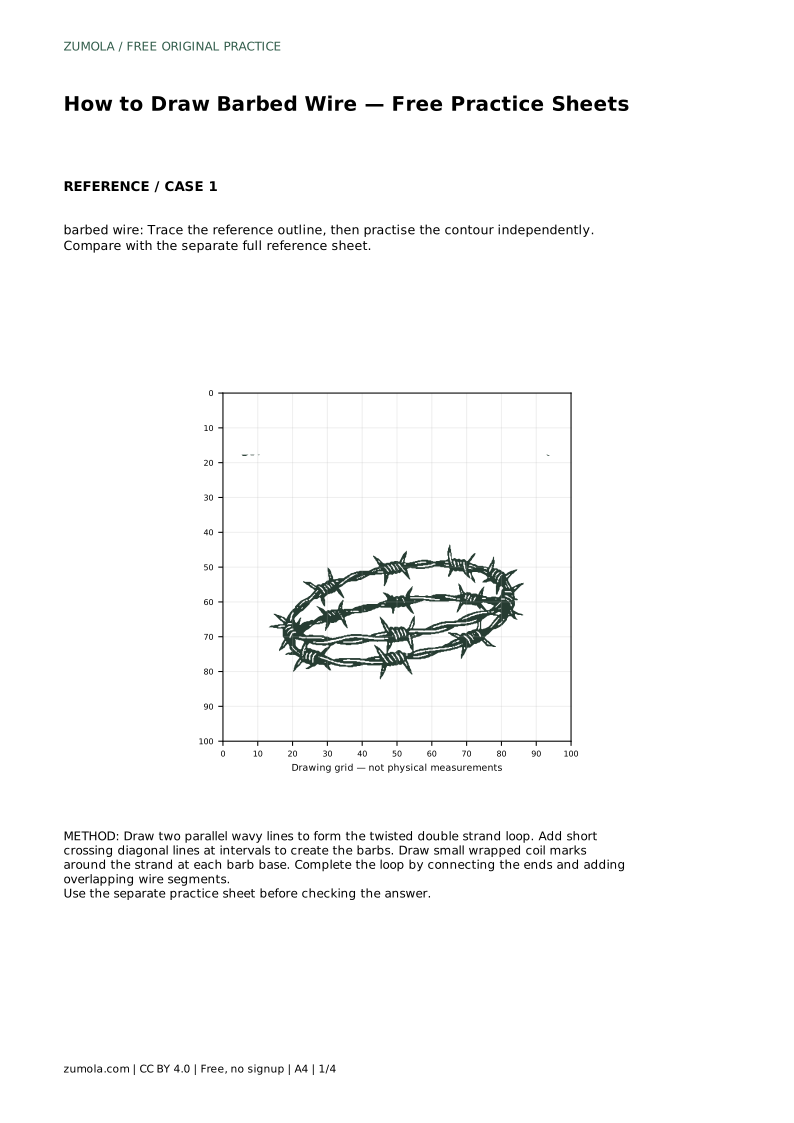
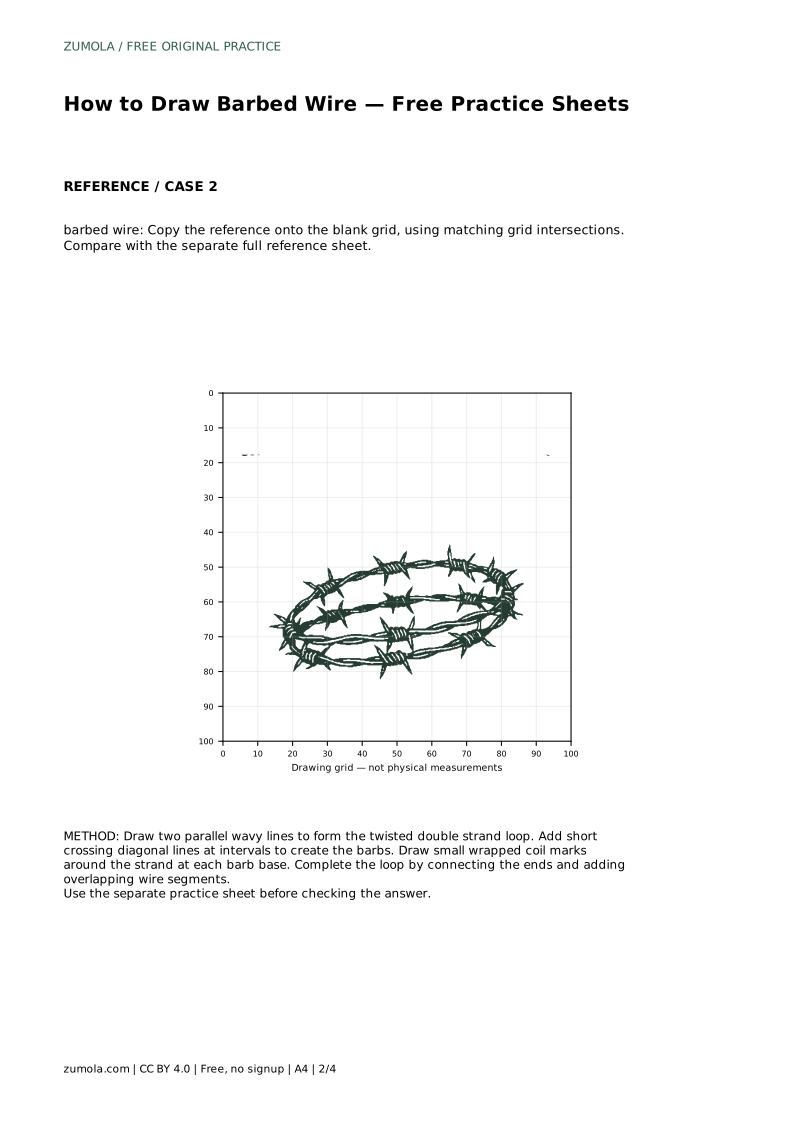
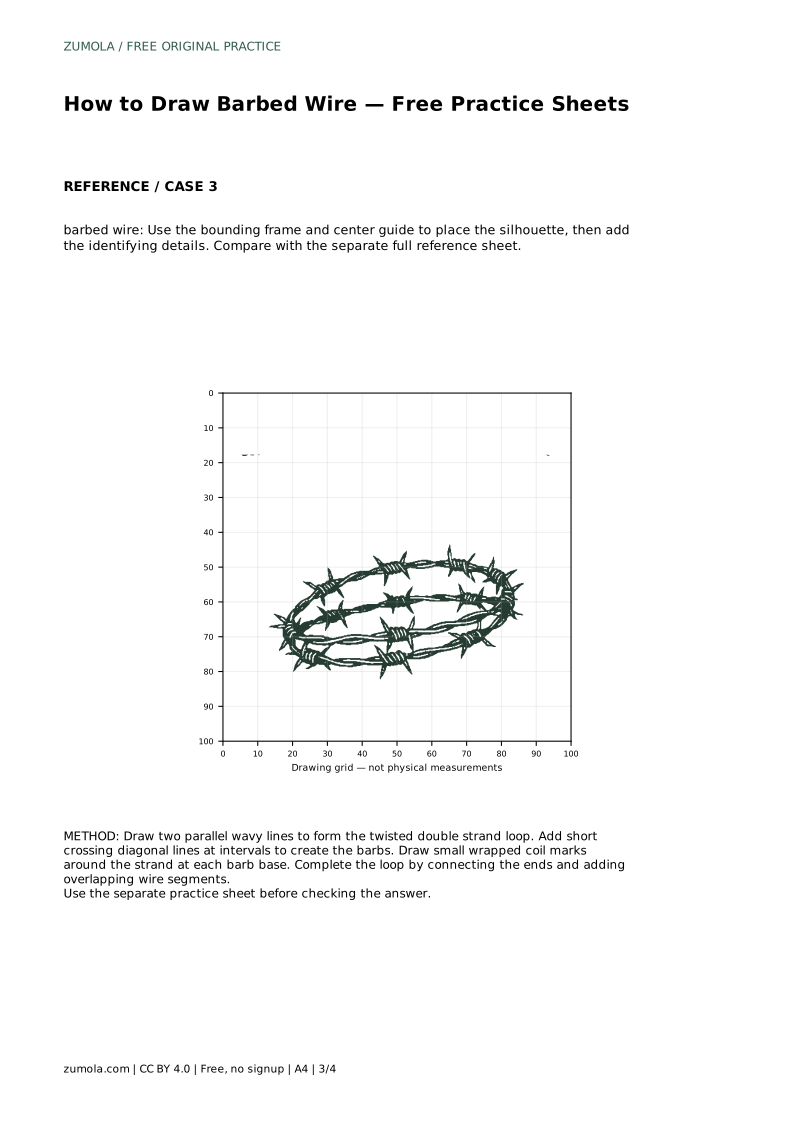
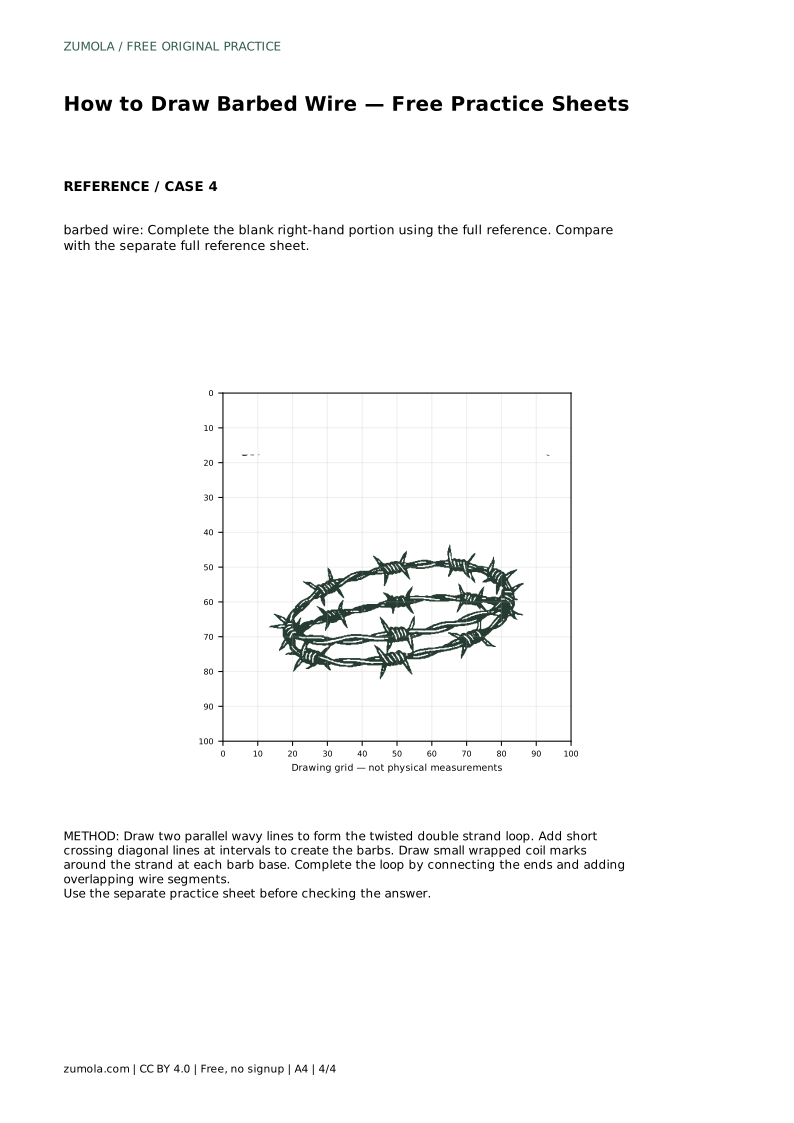
Learn to draw barbed wire by building a twisted double strand, adding evenly spaced barbs and wrapped coils, then closing the loop with overlapping segments.
Four original cases, with reference diagrams, practice sheets and worked answers. Everything is free; no signup required.
LETTER · Download PDF
A4 · Download PDF
LETTER · Download PDF
A4 · Download PDF
LETTER · Download PDF
A4 · Download PDF
Use A4 or US Letter to match your printer. Use the stated values and conditions to solve each exercise; diagrams are not physical measuring rulers.
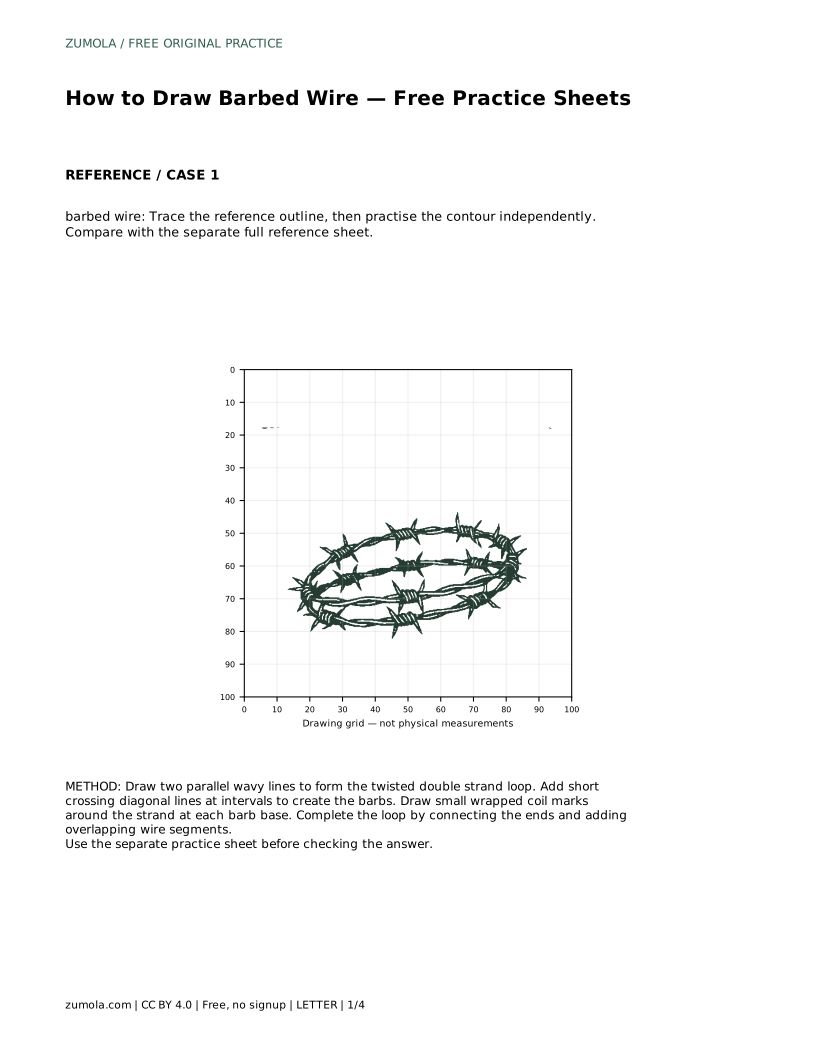
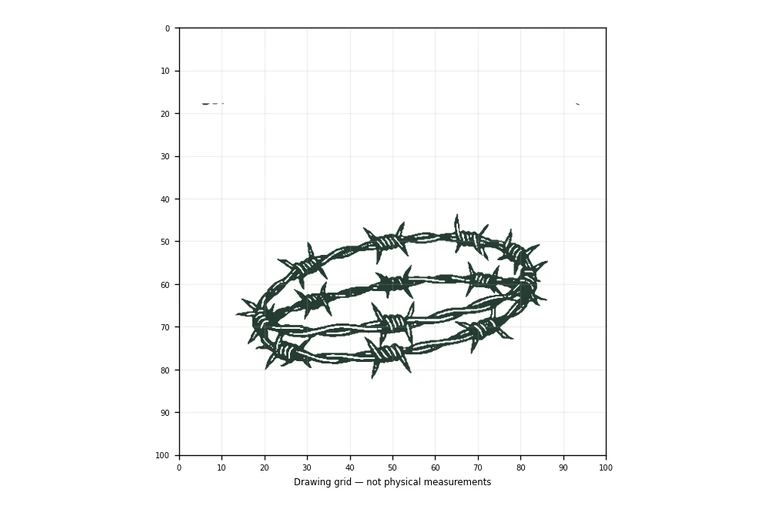
Barbed wire looks busy, but it is built from a few repeating parts: two strands that twist around each other, short crossing spikes, and small coils where each spike meets the wire. Drawing it well is mostly about rhythm and spacing rather than perfect realism. This guide walks through a reliable order of construction, then explains how to judge your own result against the visible features of a reference sheet.
Start with the strand, not the barbs. Barbed wire is usually drawn as a pair of lines running close together, crossing and separating in a gentle wave. Keep the gap between the two lines fairly consistent so the wire reads as one twisted cord rather than two unrelated curves.
Once the strand is in place, add barbs at regular intervals. Each barb is a short pair of crossing diagonals that meet near the strand. Finally, draw small wrapped coil marks around the strand at the base of each barb, then close the loop and add overlapping segments where the wire crosses itself.
The most common visual problem is uneven barb spacing. Decide on a rough interval before you start and repeat it along the strand, adjusting slightly where the wire curves. Barbs should point in varied directions, but their size should stay similar so the wire looks consistent.
Where the wire overlaps itself, draw the nearer segment continuously and stop the farther one at the crossing. This small choice makes the loop read as a single continuous object instead of a flat tangle of lines.
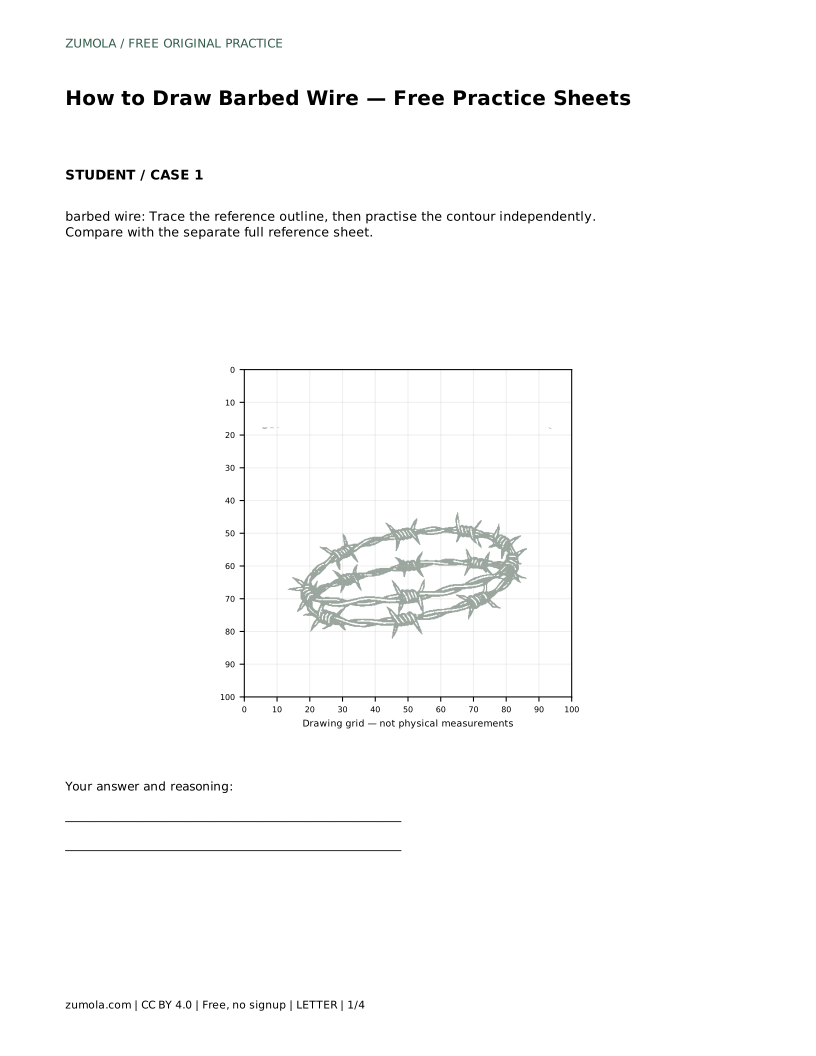
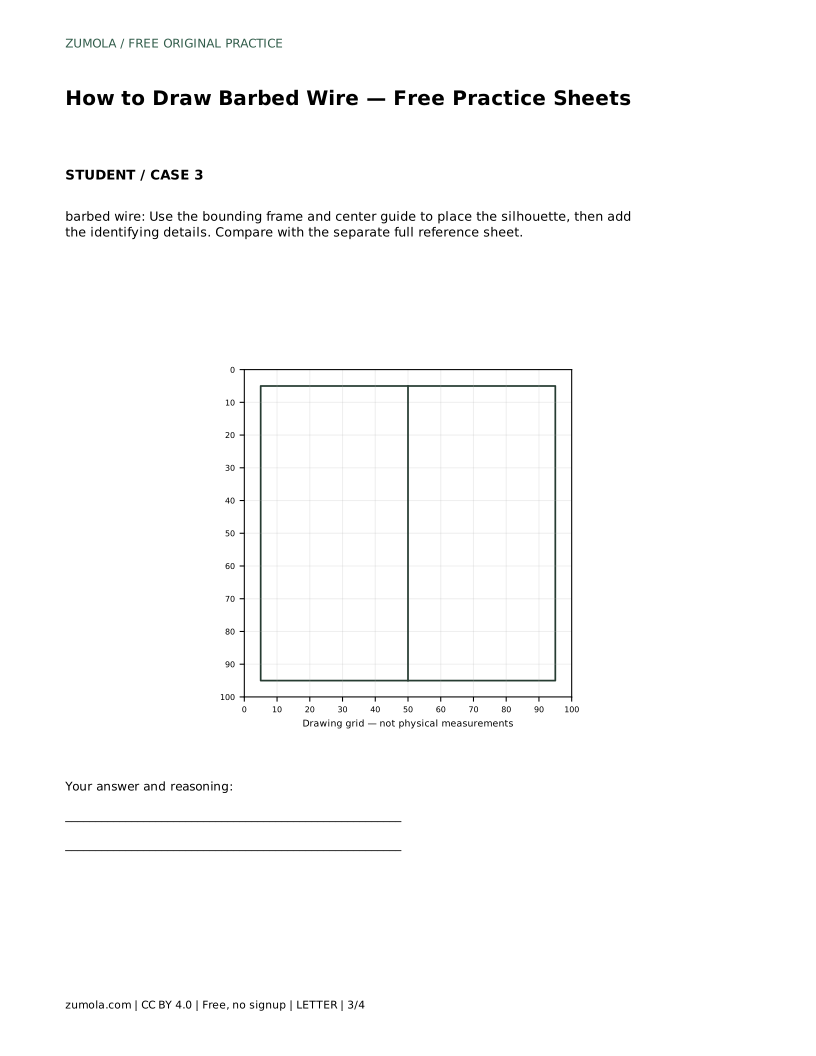
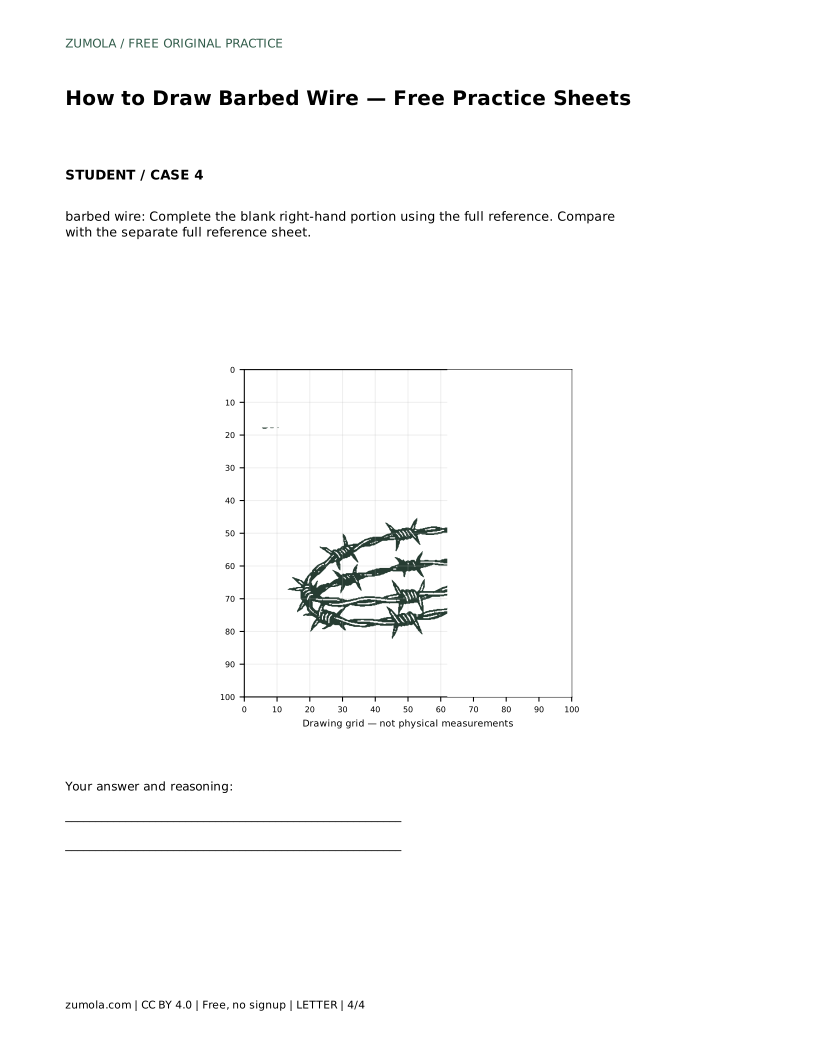
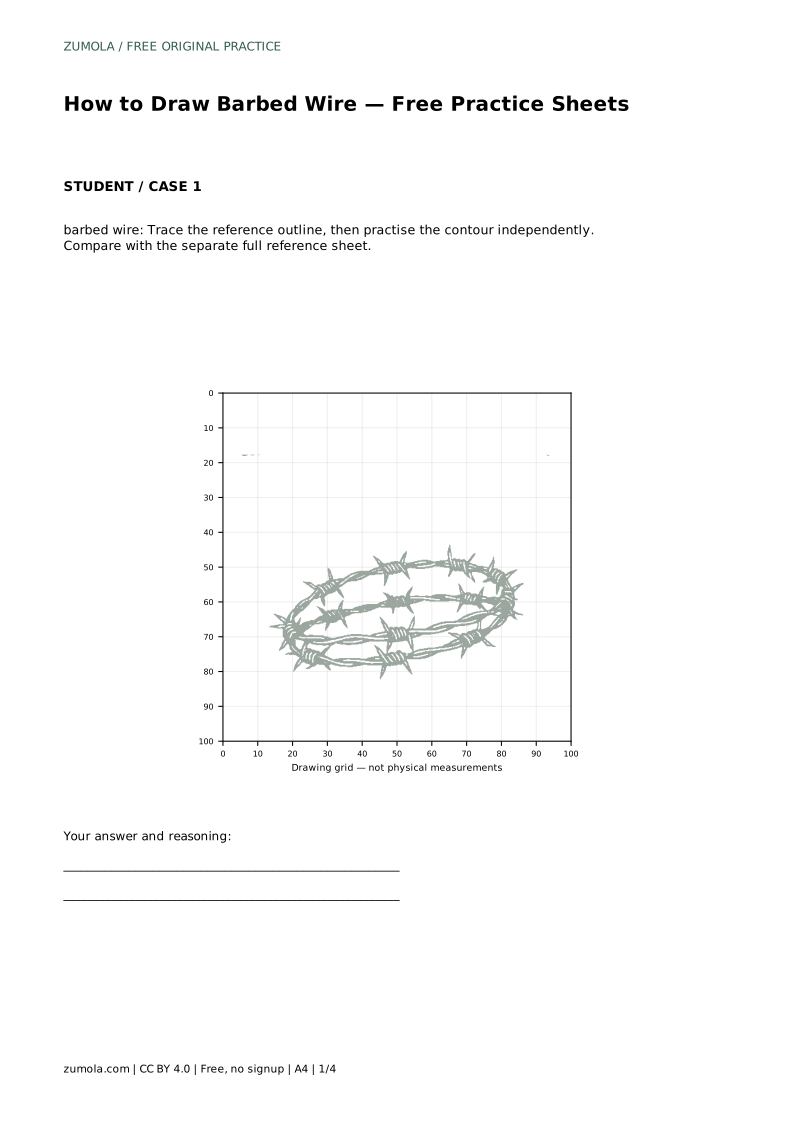
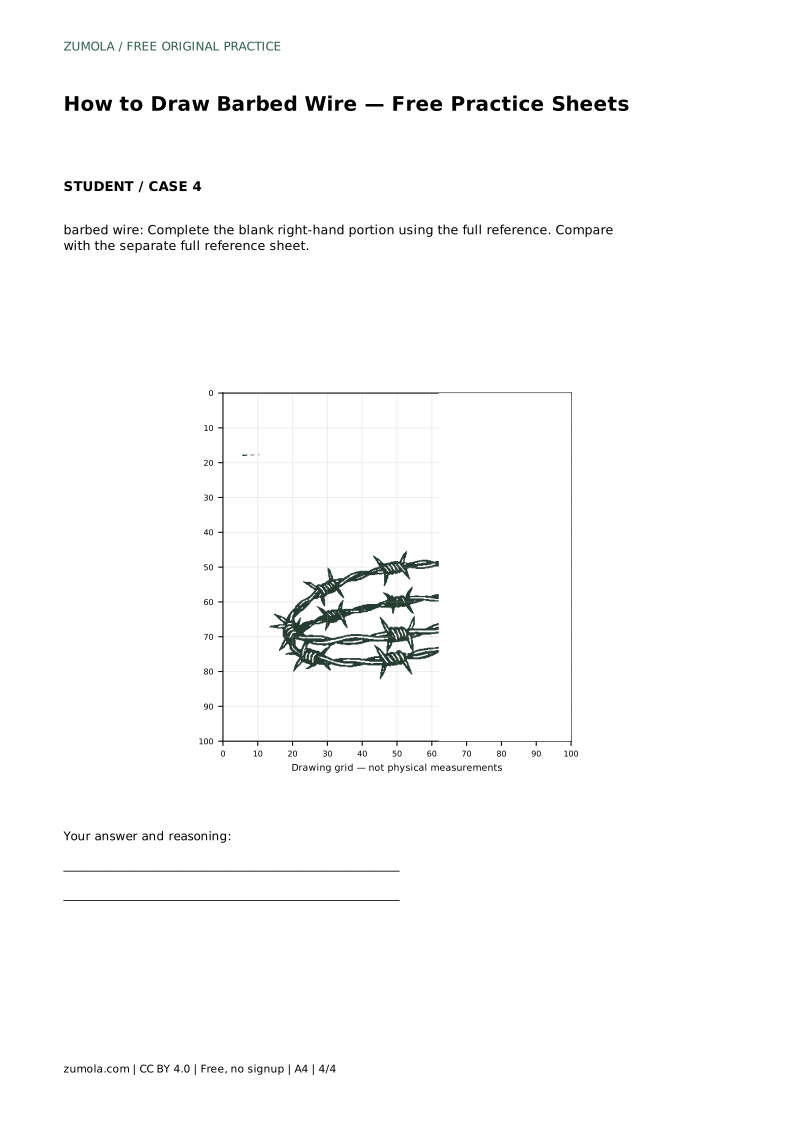
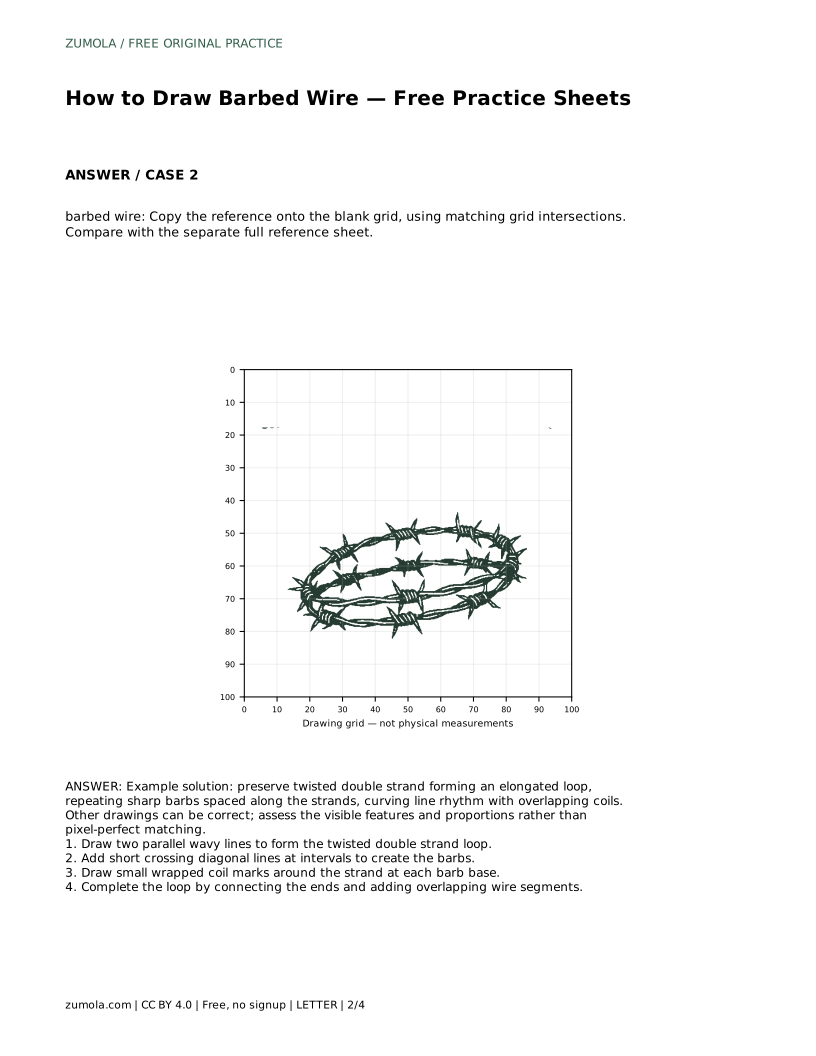
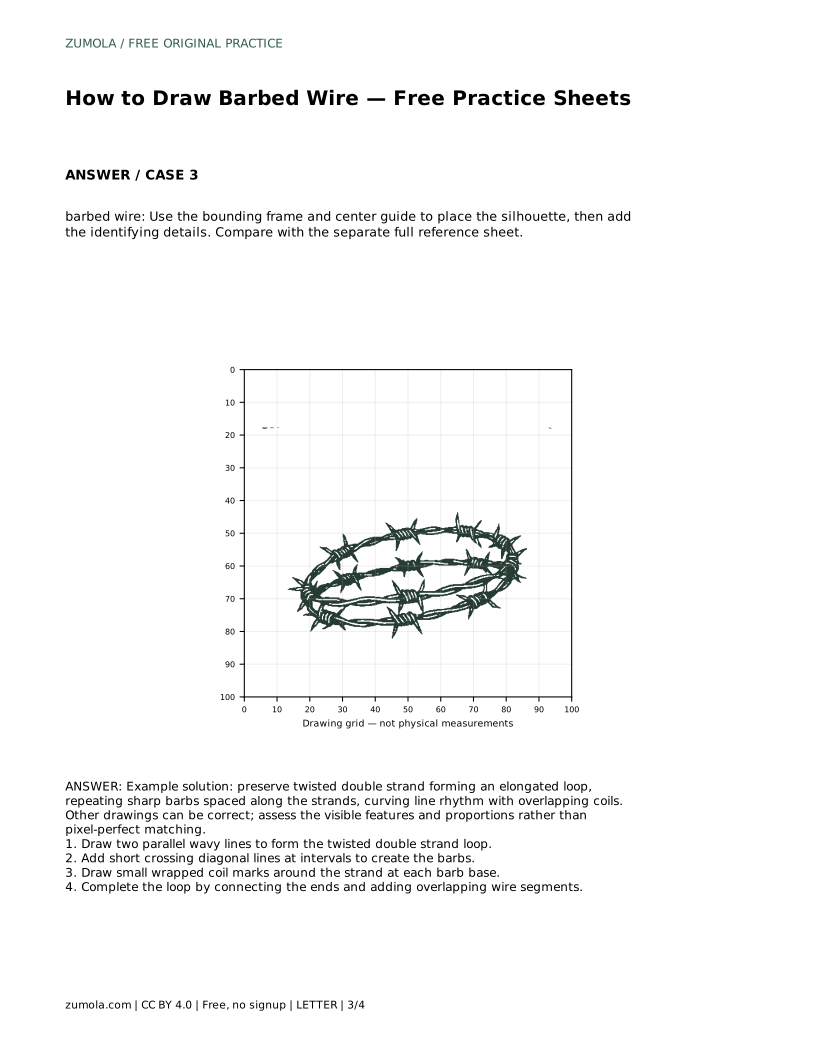
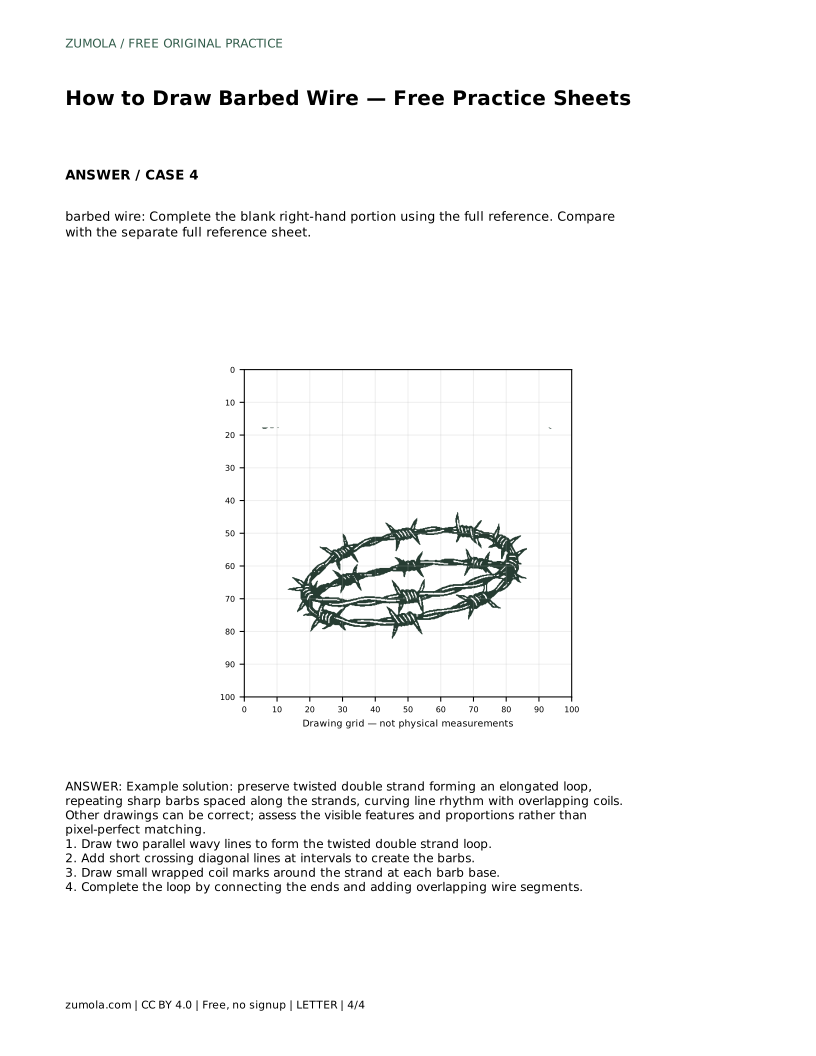
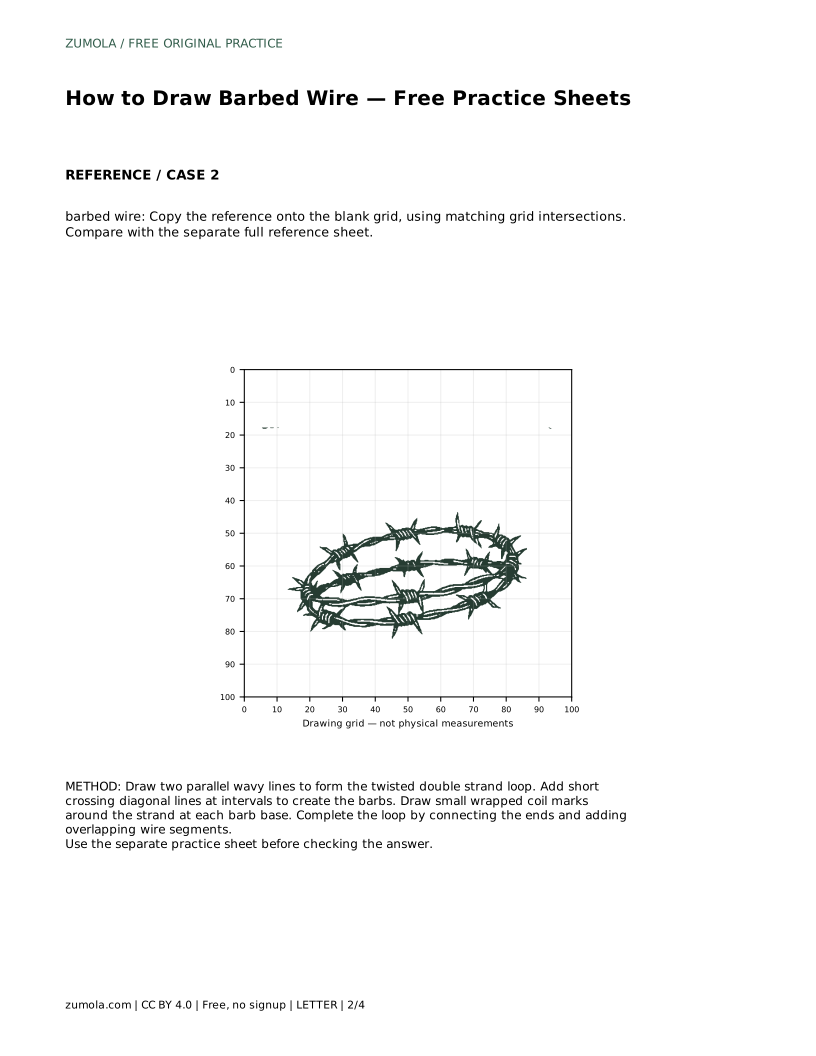
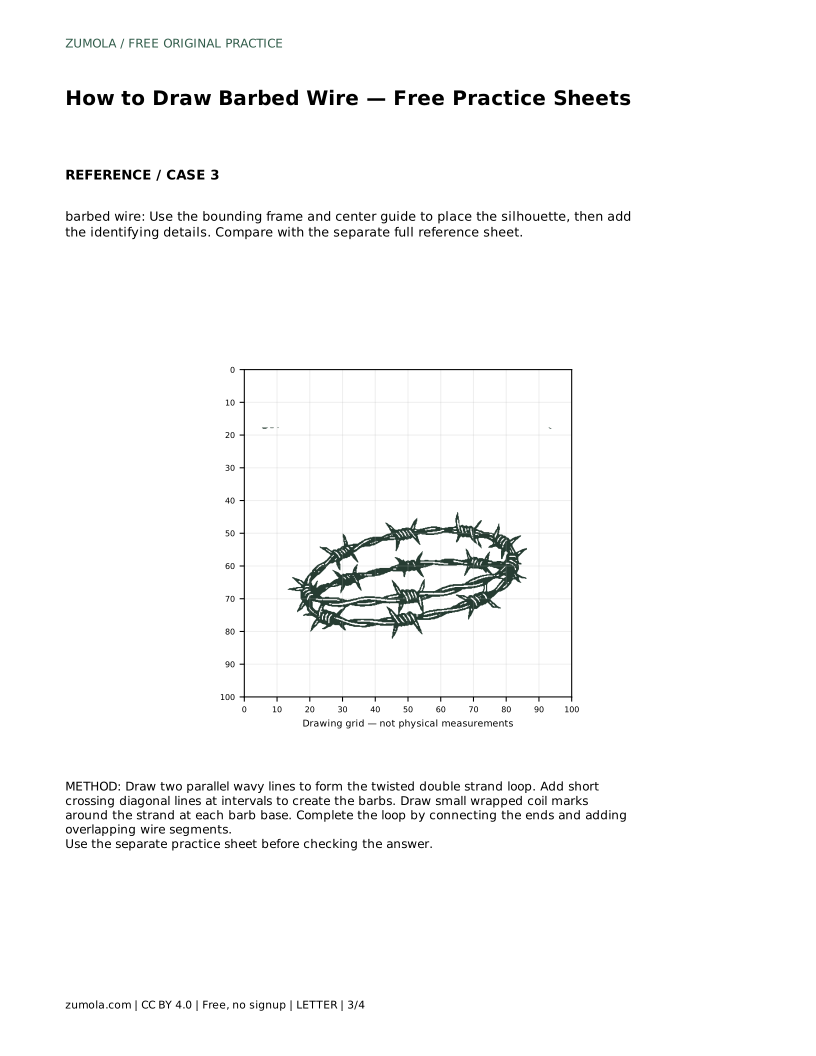
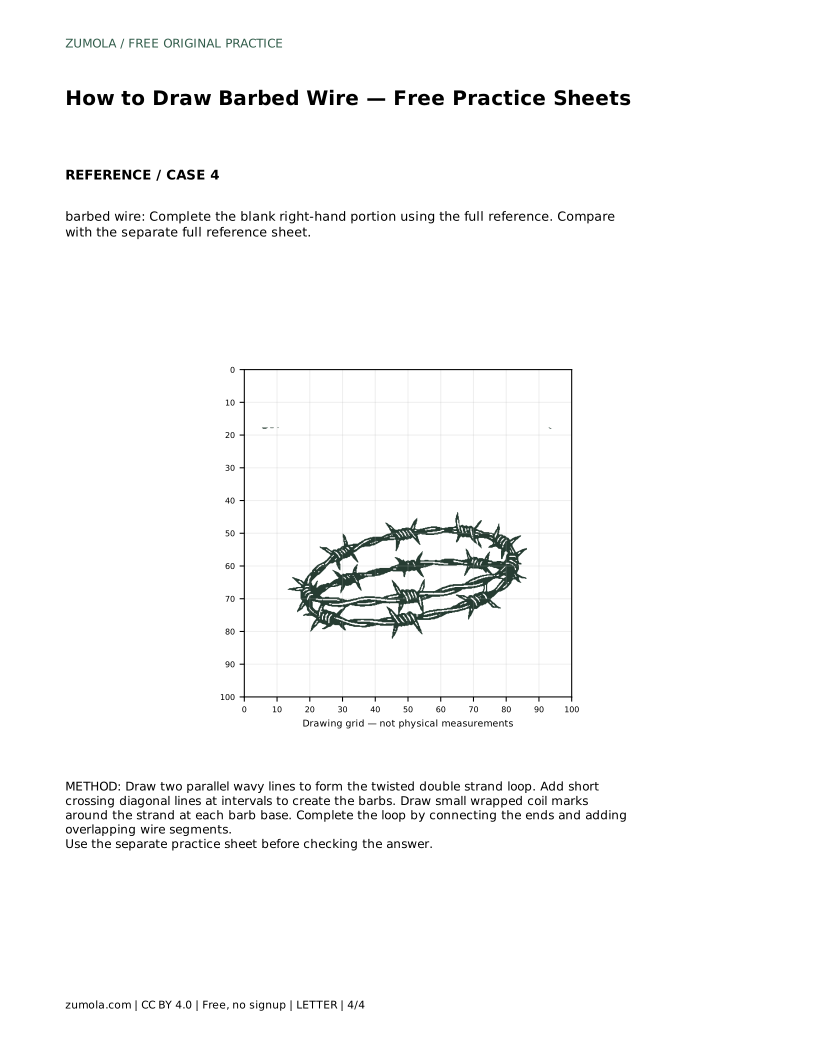
The tracing sheet asks you to follow the reference outline first, then repeat the contour without it. The grid sheet asks you to copy the reference onto blank squares using matching intersections. The frame-and-center sheet asks you to place the silhouette before adding details, and the partial sheet asks you to complete the blank right-hand portion.
Each sheet is a different task, so do not assume the same spacing or loop shape carries over. Compare your finished drawing with the separate full reference sheet and check the features listed in the rubric rather than chasing a pixel-perfect match.
Barbed wire drawings can be correct in many ways. A tighter loop, a wider wave, or a different barb count can all work if the identifying features remain clear. Use the rubric to assess structure and proportion, not exact replication.
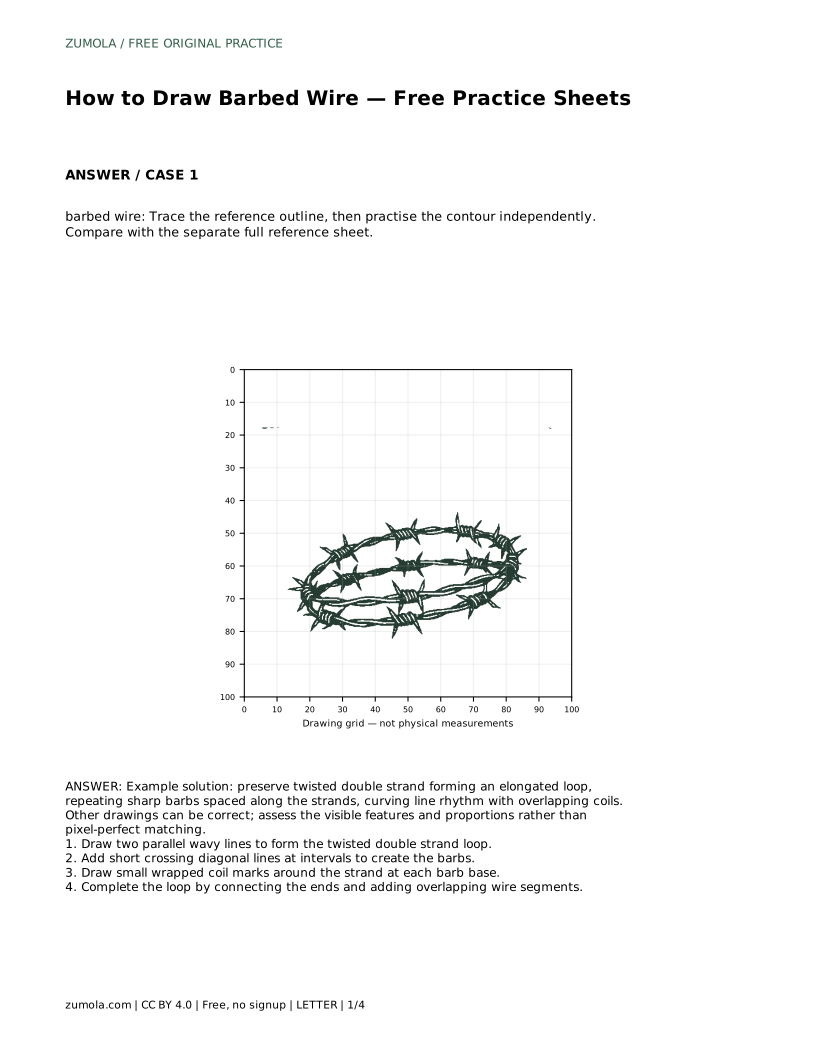
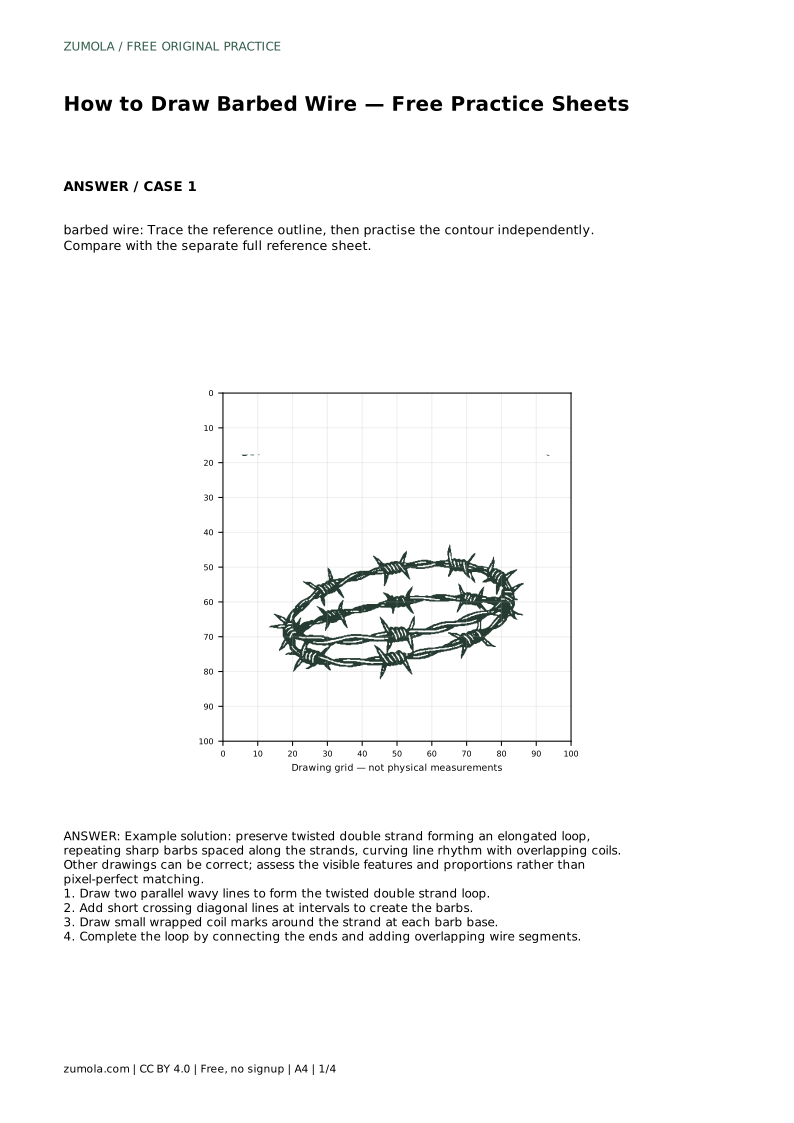
barbed wire: Trace the reference outline, then practise the contour independently. Compare with the separate full reference sheet.
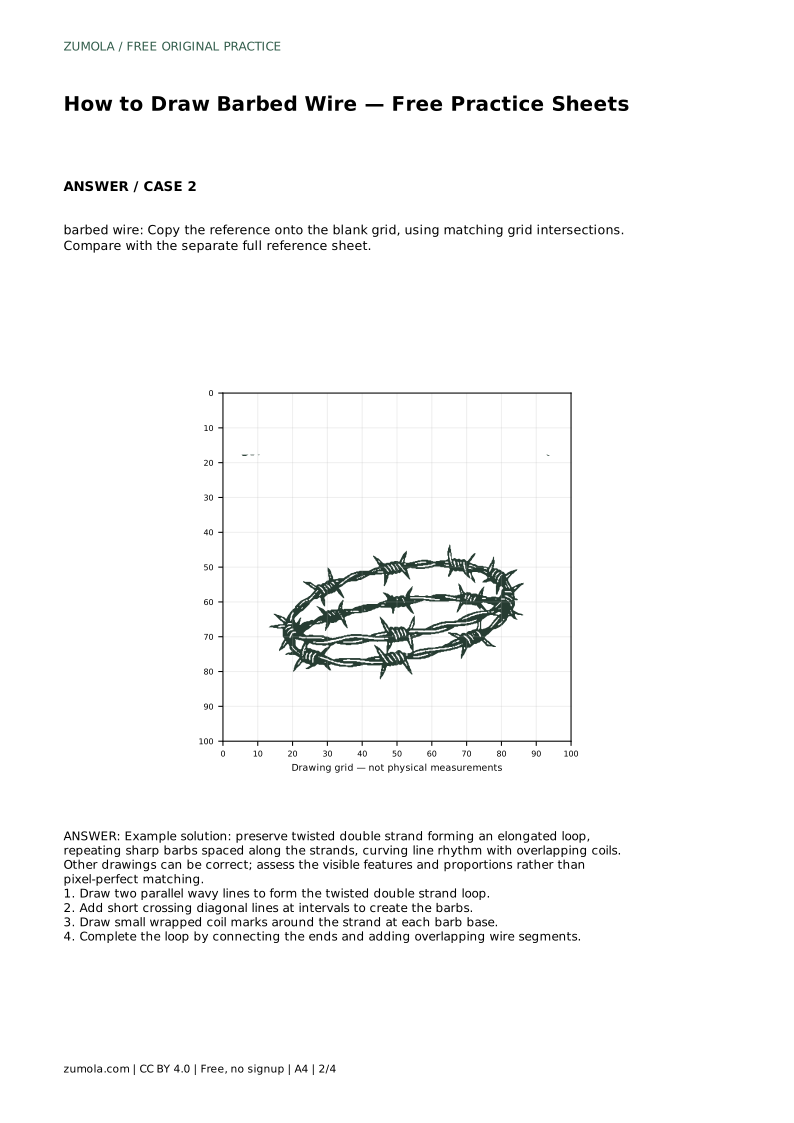
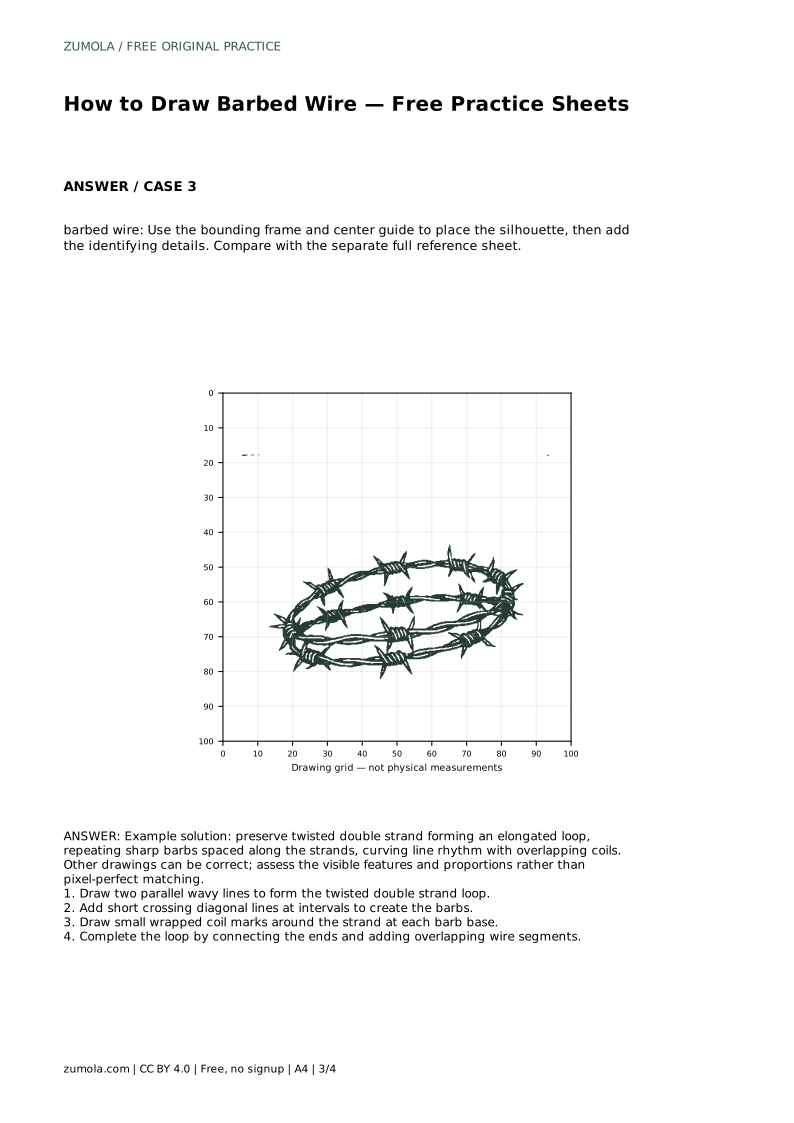
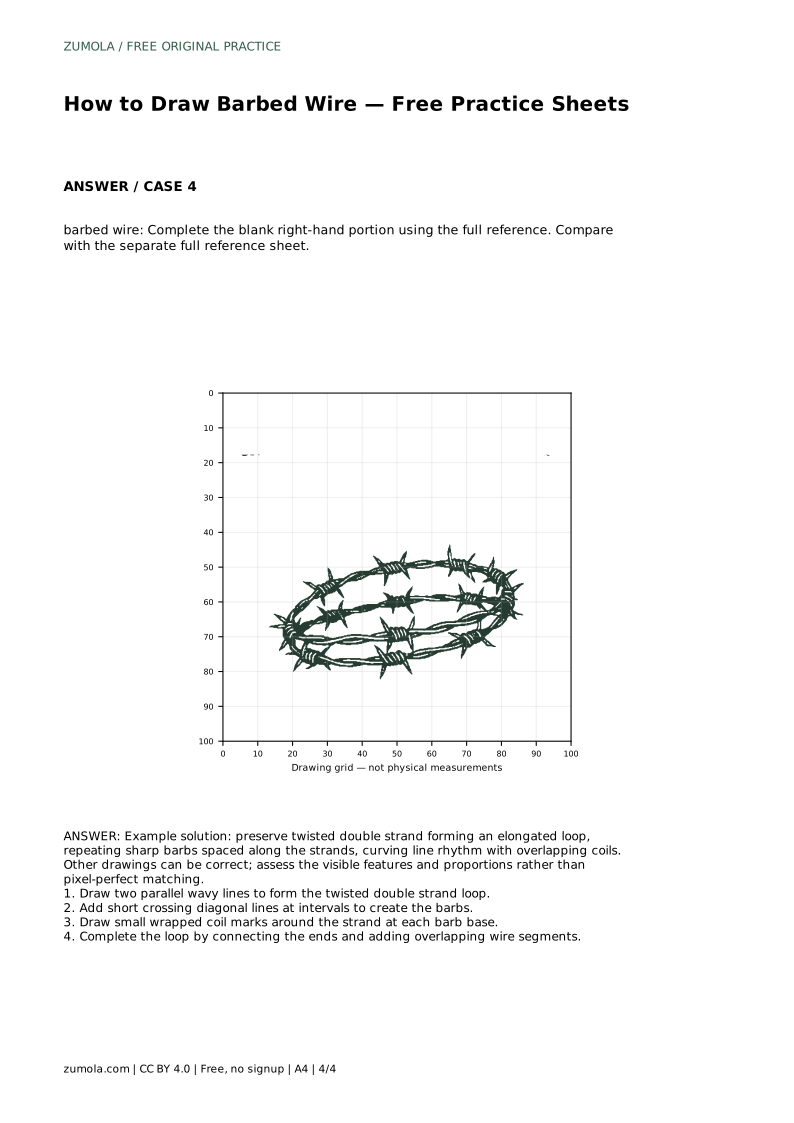
Example solution: preserve twisted double strand forming an elongated loop, repeating sharp barbs spaced along the strands, curving line rhythm with overlapping coils. Other drawings can be correct; assess the visible features and proportions rather than pixel-perfect matching. Draw two parallel wavy lines to form the twisted double strand loop. Add short crossing diagonal lines at intervals to create the barbs. Draw small wrapped coil marks around the strand at each barb base. Complete the loop by connecting the ends and adding overlapping wire segments.
There is no fixed number. Choose an interval that stays readable along the strand and repeat it, adjusting slightly where the wire curves.
They can cross and separate in a gentle wave, but keep the overall gap consistent so the pair reads as one twisted cord.
Check the visible features: twisted double strand, repeating barbs, coil marks at each base, and clear overlaps. Many proportions can be valid.
All drawing practice · Free coordinate paper
Original resources · CC BY 4.0 · Free for personal and classroom use with attribution.