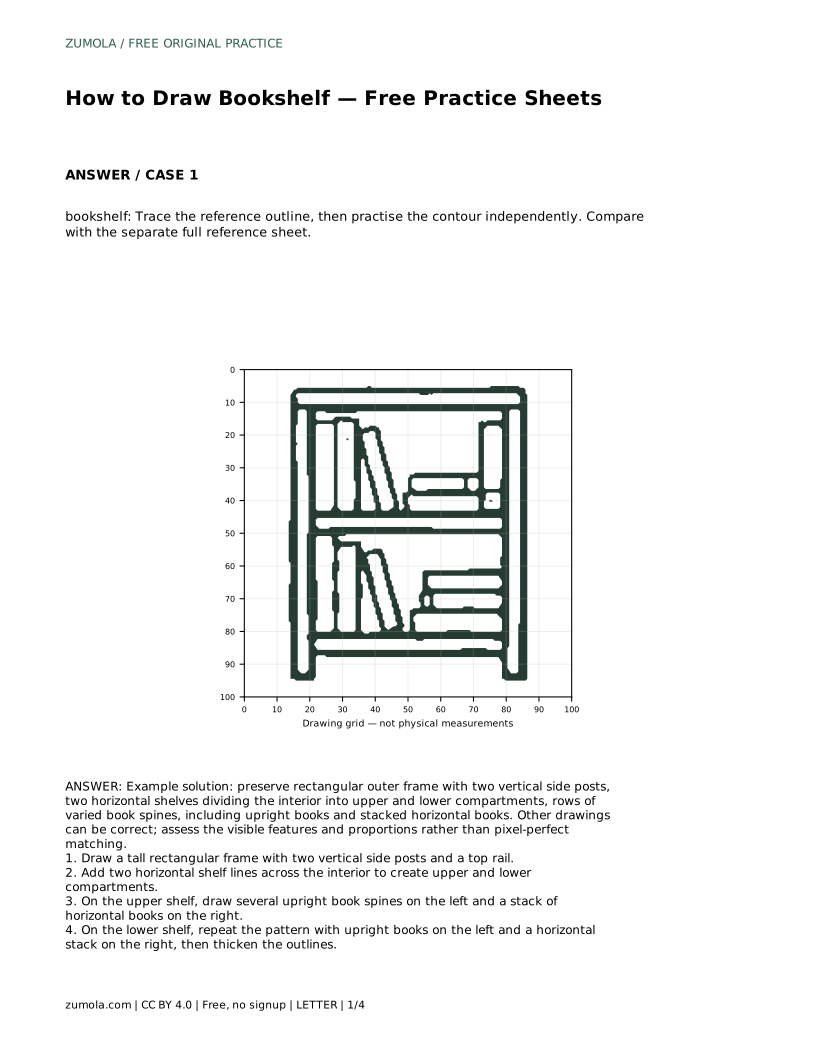
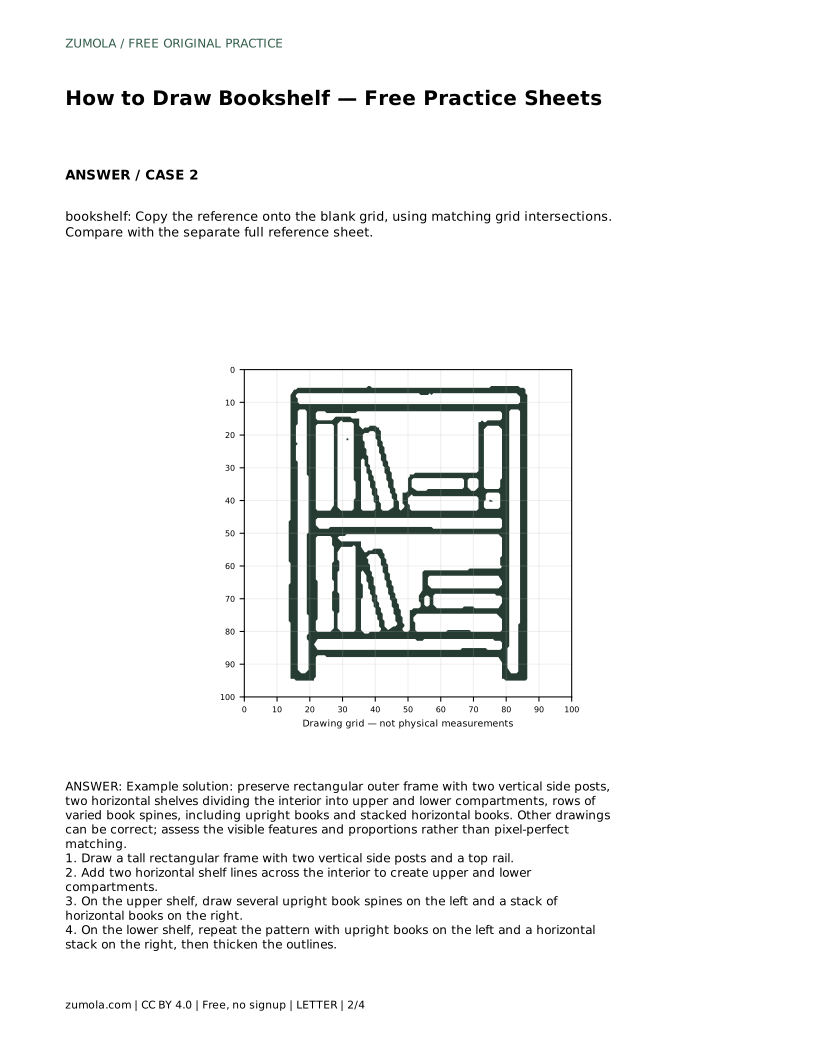
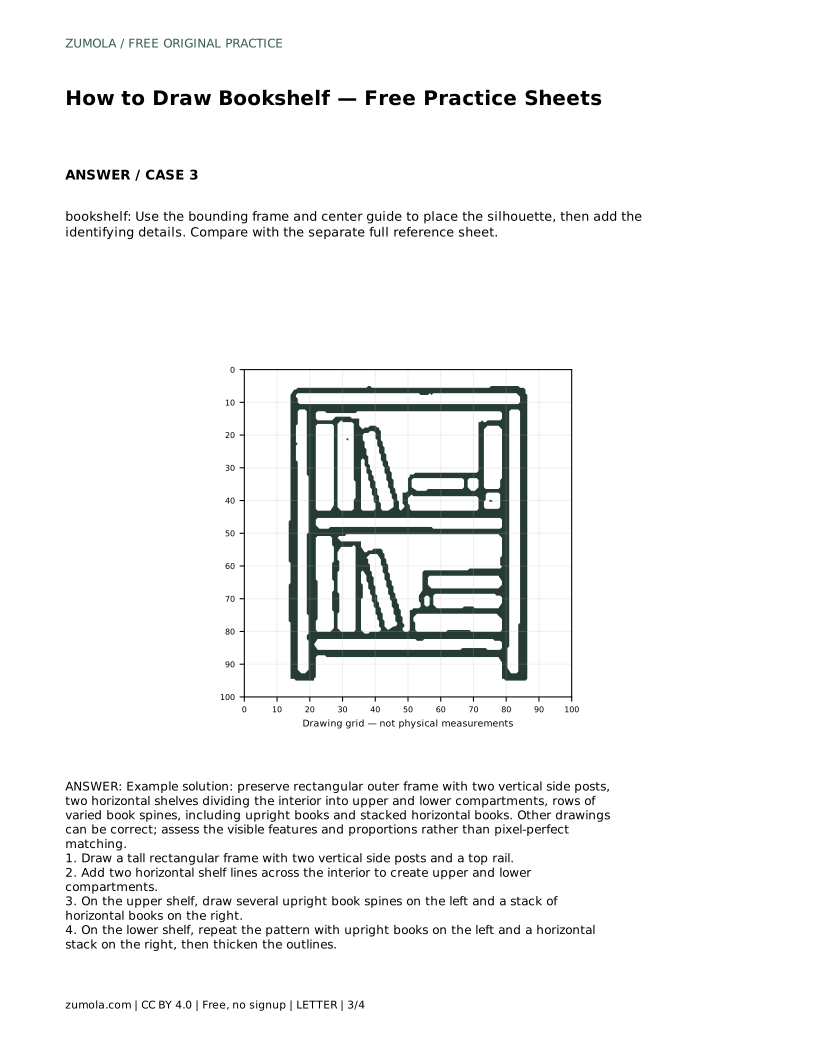
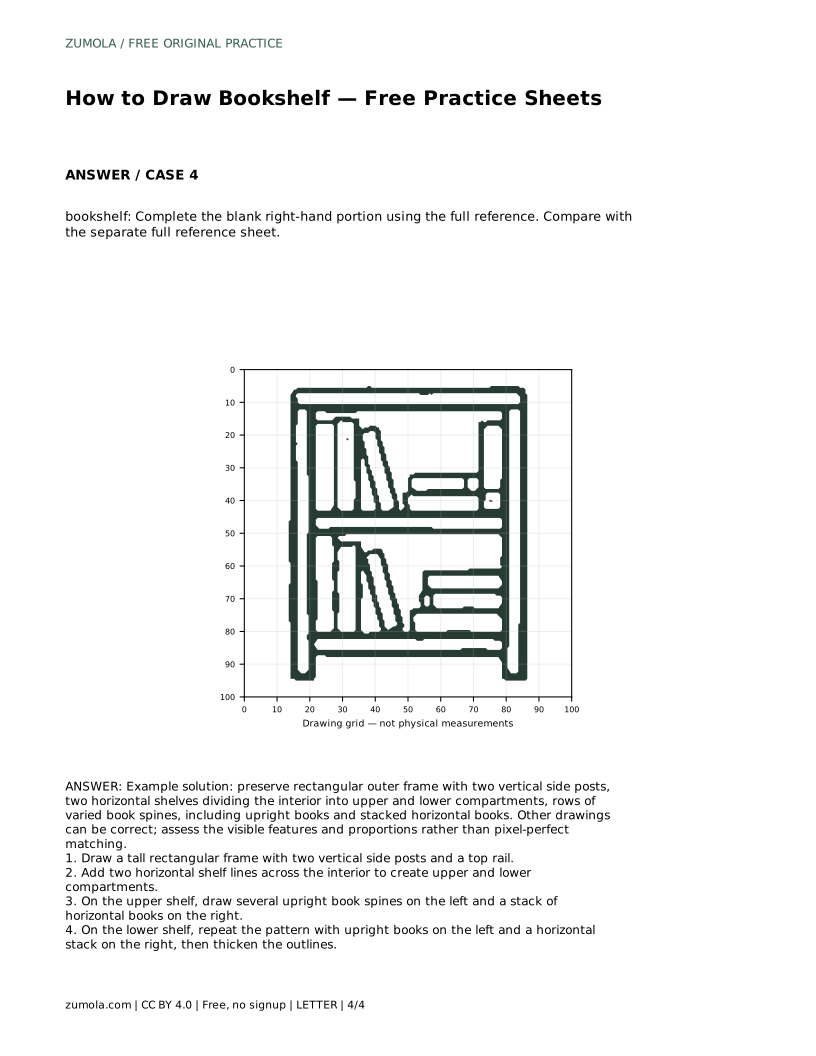
Reference diagrams
LETTER · Download PDF
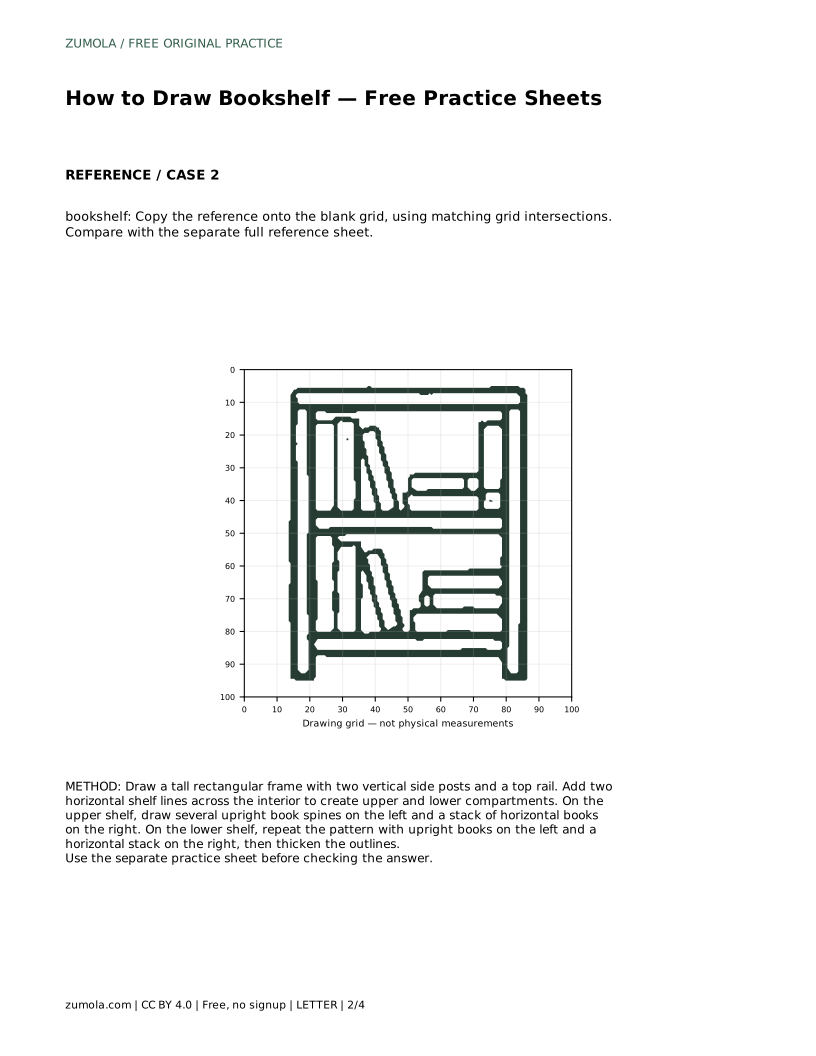
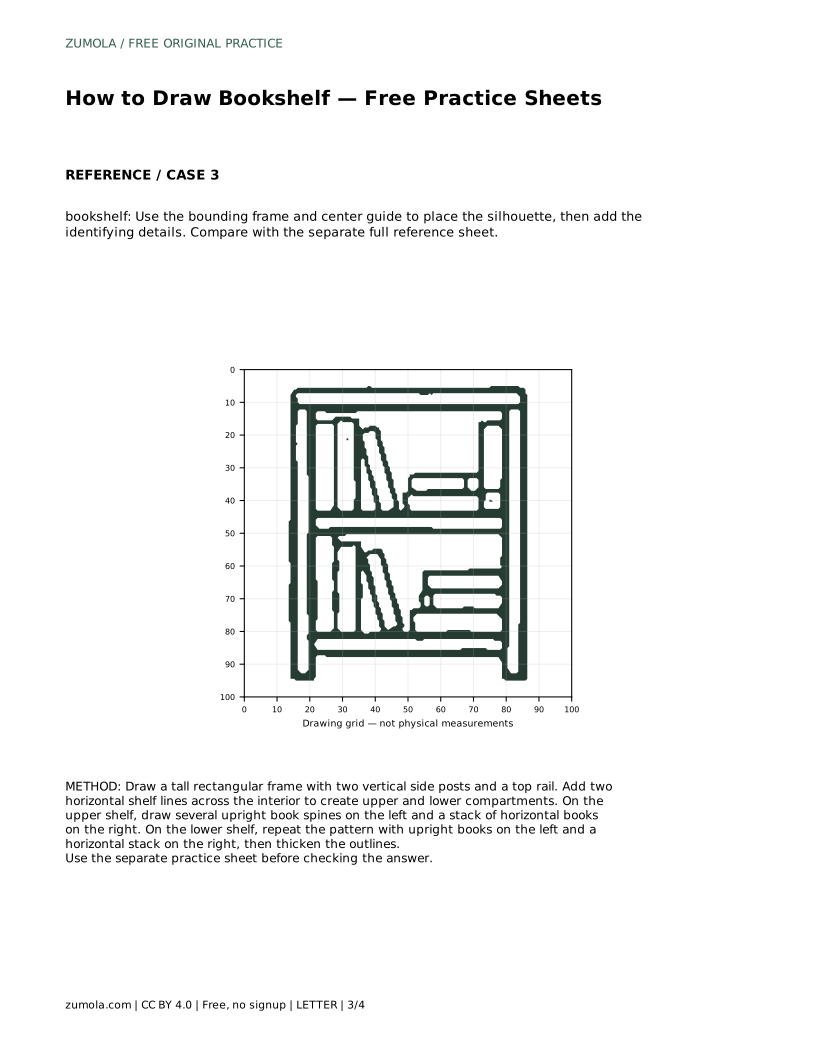
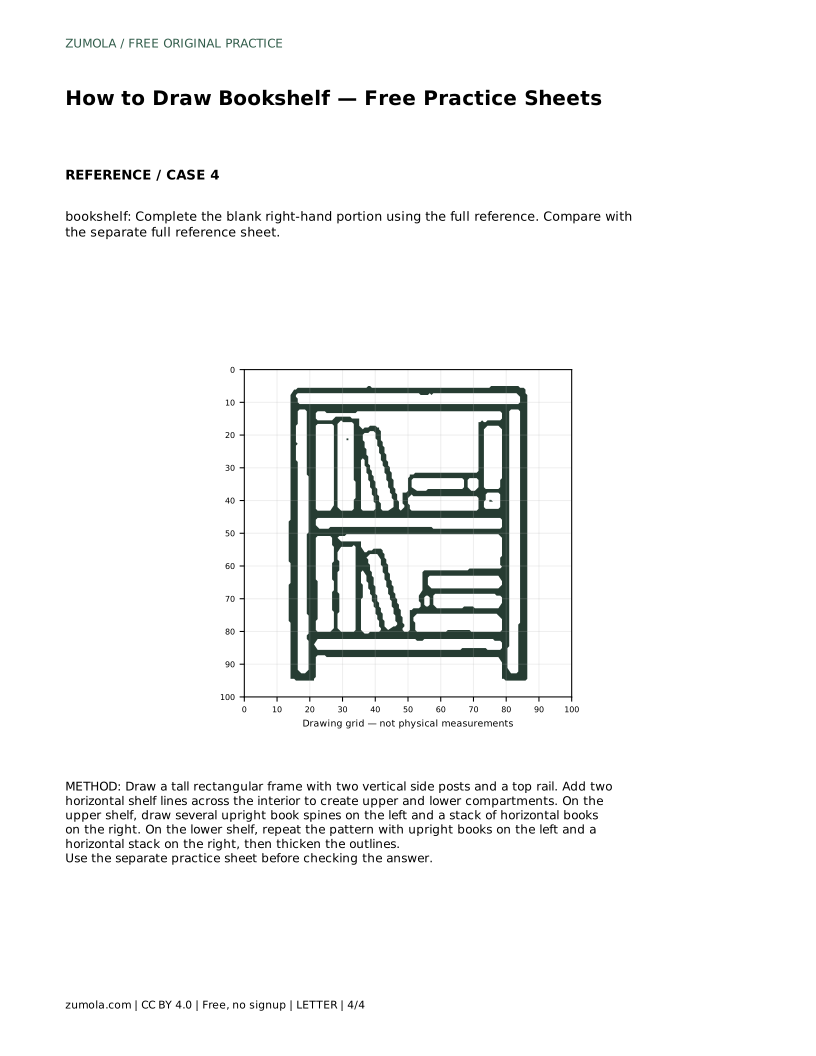
A4 · Download PDF
Free original resources
Learn to draw a bookshelf by building a rectangular frame, adding shelf lines, and filling compartments with upright and stacked books. Free practice sheets support each stage.
Four original cases, with reference diagrams, practice sheets and worked answers. Everything is free; no signup required.
LETTER · Download PDF
A4 · Download PDF
LETTER · Download PDF
A4 · Download PDF
LETTER · Download PDF
A4 · Download PDF
Use A4 or US Letter to match your printer. Use the stated values and conditions to solve each exercise; diagrams are not physical measuring rulers.
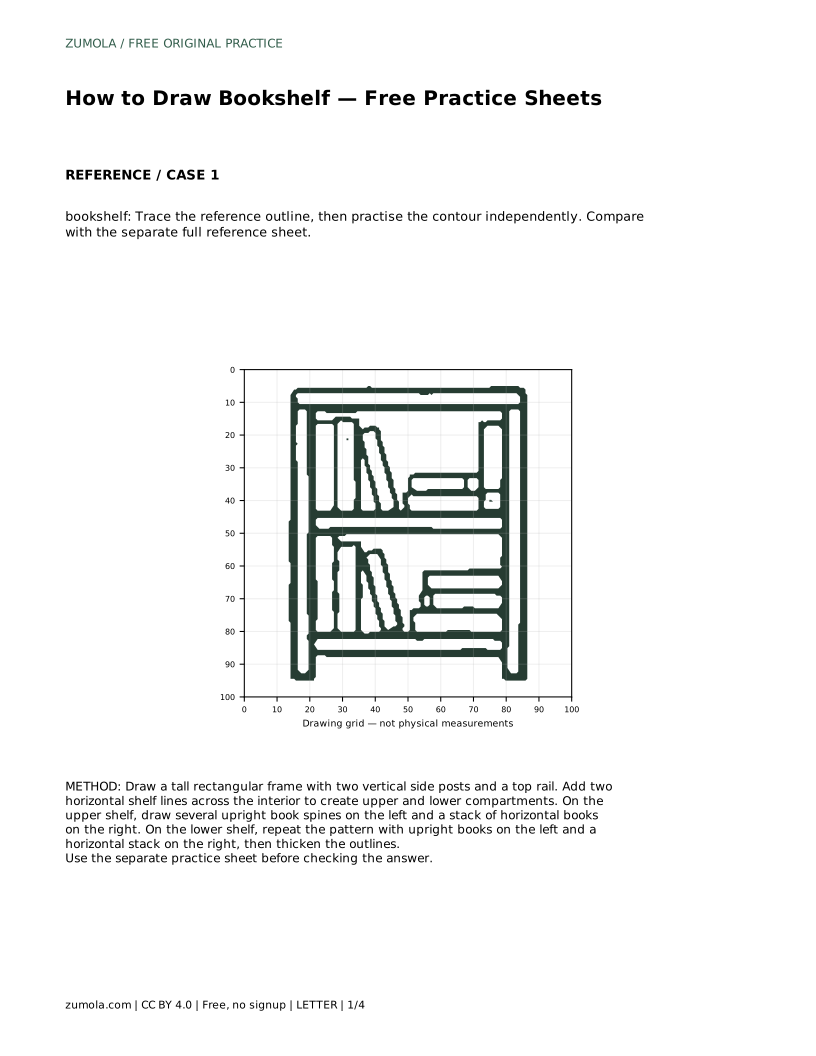
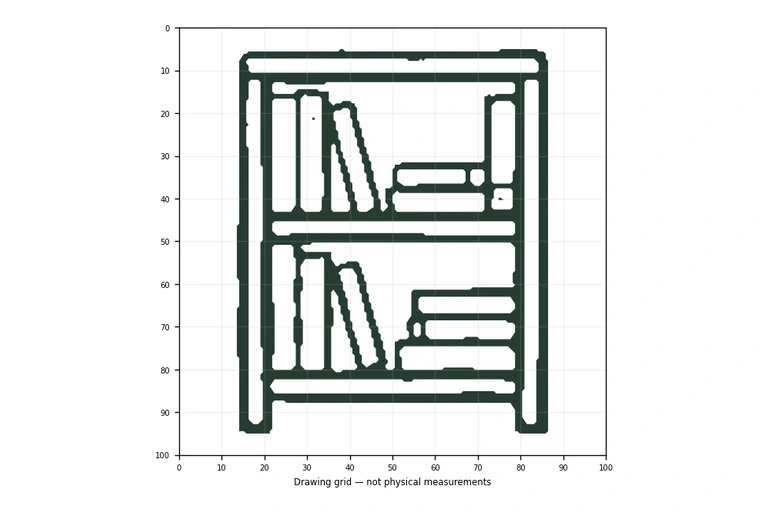
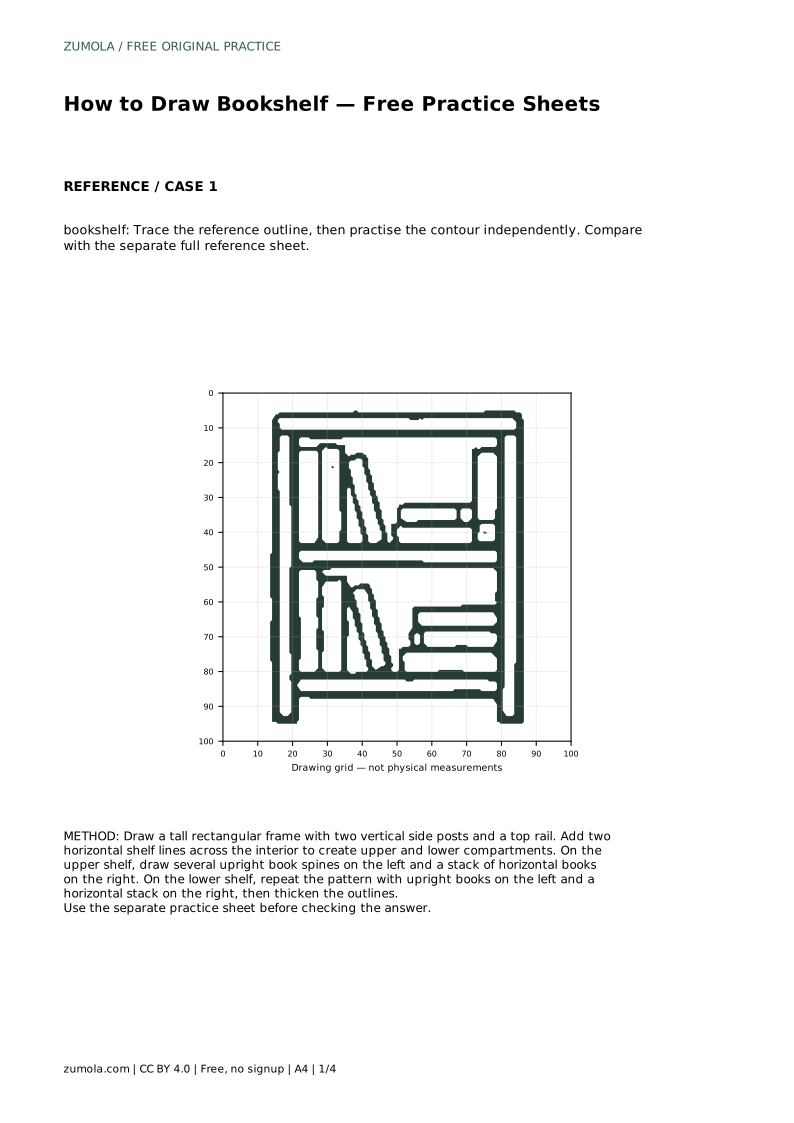
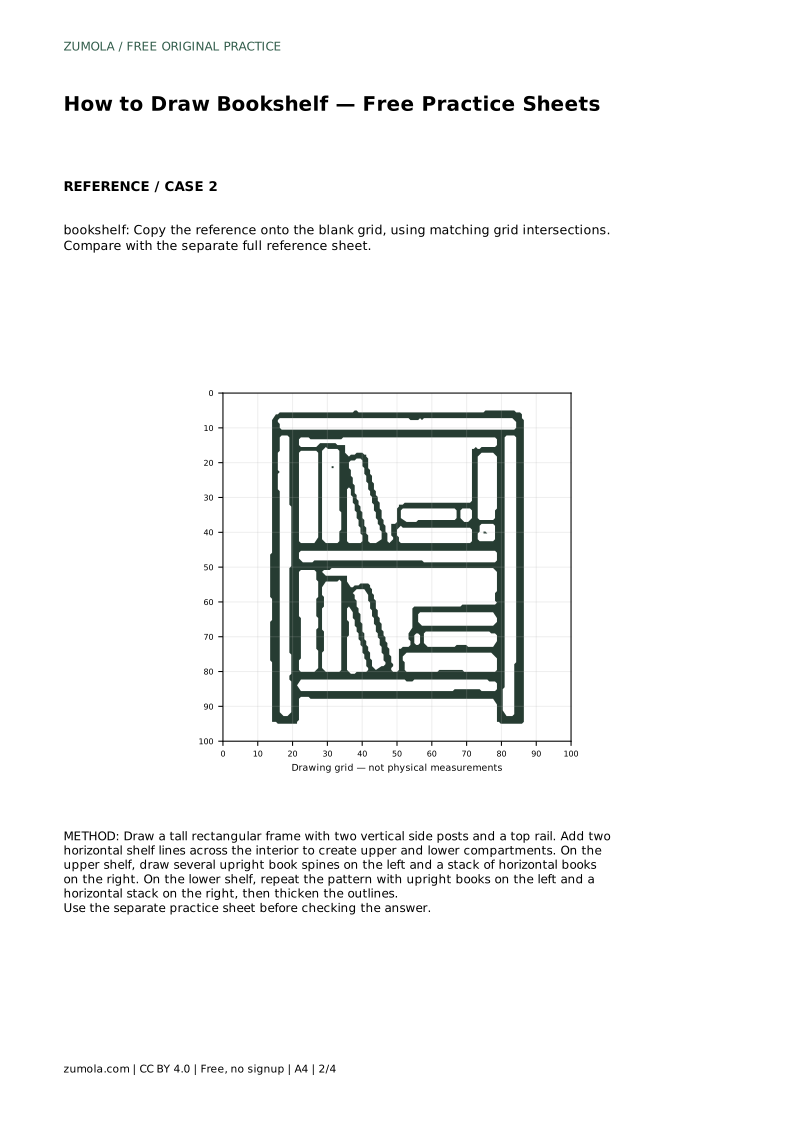
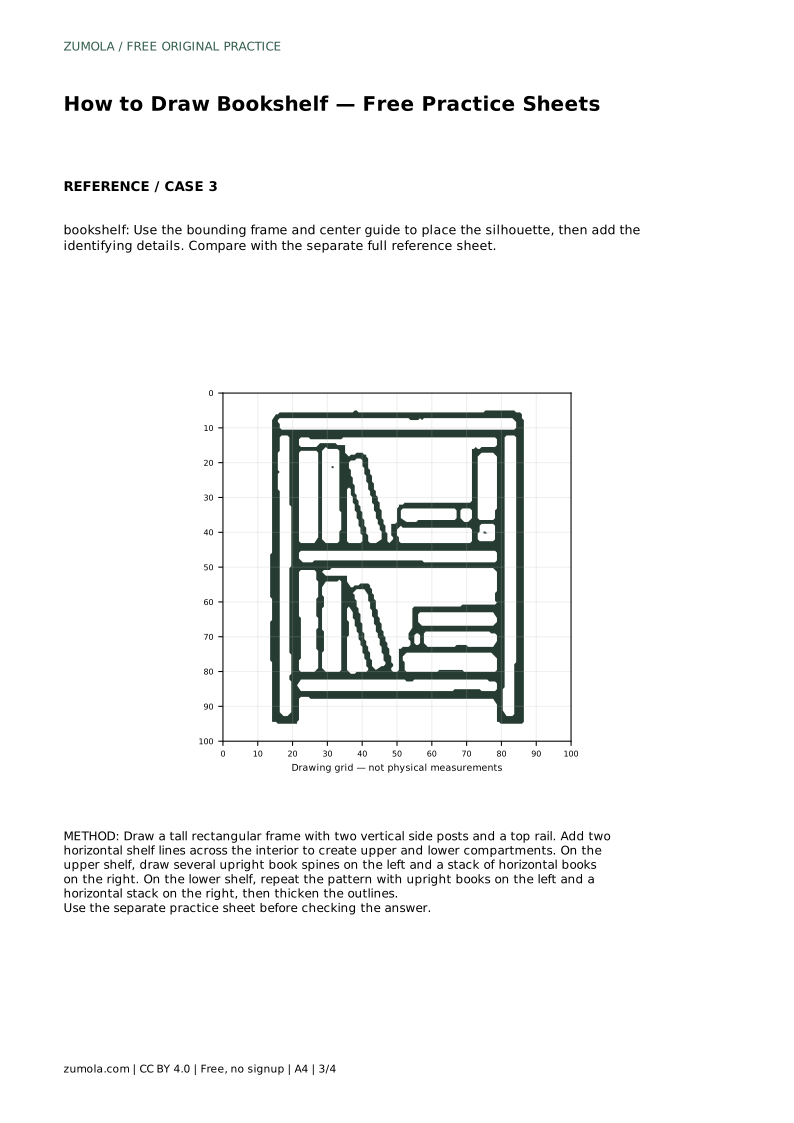
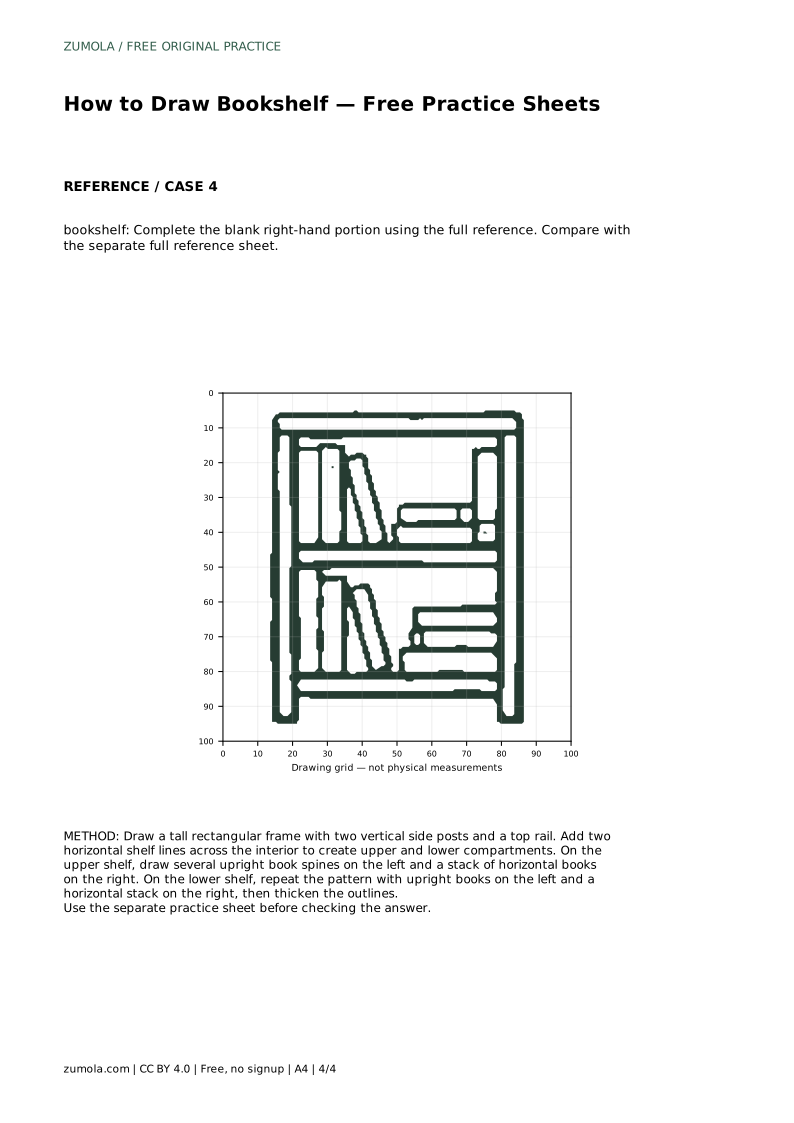
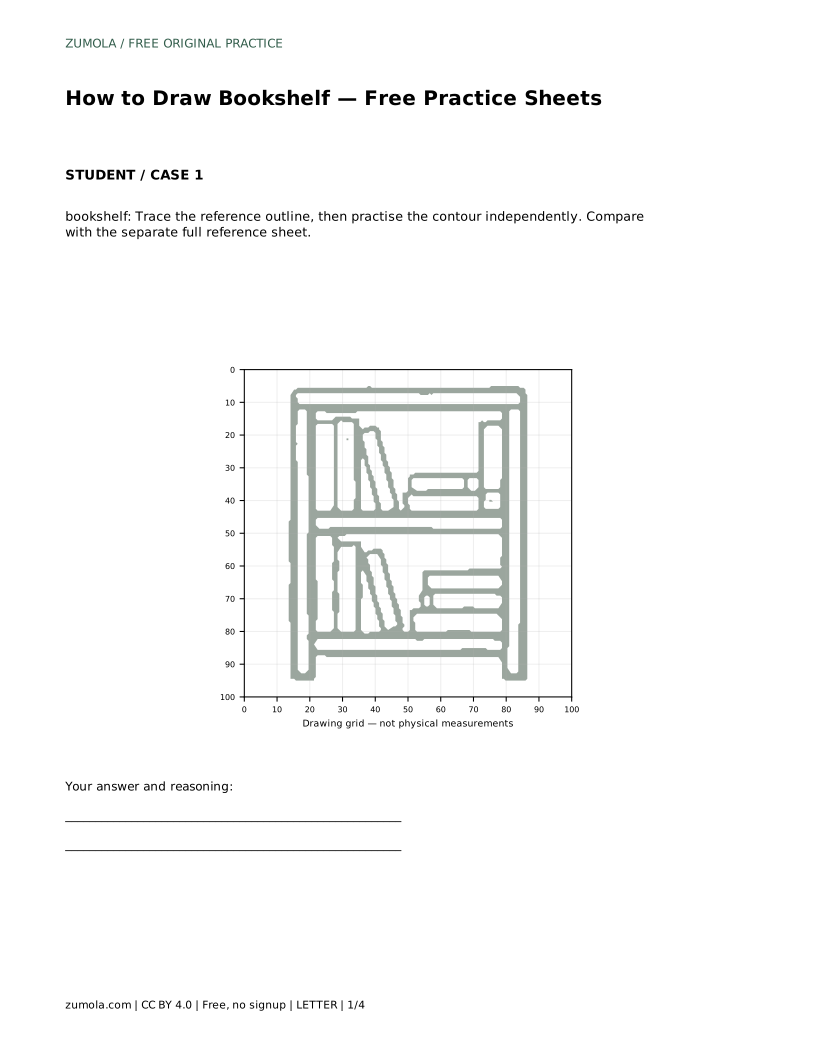
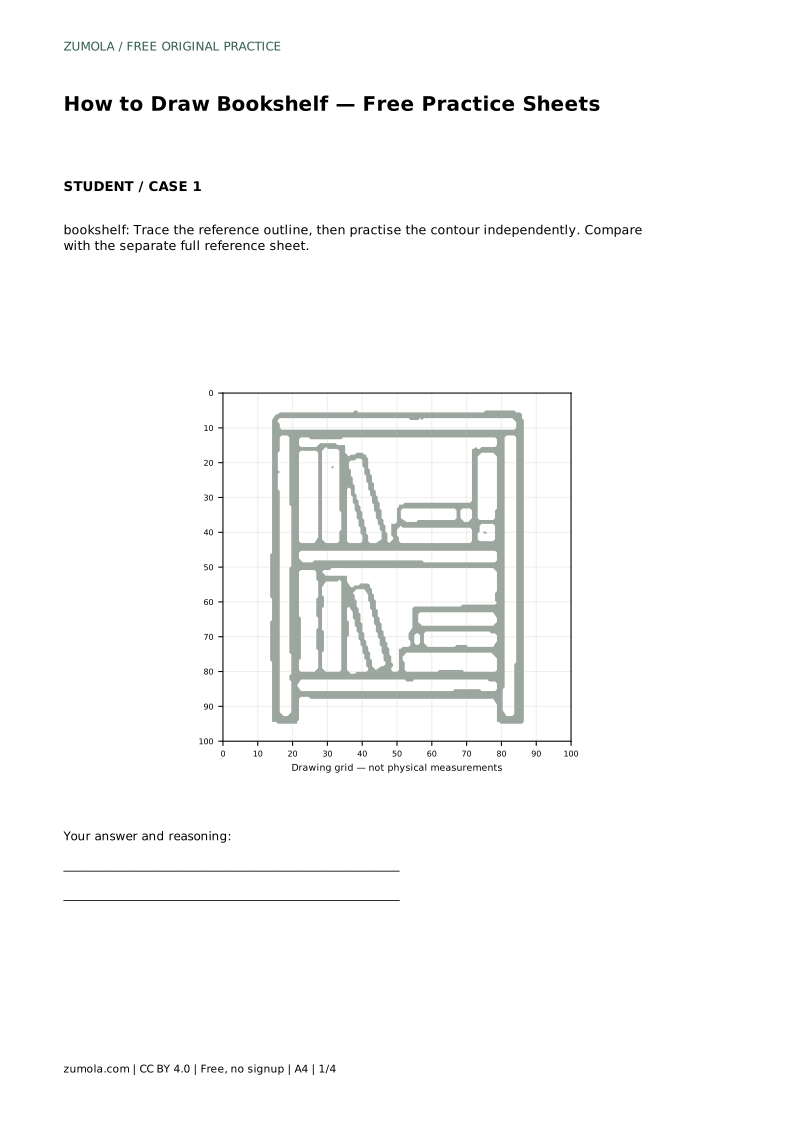
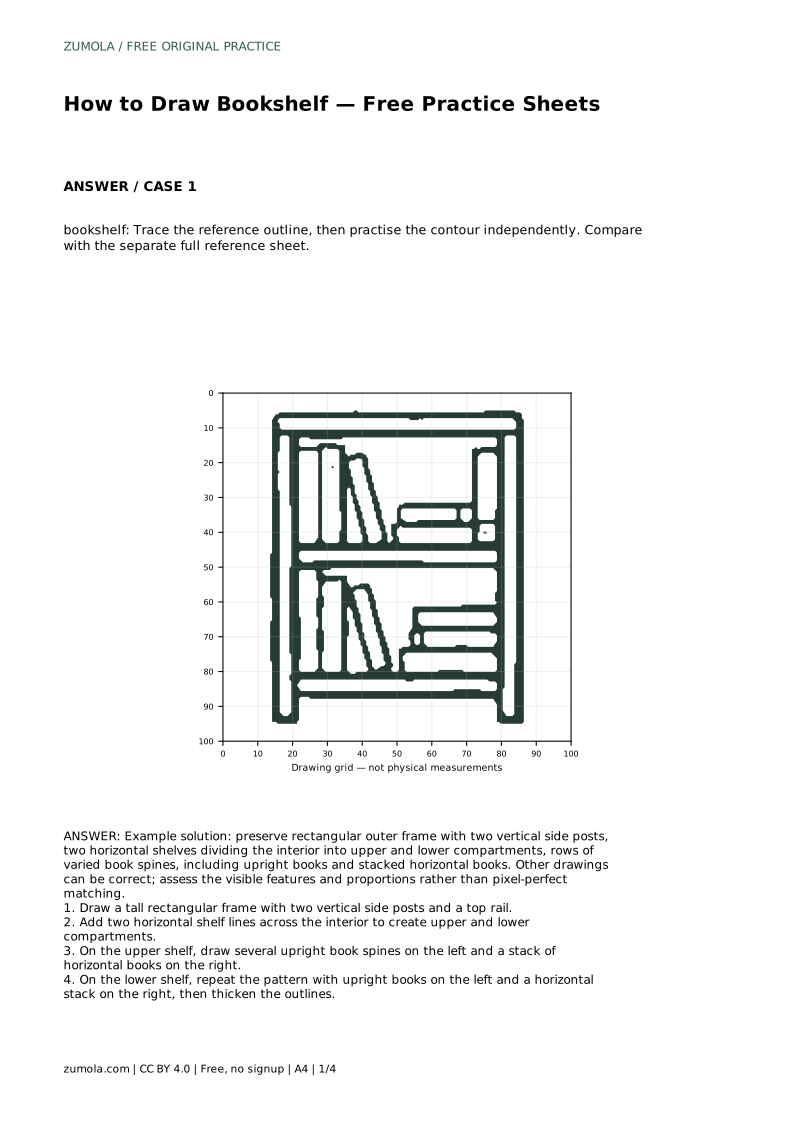
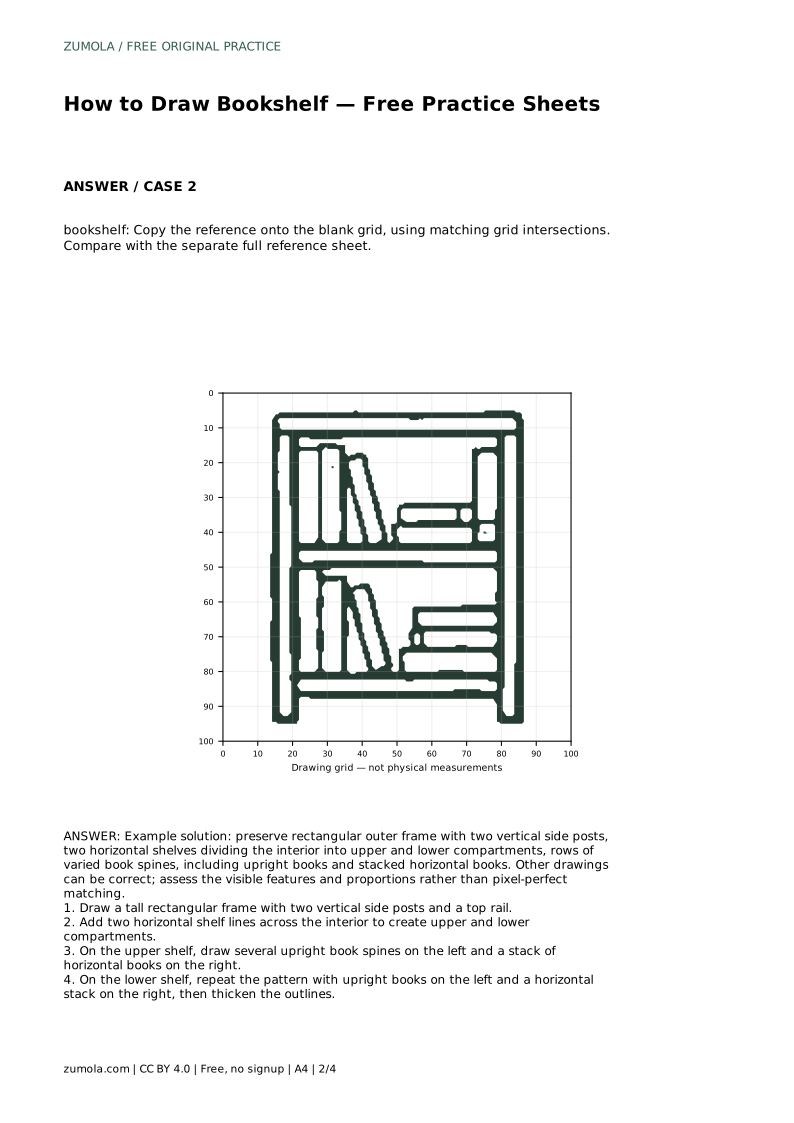
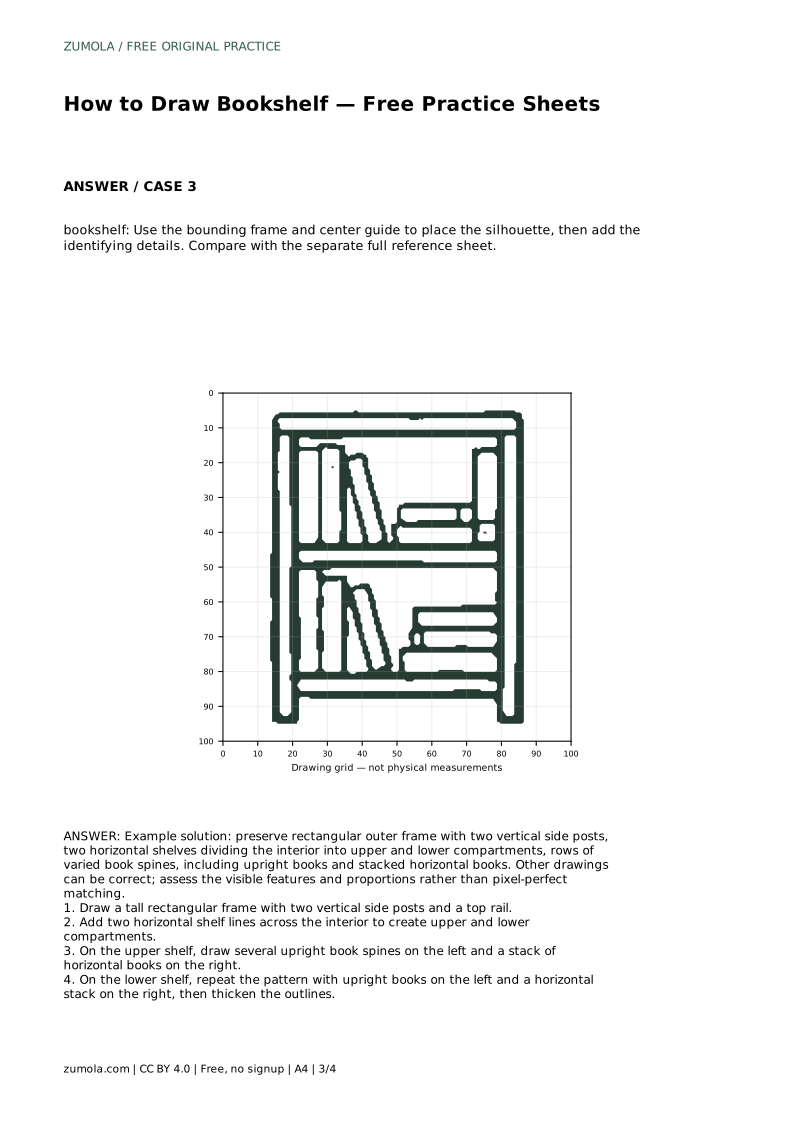
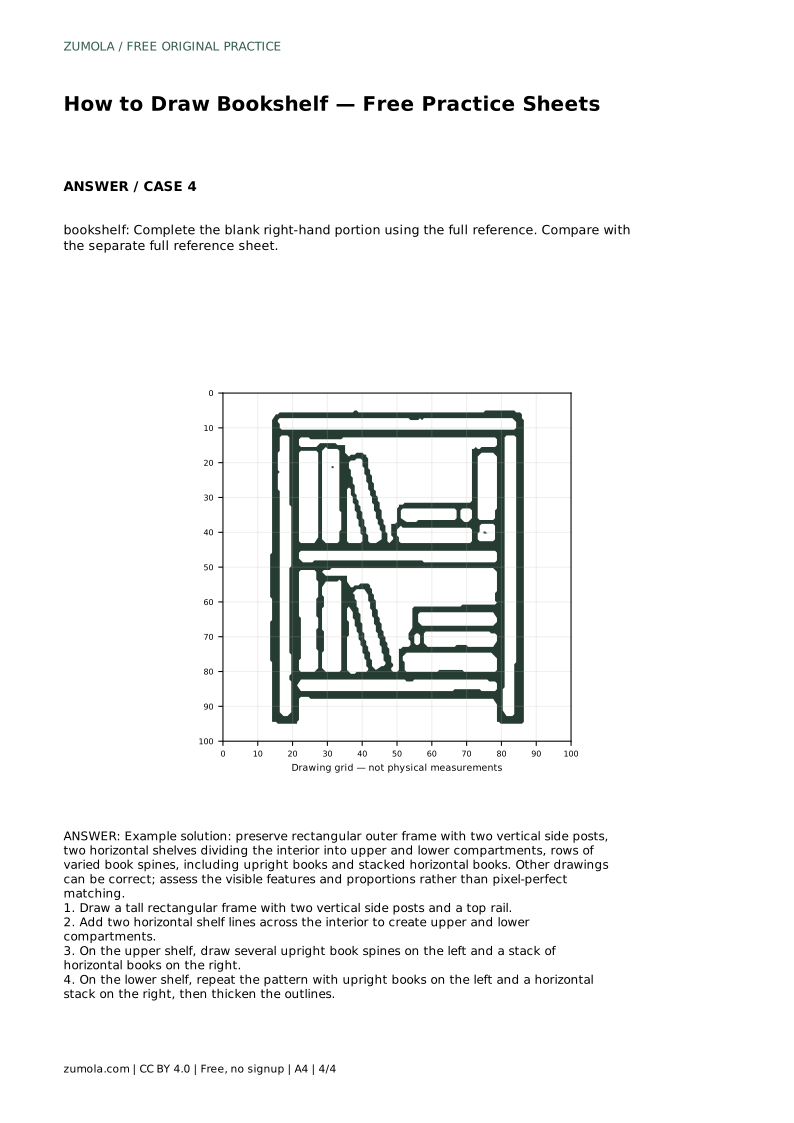
A bookshelf drawing is mostly a lesson in structure: a strong outer frame, clear shelf lines, and books that sit convincingly on each surface. The practice sheets let you trace a reference outline first, then try the same contour on your own before comparing with the full reference. The goal is not a pixel-perfect copy. Instead, notice the frame, the compartments, and the mix of upright and horizontal books, then reproduce those visible features with sensible proportions.
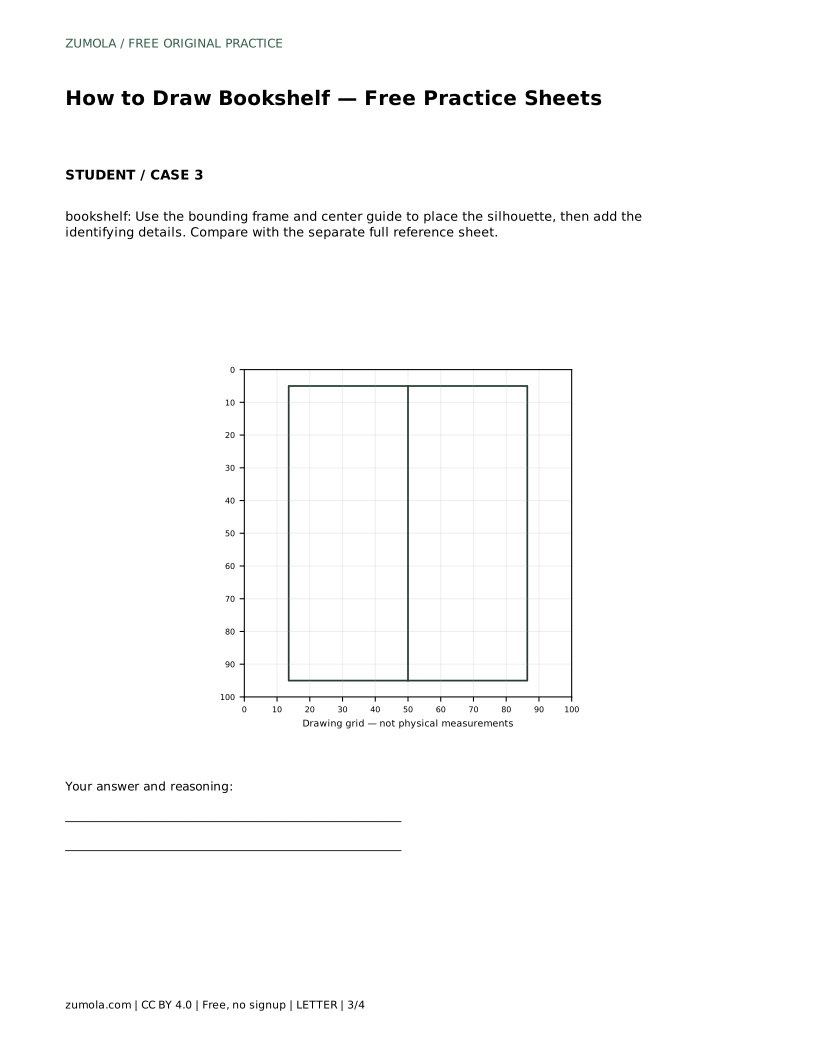
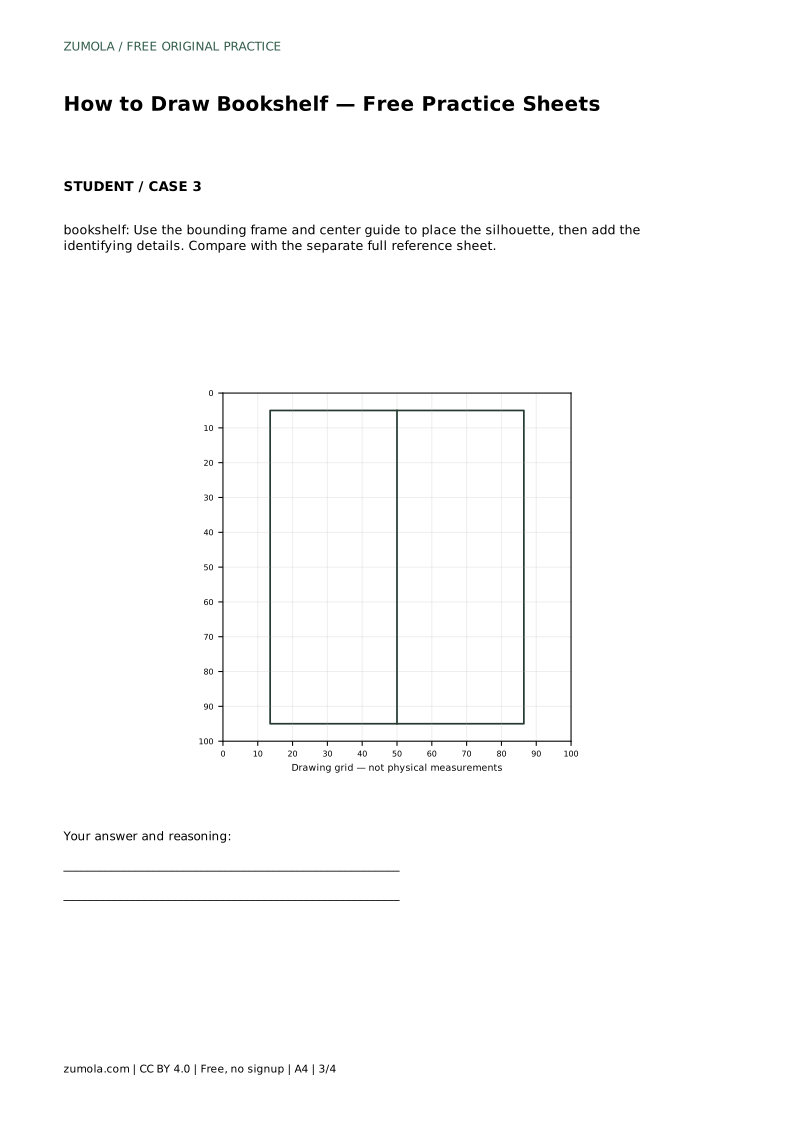
Begin with the outer structure before drawing any books. A bookshelf reads clearly when it has a tall rectangular frame, two vertical side posts, and a top rail. Keep the side posts parallel and the top rail level with the bottom edge. Next, add two horizontal shelf lines across the interior. These lines divide the inside into an upper compartment and a lower compartment. Check that the shelf lines meet both side posts and that the compartments look roughly even in height. Light pencil lines are easier to adjust than heavy ones, so keep the frame thin until the proportions feel right.
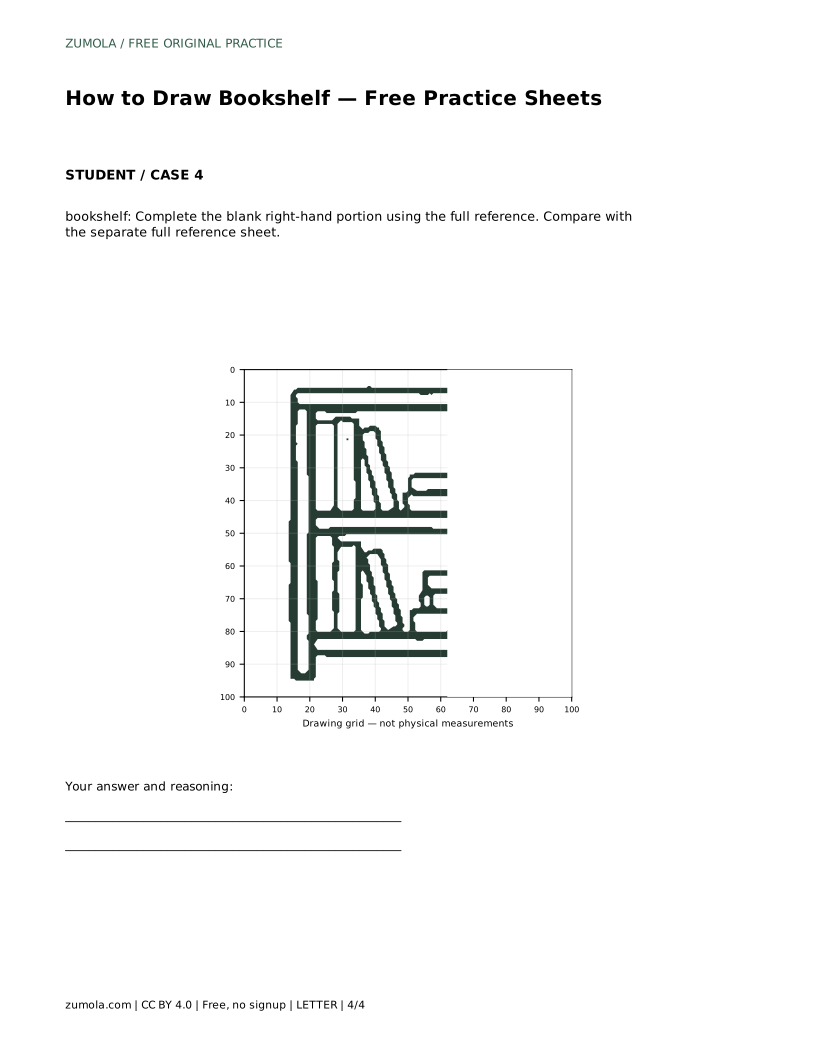
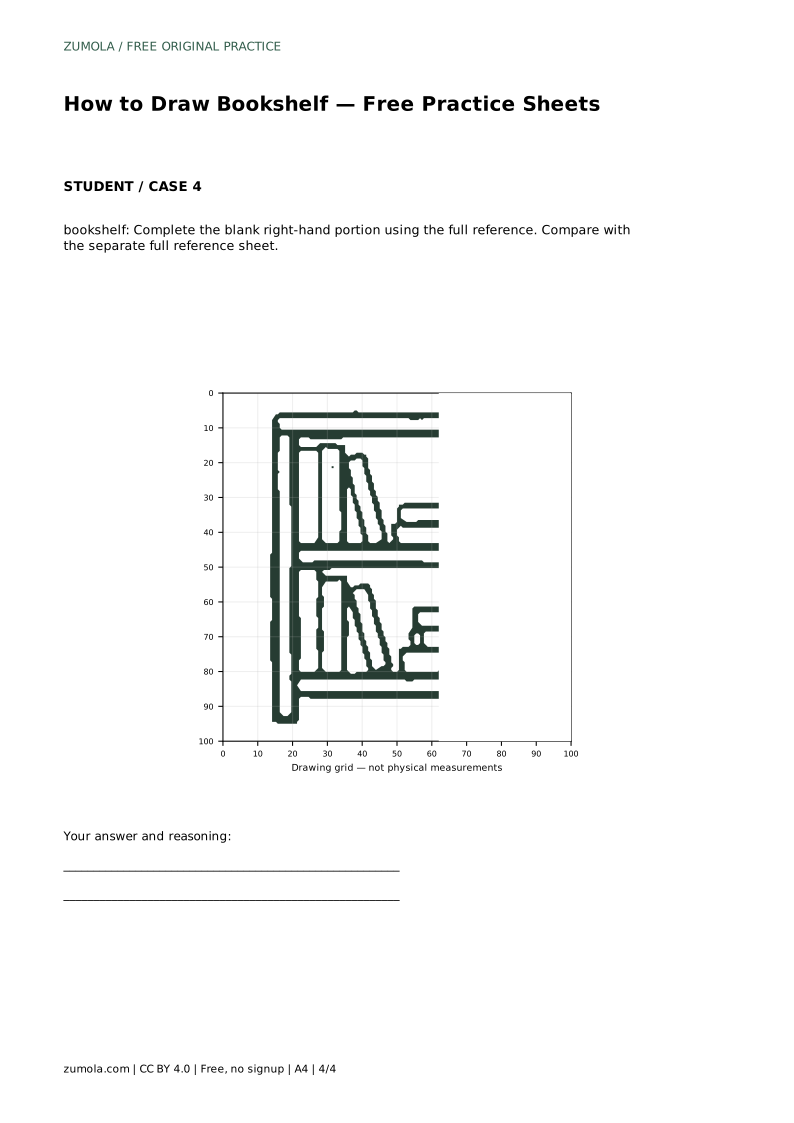
Books give the shelf its character, but they also test your spacing. On the upper shelf, draw several upright book spines on the left and a stack of horizontal books on the right. Vary the spine widths slightly so the row does not look like a single block. Leave small gaps between some books, and let the tops of upright books sit at slightly different heights. For the horizontal stack, draw each book as a narrow rectangle resting on the one below, keeping the edges roughly parallel. On the lower shelf, repeat the pattern with upright books on the left and a horizontal stack on the right. The repetition helps the drawing feel organized without making every shelf identical.
The tracing stage is for learning where the frame, shelf lines, and book groups sit relative to one another. Follow the reference outline closely, but pay attention to why each line is there. When you move to the independent contour, keep the same order: frame first, shelf lines second, books last. Compare your result with the separate full reference sheet only after you have finished the main shapes. Differences in book width, spine height, or the number of visible books are acceptable. Assess whether the outer frame is rectangular, whether two shelf lines divide the interior, and whether both upright and stacked books appear in the compartments.
bookshelf: Trace the reference outline, then practise the contour independently. Compare with the separate full reference sheet.
Example solution: preserve rectangular outer frame with two vertical side posts, two horizontal shelves dividing the interior into upper and lower compartments, rows of varied book spines, including upright books and stacked horizontal books. Other drawings can be correct; assess the visible features and proportions rather than pixel-perfect matching. Draw a tall rectangular frame with two vertical side posts and a top rail. Add two horizontal shelf lines across the interior to create upper and lower compartments. On the upper shelf, draw several upright book spines on the left and a stack of horizontal books on the right. On the lower shelf, repeat the pattern with upright books on the left and a horizontal stack on the right, then thicken the outlines.
No. Other drawings can be correct. Assess the visible features and proportions rather than pixel-perfect matching.
The reference uses two horizontal shelf lines that divide the interior into upper and lower compartments. Keep that structure unless you are deliberately making a different design.
Check the rectangular outer frame, the two vertical side posts, the top rail, the two shelf lines, and the presence of both upright and stacked books.
All drawing practice · Free coordinate paper
Original resources · CC BY 4.0 · Free for personal and classroom use with attribution.