Reference diagrams
LETTER · Download PDF
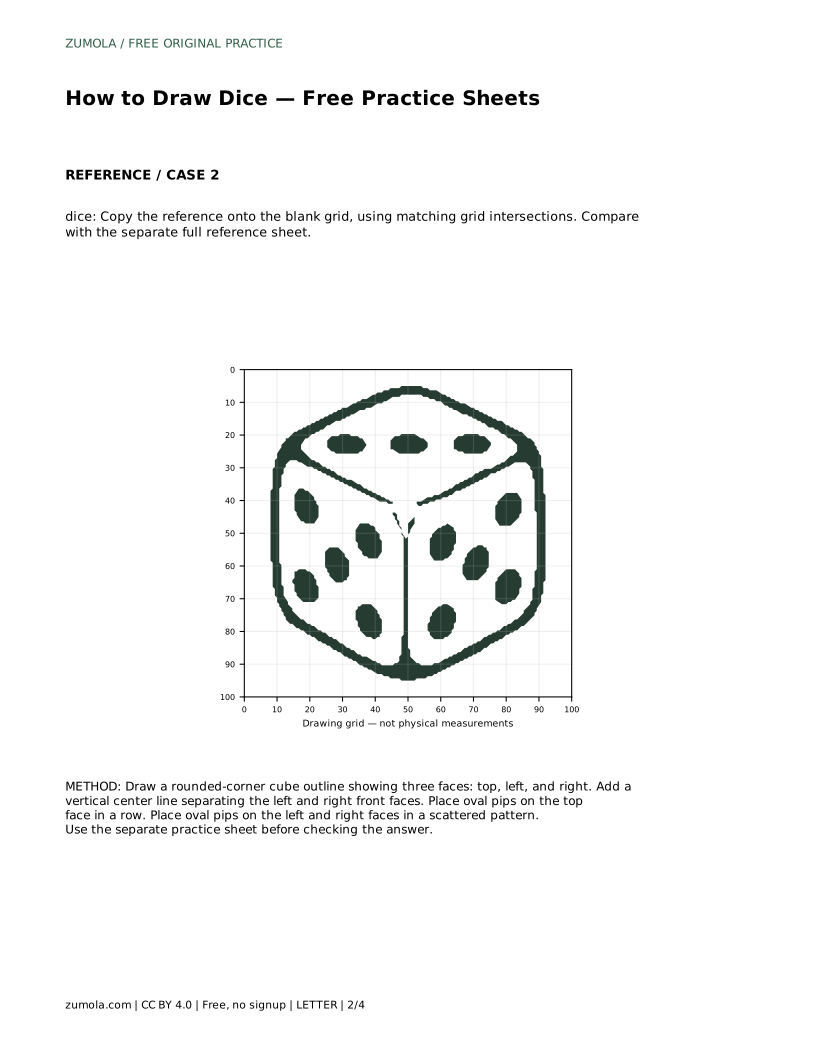
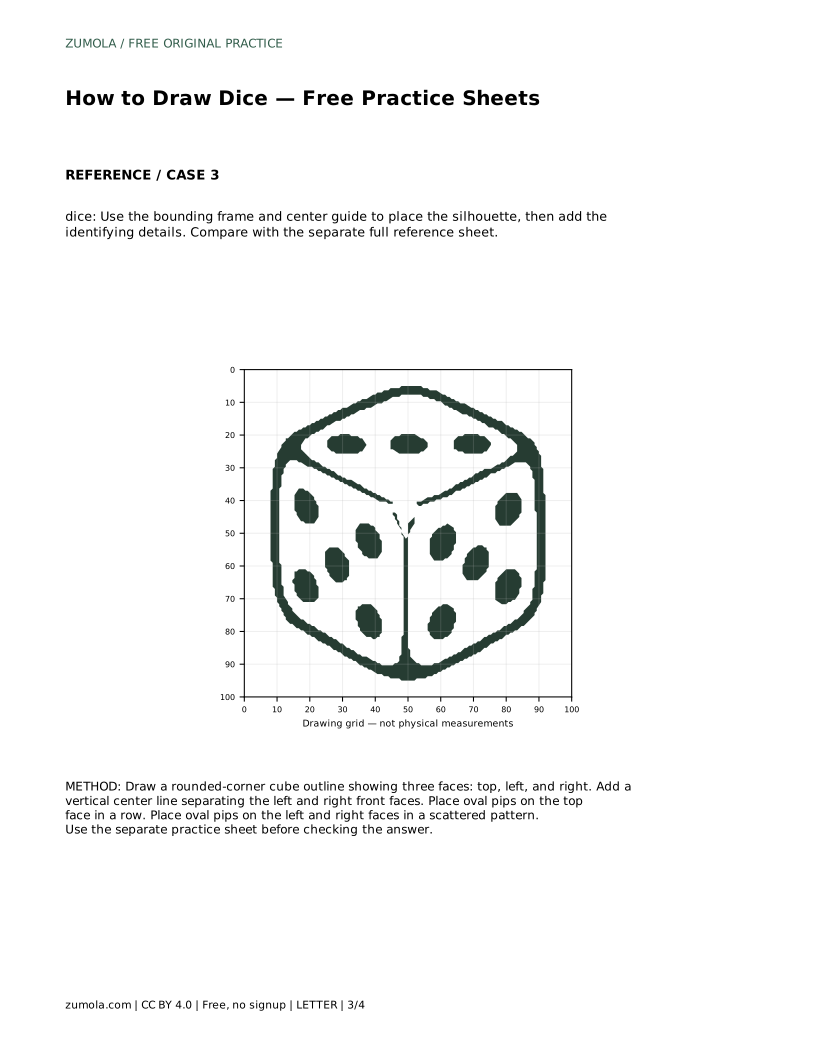
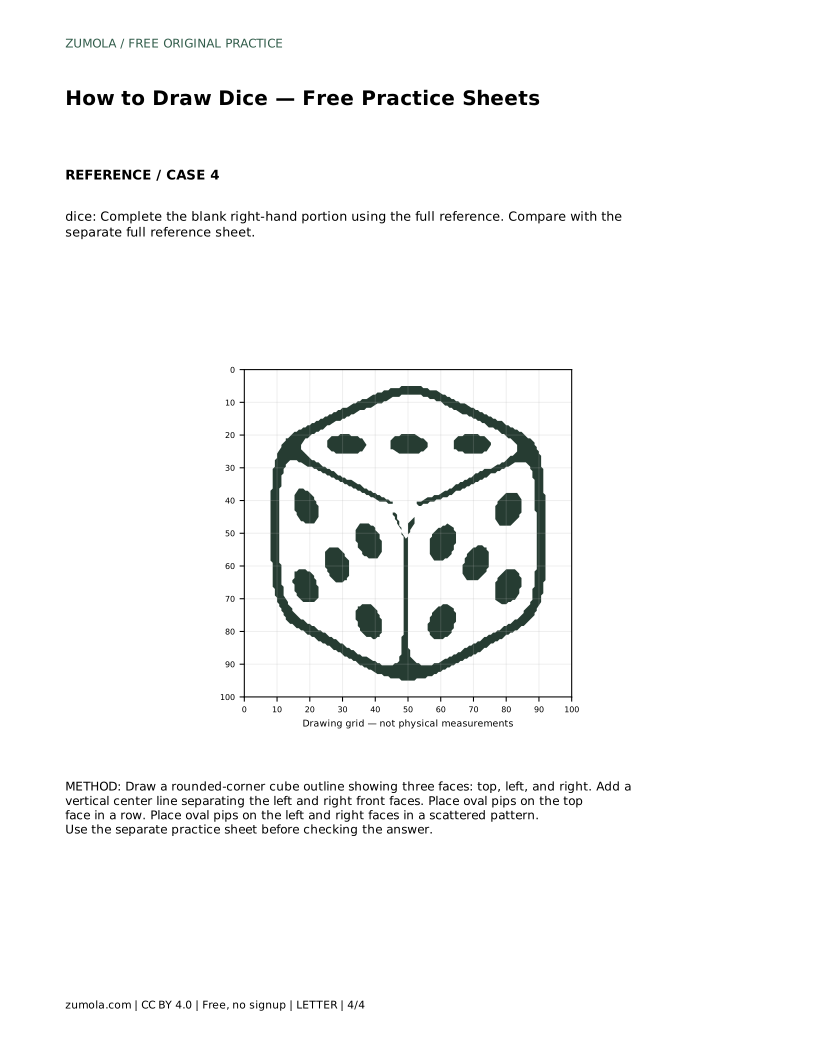
A4 · Download PDF
Free original resources
Learn to draw a dice with three visible faces, rounded corners, and oval pips. Free printable practice sheets support tracing, grid copying, and independent drawing.
Four original cases, with reference diagrams, practice sheets and worked answers. Everything is free; no signup required.
LETTER · Download PDF
A4 · Download PDF
LETTER · Download PDF
A4 · Download PDF
LETTER · Download PDF
A4 · Download PDF
Use A4 or US Letter to match your printer. Use the stated values and conditions to solve each exercise; diagrams are not physical measuring rulers.
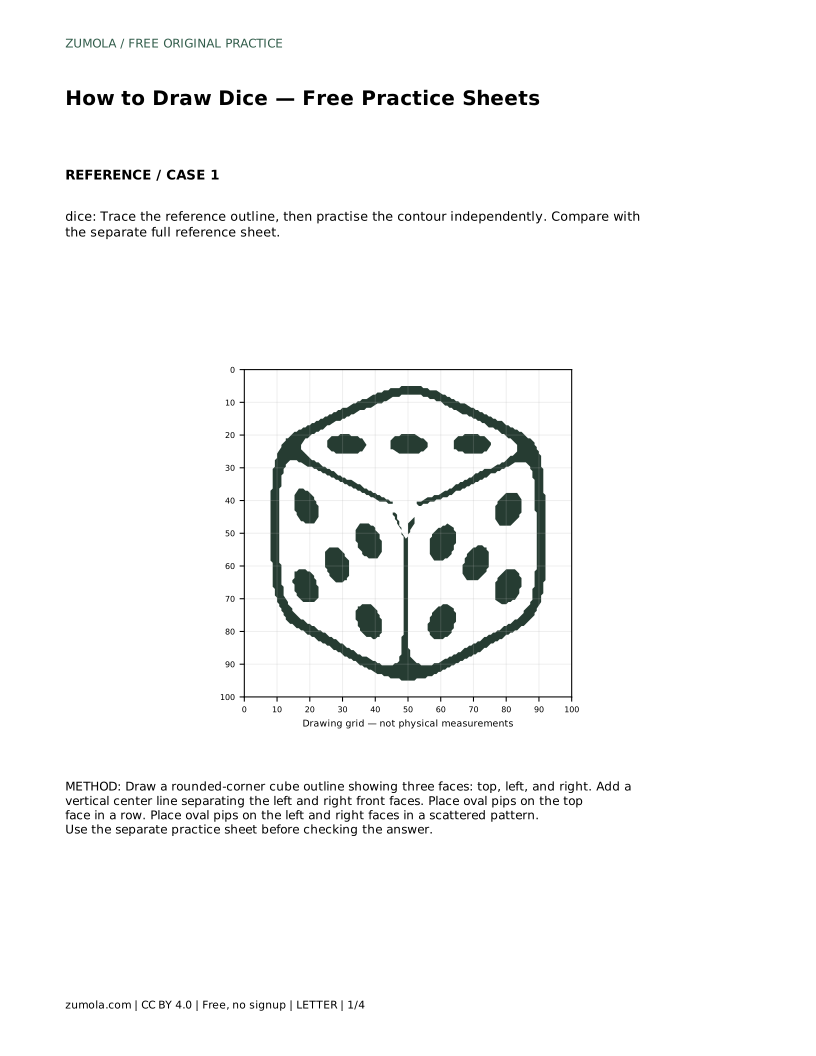
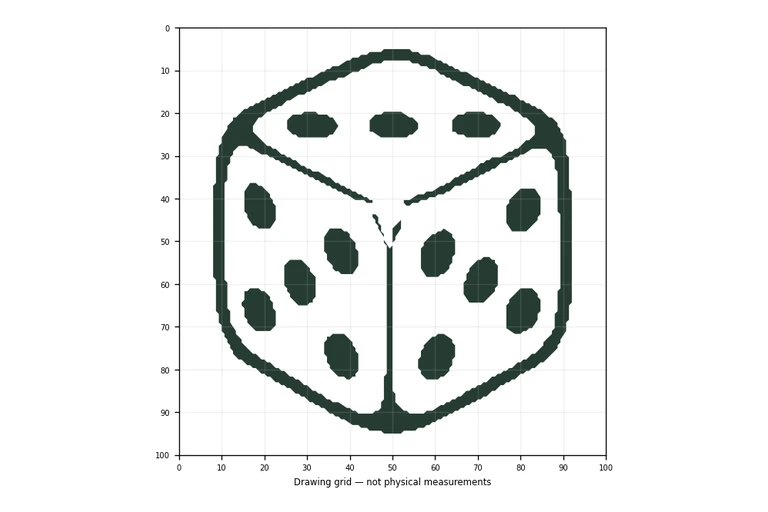
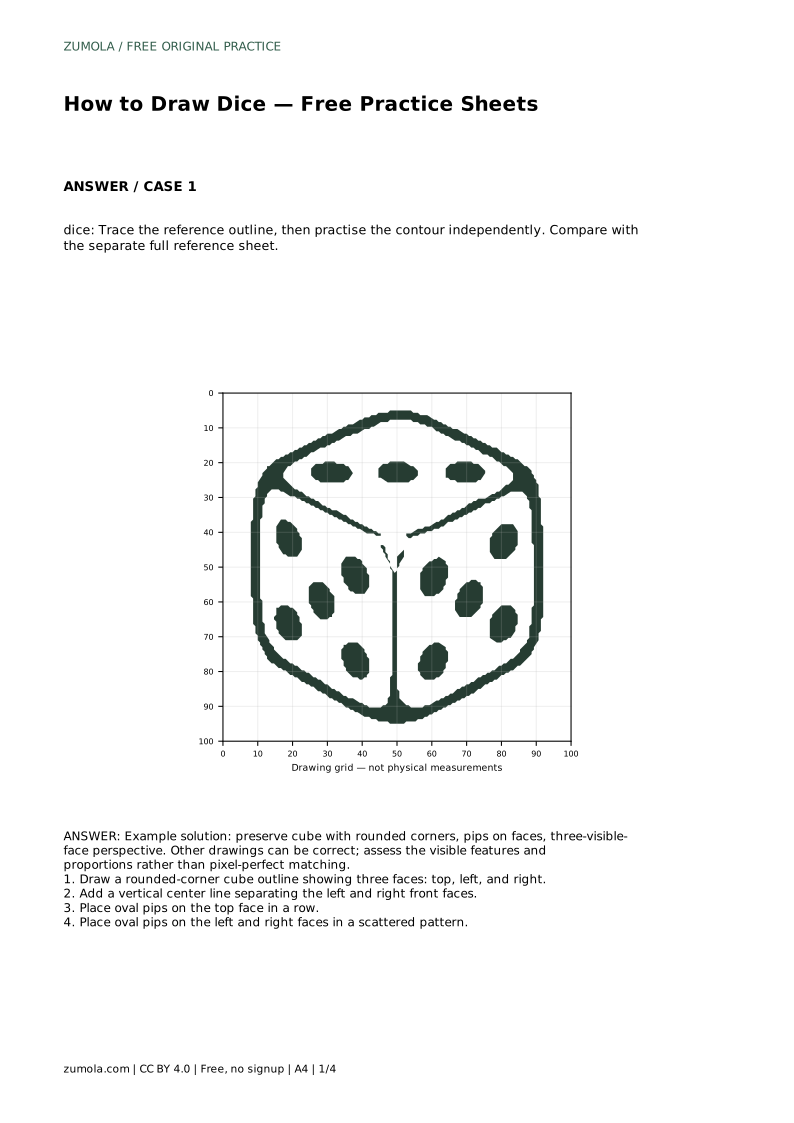
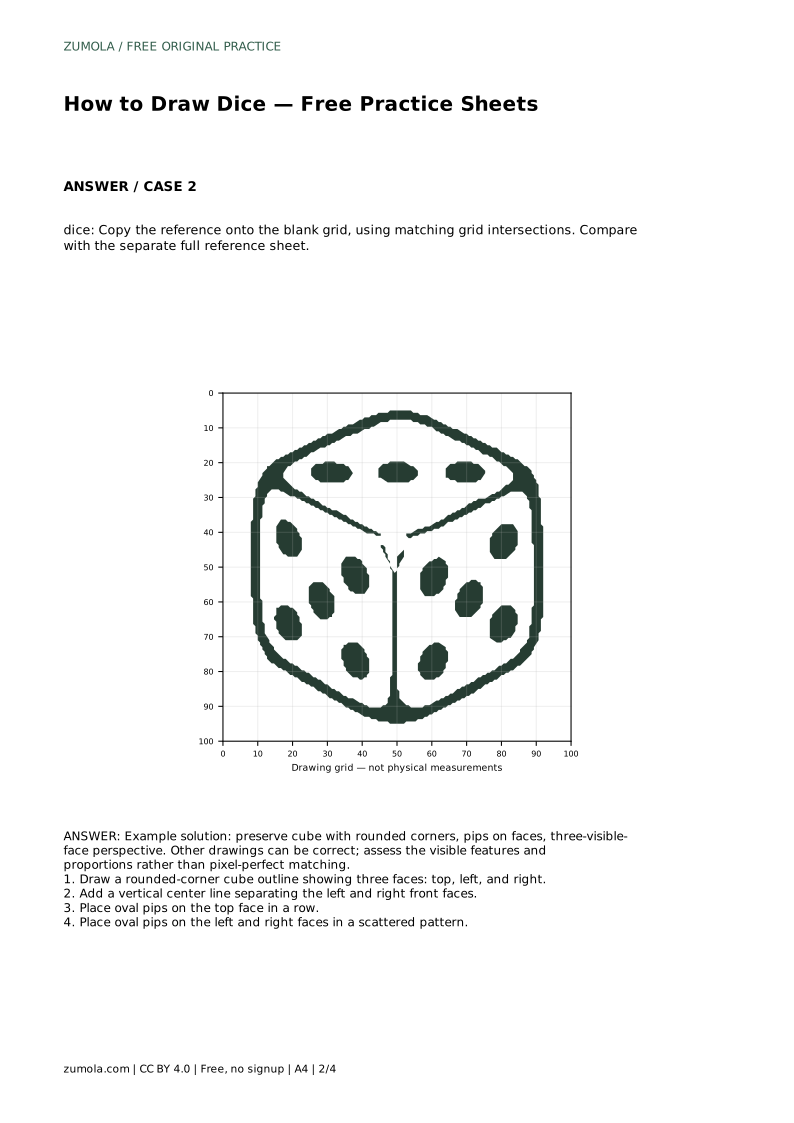
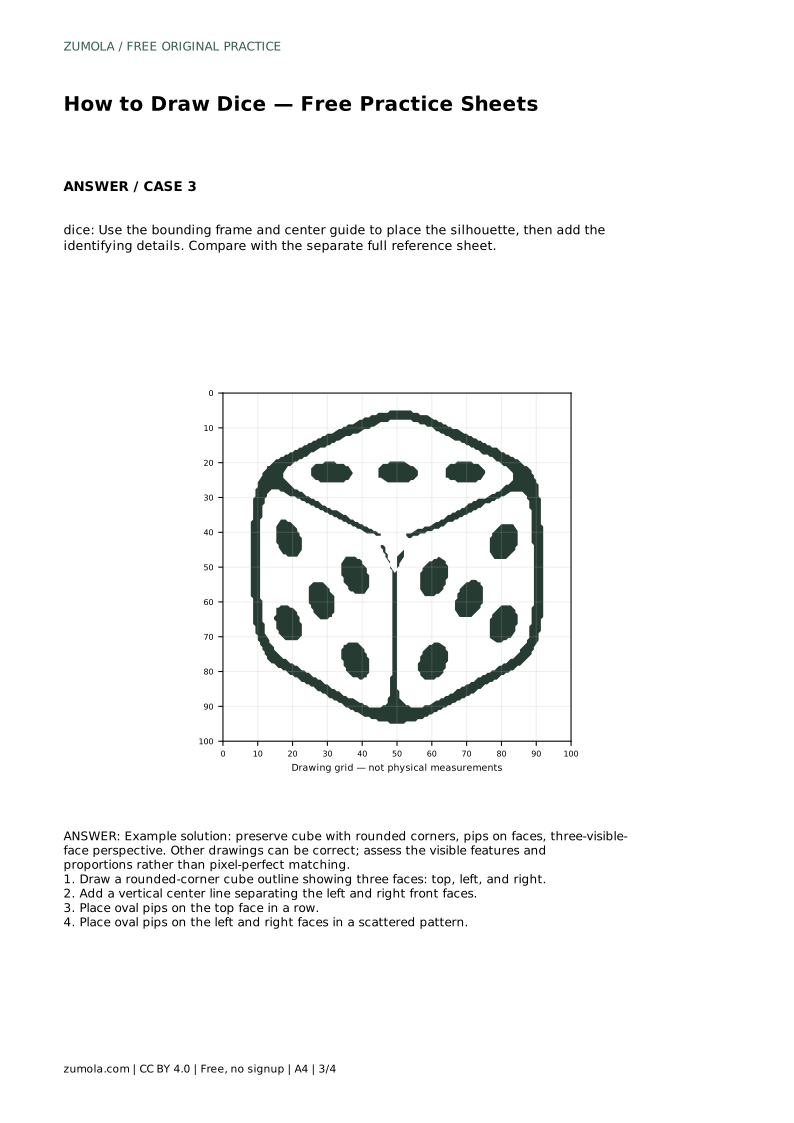
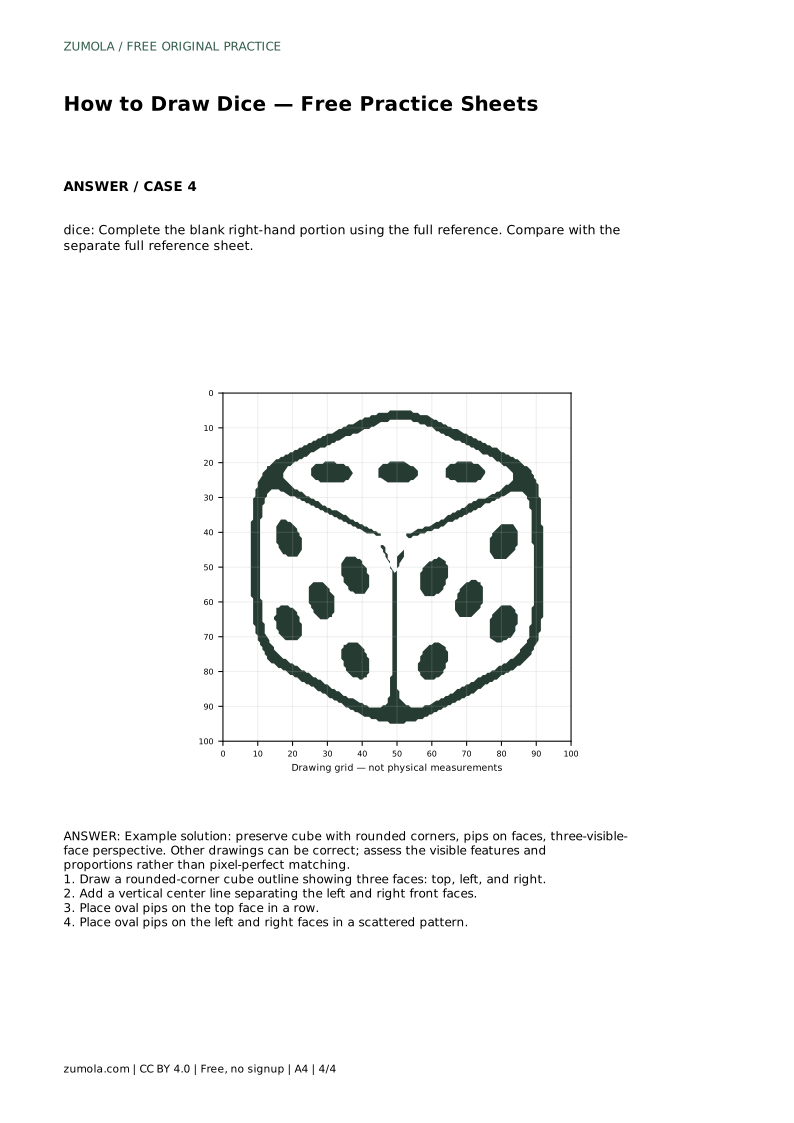
Drawing dice is a good way to practise simple perspective. A dice is a cube, but a convincing drawing shows three faces at once: top, left, and right. This page explains how to build that shape with rounded corners, separate the front faces with a center line, and place pips so they sit on the surfaces rather than float beside them. The printable sheets offer tracing, grid, and partial-reference practice.
Begin with the overall silhouette before adding any pips. A dice drawing reads clearly when the outline suggests a cube seen from slightly above and to one side. That means three visible faces: a top face, a left front face, and a right front face. Keep the corners rounded rather than sharp; real dice have softened edges, and rounded corners make the drawing look less like a plain box.
Work lightly at first. The outline is a guide, not a final line. Check that the top face is wider than it is tall, and that the left and right faces meet along a vertical line near the center. If one face looks much larger than the others, adjust the outline before continuing.
Pips are the dots on a dice face. Draw them as small ovals rather than perfect circles, because an oval suggests a dot sitting on a tilted surface. Keep each pip inside its face and leave a small margin from the edges. On the top face, a row of pips is easy to read. On the left and right faces, a scattered arrangement avoids the look of a rigid grid.
The number of pips is a design choice for practice. What matters is that each pip belongs clearly to one face and that spacing looks deliberate. If two pips touch or overlap an edge, move them inward.
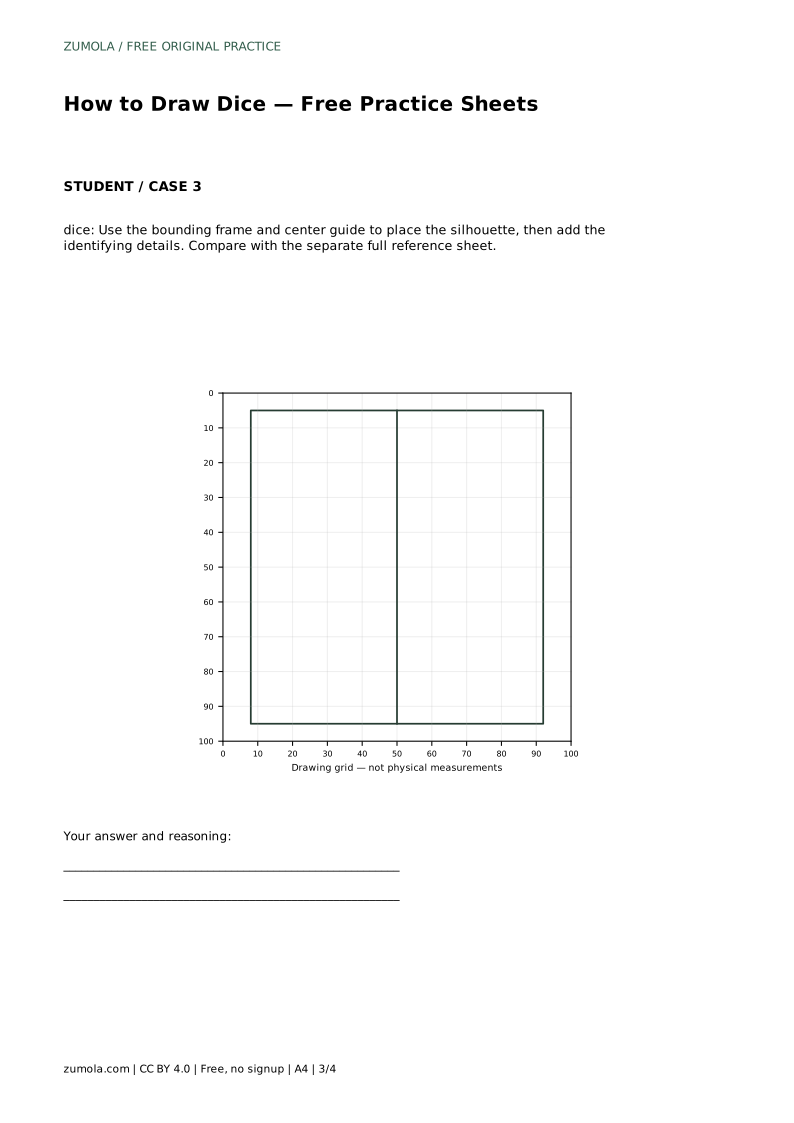
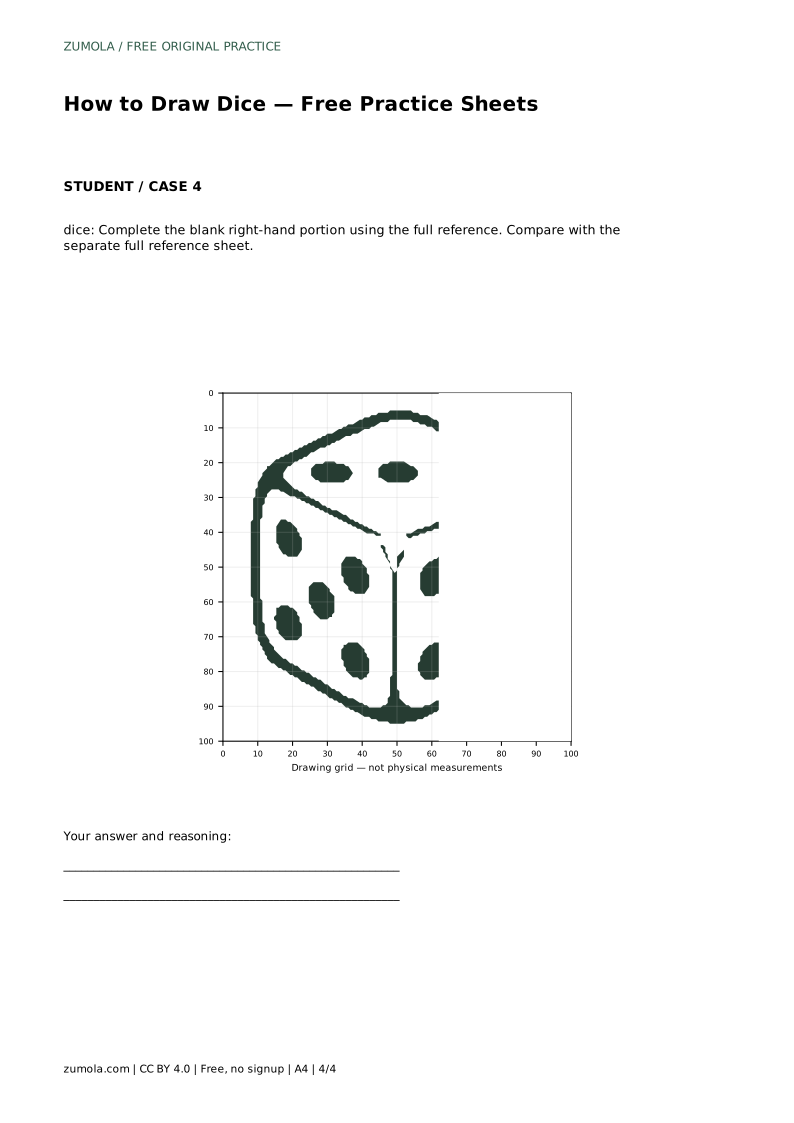
Tracing helps you feel the contour of the cube and the placement of pips. Grid copying helps you match proportions by using intersections as landmarks. A bounding frame with a center guide helps you position the silhouette before adding details. A partial reference asks you to complete the missing portion using the full reference as a guide.
Each sheet has a separate full reference, so you can compare your drawing with the finished example after you finish rather than copying line by line. Different drawings can be correct. Assess the visible features and proportions instead of aiming for a pixel-perfect match.
Step back and look at the drawing from a short distance. The cube should read as a solid object with three faces, not as three separate shapes. The center line should separate the front faces without cutting through the top face. Pips should sit on the surfaces and follow their tilt.
If the drawing looks uncertain, redraw the outline first and add pips afterward. Keeping the outline and the pips as separate stages makes corrections easier.
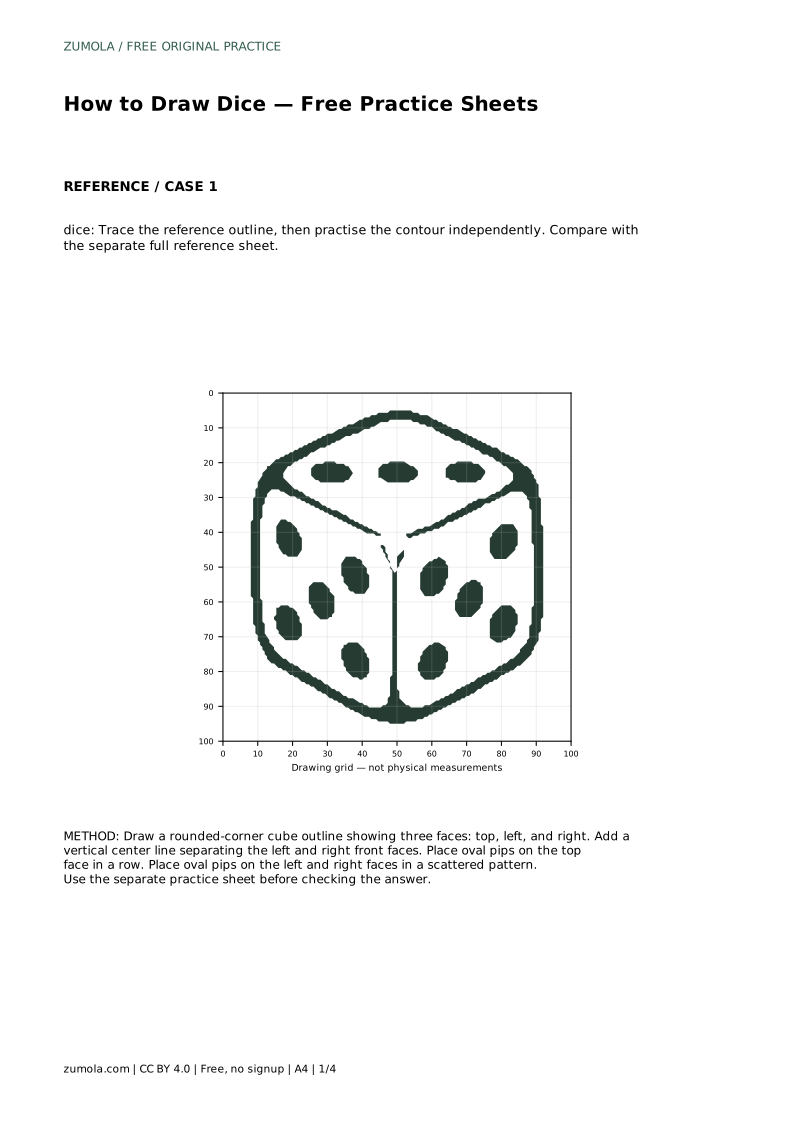
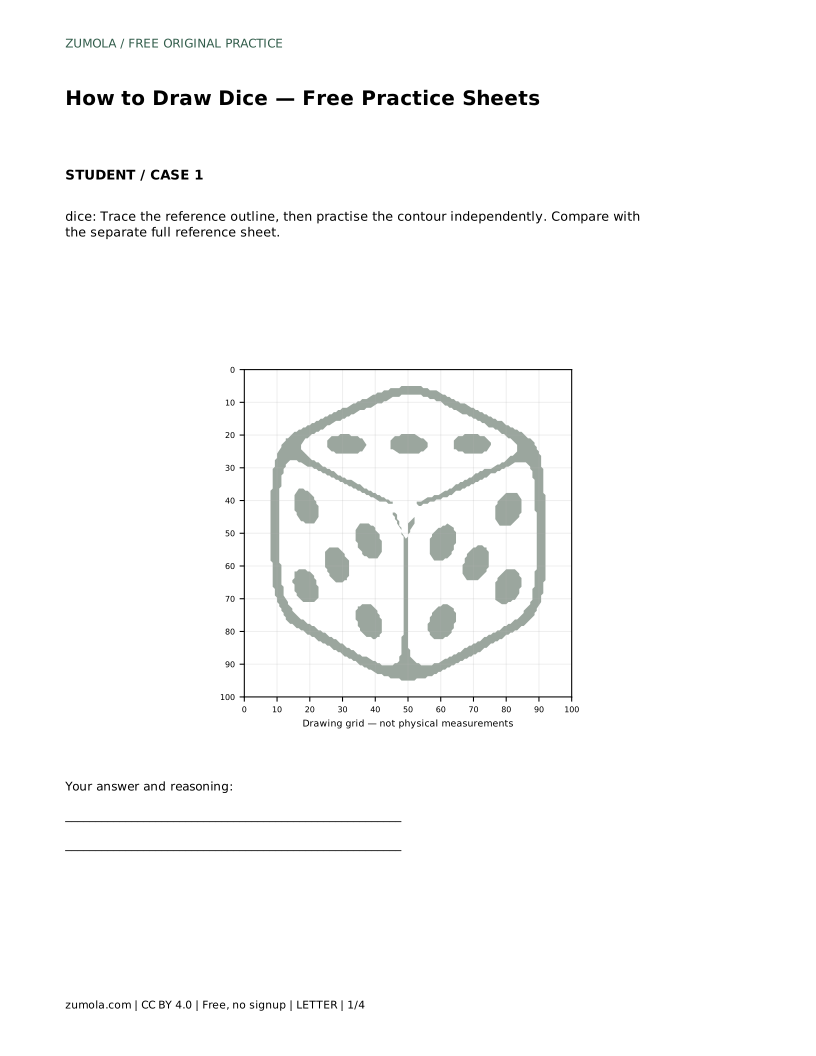
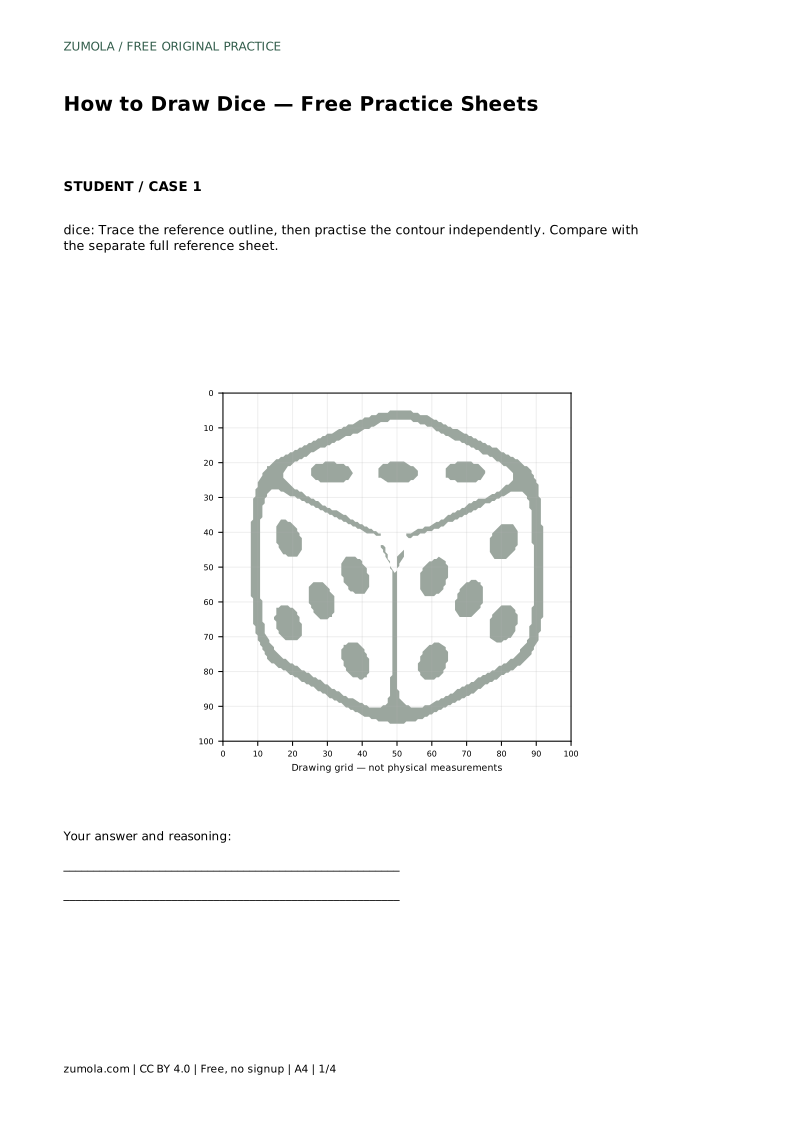
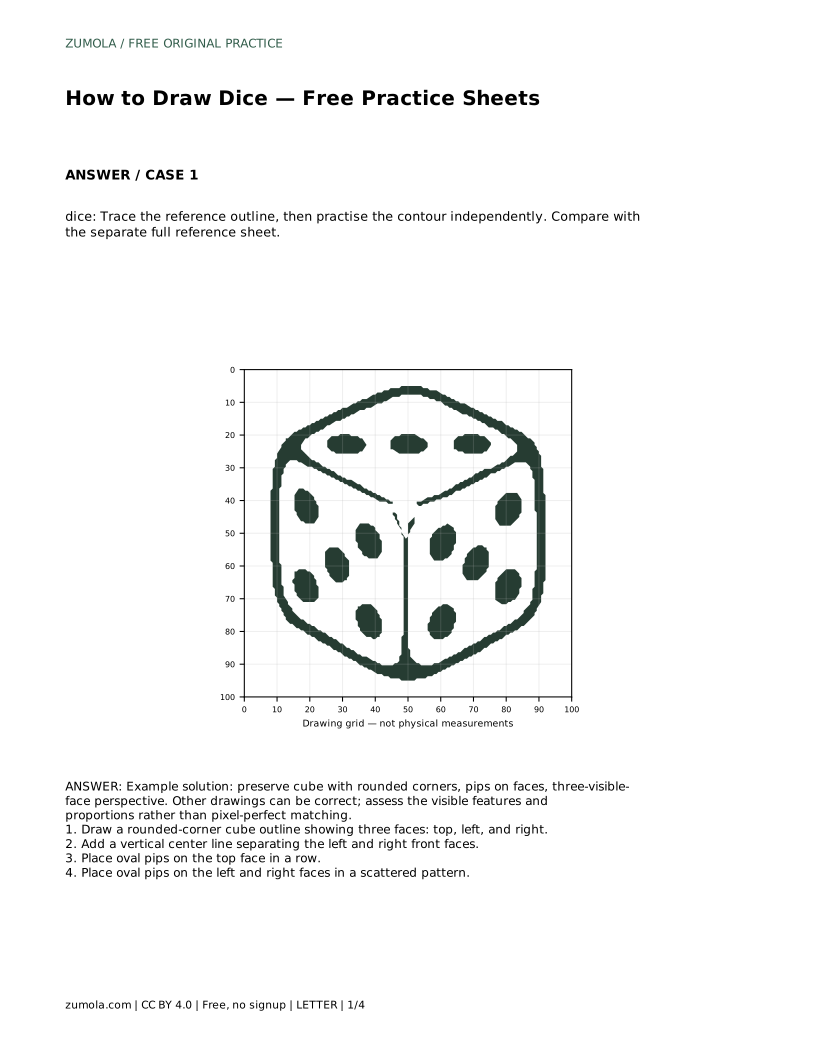
dice: Trace the reference outline, then practise the contour independently. Compare with the separate full reference sheet.
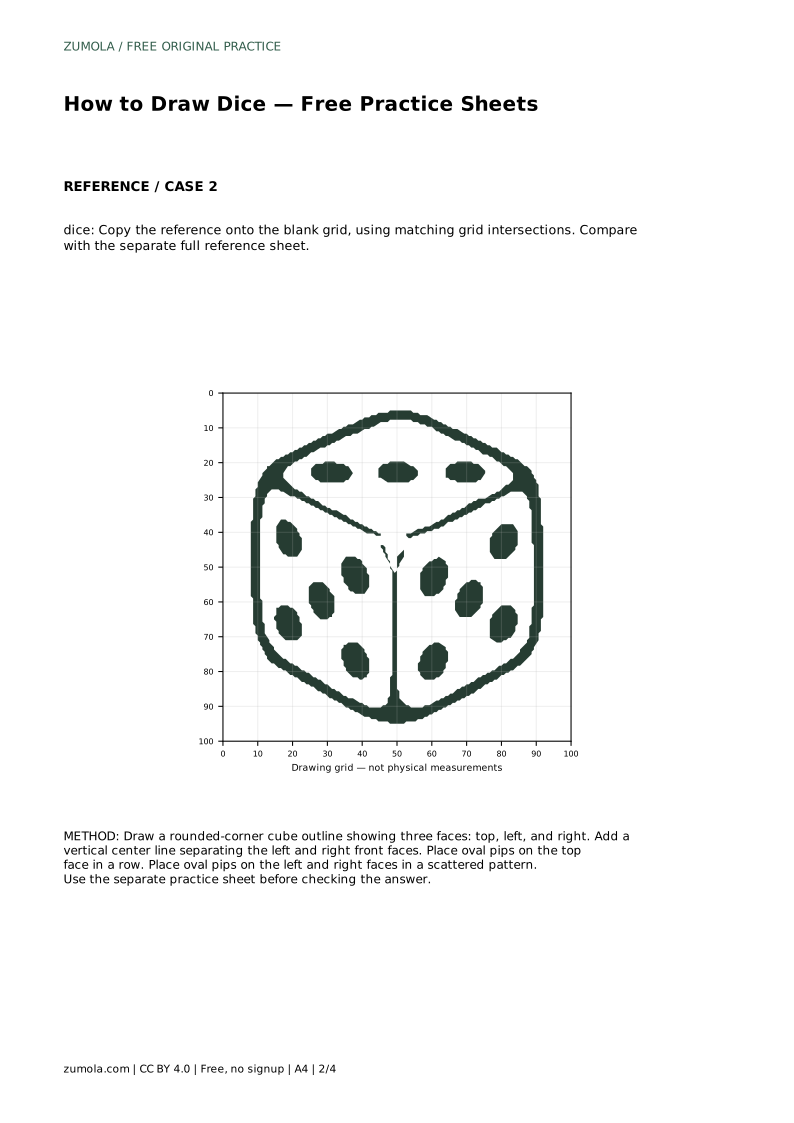
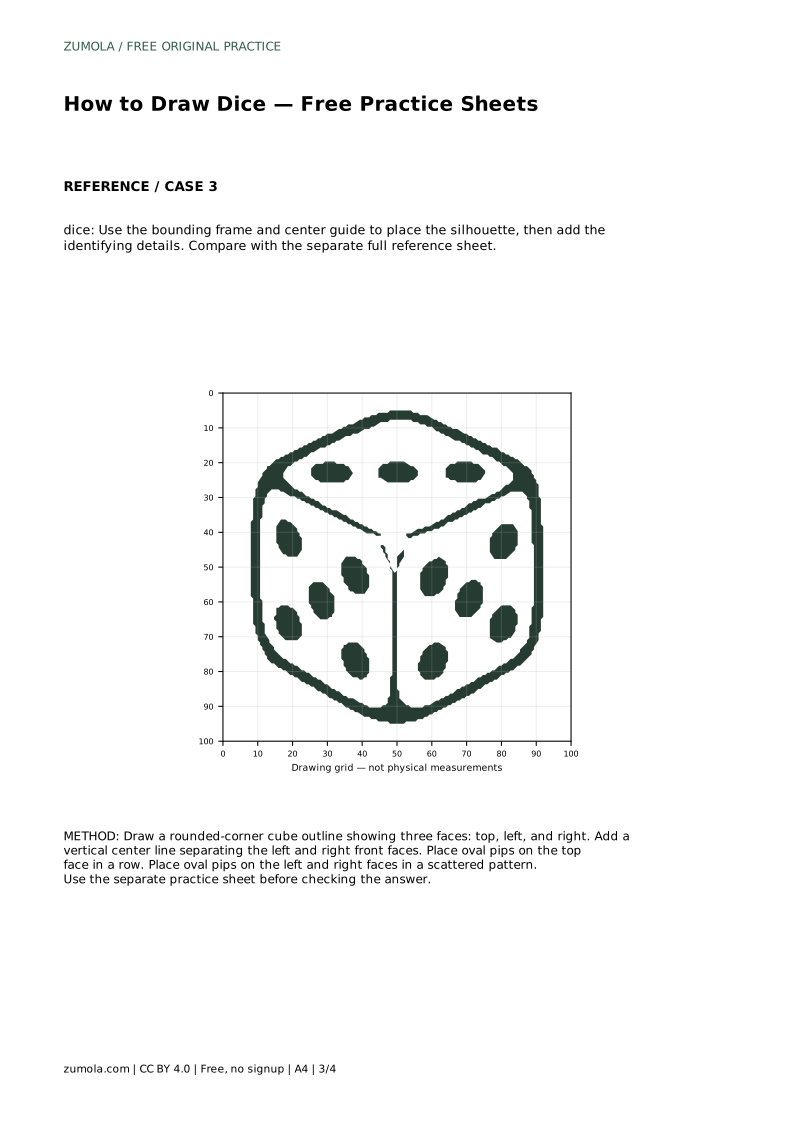
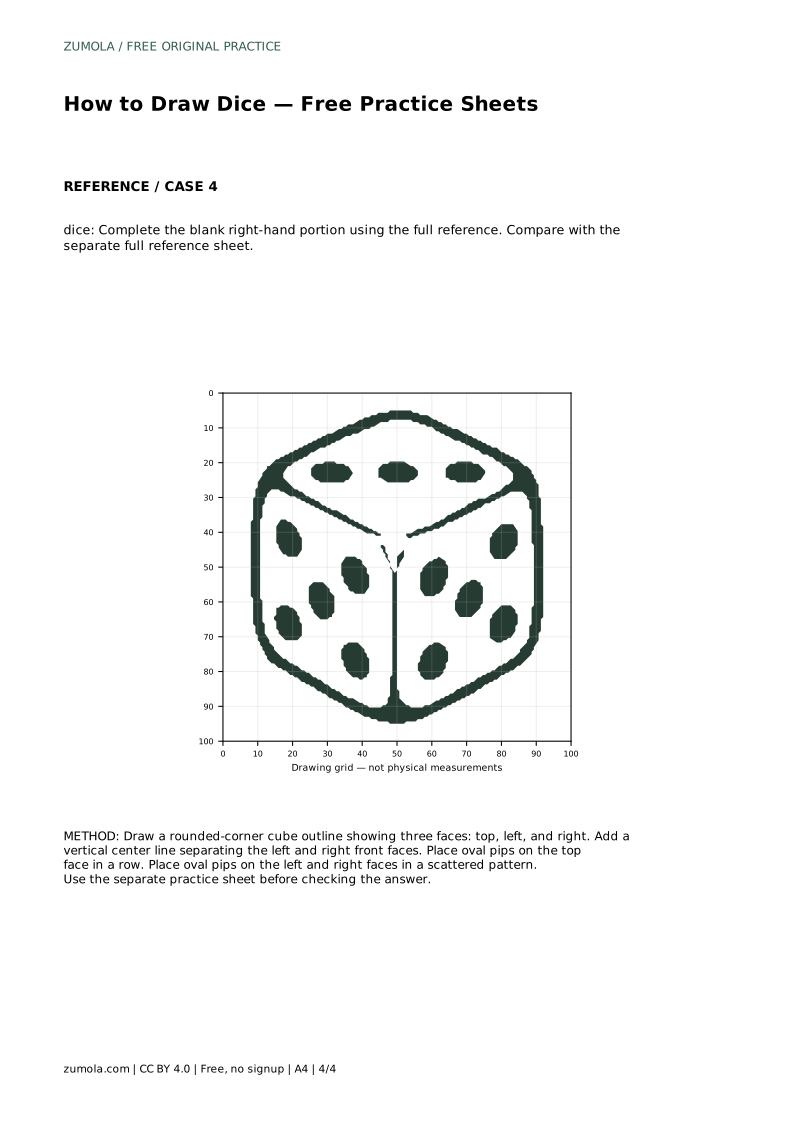
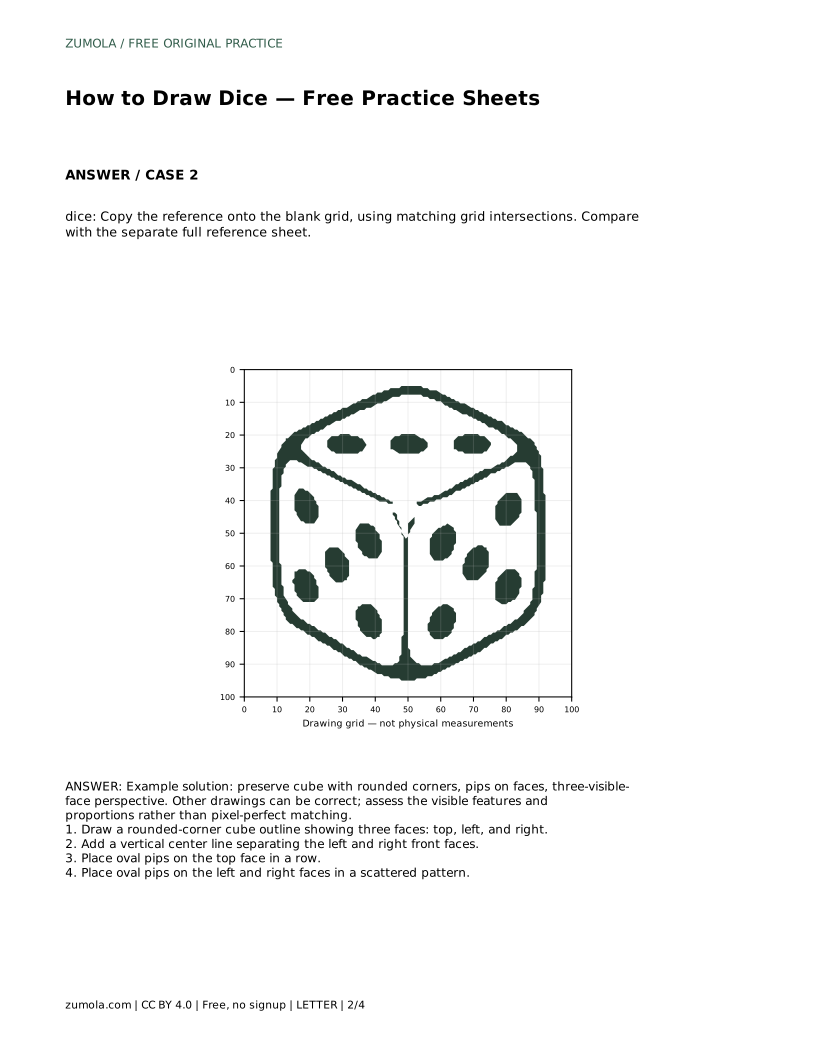
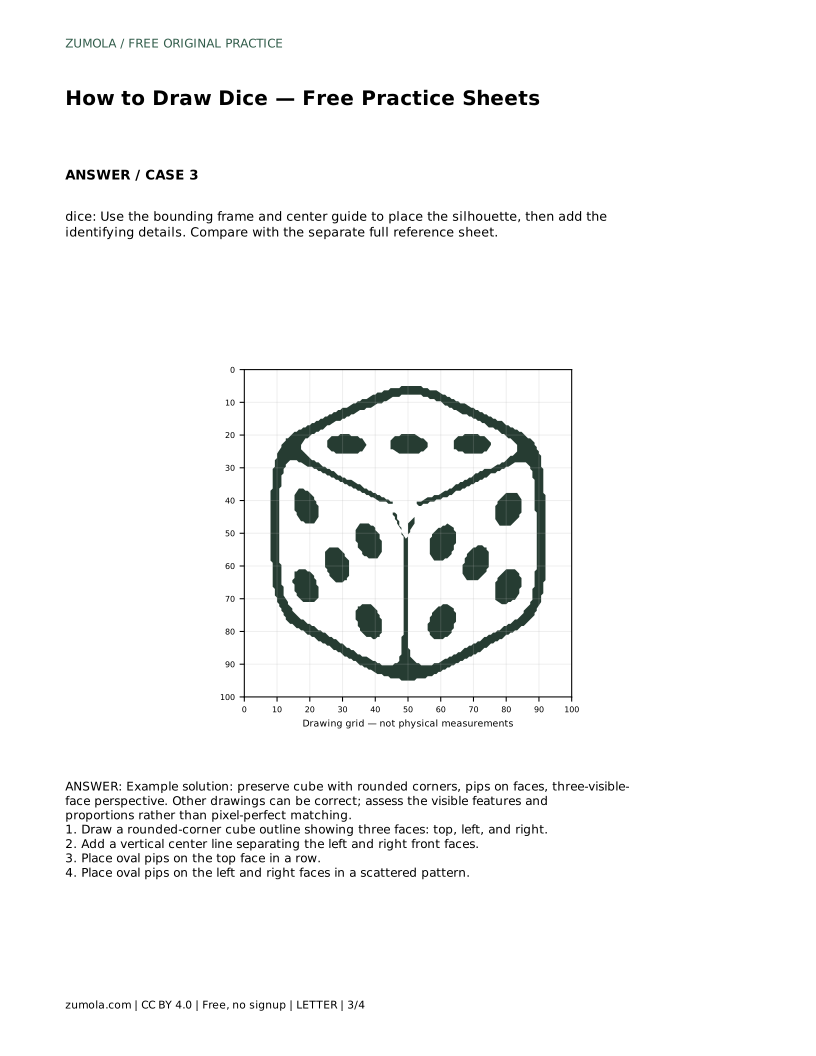
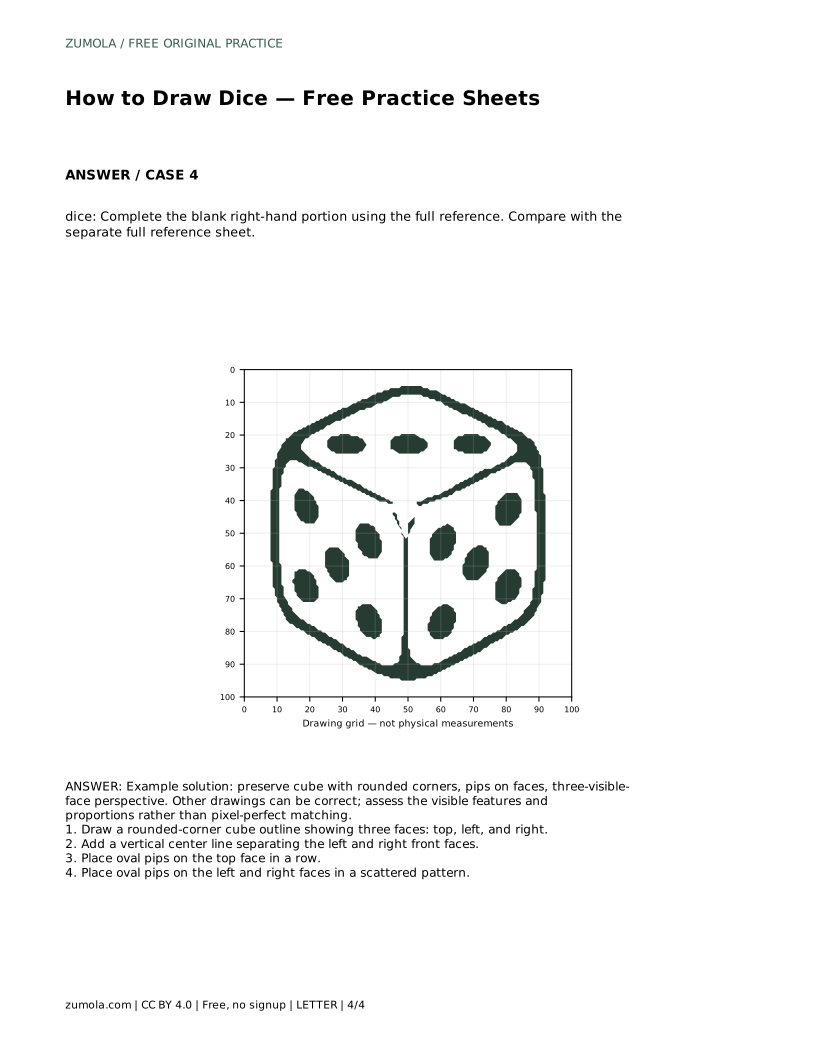
Example solution: preserve cube with rounded corners, pips on faces, three-visible-face perspective. Other drawings can be correct; assess the visible features and proportions rather than pixel-perfect matching. Draw a rounded-corner cube outline showing three faces: top, left, and right. Add a vertical center line separating the left and right front faces. Place oval pips on the top face in a row. Place oval pips on the left and right faces in a scattered pattern.
No. For practice, any clear arrangement works. Focus on placing pips inside the correct face with even spacing and oval shapes.
Three visible faces make the drawing read as a cube rather than a flat square. The top, left, and right faces together suggest depth.
That can still be correct. Compare visible features and proportions, such as rounded corners, three faces, and pip placement, rather than matching every line.
All drawing practice · Free coordinate paper
Original resources · CC BY 4.0 · Free for personal and classroom use with attribution.