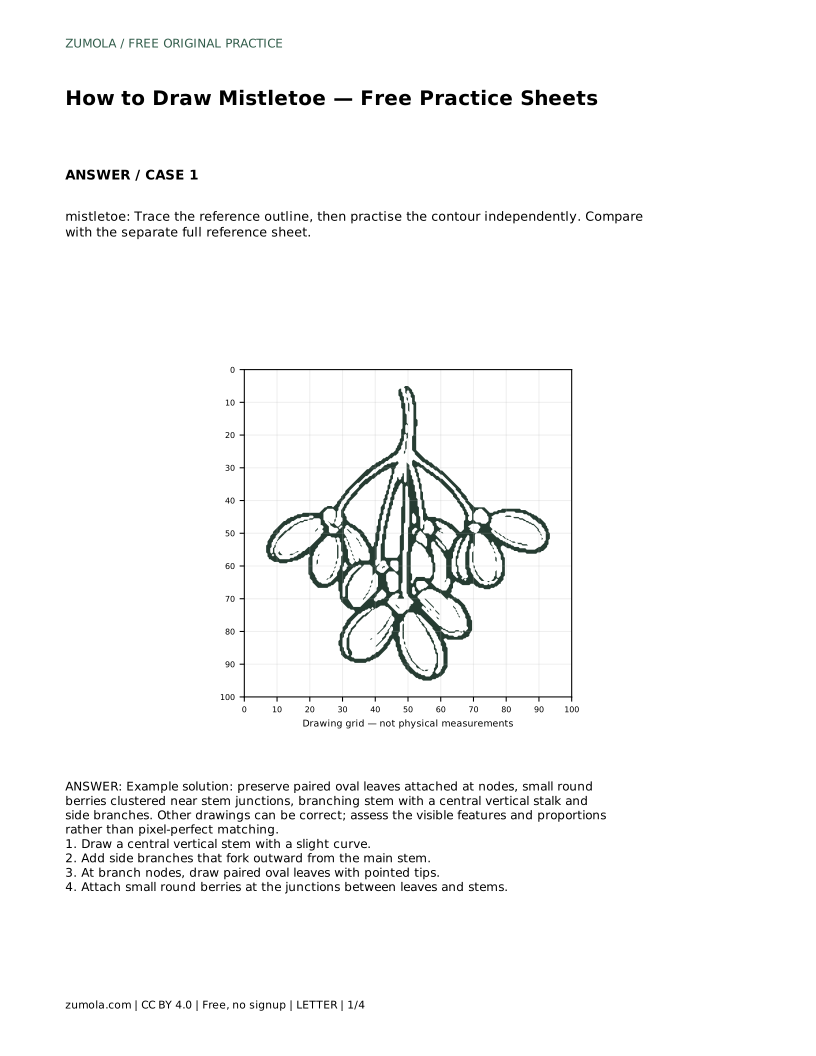
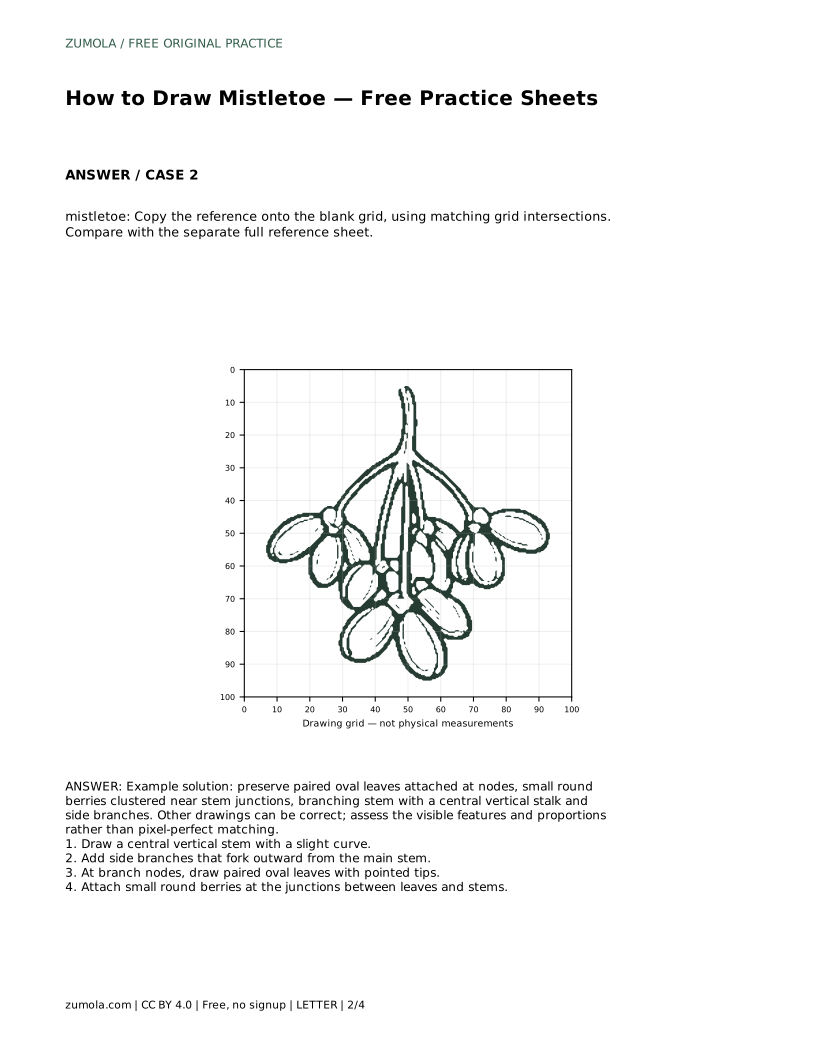
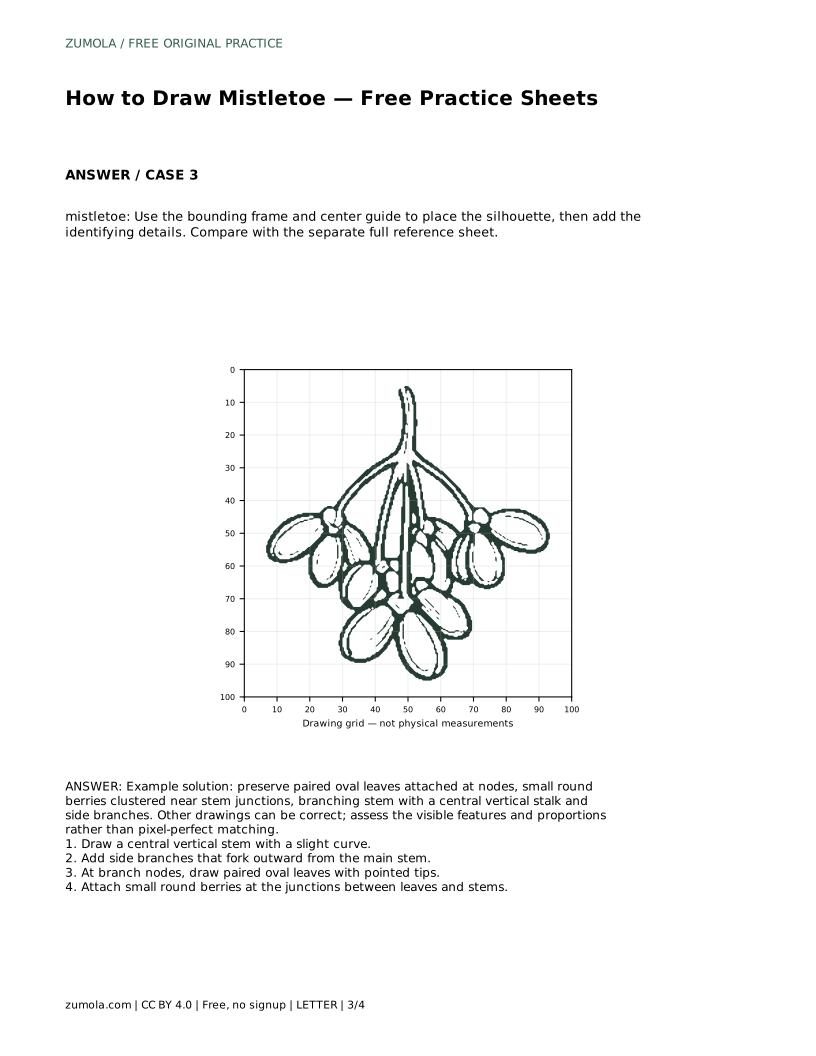
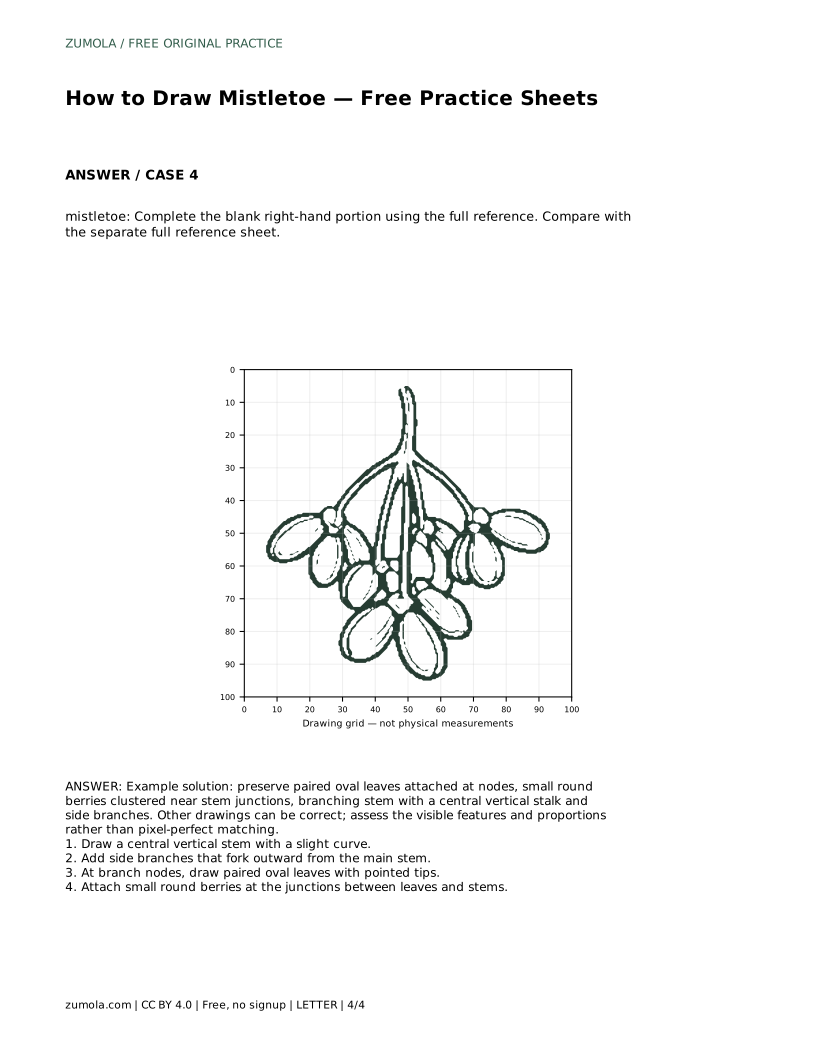
Reference diagrams
LETTER · Download PDF
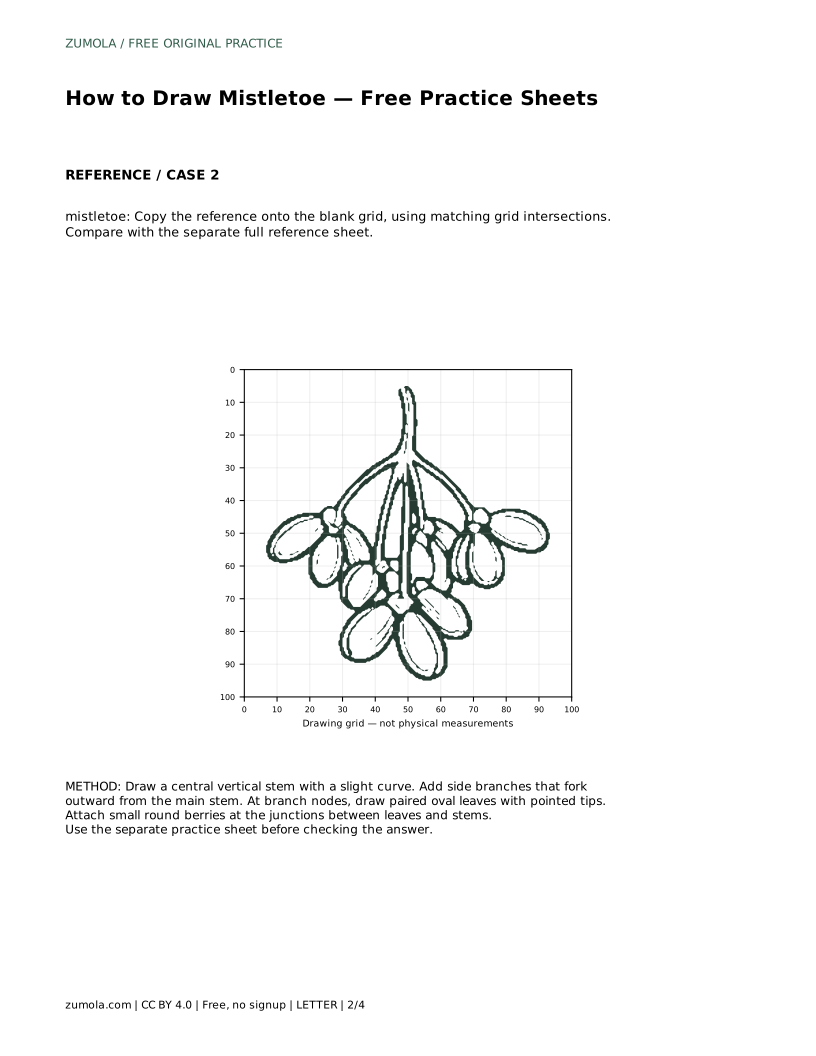
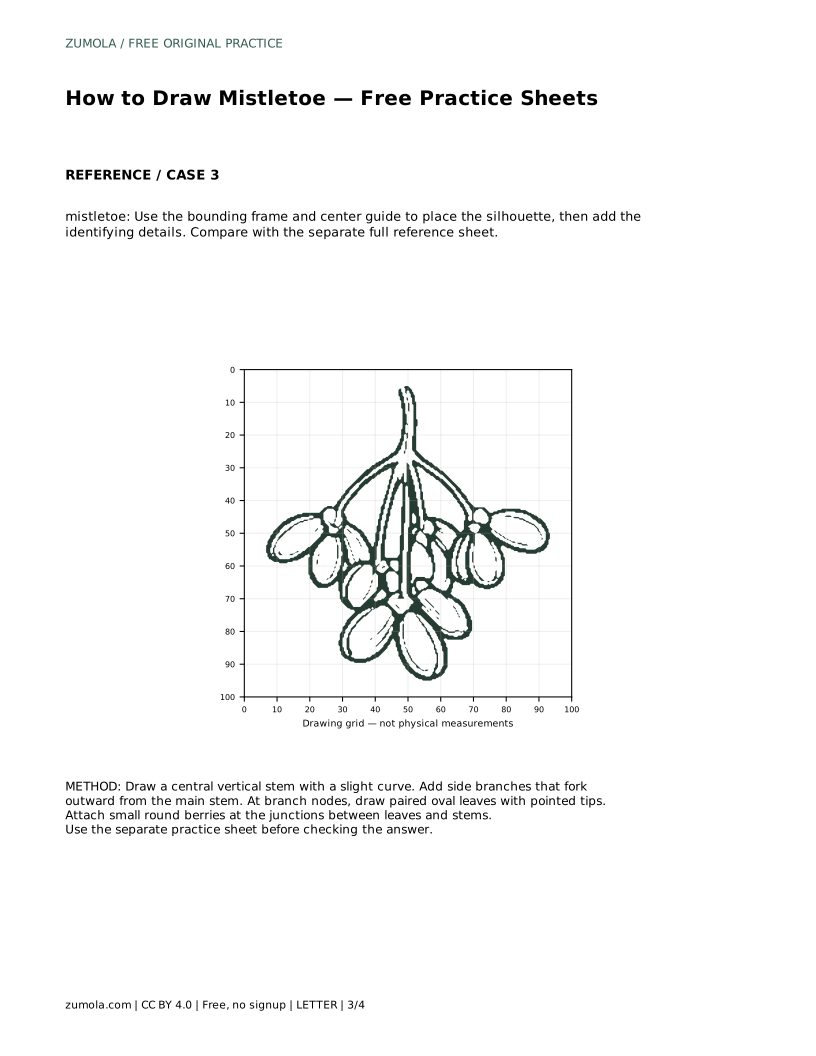
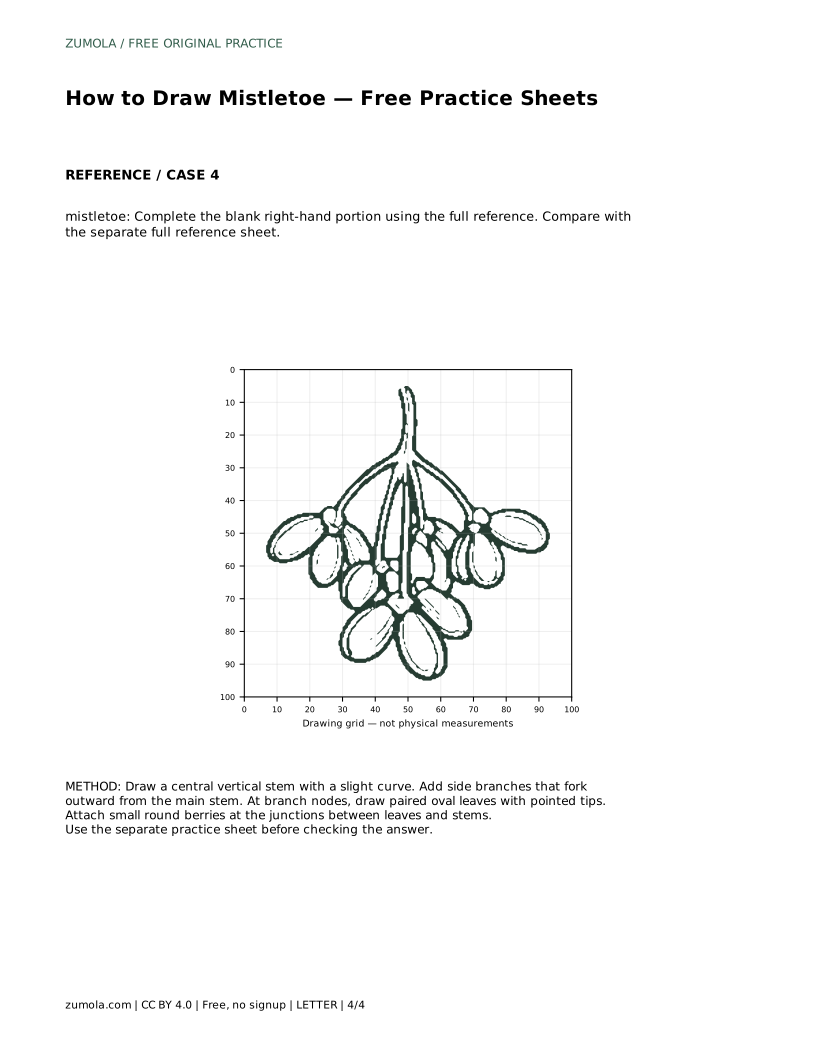
A4 · Download PDF
Free original resources
Learn to draw mistletoe with paired oval leaves, round berries, and forked stems. Trace, grid, and complete-the-drawing practice sheets build the same core skill.
Four original cases, with reference diagrams, practice sheets and worked answers. Everything is free; no signup required.
LETTER · Download PDF
A4 · Download PDF
LETTER · Download PDF
A4 · Download PDF
LETTER · Download PDF
A4 · Download PDF
Use A4 or US Letter to match your printer. Use the stated values and conditions to solve each exercise; diagrams are not physical measuring rulers.
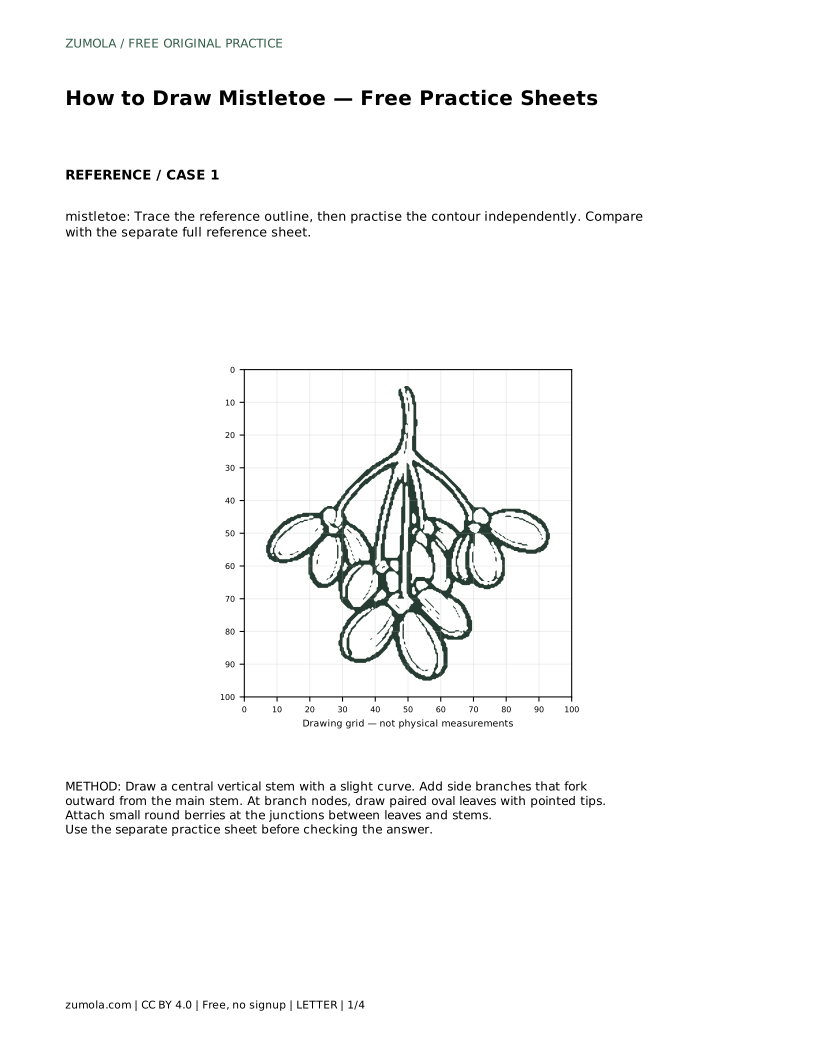
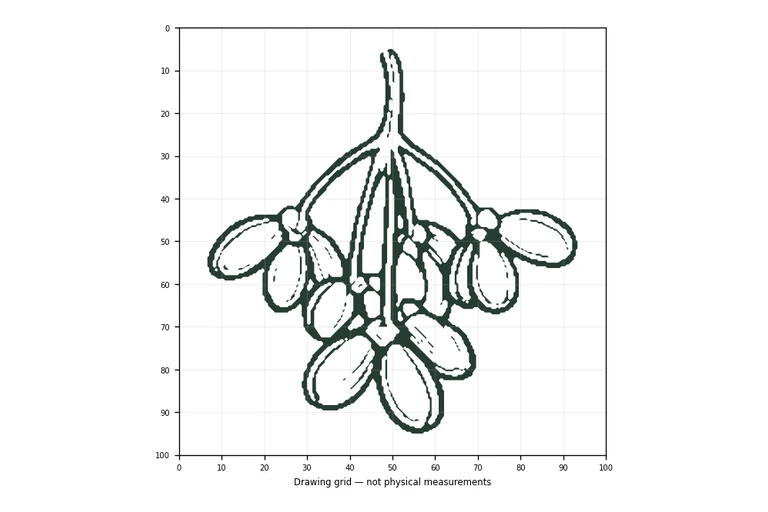
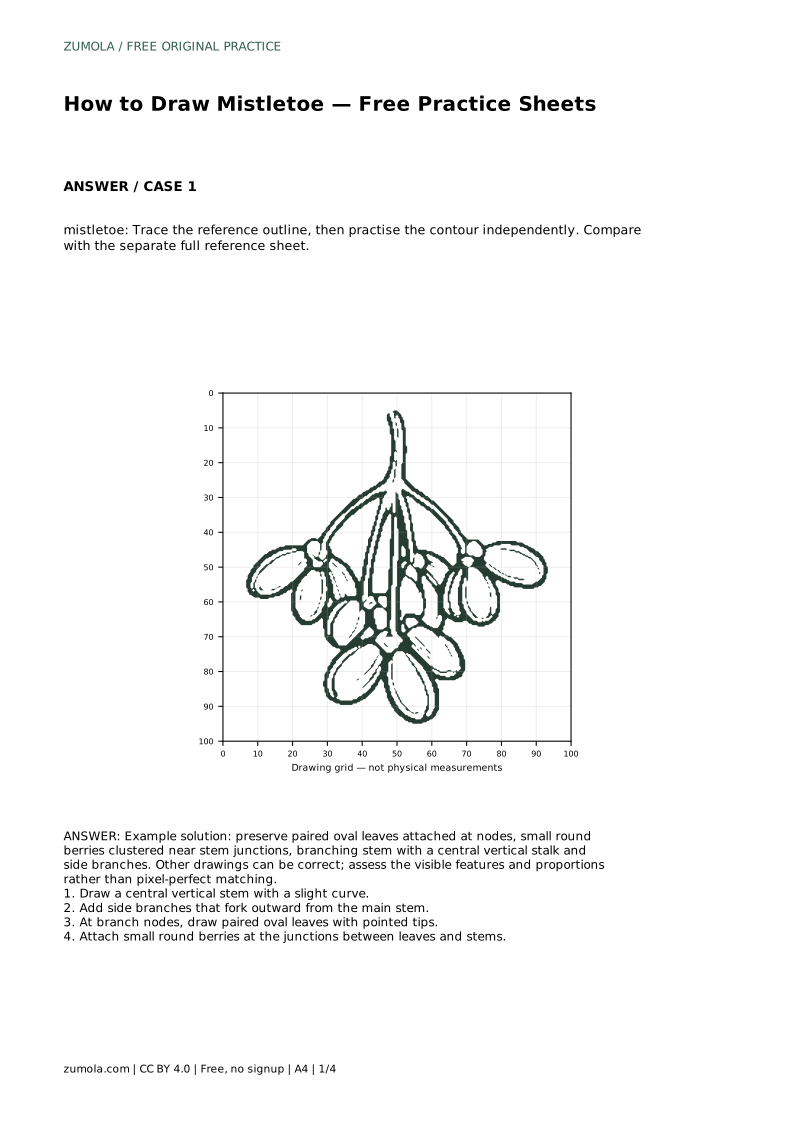
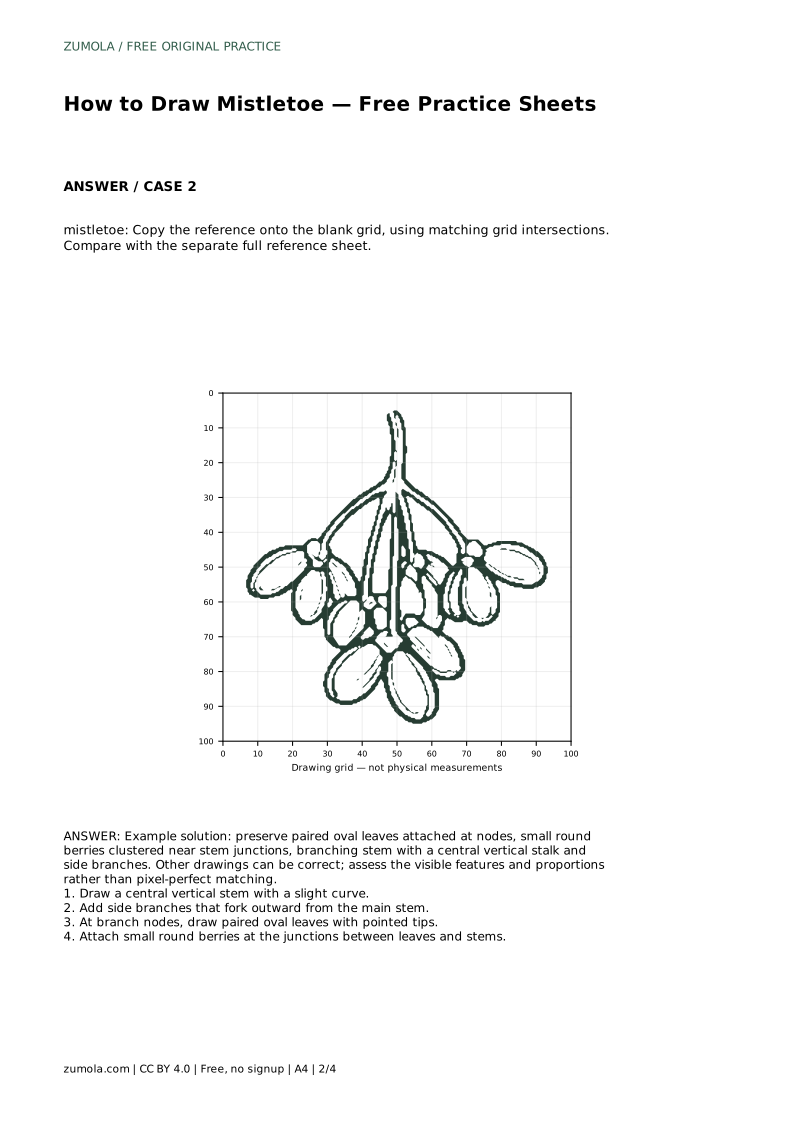
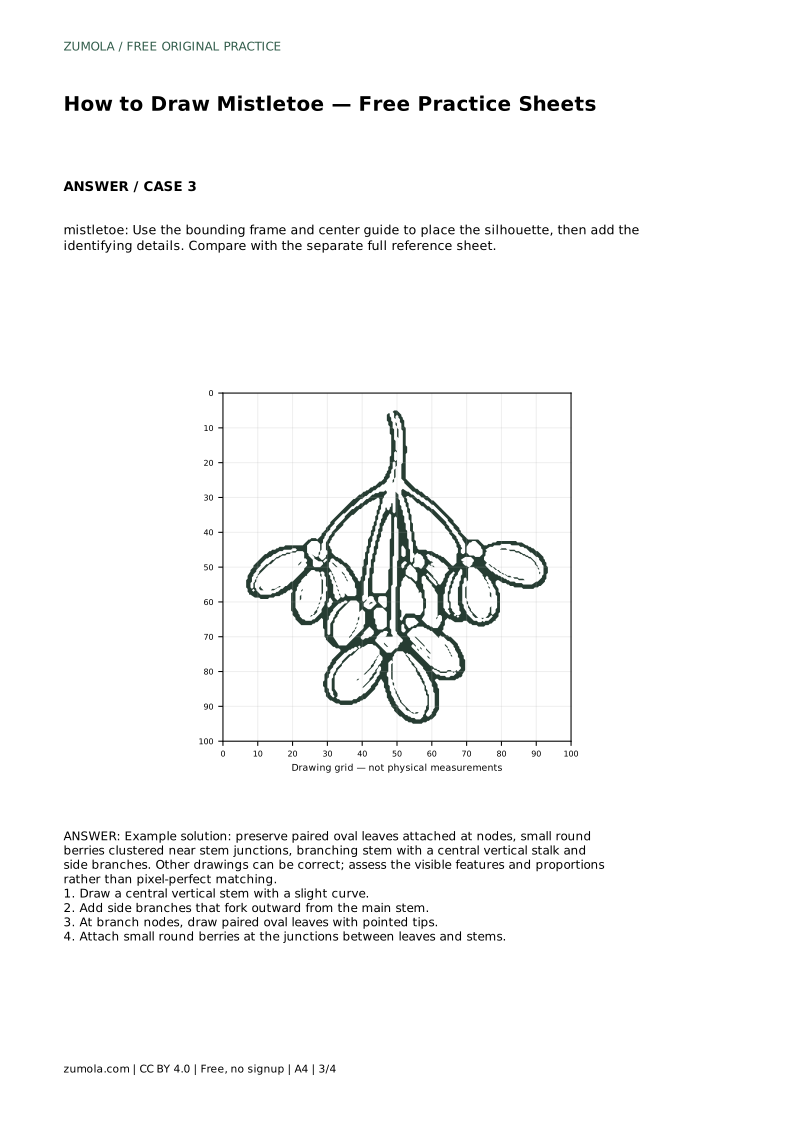
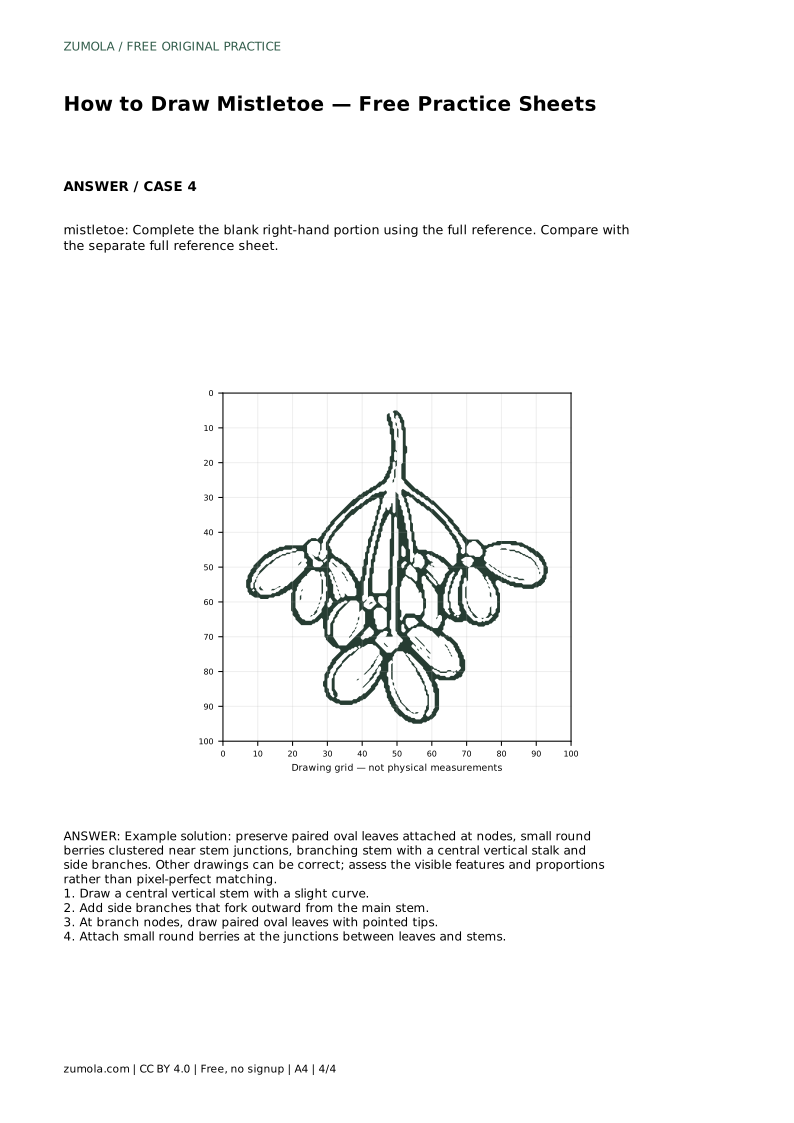
Mistletoe is a forgiving subject for beginners because its shape depends on a few clear features rather than fine detail. A central stem, side branches that fork outward, paired oval leaves with pointed tips, and small round berries at the junctions give the drawing its identity. This page explains how to build those features in order, then use tracing, grid, and partial-outline practice sheets to strengthen your control.
Start with structure before decoration. A single vertical stem with a slight curve anchors the drawing and gives every branch a place to attach. From that main stalk, add side branches that fork outward at gentle angles. Keep the forks visible rather than hiding them under leaves, because the branching pattern is one of the features that makes mistletoe recognizable.
Leaves come next. At each branch node, draw a pair of oval leaves with pointed tips, attached where the branch meets the stem. Pairs should sit opposite each other rather than scattered randomly. Once the leaf pairs are placed, add small round berries clustered near the stem junctions, where leaves and branches meet. Berries are circles, not ovals, and a small cluster reads better than a single dot.
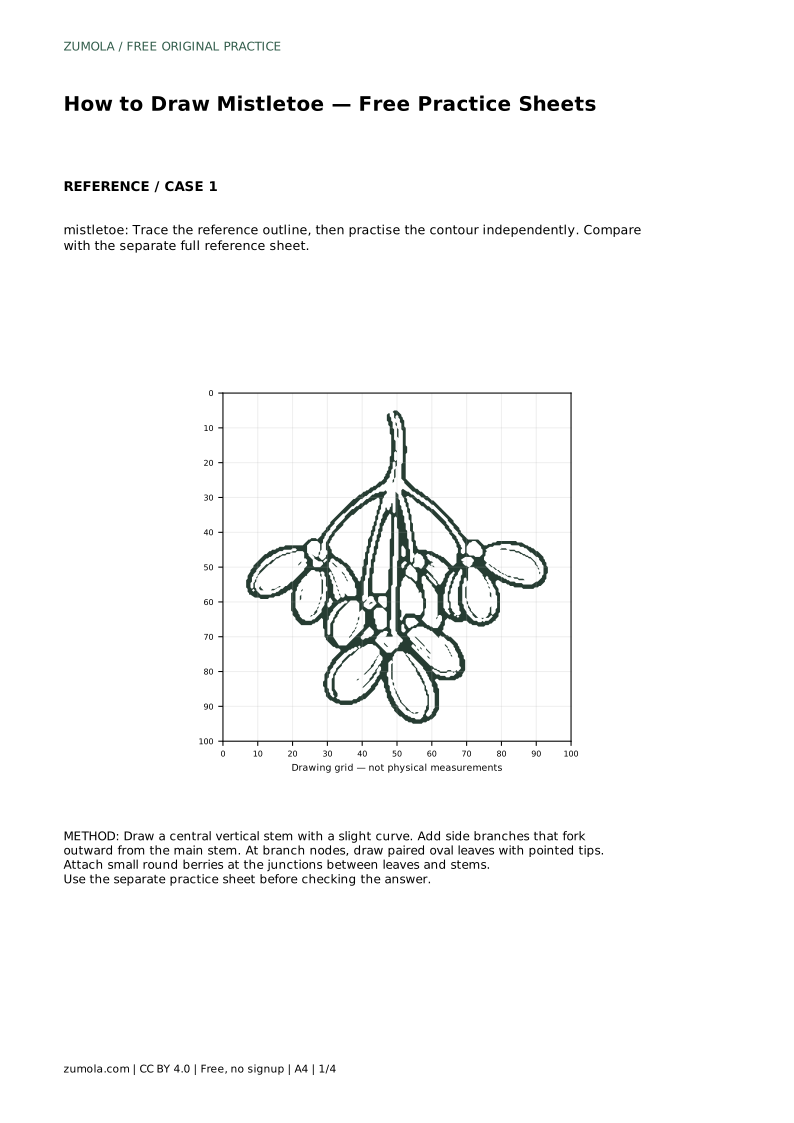
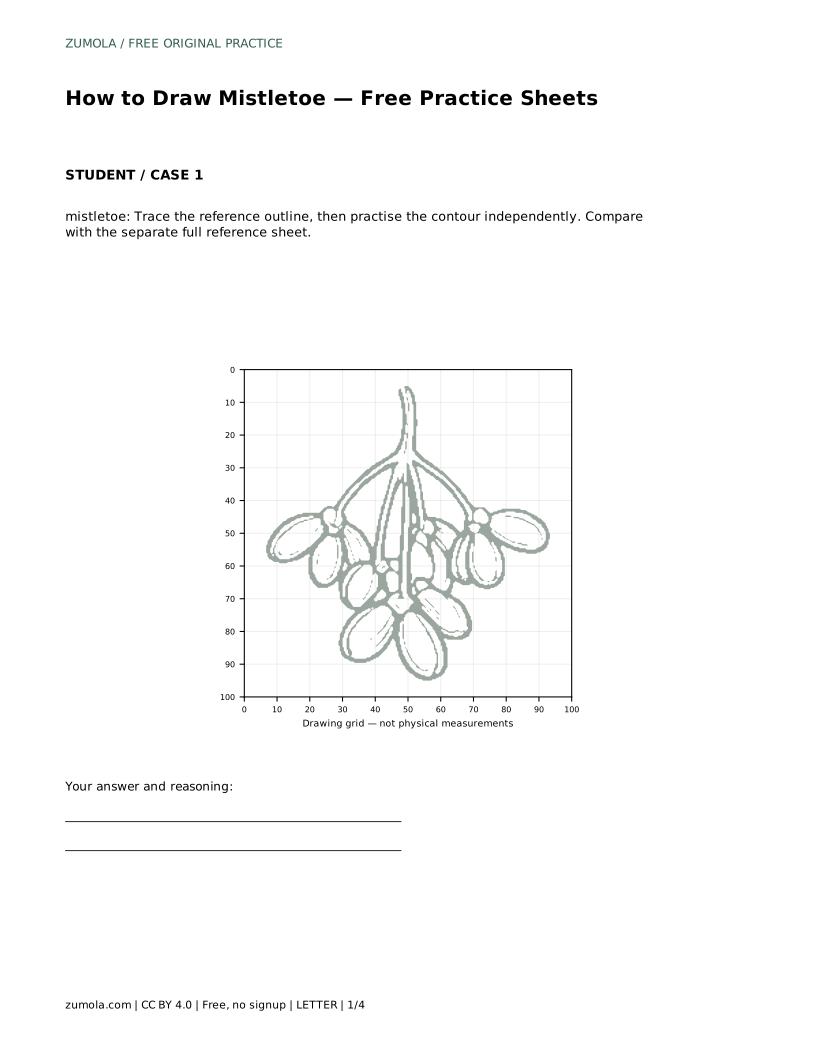
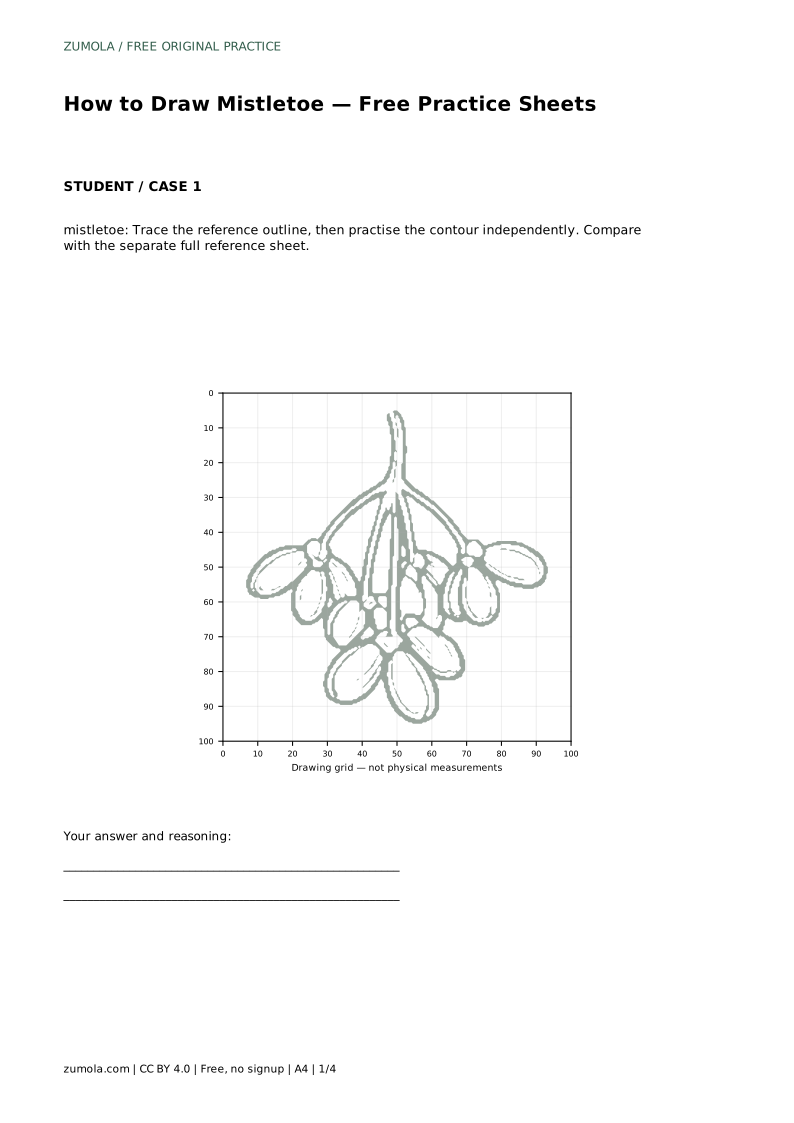
The trace-the-outline sheet asks you to follow the reference contour first, then repeat the contour independently on blank space. Compare your freehand attempt with the separate full reference sheet rather than with your traced line, so you notice where your proportions drifted.
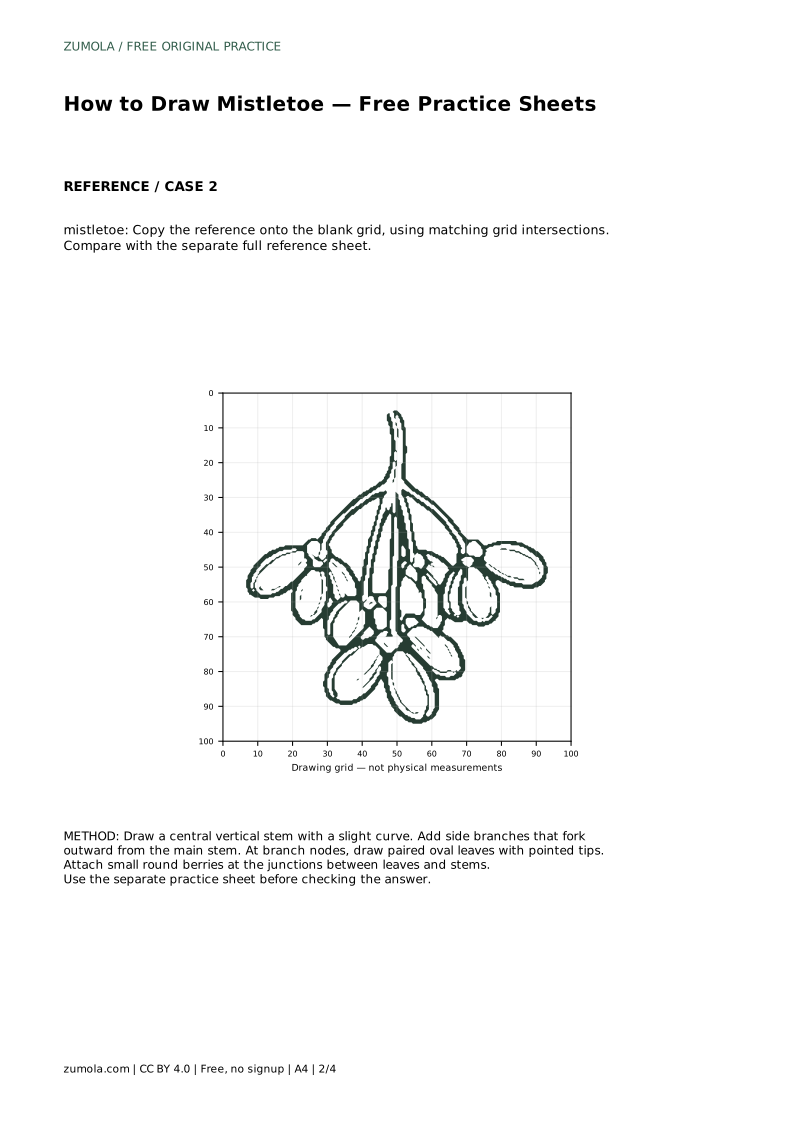
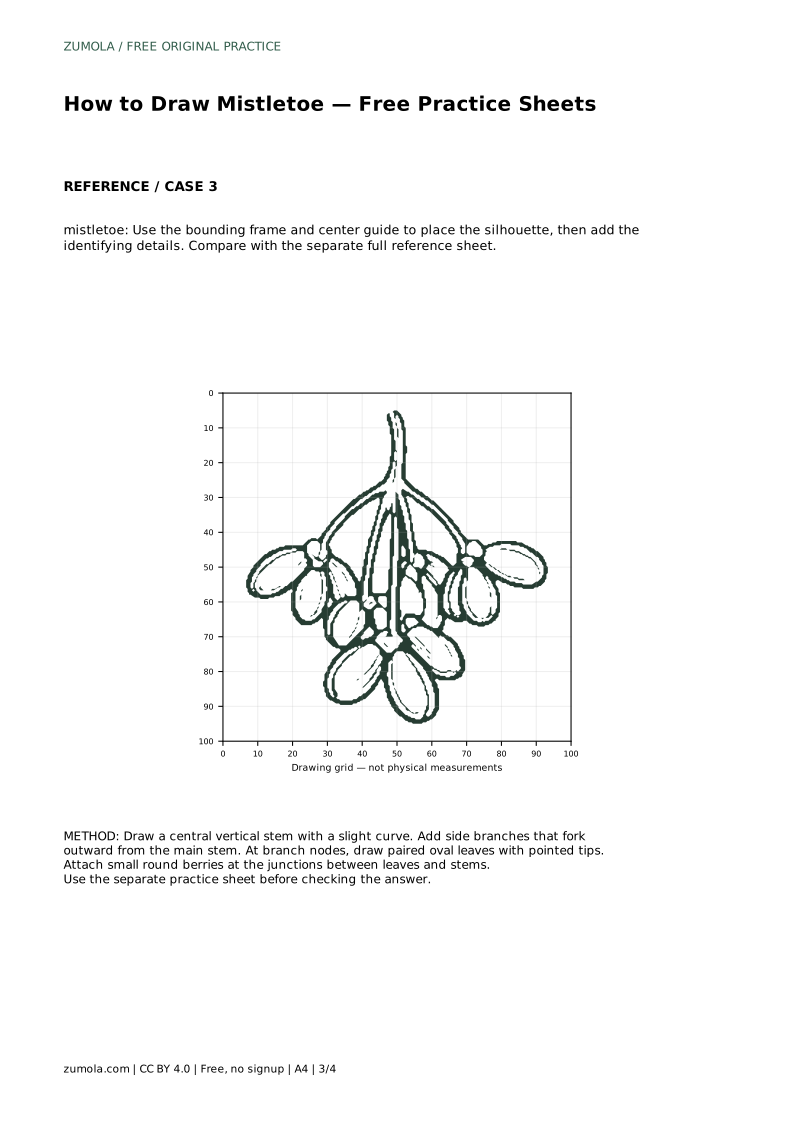
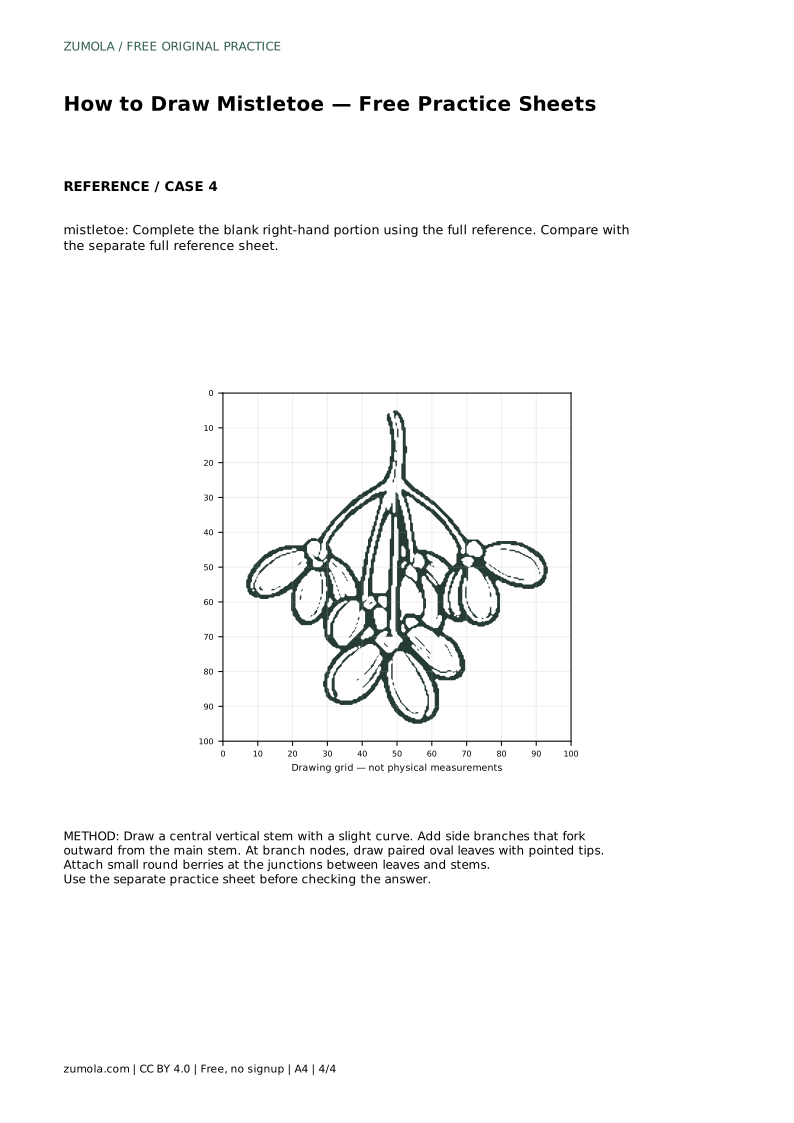
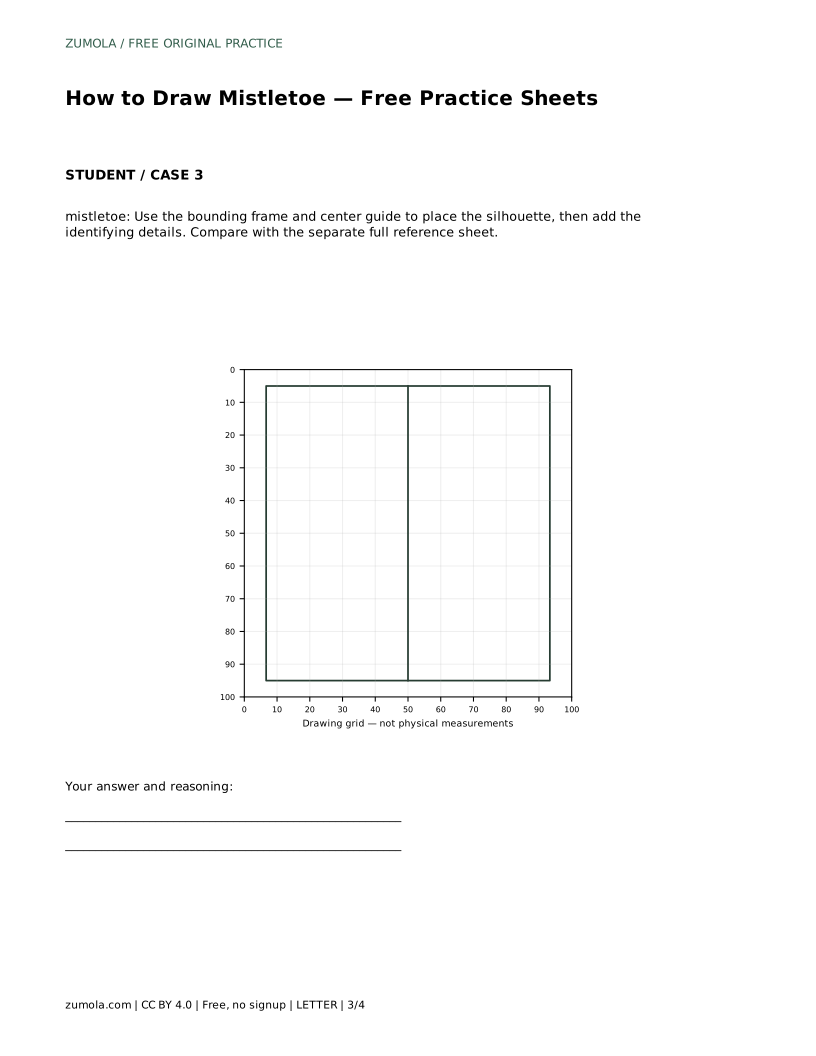
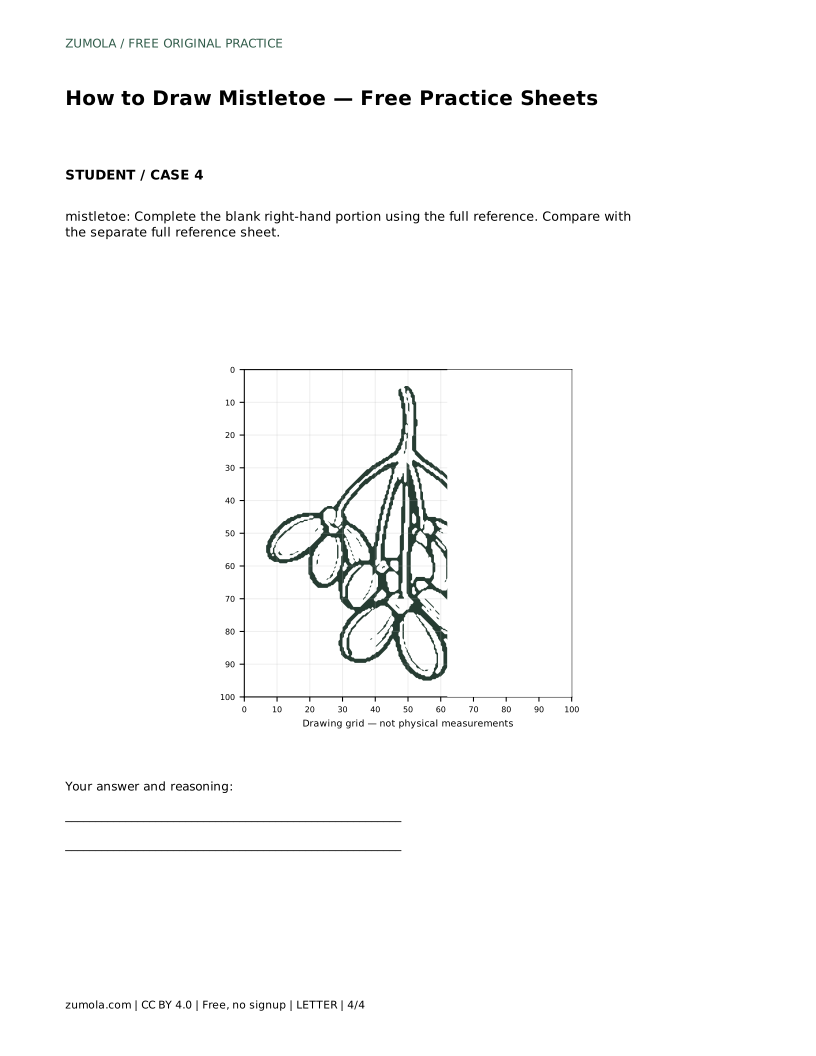
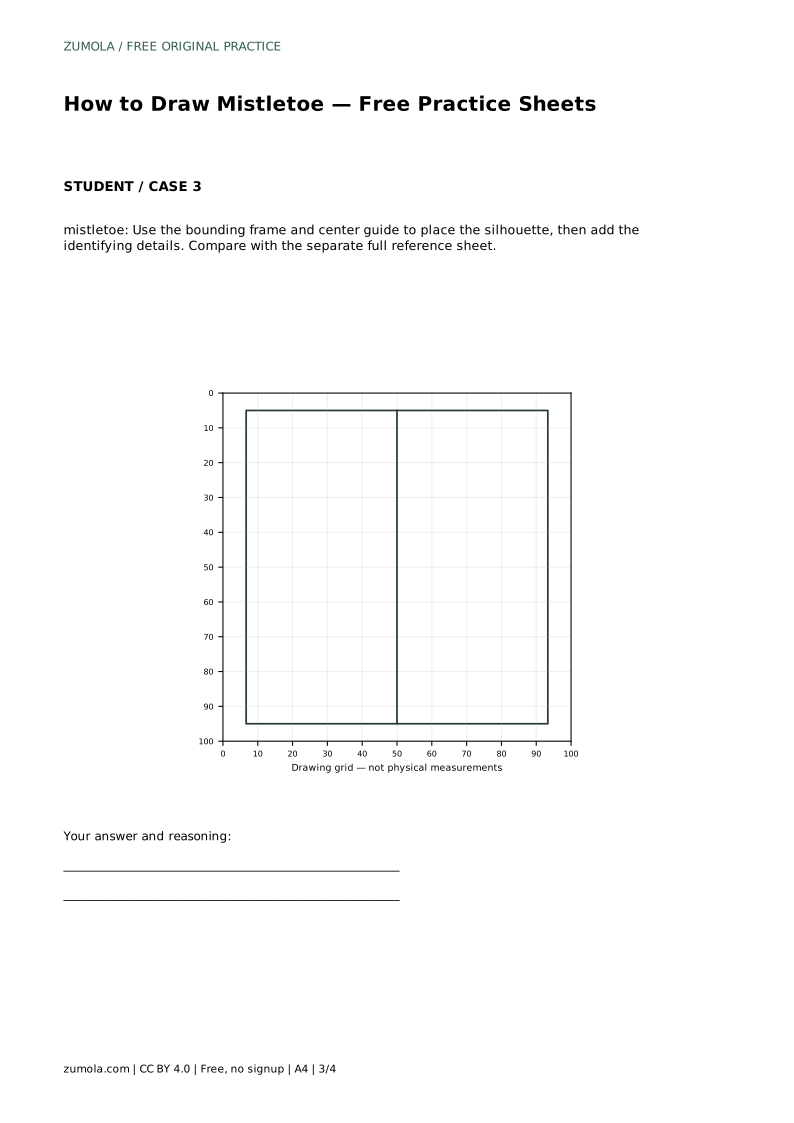
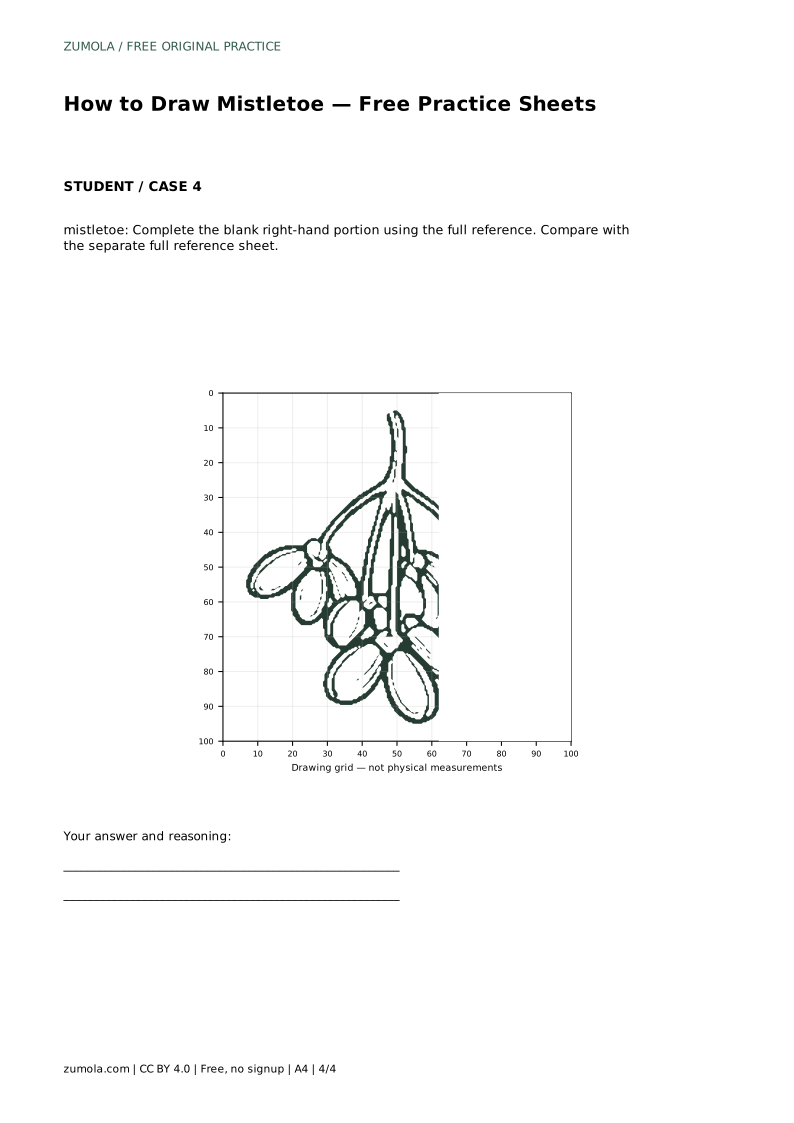
The grid sheet places the reference on a matching grid. Copy the drawing square by square, using grid intersections to judge where stems bend and where leaf pairs sit. The bounding-frame sheet works differently: use the frame and center guide to place the overall silhouette first, then add identifying details inside it. The complete-the-drawing sheet gives you the left portion and asks you to finish the right side using the full reference, which tests whether you can continue a pattern rather than copy it whole.
Mistletoe drawings have many valid outcomes, so judge features rather than exact line placement. Check that leaves appear in pairs at nodes, that berries are round and clustered near junctions, and that the stem branches visibly from a central stalk. A drawing with slightly different leaf sizes can still be correct if those relationships hold.
Work lightly at first. Stems and branch forks are easiest to adjust before leaves crowd the junctions. If a leaf pair looks unbalanced, redraw the node rather than stretching one leaf to compensate.
mistletoe: Trace the reference outline, then practise the contour independently. Compare with the separate full reference sheet.
Example solution: preserve paired oval leaves attached at nodes, small round berries clustered near stem junctions, branching stem with a central vertical stalk and side branches. Other drawings can be correct; assess the visible features and proportions rather than pixel-perfect matching. Draw a central vertical stem with a slight curve. Add side branches that fork outward from the main stem. At branch nodes, draw paired oval leaves with pointed tips. Attach small round berries at the junctions between leaves and stems.
No. Mistletoe drawings can be correct with different leaf sizes and angles, as long as paired oval leaves attach at nodes, berries are round and clustered near junctions, and the stem branches from a central stalk.
Start with the trace-the-outline sheet to learn the contour, then move to the grid or bounding-frame sheet to practise placement without tracing.
There is no fixed count. A small cluster of round berries near a stem junction is enough to read as mistletoe; keep the grouping tight rather than spreading berries along the branch.
All drawing practice · Free coordinate paper
Original resources · CC BY 4.0 · Free for personal and classroom use with attribution.