Reference diagrams
LETTER · Download PDF
A4 · Download PDF
Free original resources
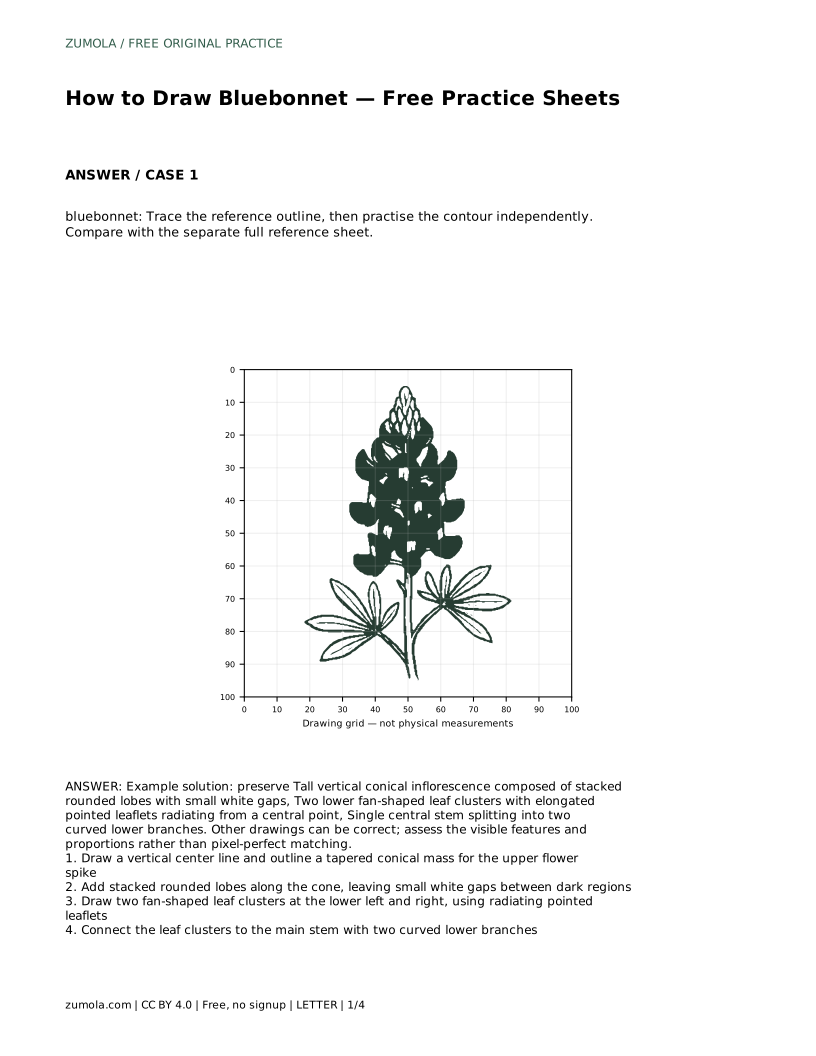
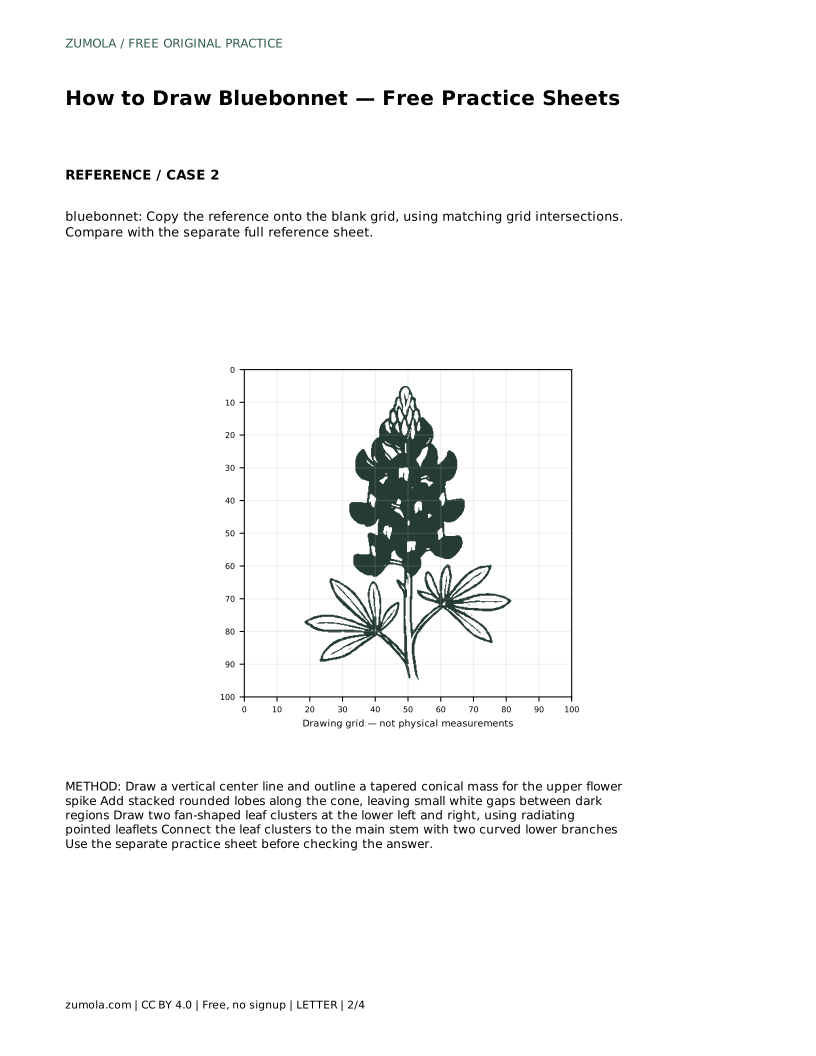
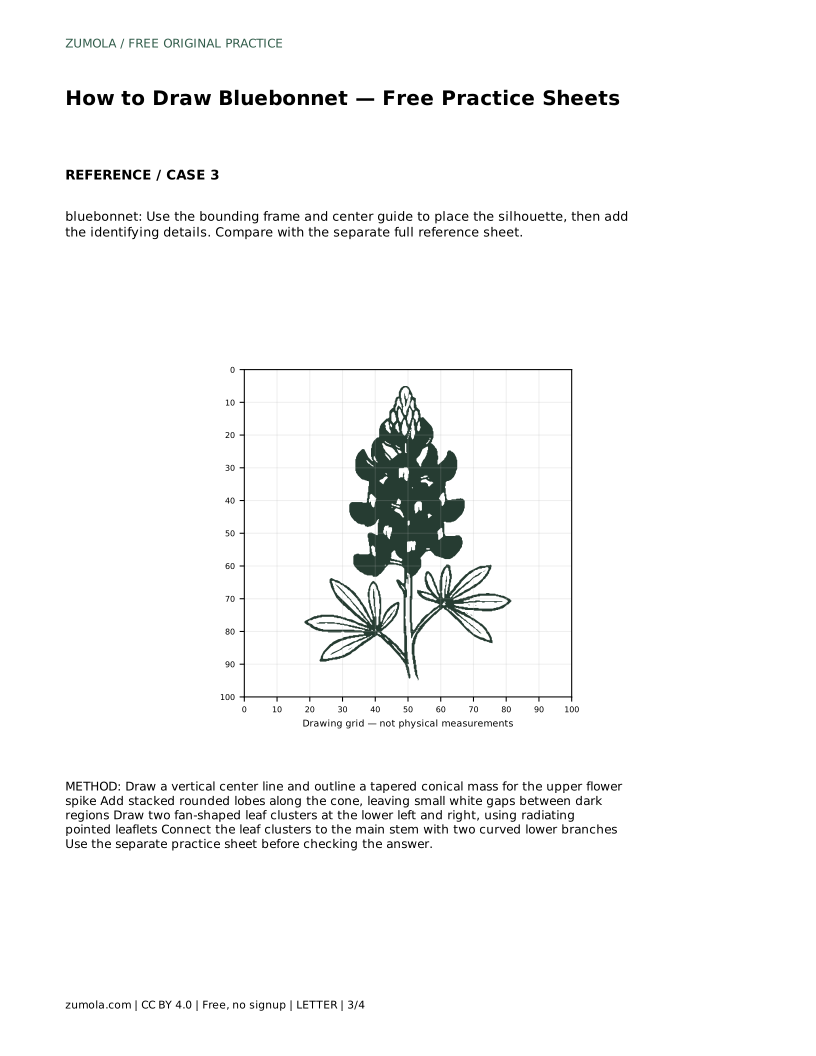
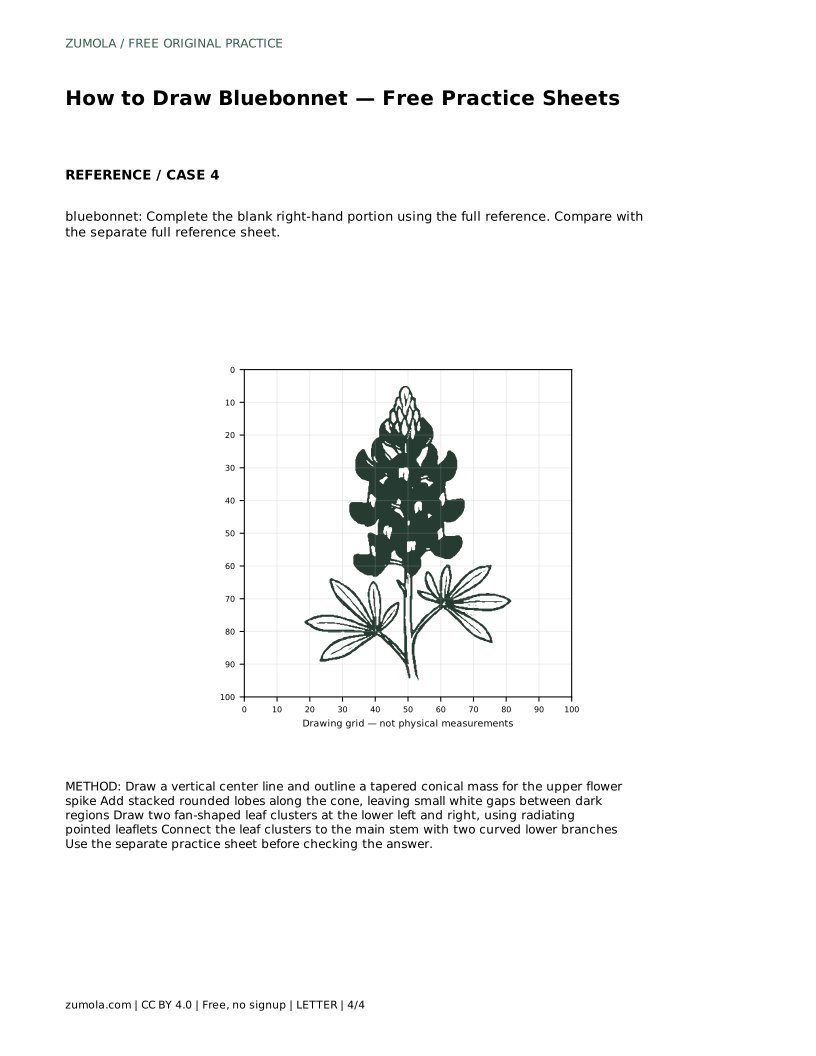
Learn to draw a bluebonnet by tracing, gridding, or completing a partial reference. Focus on the conical flower spike, fan-shaped leaves, and branching stem.
Four original cases, with reference diagrams, practice sheets and worked answers. Everything is free; no signup required.
LETTER · Download PDF
A4 · Download PDF
LETTER · Download PDF
A4 · Download PDF
LETTER · Download PDF
A4 · Download PDF
Use A4 or US Letter to match your printer. Use the stated values and conditions to solve each exercise; diagrams are not physical measuring rulers.
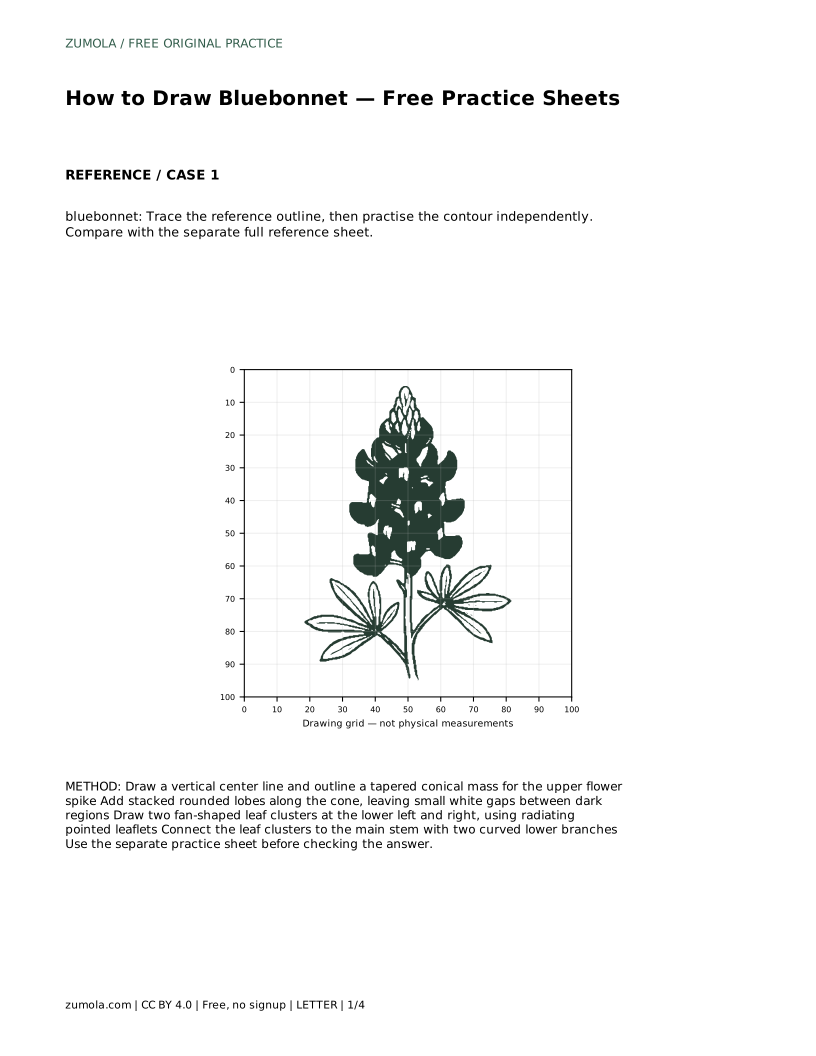
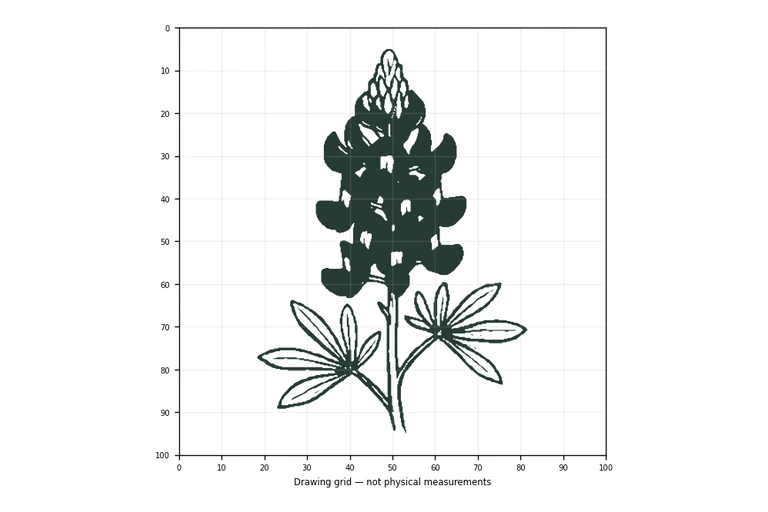
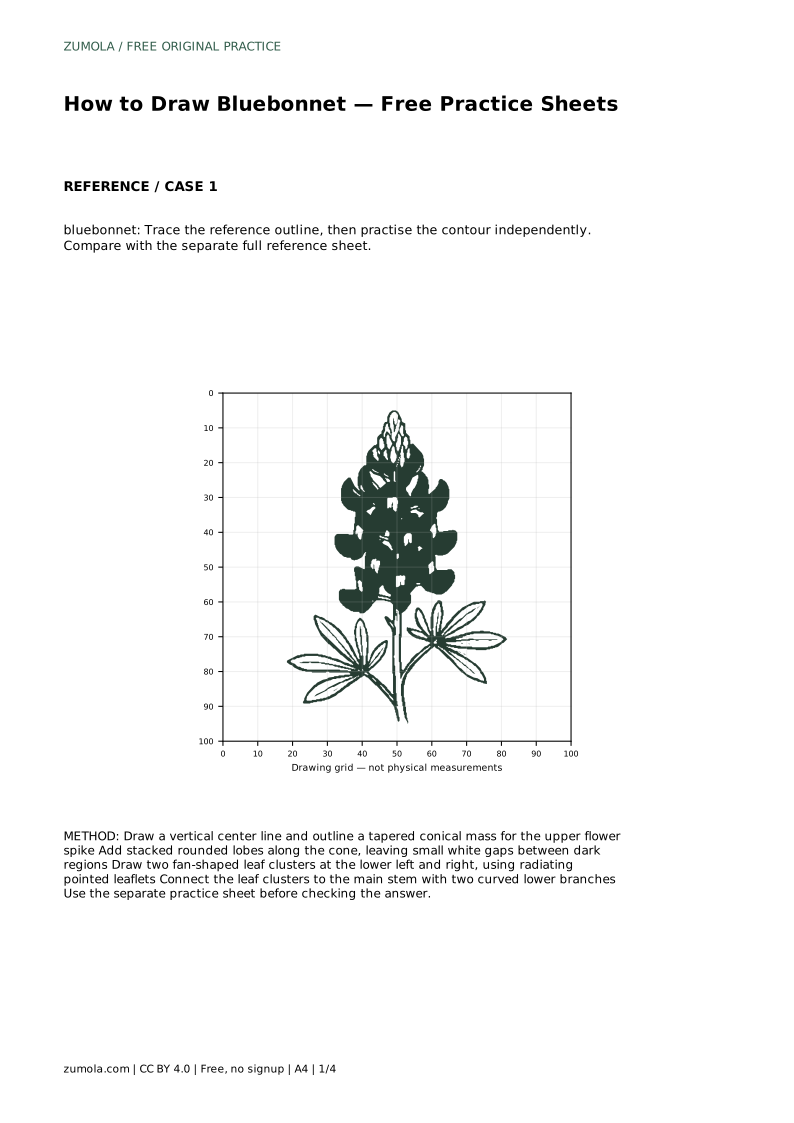
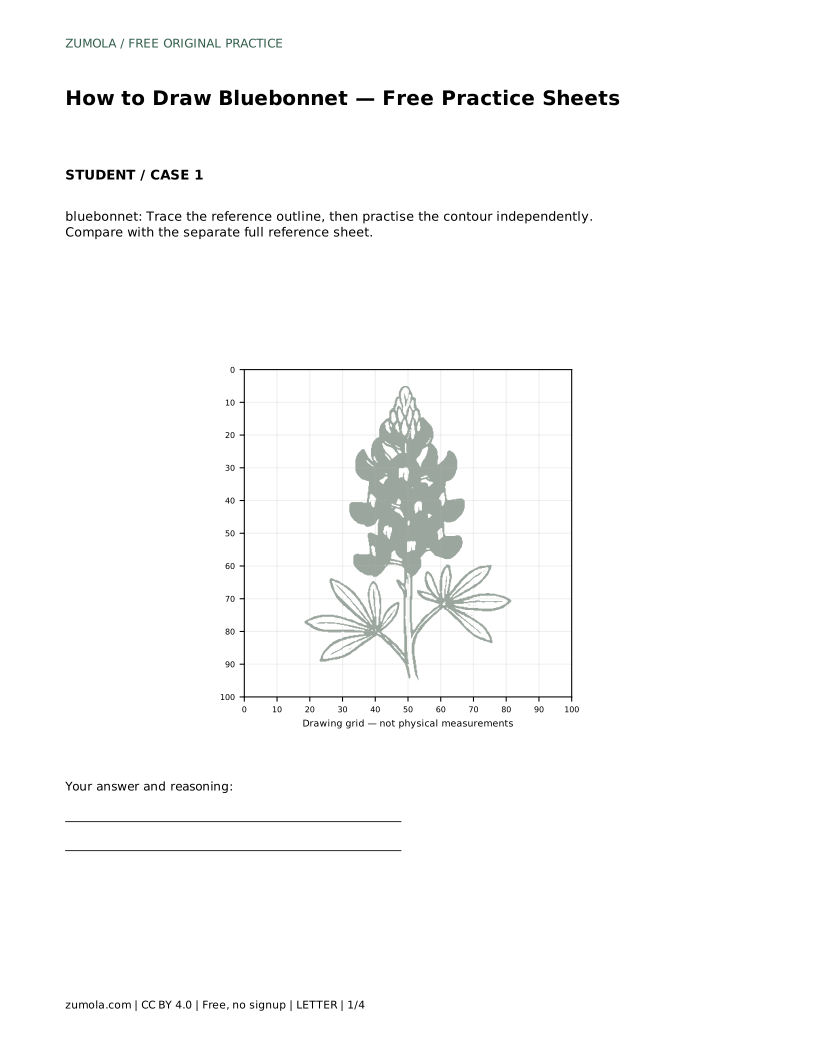
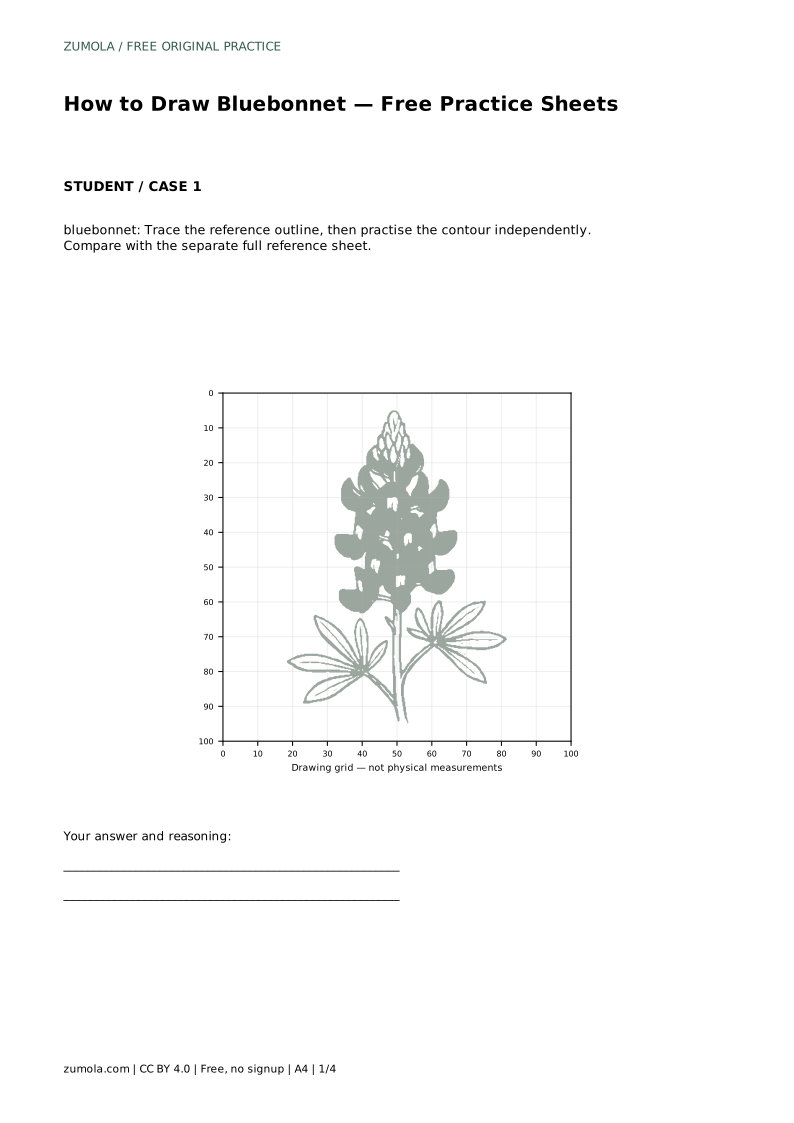
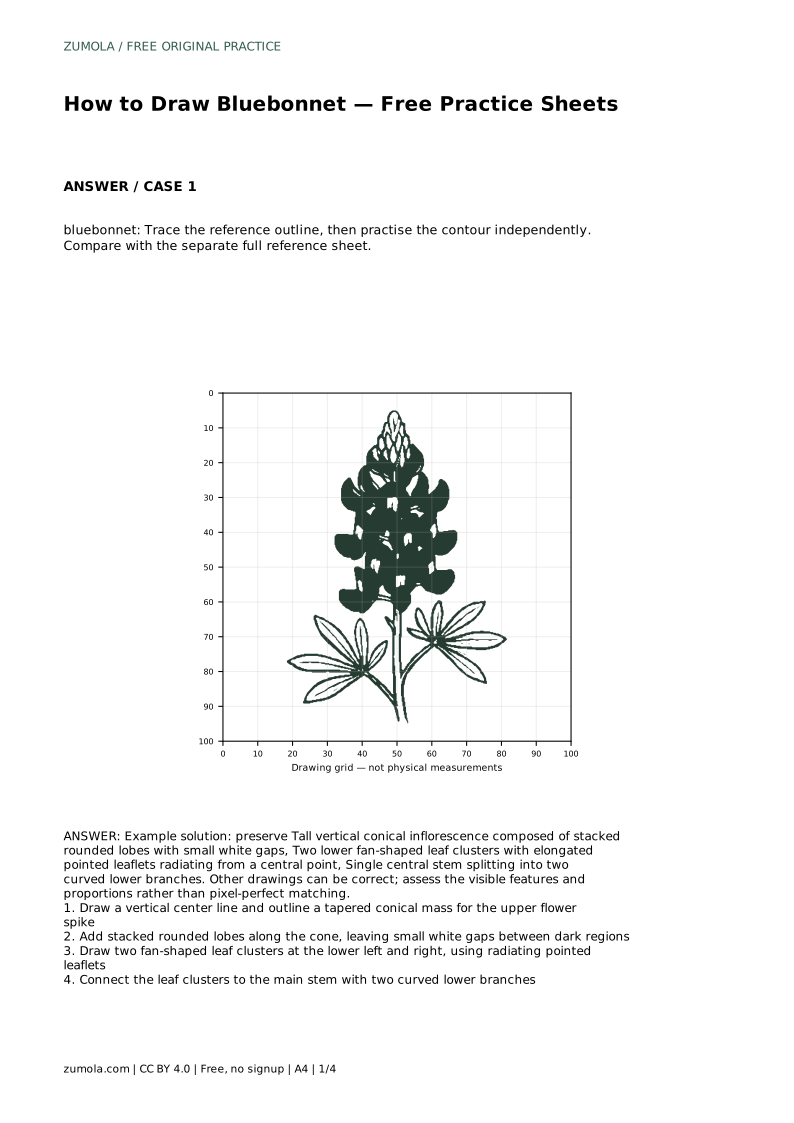
Drawing a bluebonnet is a study in structure: a tall, tapered flower spike made of stacked rounded lobes, two fan-shaped leaf clusters low on the stem, and a central stem that splits into curved lower branches. This guide explains how to use free practice sheets to capture those features. You will trace a reference outline, then draw the contour independently, and compare your work with a separate full reference sheet. The goal is not pixel-perfect copying but accurate proportions and visible identifying details.
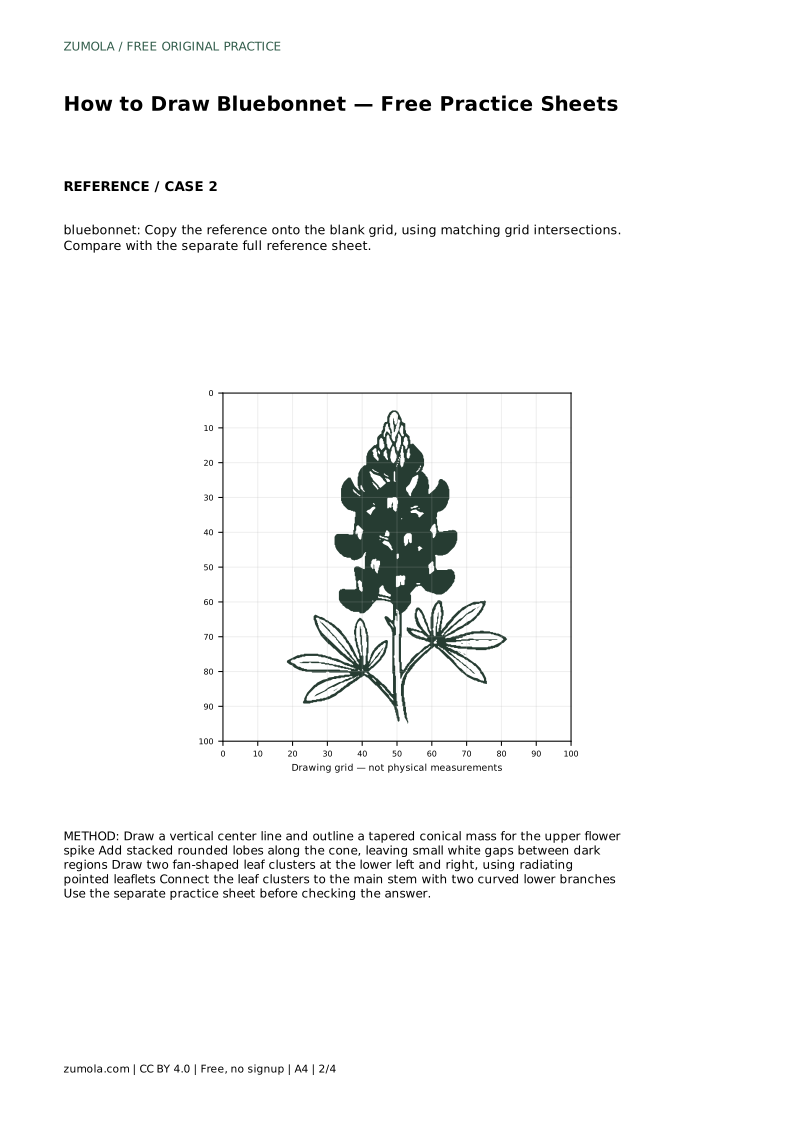
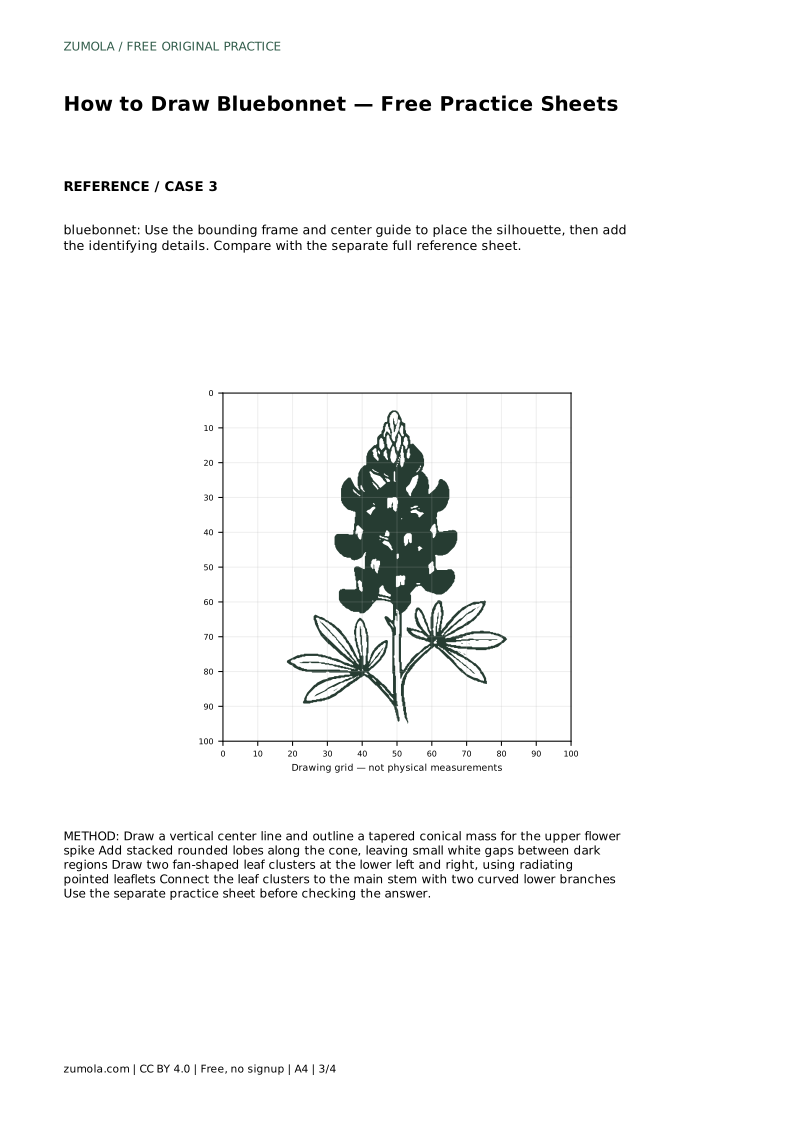
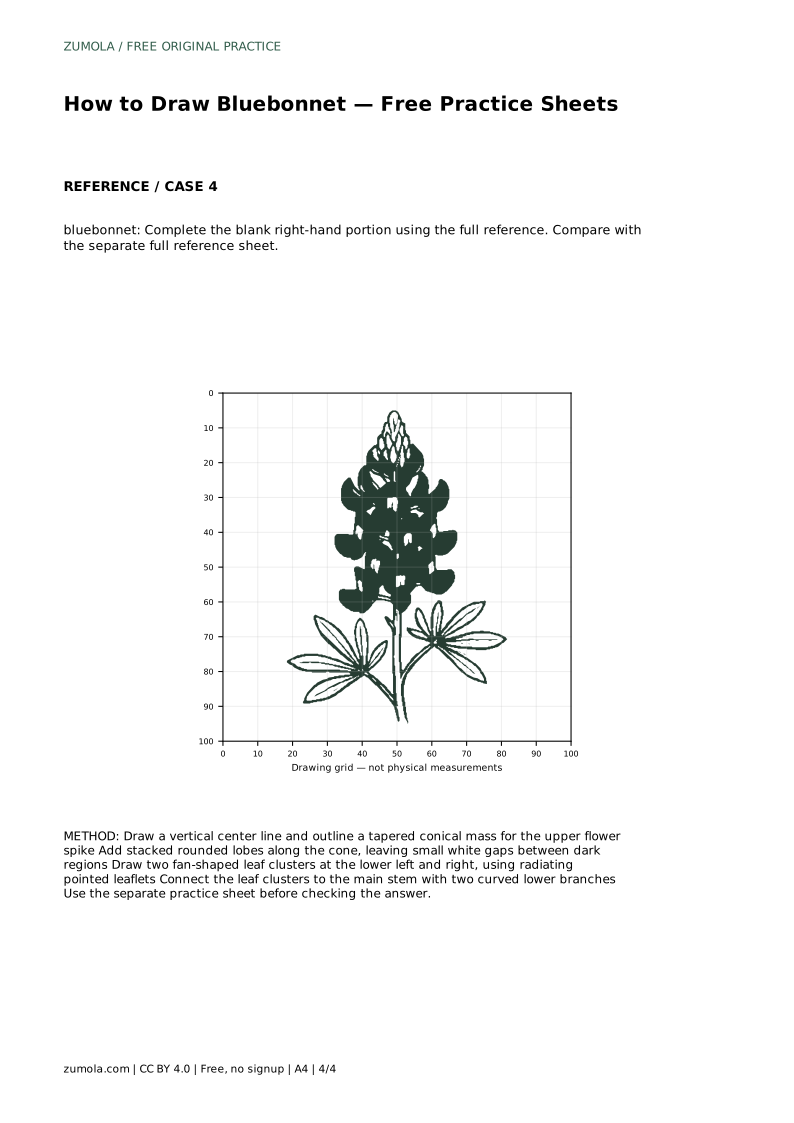
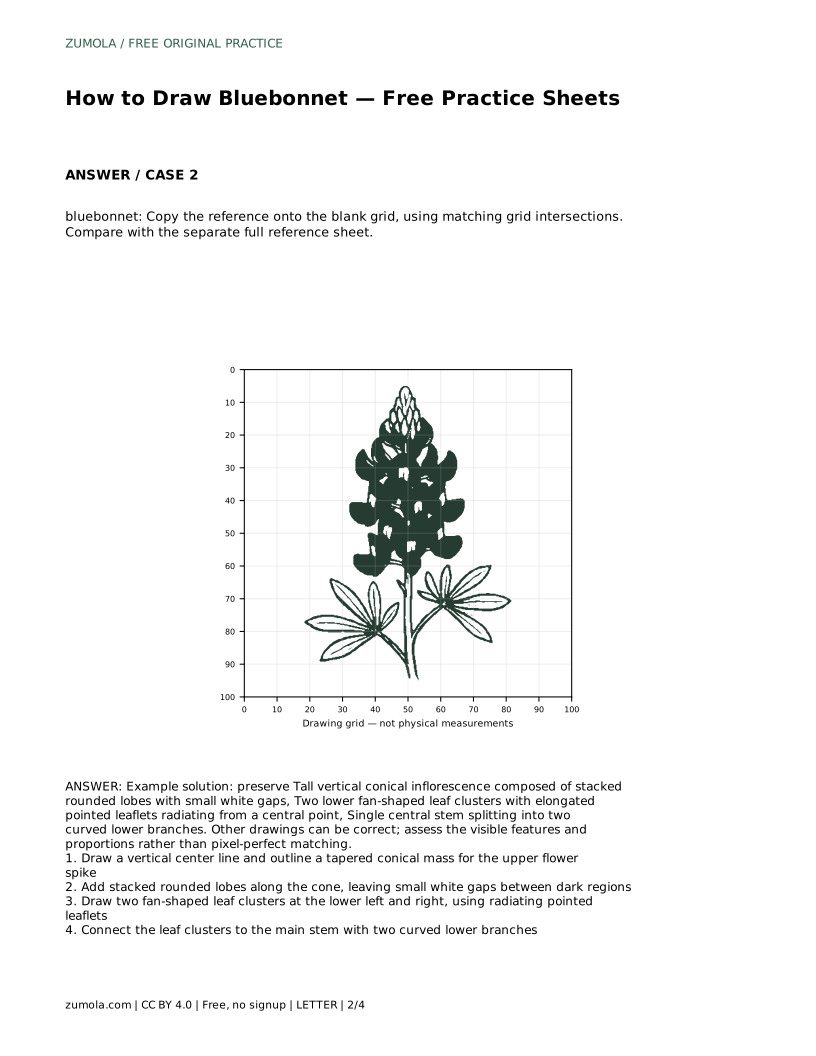
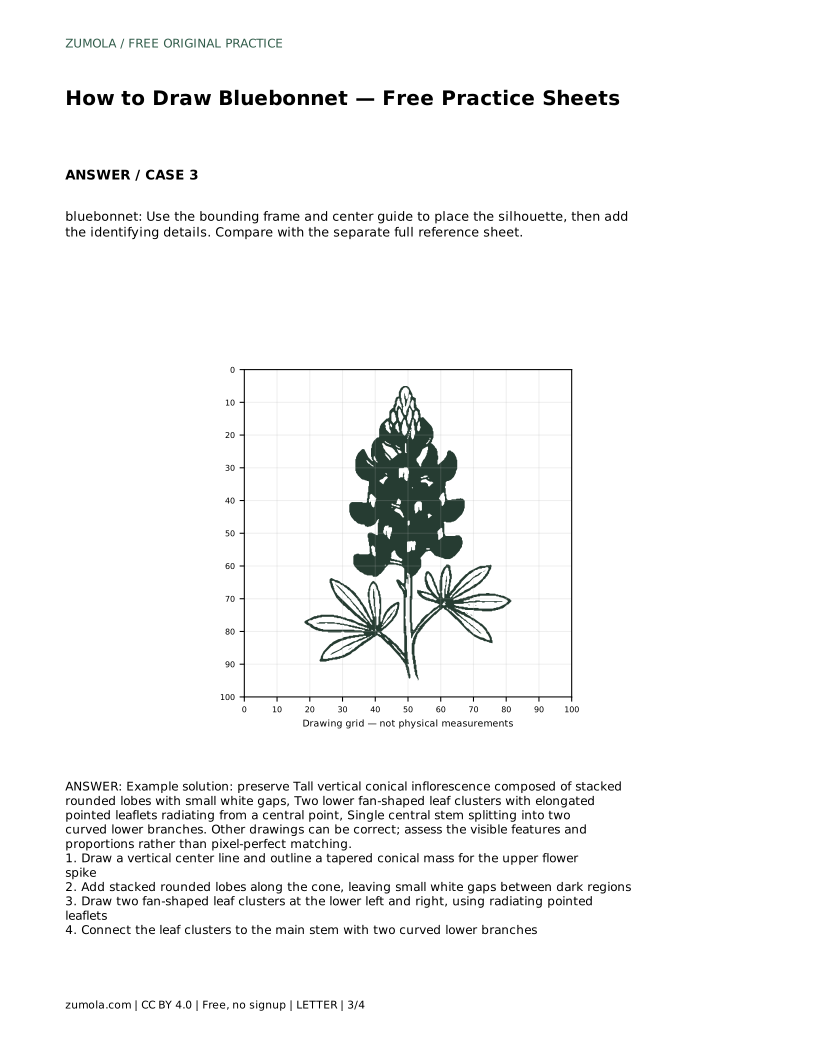
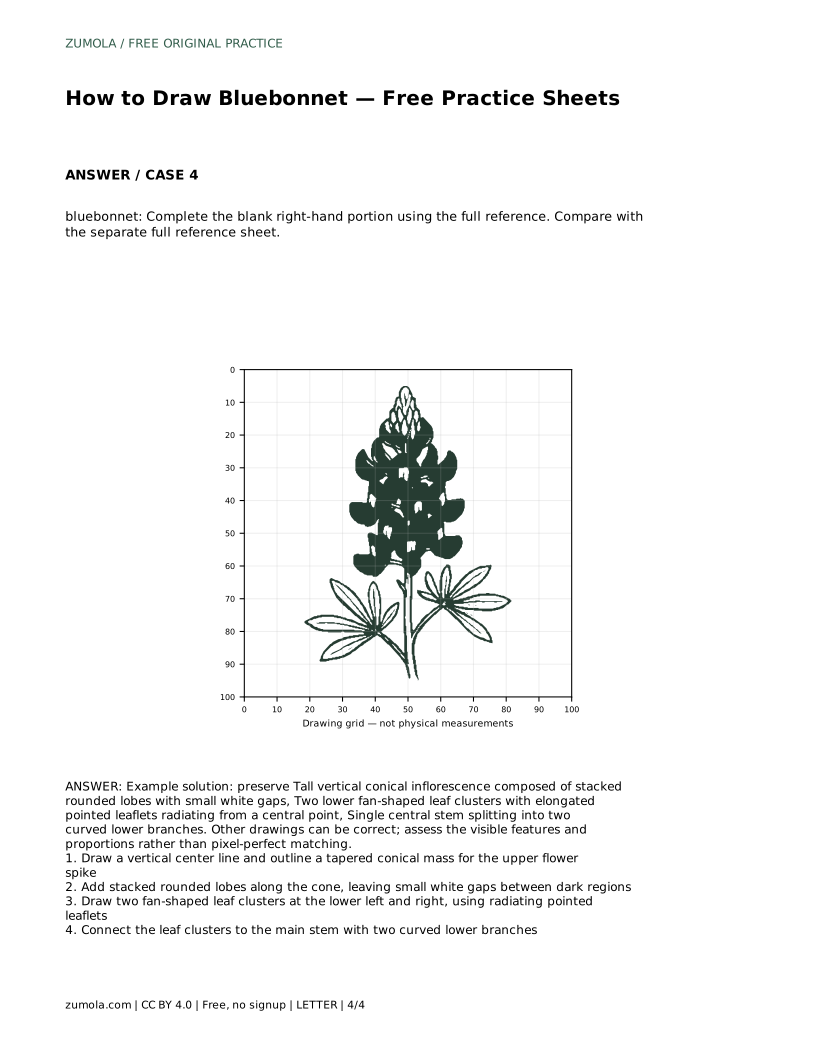
Before drawing, identify the three structural elements that make a bluebonnet recognizable. First, the upper flower spike is a tall, vertical cone built from stacked rounded lobes. Small white gaps separate the dark regions between lobes. Second, two fan-shaped leaf clusters sit at the lower left and right. Each cluster has elongated pointed leaflets radiating from a central point. Third, a single central stem rises through the flower spike and splits into two curved lower branches that connect to the leaf clusters.
These features are not decorative extras; they define the plant's silhouette. When you practice, check that the cone tapers upward, that the leaf fans spread outward rather than drooping, and that the lower branches curve smoothly from the main stem. Keep the vertical center line in mind so the spike stays upright.
Start with the trace-the-reference-outline sheet. Place a thin paper over the outline or use a light pencil to follow the contour. Focus on the cone's taper and the leaf fans' spread. After one or two traced passes, move to a blank area and draw the contour independently. Do not peek at the reference while drawing; rely on your memory of the structure. Then compare your independent drawing with the separate full reference sheet.
When comparing, look for the tall vertical conical inflorescence, the stacked rounded lobes with small white gaps, the two lower fan-shaped leaf clusters with elongated pointed leaflets radiating from a central point, and the single central stem splitting into two curved lower branches. Other drawings can be correct; assess the visible features and proportions rather than pixel-perfect matching.
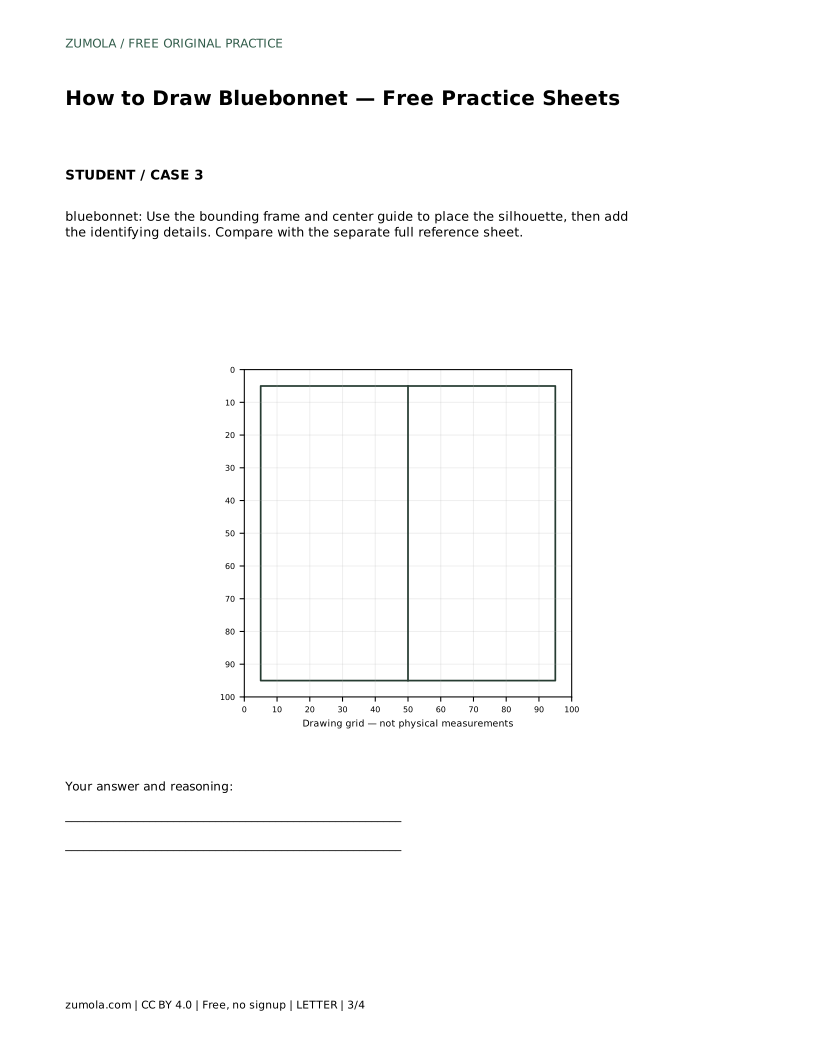
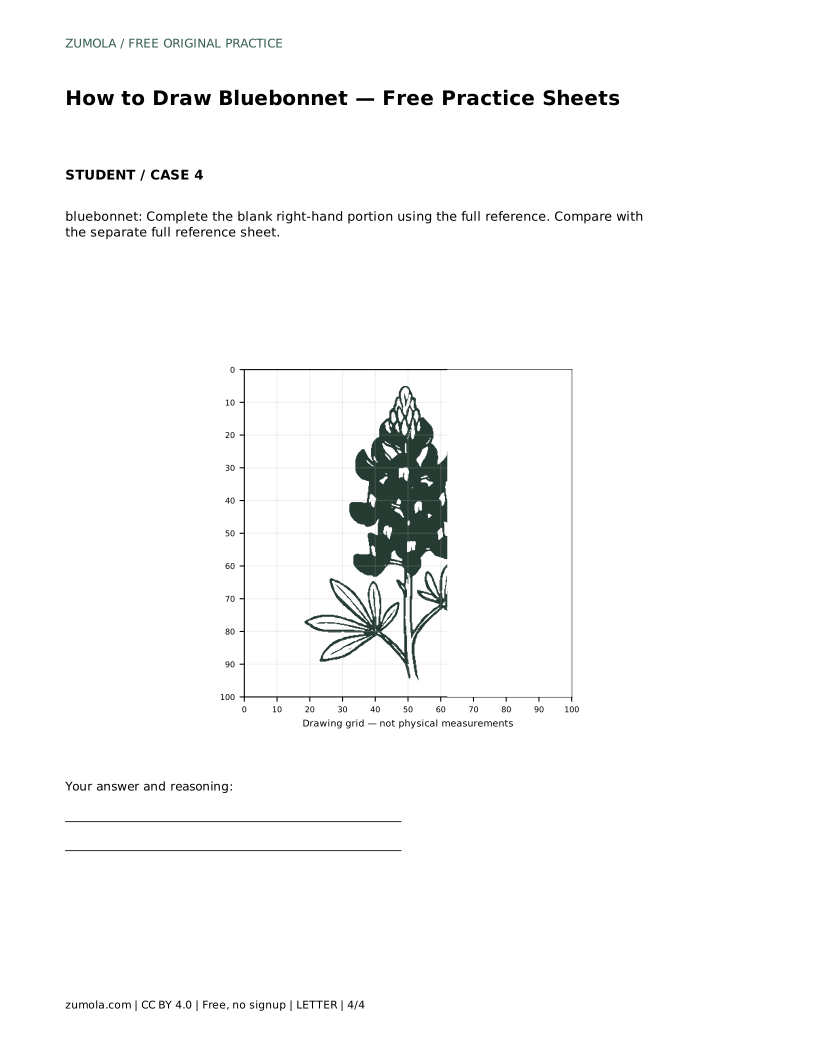
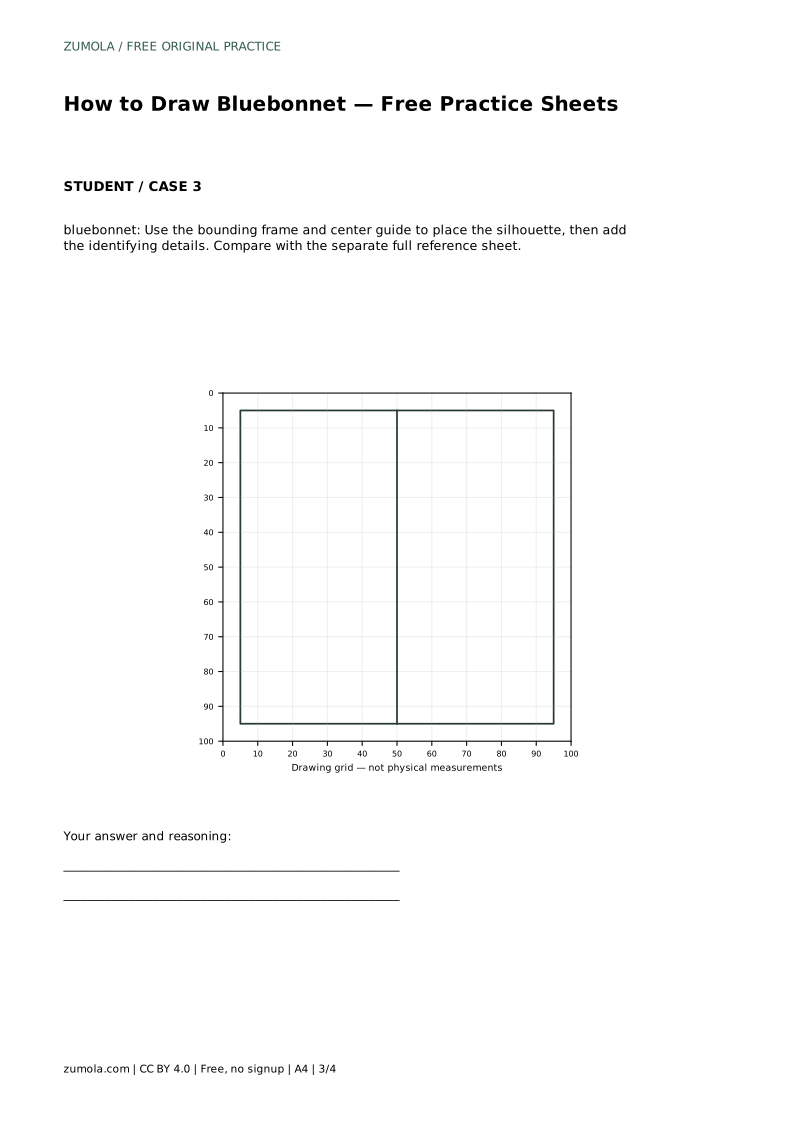
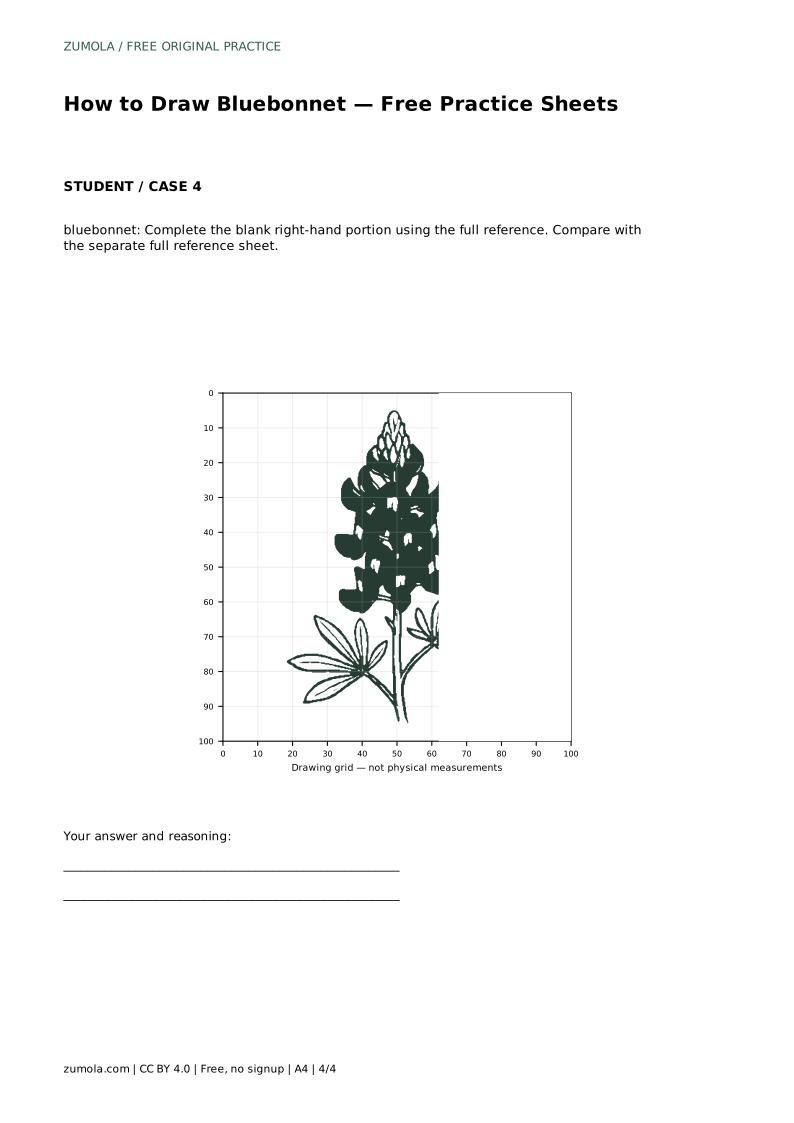
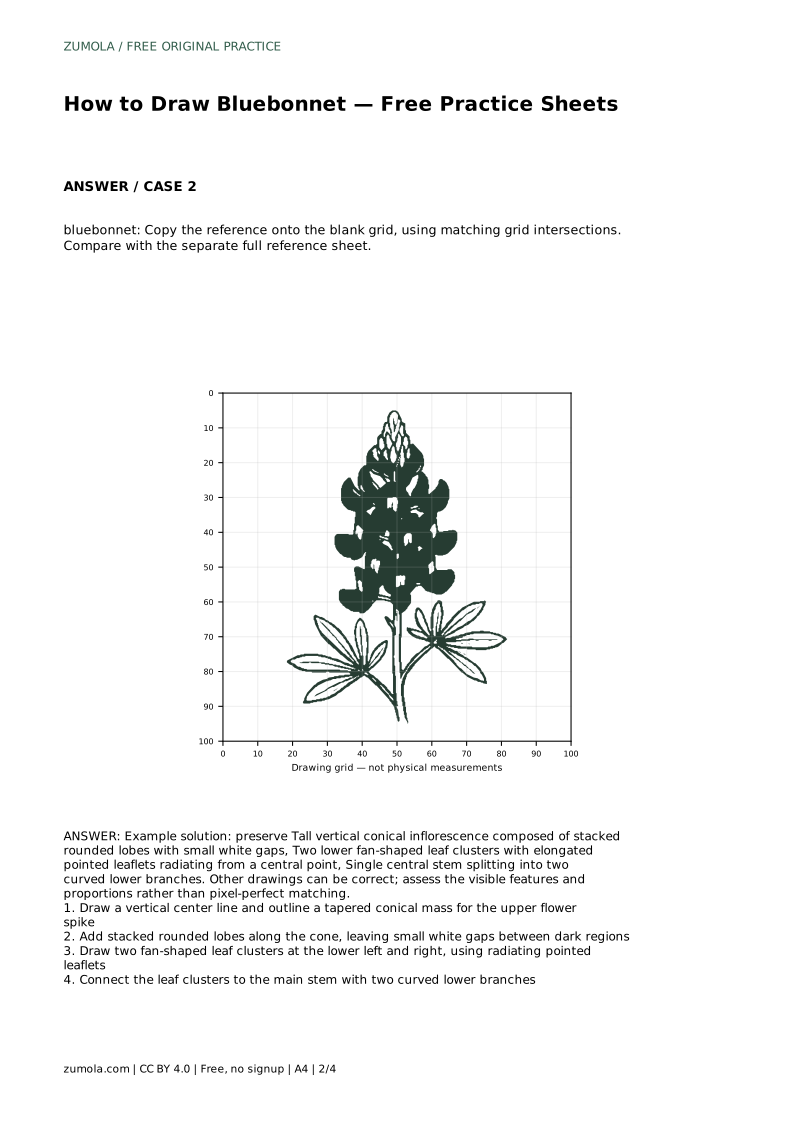
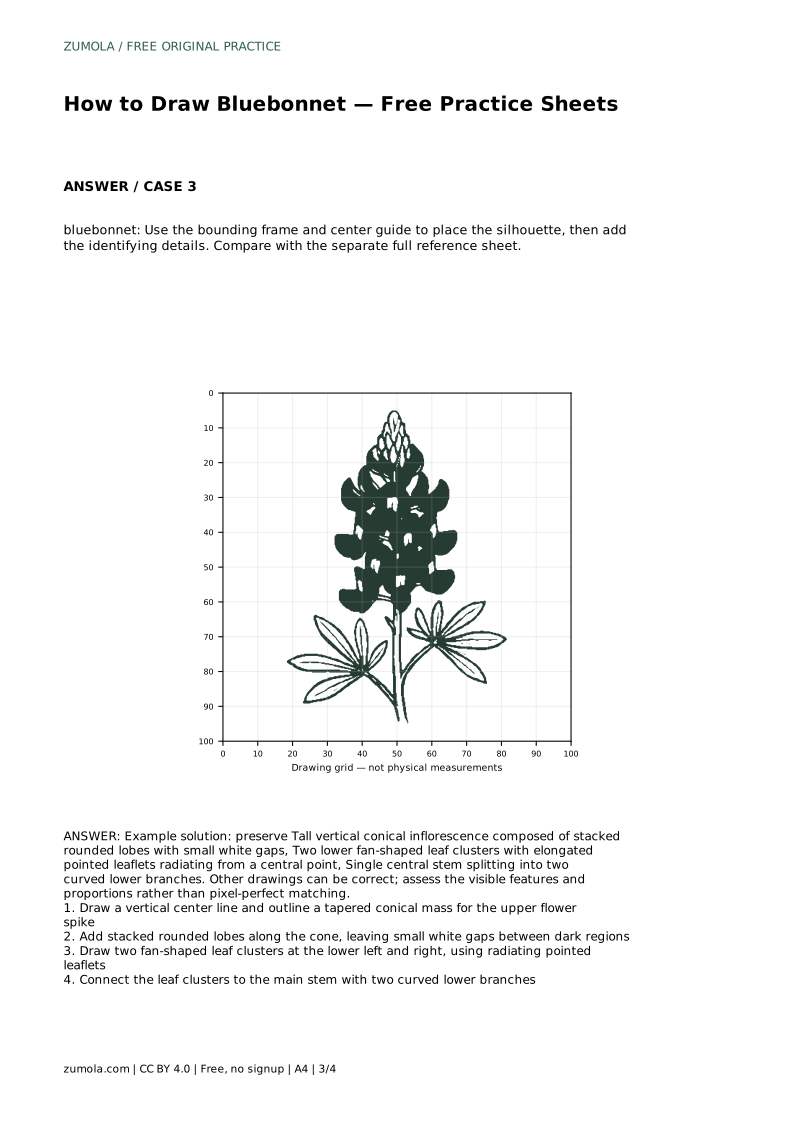
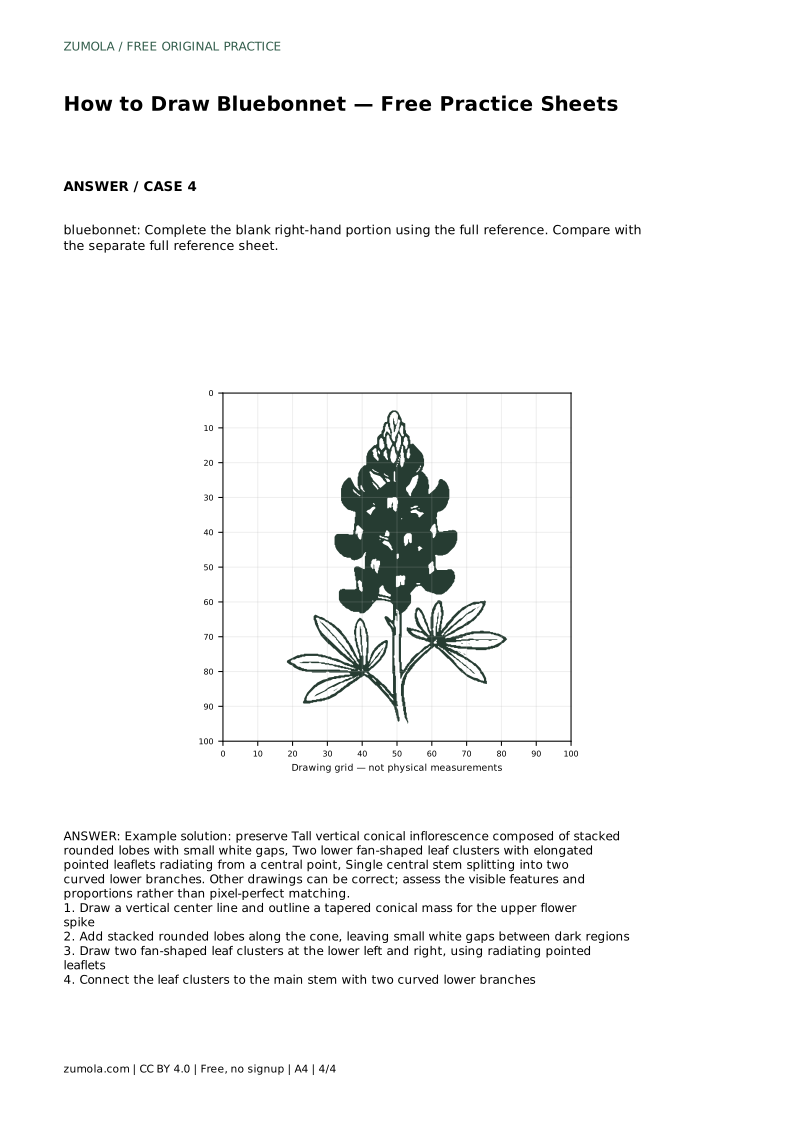
The blank grid sheet helps you place the silhouette accurately. Copy the reference onto the blank grid by matching grid intersections. For example, if the top of the cone sits two squares from the top edge and centered on the vertical midline, place it there. The bounding frame and center guide sheet gives you an outer frame and a center line; use them to position the silhouette before adding details. The partial reference sheet shows only the left half; complete the blank right-hand portion using the full reference.
These methods train different skills: the grid builds proportional judgment, the bounding frame builds placement, and the partial reference builds symmetry and completion. In all cases, compare with the separate full reference sheet and judge the visible features, not exact line placement.
bluebonnet: Trace the reference outline, then practise the contour independently. Compare with the separate full reference sheet.
Example solution: preserve Tall vertical conical inflorescence composed of stacked rounded lobes with small white gaps, Two lower fan-shaped leaf clusters with elongated pointed leaflets radiating from a central point, Single central stem splitting into two curved lower branches. Other drawings can be correct; assess the visible features and proportions rather than pixel-perfect matching. Draw a vertical center line and outline a tapered conical mass for the upper flower spike Add stacked rounded lobes along the cone, leaving small white gaps between dark regions Draw two fan-shaped leaf clusters at the lower left and right, using radiating pointed leaflets Connect the leaf clusters to the main stem with two curved lower branches
No. Use the reference to capture the key features: the tapered conical spike, stacked rounded lobes with small white gaps, two fan-shaped leaf clusters, and the central stem with two curved lower branches. Other drawings can be correct if those features and proportions are visible.
Check the cone's taper, the spacing of the lobes, the outward spread of the leaf fans, and the curve of the lower branches. Adjust one feature at a time rather than redrawing everything.
The grid sheet is designed to copy the reference by matching grid intersections. Without the reference, you can still use the grid to plan proportions, but compare your result with the full reference sheet afterward.
All drawing practice · Free coordinate paper
Original resources · CC BY 4.0 · Free for personal and classroom use with attribution.