Reference diagrams
LETTER · Download PDF
A4 · Download PDF
Free original resources
Learn to draw a calla lily by building its trumpet-shaped flower, smooth stem, and broad veined leaf. Practice with tracing, grid, and frame sheets.
Four original cases, with reference diagrams, practice sheets and worked answers. Everything is free; no signup required.
LETTER · Download PDF
A4 · Download PDF
LETTER · Download PDF
A4 · Download PDF
LETTER · Download PDF
A4 · Download PDF
Use A4 or US Letter to match your printer. Use the stated values and conditions to solve each exercise; diagrams are not physical measuring rulers.
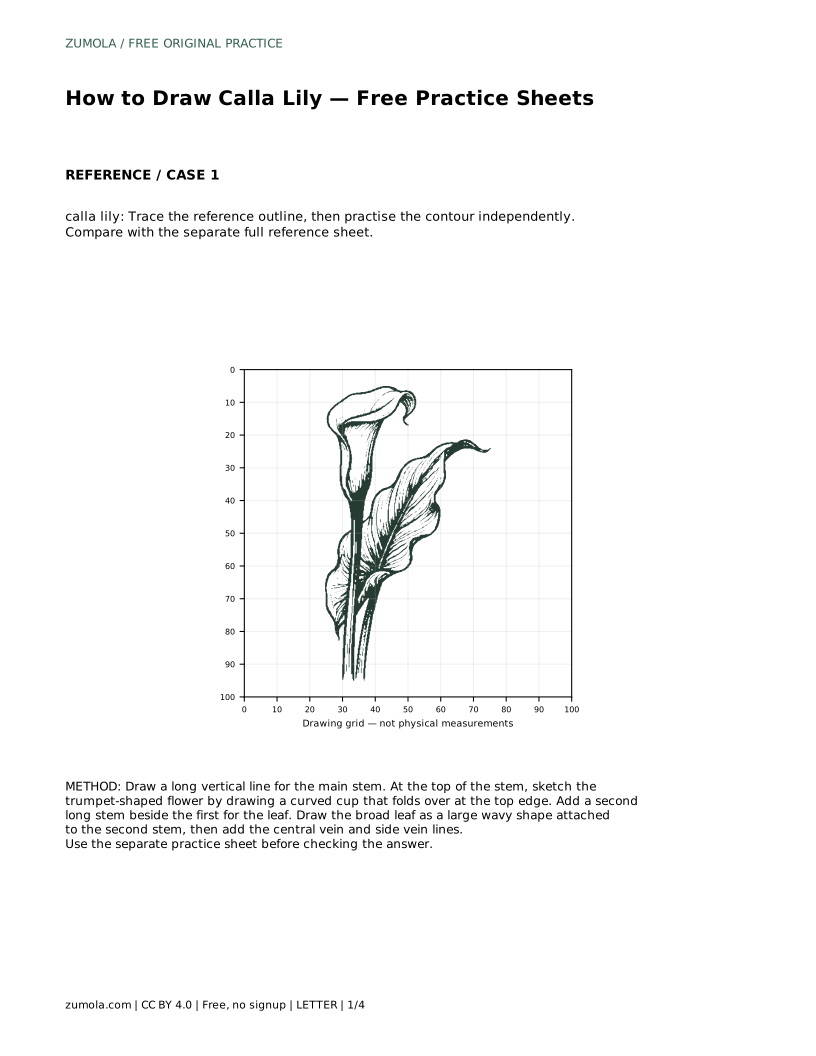
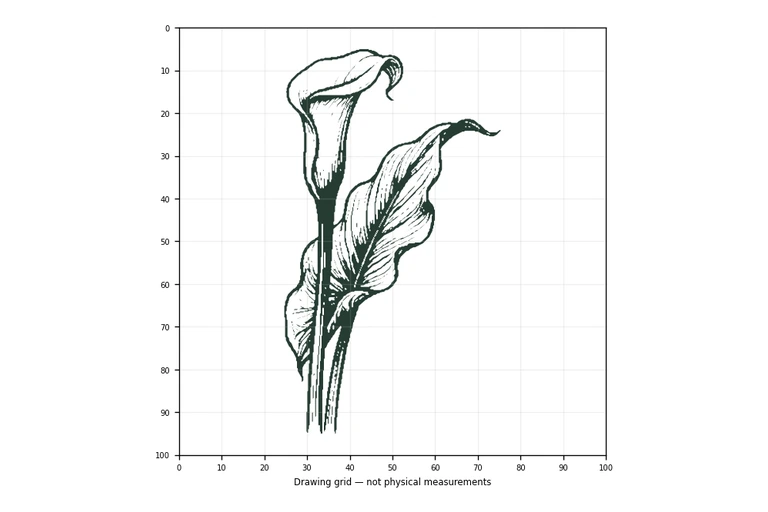
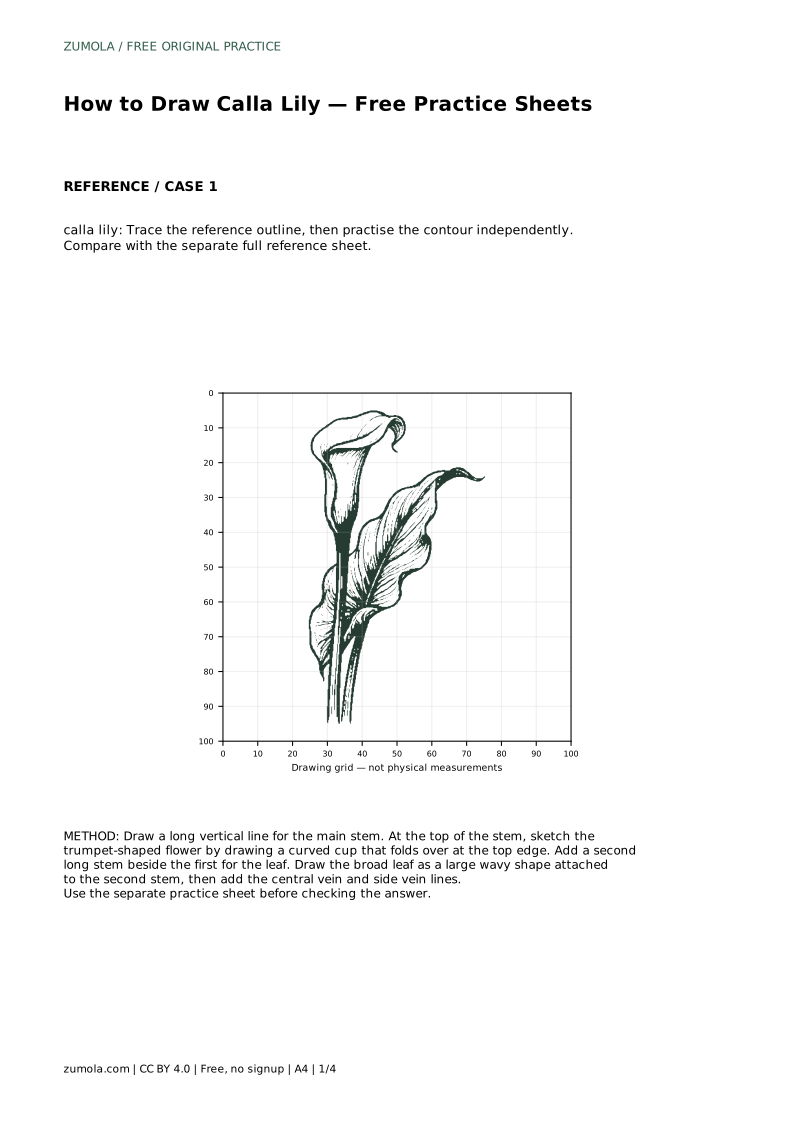
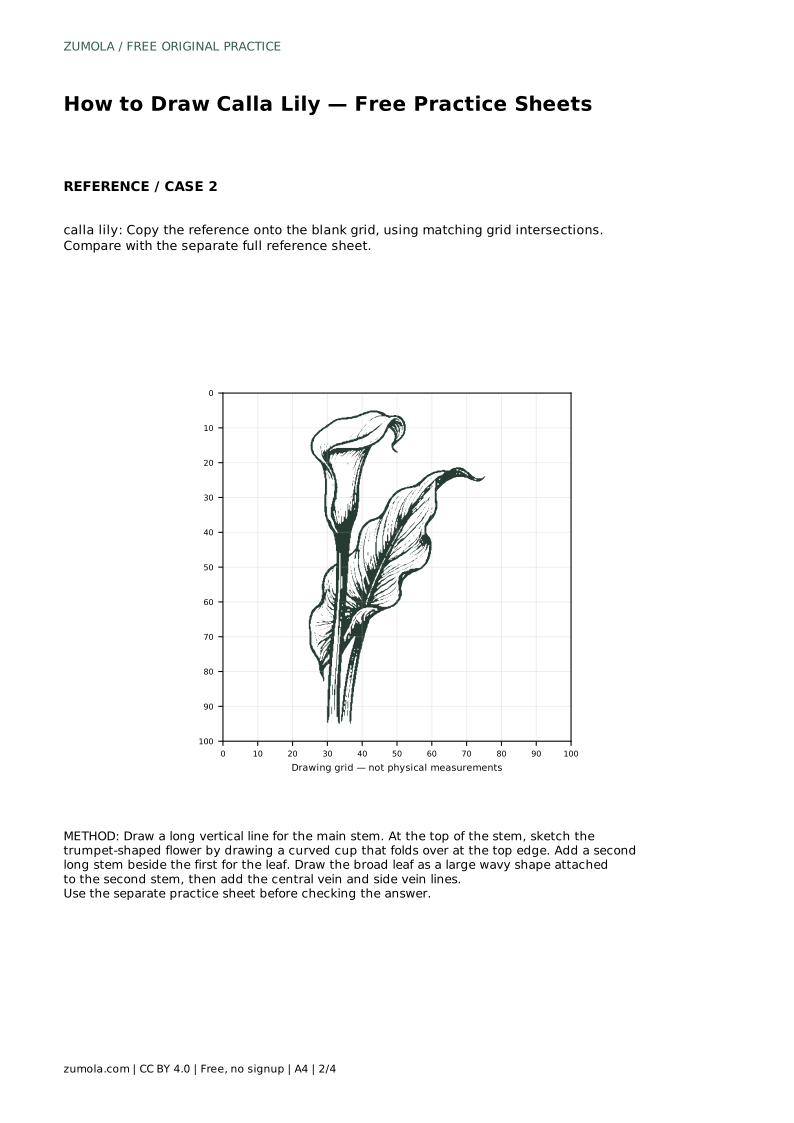
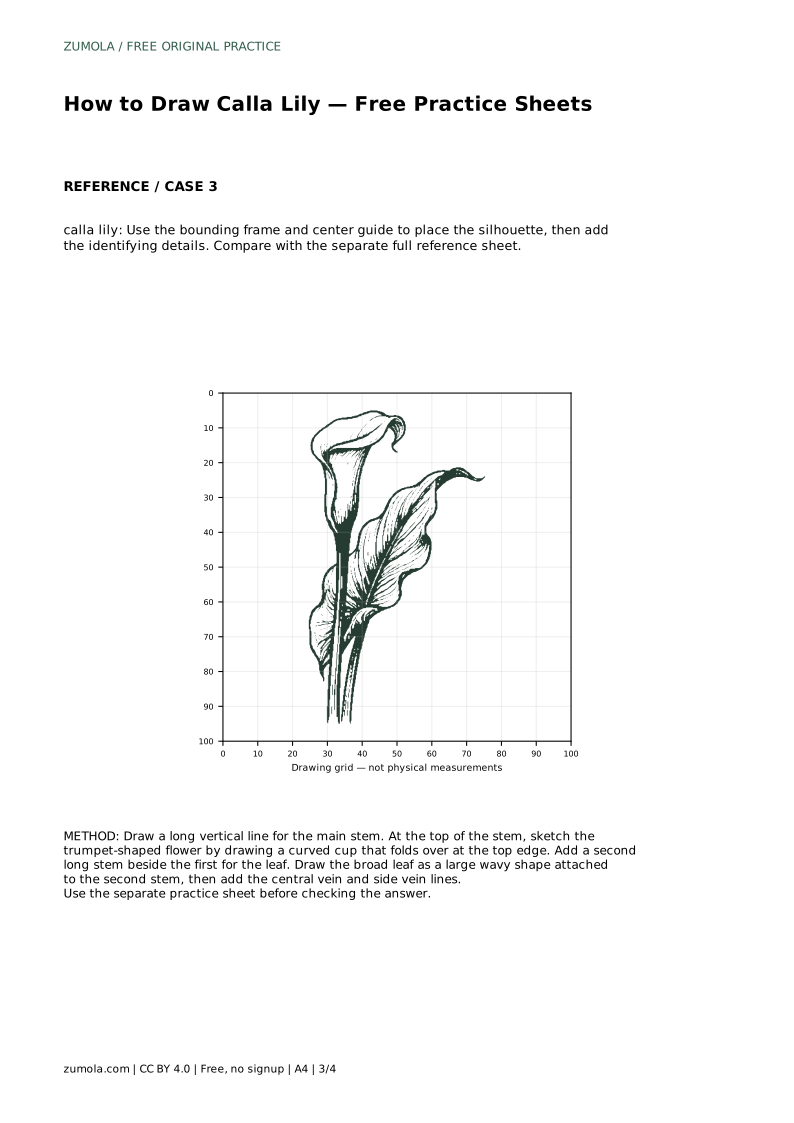
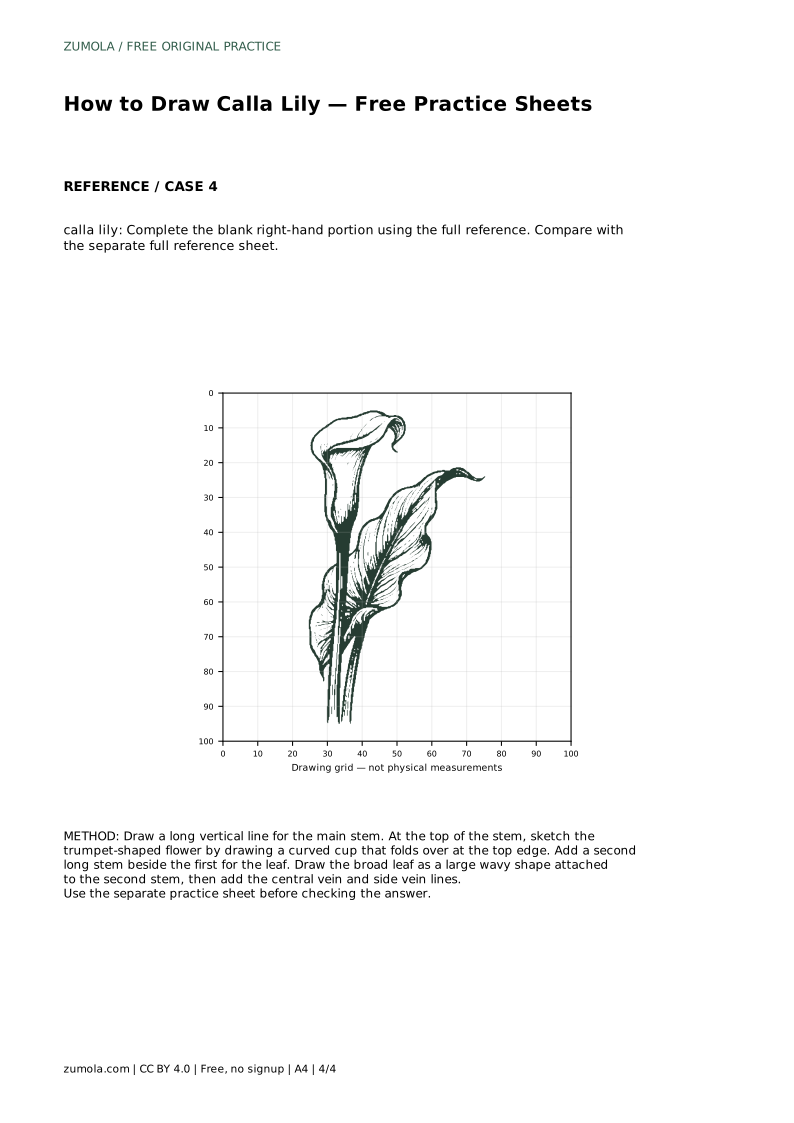
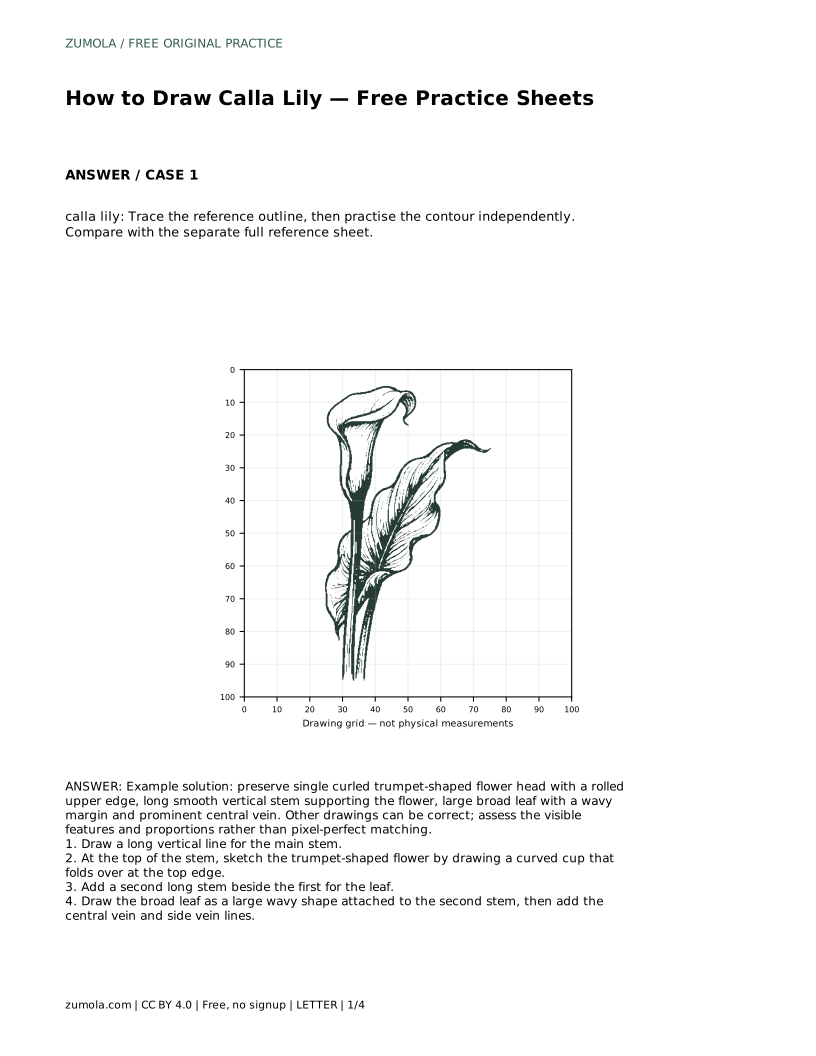
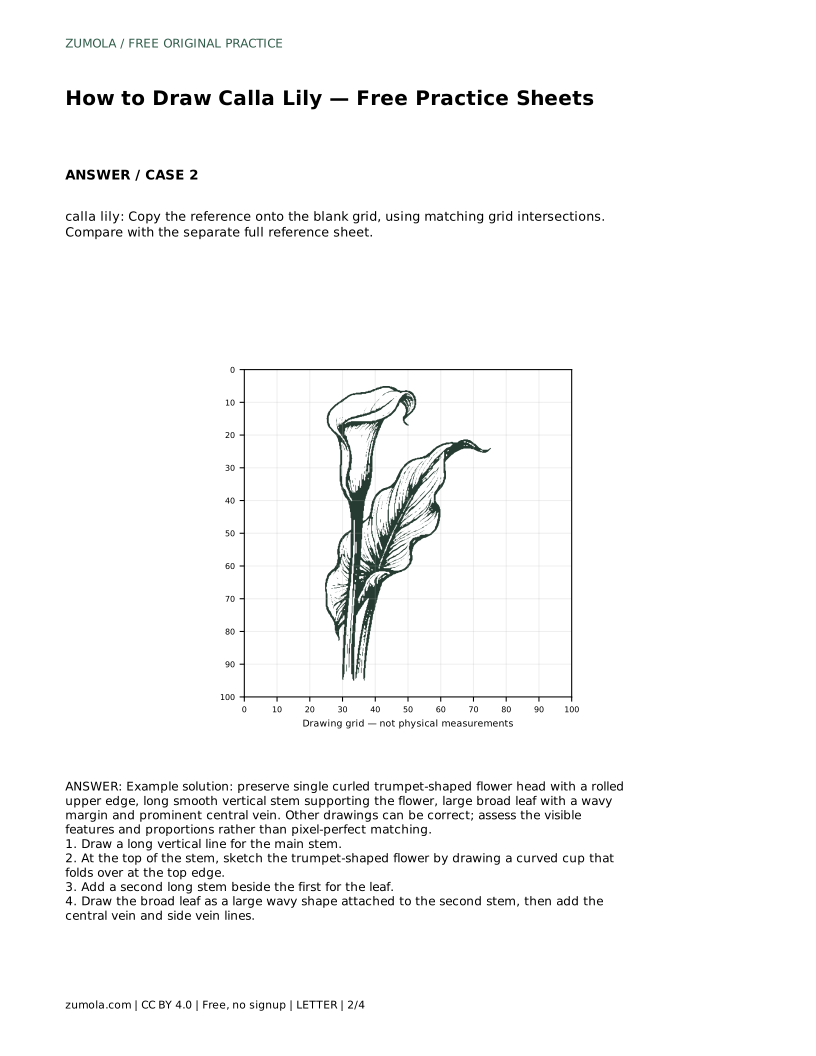
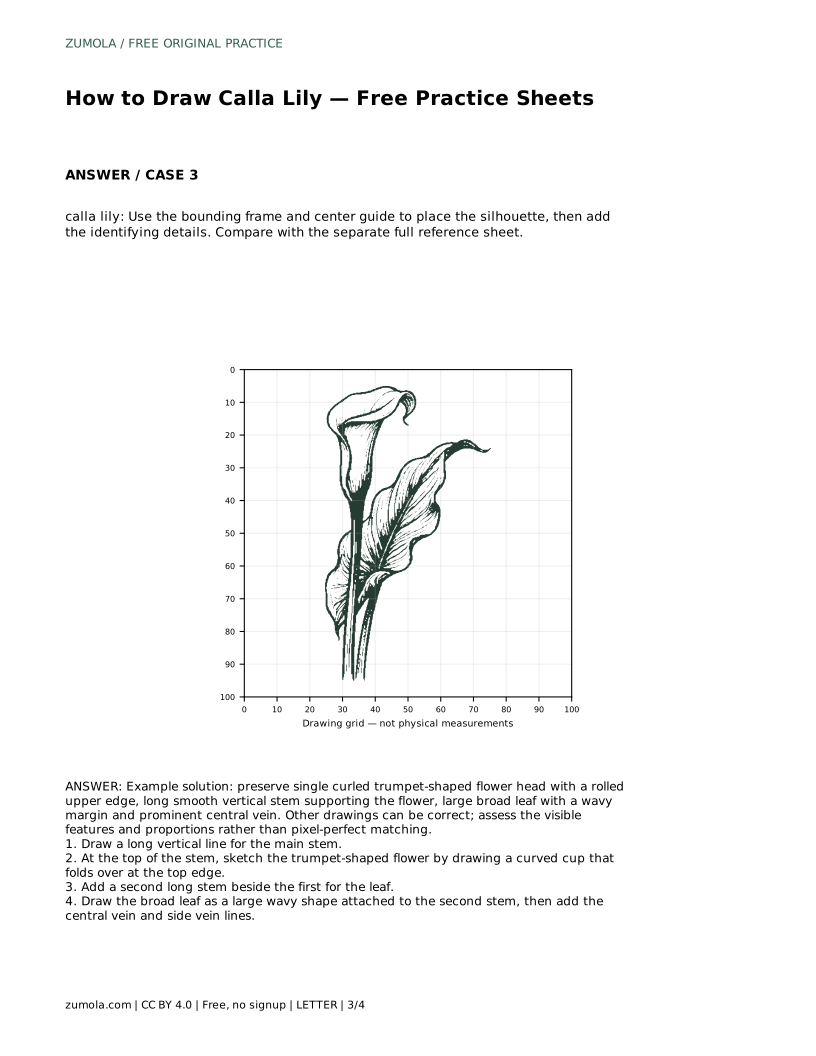
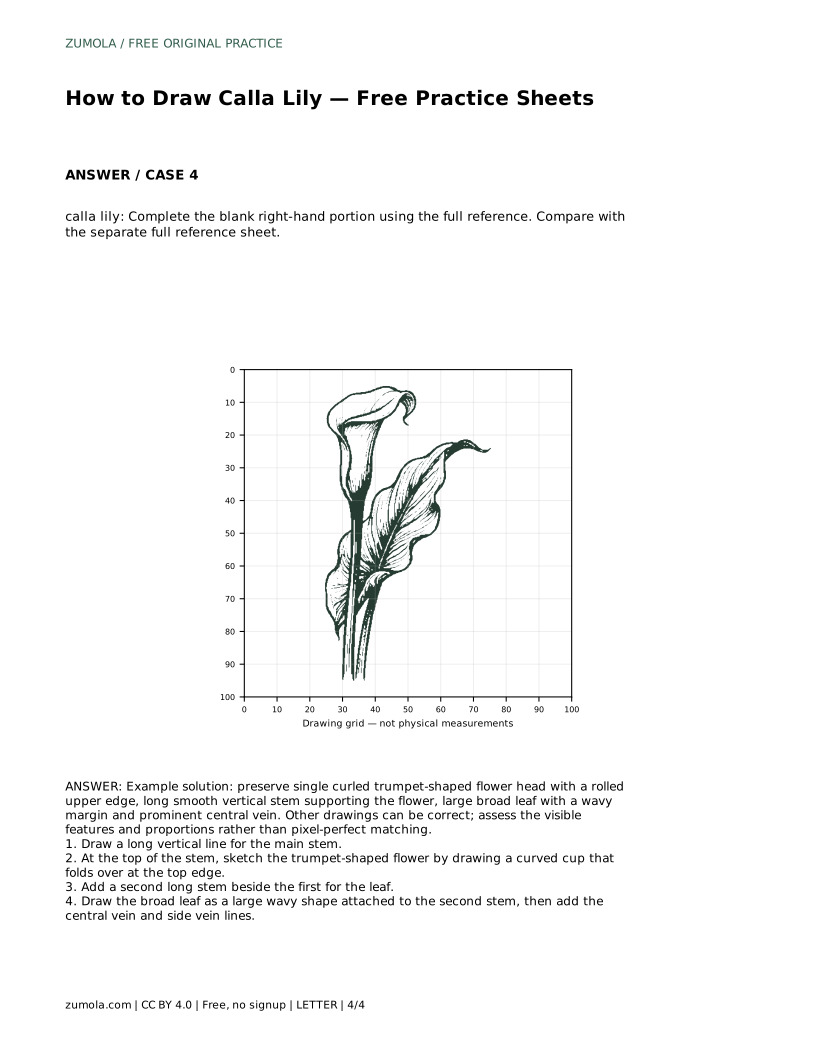
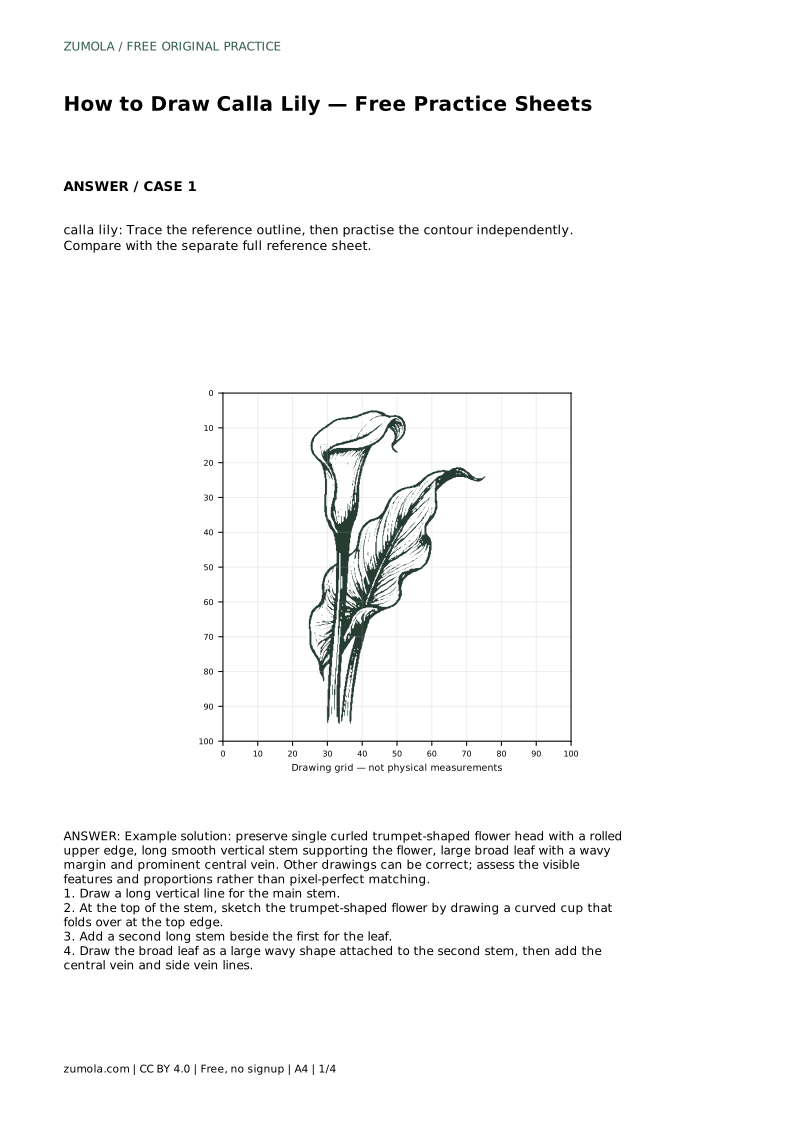
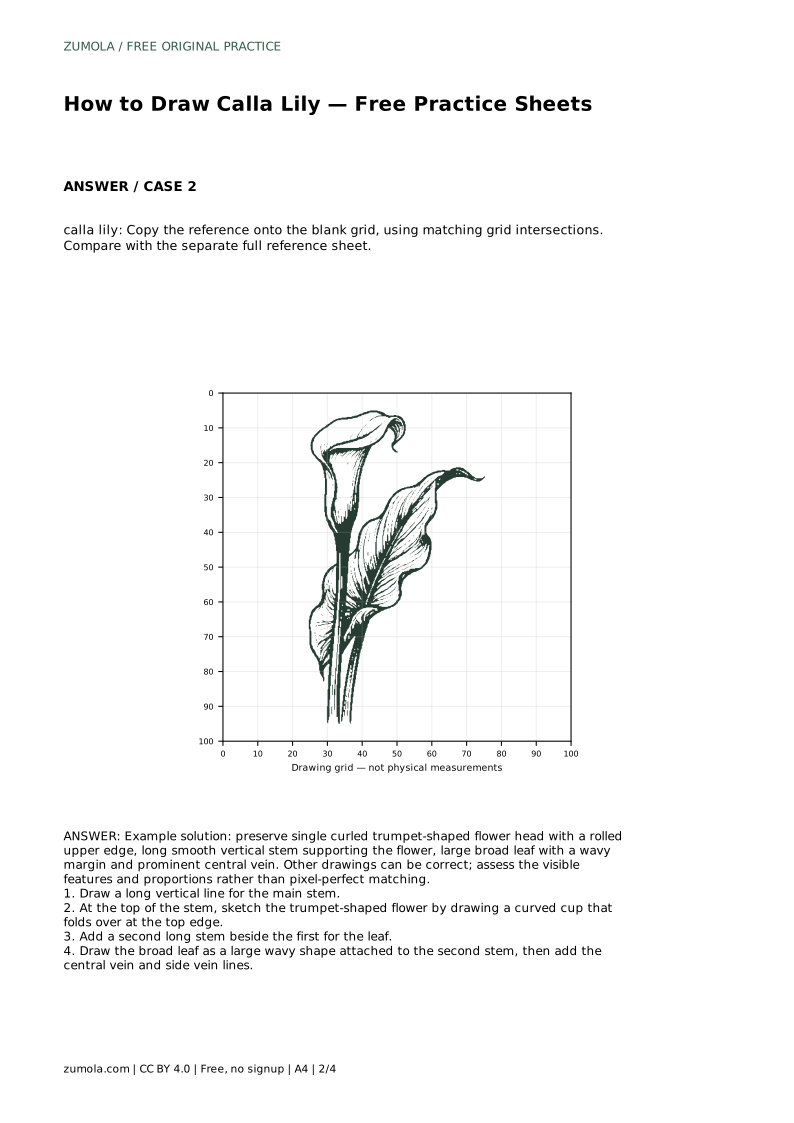
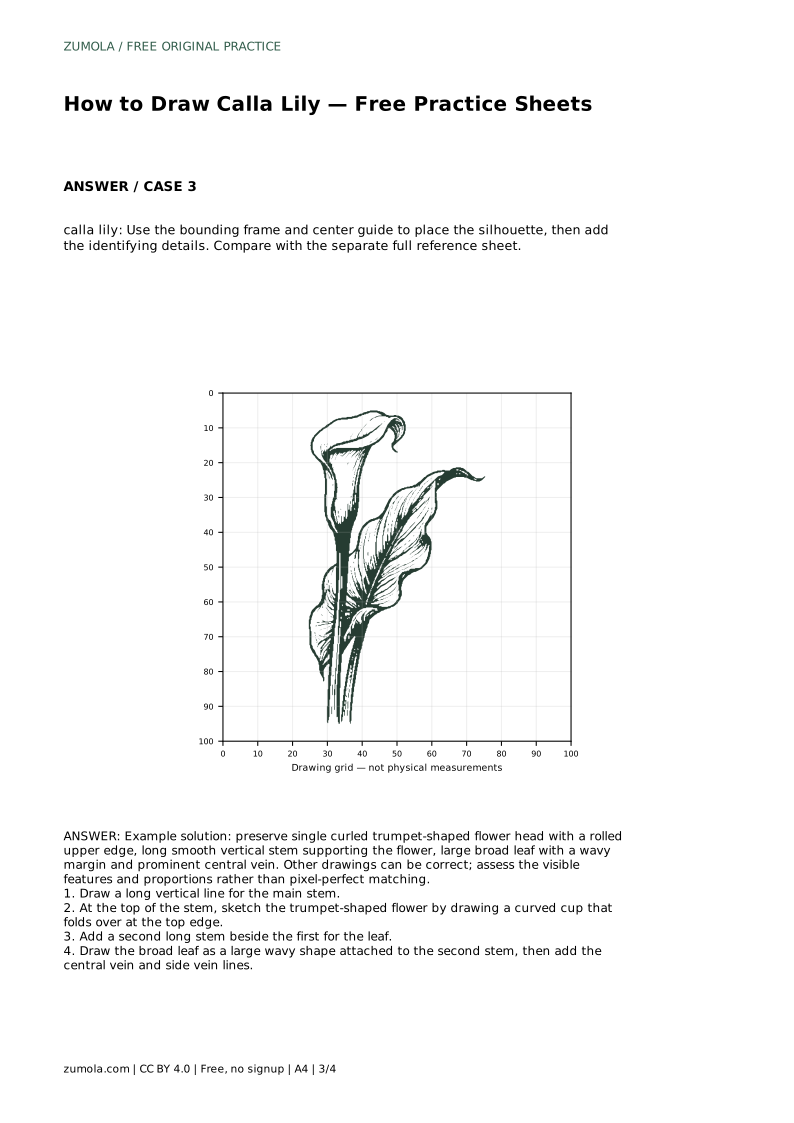
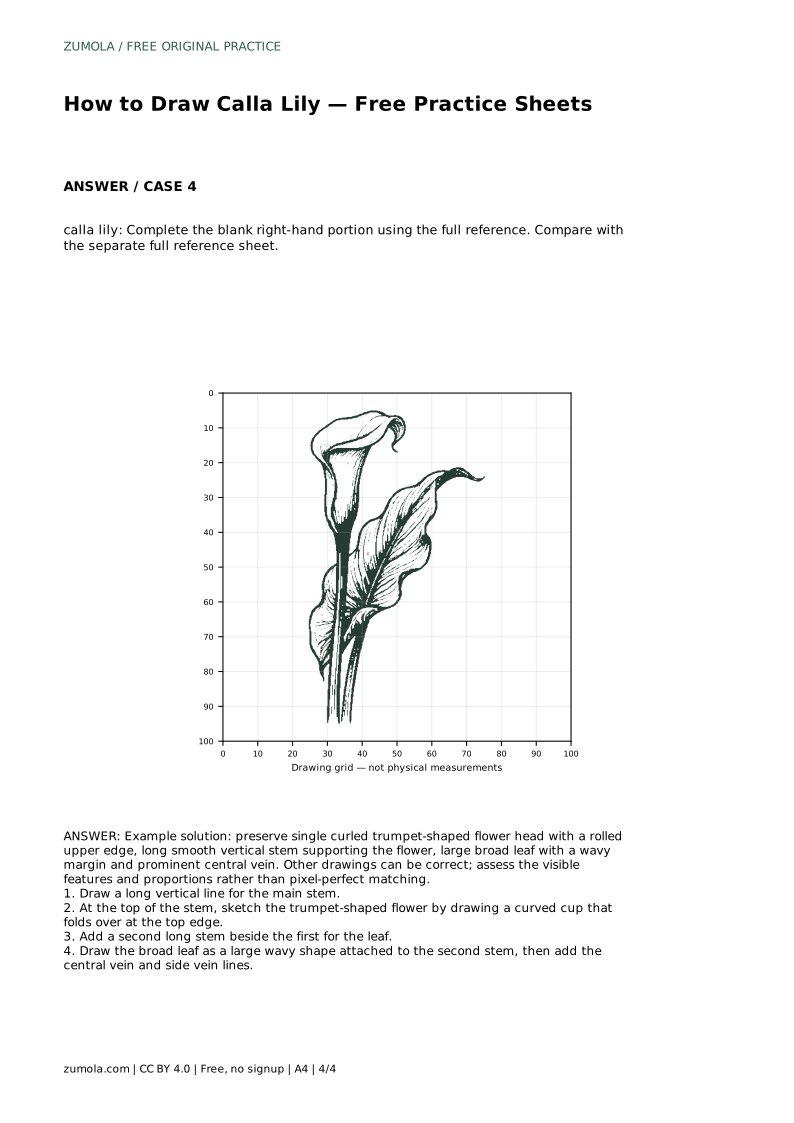
A calla lily is recognizable by a few clear features: one curled, trumpet-shaped flower head with a rolled upper edge, a long smooth stem, and a large broad leaf with a wavy margin and a prominent central vein. This page explains how to construct those features in order, then how to use the practice sheets to compare your drawing with a separate full reference. The goal is accurate visible features and sensible proportions, not a pixel-perfect copy.
Begin with the main stem as a long vertical line. Keep it smooth and continuous rather than broken or knotted; the stem is a simple support line, not a decorative element. At the top of that stem, sketch the flower as a curved cup. The cup should read as a single trumpet shape that folds over at the top edge. Think of the rolled upper edge as a lip that curls back, and keep the lower part of the cup narrowing toward the stem.
Place the flower head so it sits clearly at the top of the stem rather than floating beside it. Check that the cup is not drawn as a flat circle or a wide bowl; the curled fold is what makes the shape read as a calla lily.
Add a second long stem beside the first for the leaf. This second stem should run roughly parallel to the flower stem, giving the drawing a balanced vertical structure. Attach the broad leaf to the second stem as a large wavy shape. The margin, or outer edge, should undulate rather than form a perfect oval.
Inside the leaf, draw the prominent central vein first, running from the base toward the tip. Then add side vein lines that branch away from the central vein. Keep the side veins lighter and shorter than the central vein so the leaf does not look cluttered. The leaf should feel broad and open, not narrow or pointed like a blade of grass.
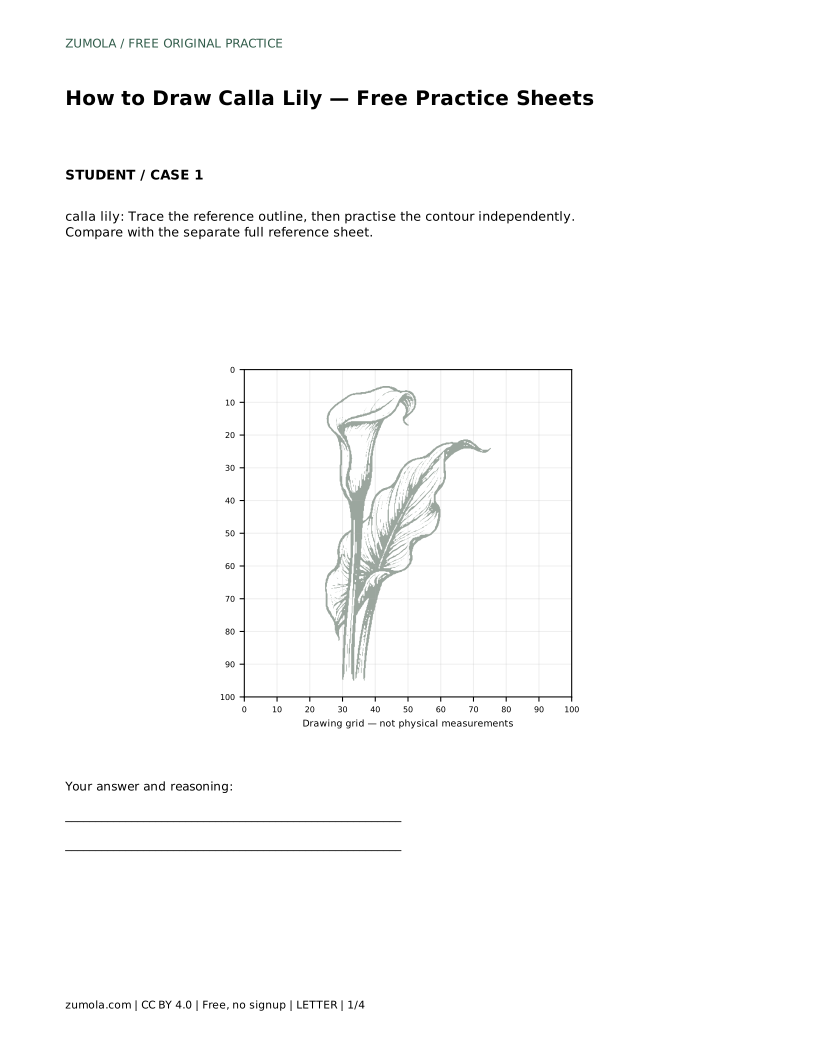
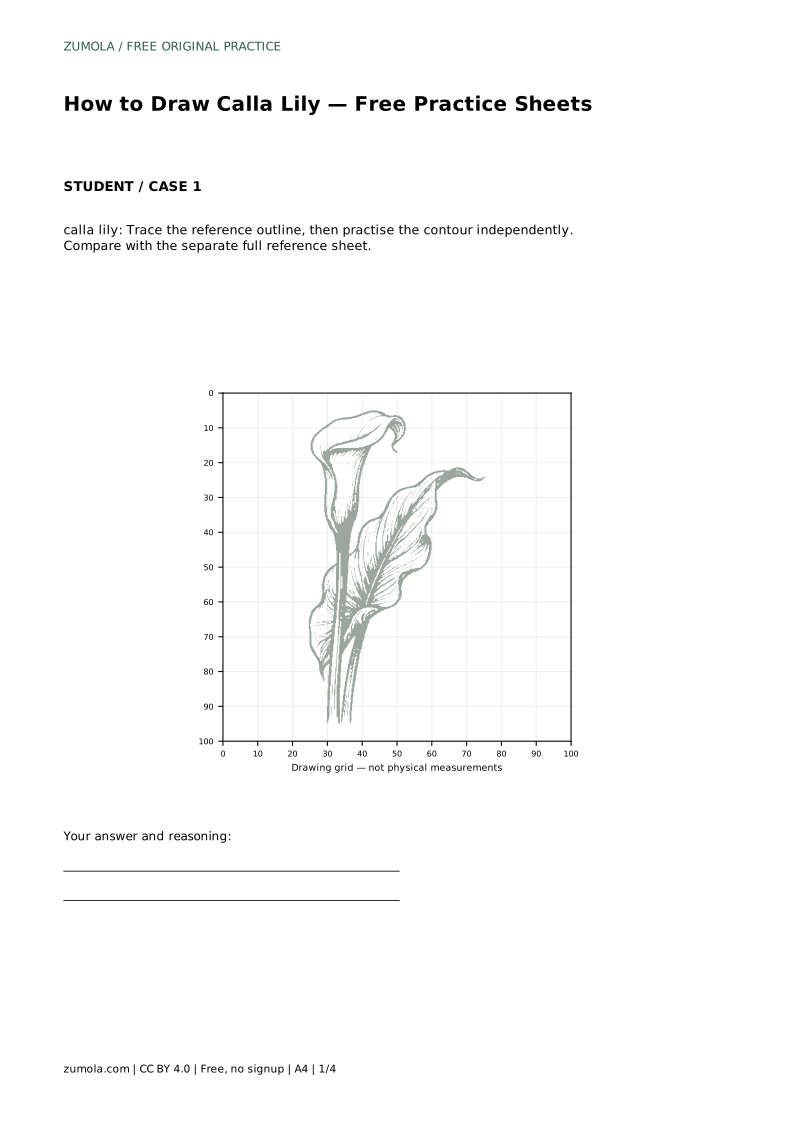
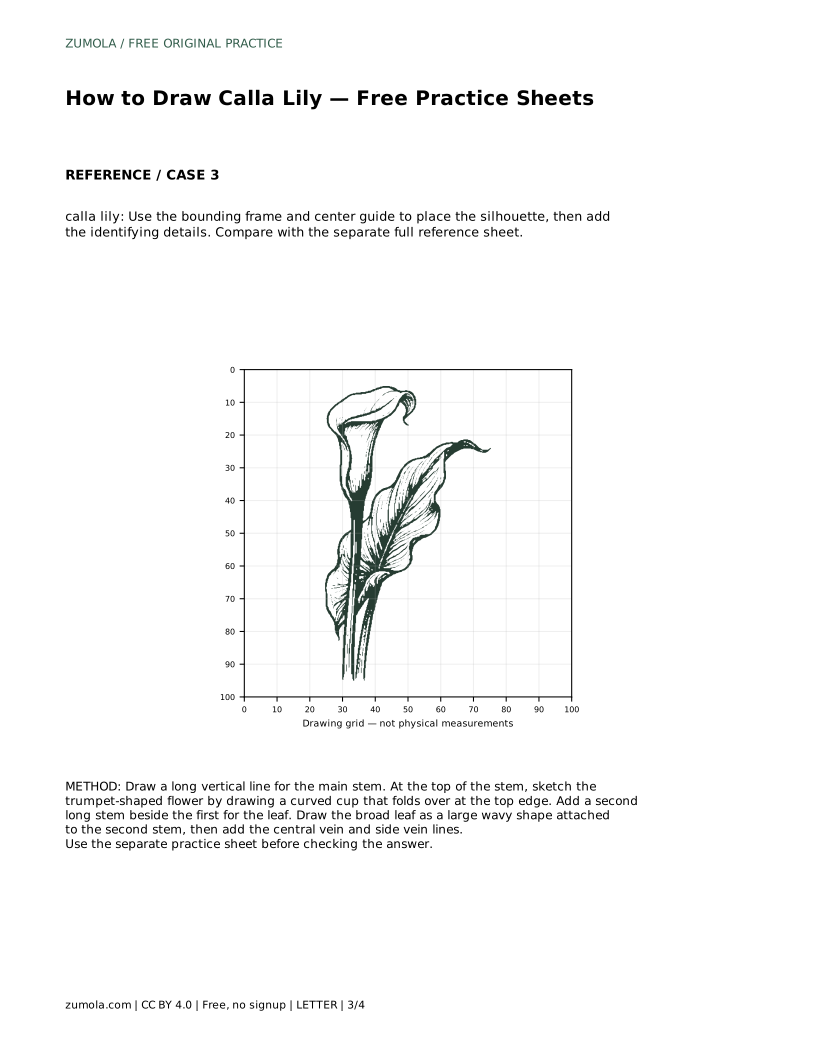
The tracing sheet asks you to follow the reference outline first, then practise the contour independently. Compare your result with the separate full reference sheet rather than with the tracing lines alone. The grid sheet asks you to copy the reference onto the blank grid using matching grid intersections, which helps you judge where the flower head, stems, and leaf sit relative to one another.
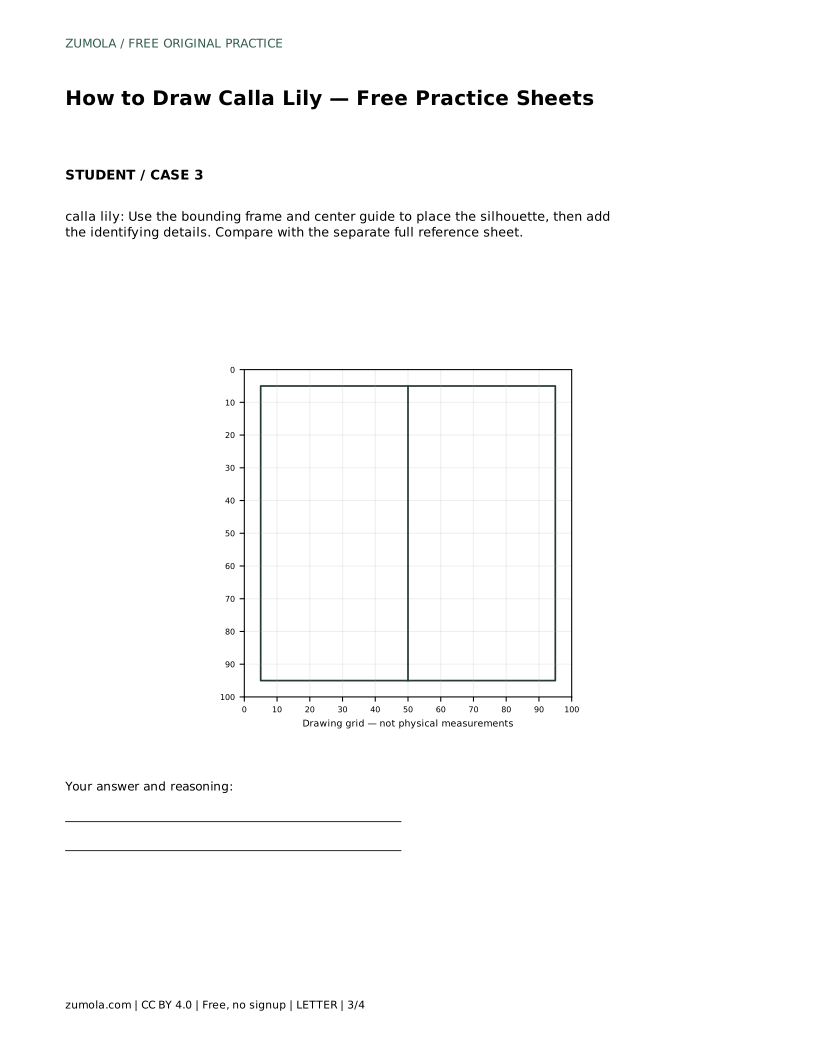
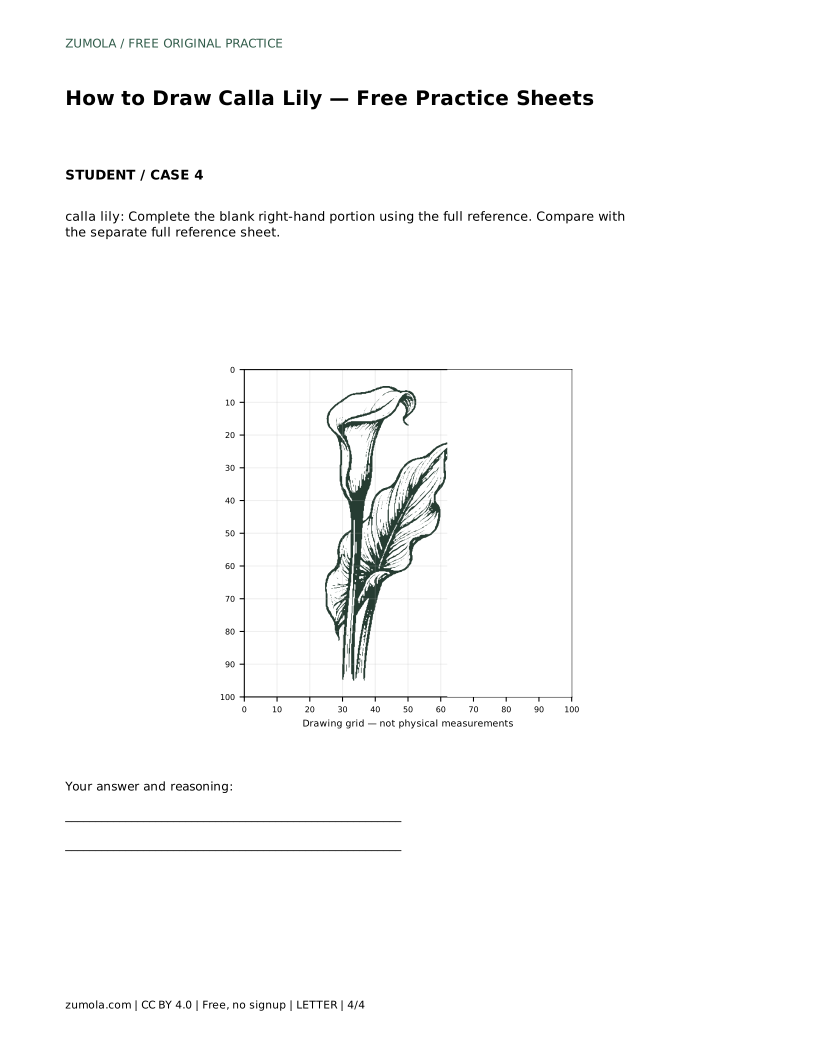
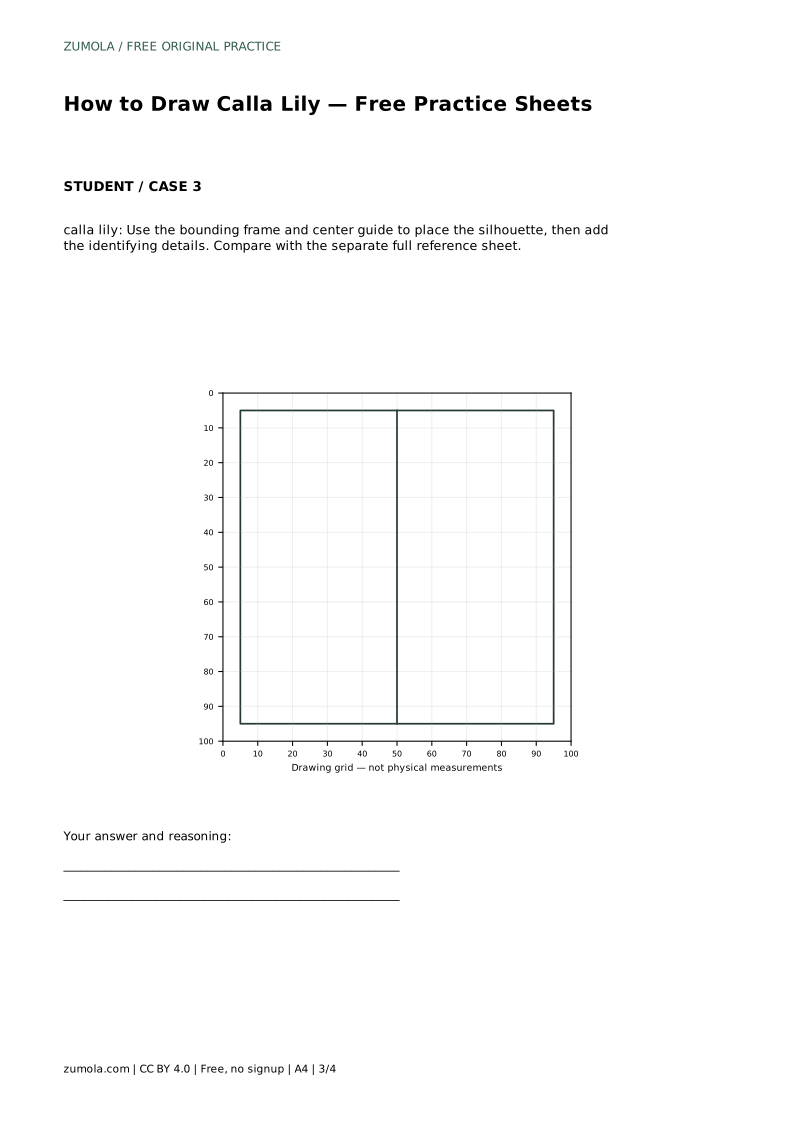
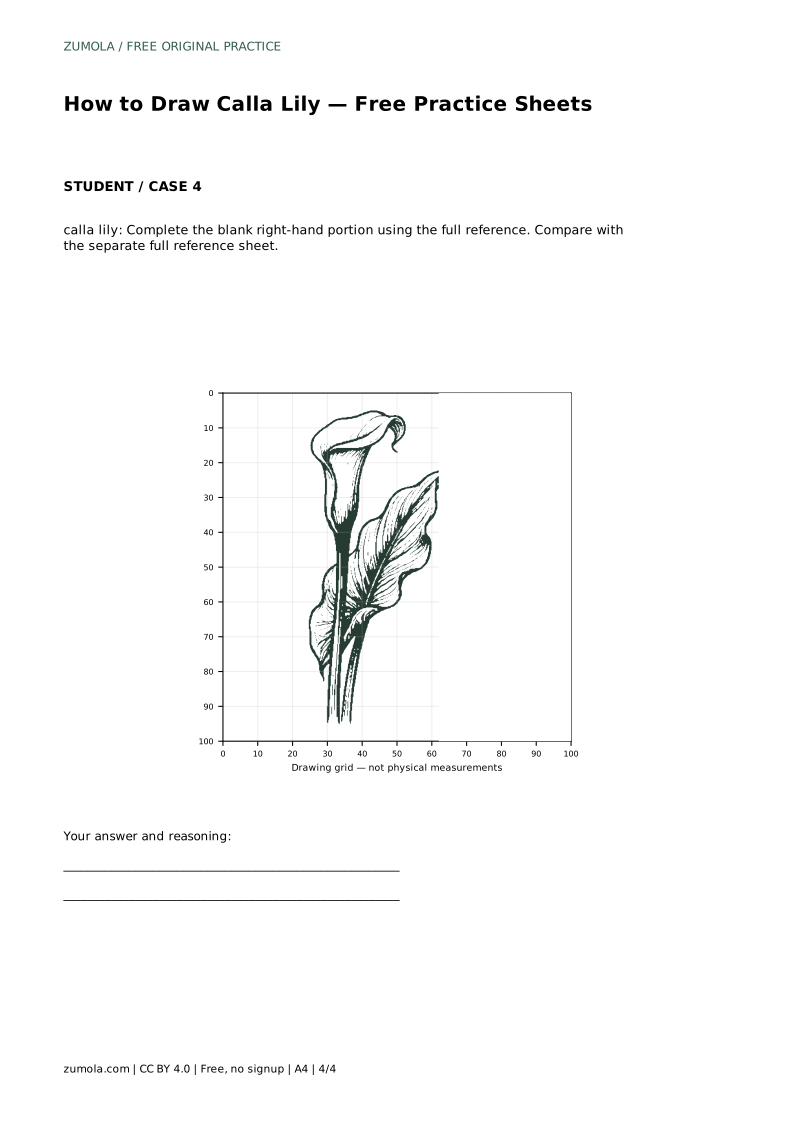
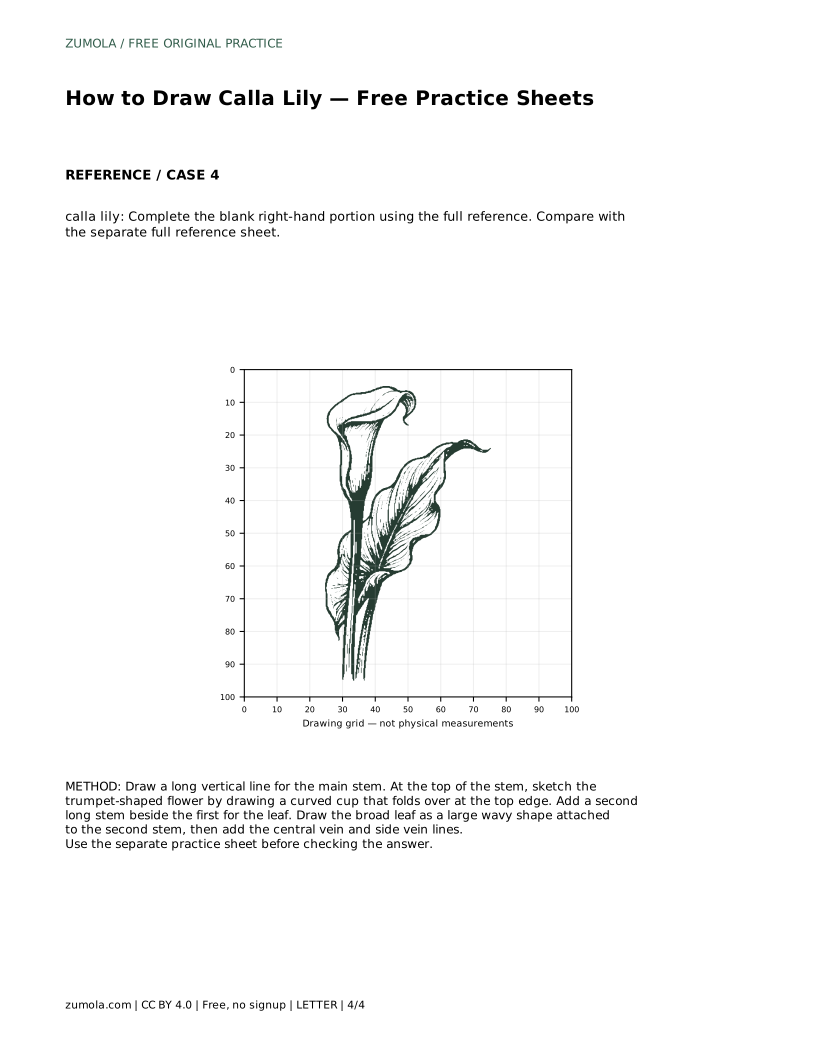
The bounding-frame sheet gives you a center guide for placing the silhouette before adding identifying details. The partial sheet asks you to complete the blank right-hand portion using the full reference. In every case, compare visible features and proportions. Different drawings can be correct, so assess whether the curled trumpet head, the long smooth stems, and the broad wavy leaf with its central vein are all present and sensibly placed.
Review the drawing feature by feature. Is there a single curled trumpet-shaped flower head with a rolled upper edge? Is the flower supported by a long smooth vertical stem? Is there a second stem for the leaf? Is the leaf large and broad with a wavy margin and a prominent central vein? If one feature is missing, adjust that part rather than redrawing everything.
Proportion matters more than exact line placement. A flower head that is too small for its stem, or a leaf that is too narrow, will weaken the drawing even if each line is neat. Step back and compare the overall silhouette with the reference before adding any extra detail.
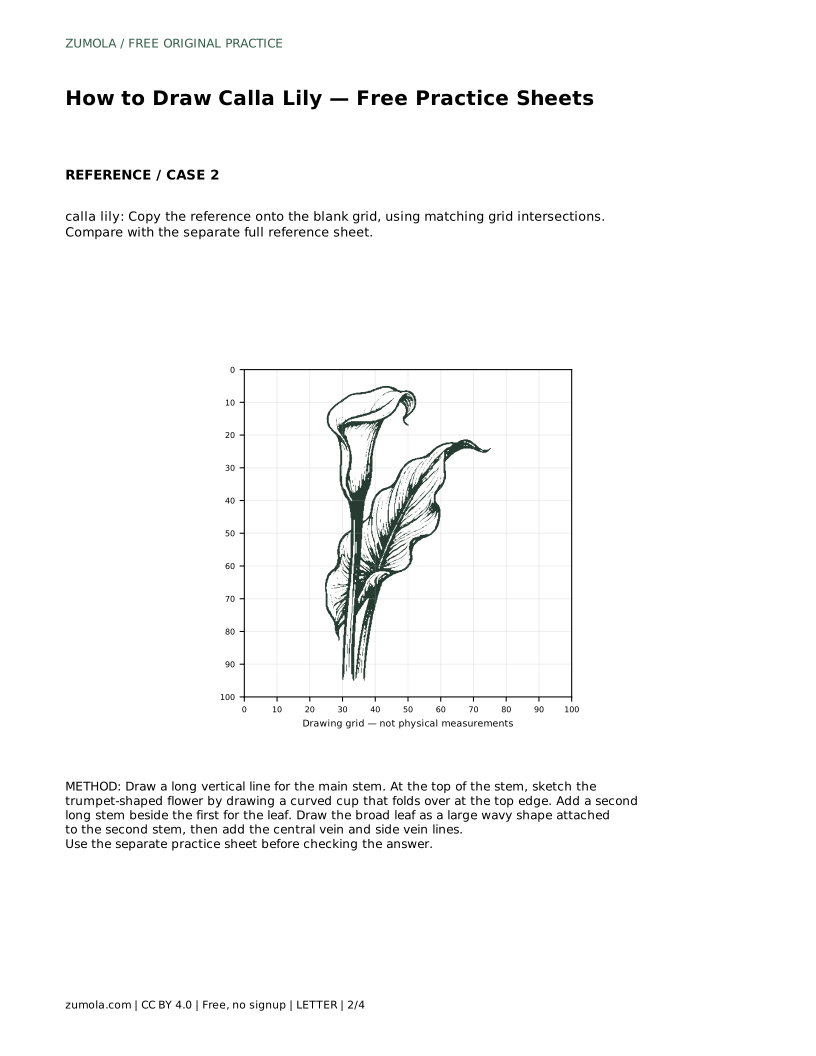
calla lily: Trace the reference outline, then practise the contour independently. Compare with the separate full reference sheet.
Example solution: preserve single curled trumpet-shaped flower head with a rolled upper edge, long smooth vertical stem supporting the flower, large broad leaf with a wavy margin and prominent central vein. Other drawings can be correct; assess the visible features and proportions rather than pixel-perfect matching. Draw a long vertical line for the main stem. At the top of the stem, sketch the trumpet-shaped flower by drawing a curved cup that folds over at the top edge. Add a second long stem beside the first for the leaf. Draw the broad leaf as a large wavy shape attached to the second stem, then add the central vein and side vein lines.
No. Other drawings can be correct. Assess the visible features and proportions rather than pixel-perfect matching.
A single curled trumpet-shaped flower head with a rolled upper edge, a long smooth vertical stem, and a large broad leaf with a wavy margin and prominent central vein.
Start with the tracing sheet to learn the contour, then move to the grid or frame sheet to practise placing the shapes independently.
All drawing practice · Free coordinate paper
Original resources · CC BY 4.0 · Free for personal and classroom use with attribution.