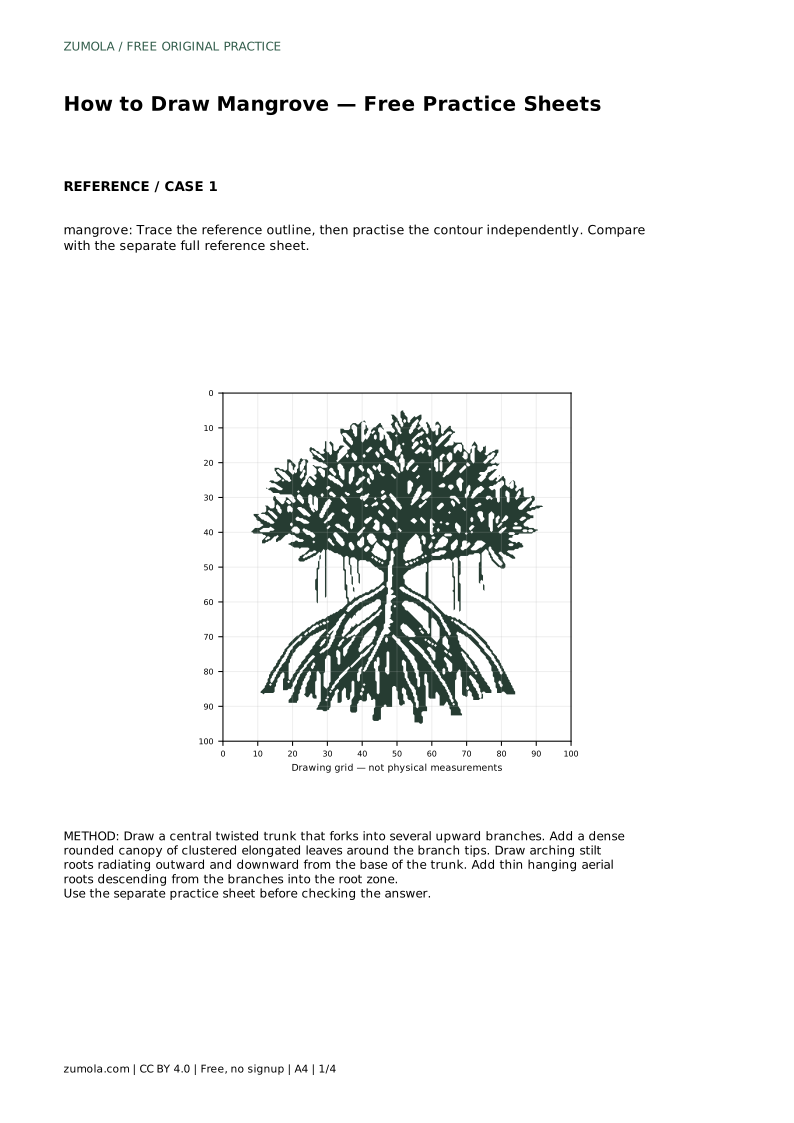
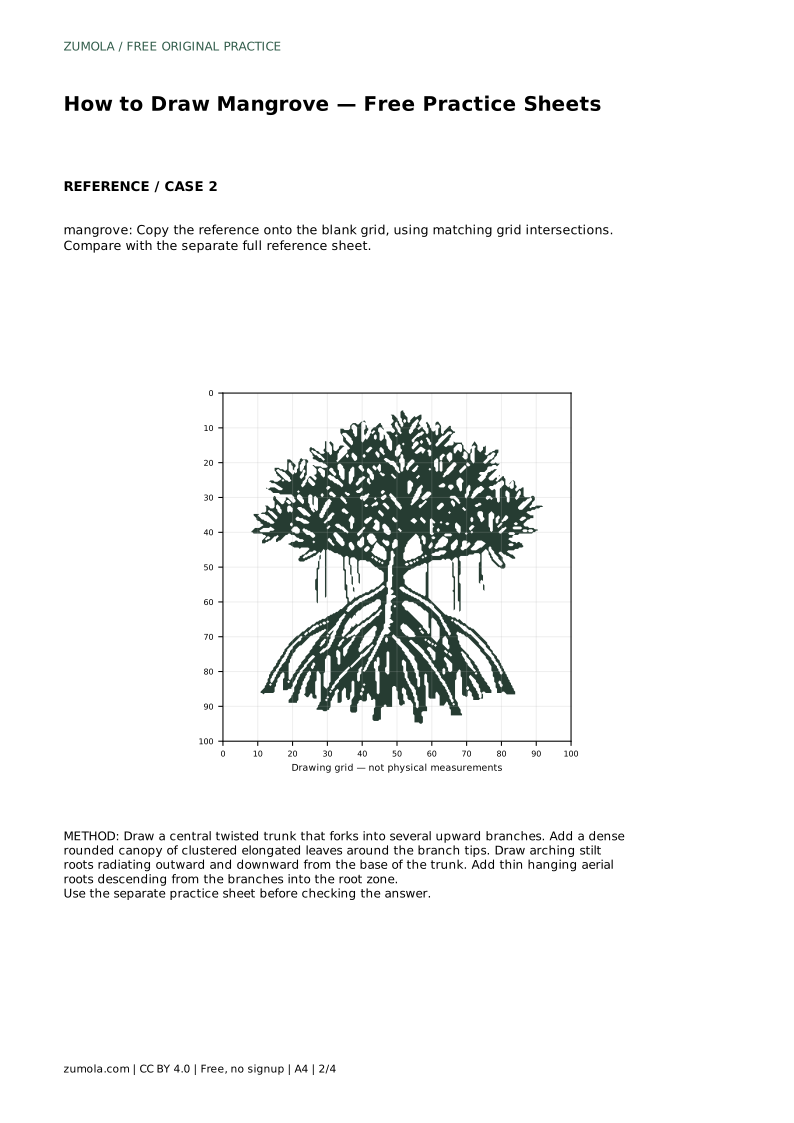
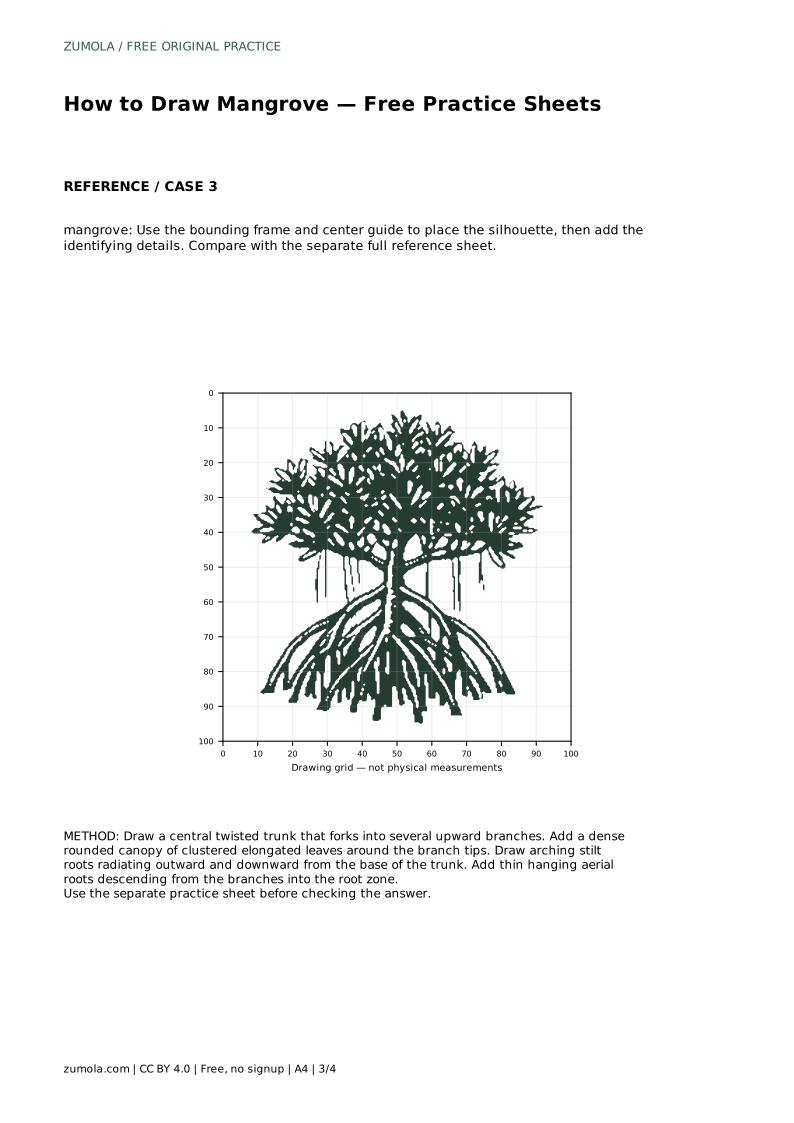
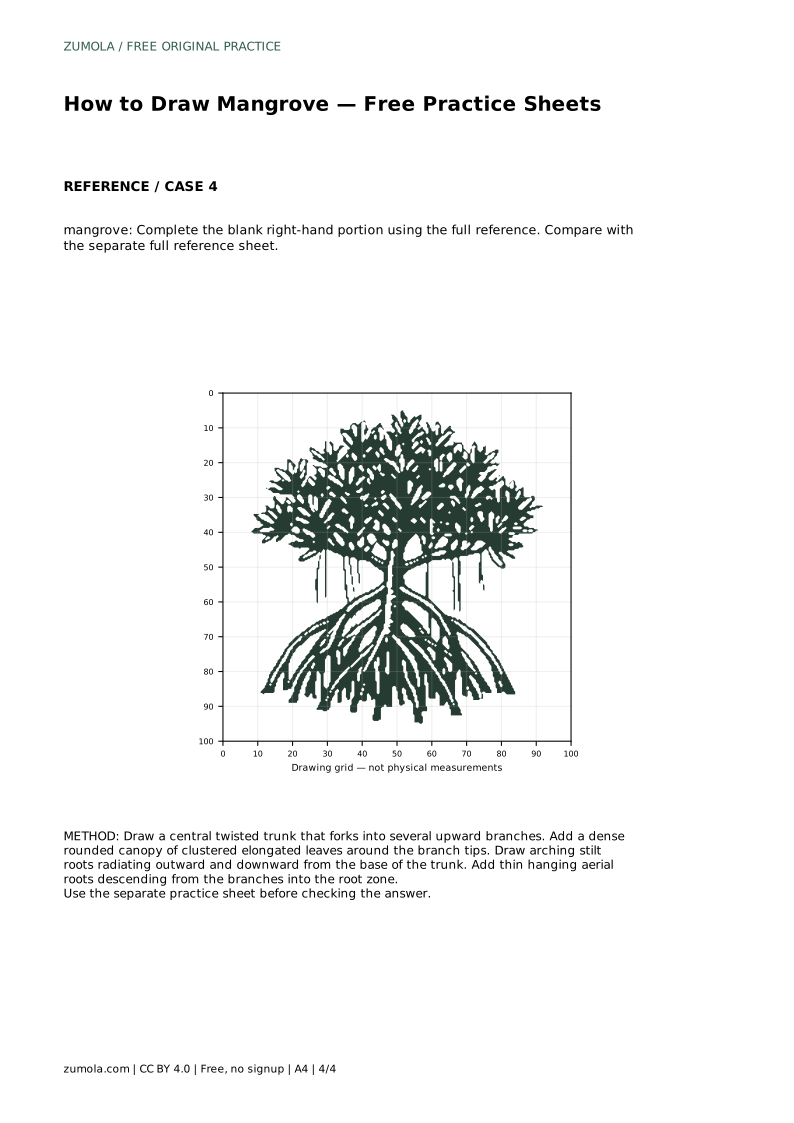
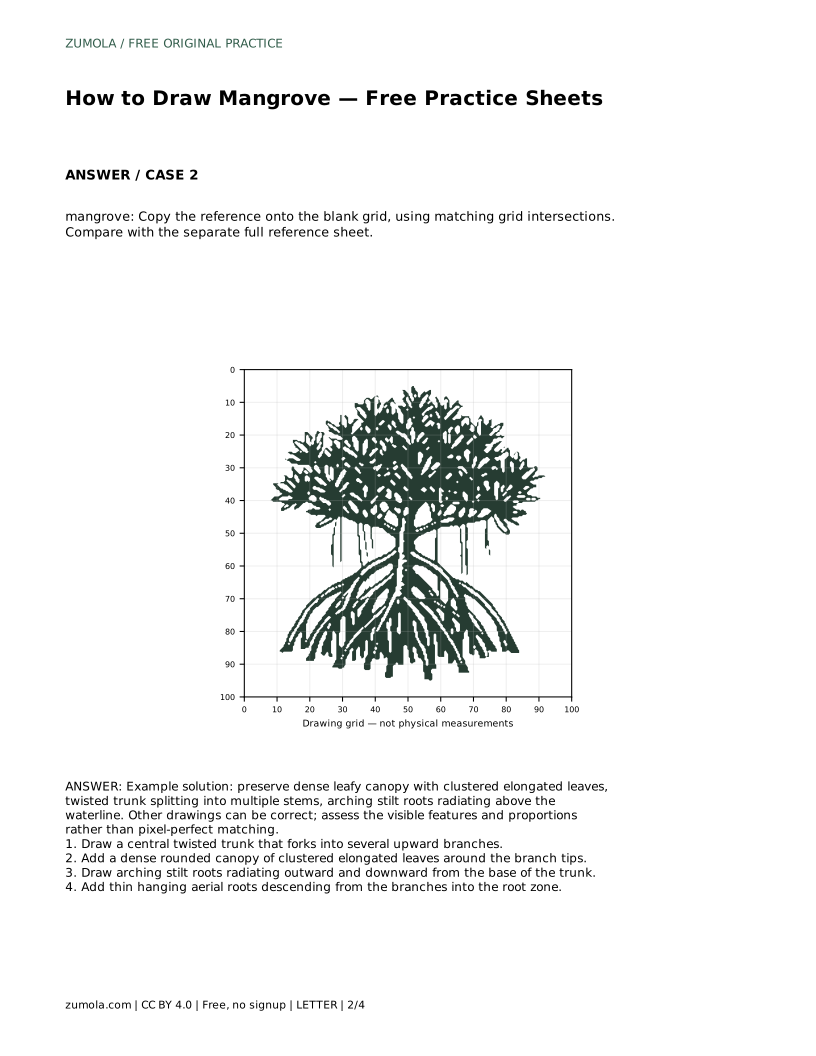
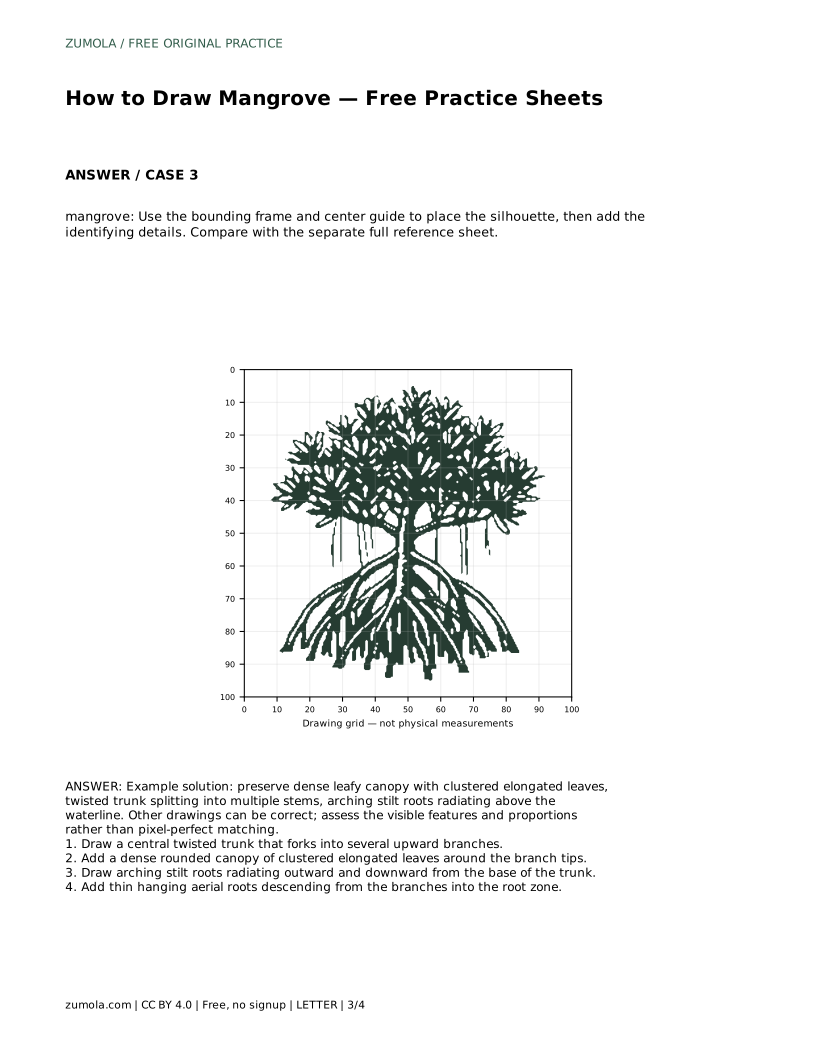
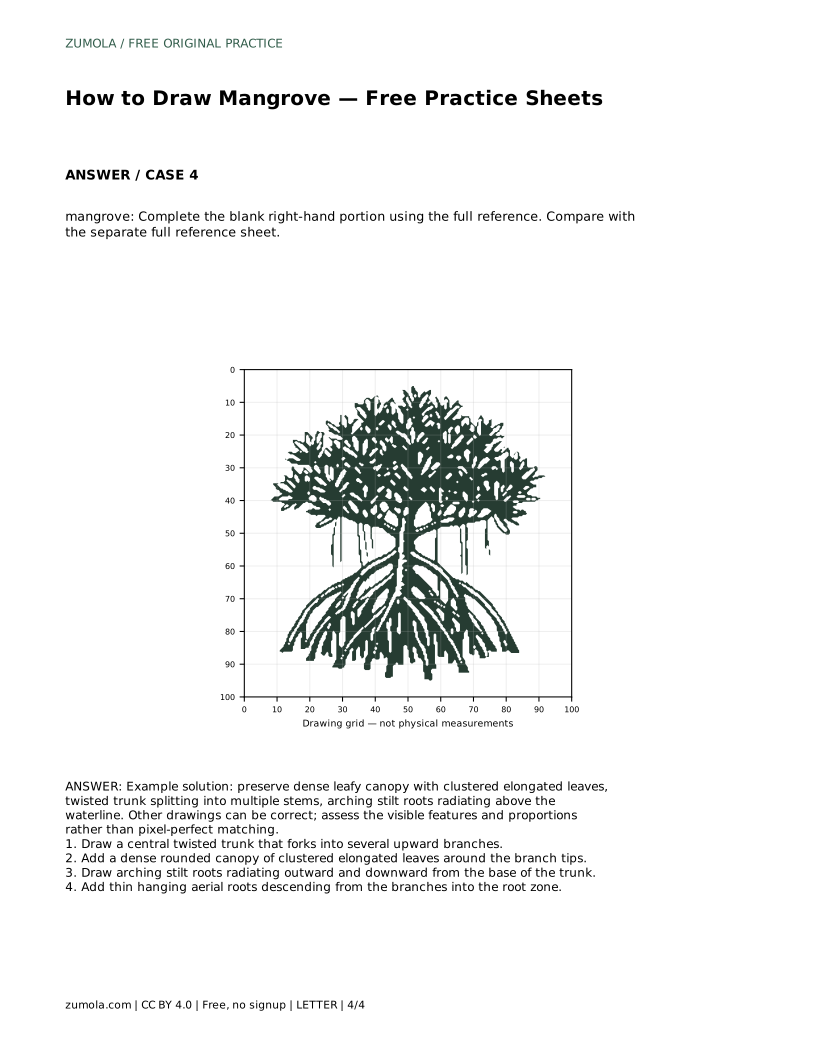
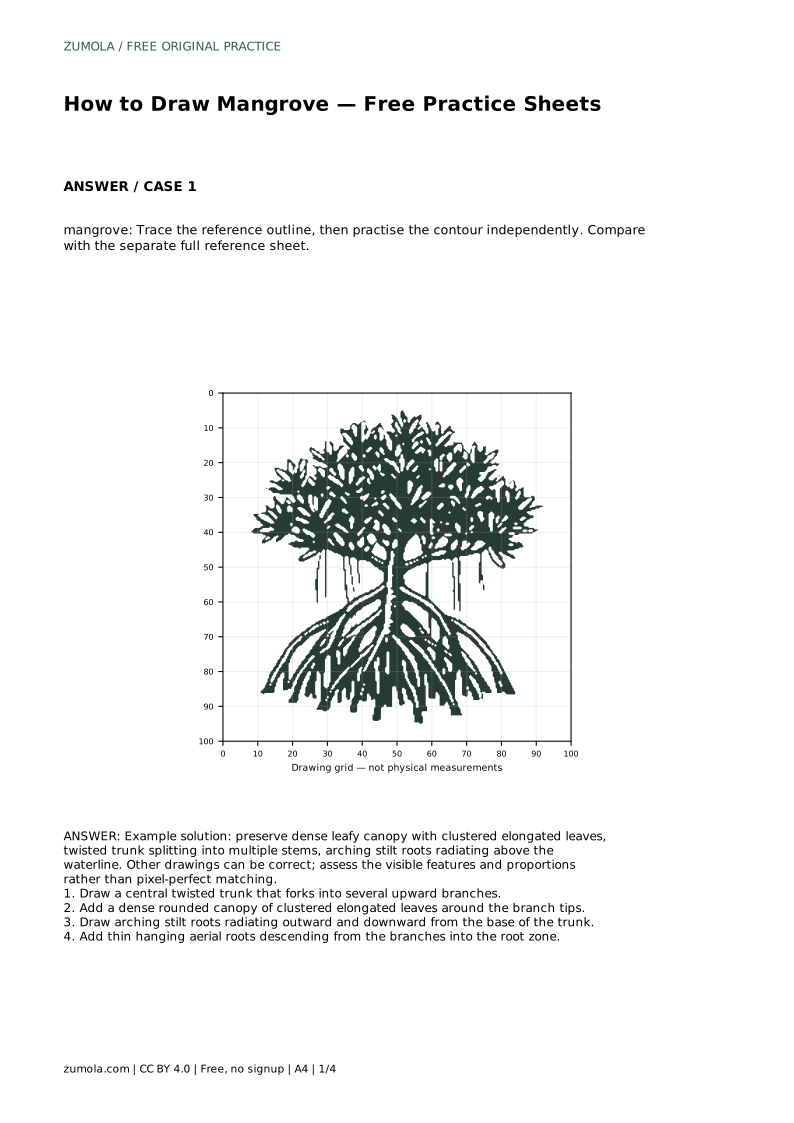
Reference diagrams
LETTER · Download PDF
A4 · Download PDF
Free original resources
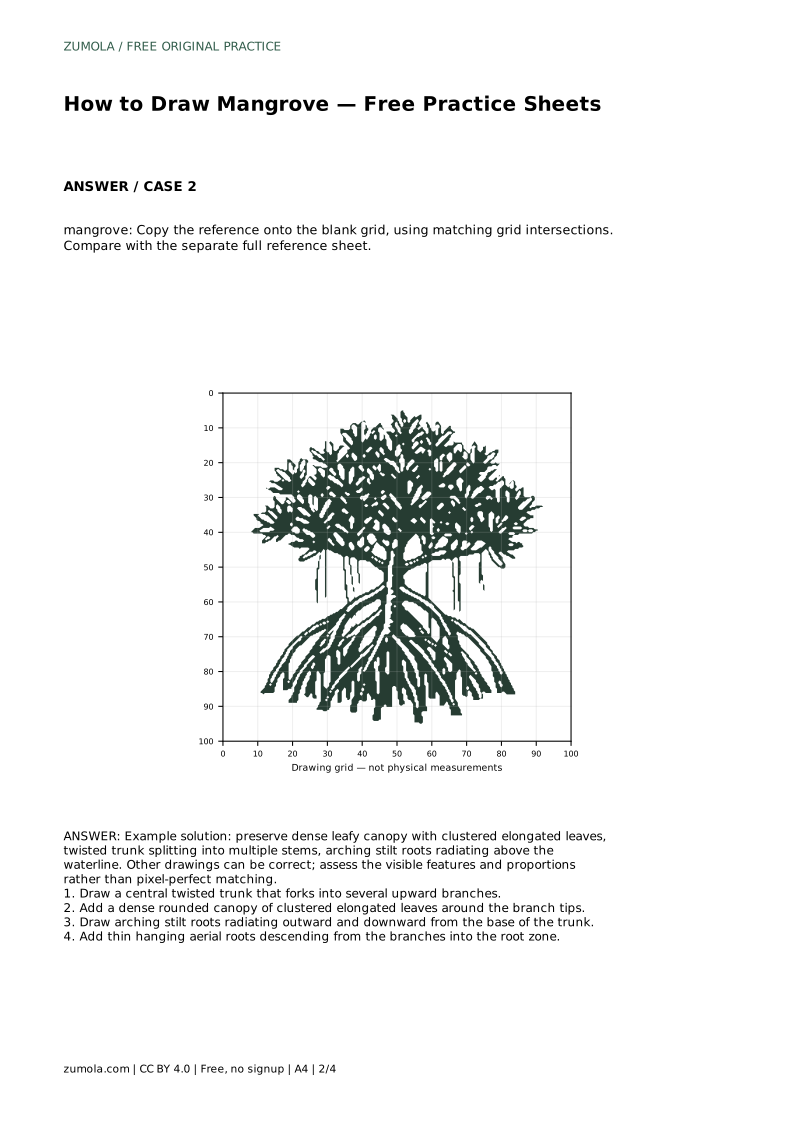
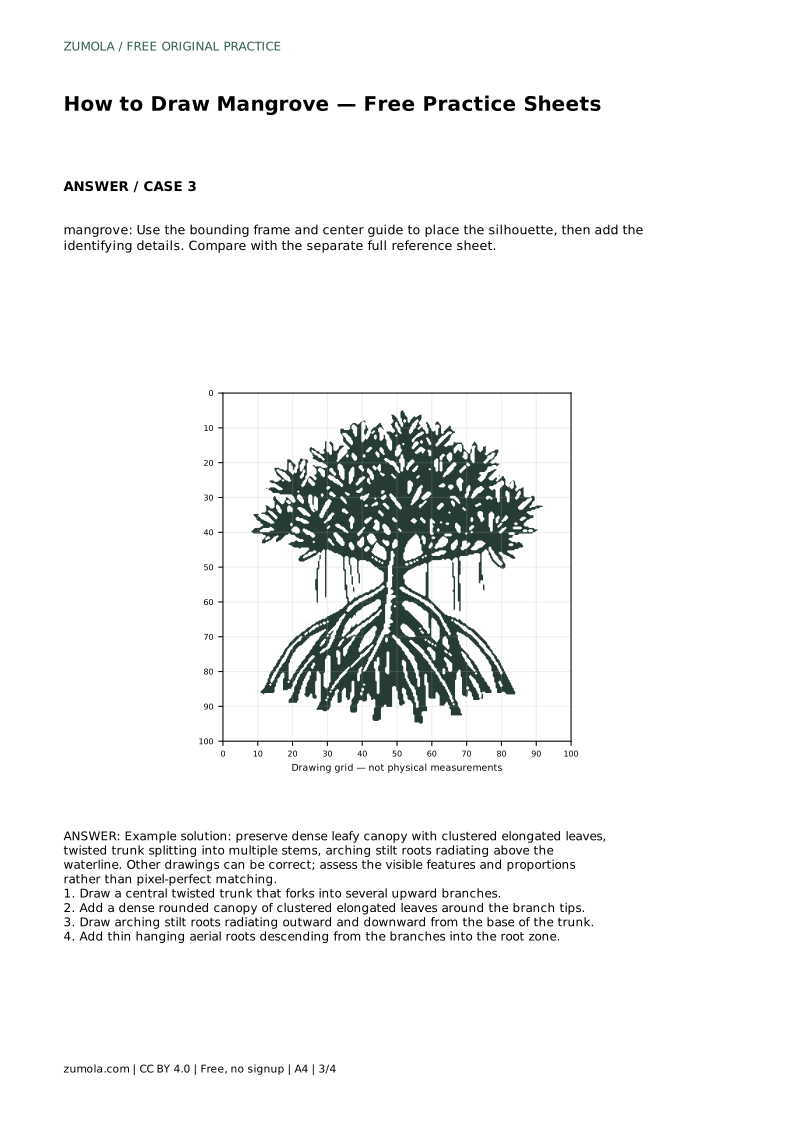
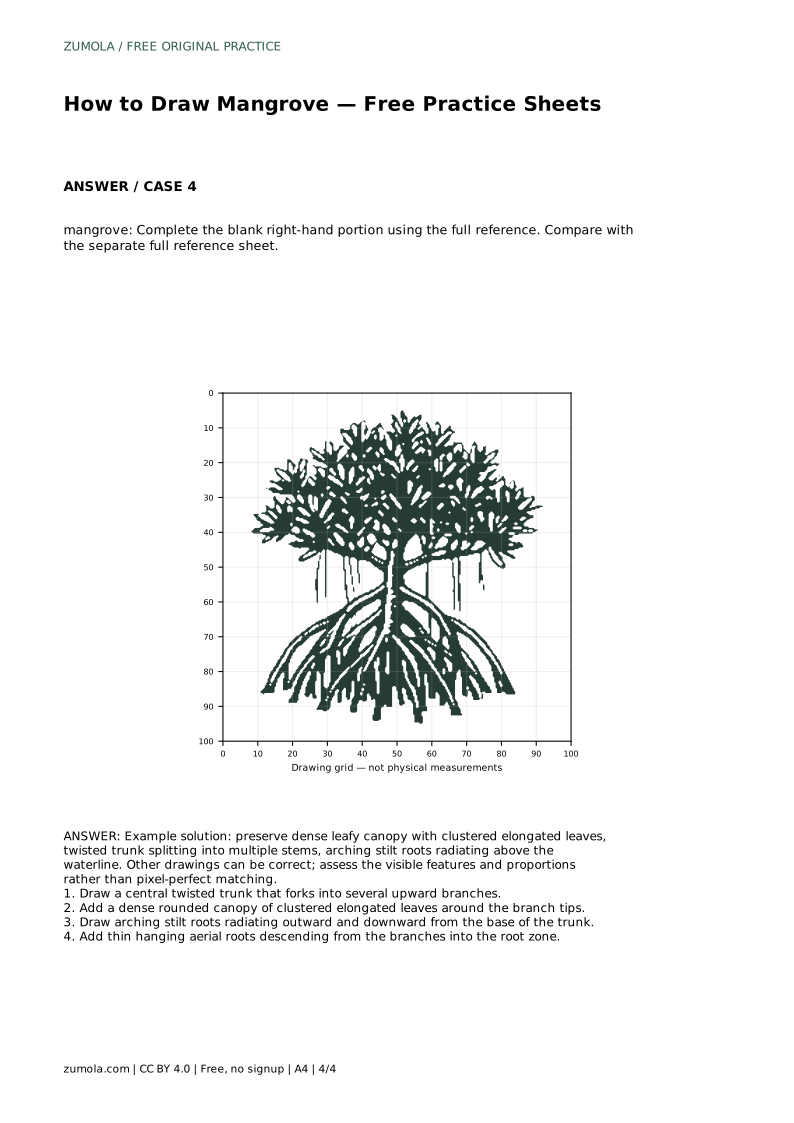
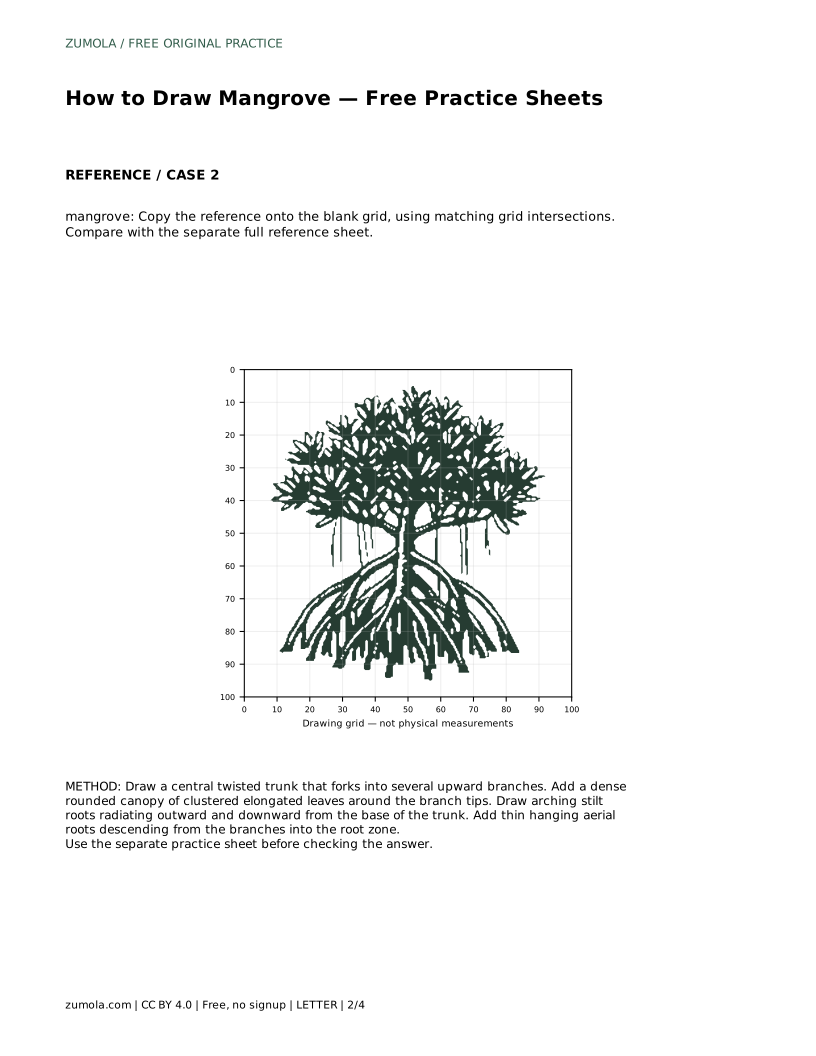
Learn to draw a mangrove by building a twisted forked trunk, a dense canopy of clustered elongated leaves, arching stilt roots and thin aerial roots.
Four original cases, with reference diagrams, practice sheets and worked answers. Everything is free; no signup required.
LETTER · Download PDF
A4 · Download PDF
LETTER · Download PDF
A4 · Download PDF
LETTER · Download PDF
A4 · Download PDF
Use A4 or US Letter to match your printer. Use the stated values and conditions to solve each exercise; diagrams are not physical measuring rulers.
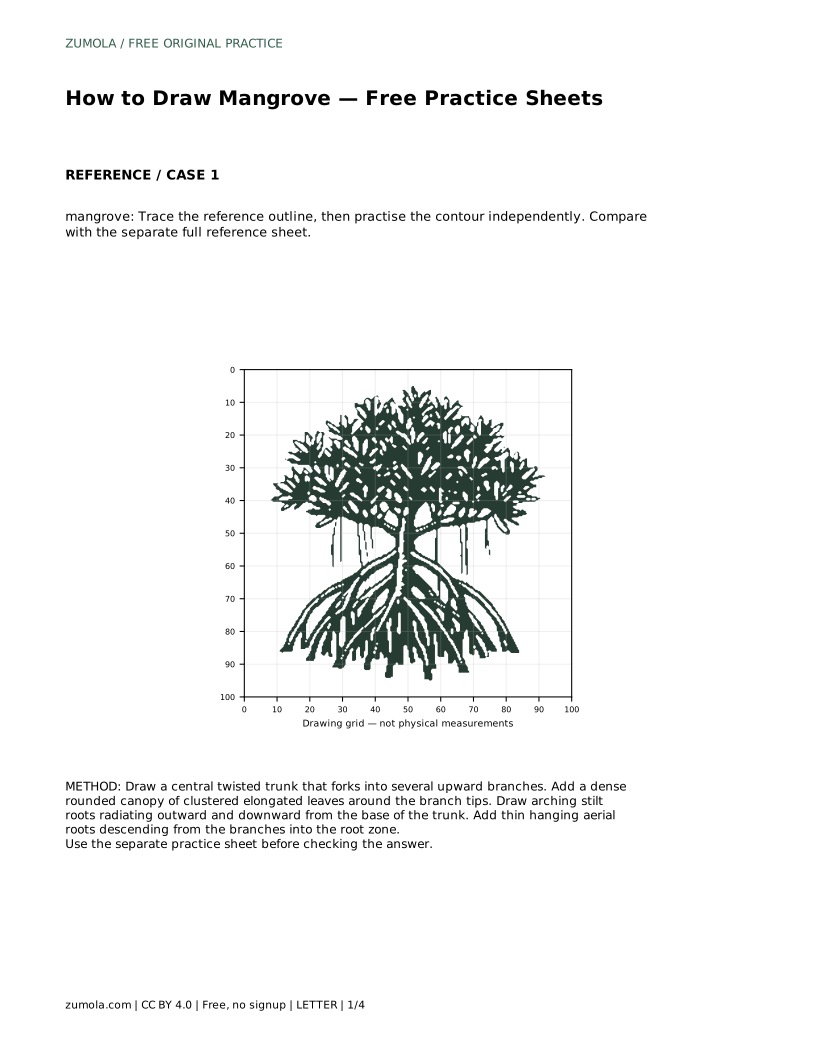
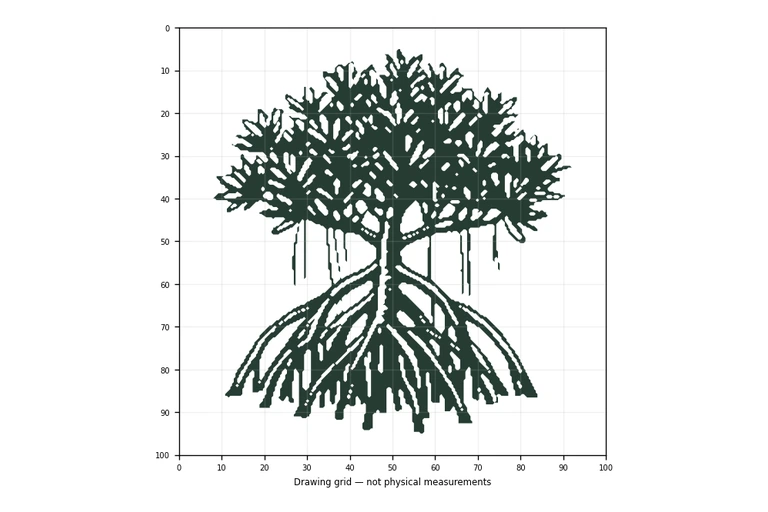
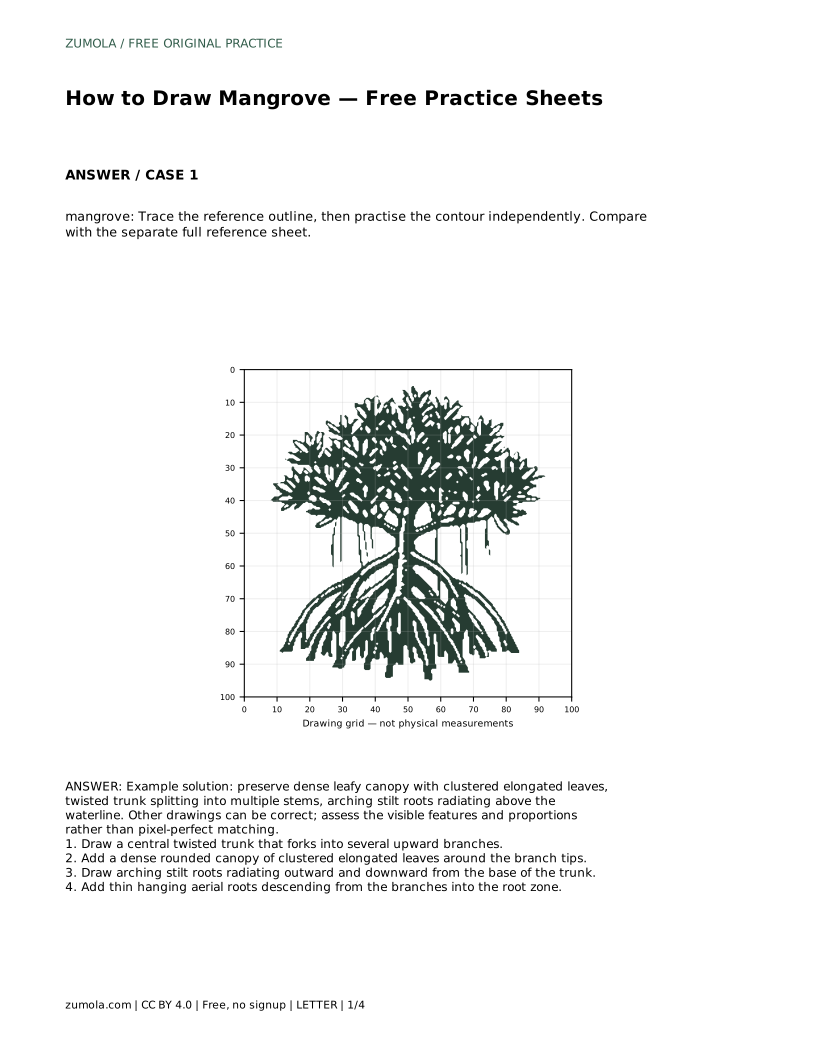
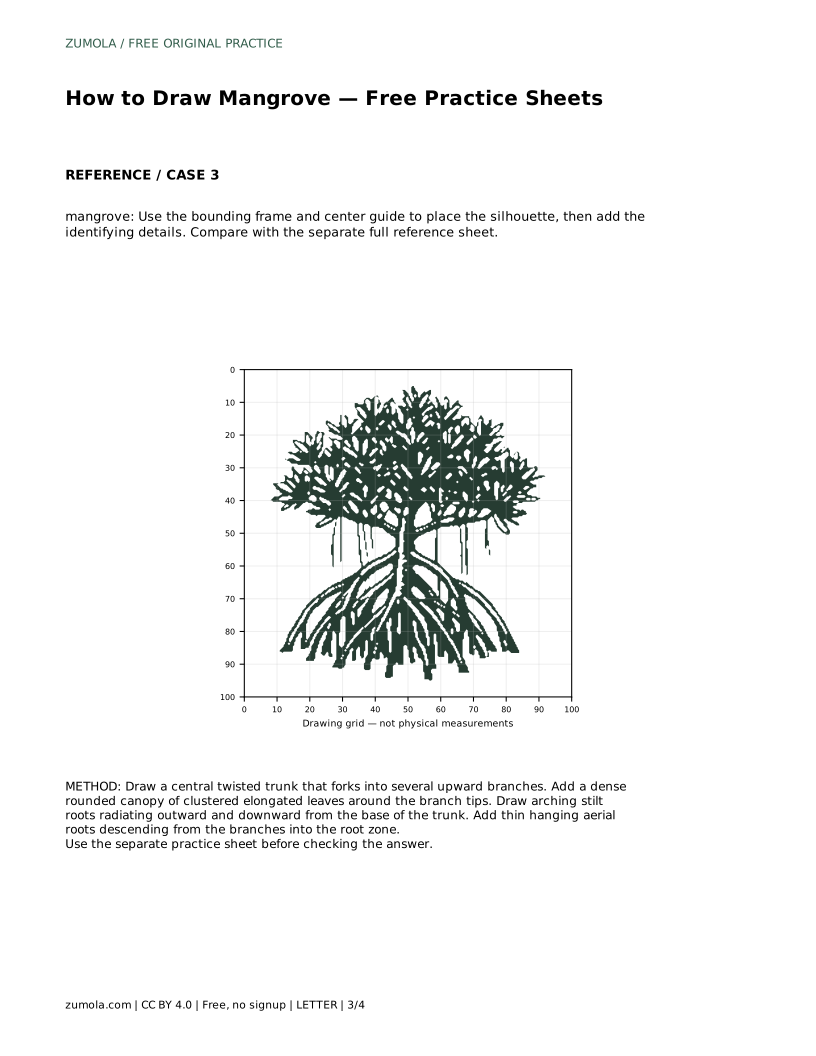
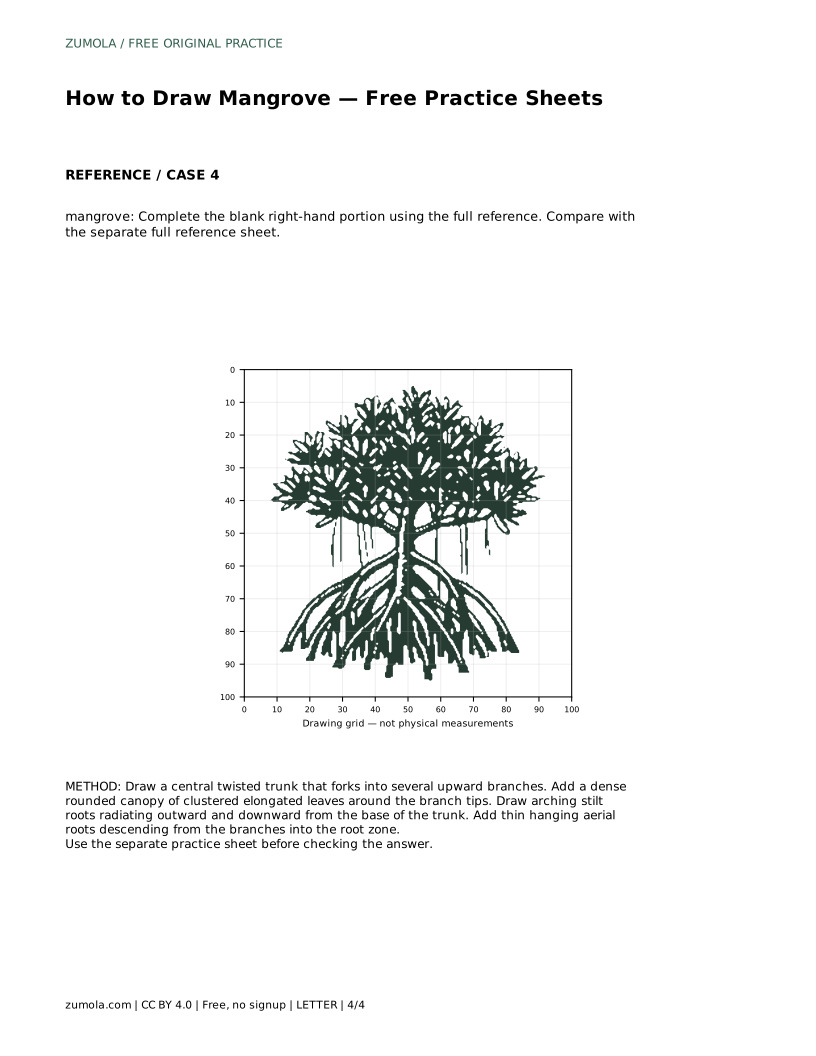
A mangrove is recognisable less by one outline than by a set of linked features: a twisted trunk that forks into several stems, a dense rounded canopy of clustered elongated leaves, arching stilt roots spreading above the waterline, and thin aerial roots hanging into the root zone. This page explains how to place those features in proportion and how to judge your drawing by visible structure rather than pixel-perfect matching.
Begin with the trunk rather than the leaves. Draw a central line that twists slightly as it rises, then forks into several upward branches. Keep the forks uneven in height and angle so the tree reads as organic rather than symmetrical. The trunk should stay visible through the canopy, so leave gaps between branch tips where leaves will later cluster.
Before adding foliage, check that the trunk sits low in the frame and that the branches spread wide enough to support a rounded canopy. A narrow branching structure will make the canopy look pinched; a very wide one can make the trunk look thin. Adjust the fork positions while the lines are still light.
Mangrove foliage reads as a mass, not as separate leaves. Work around each branch tip, adding clusters of elongated leaves that overlap and point in mixed directions. Build the canopy outward in layers: a darker inner mass first, then lighter clusters at the edges. Keep the overall silhouette rounded and dense, with only small gaps showing the branches beneath.
Elongated leaves should be longer than they are wide, with a gentle taper at each end. Vary their size slightly across the canopy so the mass does not look stamped. Avoid drawing every leaf at the same angle; a few leaves turning outward or downward help the canopy feel natural.
The stilt roots are the mangrove's most distinctive feature. From the base of the trunk, draw several roots that arch outward and then downward toward the waterline. Space them unevenly and vary their curve; some should rise higher before descending, others should drop more directly. The roots should radiate from the trunk base rather than run parallel.
Above the root zone, add thin aerial roots descending from the lower branches. Keep these lines fine and slightly wavy, and let them stop before reaching the waterline or the stilt roots. The gap between the hanging roots and the arching roots keeps both features readable.
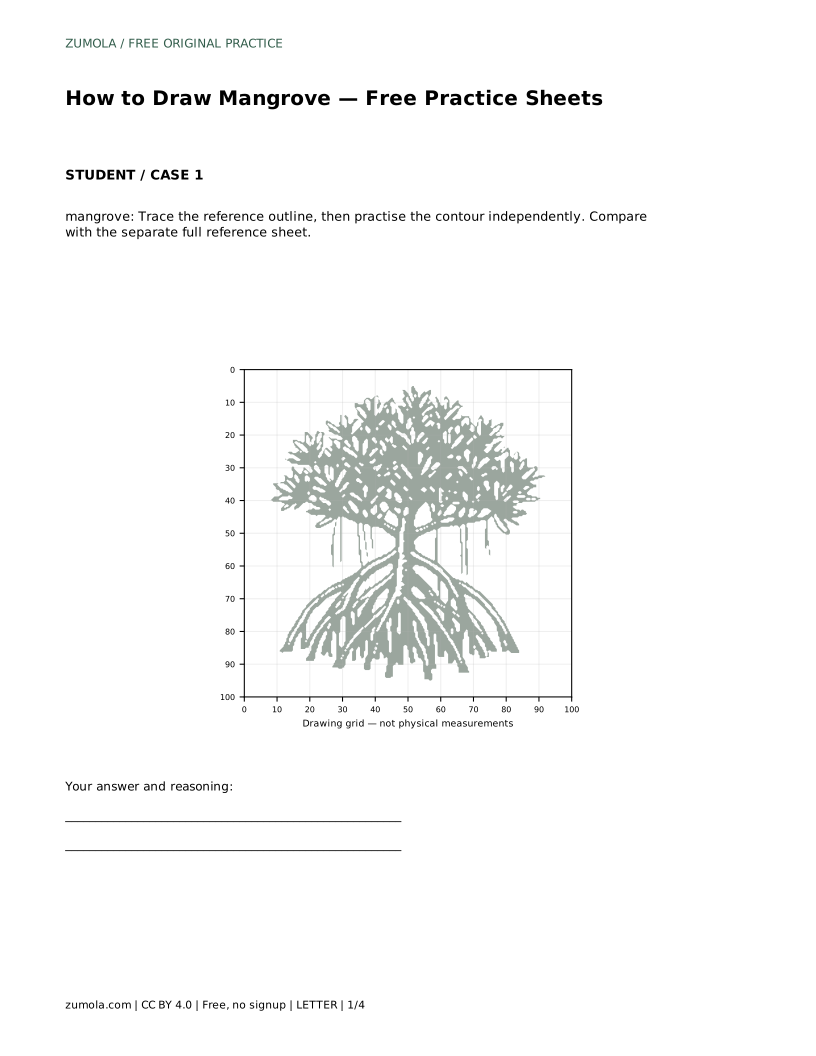
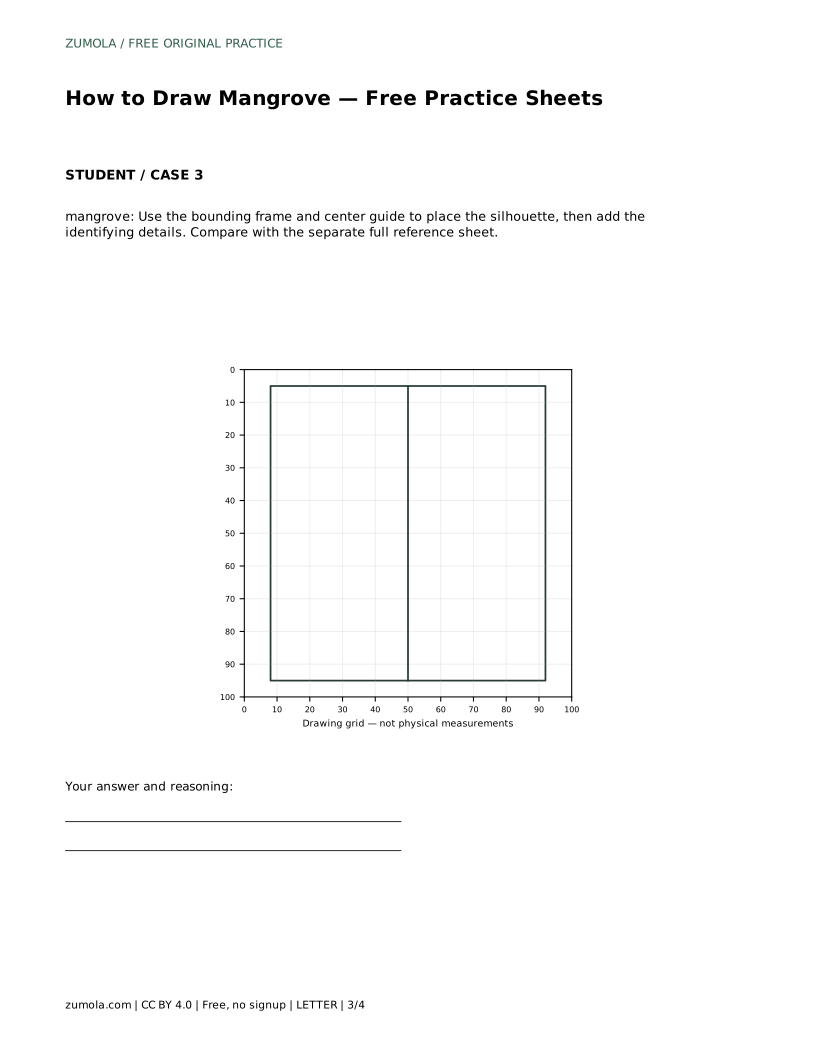
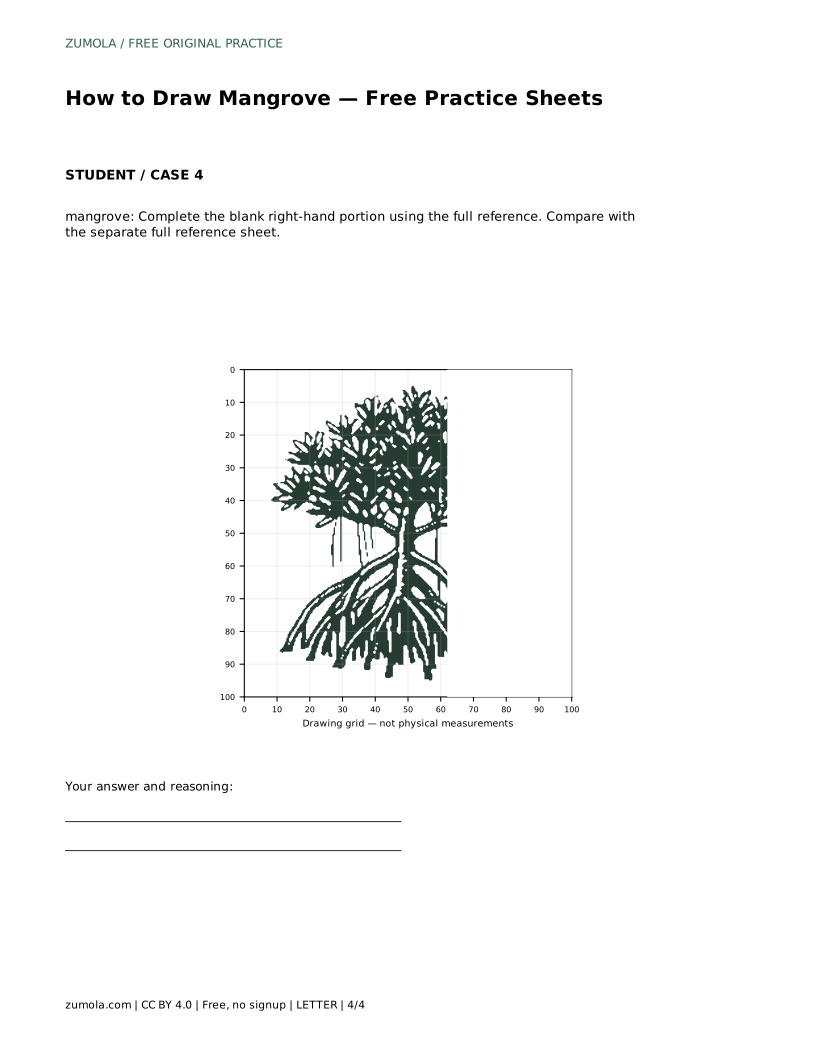
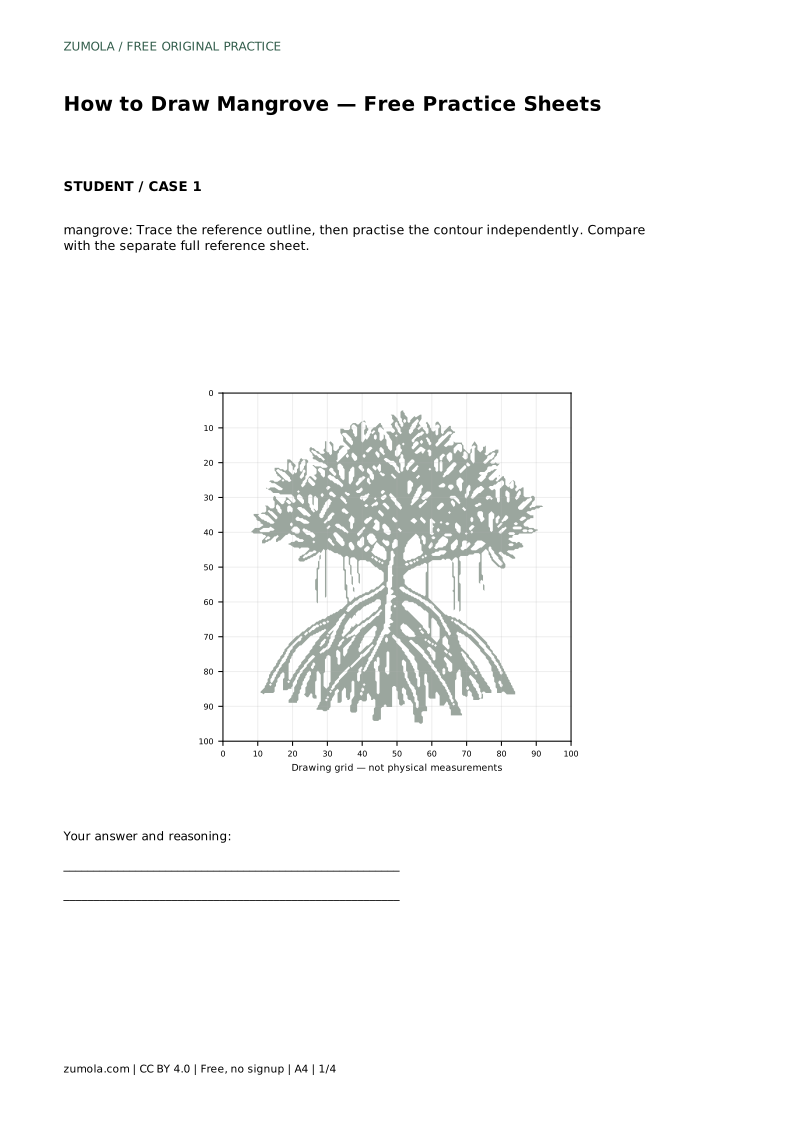
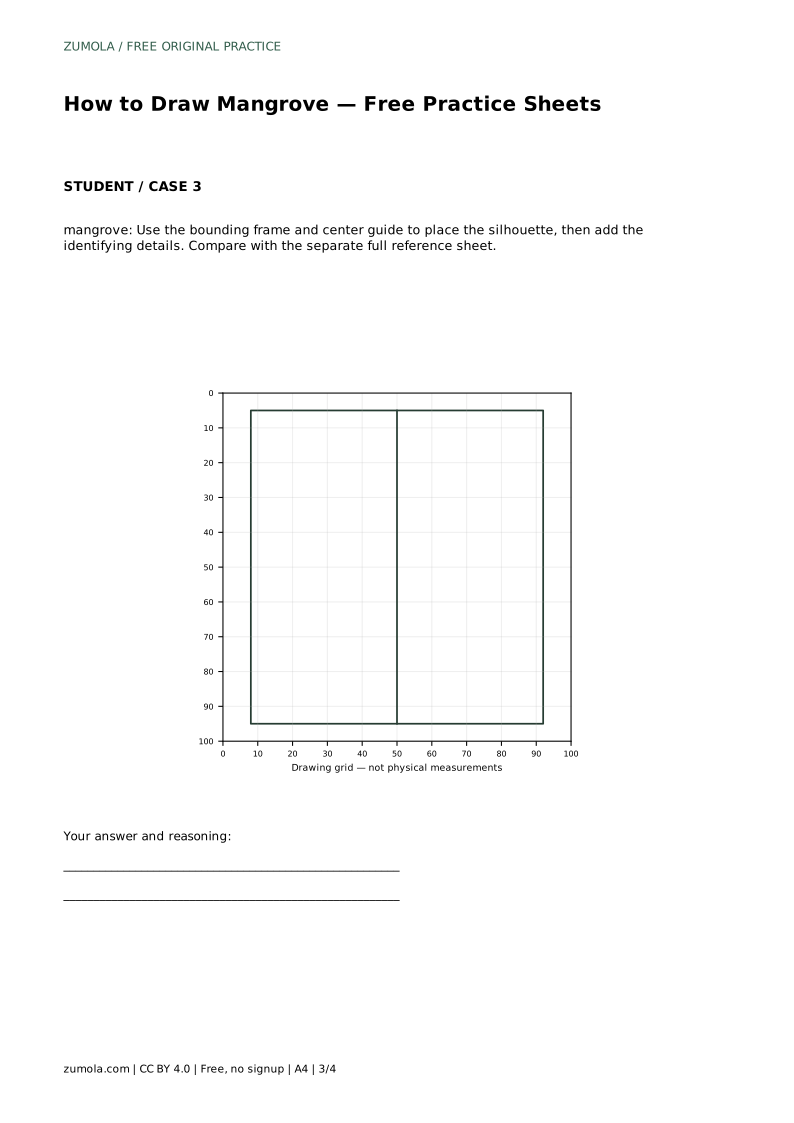
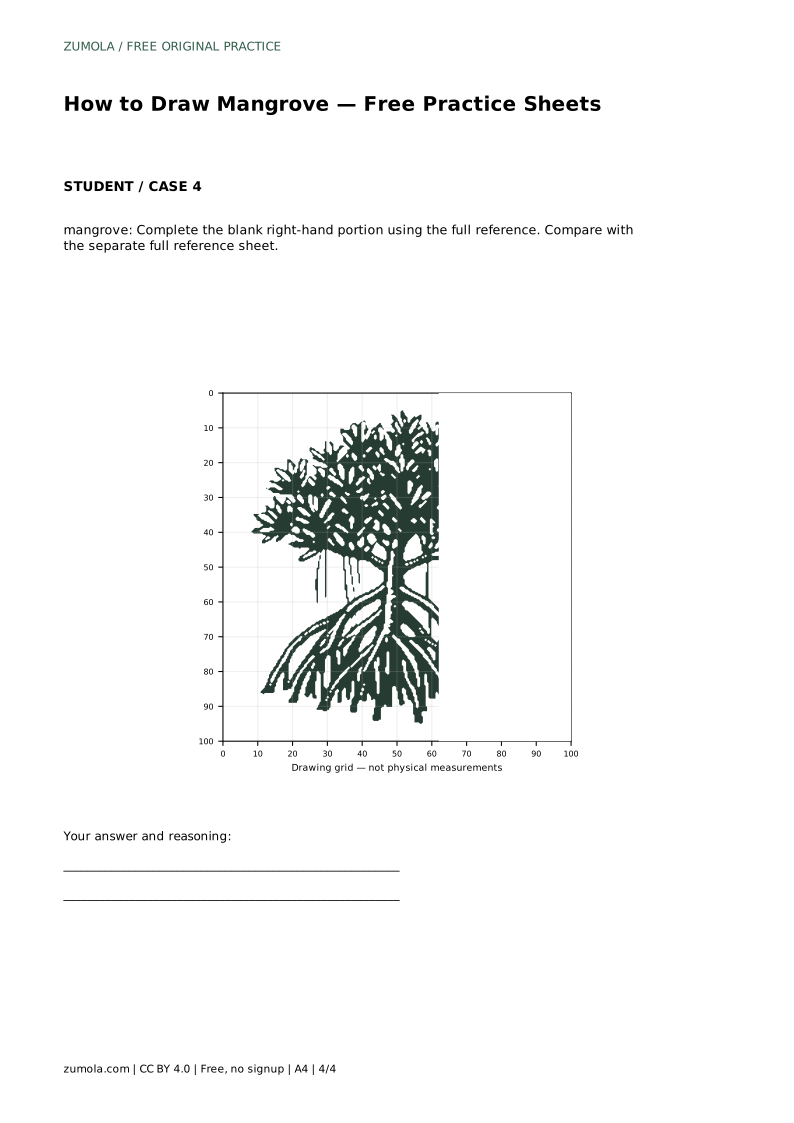
Trace the reference outline first, then practise the contour independently and compare with the separate full reference sheet. On the grid version, copy the reference onto the blank grid using matching grid intersections. On the bounding-frame version, use the frame and center guide to place the silhouette before adding identifying details. On the partial version, complete the blank right-hand portion using the full reference.
In every format, compare feature by feature: trunk twist and fork count, canopy density and shape, stilt-root spread, and aerial-root placement. Small differences in leaf count or curve are acceptable; missing a structural feature is the main thing to correct.
mangrove: Trace the reference outline, then practise the contour independently. Compare with the separate full reference sheet.
Example solution: preserve dense leafy canopy with clustered elongated leaves, twisted trunk splitting into multiple stems, arching stilt roots radiating above the waterline. Other drawings can be correct; assess the visible features and proportions rather than pixel-perfect matching. Draw a central twisted trunk that forks into several upward branches. Add a dense rounded canopy of clustered elongated leaves around the branch tips. Draw arching stilt roots radiating outward and downward from the base of the trunk. Add thin hanging aerial roots descending from the branches into the root zone.
No. Several drawings can be correct. Assess visible features and proportions, such as the twisted forked trunk, dense canopy, arching stilt roots and hanging aerial roots, rather than pixel-perfect matching.
Start with the twisted trunk and its forks, then build the canopy, then add the stilt roots and aerial roots. This order keeps the structure readable as you add detail.
If the branch lines show through in large open areas, the canopy is too sparse. Add overlapping elongated leaf clusters until the mass reads as rounded and dense, keeping only small gaps.
All drawing practice · Free coordinate paper
Original resources · CC BY 4.0 · Free for personal and classroom use with attribution.