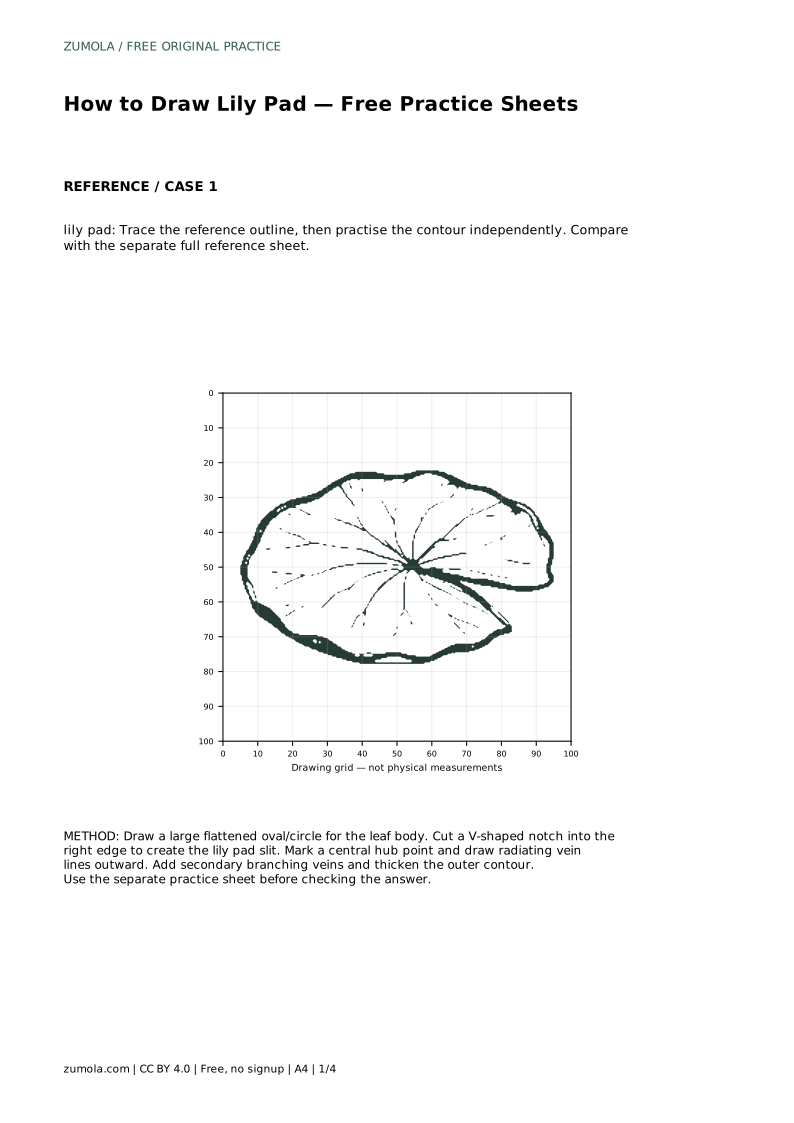
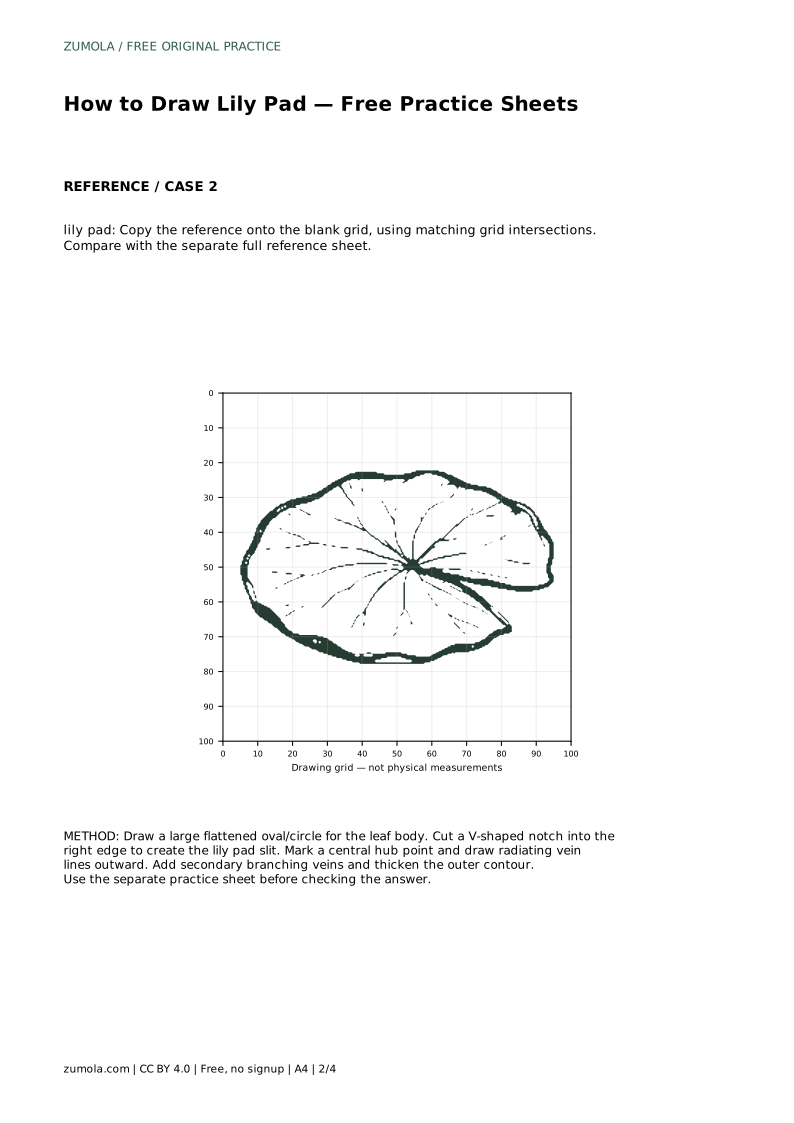
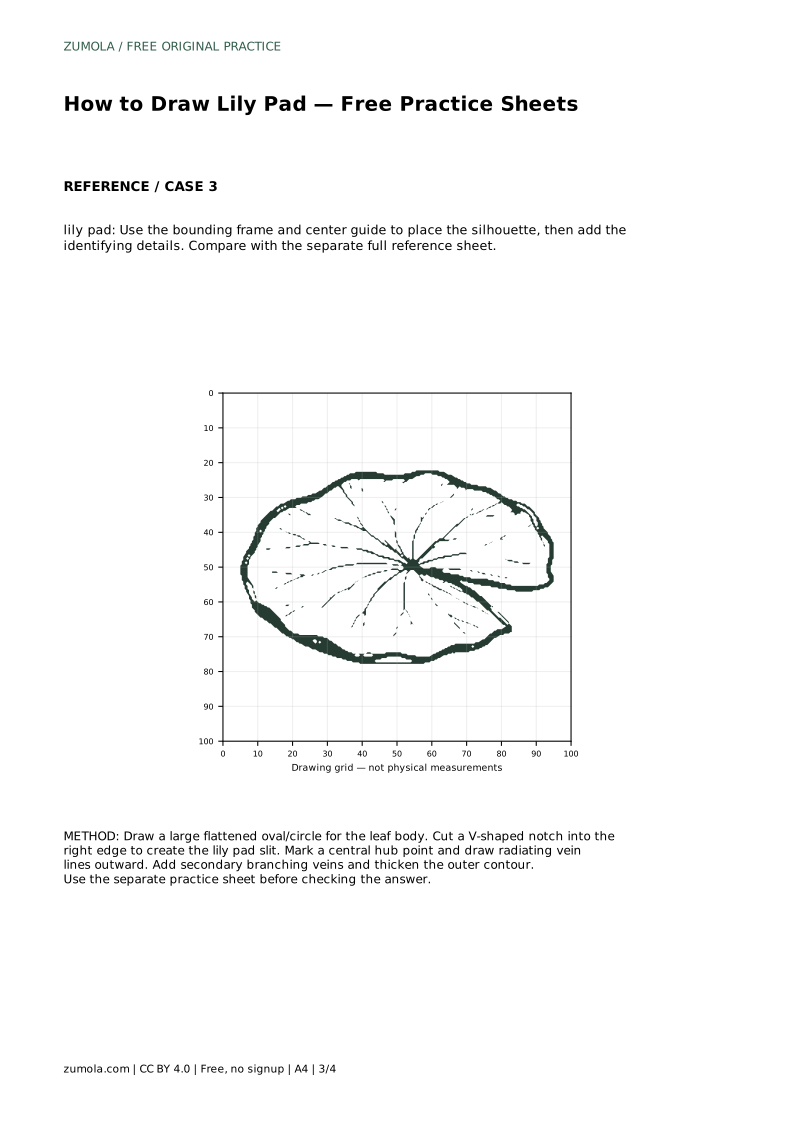
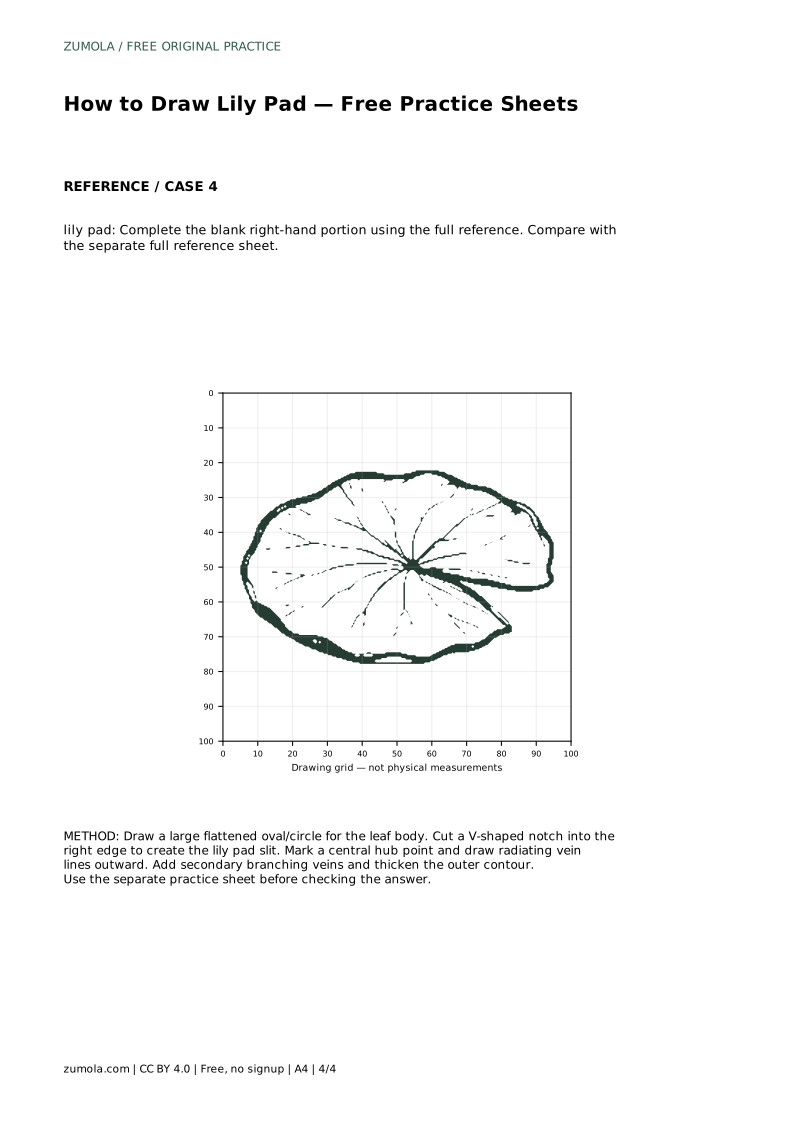
Reference diagrams
LETTER · Download PDF
A4 · Download PDF
Free original resources
Learn to draw a lily pad with a flat round leaf, wavy outline, right-side notch, and radiating veins. Use tracing, grid, frame, and partial-reference practice sheets.
Four original cases, with reference diagrams, practice sheets and worked answers. Everything is free; no signup required.
LETTER · Download PDF
A4 · Download PDF
LETTER · Download PDF
A4 · Download PDF
LETTER · Download PDF
A4 · Download PDF
Use A4 or US Letter to match your printer. Use the stated values and conditions to solve each exercise; diagrams are not physical measuring rulers.
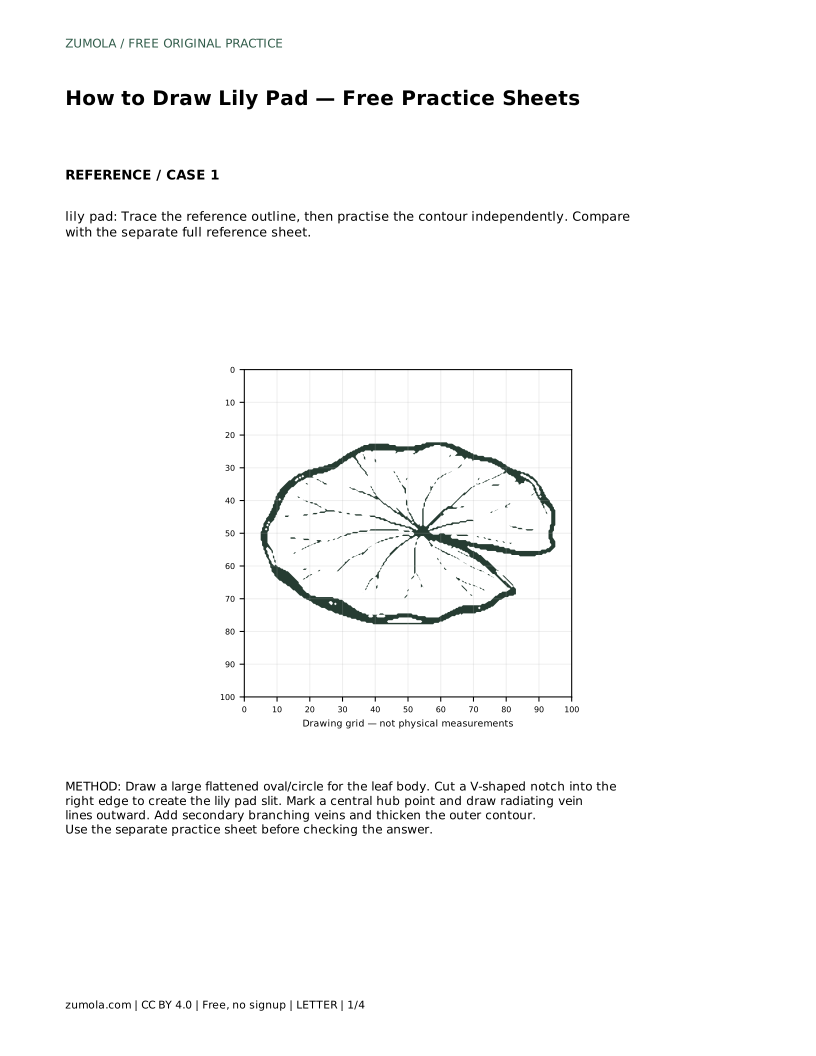
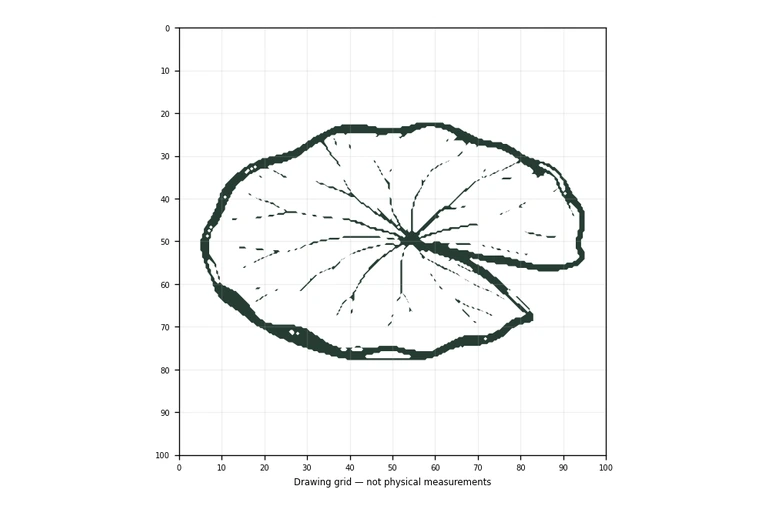
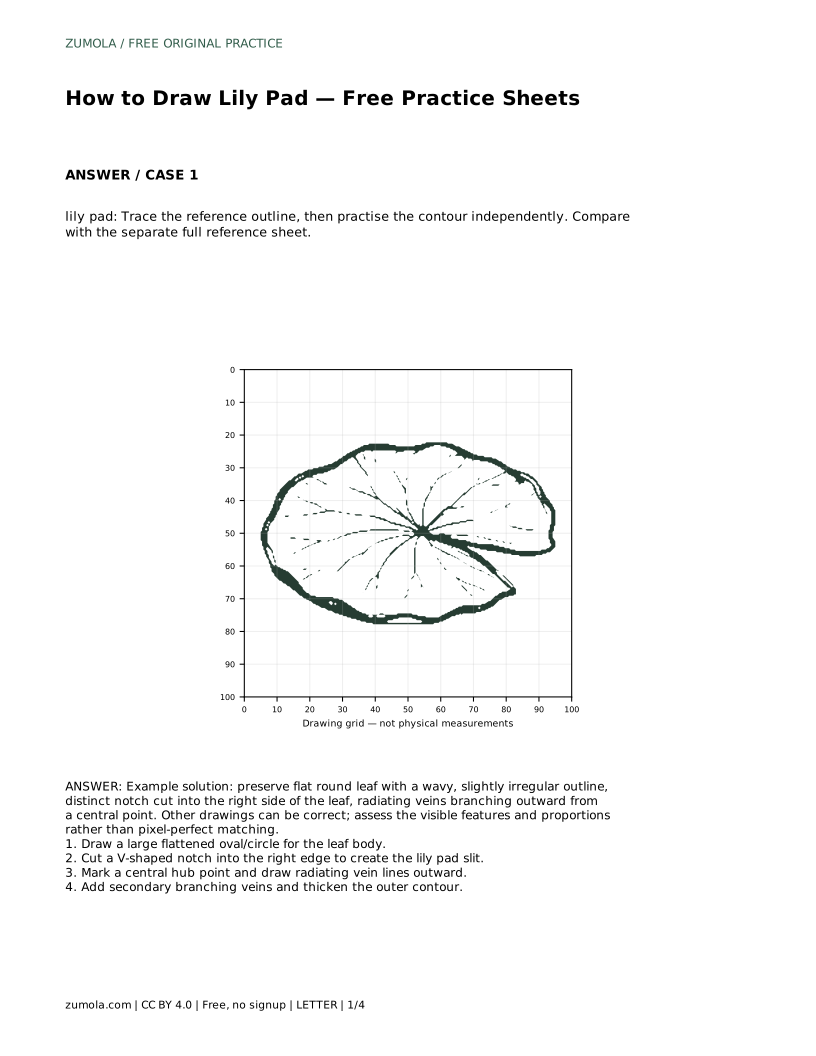
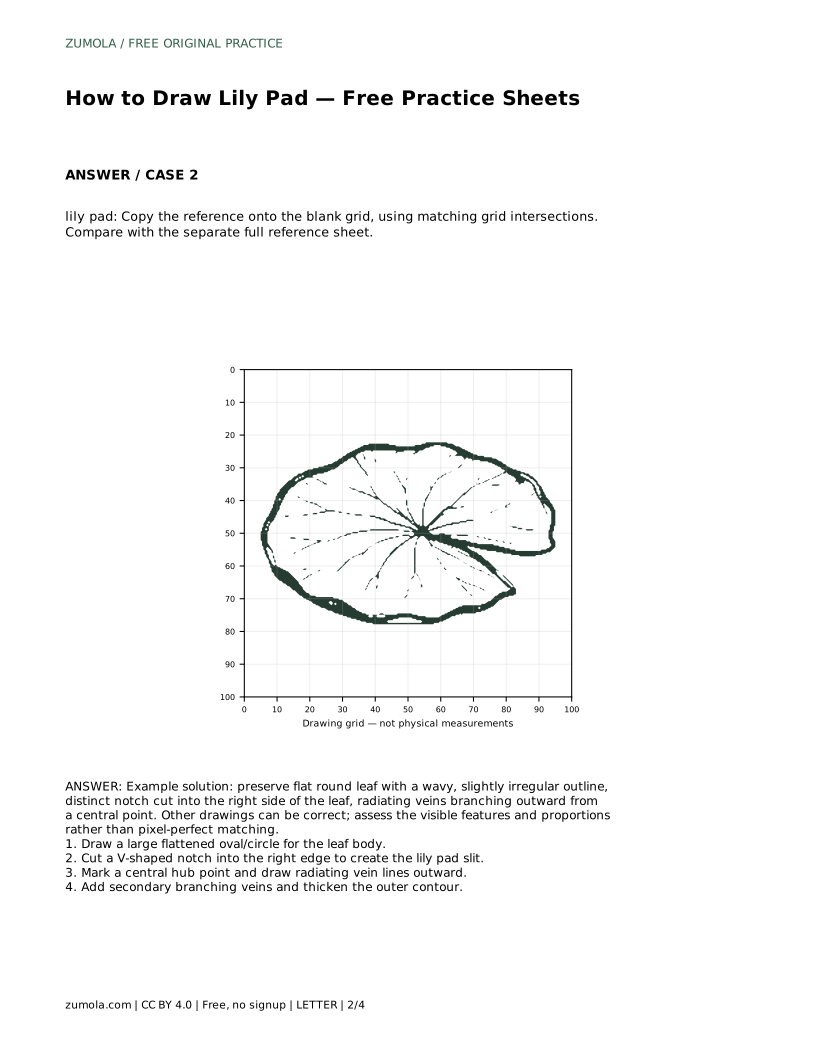
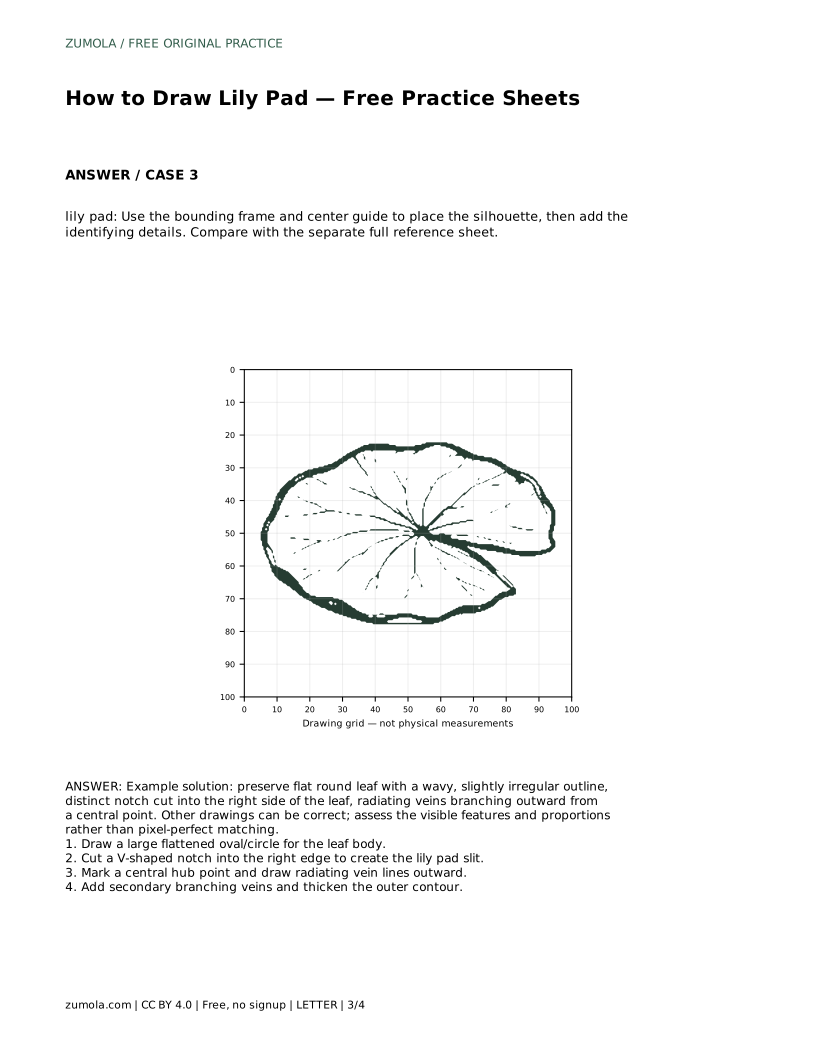
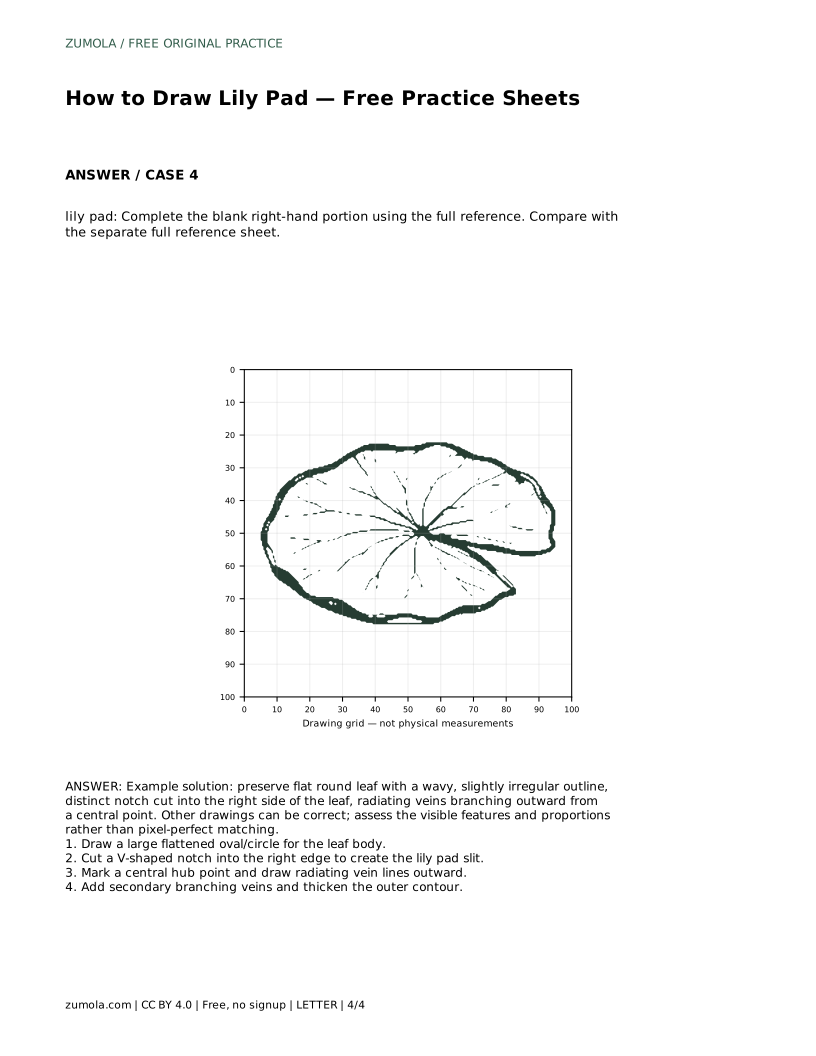
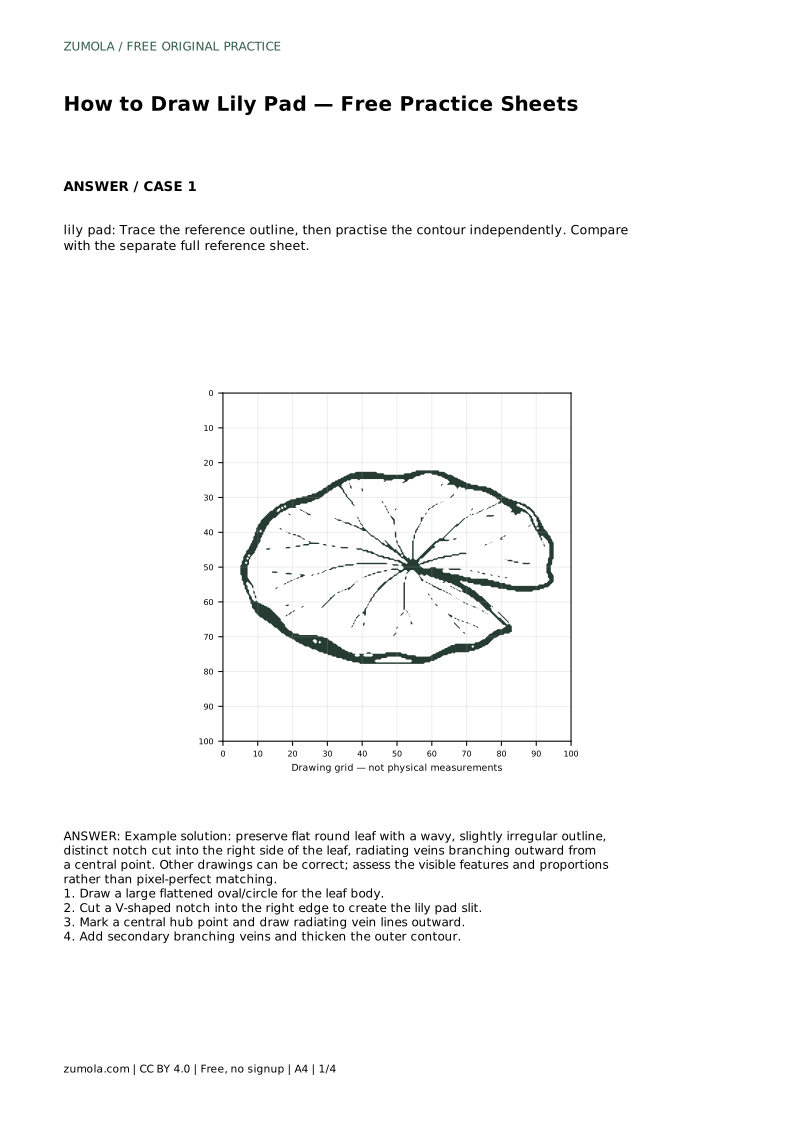
A lily pad is simple at first glance, but its recognizable features matter: a flat, rounded leaf, a slightly irregular wavy edge, a clear notch cut into one side, and veins that radiate from a central point. This page explains how to build those features in order, then how to use the practice sheets to compare your drawing with a separate full reference. The goal is not a pixel-perfect copy; it is a convincing lily pad with clear structure and sensible proportions.
Begin with the overall silhouette rather than the veins. Draw a large flattened oval or circle for the leaf body. Keep it wide and low rather than tall, because a lily pad reads as a flat surface floating on water. The outline should be wavy and slightly irregular, not a mechanically perfect circle.
Next, cut a V-shaped notch into the right edge. This slit is one of the strongest identifying features of a lily pad, so make it clear and deliberate. The notch should open outward from the edge toward the center, but it does not need to reach the exact middle. Check that the two sides of the notch remain distinct and that the rest of the outline still reads as one continuous leaf.
Mark a central hub point inside the leaf. From that point, draw several vein lines outward toward the edge. Space them unevenly enough to look natural, but keep the overall pattern balanced. The veins should radiate from the hub rather than run parallel across the leaf.
After the main veins are placed, add secondary branching veins. These smaller lines split away from the main veins and help the leaf feel less empty. Keep secondary veins shorter and lighter than the main ones so the structure stays readable. Finally, thicken the outer contour slightly to separate the leaf from the background.
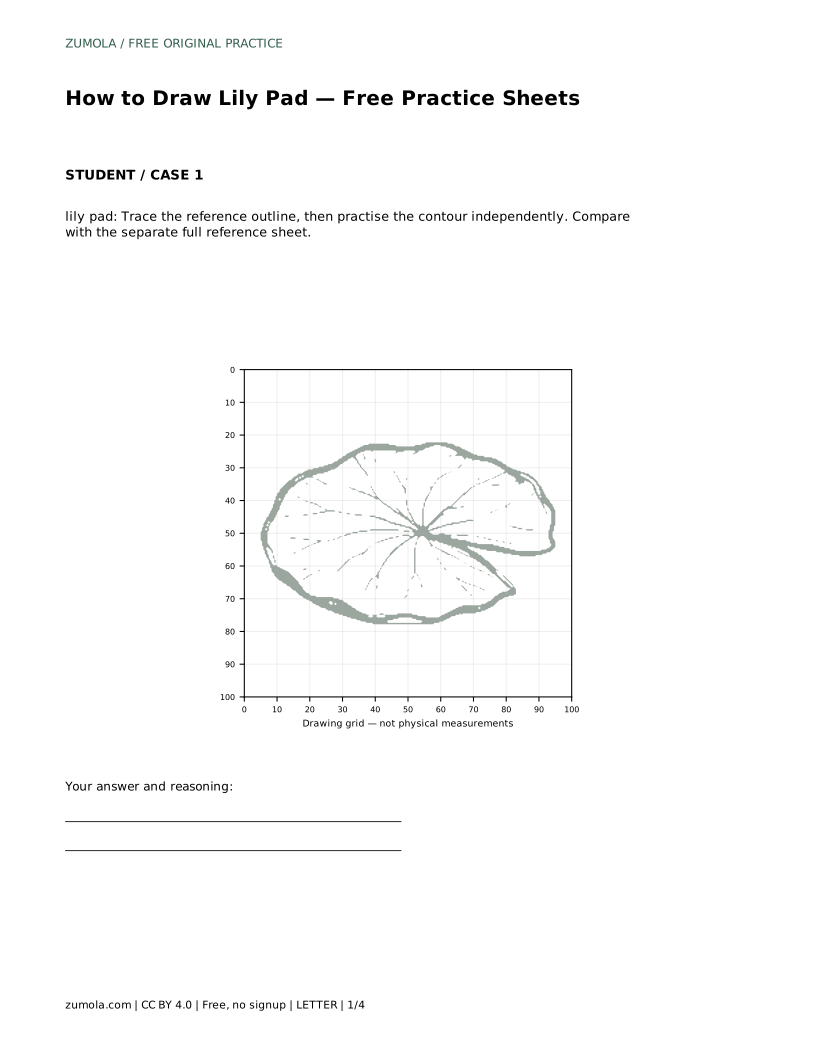
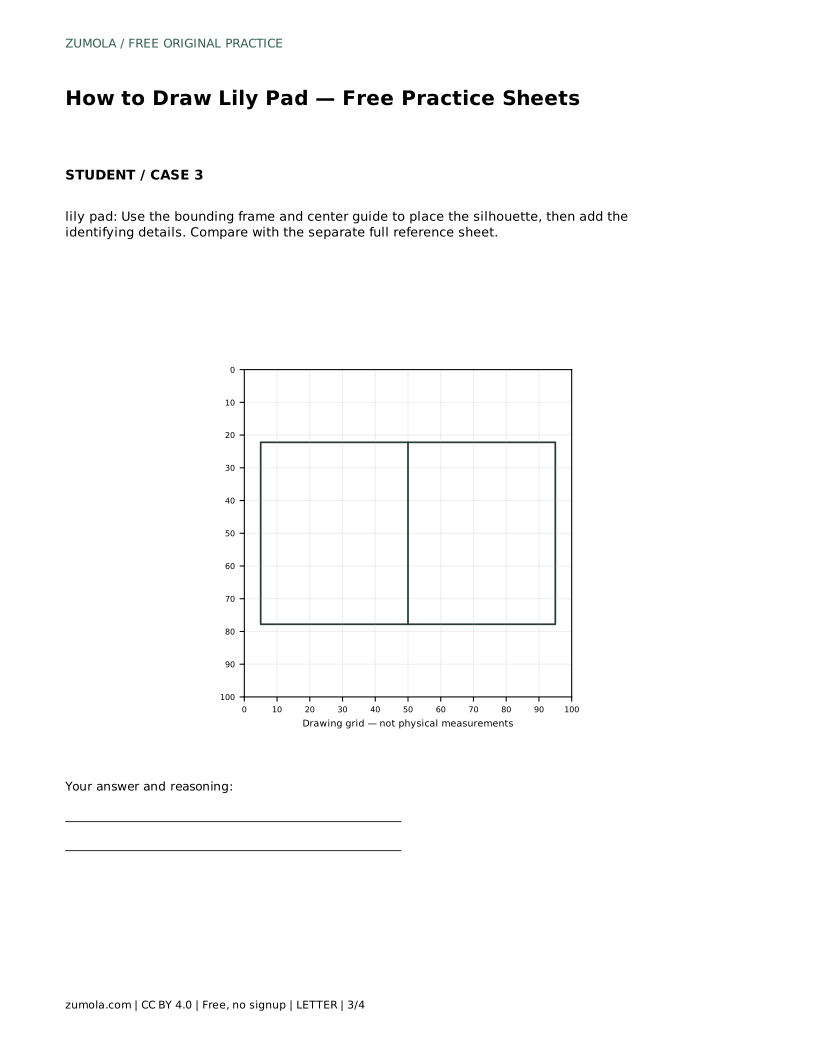
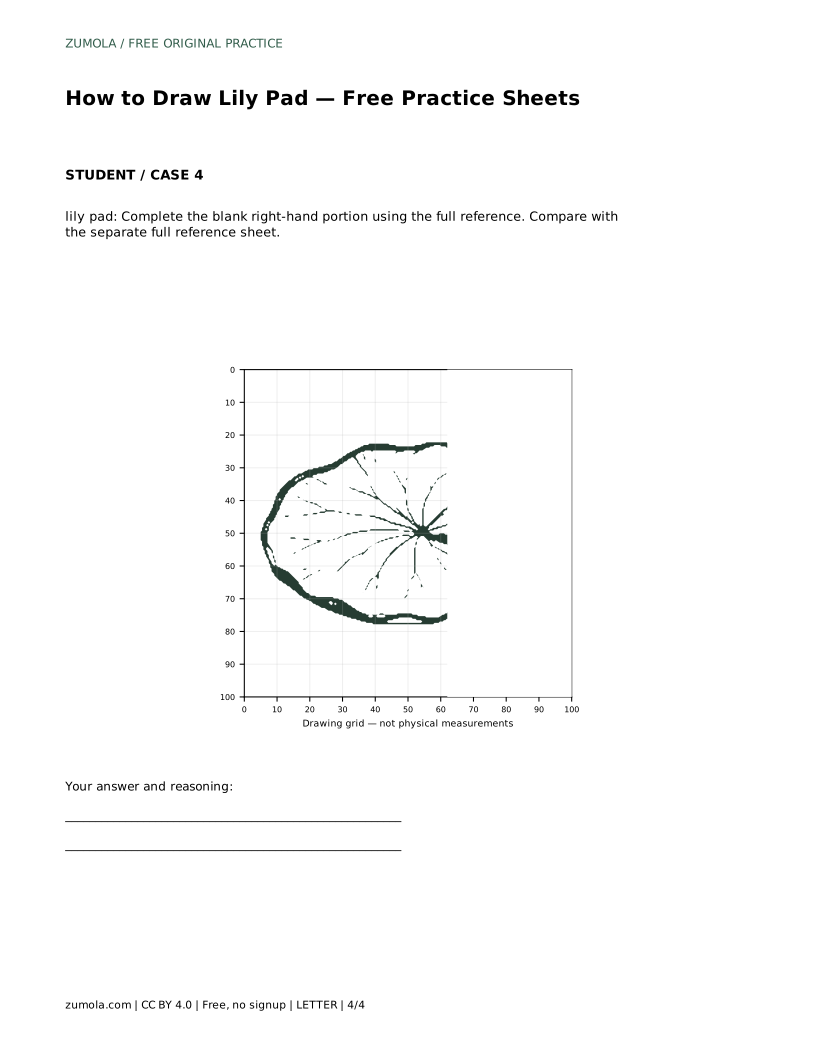
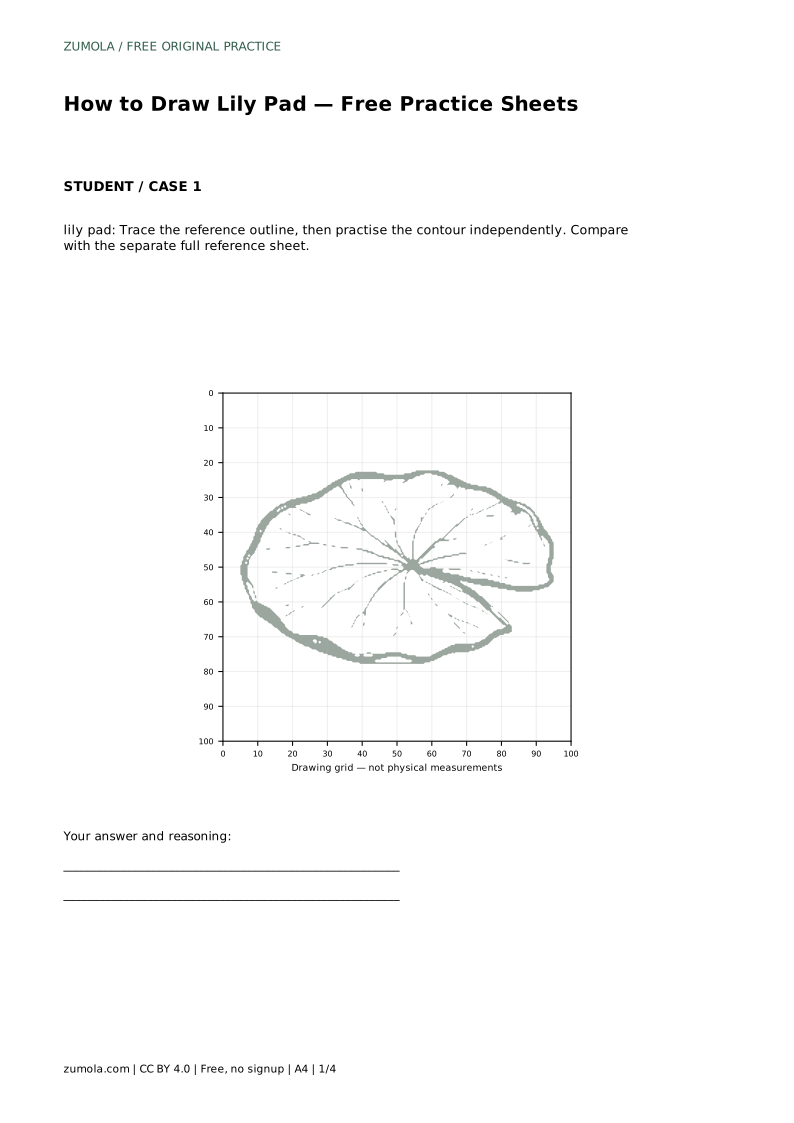
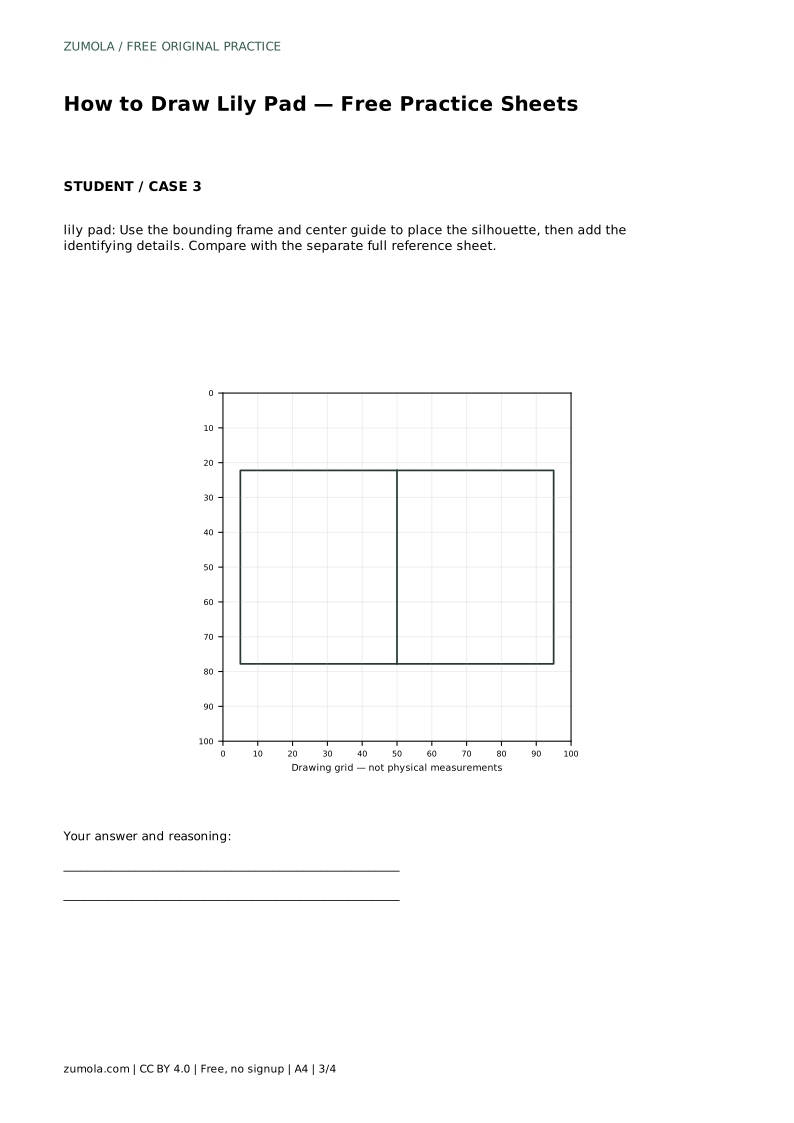
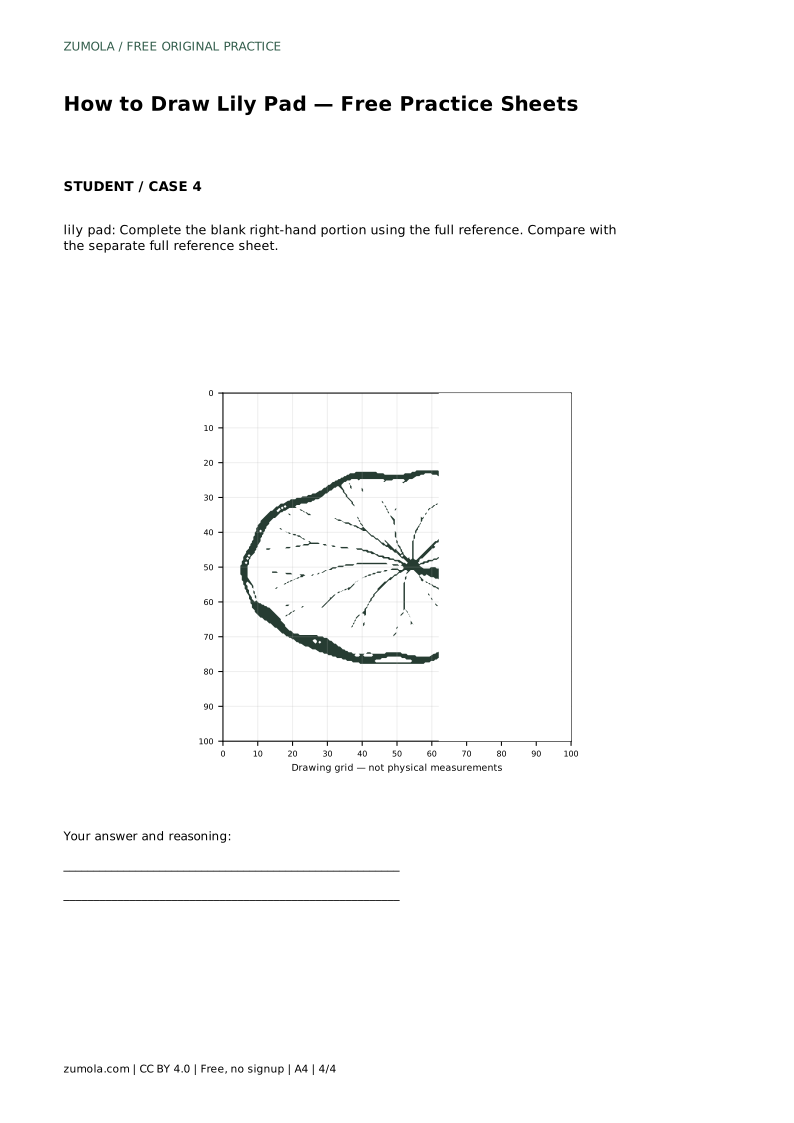
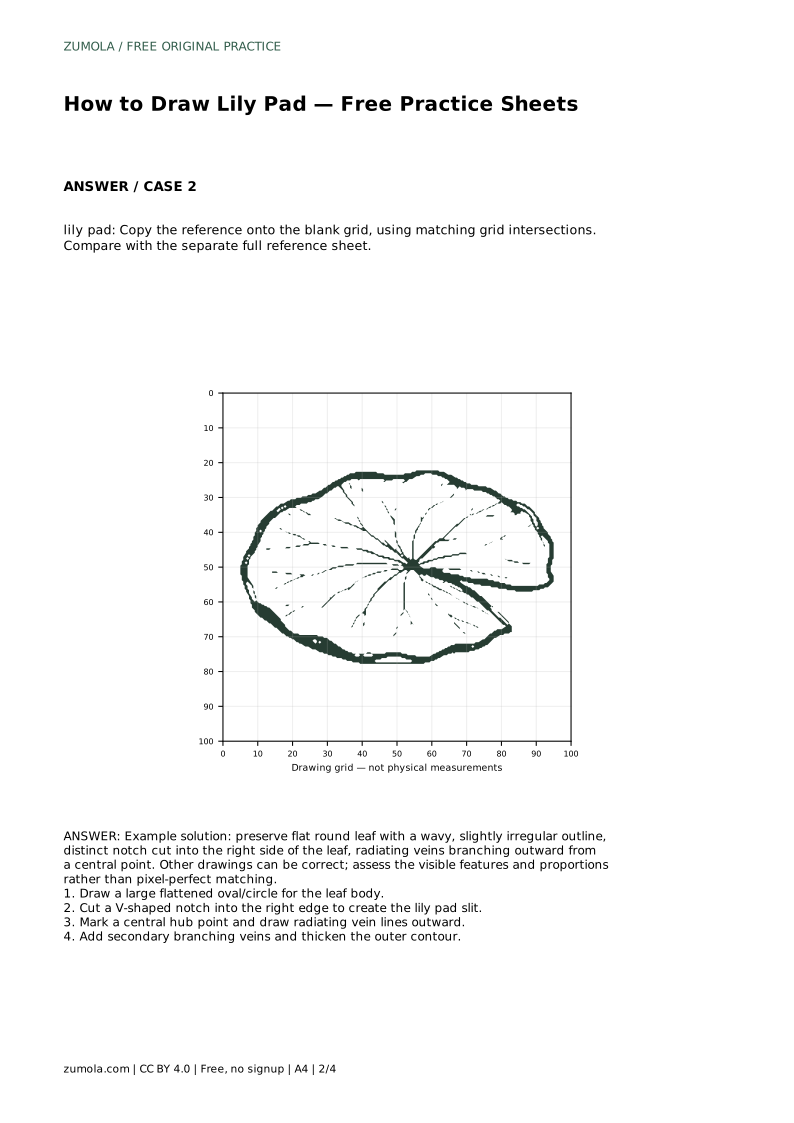
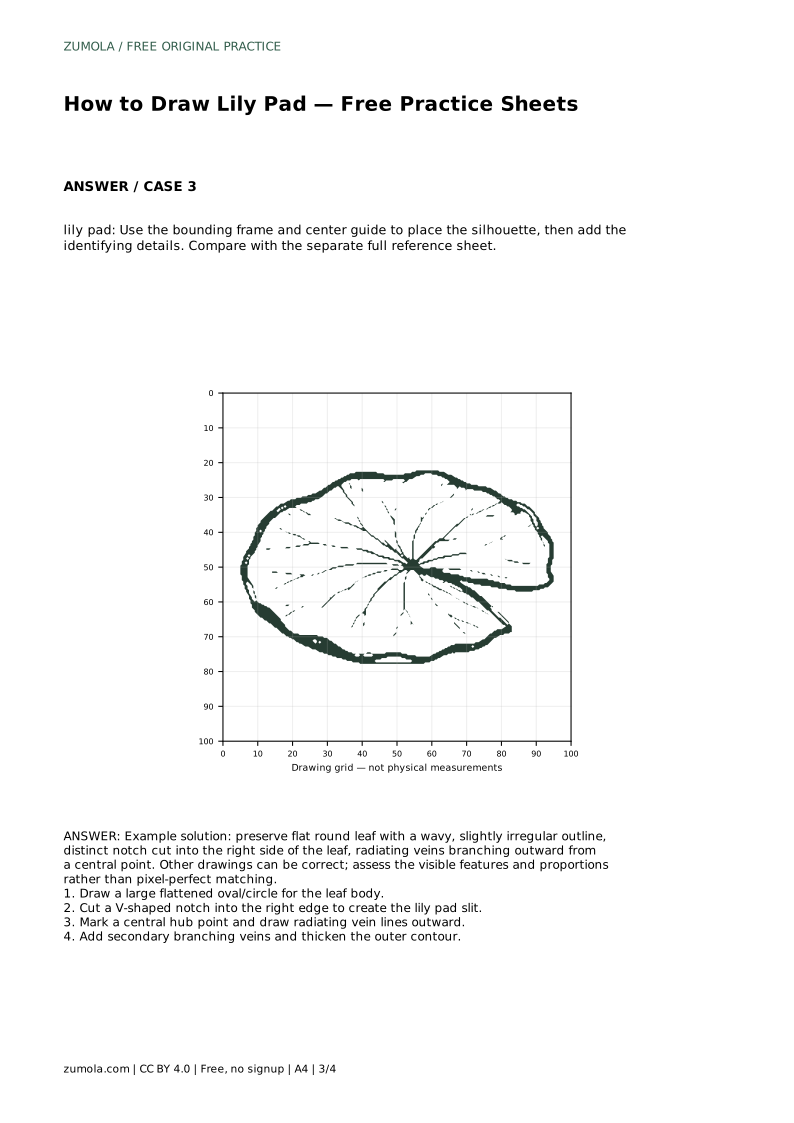
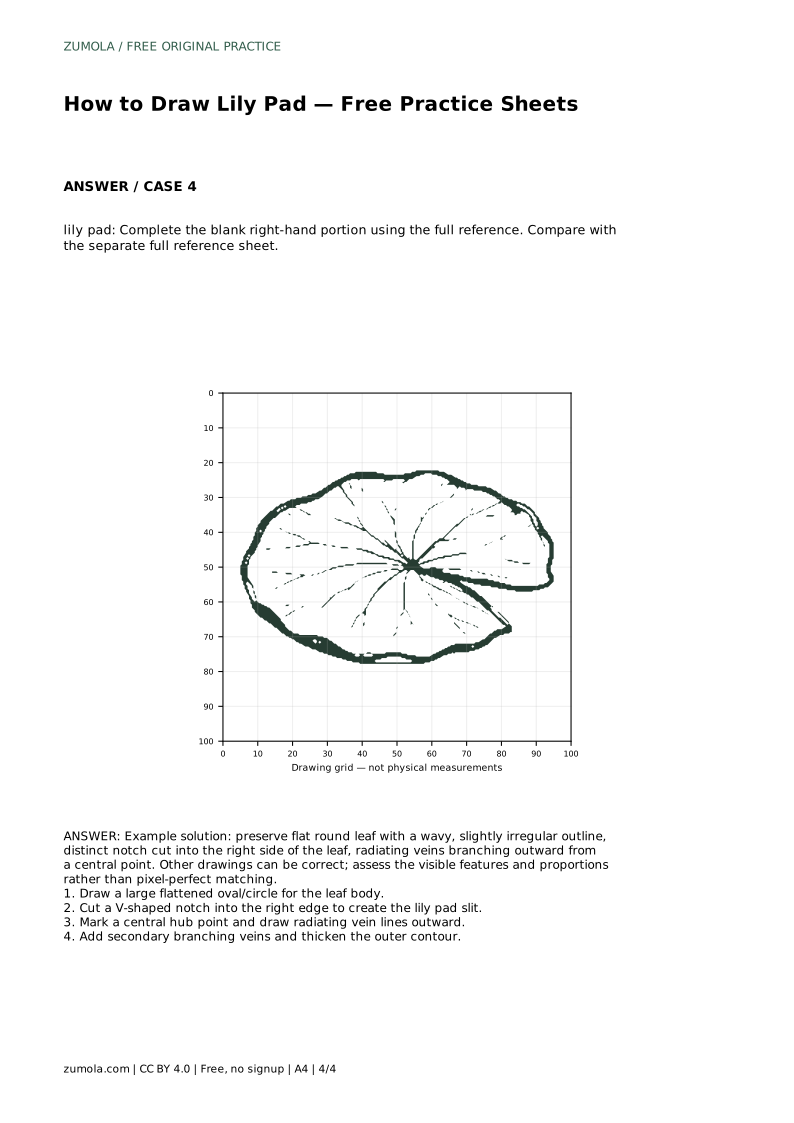
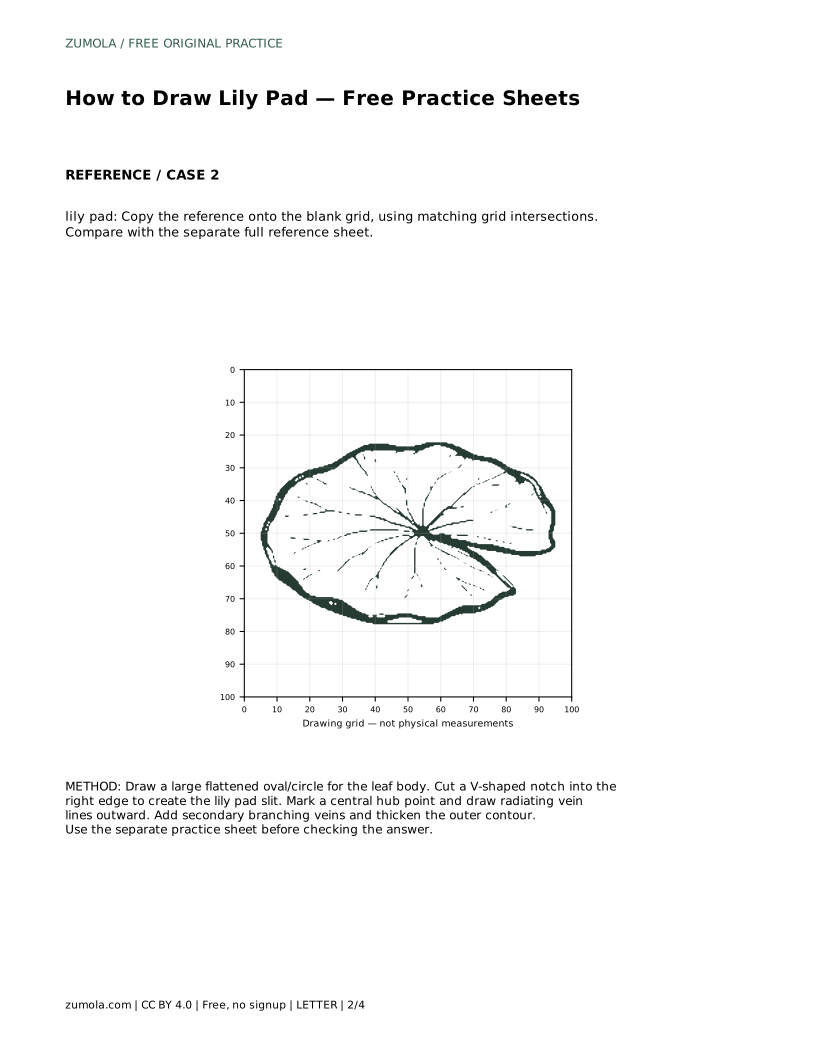
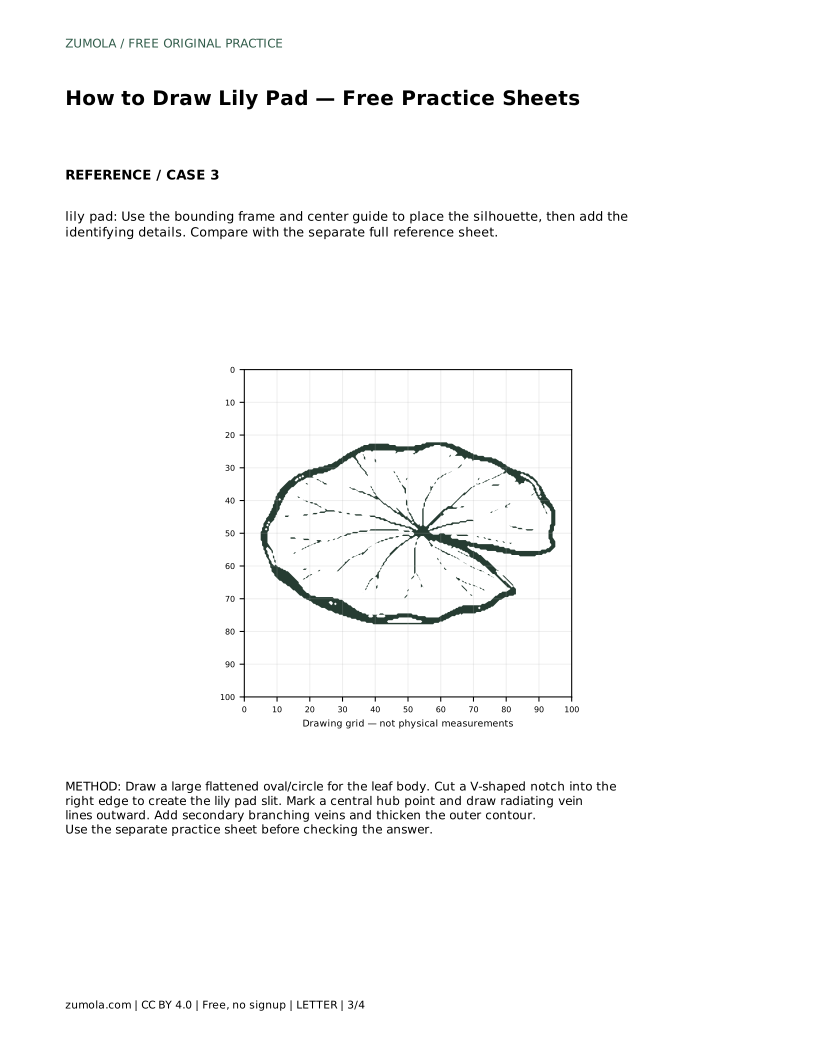
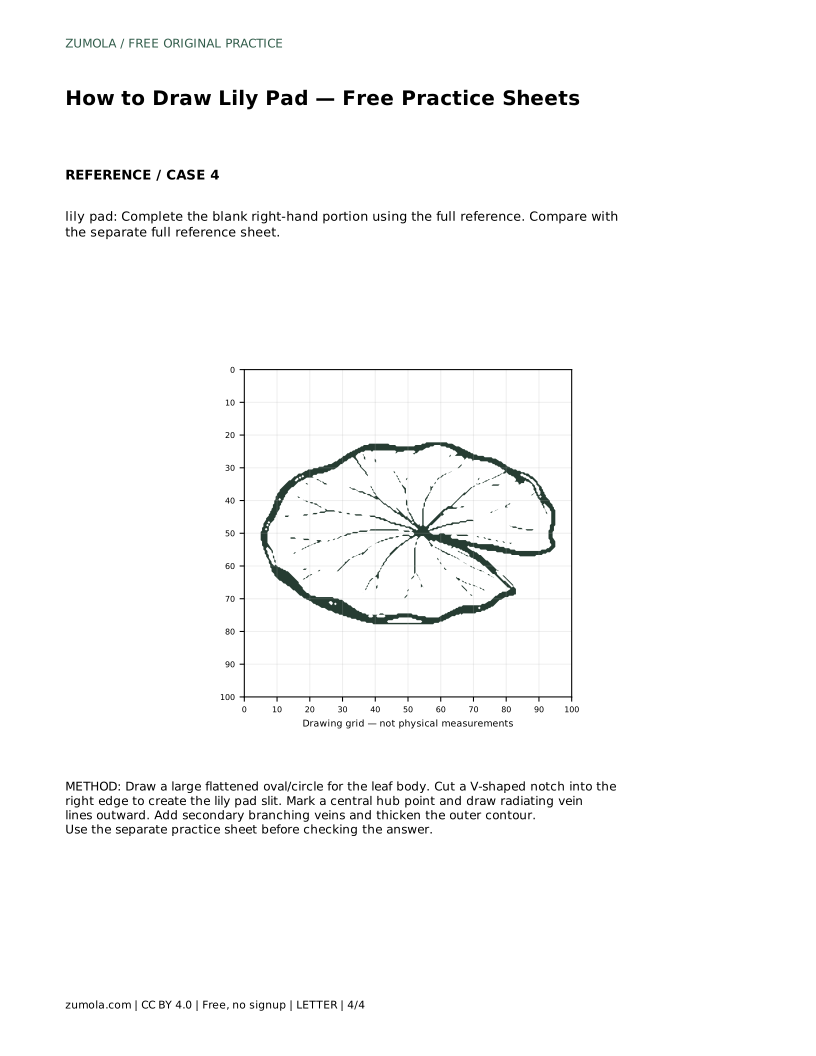
The tracing sheet asks you to follow the reference outline first, then practise the contour independently. Compare your result with the separate full reference sheet. The grid sheet asks you to copy the reference onto the blank grid using matching grid intersections, which helps with placement and proportion. The frame-and-center-guide sheet asks you to place the silhouette using the bounding frame and center guide before adding the identifying details. The partial-reference sheet asks you to complete the blank right-hand portion using the full reference.
Each sheet targets a different skill, so do not treat them as identical repetitions. On the tracing sheet, focus on contour control. On the grid sheet, focus on proportion and position. On the frame sheet, focus on fitting the silhouette inside the guide. On the partial sheet, focus on continuing the notch, edge, and vein pattern consistently from the completed left side.
Compare your drawing with the separate full reference sheet by checking visible features rather than exact line placement. Confirm that the leaf is flat and rounded, the outline is wavy and slightly irregular, the notch is cut into the right side, and the veins radiate from a central point. Other drawings can be correct, so assess the features and proportions instead of demanding a pixel-perfect match.
lily pad: Trace the reference outline, then practise the contour independently. Compare with the separate full reference sheet.
Example solution: preserve flat round leaf with a wavy, slightly irregular outline, distinct notch cut into the right side of the leaf, radiating veins branching outward from a central point. Other drawings can be correct; assess the visible features and proportions rather than pixel-perfect matching. Draw a large flattened oval/circle for the leaf body. Cut a V-shaped notch into the right edge to create the lily pad slit. Mark a central hub point and draw radiating vein lines outward. Add secondary branching veins and thicken the outer contour.
No. The notch should be clear and cut into the right edge, but it does not need to reach the exact center. Keep the two sides distinct and the rest of the leaf continuous.
Yes. Art has multiple valid outcomes. Assess the visible features and proportions, such as the flat rounded shape, wavy edge, right-side notch, and radiating veins, rather than matching every line exactly.
Check the silhouette first: flat rounded leaf, wavy outline, and a clear notch on the right side. Then check the central hub and the radiating vein pattern.
All drawing practice · Free coordinate paper
Original resources · CC BY 4.0 · Free for personal and classroom use with attribution.