Reference diagrams
LETTER · Download PDF
A4 · Download PDF
Free original resources
Learn to draw a poppy by building the seed pod, stamens, four overlapping petals, and hairy stem. Trace, grid, and complete practice sheets support the same method.
Four original cases, with reference diagrams, practice sheets and worked answers. Everything is free; no signup required.
LETTER · Download PDF
A4 · Download PDF
LETTER · Download PDF
A4 · Download PDF
LETTER · Download PDF
A4 · Download PDF
Use A4 or US Letter to match your printer. Use the stated values and conditions to solve each exercise; diagrams are not physical measuring rulers.
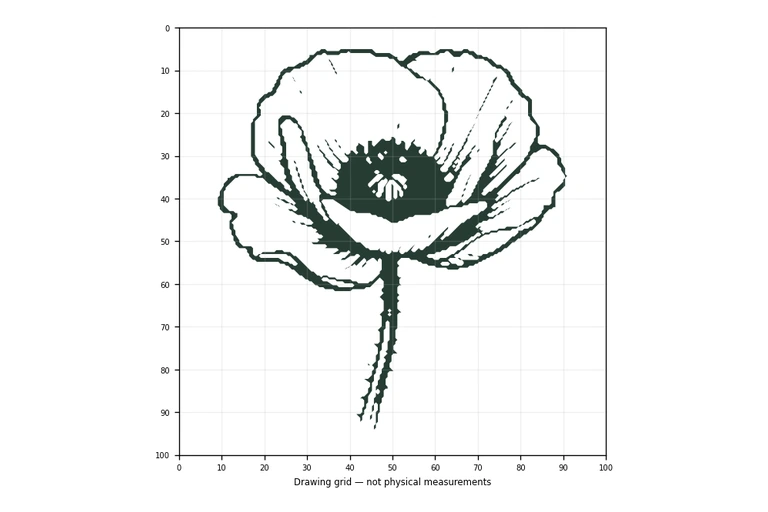
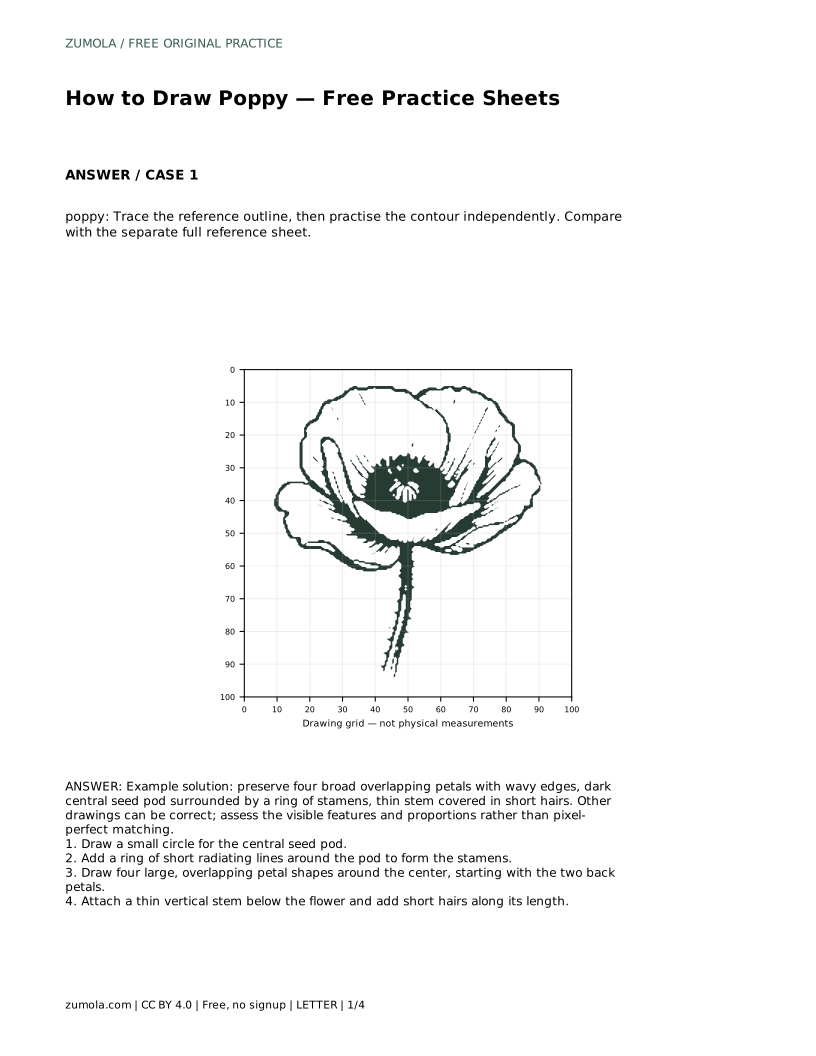
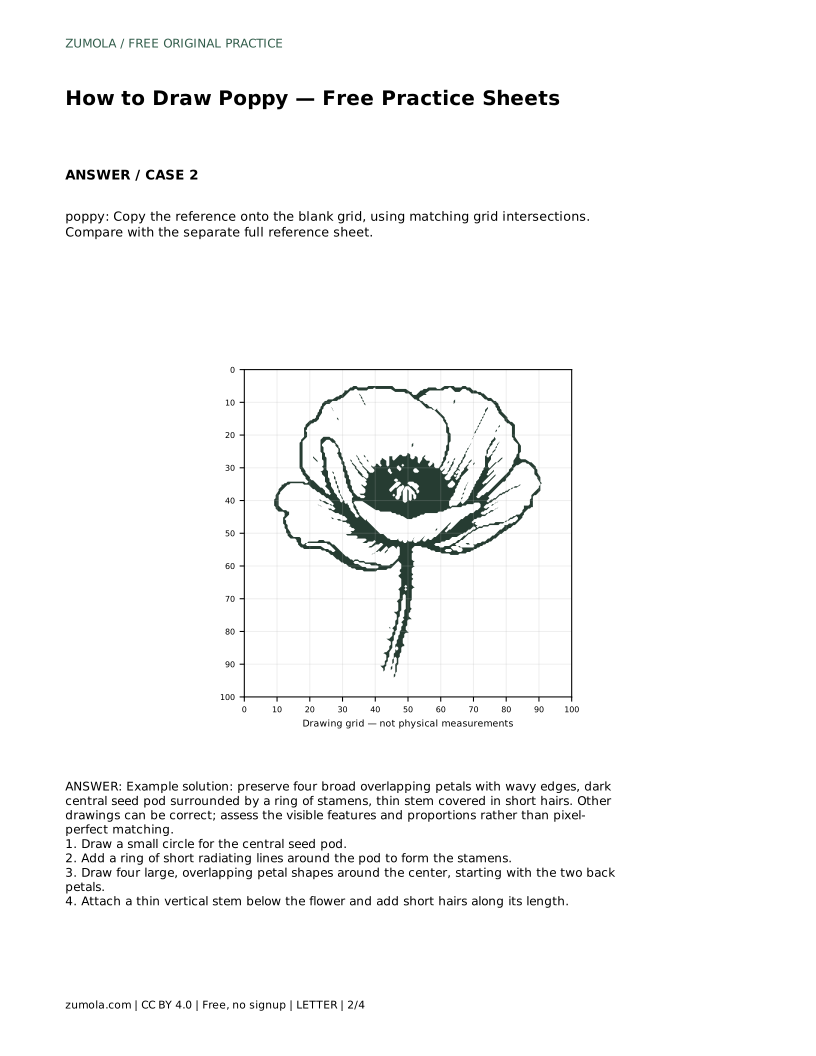
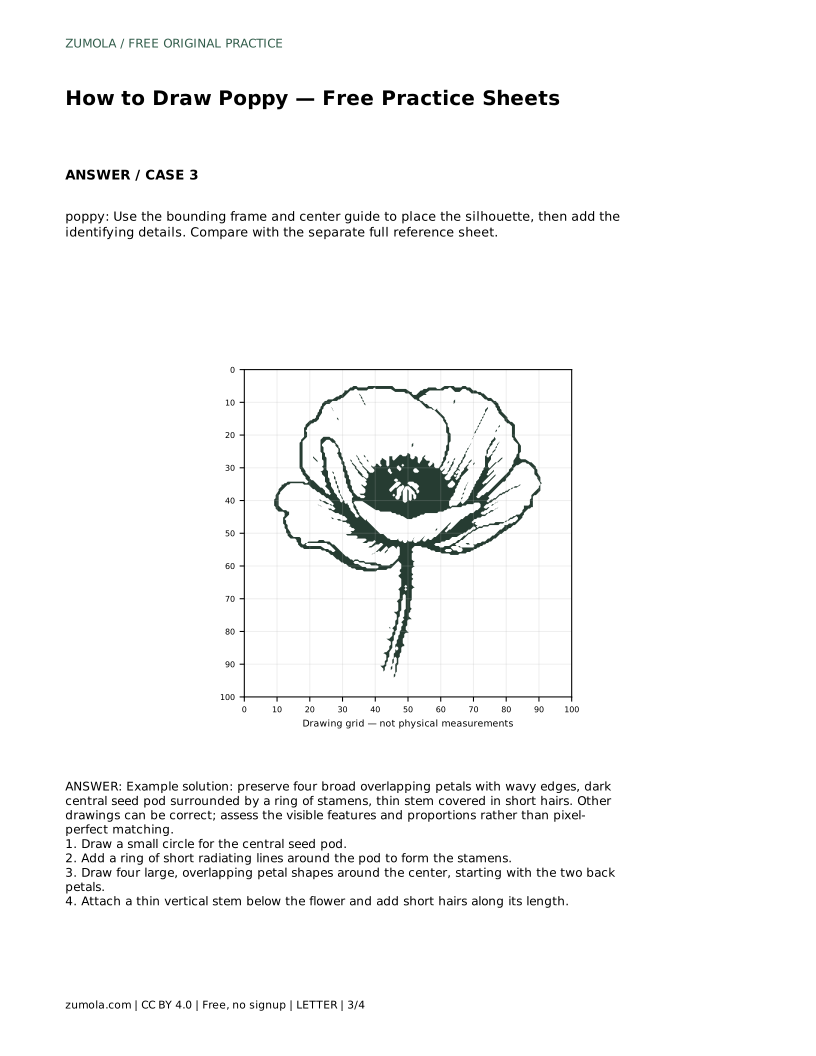
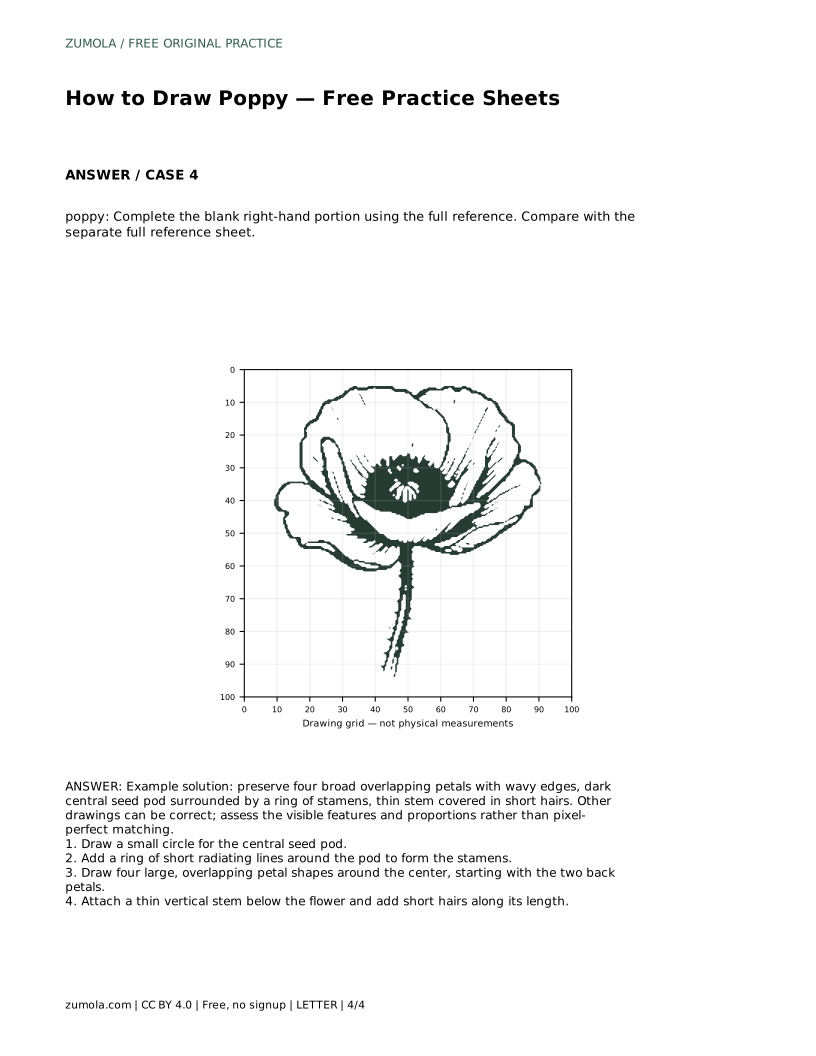
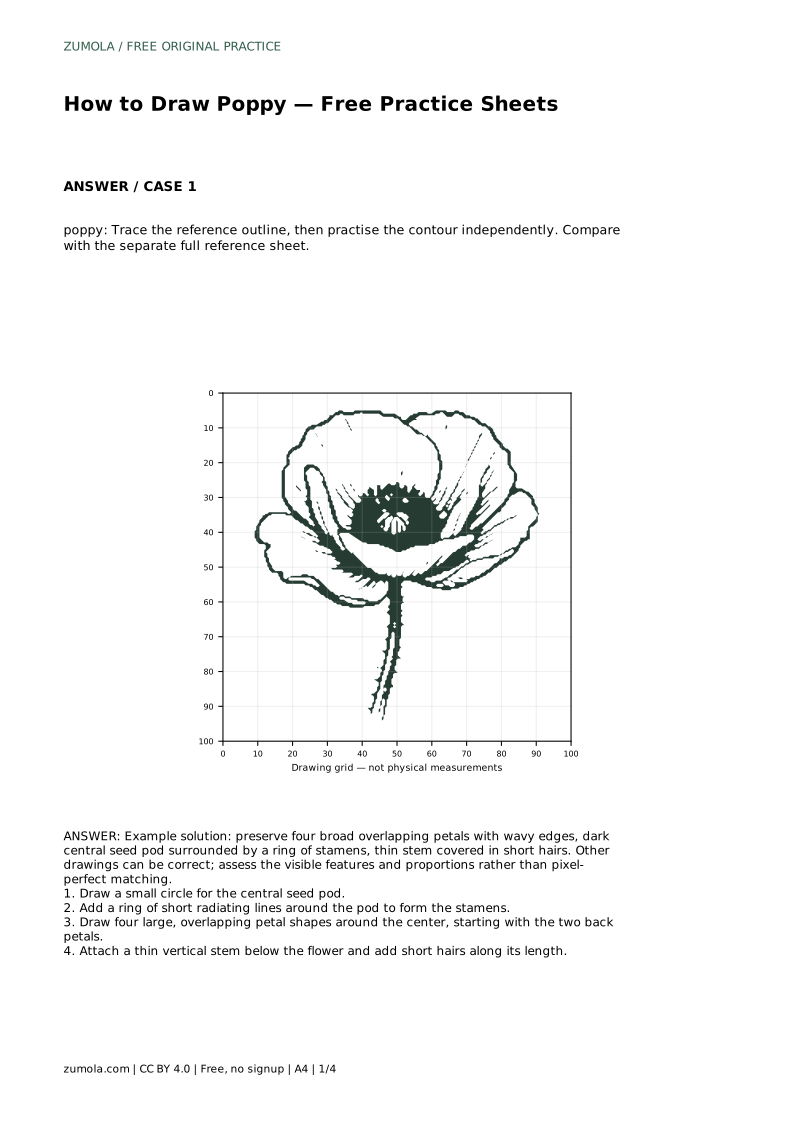
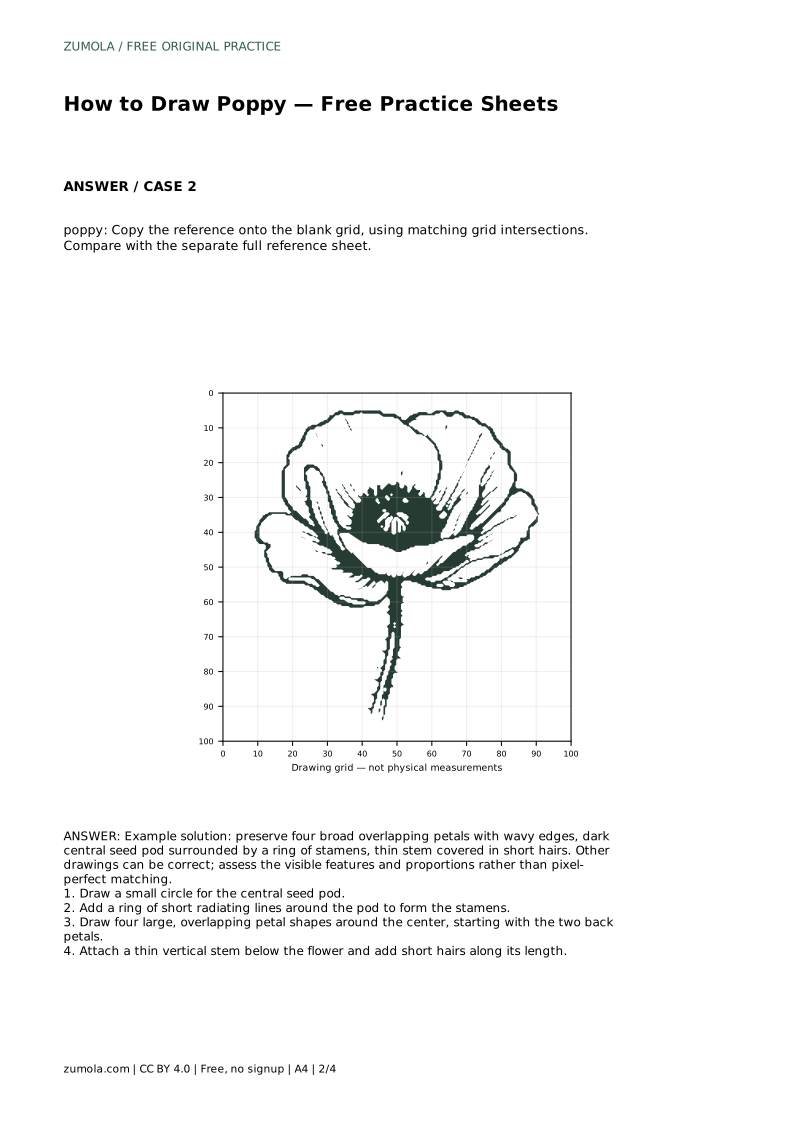
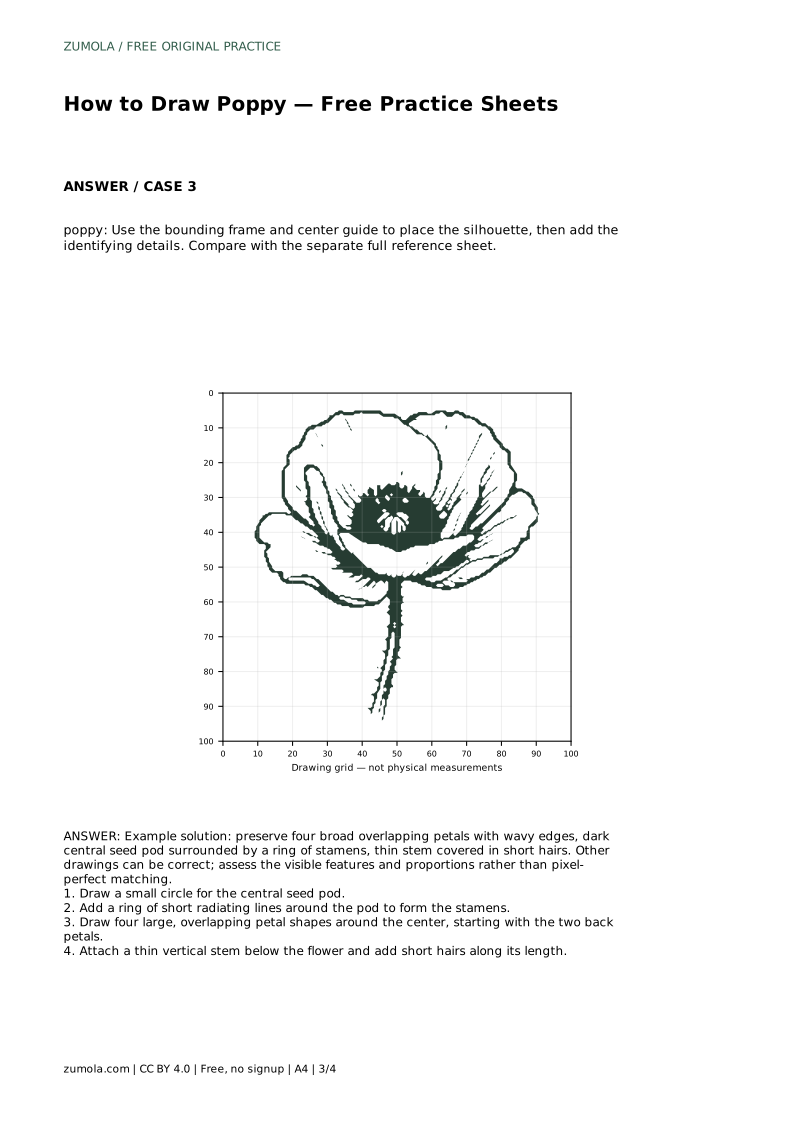
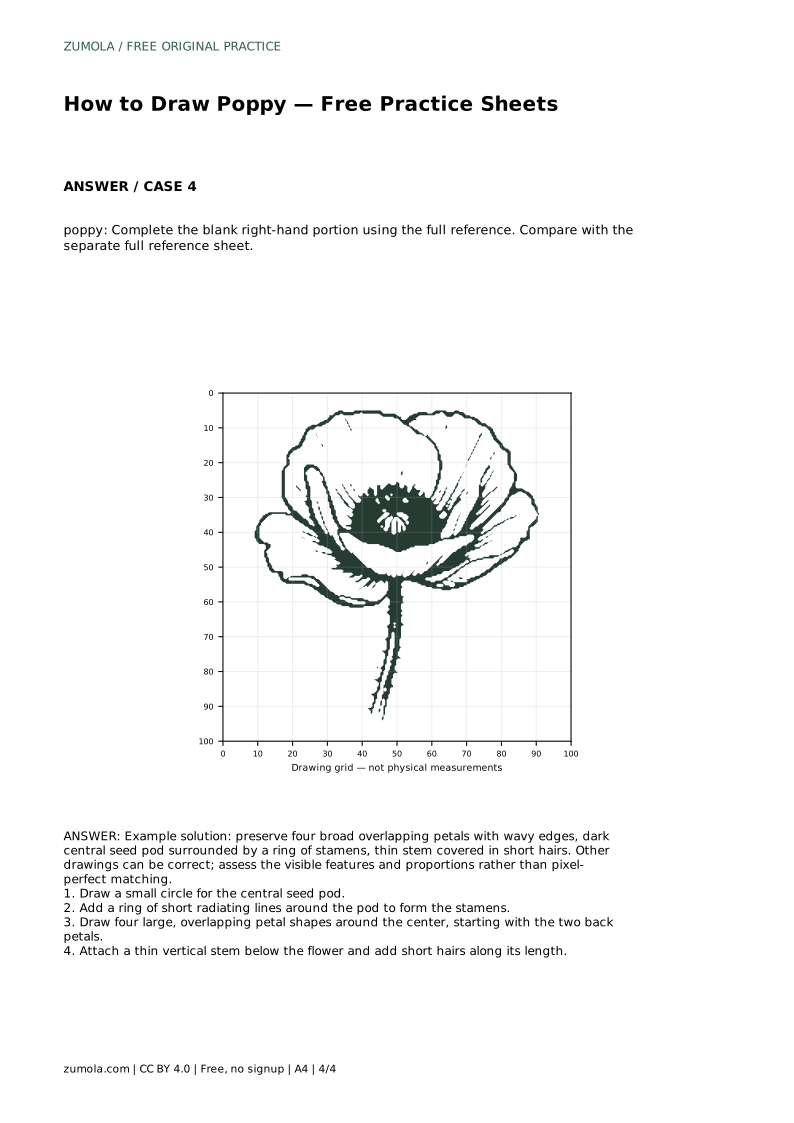
A poppy is easy to recognise because a few features work together: a small central seed pod, a ring of fine stamens, four broad overlapping petals with wavy edges, and a thin stem with short hairs. This page teaches a reliable order for drawing those parts, then explains how to use trace, grid, frame, and partial-reference practice sheets to strengthen the same skill. The goal is a clear, well-proportioned flower, not a pixel-perfect copy.
Start with the seed pod because it anchors every other part. Place a small circle near the middle of your page, leaving room above and to both sides for petals. Around that circle, draw a ring of short radiating lines for the stamens. Keep the lines fine and fairly even; they should point outward from the pod rather than lie flat against it.
Next, add four large petals around the centre. Begin with the two back petals, then draw the two front petals so they overlap the back pair. Give each petal a broad, rounded body and a wavy outer edge. Overlap matters: the flower should look layered, not like four separate shapes arranged in a cross. Finally, attach a thin vertical stem below the flower and add short hairs along its length.
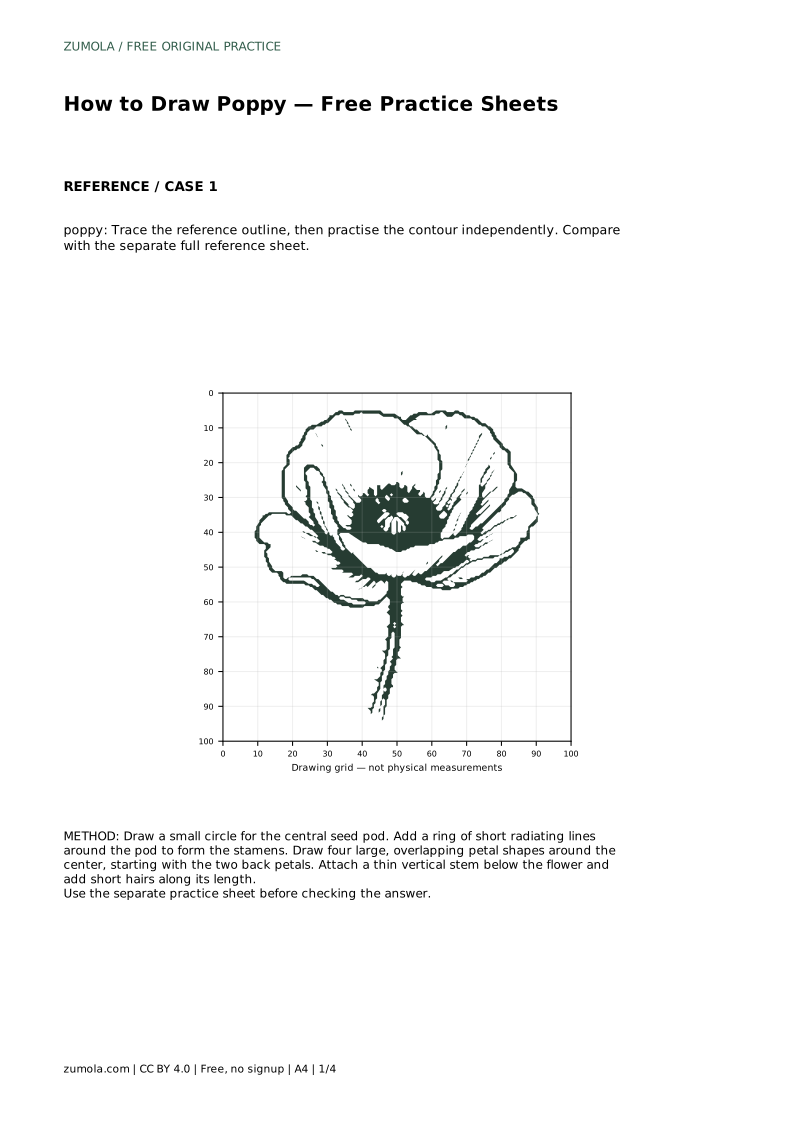
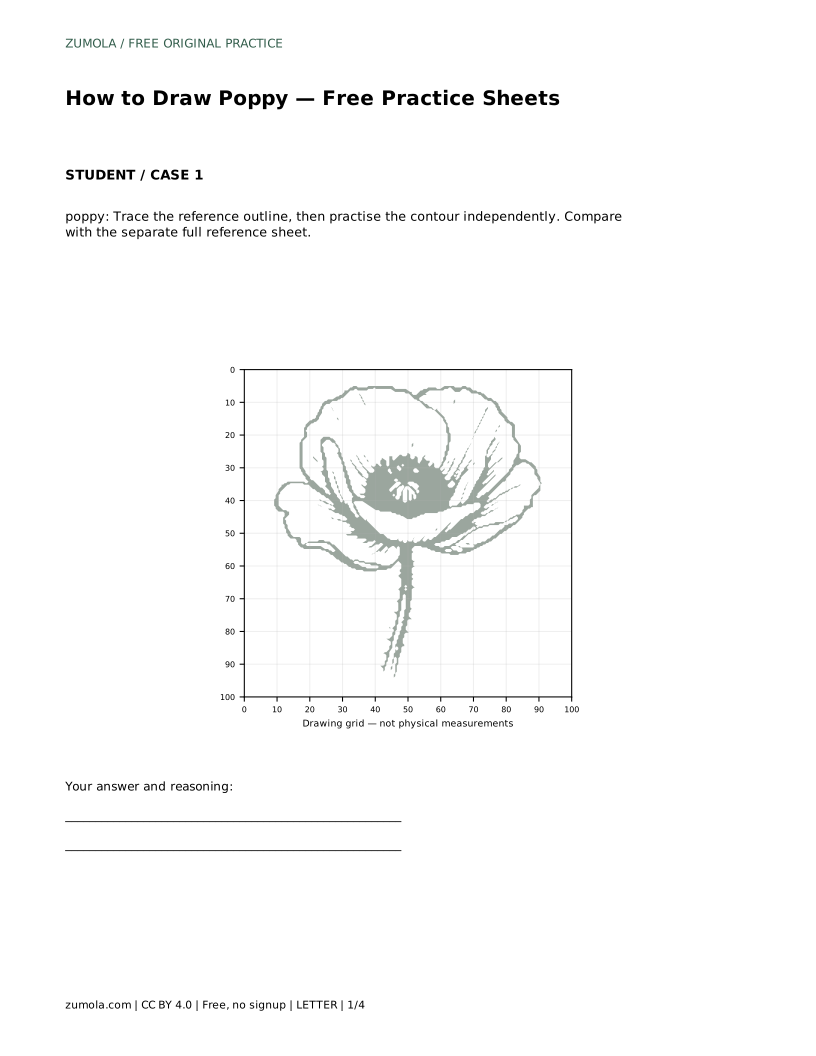
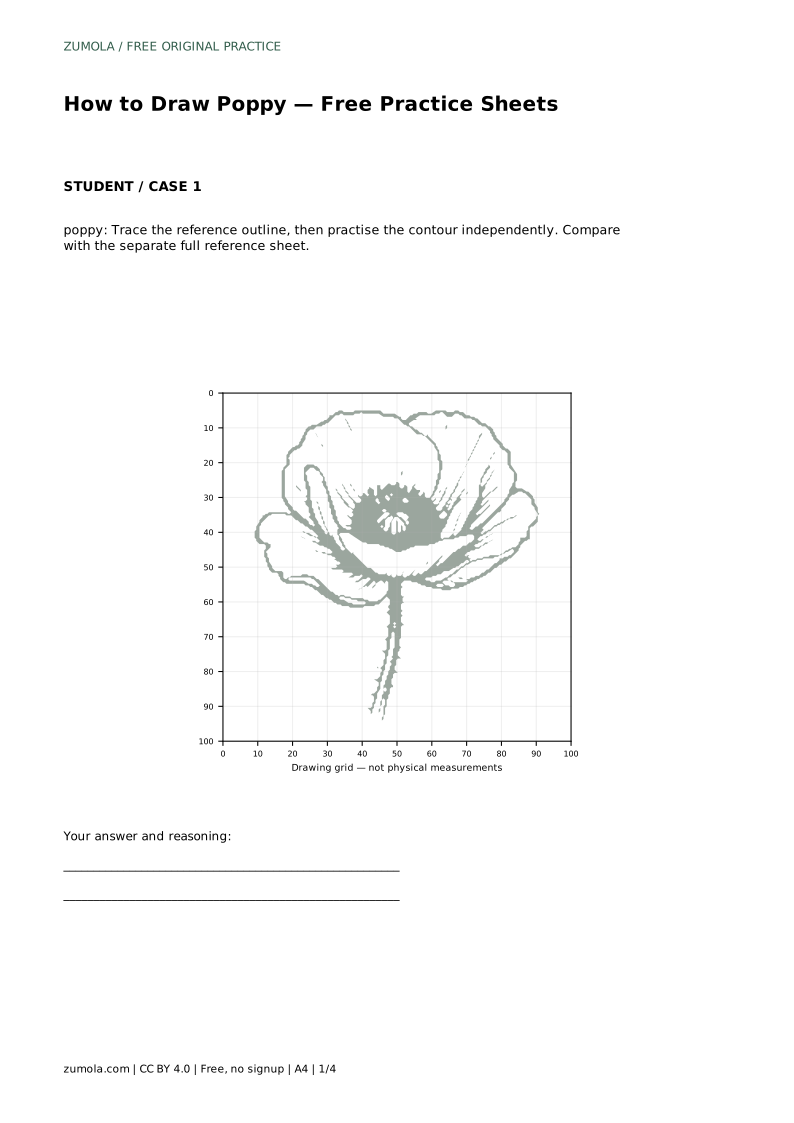
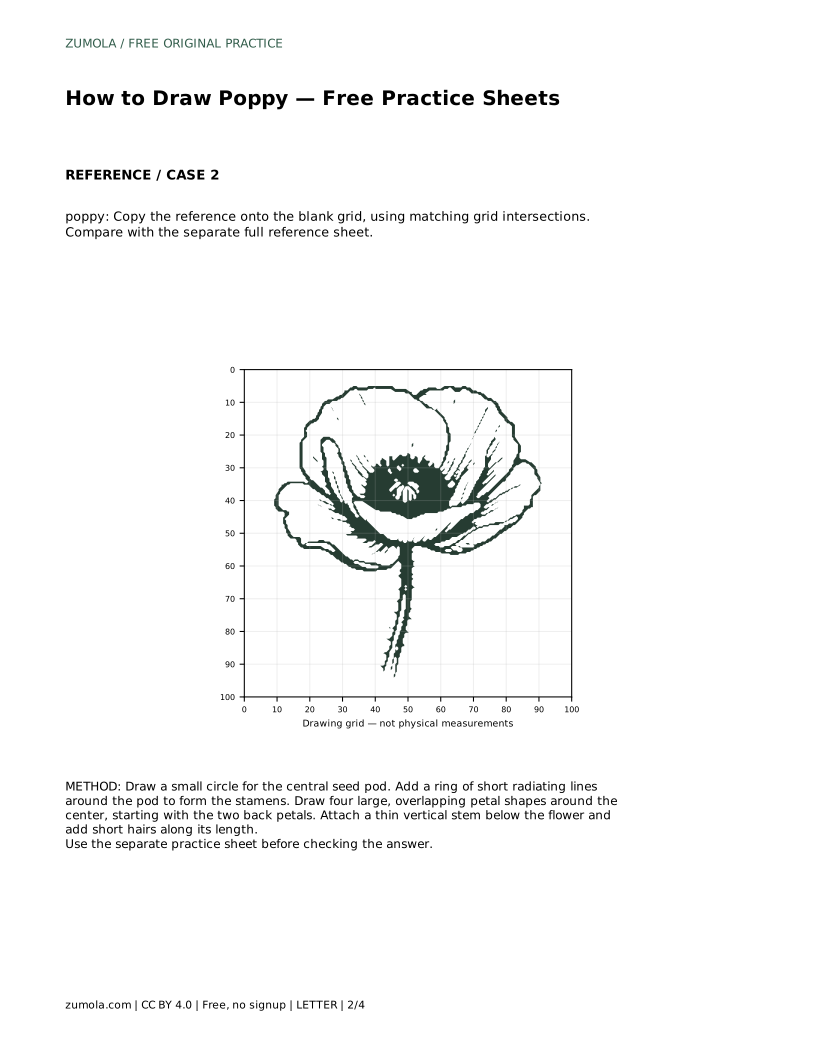
On the trace sheet, follow the reference outline first, then draw the contour independently beside it. Tracing teaches the sequence of edges; the independent attempt shows whether you can reproduce that sequence without help. Compare your drawing with the separate full reference sheet rather than judging it from memory.
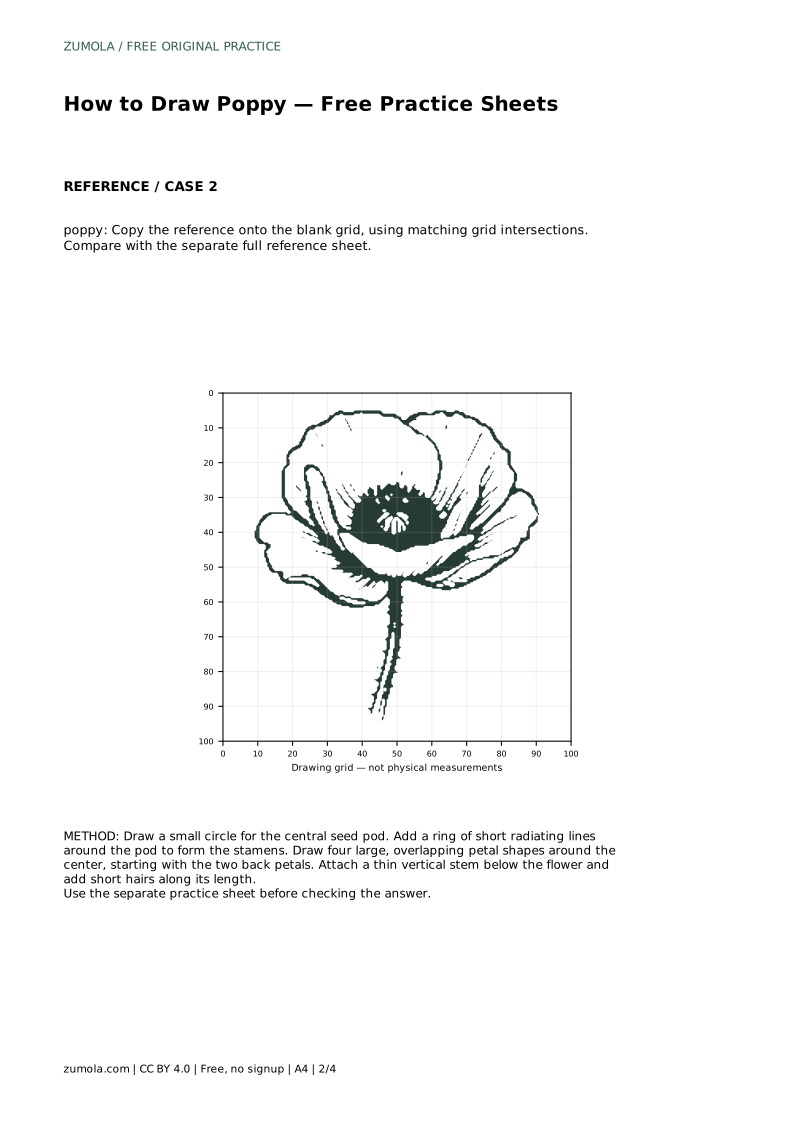
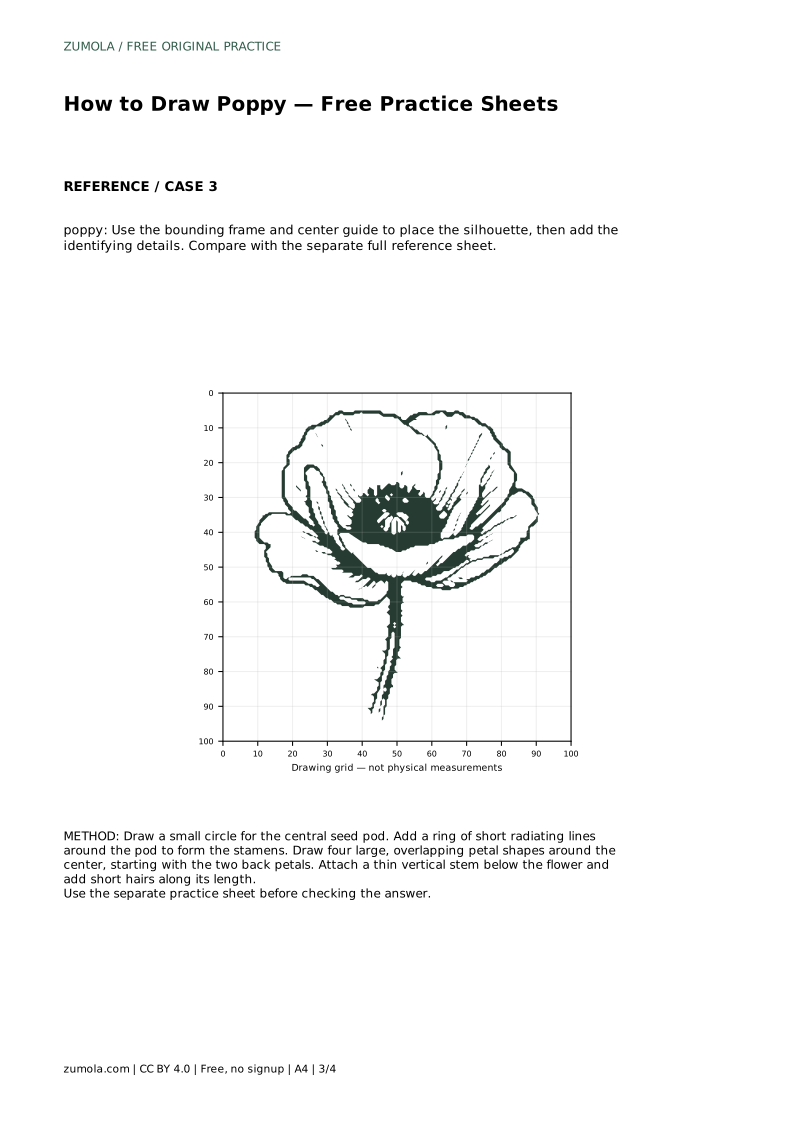
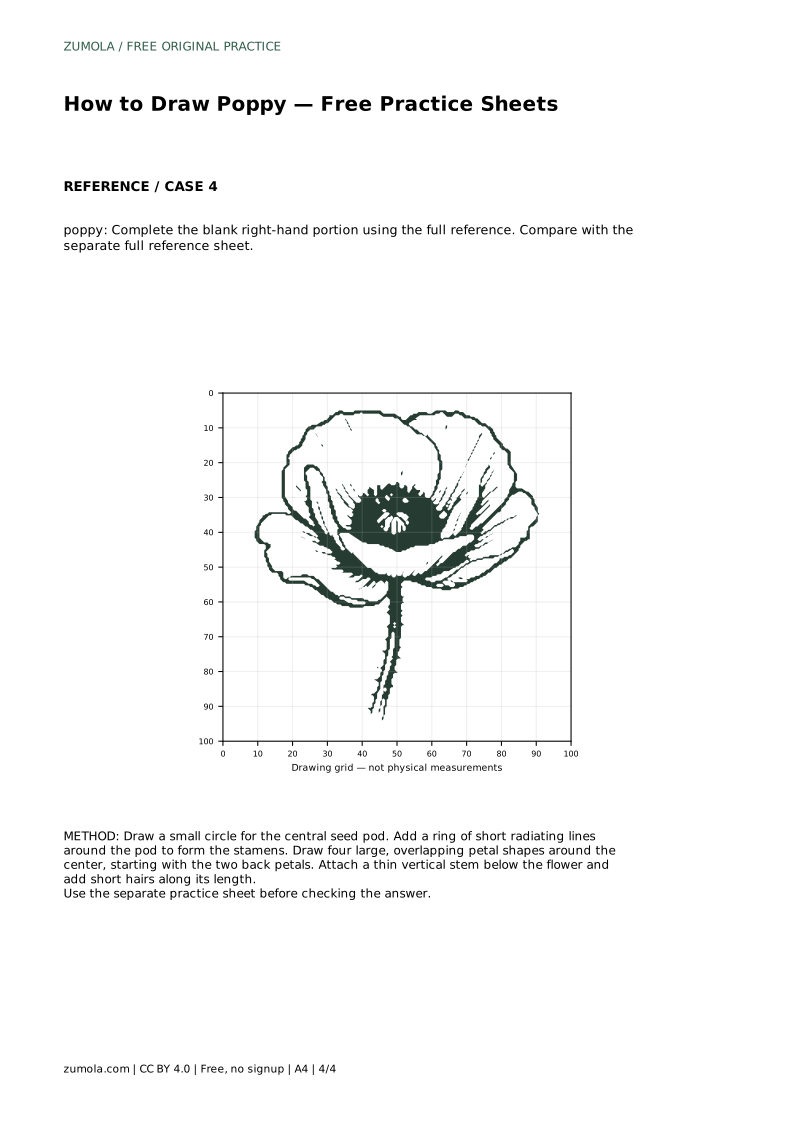
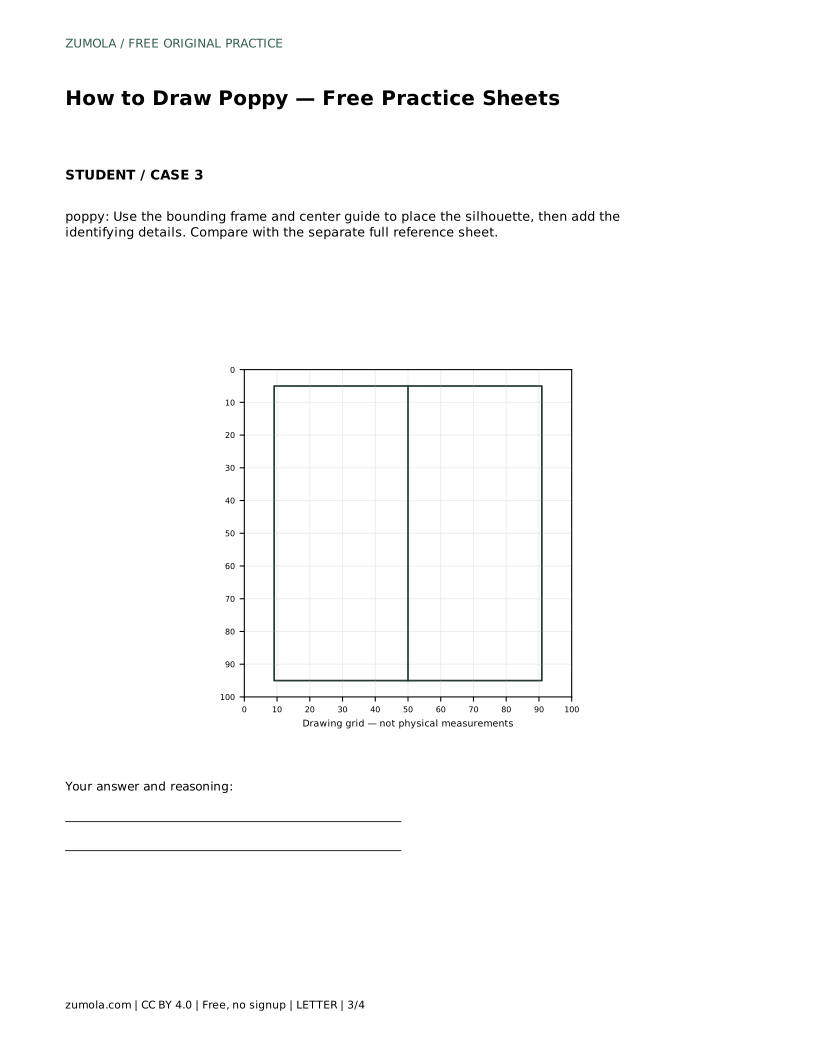
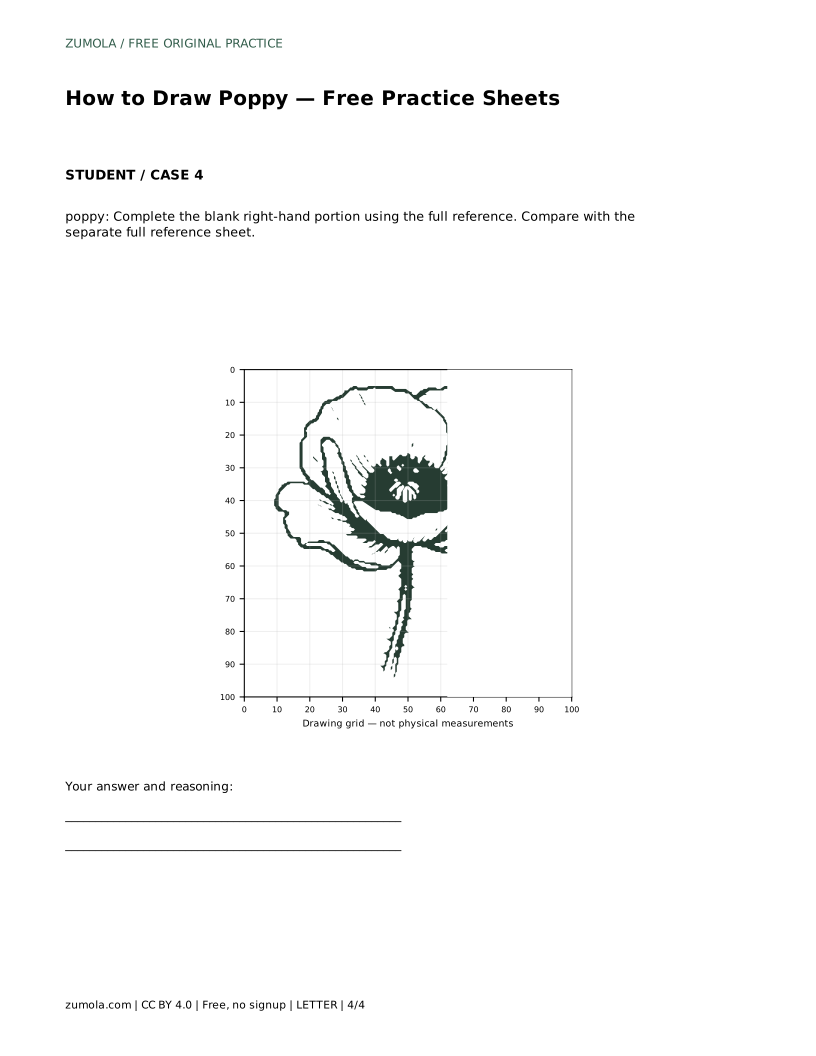
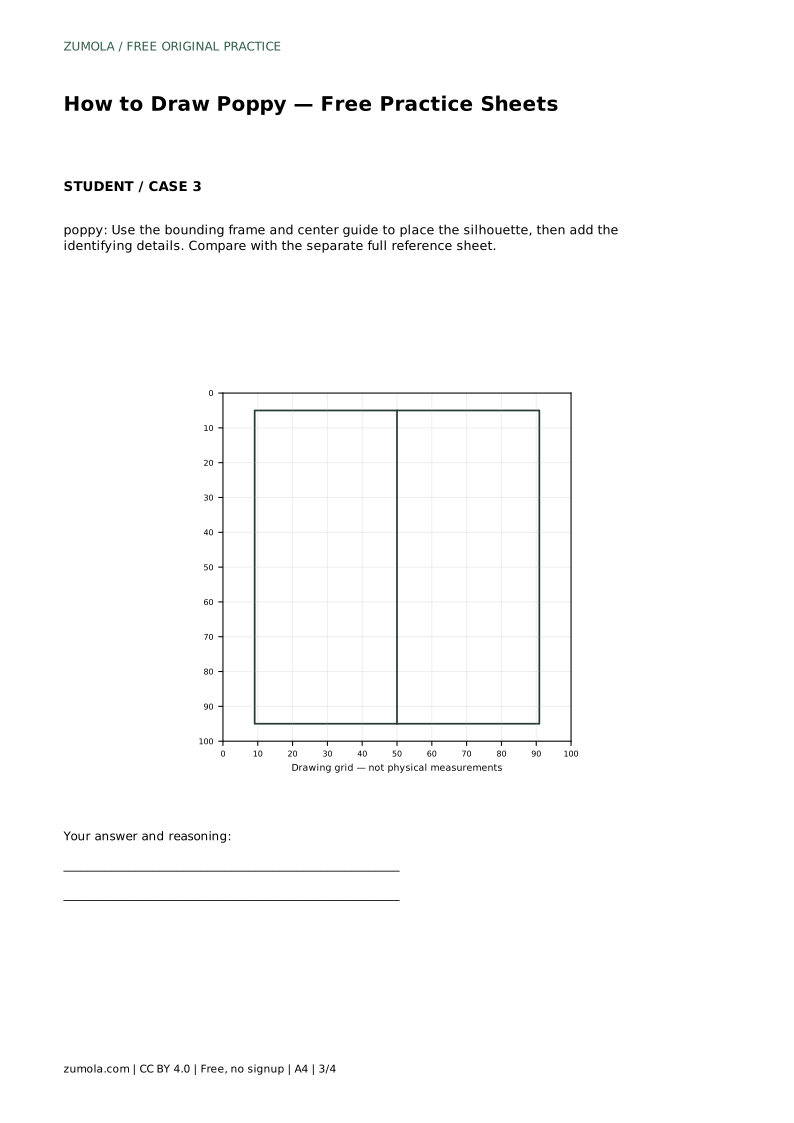
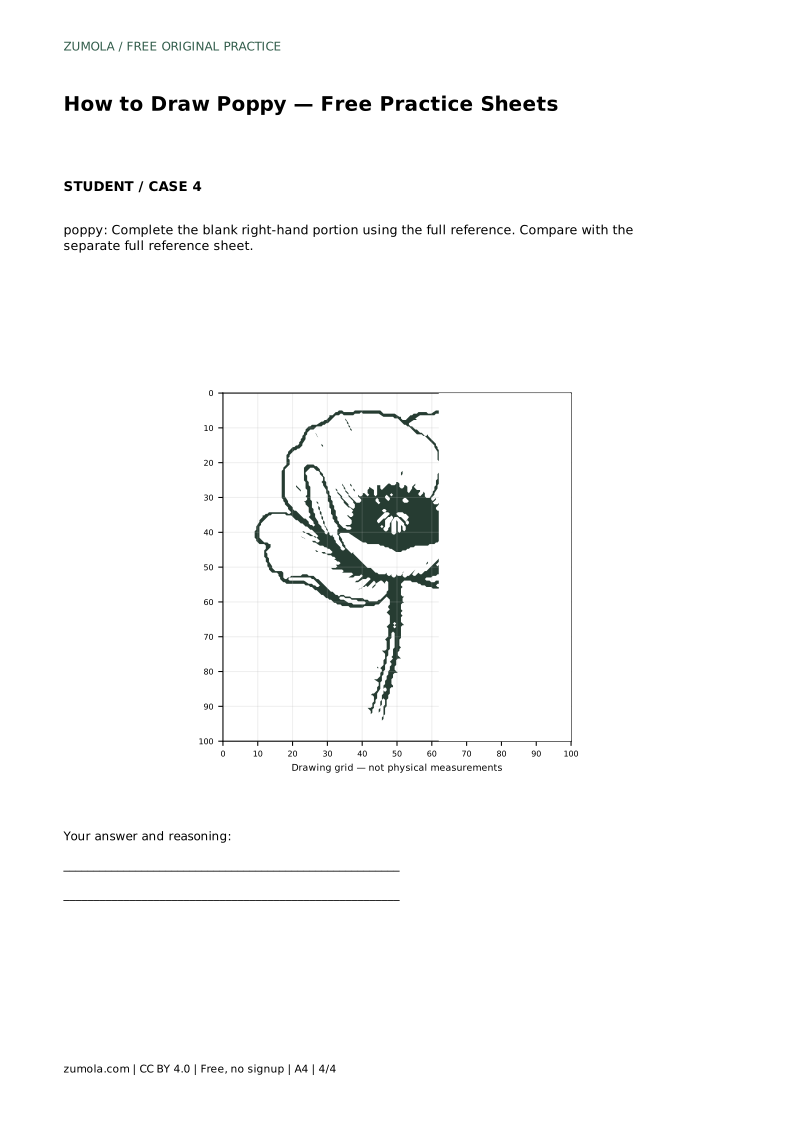
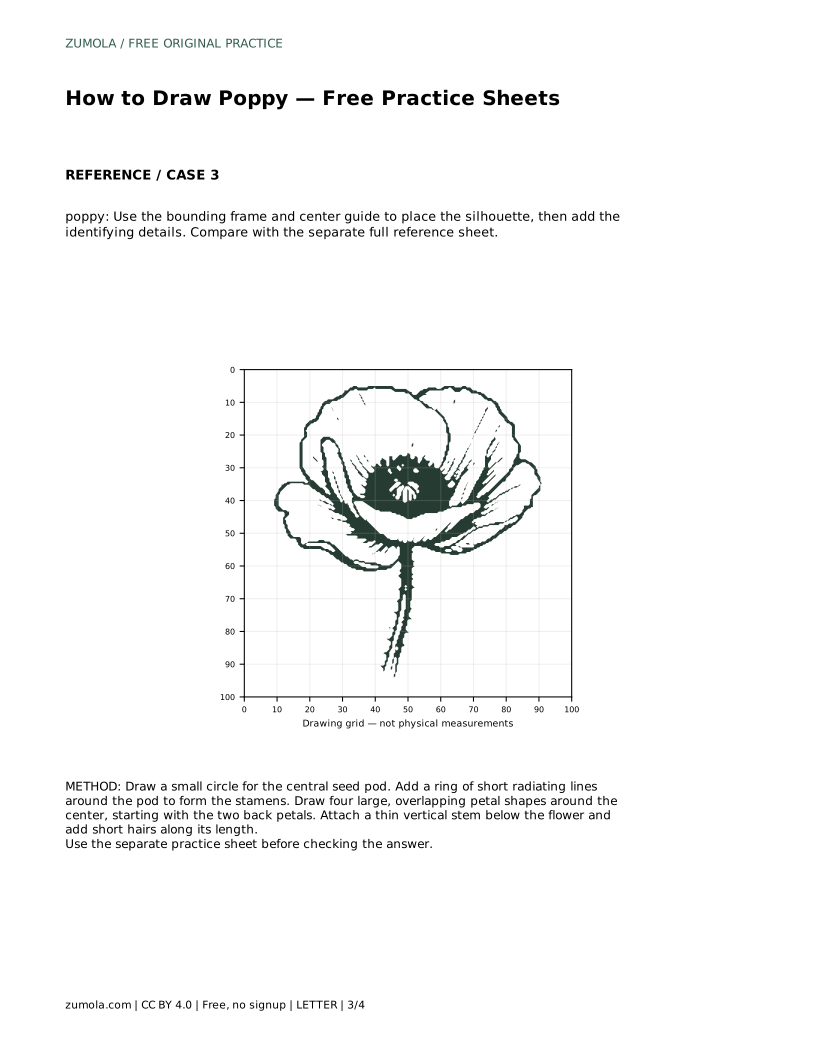
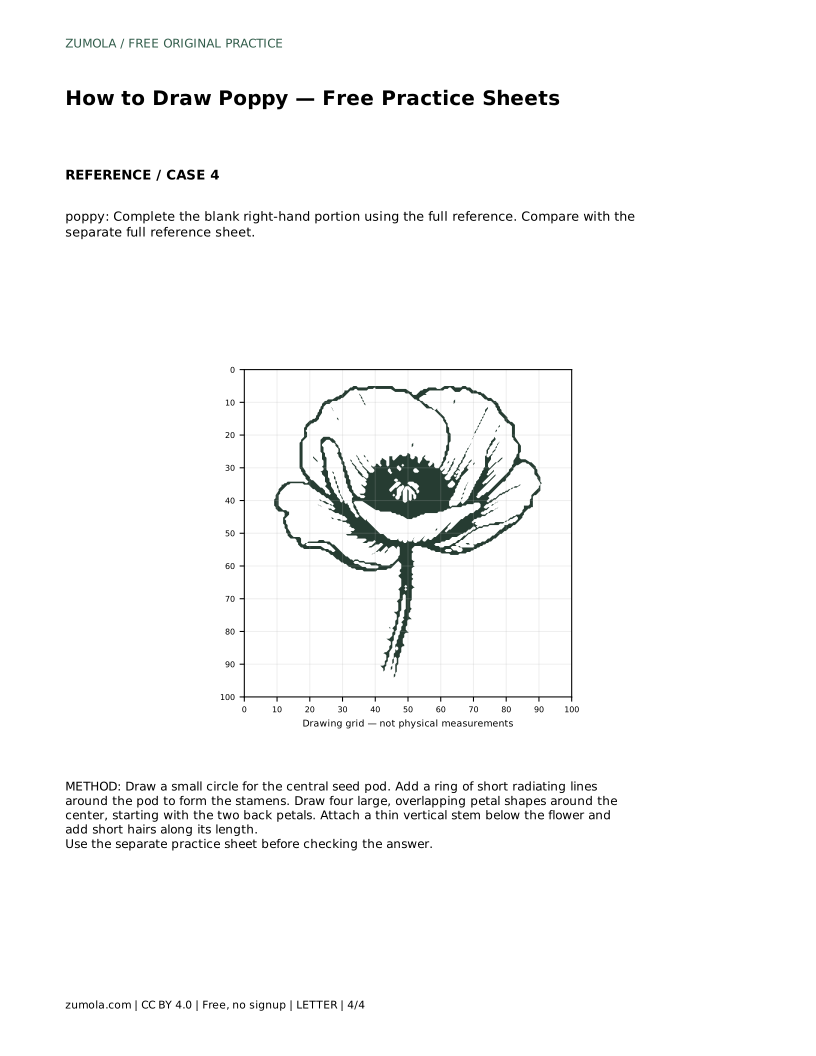
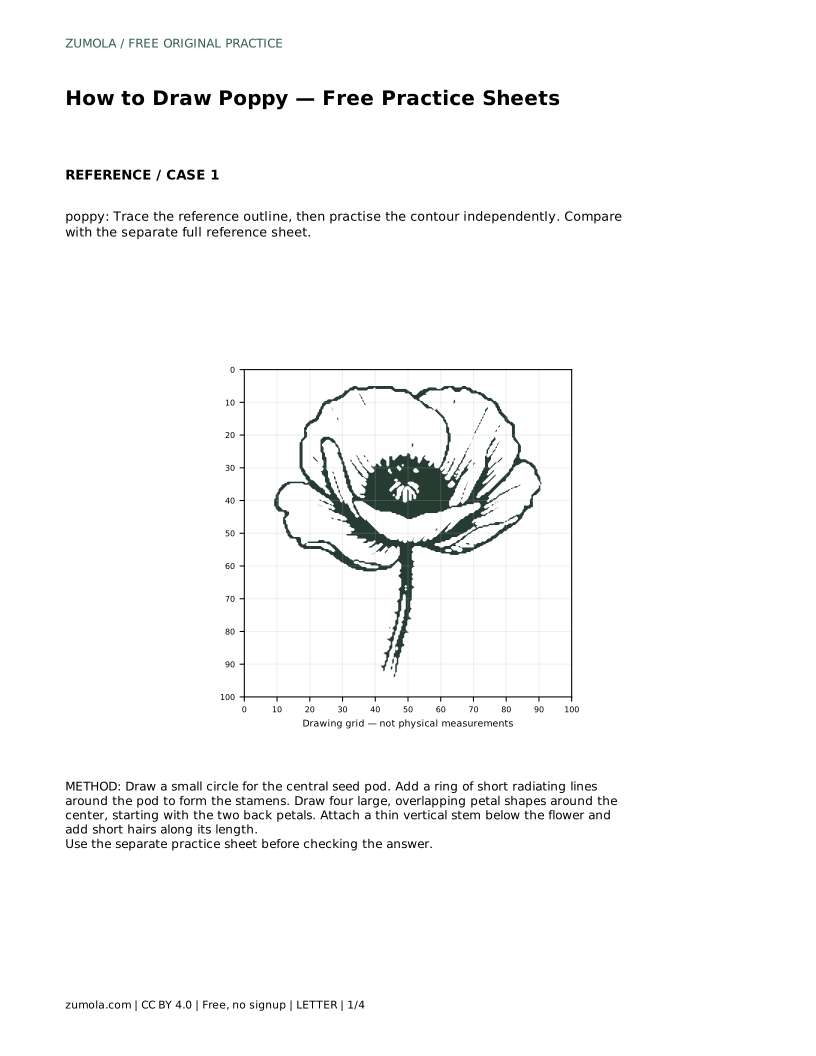
On the blank grid, copy the reference by matching grid intersections. Use the grid to check where the pod sits, how far the petals spread, and where the stem meets the flower. On the bounding-frame sheet, use the frame and centre guide to place the silhouette before adding the identifying details. On the partial-reference sheet, complete the blank right-hand portion using the full reference, paying attention to how the missing petals overlap the visible ones.
A useful check is whether the four petals read as broad and overlapping, with wavy edges rather than smooth ovals. The seed pod should remain small relative to the petals, and the stamens should form a visible ring around it. The stem should be thin and roughly vertical, with short hairs along its length.
Because drawings can vary, assess the visible features and proportions rather than expecting an exact match. A poppy drawn with slightly different petal widths or a taller stem can still be correct if the identifying structure is clear.
Work lightly at first so you can adjust the petal edges and stem position. Darken lines only after the overall shape looks balanced. Keep stamen lines short and distinct; long, tangled lines obscure the seed pod. If a petal becomes too narrow, widen its outer curve rather than adding extra petals.
The same method applies across the practice sheets, but each sheet tests a different level of support. Use the trace sheet to learn the order, the grid to check placement, the frame to plan the silhouette, and the partial sheet to finish a flower from limited information.
poppy: Trace the reference outline, then practise the contour independently. Compare with the separate full reference sheet.
Example solution: preserve four broad overlapping petals with wavy edges, dark central seed pod surrounded by a ring of stamens, thin stem covered in short hairs. Other drawings can be correct; assess the visible features and proportions rather than pixel-perfect matching. Draw a small circle for the central seed pod. Add a ring of short radiating lines around the pod to form the stamens. Draw four large, overlapping petal shapes around the center, starting with the two back petals. Attach a thin vertical stem below the flower and add short hairs along its length.
Draw the small seed pod first, add the ring of stamens, then draw four overlapping petals starting with the two back petals. Finish with a thin stem and short hairs.
No. Preserve the four broad overlapping petals with wavy edges, the small central pod, the stamen ring, and the hairy stem. Other drawings can be correct, so assess visible features and proportions.
Complete the blank right-hand portion using the full reference. Check how the missing petals overlap the visible ones, then compare the whole flower with the separate full reference sheet.
All drawing practice · Free coordinate paper
Original resources · CC BY 4.0 · Free for personal and classroom use with attribution.