Reference diagrams
LETTER · Download PDF
A4 · Download PDF
Free original resources
Learn to draw a bumper car by building its rubber bumper ring, open cockpit, seat, steering wheel and rear pole, then check your work with a feature rubric.
Four original cases, with reference diagrams, practice sheets and worked answers. Everything is free; no signup required.
LETTER · Download PDF
A4 · Download PDF
LETTER · Download PDF
A4 · Download PDF
LETTER · Download PDF
A4 · Download PDF
Use A4 or US Letter to match your printer. Use the stated values and conditions to solve each exercise; diagrams are not physical measuring rulers.
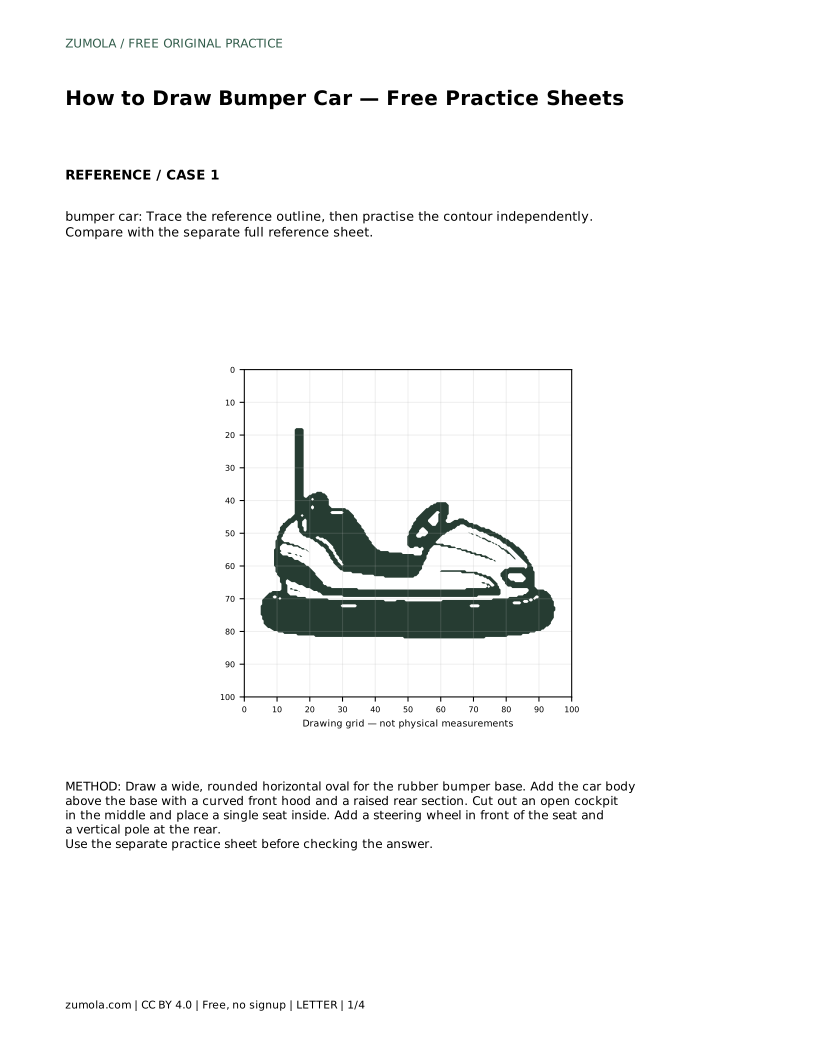
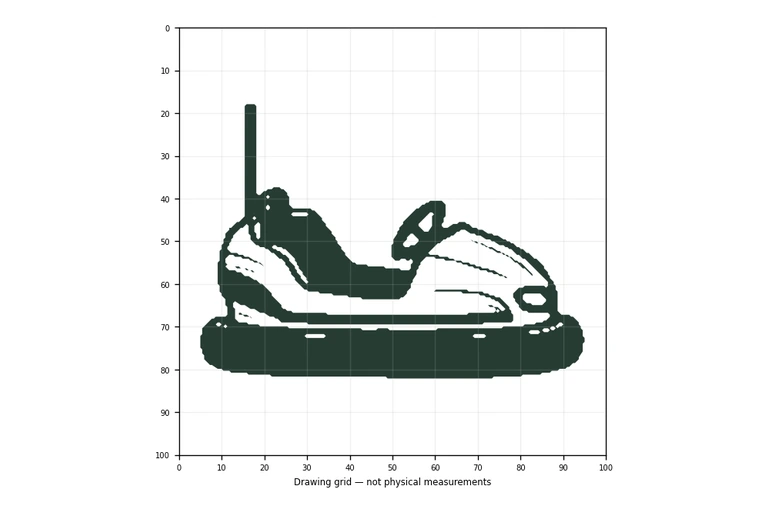
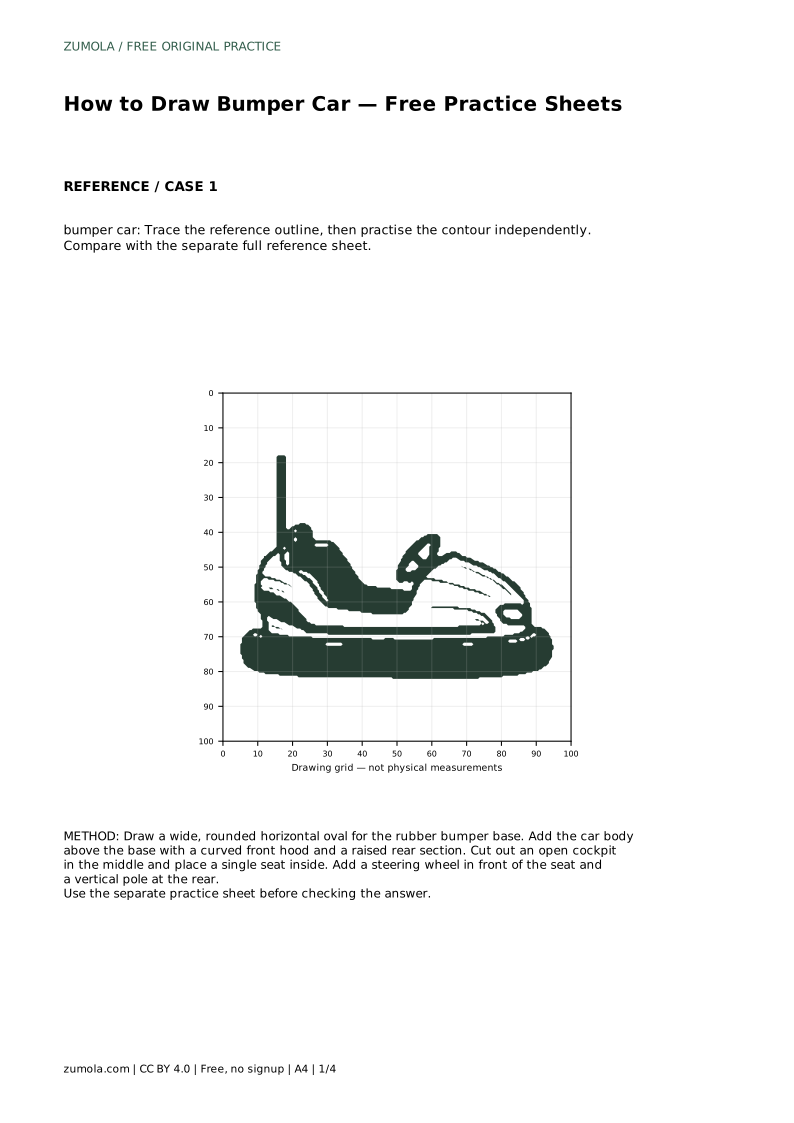
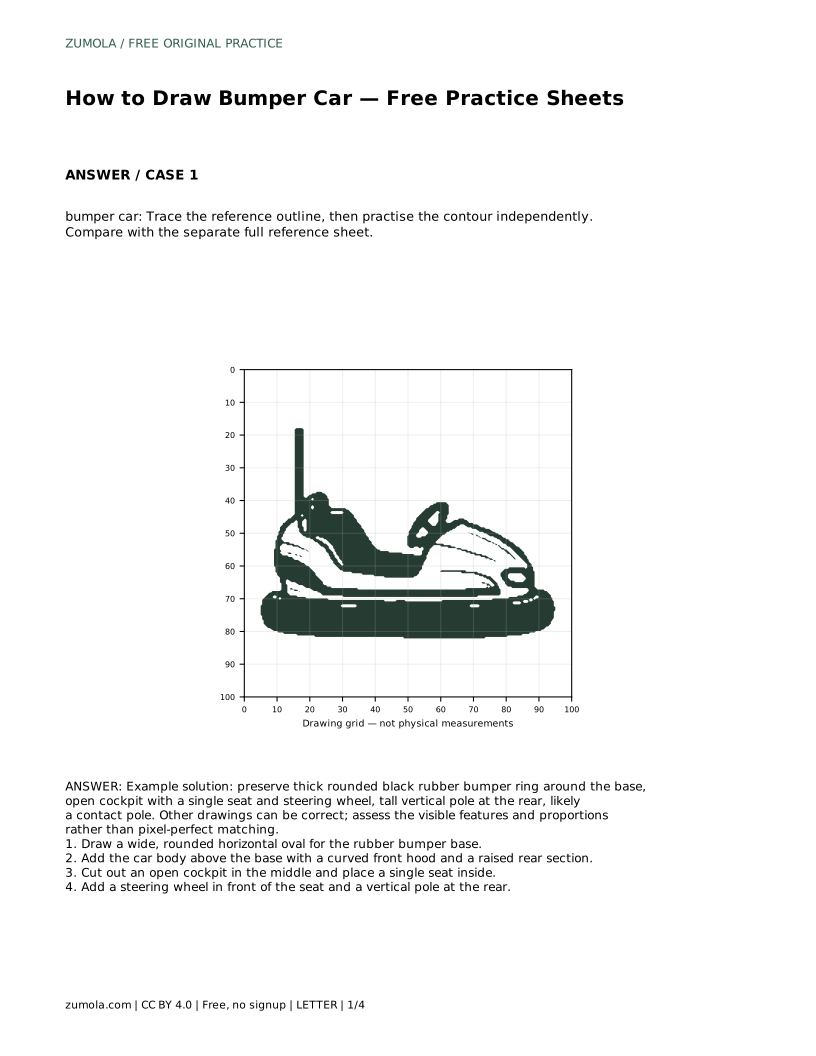
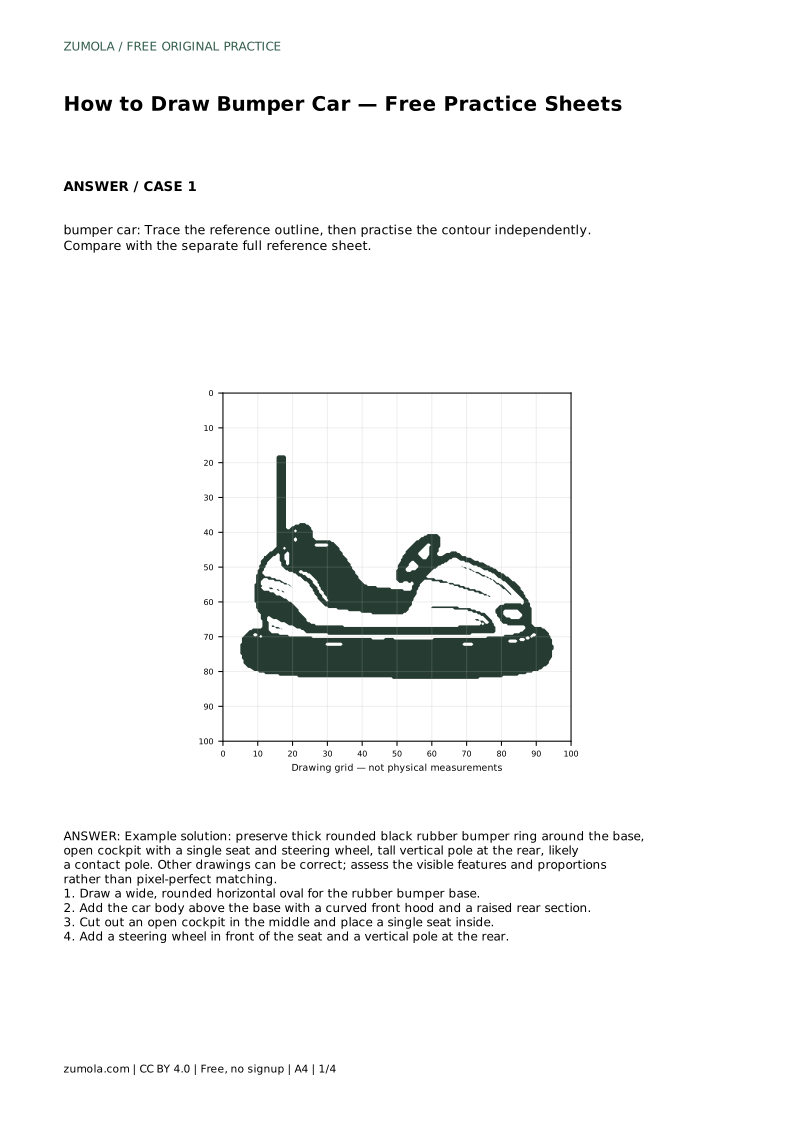
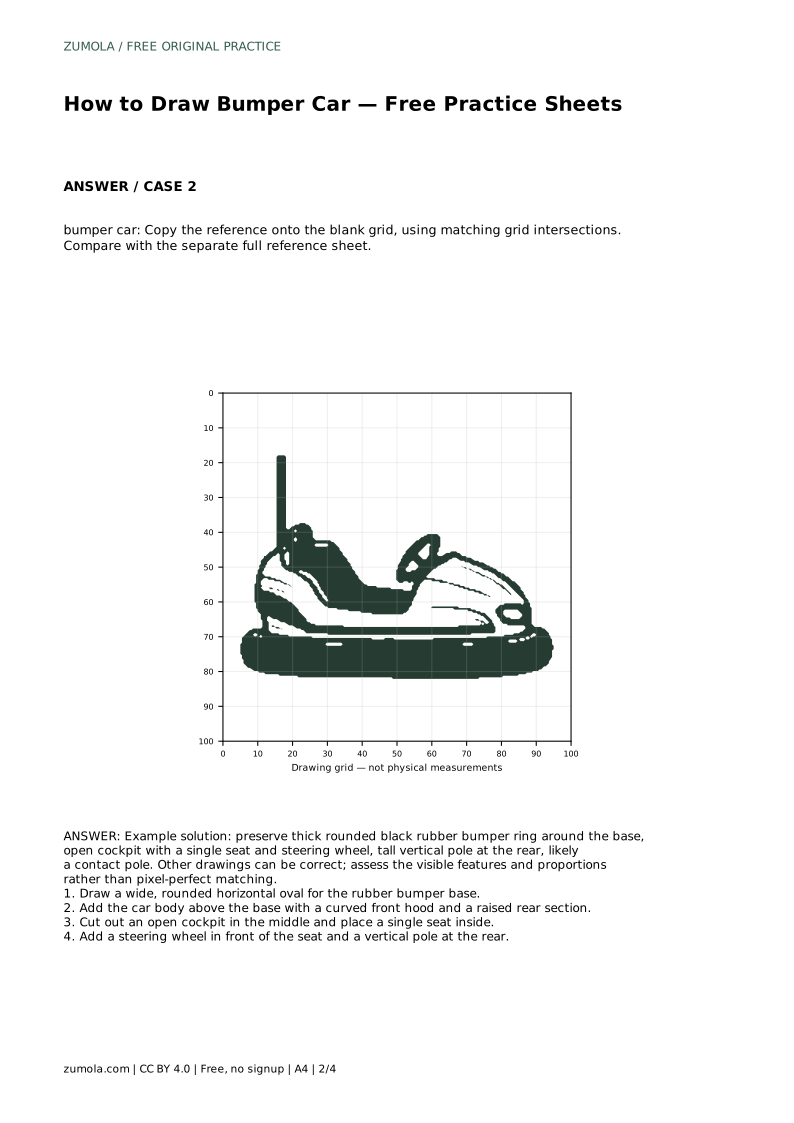
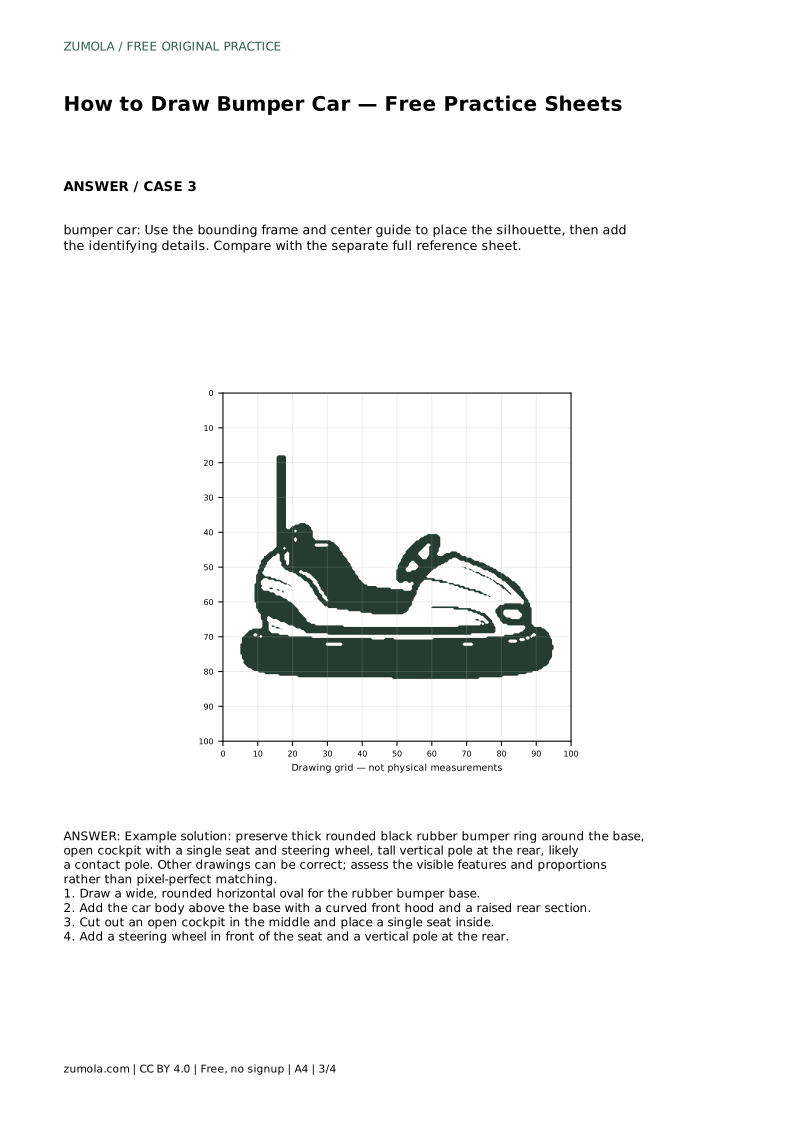
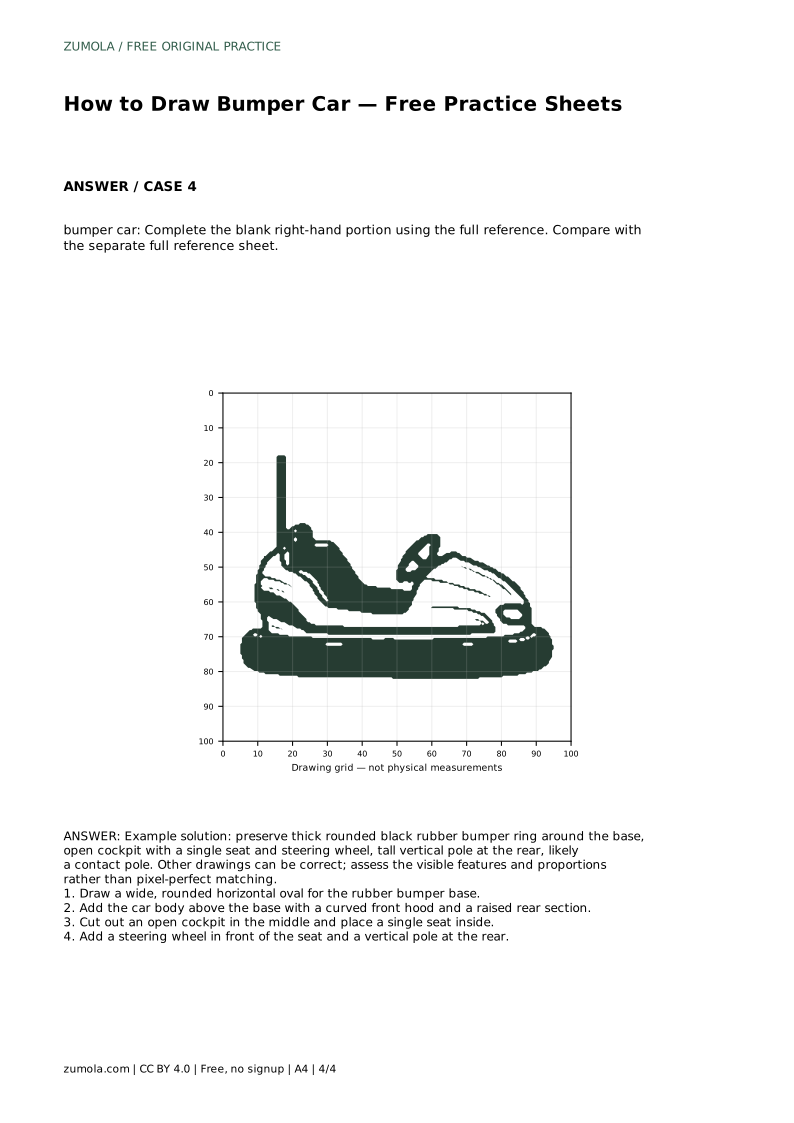
A bumper car is easy to recognise because of a few strong shapes: a thick rounded rubber ring around the base, a compact body above it, an open cockpit with one seat and a steering wheel, and a tall pole at the rear. This page shows how to build those parts in order, then how to practise the outline on tracing, grid, frame and partial-completion sheets. Because drawings can be correct in more than one way, you will judge your work by visible features and proportions rather than by exact matching.
Start with the part that gives the vehicle its name. Draw a wide, rounded horizontal oval for the rubber bumper base. Keep it broad and low, because this ring wraps around the whole lower edge of the car and should read as a thick band rather than a thin line. Sketch it lightly first so you can adjust the width before committing.
Next, add the car body above the base. Give it a curved front hood and a raised rear section, so the silhouette suggests a small vehicle rather than a plain box. The body sits inside the footprint of the bumper ring, not beyond it. Then cut out an open cockpit in the middle and place a single seat inside. Add a steering wheel in front of the seat, and finish with a tall vertical pole at the rear, which is likely a contact pole. Check that the pole rises clearly above the body and stays vertical.
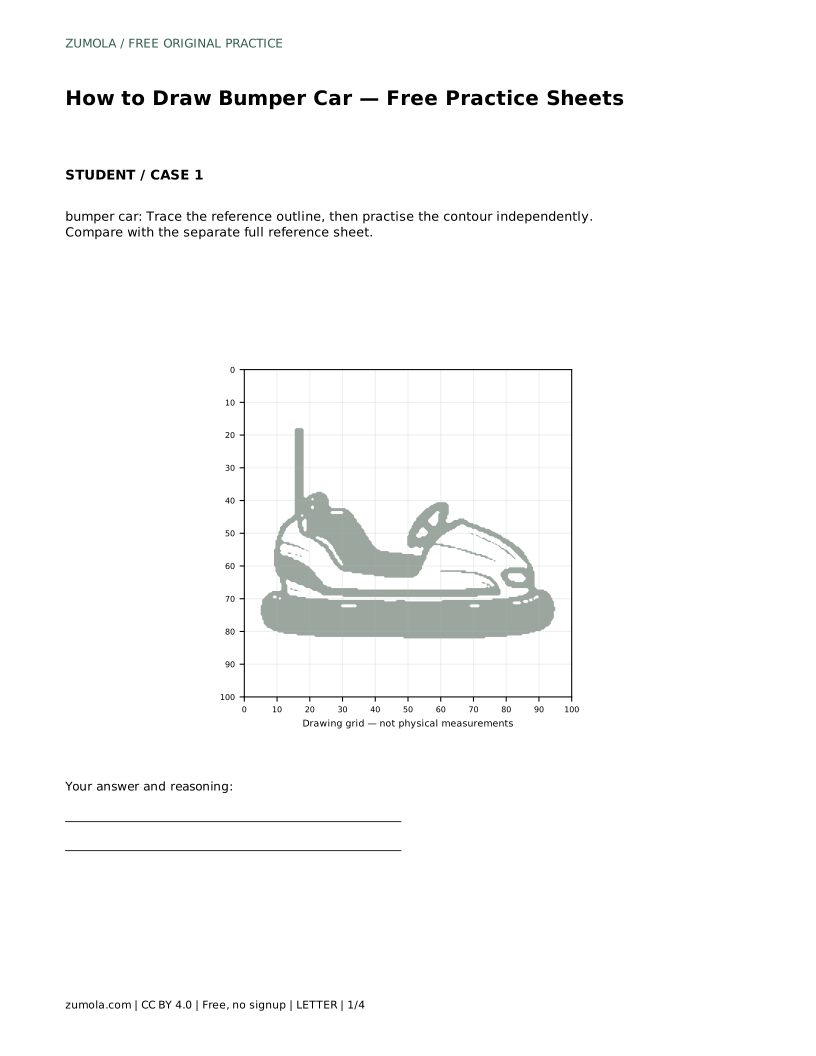
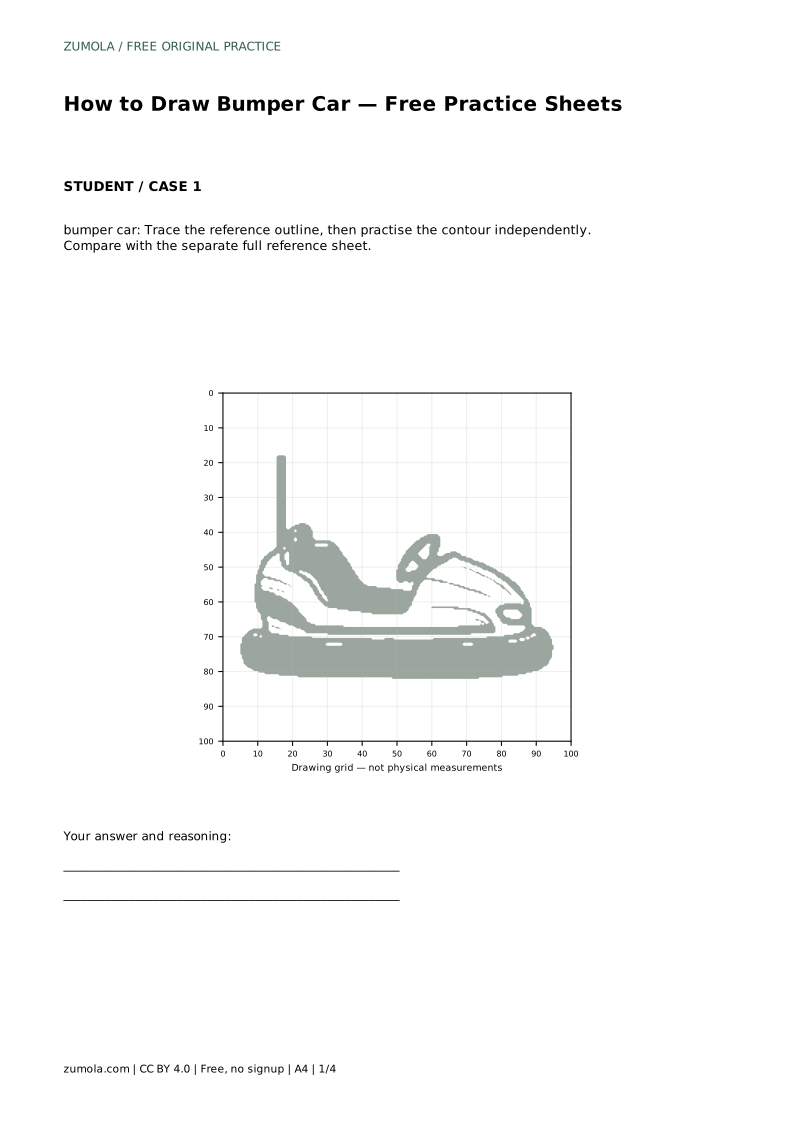
On the tracing sheet, follow the reference outline first, then put the reference aside and draw the contour independently. Compare your result with the separate full reference sheet afterwards. The aim is to internalise the order of the shapes, not to produce a copy that matches every pixel.
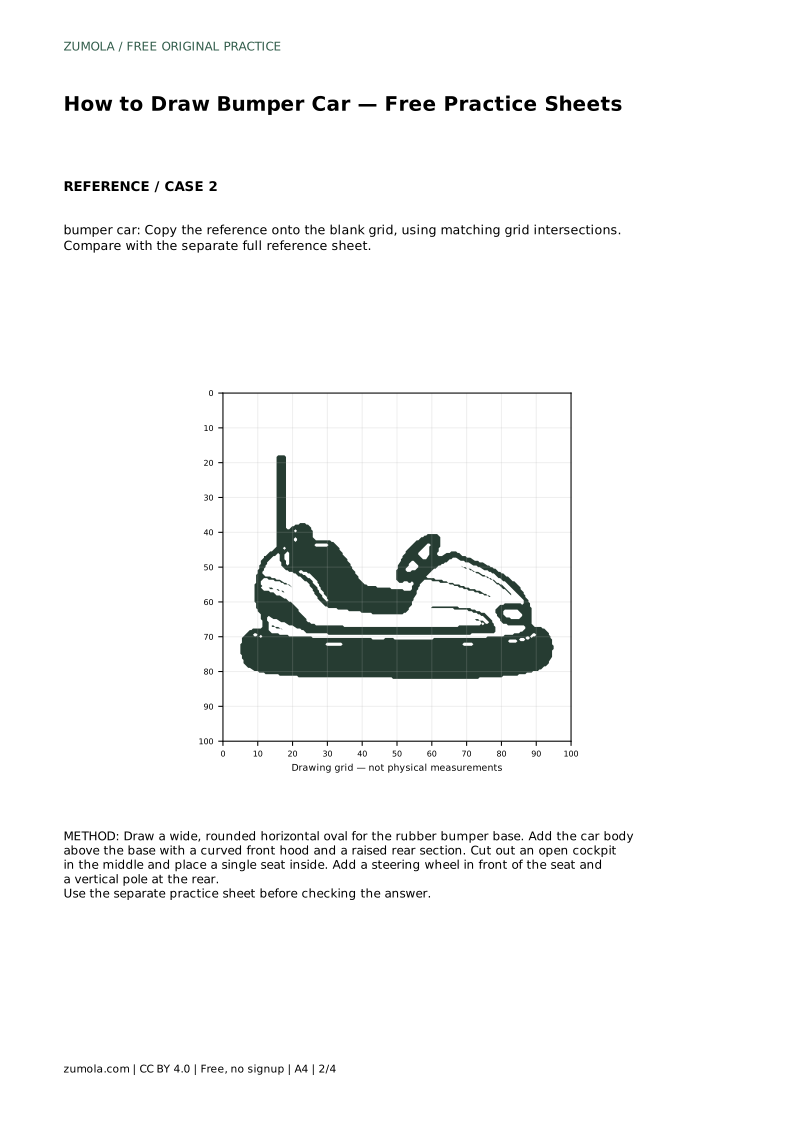
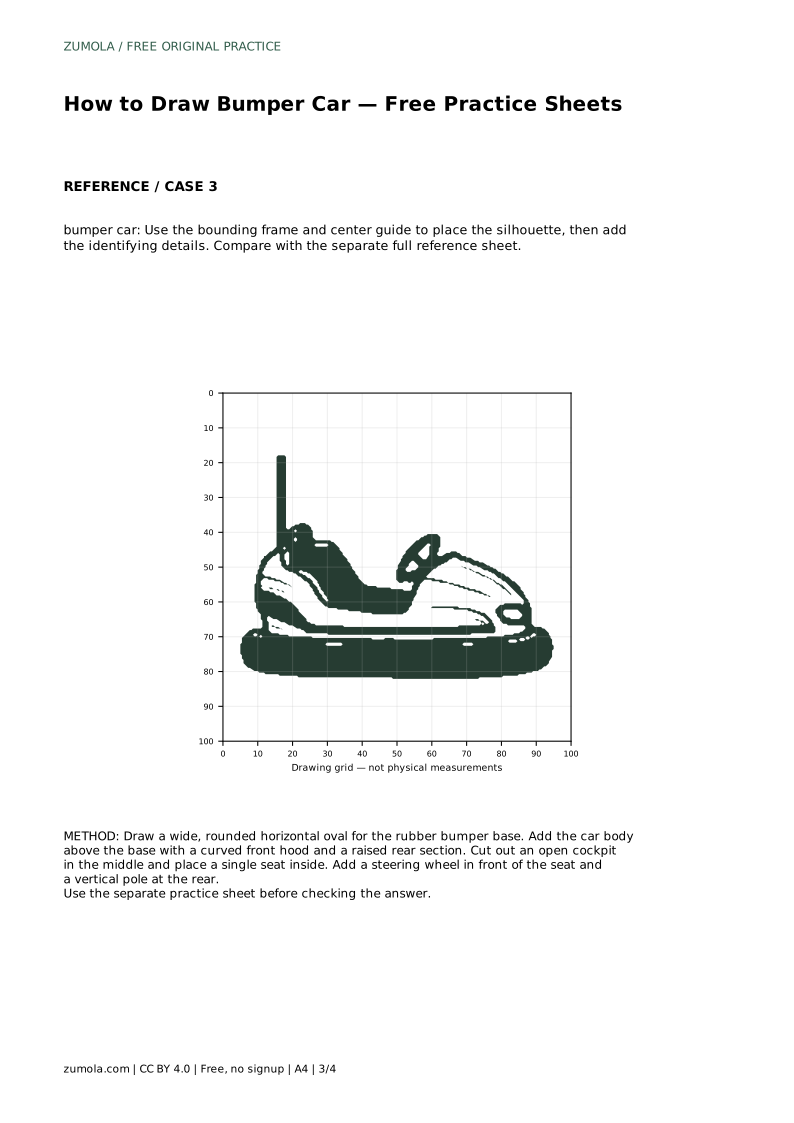
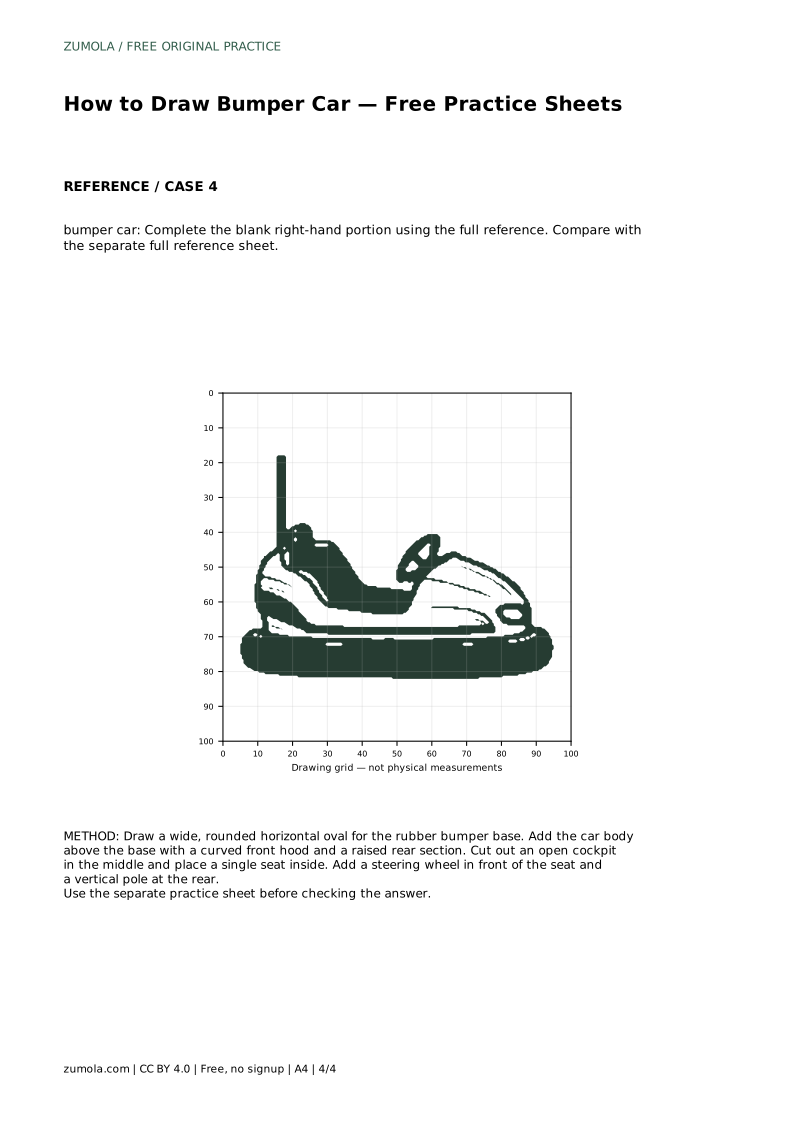
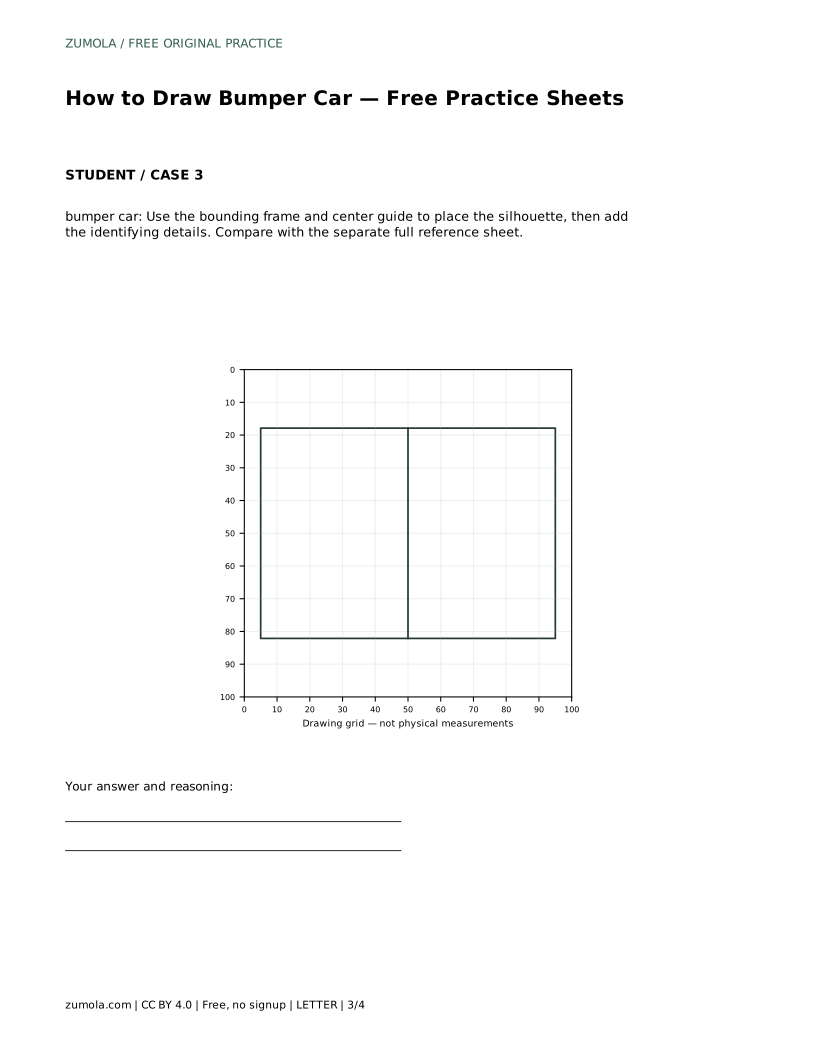
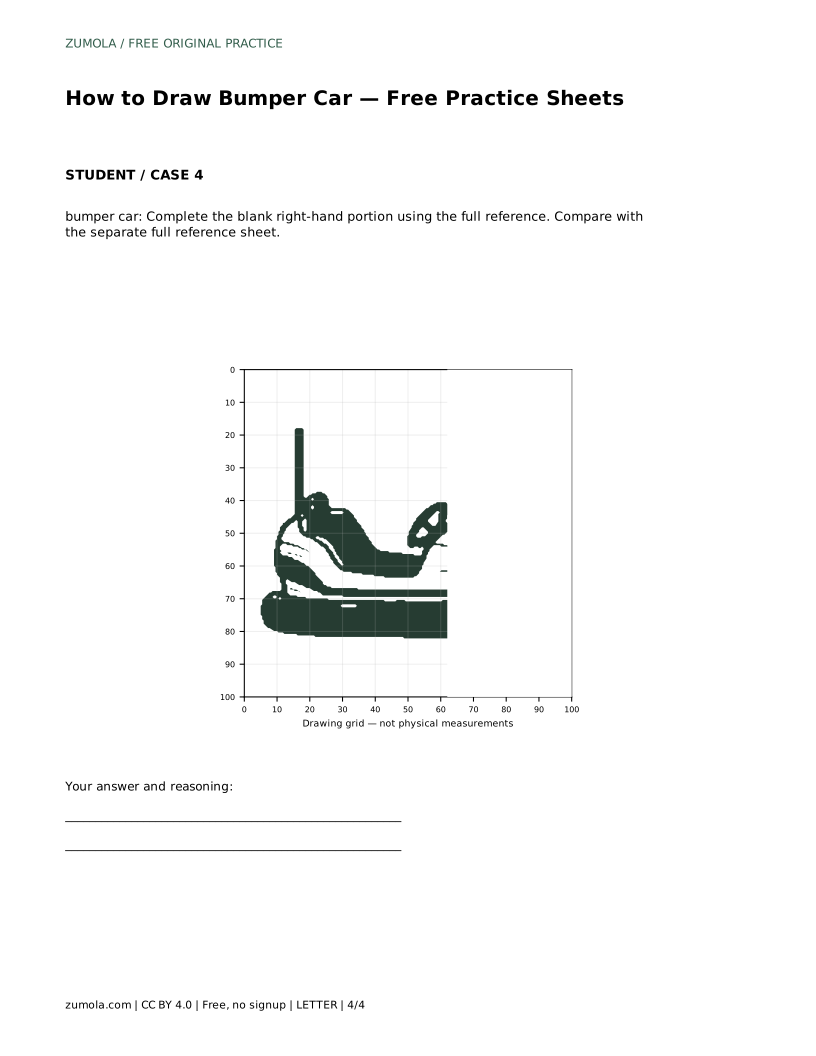
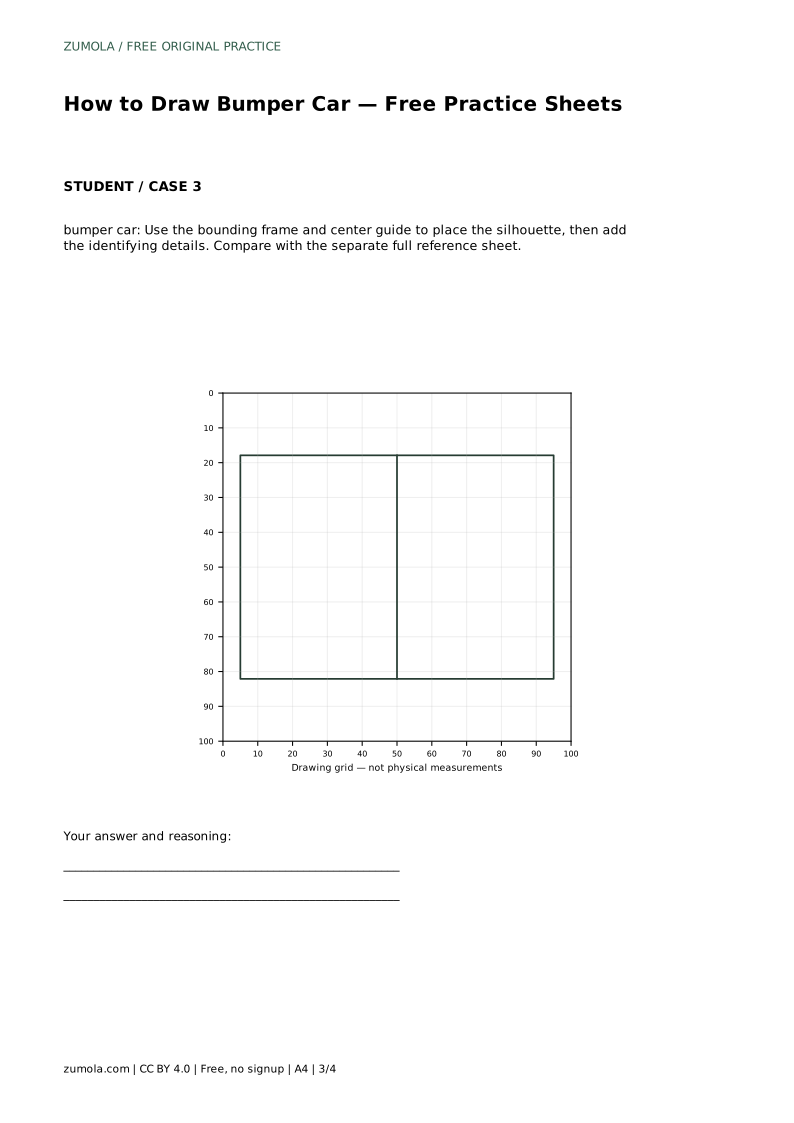
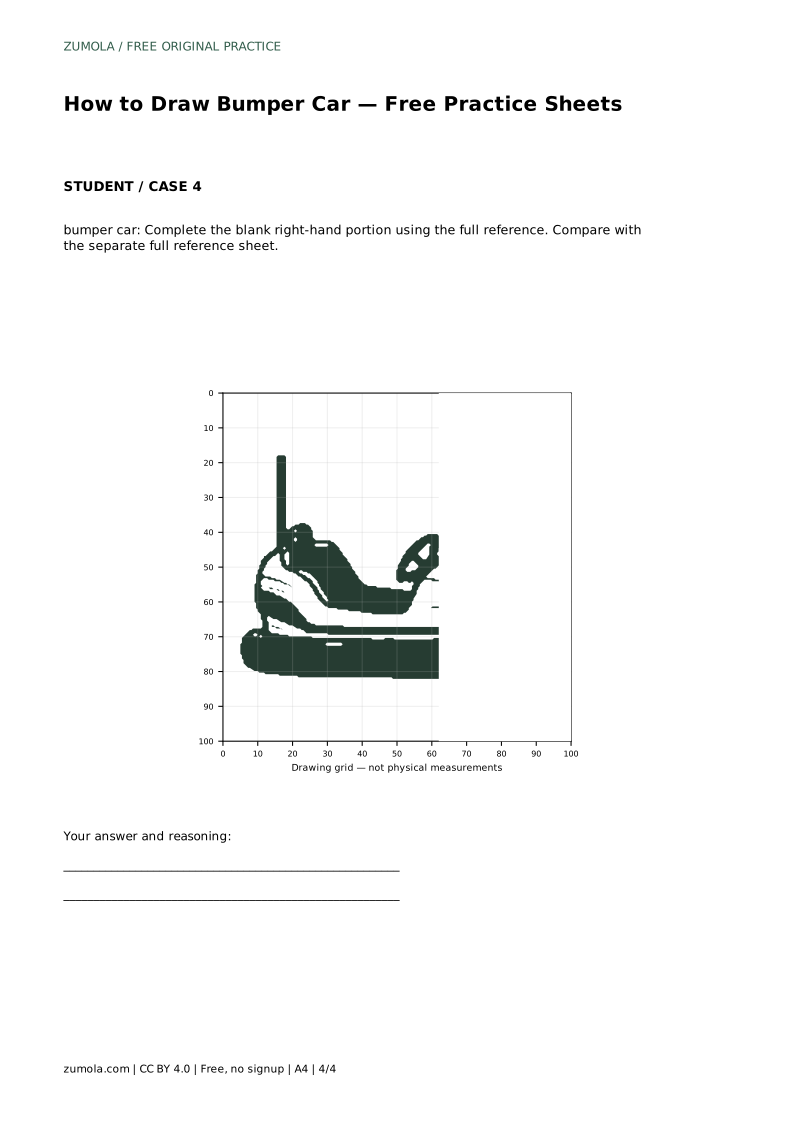
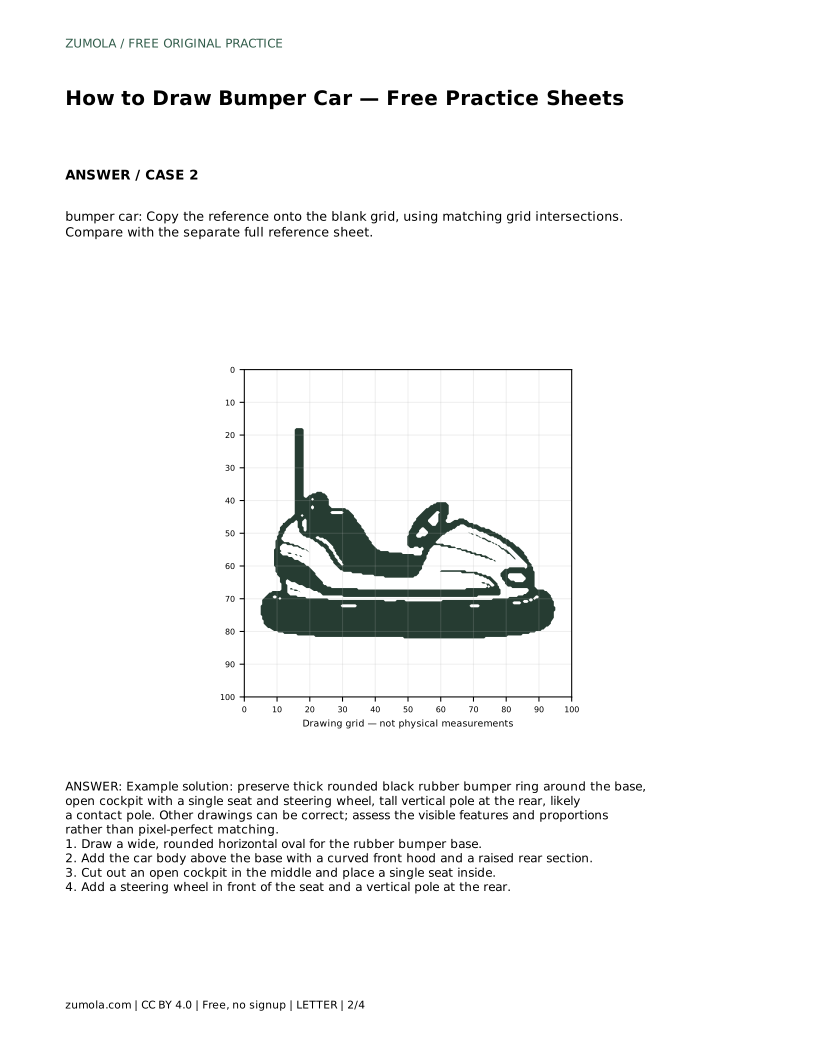
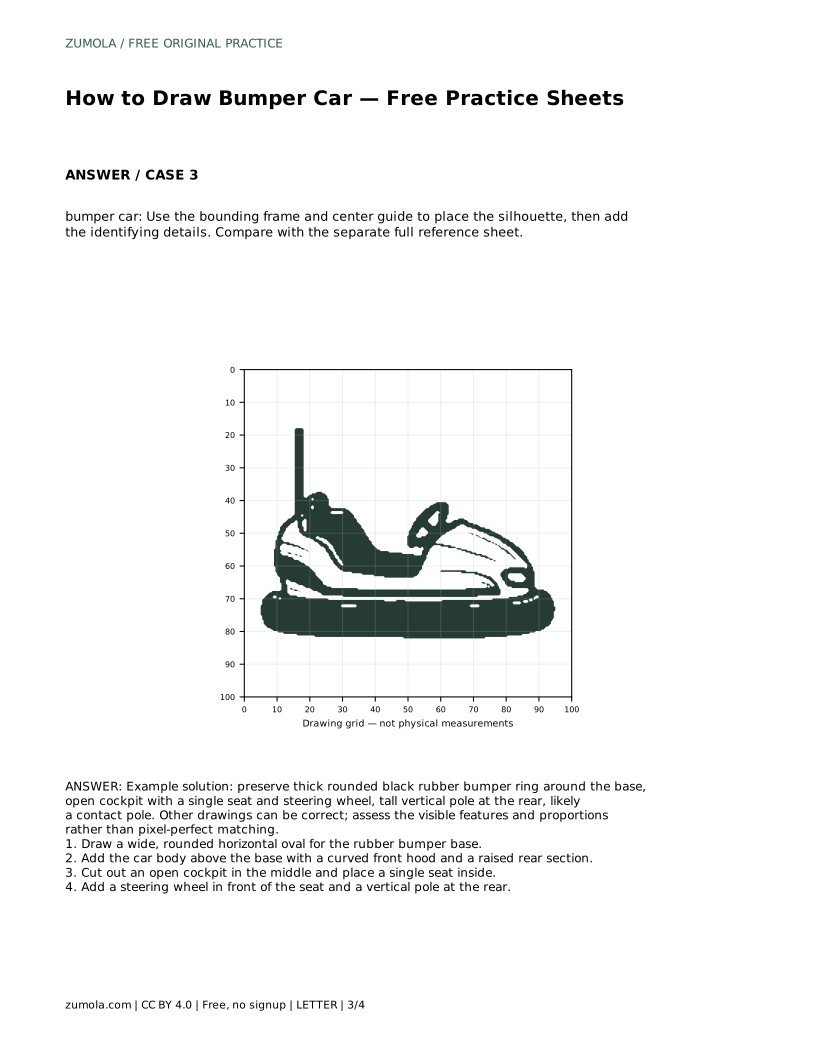
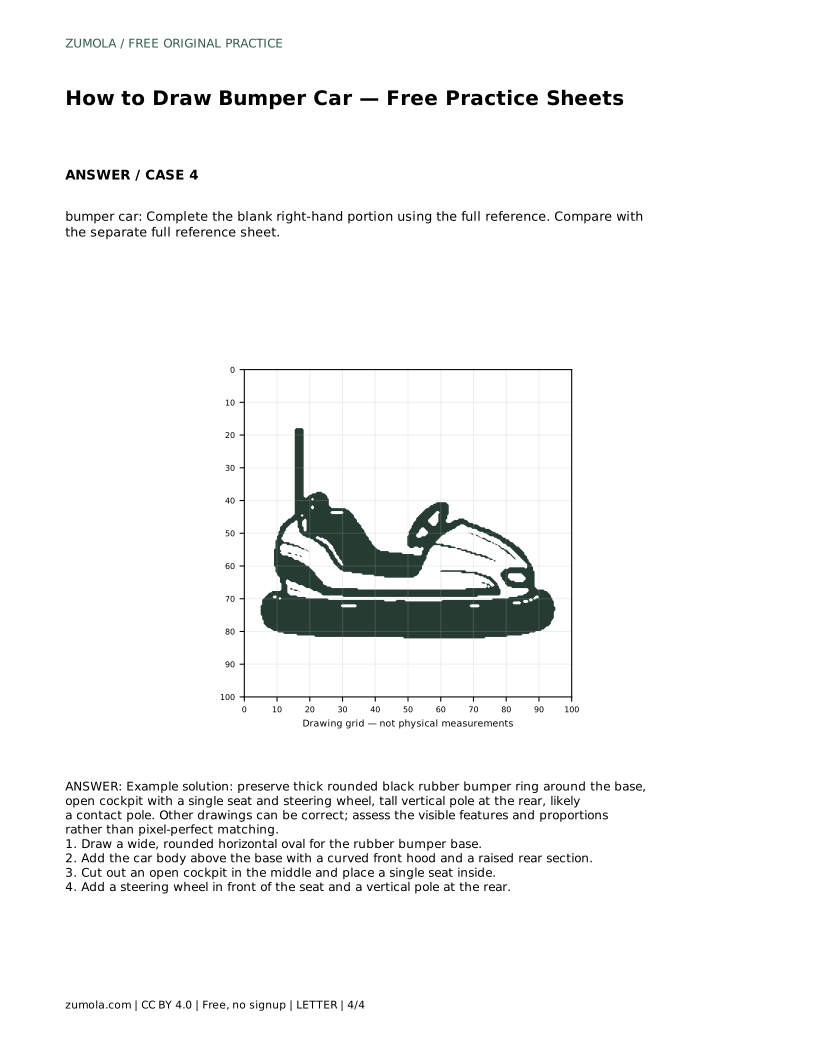
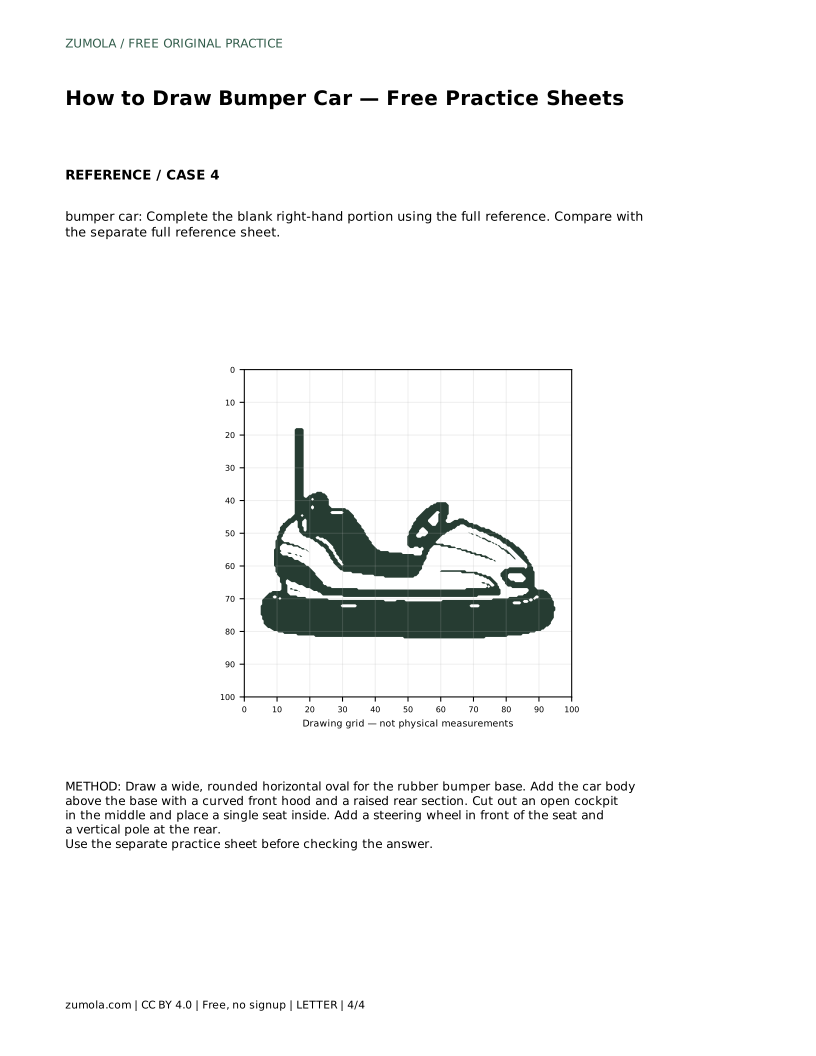
On the grid sheet, copy the reference onto the blank grid using matching grid intersections. Use the grid to compare where the bumper ring begins and ends, how wide the cockpit opening is, and how high the rear pole reaches. On the frame sheet, use the bounding frame and centre guide to place the silhouette before adding the identifying details. On the partial-completion sheet, complete the blank right-hand portion using the full reference, keeping the proportions consistent with the finished left side.
Two drawings of the same bumper car can both be correct. What matters is whether the identifying features are present and whether their proportions make sense together. A thick rounded bumper ring, an open cockpit with one seat, a steering wheel in front of the seat, and a tall vertical rear pole are the features to look for.
Use the rubric below to review your own sheet. If a feature is missing or misplaced, redraw that part rather than starting over. Keep the bumper ring thick and rounded, keep the cockpit open rather than closed, and keep the pole vertical and clearly above the body.
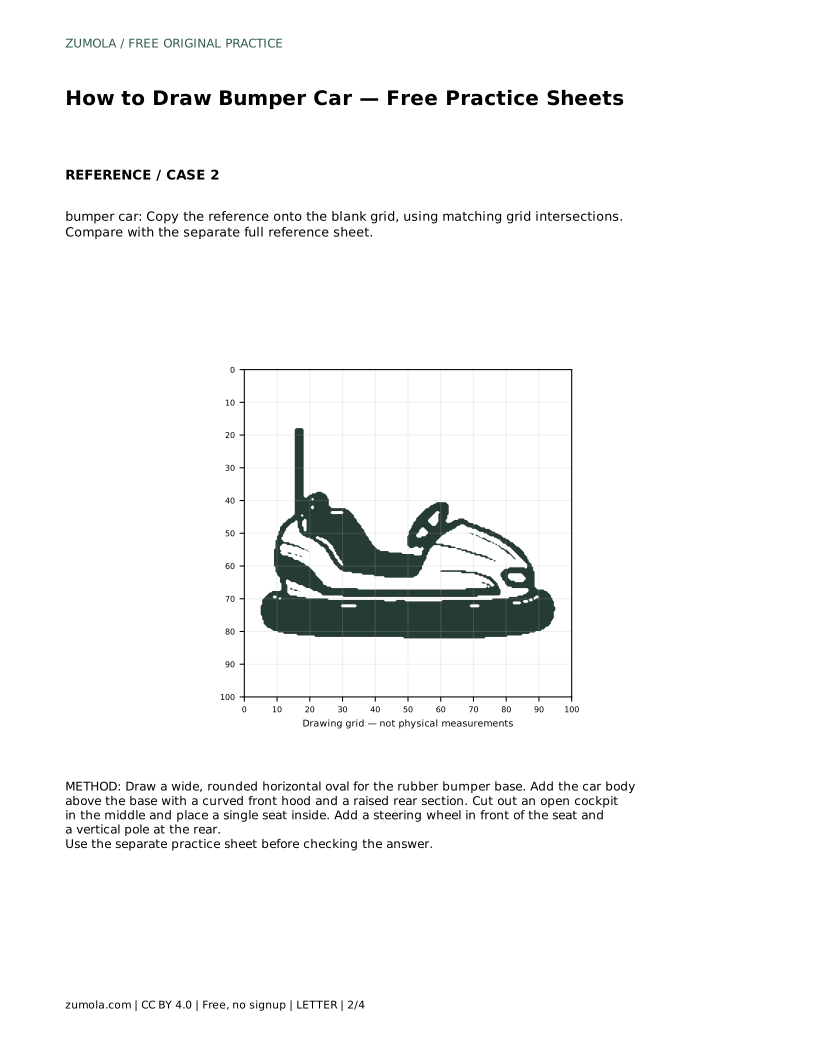
bumper car: Trace the reference outline, then practise the contour independently. Compare with the separate full reference sheet.
Example solution: preserve thick rounded black rubber bumper ring around the base, open cockpit with a single seat and steering wheel, tall vertical pole at the rear, likely a contact pole. Other drawings can be correct; assess the visible features and proportions rather than pixel-perfect matching. Draw a wide, rounded horizontal oval for the rubber bumper base. Add the car body above the base with a curved front hood and a raised rear section. Cut out an open cockpit in the middle and place a single seat inside. Add a steering wheel in front of the seat and a vertical pole at the rear.
No. Other drawings can be correct. Assess the visible features and proportions rather than pixel-perfect matching.
Draw the bumper ring first, then the body with its curved hood and raised rear, then the open cockpit and seat, then the steering wheel and the rear pole.
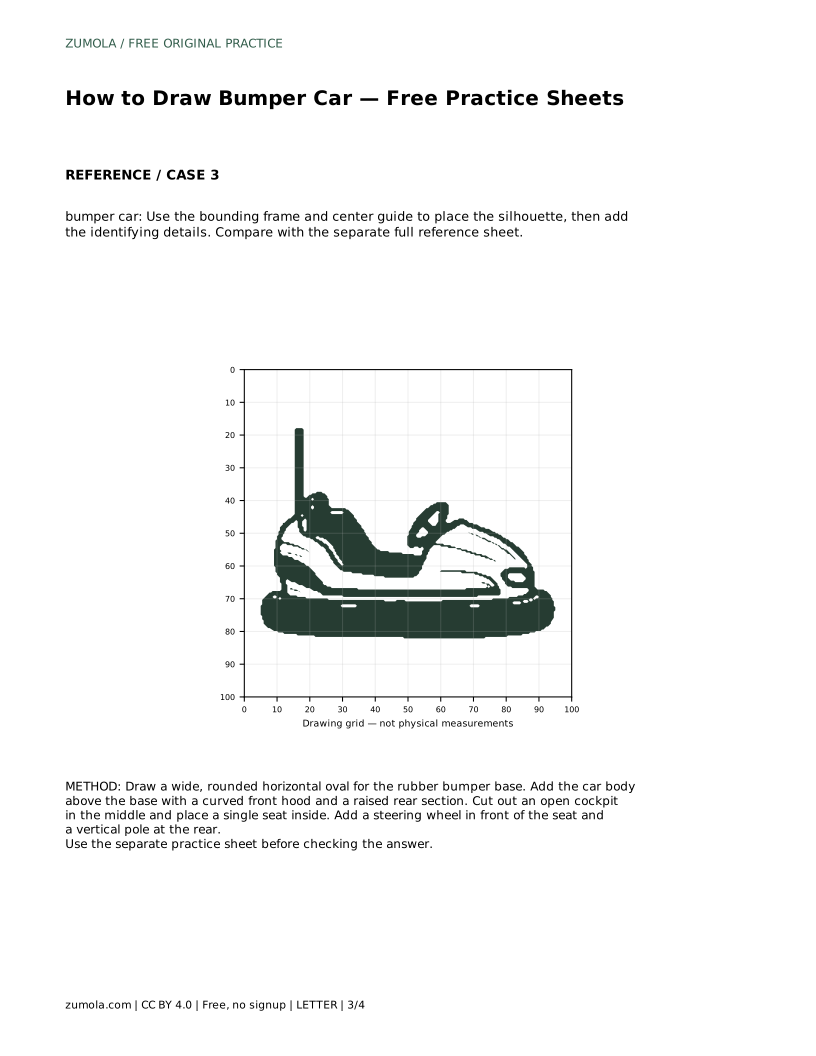
Copy the reference onto the blank grid using matching grid intersections, so the bumper ring, cockpit opening and pole height line up with the original.
All drawing practice · Free coordinate paper
Original resources · CC BY 4.0 · Free for personal and classroom use with attribution.