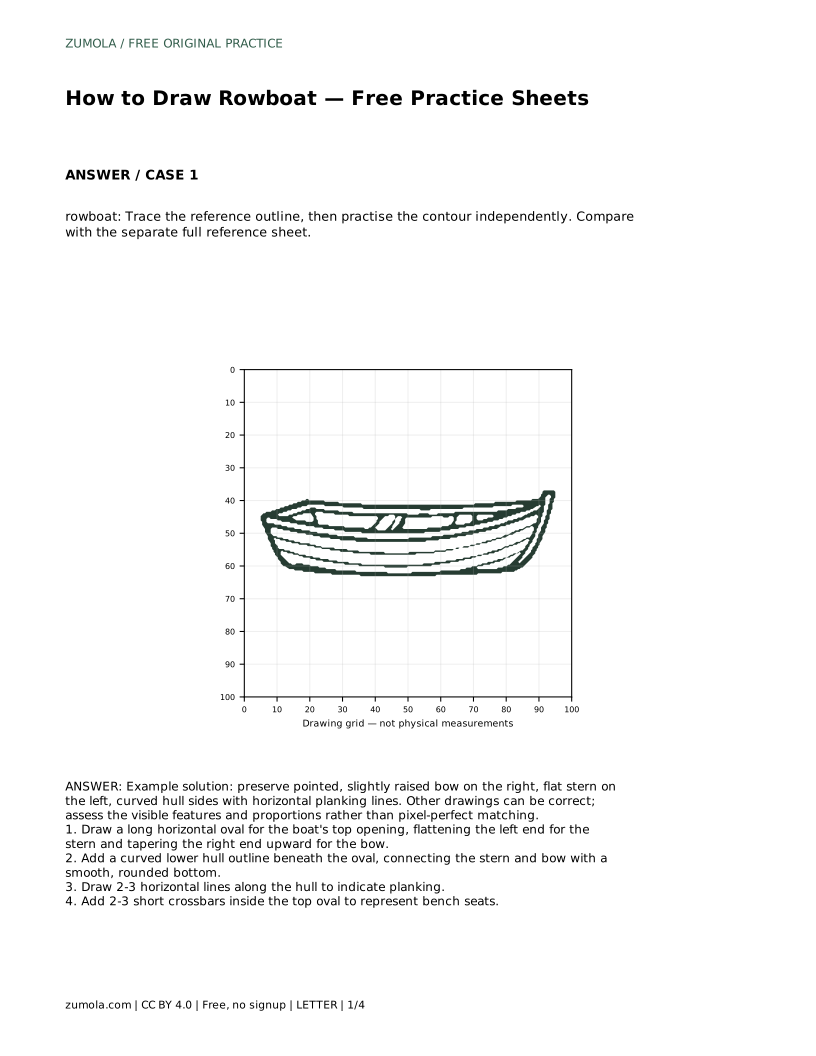
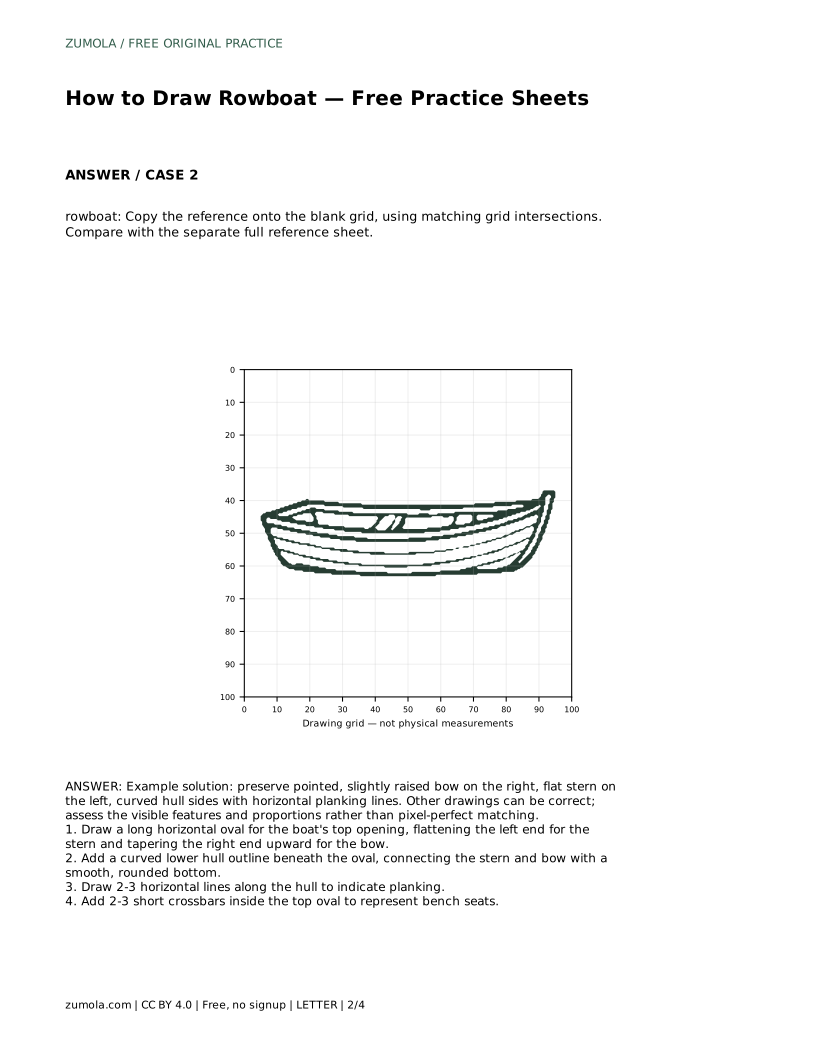
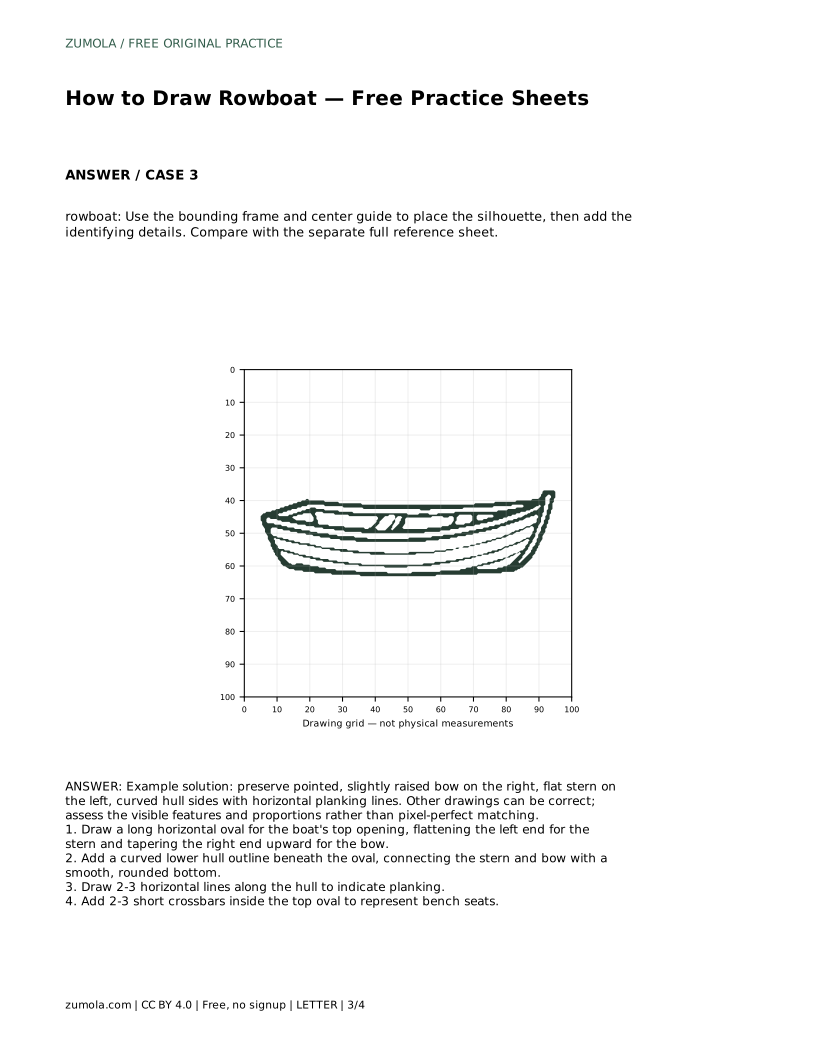
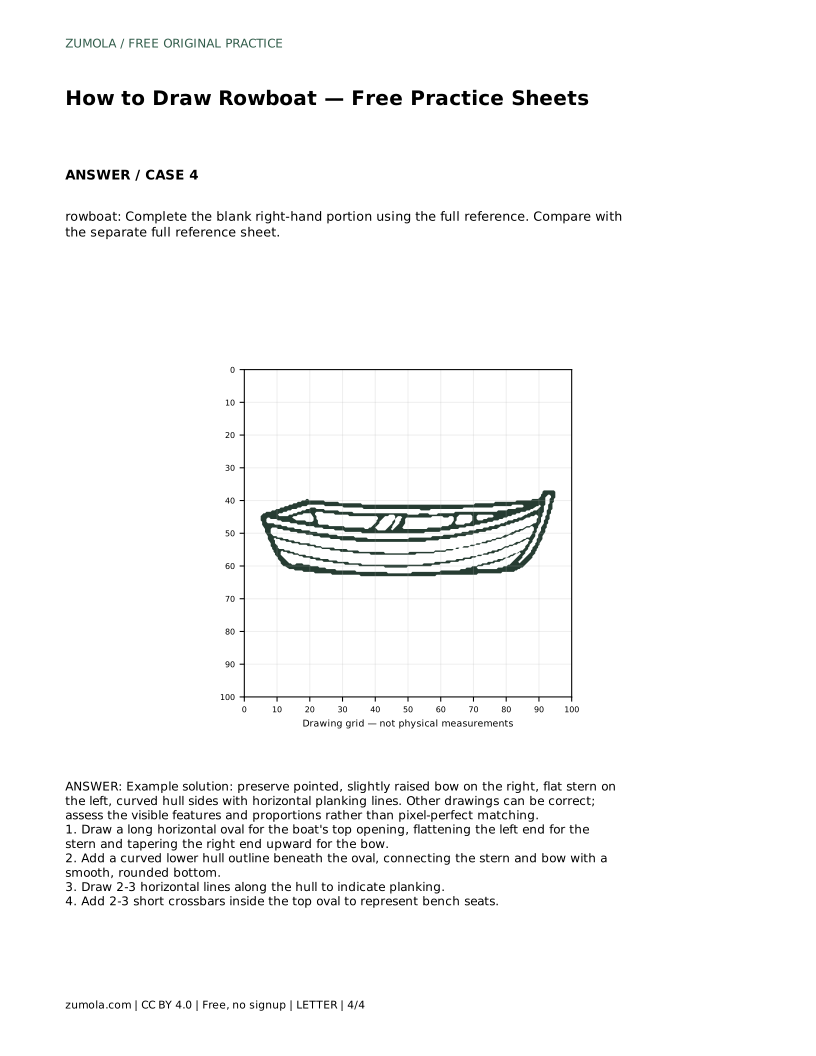
Reference diagrams
LETTER · Download PDF
A4 · Download PDF
Free original resources
Learn to draw a rowboat by building the top opening, curved hull, planking lines and bench seats. Includes tracing, grid and completion practice guidance.
Four original cases, with reference diagrams, practice sheets and worked answers. Everything is free; no signup required.
LETTER · Download PDF
A4 · Download PDF
LETTER · Download PDF
A4 · Download PDF
LETTER · Download PDF
A4 · Download PDF
Use A4 or US Letter to match your printer. Use the stated values and conditions to solve each exercise; diagrams are not physical measuring rulers.
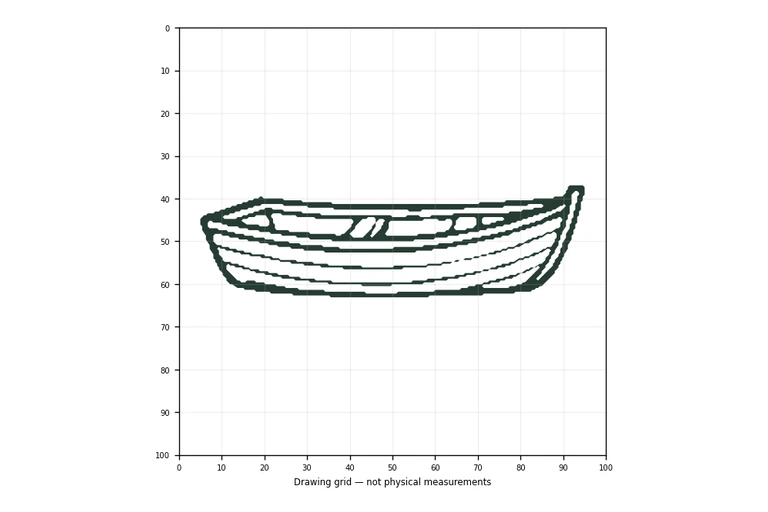
A rowboat is a forgiving subject because its identity comes from a few clear features: a long opening, a flat stern, a raised pointed bow, a rounded hull and simple horizontal planking. This page explains how to build those features in order, then how to use tracing, grid-copying, guide-frame and partial-completion sheets to practise the same contour with less support each time. The goal is a recognisable boat with sensible proportions, not a pixel-perfect copy.
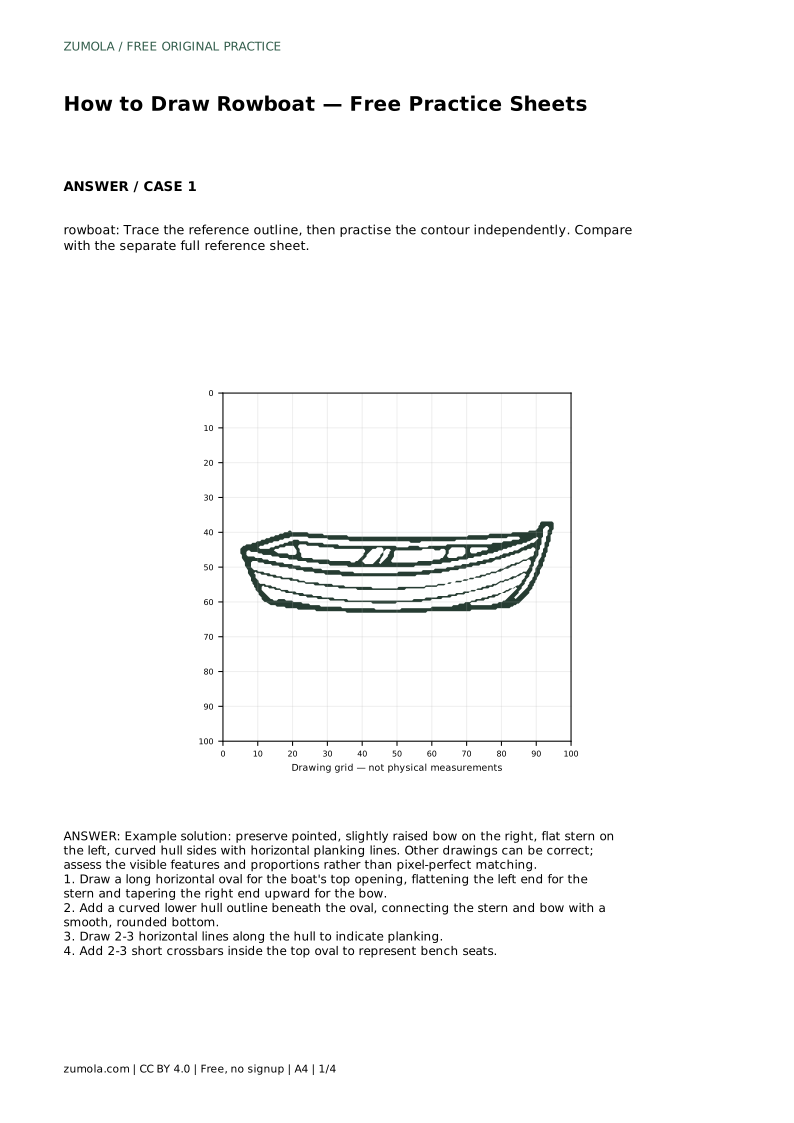
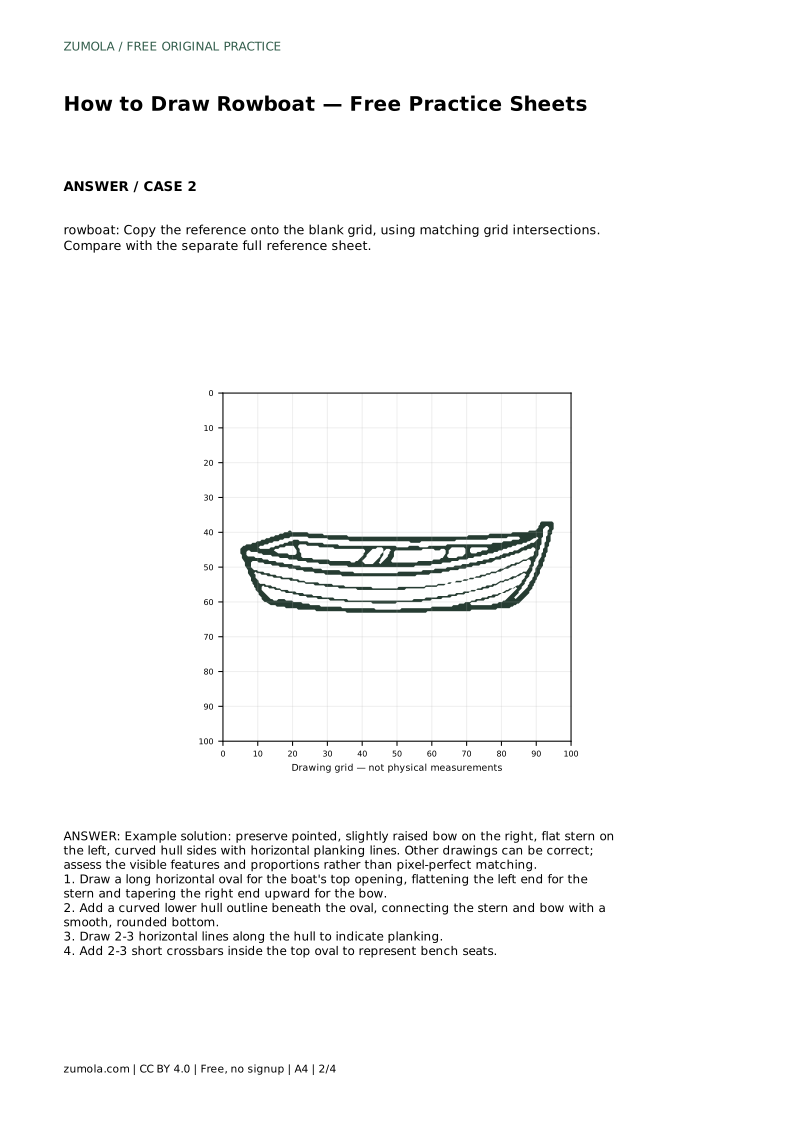
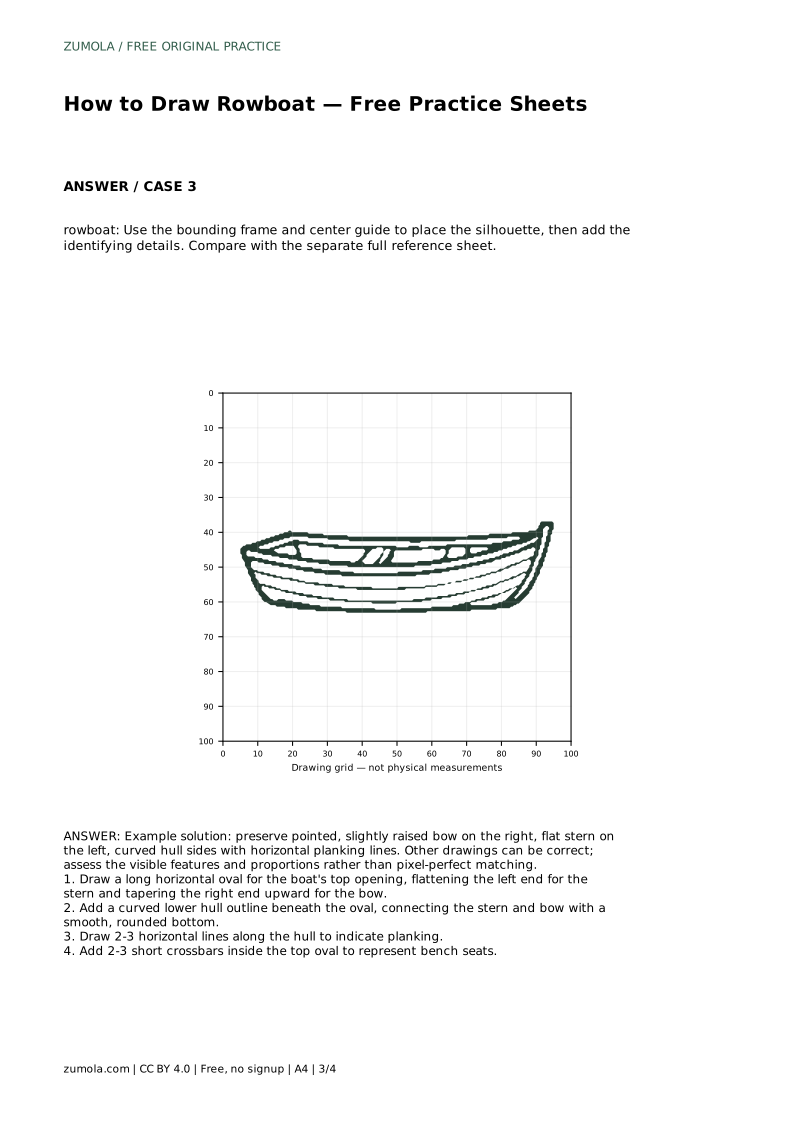
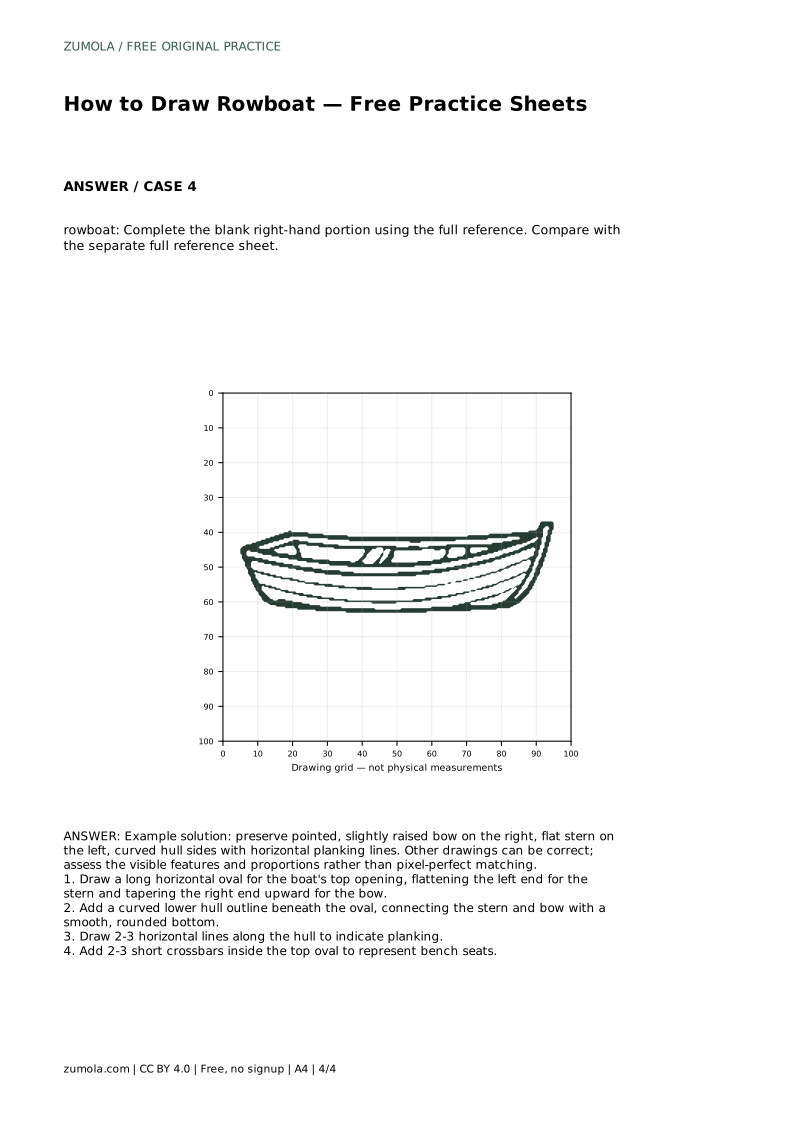
Start with the top opening rather than the outer hull. Draw a long horizontal oval, then change its ends deliberately: flatten the left end for the stern and taper the right end upward into a slightly raised point for the bow. This single shape establishes the boat's direction and length.
Next, add the lower hull. Begin at the stern, curve downward and across, and return to the bow with a smooth rounded bottom. Keep the hull deepest near the middle and shallower toward both ends. Then add two or three horizontal lines along the hull for planking, following its curve rather than running perfectly straight. Finish with two or three short crossbars inside the opening as bench seats, spaced so they look usable rather than crowded.
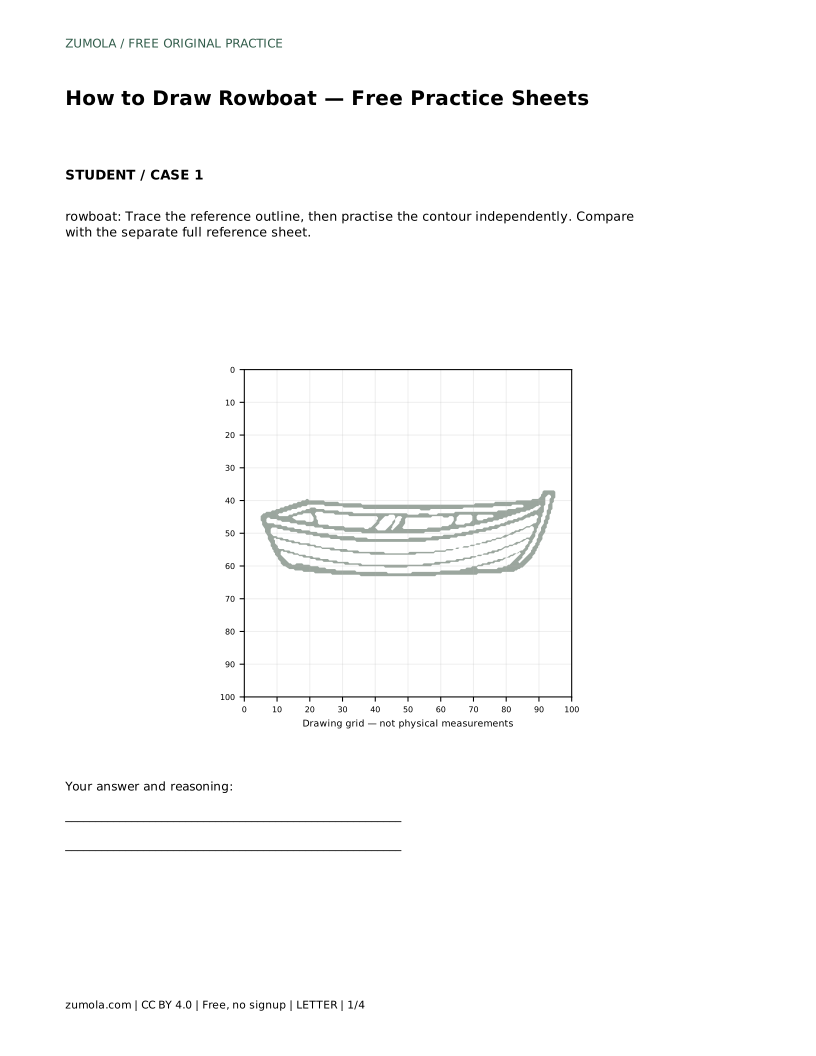
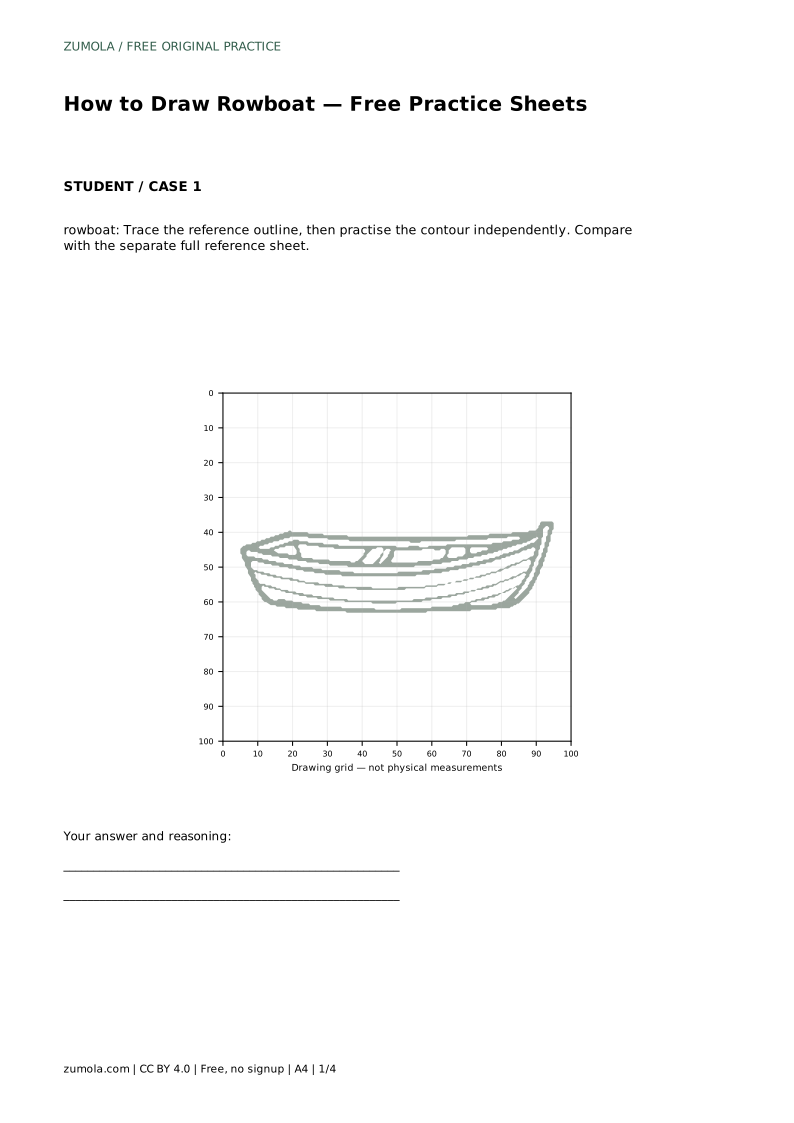
On the tracing sheet, follow the reference outline first, then draw the contour independently beside it. Tracing teaches the sequence of curves; the independent attempt shows whether you can reproduce them without support. Compare both with the separate full reference sheet, not with your traced line alone.
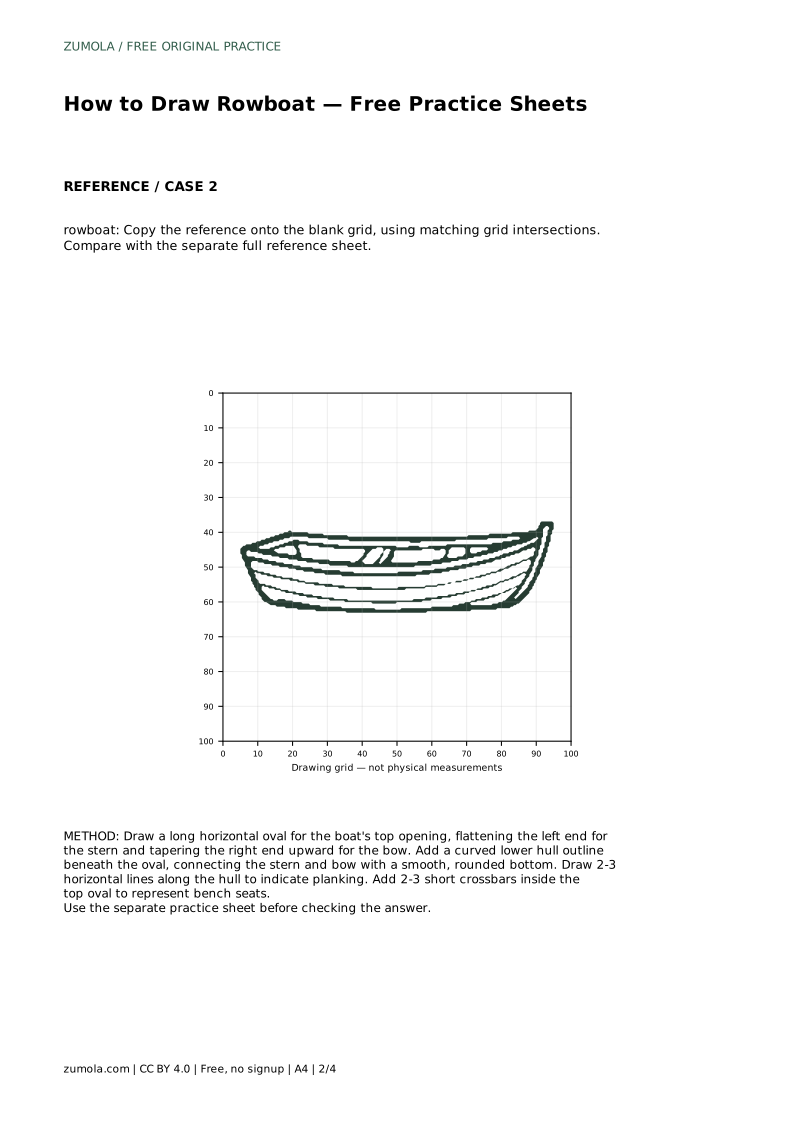
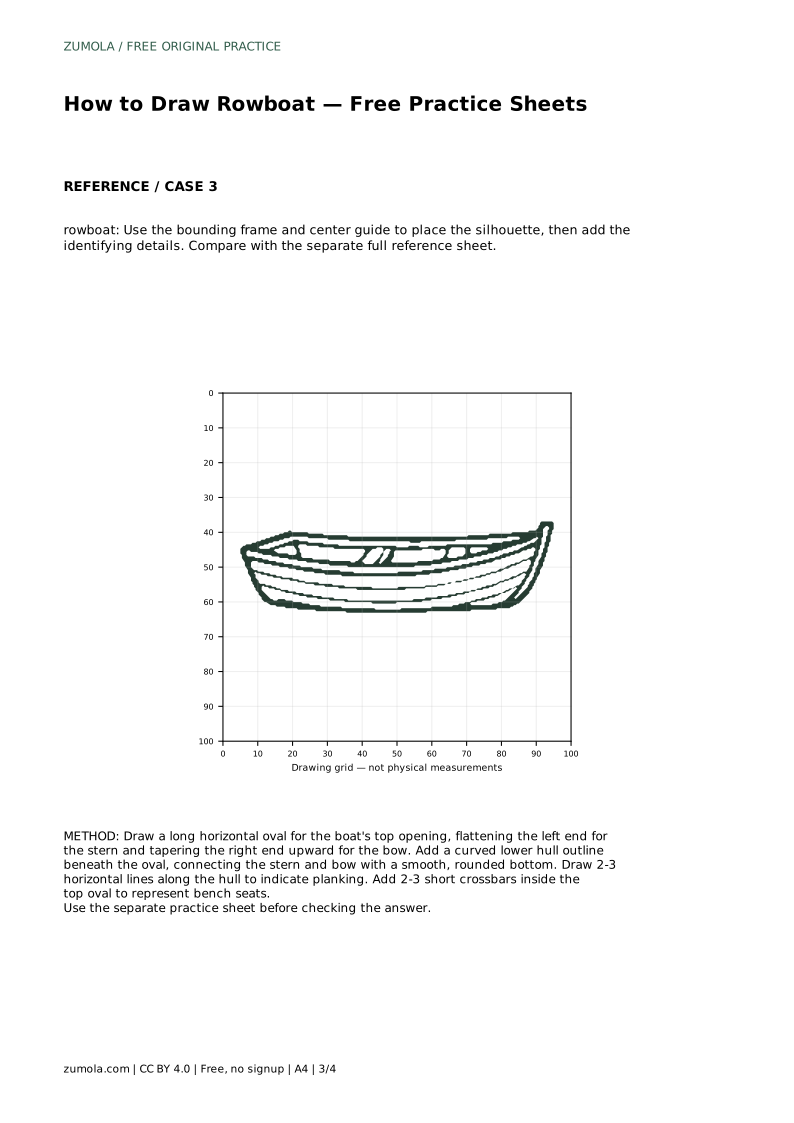
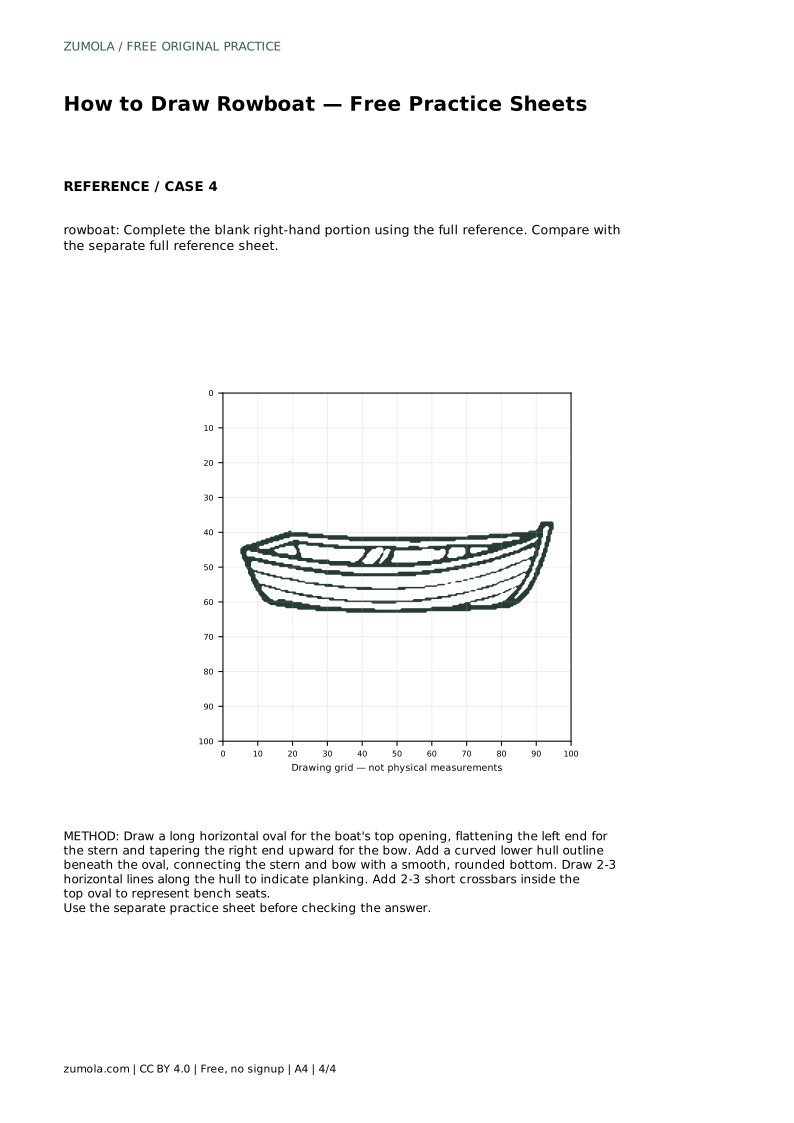
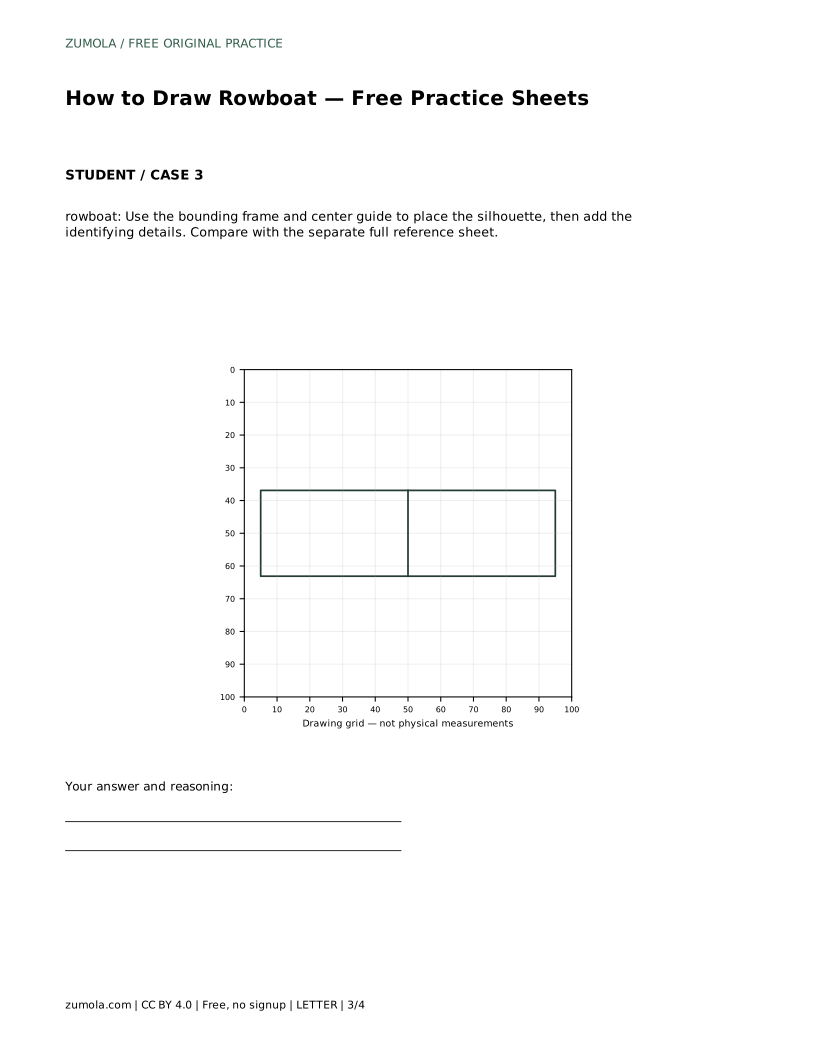
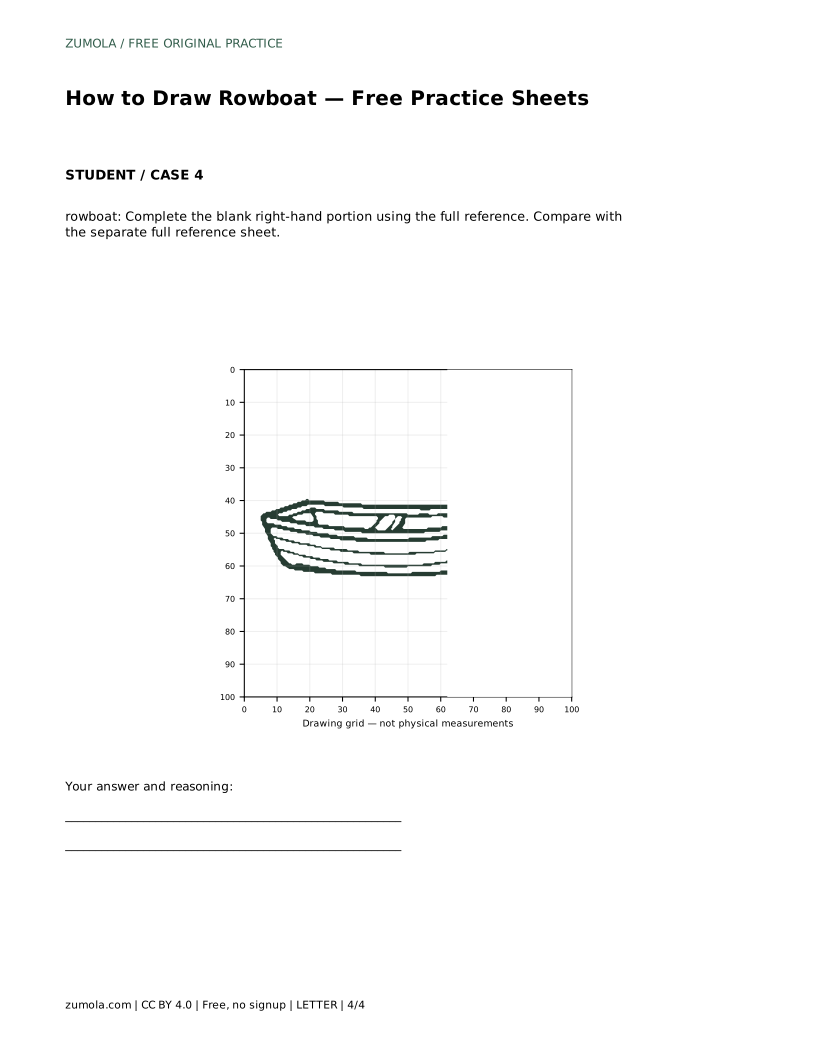
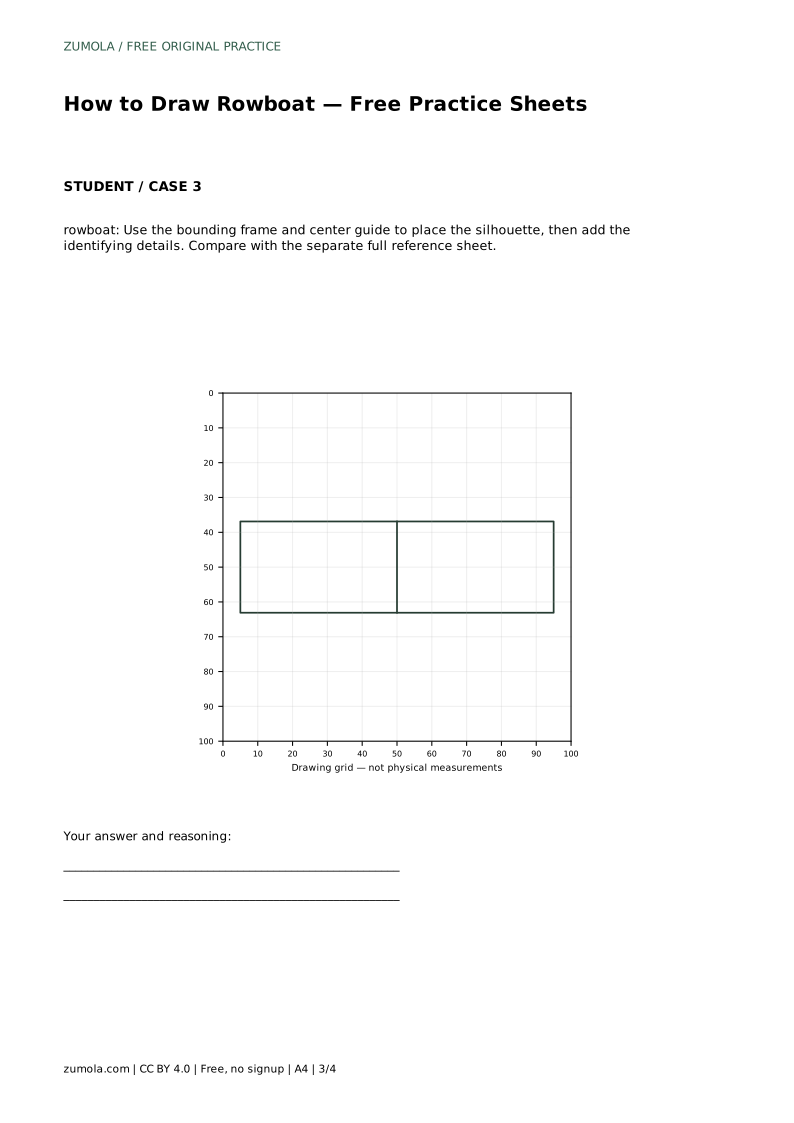
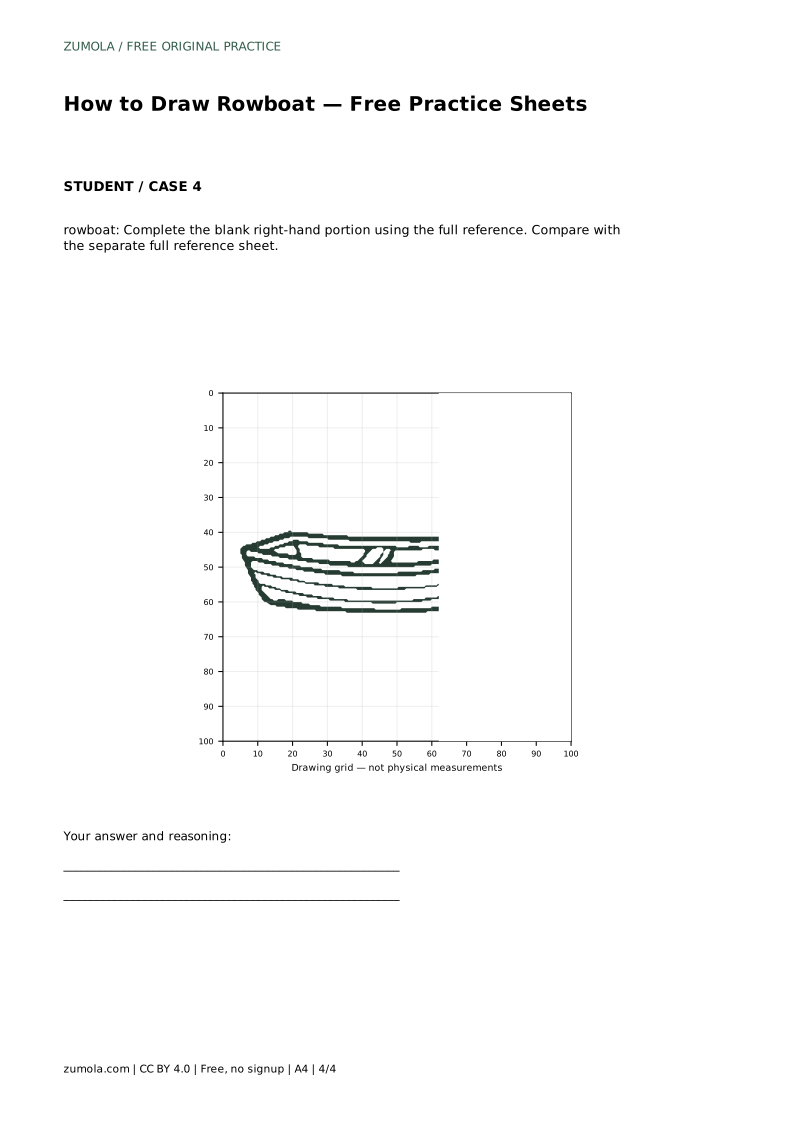
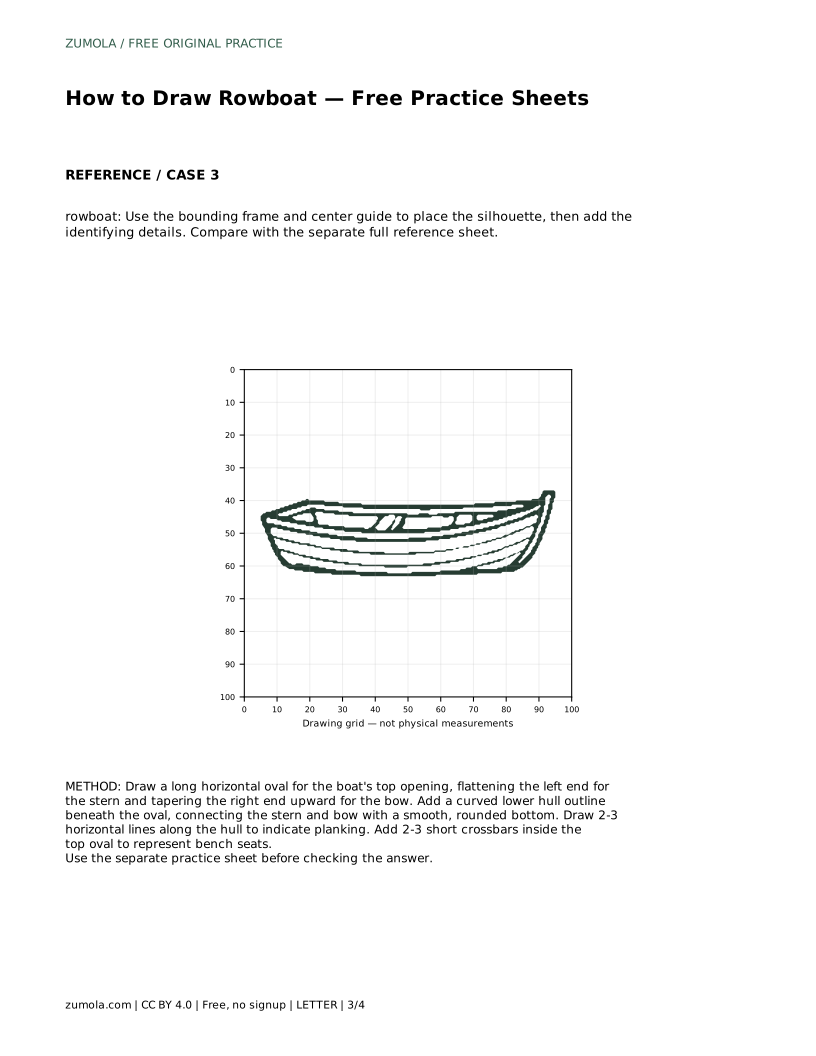
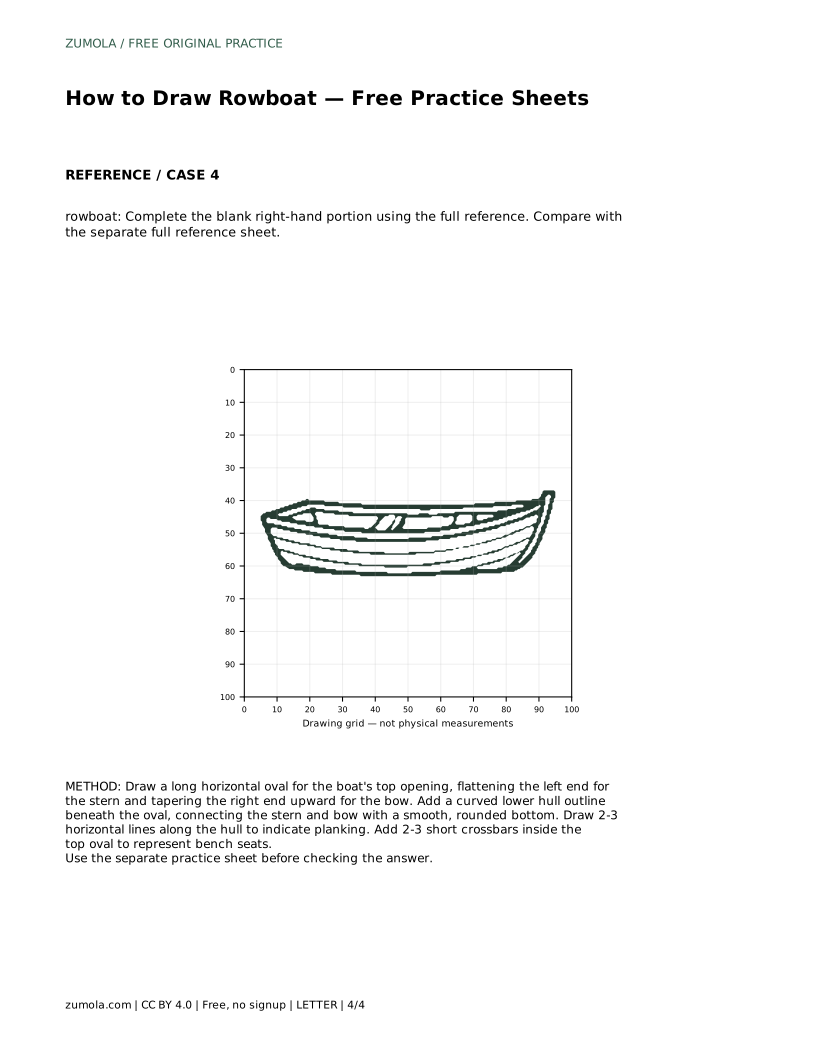
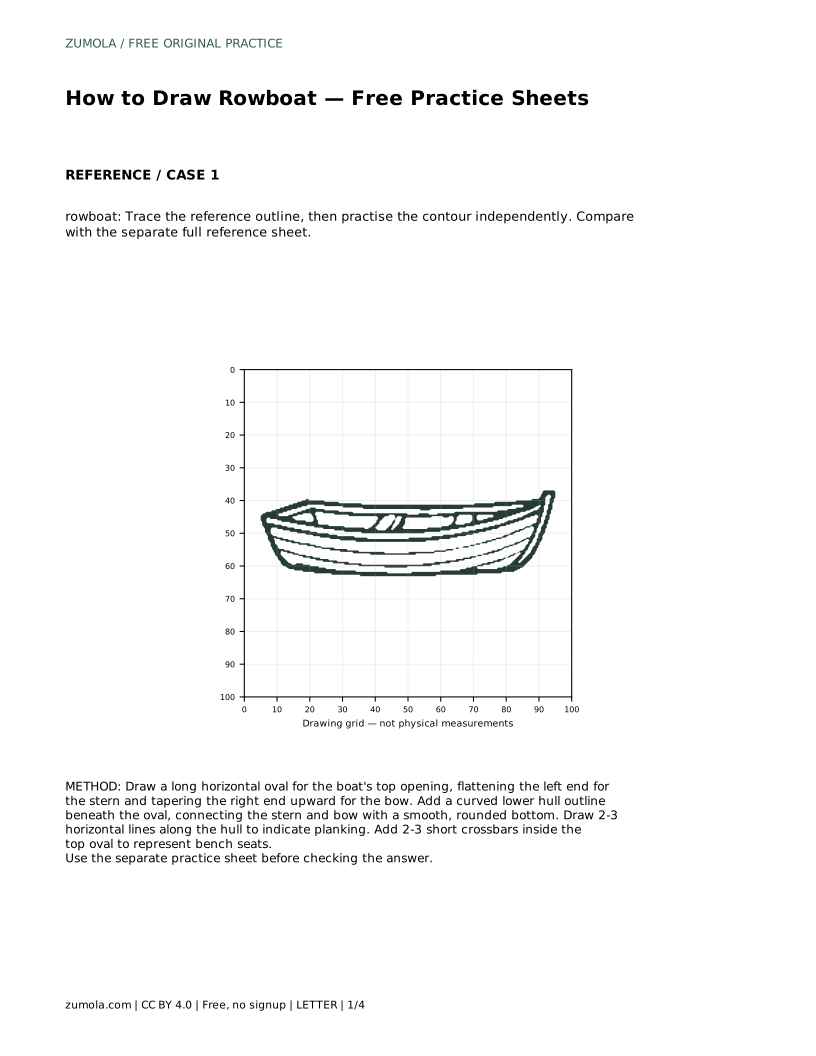
On the grid sheet, copy the reference onto the blank grid by matching intersections. Use the grid to judge where the bow tip sits relative to the stern and how far the hull drops below the opening. On the bounding-frame sheet, place the overall silhouette inside the frame and use the centre guide to balance the two ends before adding planking and seats. On the partial-completion sheet, use the visible left portion to infer the missing right portion, keeping the bow's height and the hull's curve consistent with what is already drawn.
Compare the length of the opening with the depth of the hull. A rowboat usually reads as longer than it is deep; if the hull looks tall and narrow, widen the opening or reduce the downward curve. Check that the bow rises above the stern rather than dipping below it, and that the planking lines stay inside the hull outline.
Seats should sit within the opening, not float above it or cross the hull sides. Their spacing can vary, but each should span the opening's width at its position. Small inconsistencies are acceptable; a missing bow point, a rounded stern or planking that ignores the hull curve will weaken the drawing more than slight unevenness.
Because drawings of the same boat can differ legitimately, judge visible features and proportions rather than exact line placement. A correct drawing preserves the pointed, slightly raised bow on the right, the flat stern on the left, curved hull sides and horizontal planking. Use the rubric below to identify one feature to improve on the next attempt.
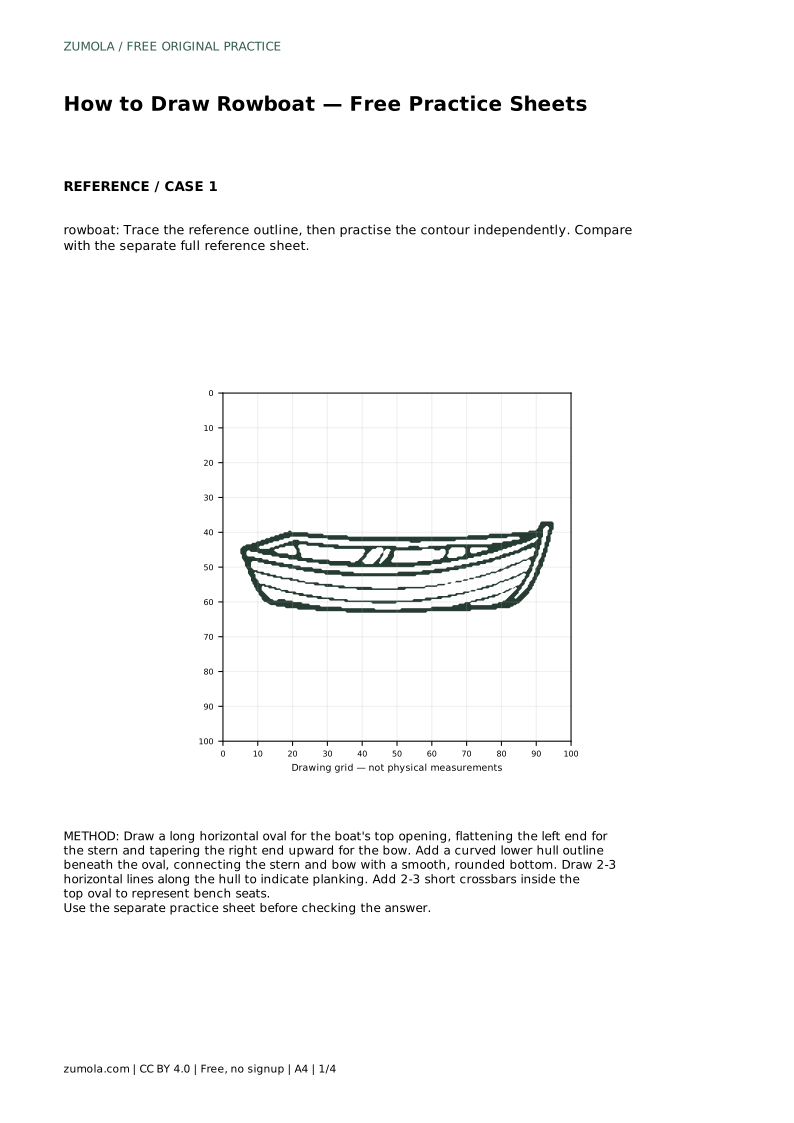
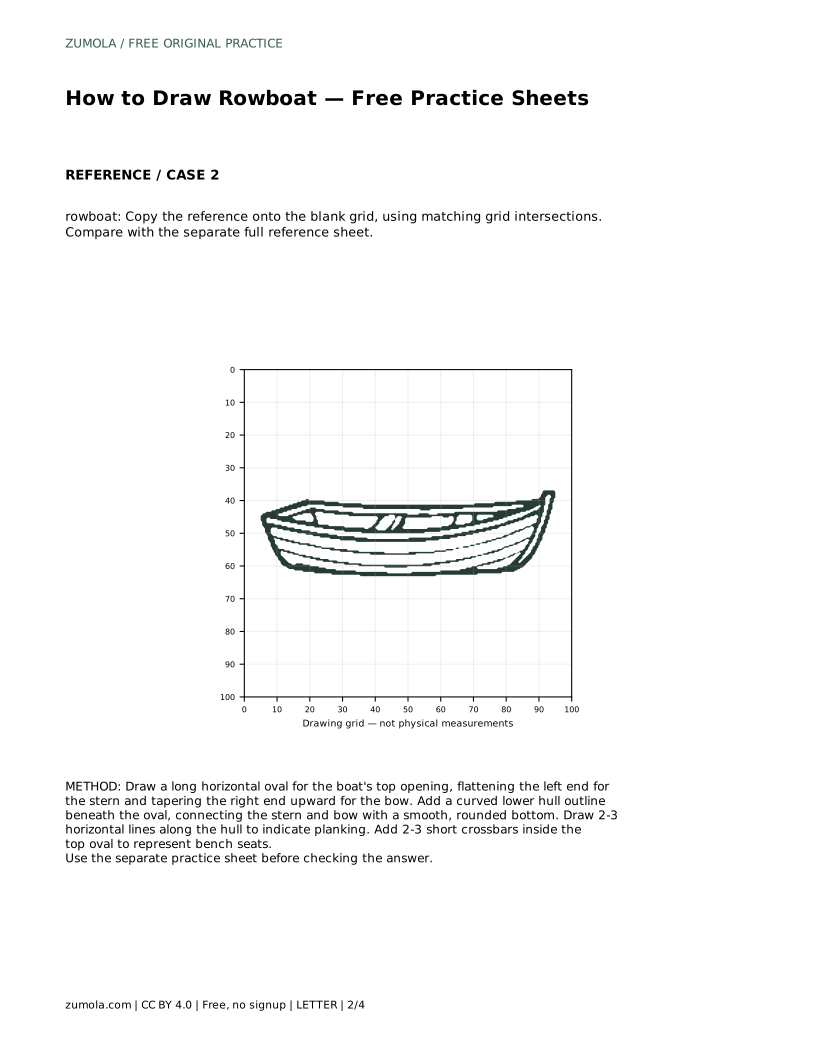
rowboat: Trace the reference outline, then practise the contour independently. Compare with the separate full reference sheet.
Example solution: preserve pointed, slightly raised bow on the right, flat stern on the left, curved hull sides with horizontal planking lines. Other drawings can be correct; assess the visible features and proportions rather than pixel-perfect matching. Draw a long horizontal oval for the boat's top opening, flattening the left end for the stern and tapering the right end upward for the bow. Add a curved lower hull outline beneath the oval, connecting the stern and bow with a smooth, rounded bottom. Draw 2-3 horizontal lines along the hull to indicate planking. Add 2-3 short crossbars inside the top oval to represent bench seats.
The reference places the raised bow on the right and the flat stern on the left. You can mirror the drawing, but keep the bow pointed and raised and the stern flat so the boat still reads correctly.
Two or three planking lines and two or three seats are enough. Keep planking inside the hull and seats inside the opening, spaced so they look usable.
That is acceptable. Check that the bow, stern, curved hull, planking and seats are all present and sensibly proportioned, then improve one feature on your next attempt.
All drawing practice · Free coordinate paper
Original resources · CC BY 4.0 · Free for personal and classroom use with attribution.