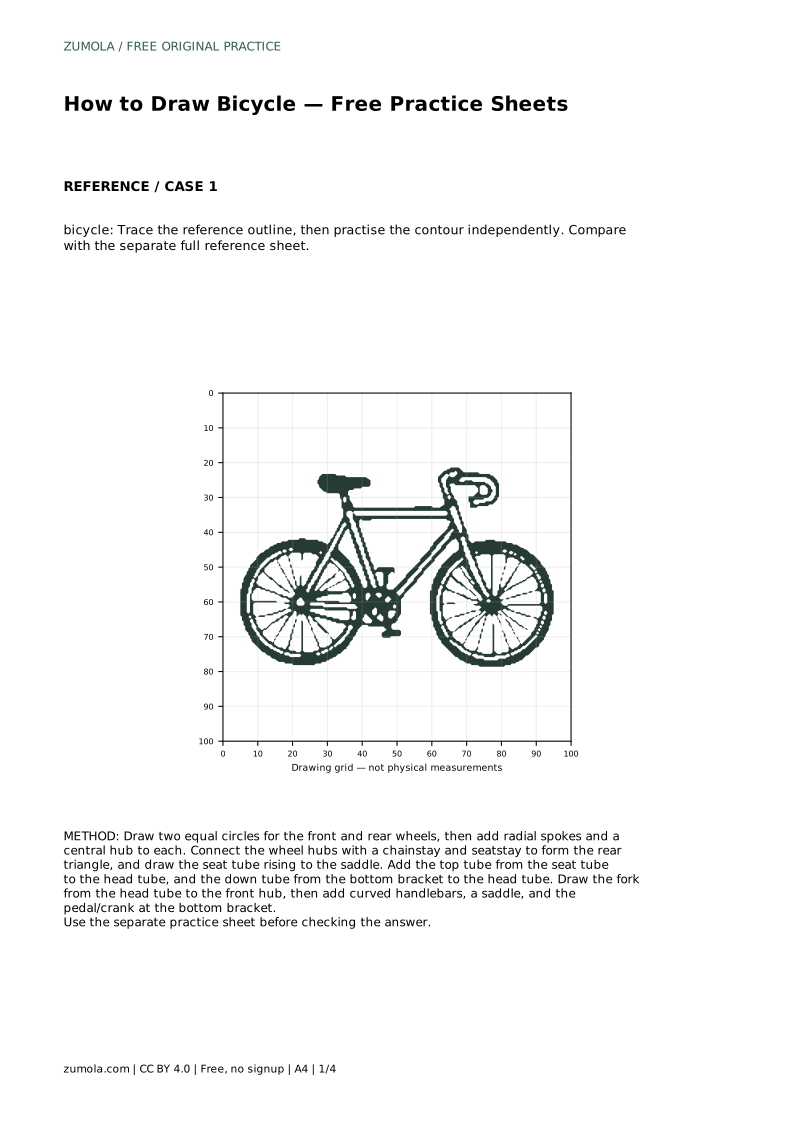
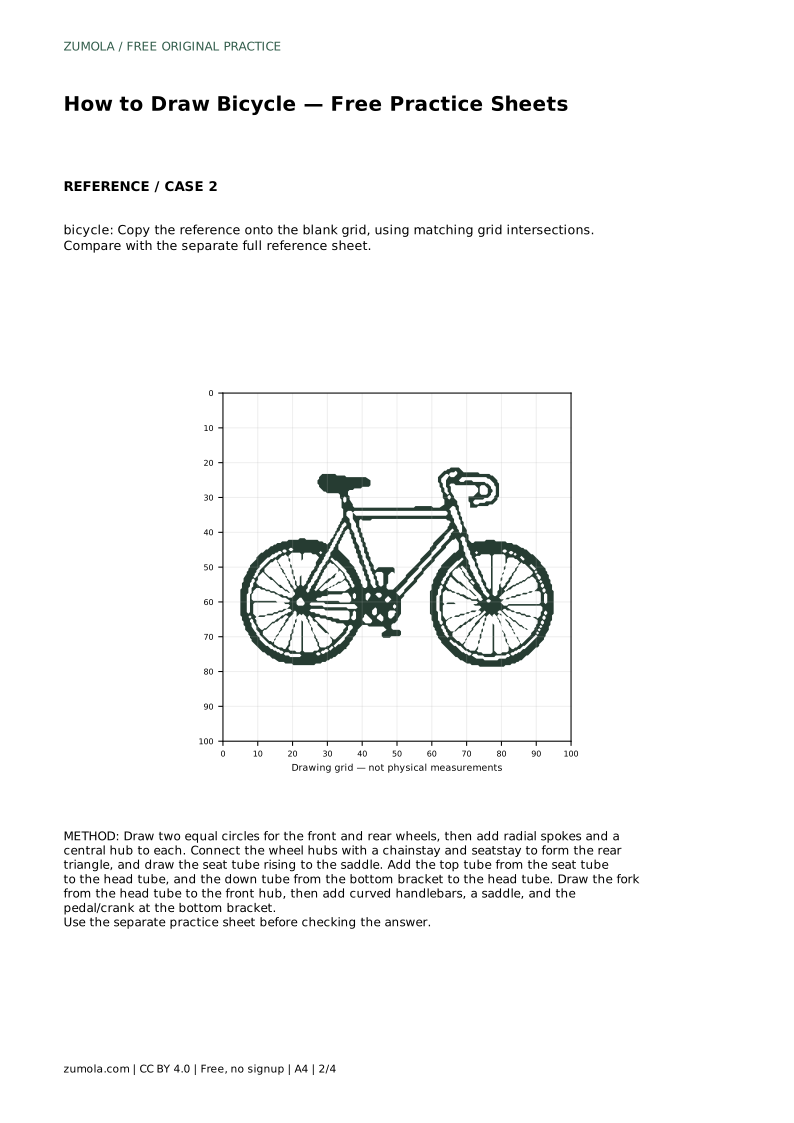
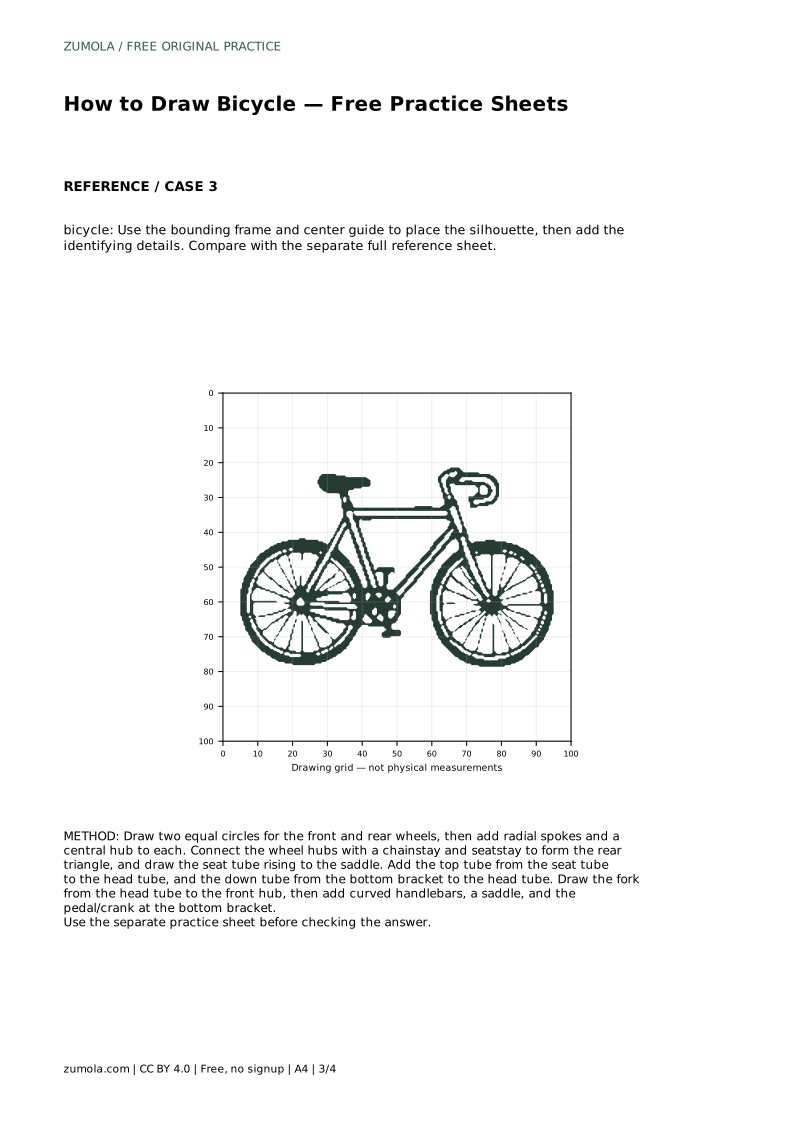
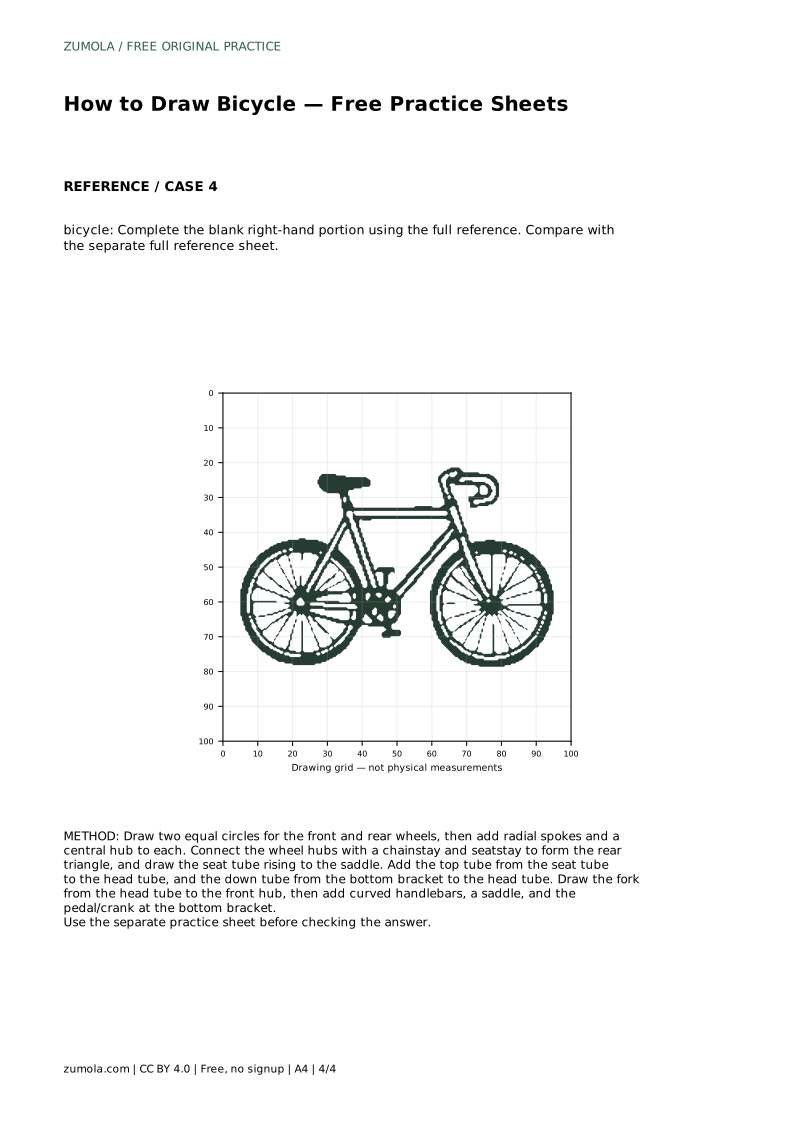
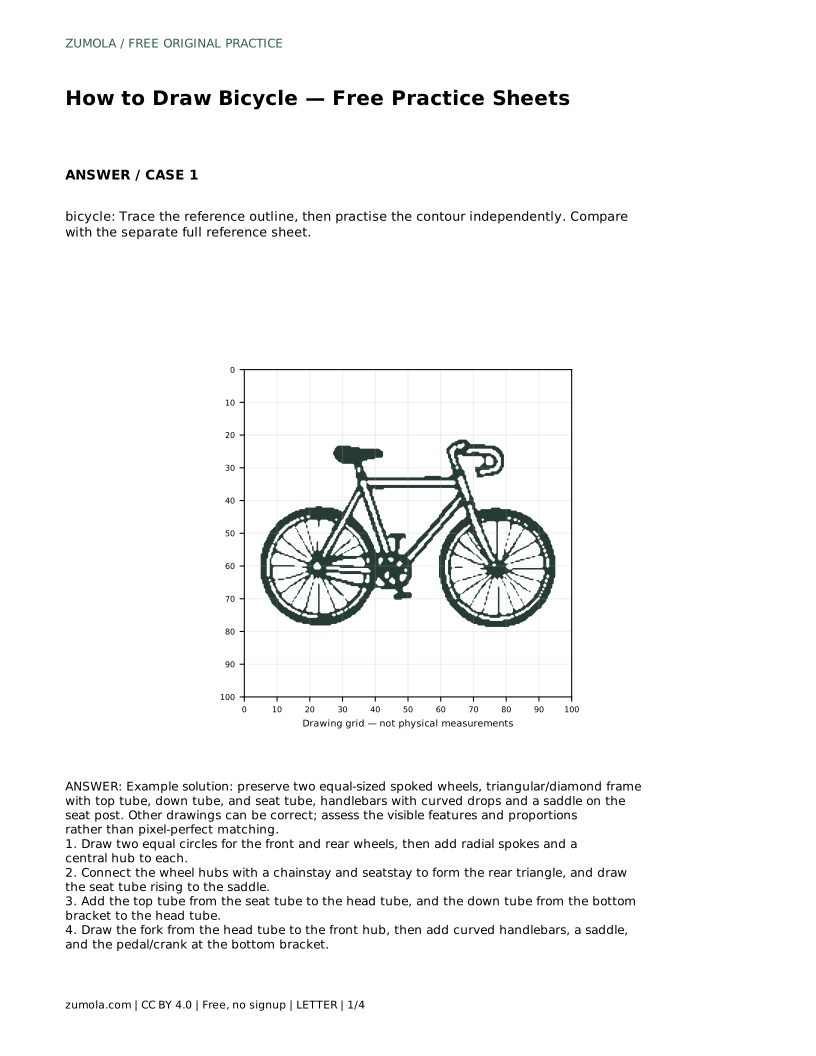
Reference diagrams
LETTER · Download PDF
A4 · Download PDF
Free original resources
Learn to draw a bicycle by building two equal wheels, a diamond frame, fork, handlebars, and saddle. Free printable practice sheets support tracing, grids, and guided outlines.
Four original cases, with reference diagrams, practice sheets and worked answers. Everything is free; no signup required.
LETTER · Download PDF
A4 · Download PDF
LETTER · Download PDF
A4 · Download PDF
LETTER · Download PDF
A4 · Download PDF
Use A4 or US Letter to match your printer. Use the stated values and conditions to solve each exercise; diagrams are not physical measuring rulers.
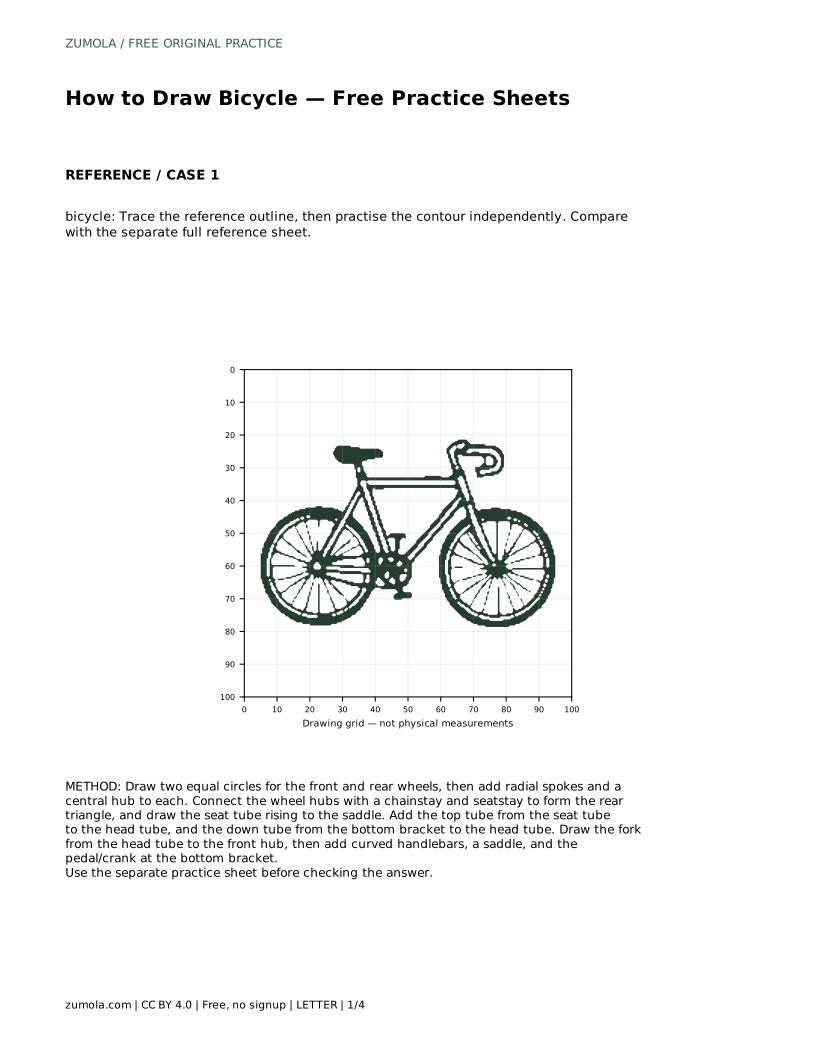
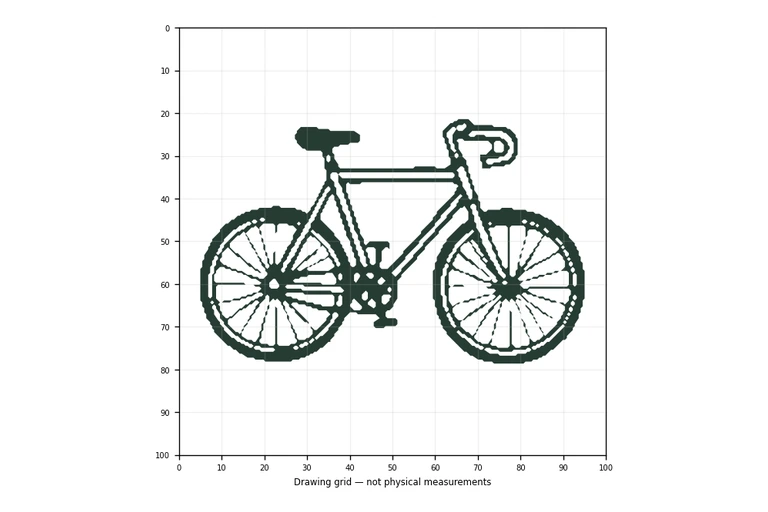
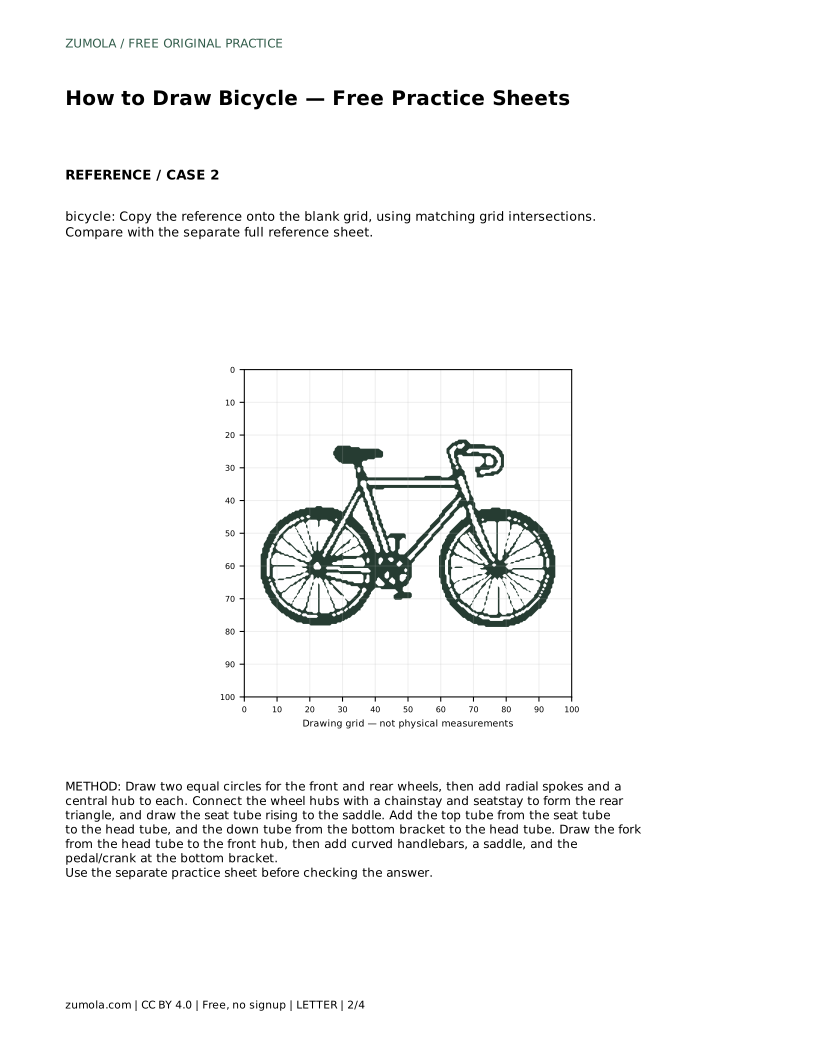
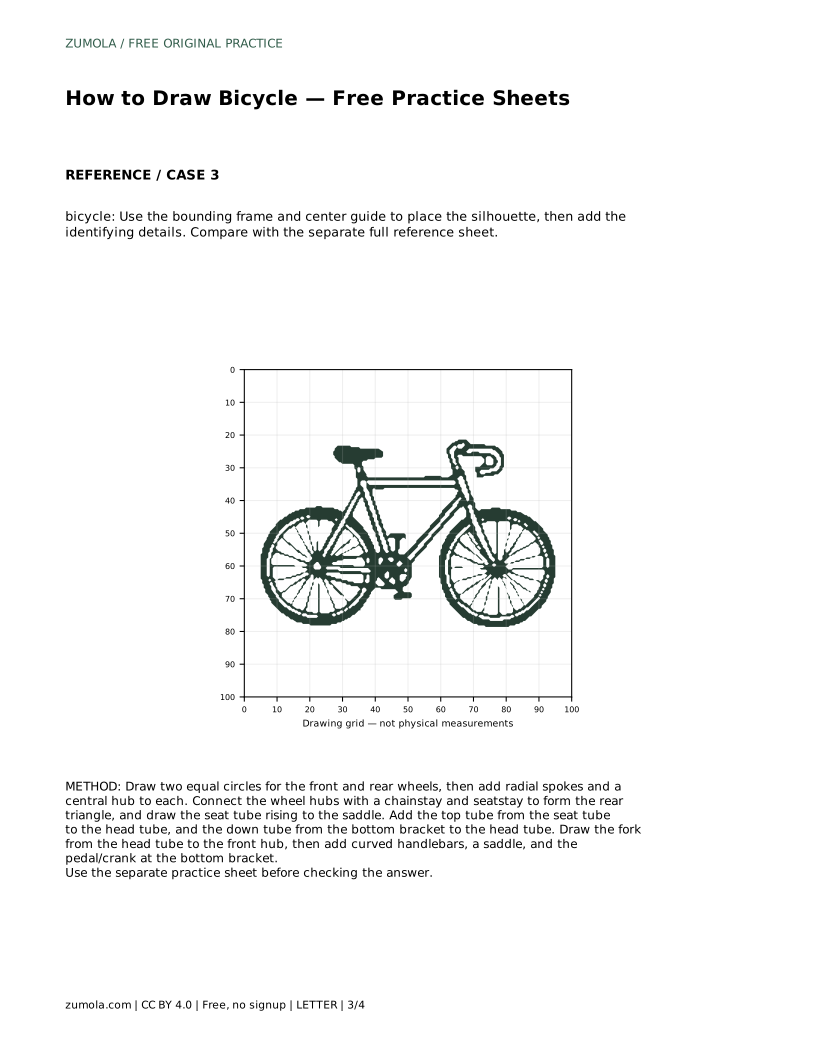
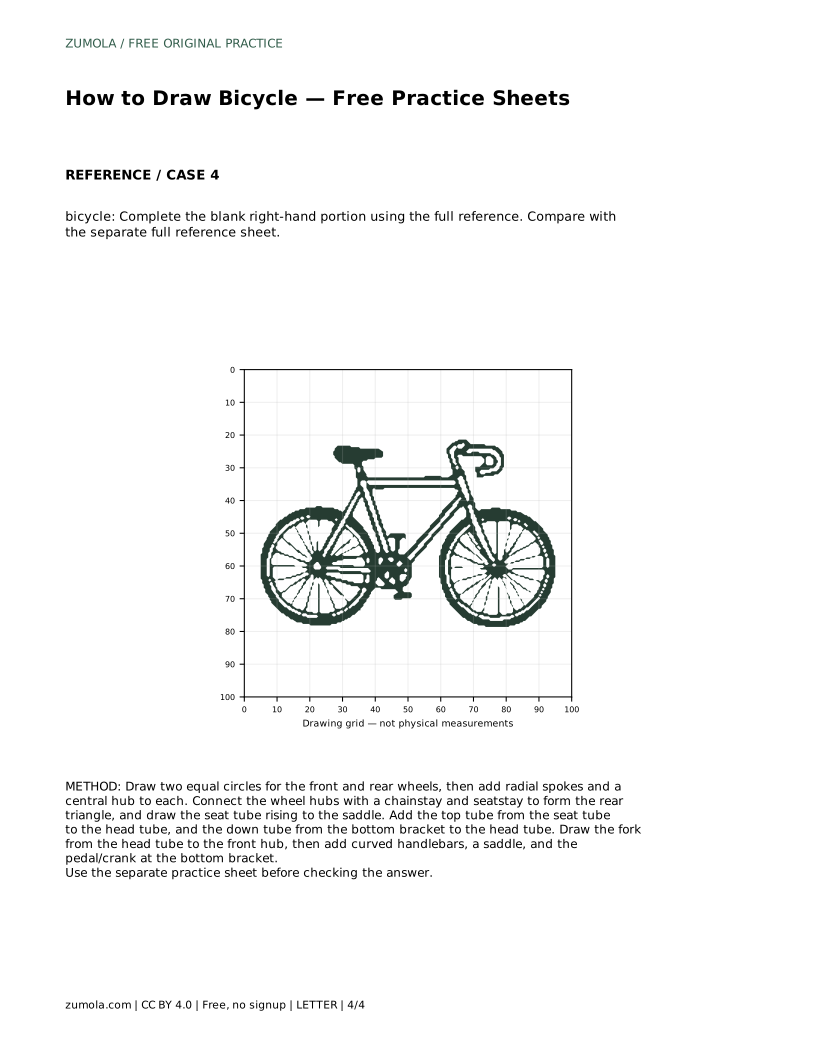
Drawing a bicycle is mostly a problem of structure: two equal wheels, a frame that connects them, and a few recognizable parts. This page explains a reliable order for constructing a bike drawing, then shows how the free practice sheets let you trace, copy, or complete a reference. The goal is not a pixel-perfect copy. A correct drawing preserves the visible features and sensible proportions, so different line styles and small variations can still work well.
Begin by drawing two circles of the same size for the front and rear wheels. Equal wheels matter because they establish the bicycle's overall stance and make the frame easier to place. Mark a small central hub in each wheel, then add radial spokes from the hub to the rim. Keep the spokes evenly spaced by imagining a clock face and drawing lines at regular intervals. You do not need to count every spoke; a consistent pattern reads as a wheel.
If you are using a practice sheet, the reference outline or grid can help you compare wheel size and spacing before you commit to the frame. On a blank sheet, lightly sketch the circles first so you can adjust them before adding detail.
The frame is a set of tubes that join the wheels, saddle, and handlebars. A common diamond-style frame has a rear triangle and a front triangle. Start at the rear hub: draw a chainstay forward to the bottom bracket, the pedal area at the center of the bike, and a seatstay upward to the seat tube. The seat tube rises to the saddle. Then add the top tube from the seat tube to the head tube, and the down tube from the bottom bracket to the head tube. The head tube is the short front section that holds the fork and handlebars.
Keep the tubes straight or gently curved, and check that they meet at clear joints. The frame should look like a connected structure, not a set of floating lines. If you are copying onto a grid, use matching intersections to keep the tube angles consistent.
The fork runs from the head tube down to the front hub. Draw it as a pair of lines that curve slightly forward, then meet at the hub. Above the head tube, add the handlebars. Curved drop bars are one recognizable style: draw a short stem, then curve the bars forward and down. A saddle sits on top of the seat post above the seat tube. Finally, add the pedal and crank at the bottom bracket, and a simple chain line if you want more detail.
These parts identify the drawing as a bicycle. Check that the handlebars are above the front wheel, the saddle is above the rear triangle, and the pedals are at the center of the frame. Small errors in angle are fine; missing or misplaced major parts are what make a drawing read incorrectly.
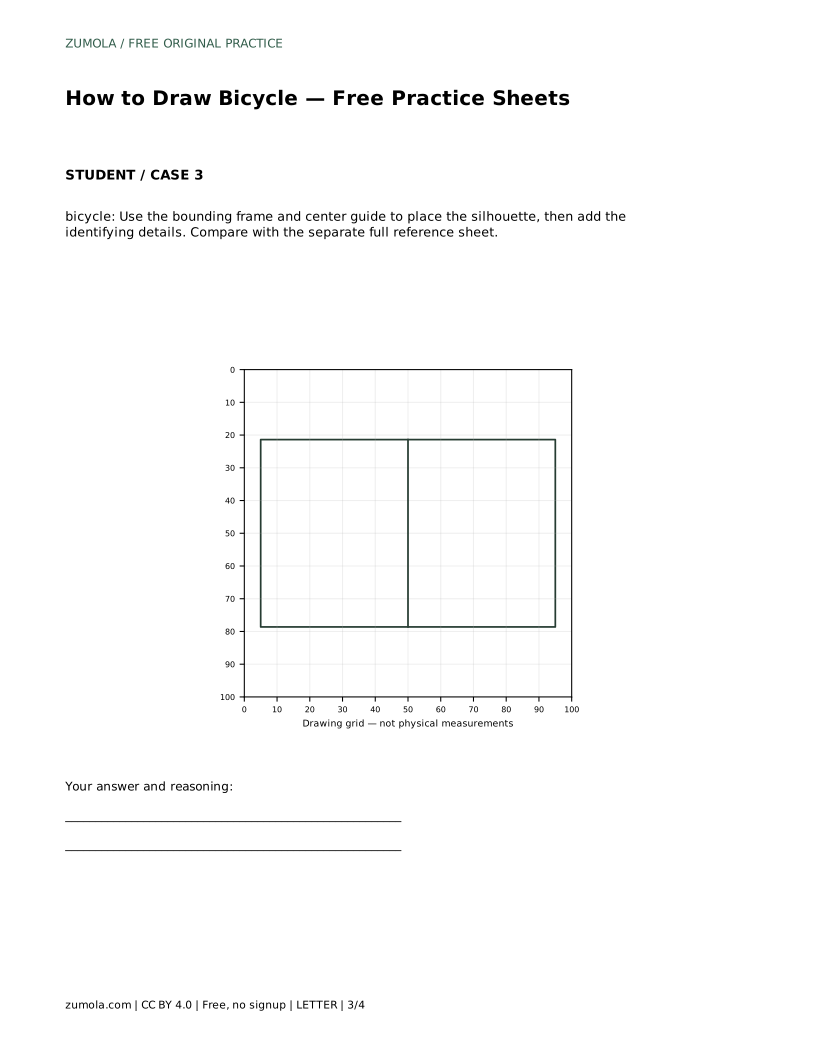
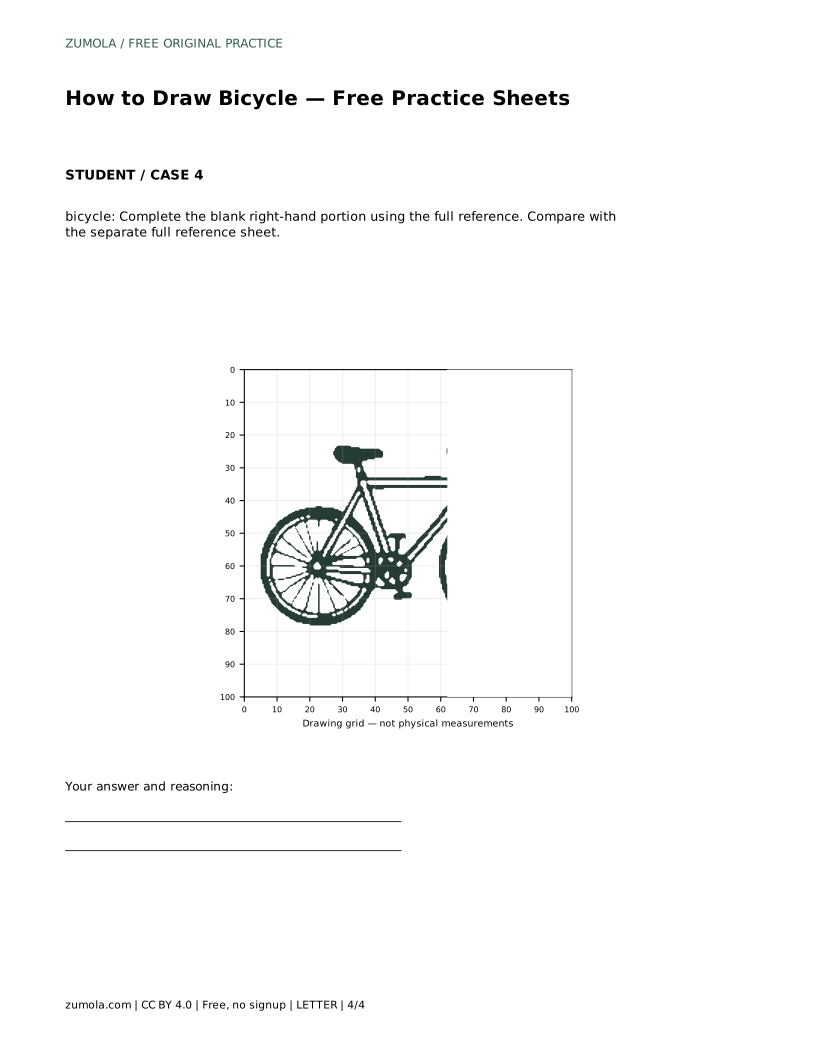
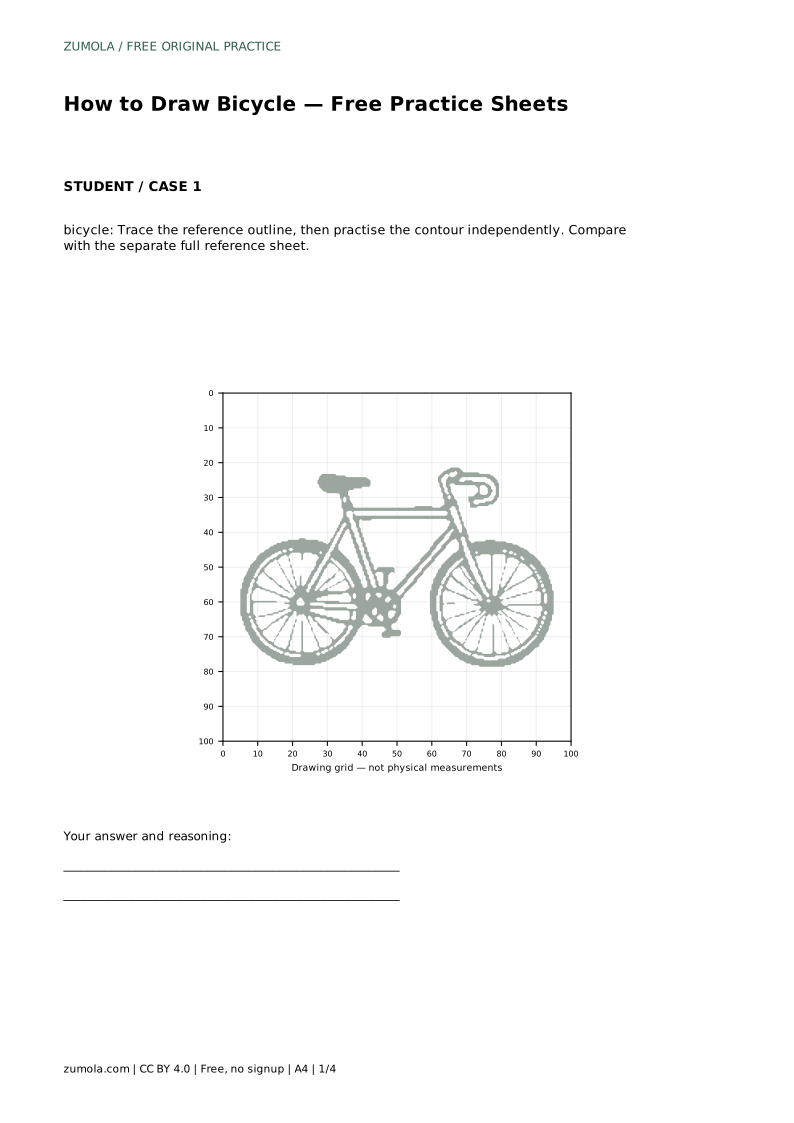
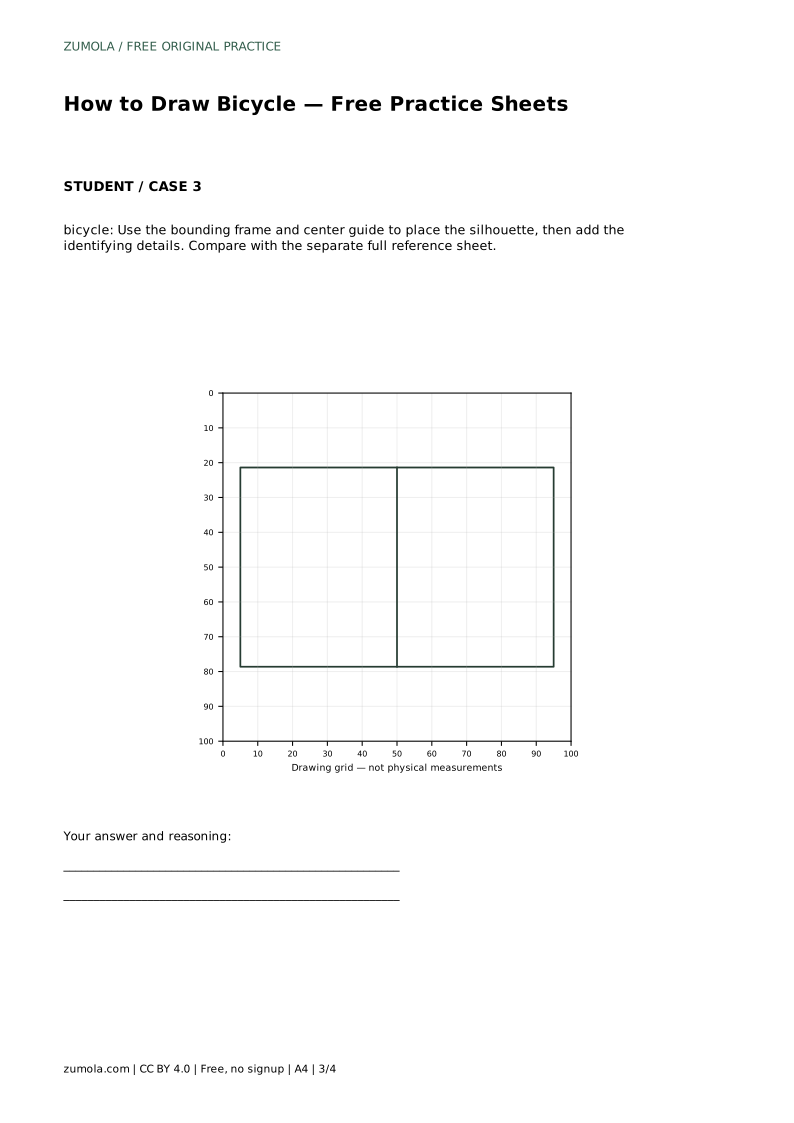
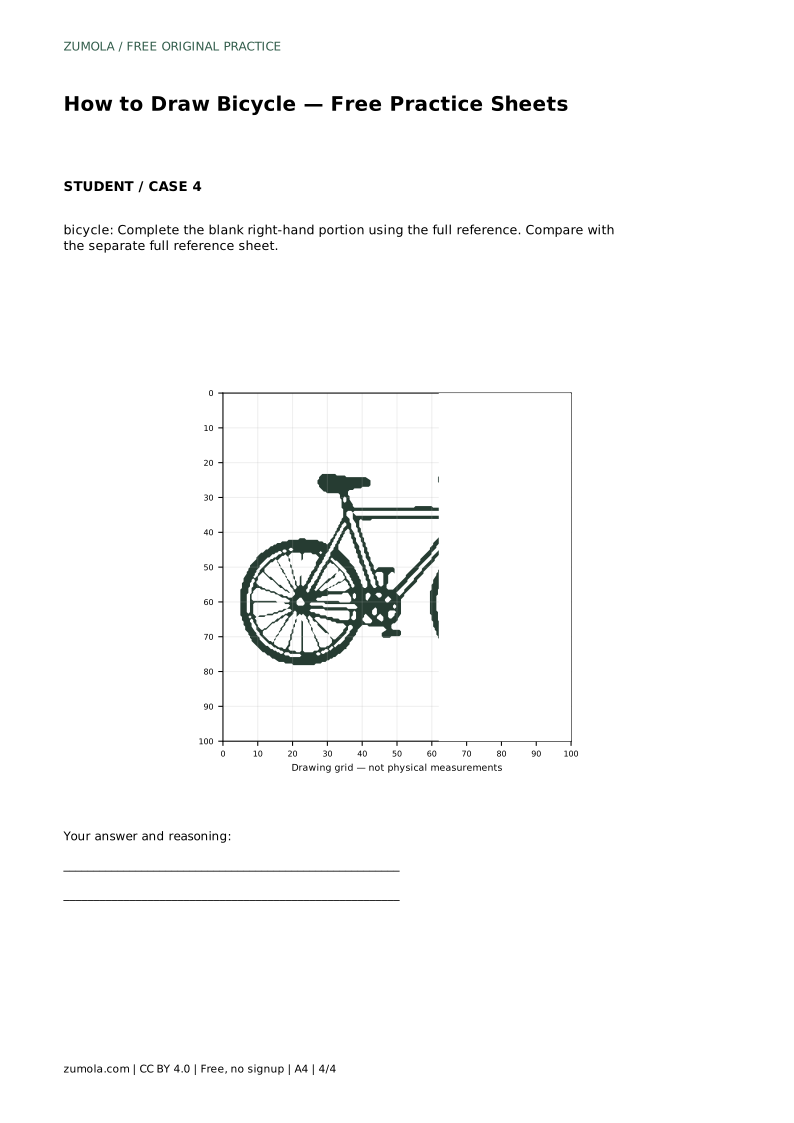
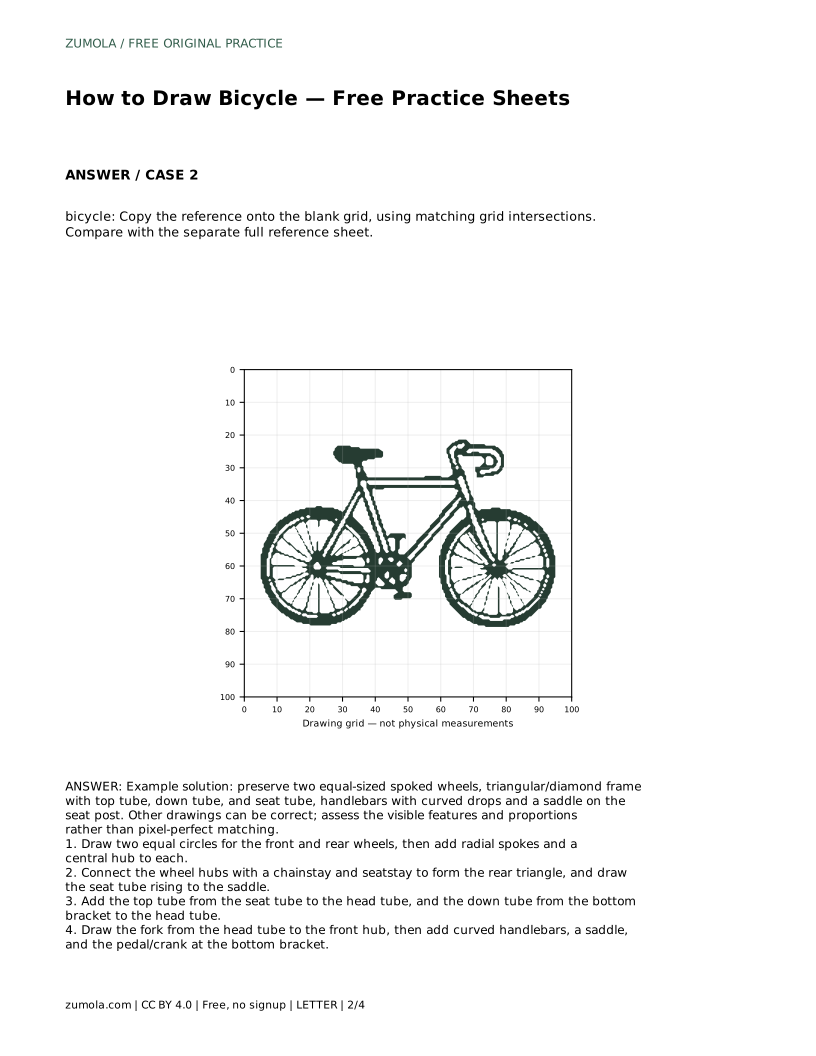
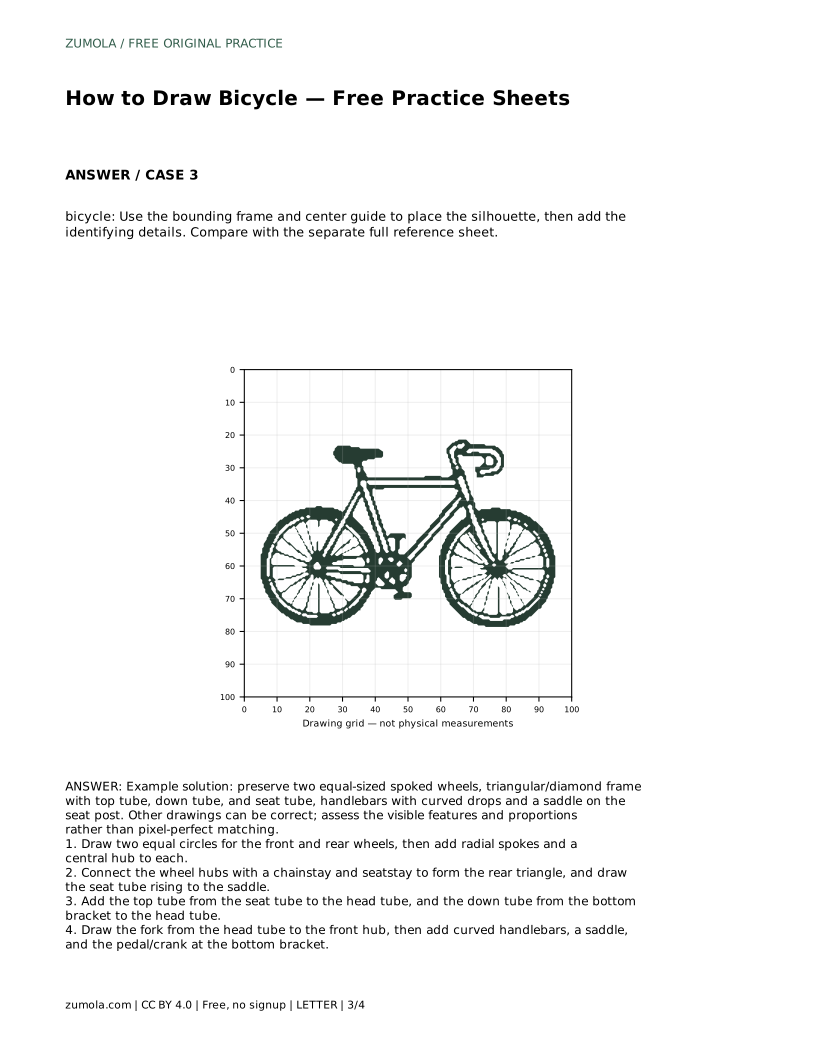
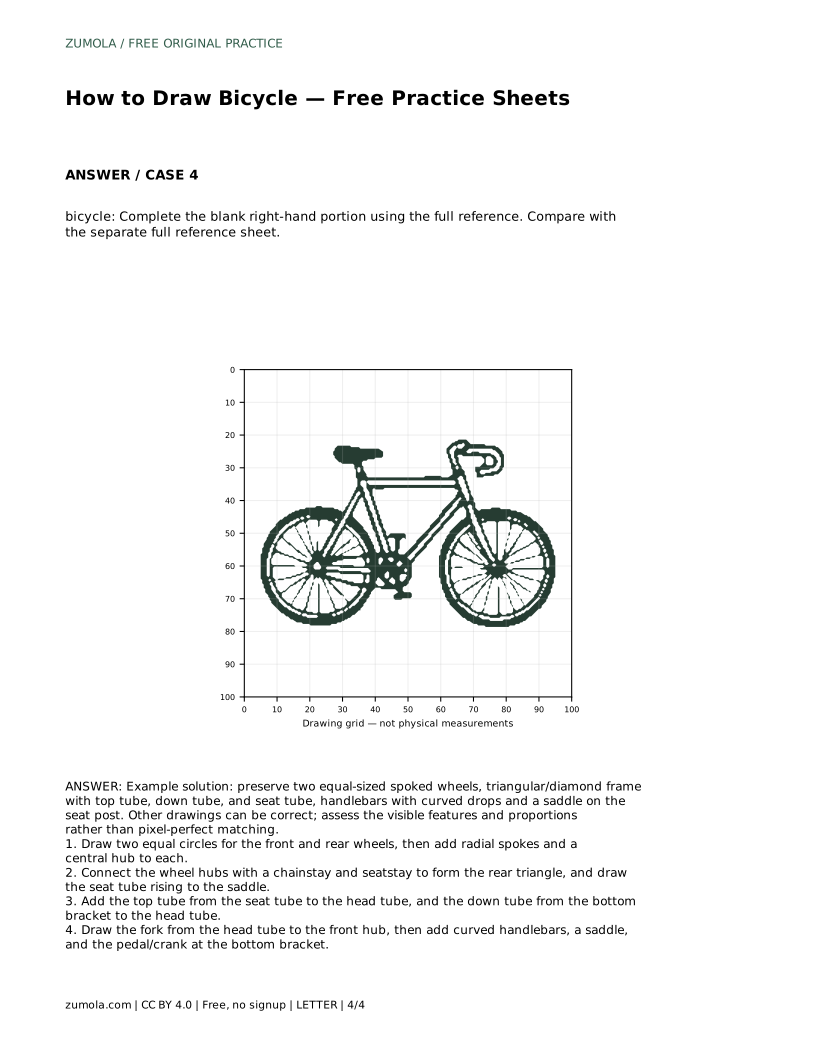
The free printable sheets offer different ways to practice the same structure. One sheet lets you trace the reference outline, then try the contour independently. Another uses a blank grid so you can copy the reference onto matching intersections. A third provides a bounding frame and center guide to place the silhouette before adding details. A fourth gives a full reference and a blank right-hand portion to complete.
After each attempt, compare your drawing with the separate full reference sheet. Ask whether the wheels are equal, the frame tubes connect logically, and the handlebars, saddle, and pedals are in believable positions. Use the rubric below to assess visible features and proportions rather than exact line matching.
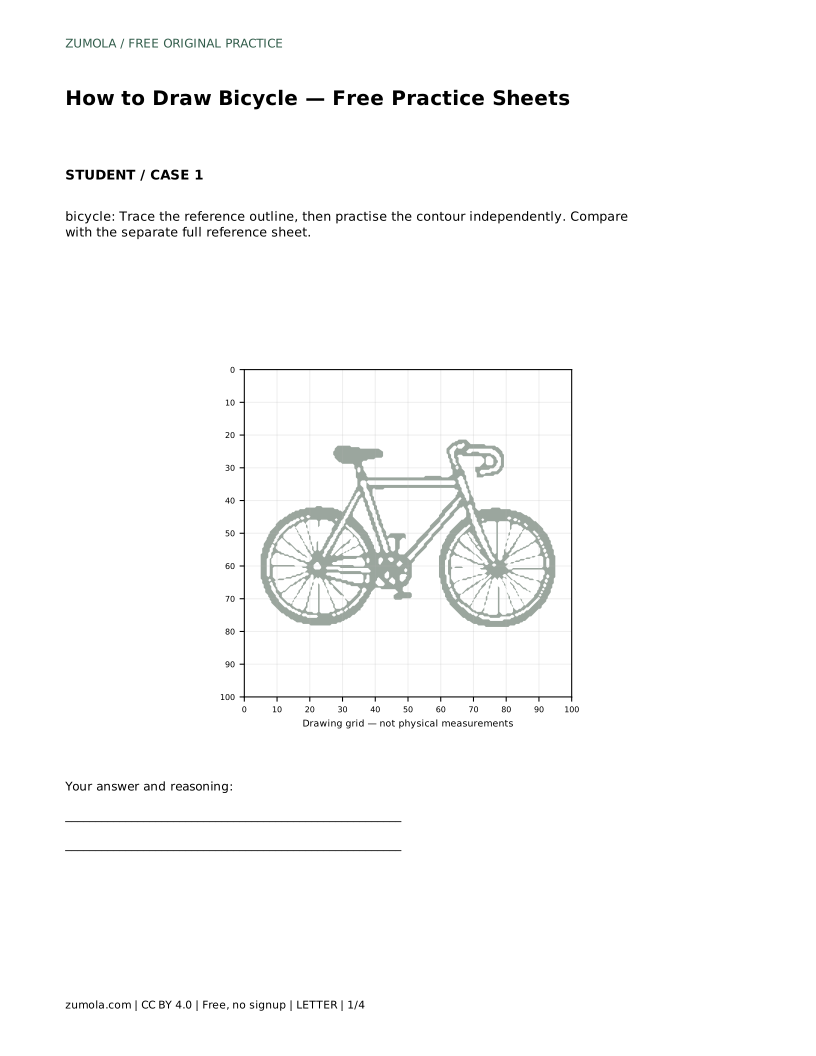
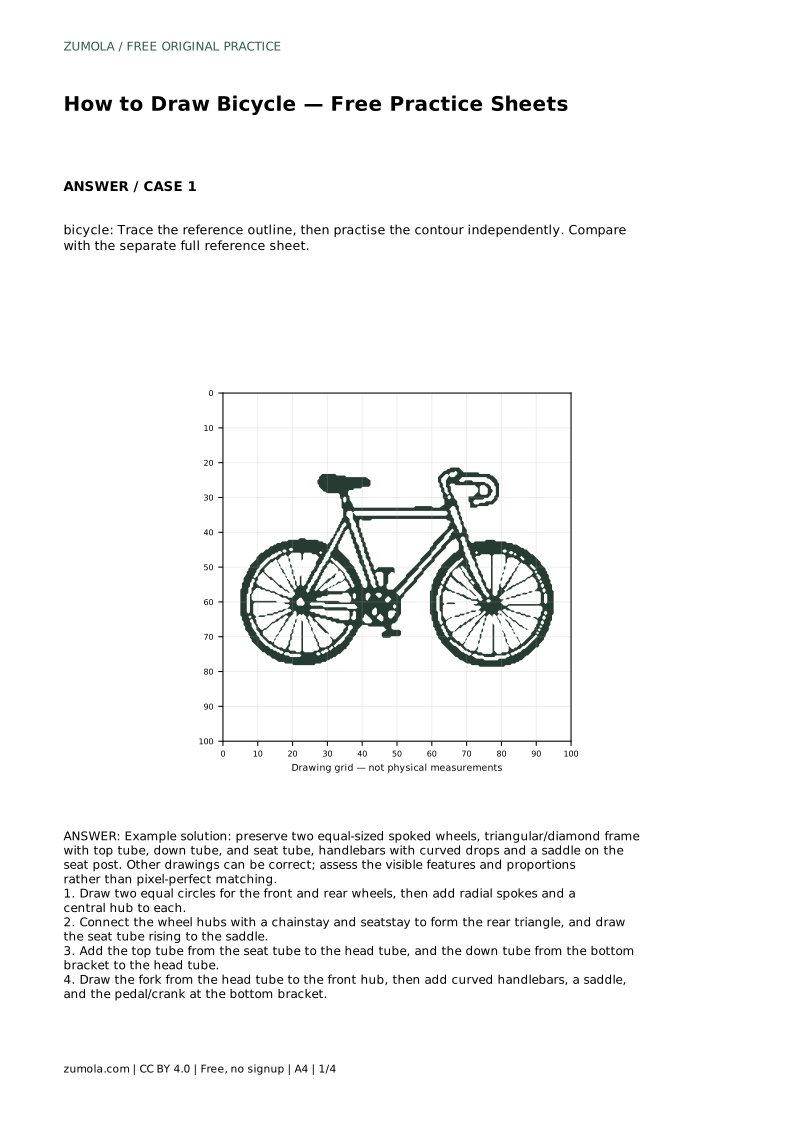
bicycle: Trace the reference outline, then practise the contour independently. Compare with the separate full reference sheet.
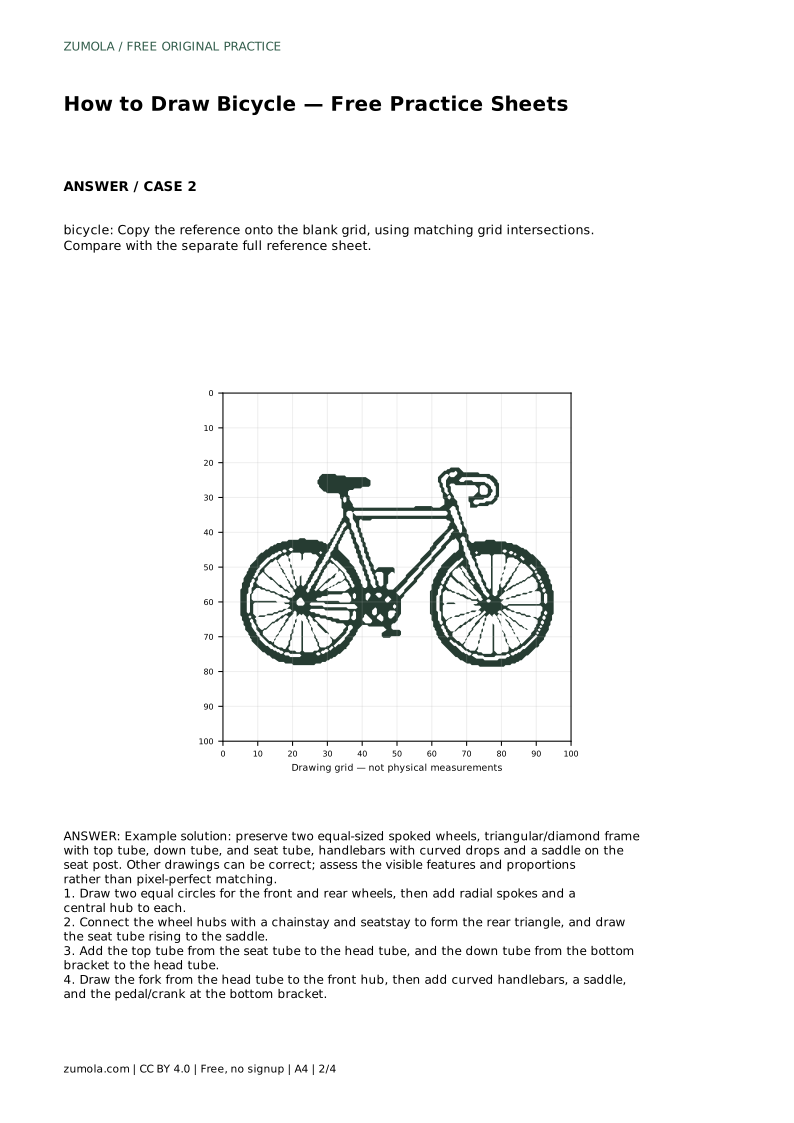
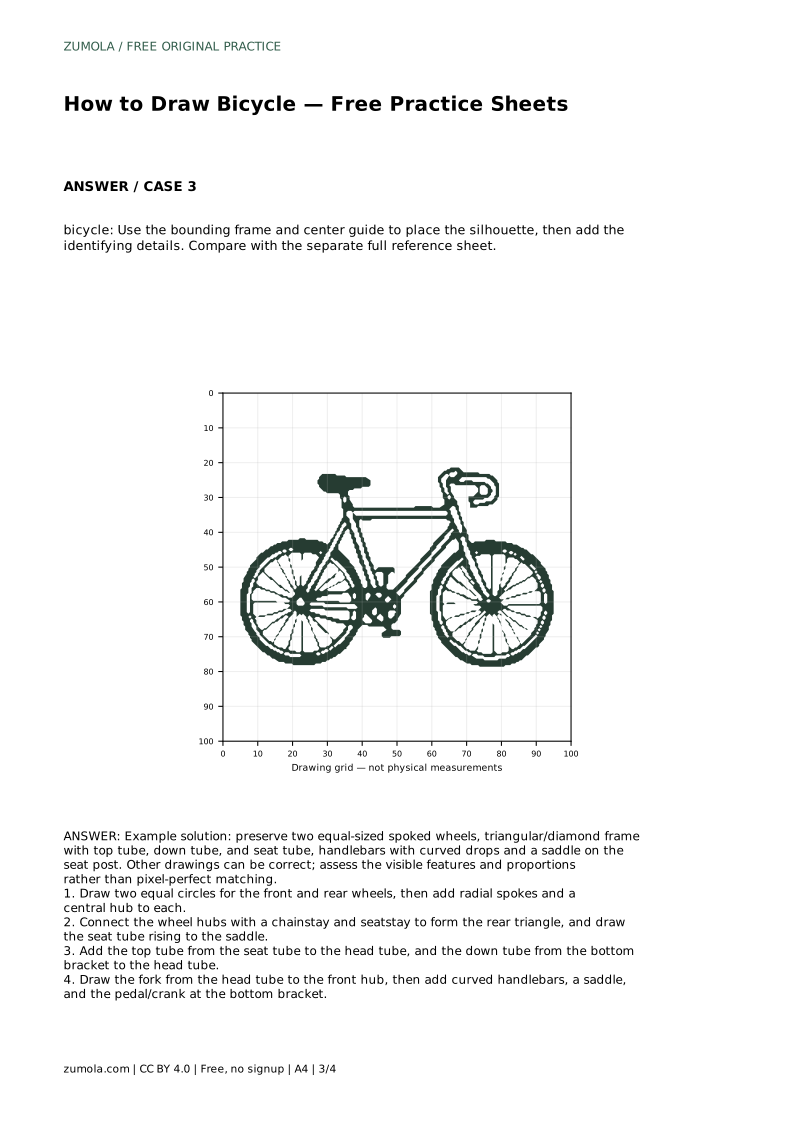
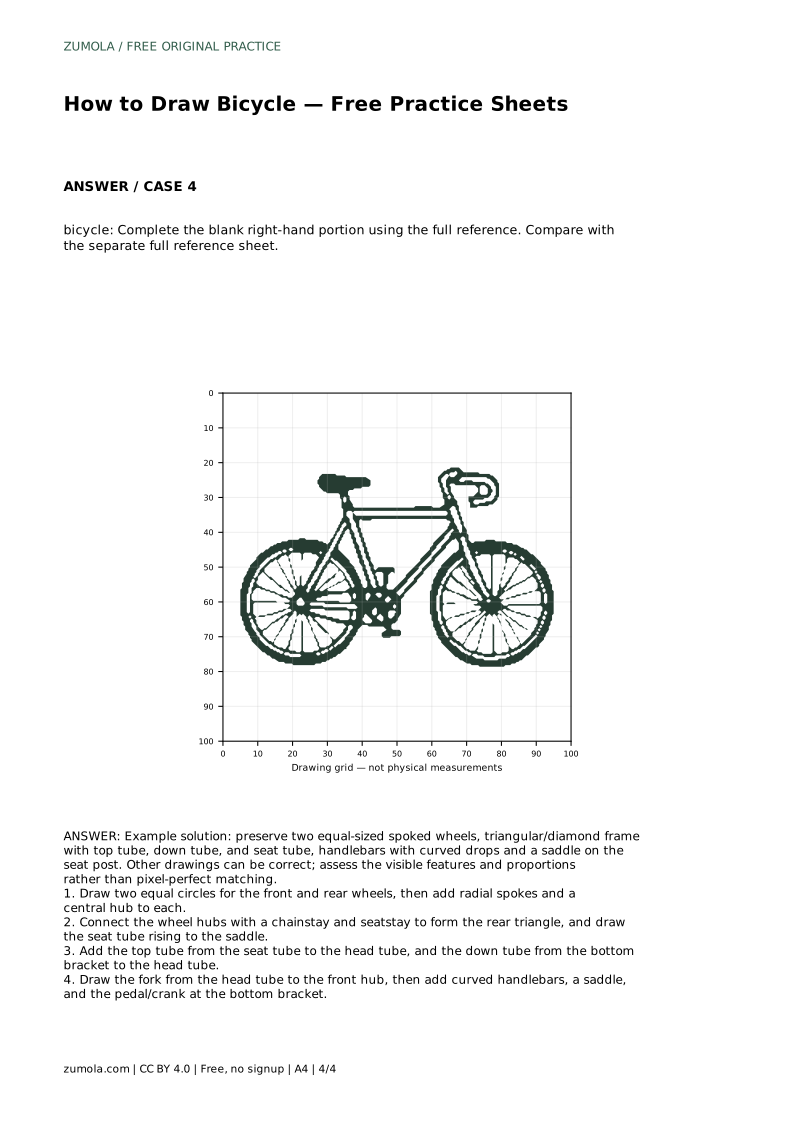
Example solution: preserve two equal-sized spoked wheels, triangular/diamond frame with top tube, down tube, and seat tube, handlebars with curved drops and a saddle on the seat post. Other drawings can be correct; assess the visible features and proportions rather than pixel-perfect matching. Draw two equal circles for the front and rear wheels, then add radial spokes and a central hub to each. Connect the wheel hubs with a chainstay and seatstay to form the rear triangle, and draw the seat tube rising to the saddle. Add the top tube from the seat tube to the head tube, and the down tube from the bottom bracket to the head tube. Draw the fork from the head tube to the front hub, then add curved handlebars, a saddle, and the pedal/crank at the bottom bracket.
For a standard bicycle drawing, yes. Equal wheels make the frame and proportions easier to judge. A slight difference may still look acceptable, but matching circles give a clearer structure.
There is no required number. Draw a regular radial pattern that reads as a wheel. Even spacing matters more than an exact count.
Yes. Curved drop bars are one recognizable option, but flat or raised bars can also be correct if they are attached above the head tube and positioned sensibly.
All drawing practice · Free coordinate paper
Original resources · CC BY 4.0 · Free for personal and classroom use with attribution.