Reference diagrams
LETTER · Download PDF
A4 · Download PDF
Free original resources
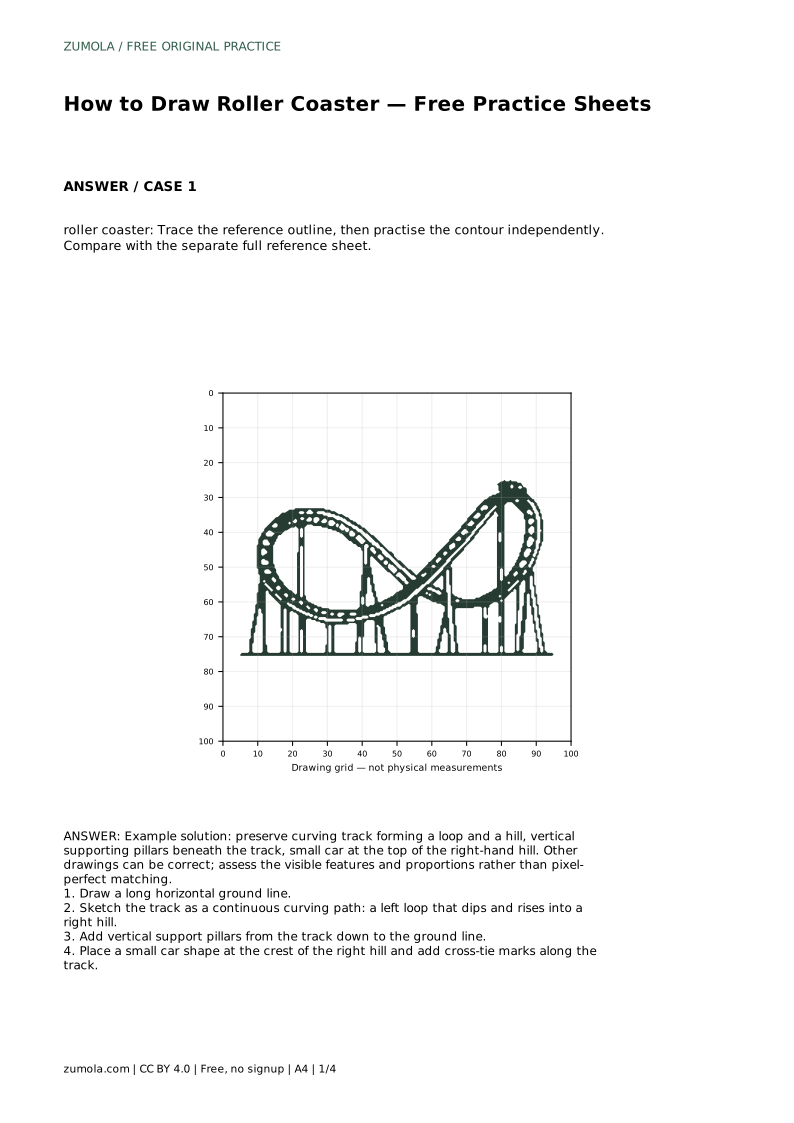
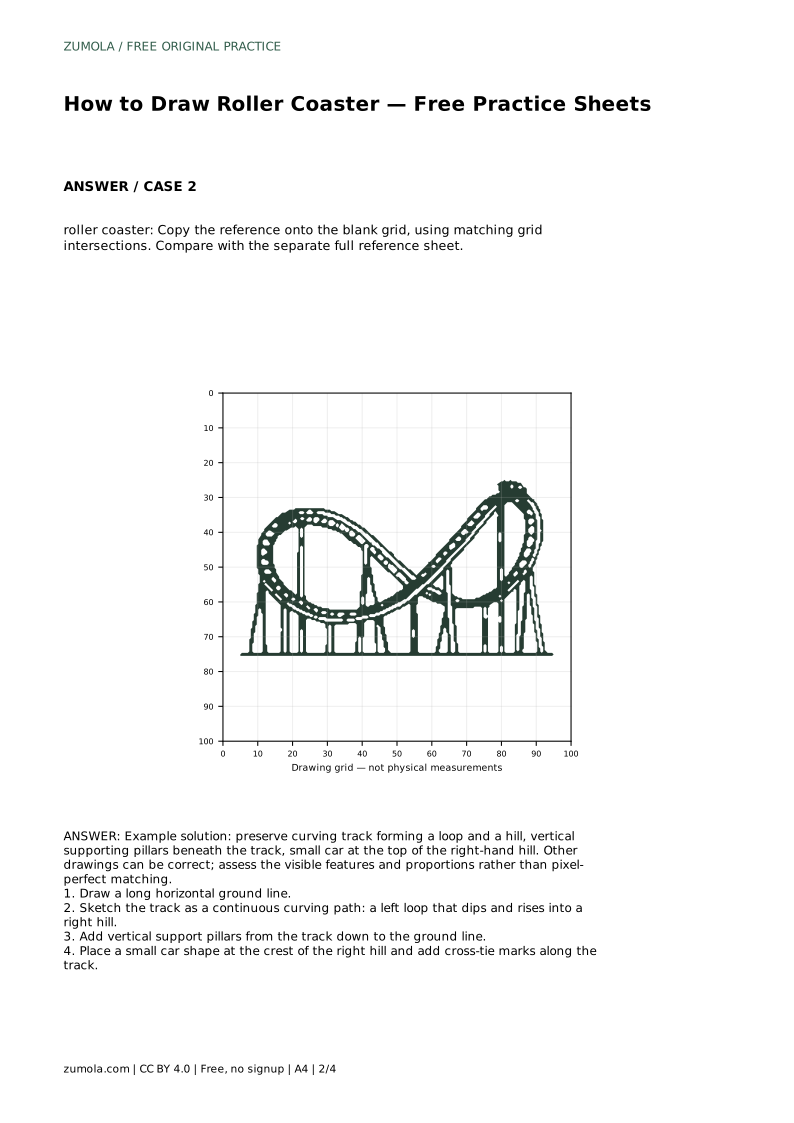
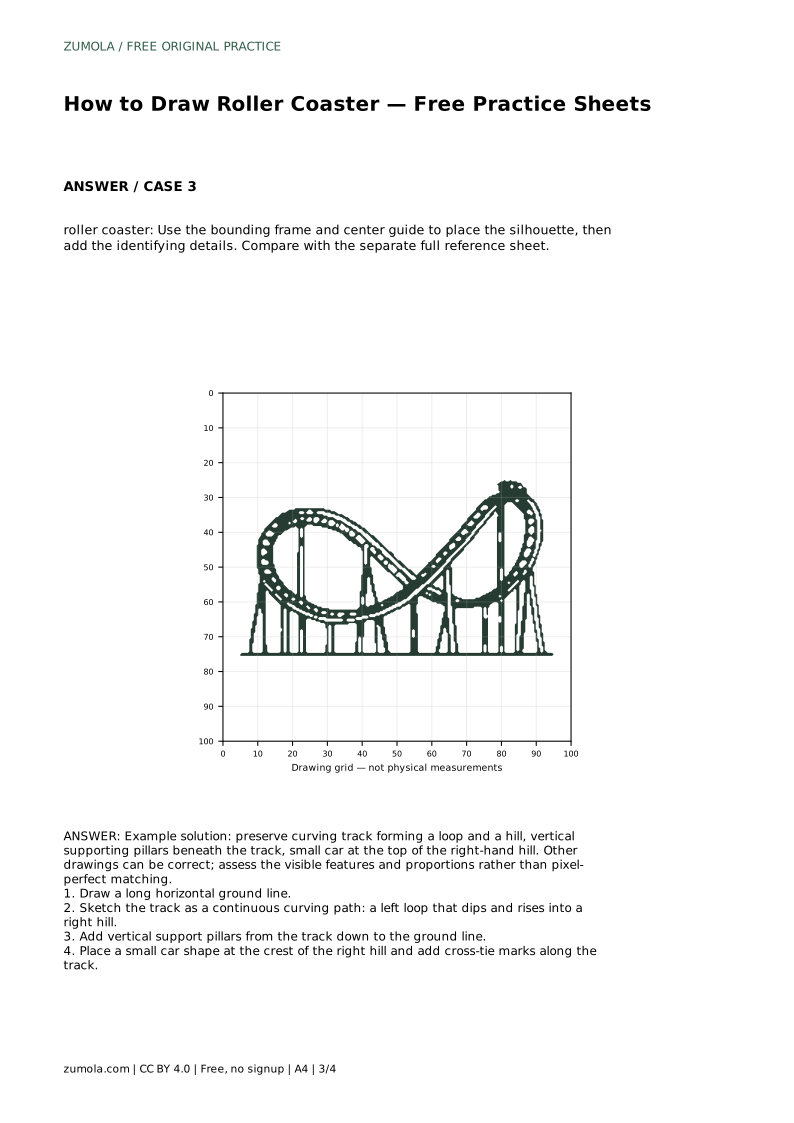
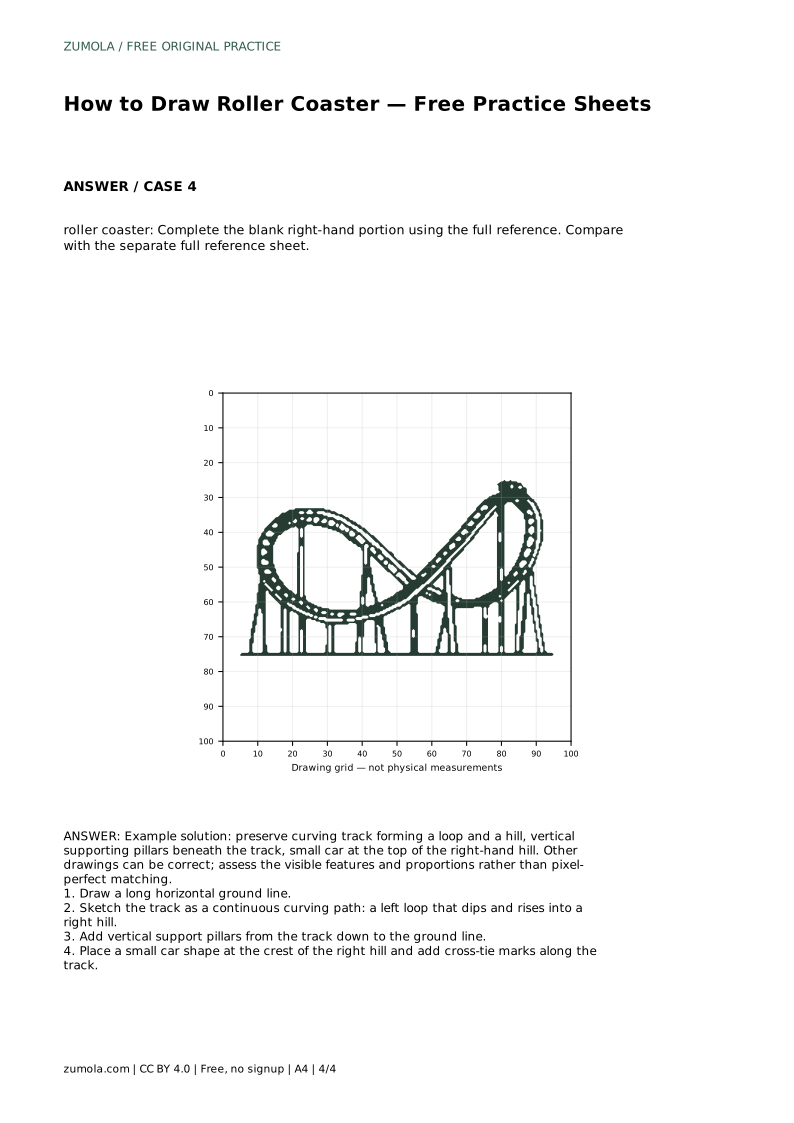
Learn to draw a roller coaster with a looping track, a hill, support pillars, and a car. Trace, grid, and finish-the-picture practice sheets support careful looking.
Four original cases, with reference diagrams, practice sheets and worked answers. Everything is free; no signup required.
LETTER · Download PDF
A4 · Download PDF
LETTER · Download PDF
A4 · Download PDF
LETTER · Download PDF
A4 · Download PDF
Use A4 or US Letter to match your printer. Use the stated values and conditions to solve each exercise; diagrams are not physical measuring rulers.
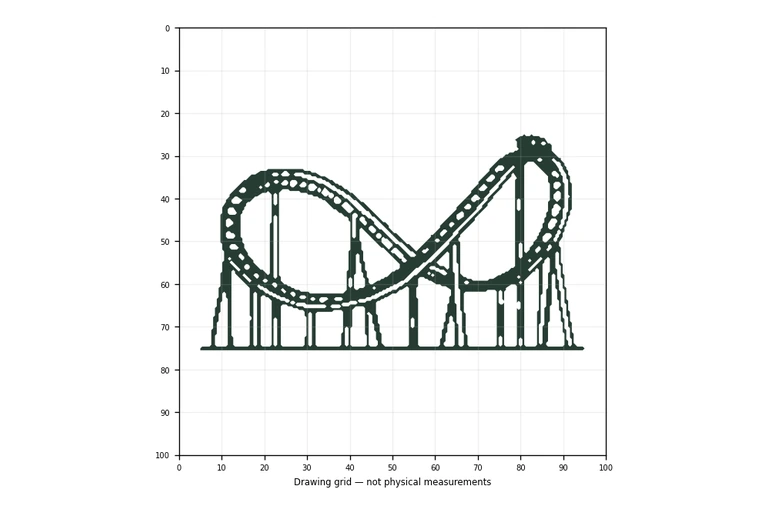
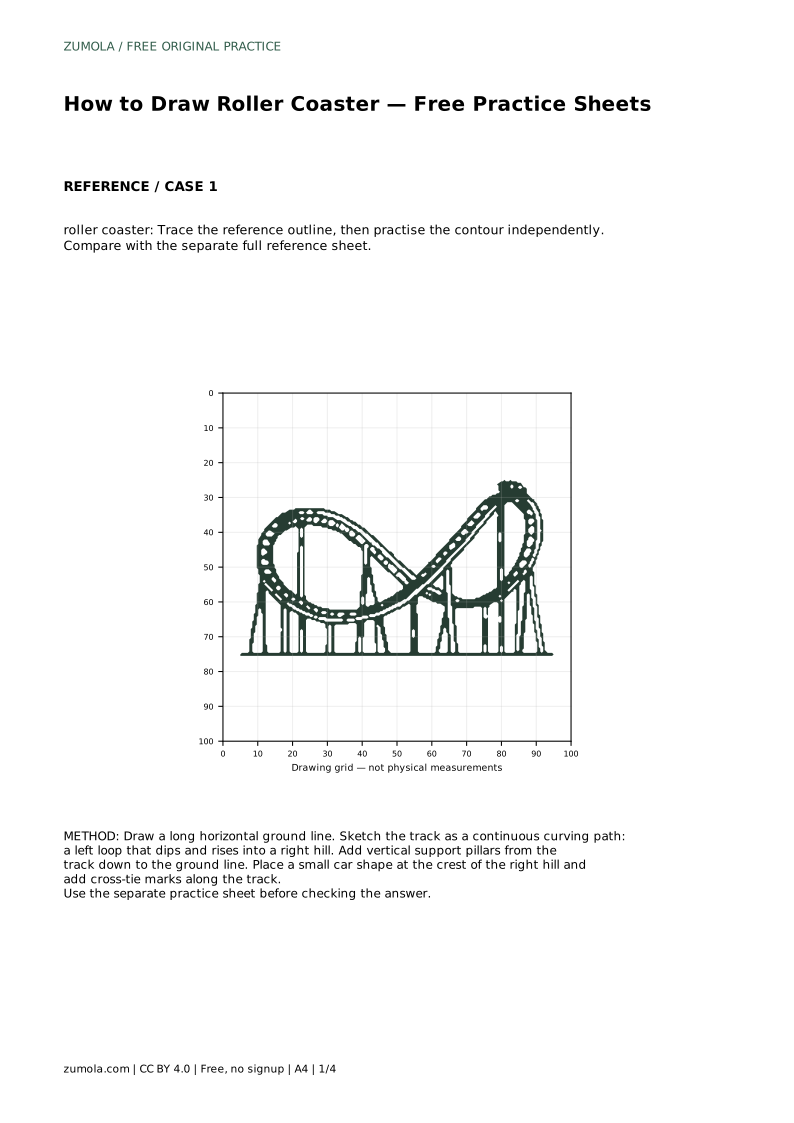
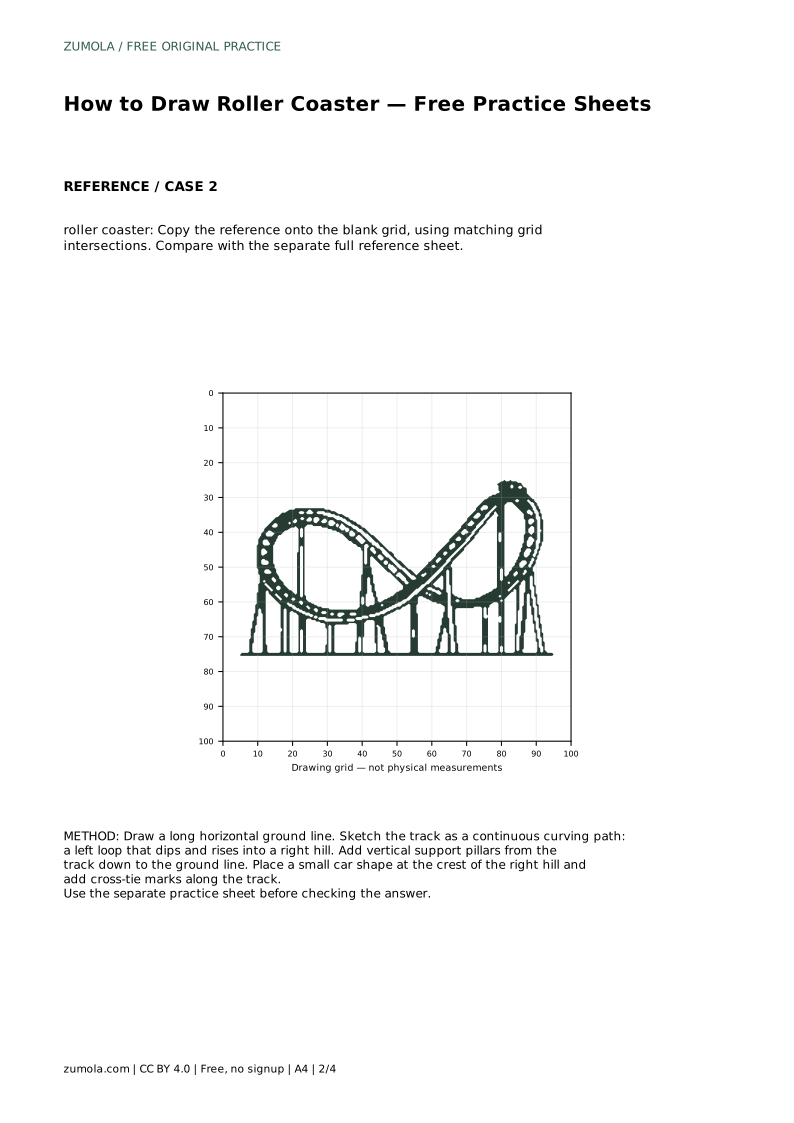
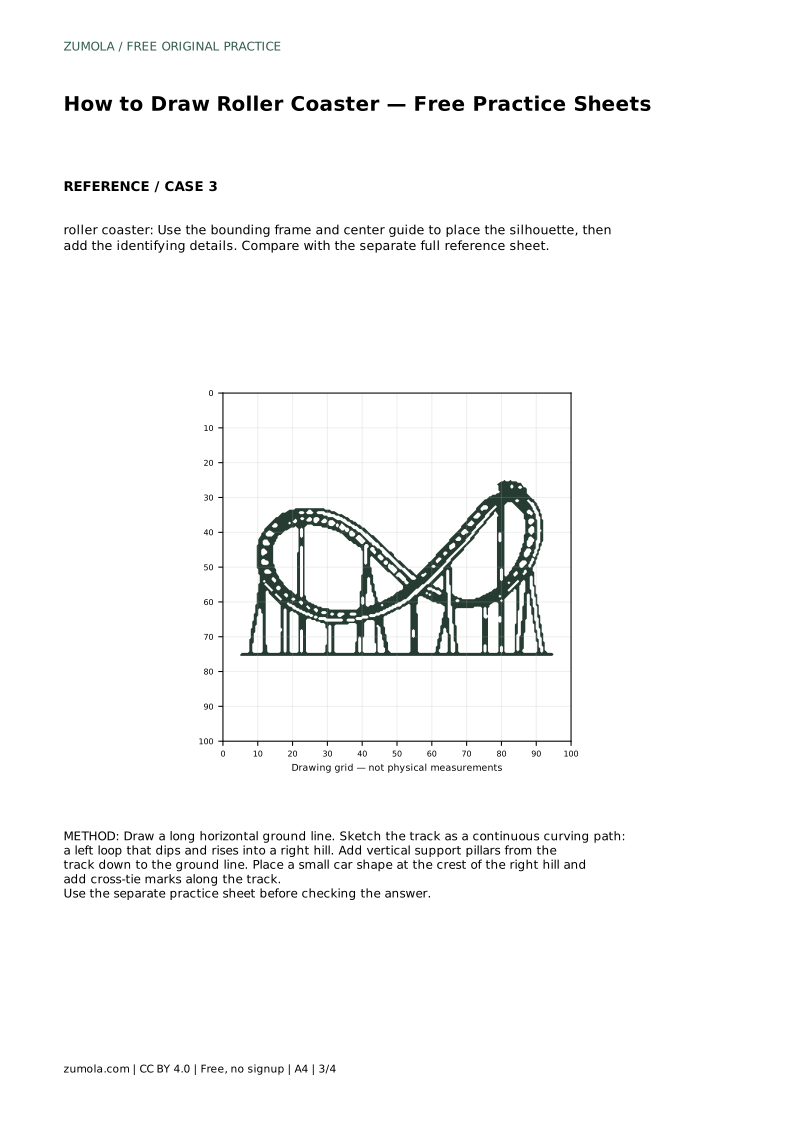
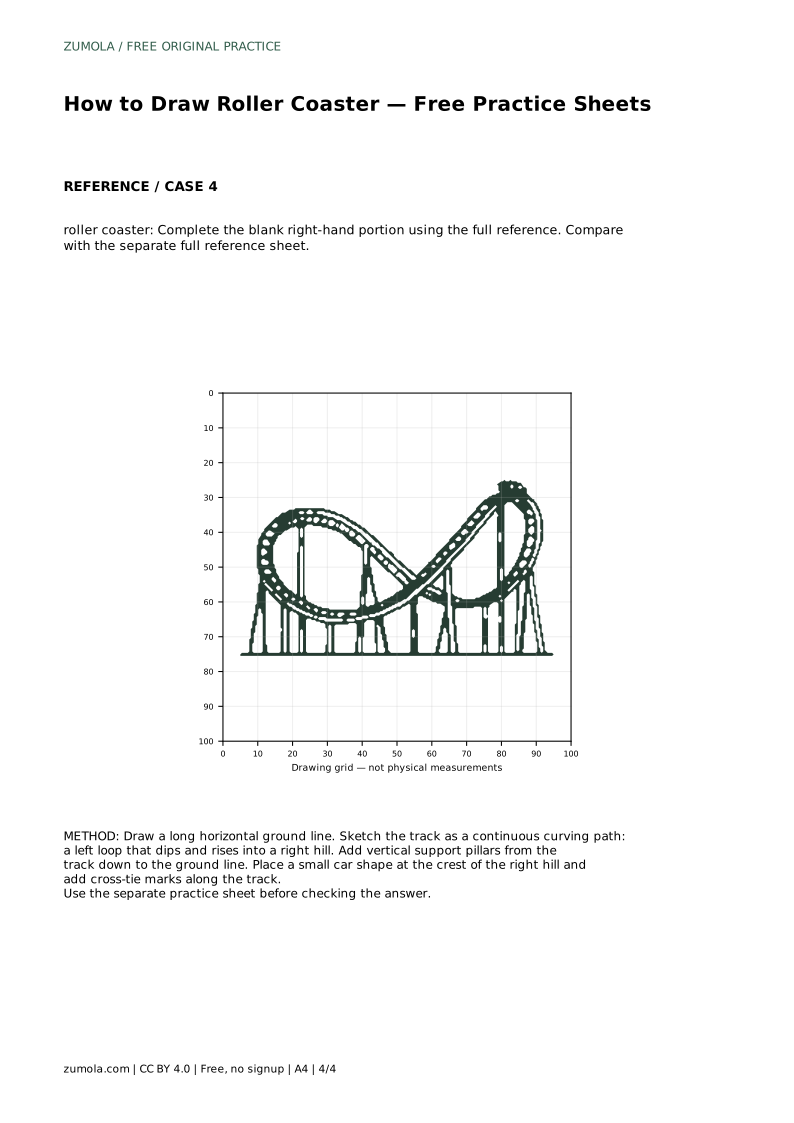
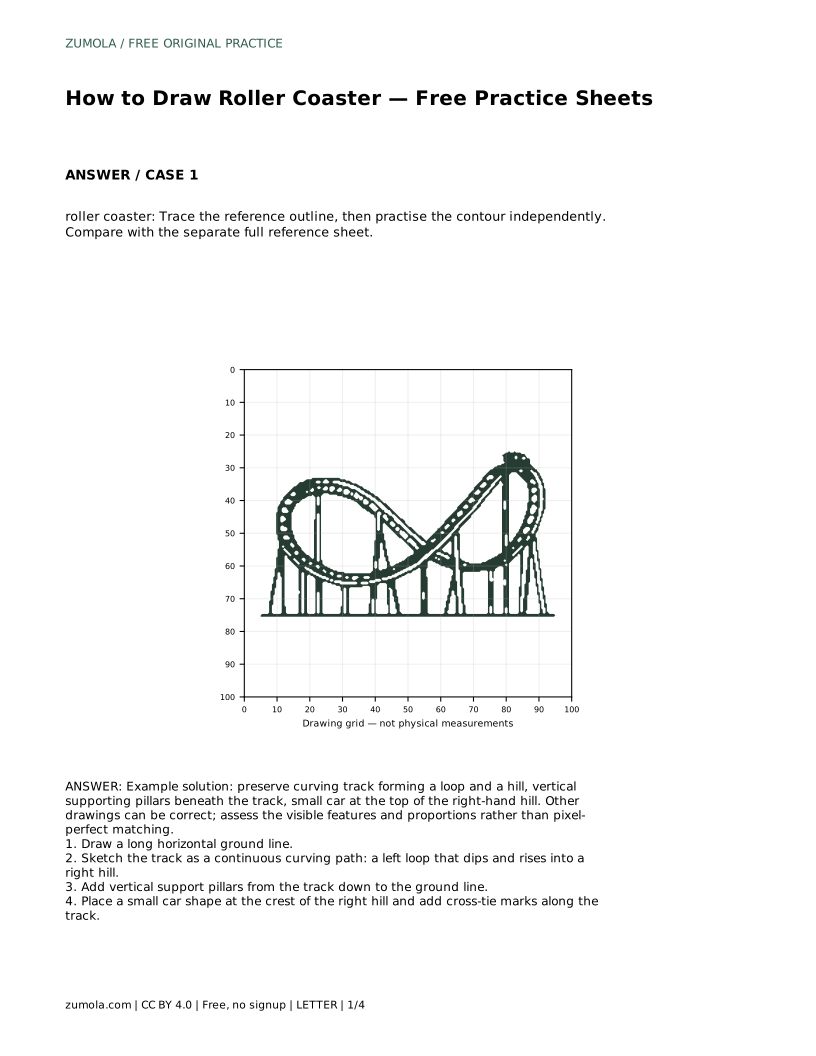
A roller coaster drawing is mostly a problem of structure: one continuous track, supports that reach the ground, and a car placed where the track crests. This page explains how to build that structure step by step, then how to use trace, grid, and finish-the-picture sheets to practise it. The goal is not a pixel-perfect copy. Different drawings can be correct when the visible features and proportions hold together.
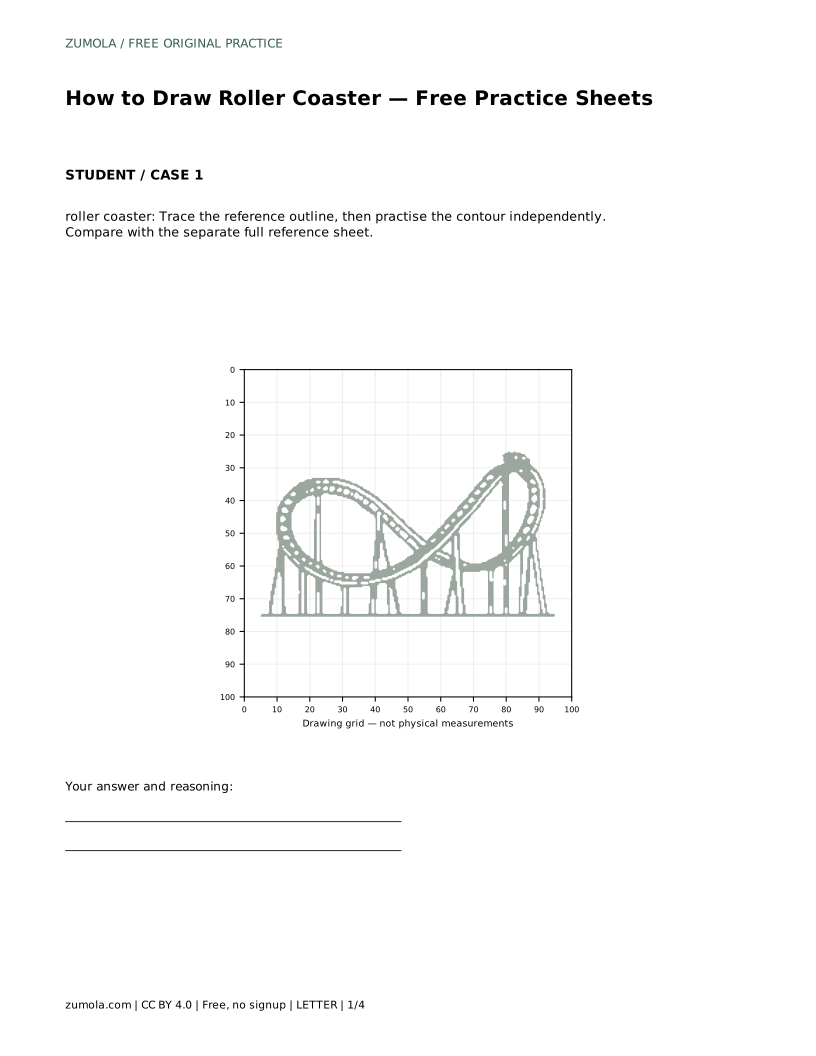
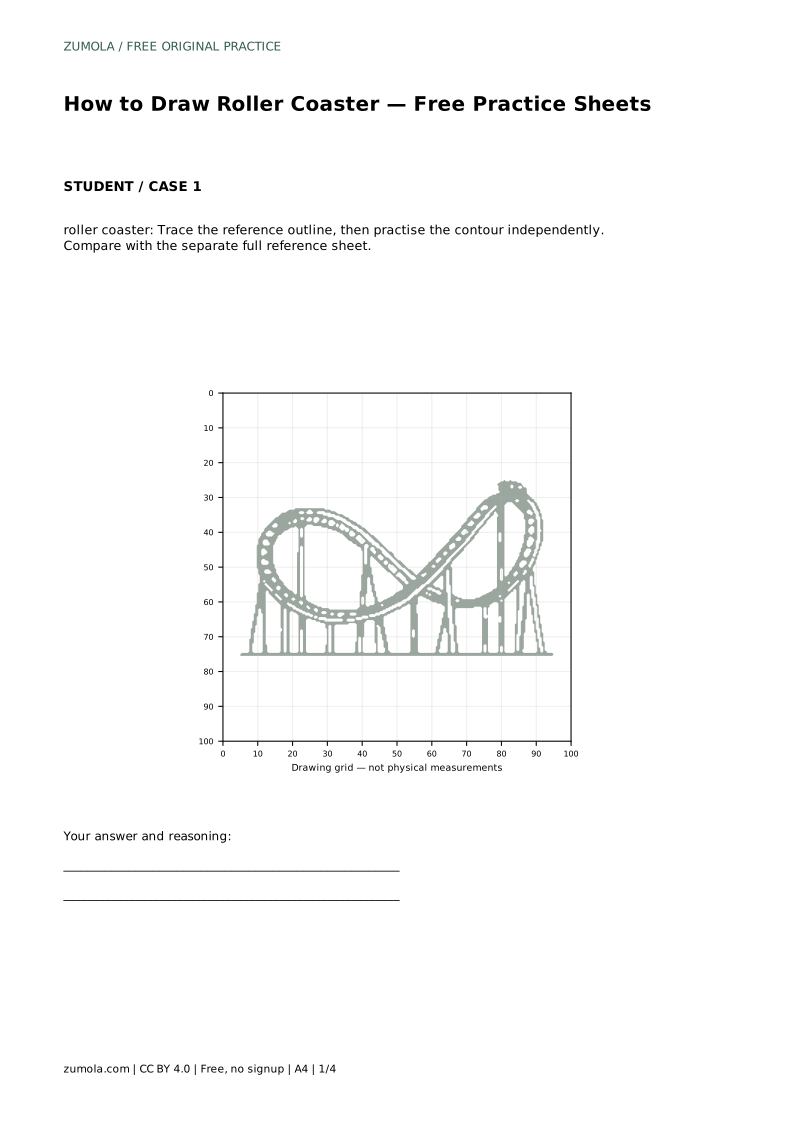
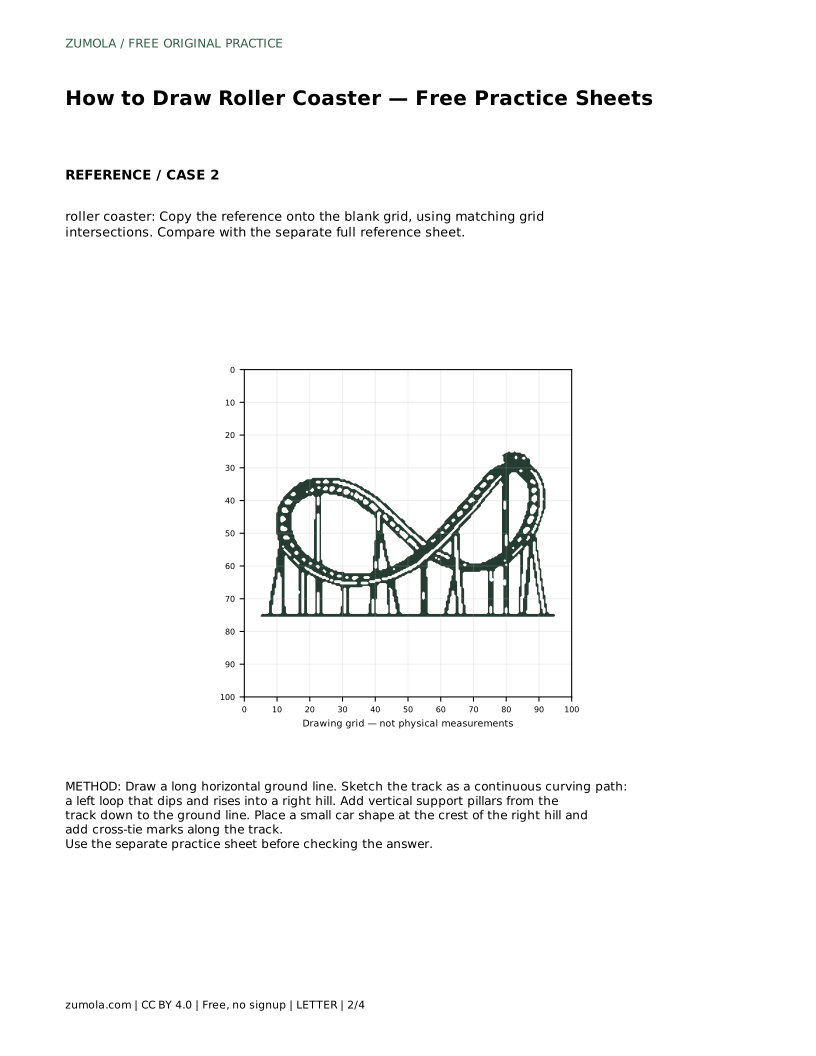
Start with the ground line, because every support needs somewhere to land. A long horizontal line gives the drawing a base and keeps the pillars from floating. Next, treat the track as one continuous path rather than a set of separate arcs. In the reference, the path dips on the left, rises into a loop, comes back down, and climbs into a hill on the right. Draw that path lightly first so you can adjust its curves before committing to darker lines.
Keep the loop and the hill clearly different in shape. A loop returns close to itself; a hill is an open crest. If the two read as the same curve, the drawing loses the sense of a ride.
Support pillars should run vertically from points beneath the track to the ground line. Space them where the track changes height, and keep them straight; leaning pillars make the structure look unstable. The car is small relative to the track and sits at the crest of the right-hand hill, so place it after the hill is drawn. Cross-tie marks along the track suggest rails and sleepers without needing fine detail.
Work from large shapes to small marks. If the track and pillars are correct, the cross-ties and car can be added quickly and will still look coherent.
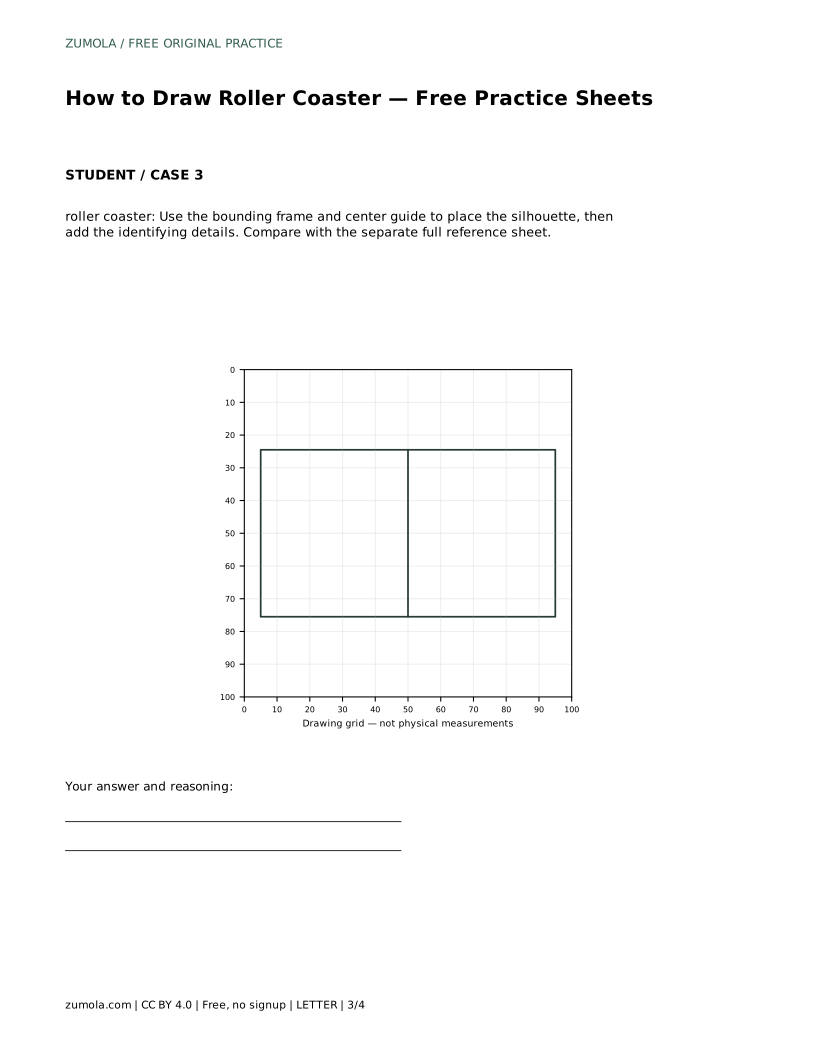
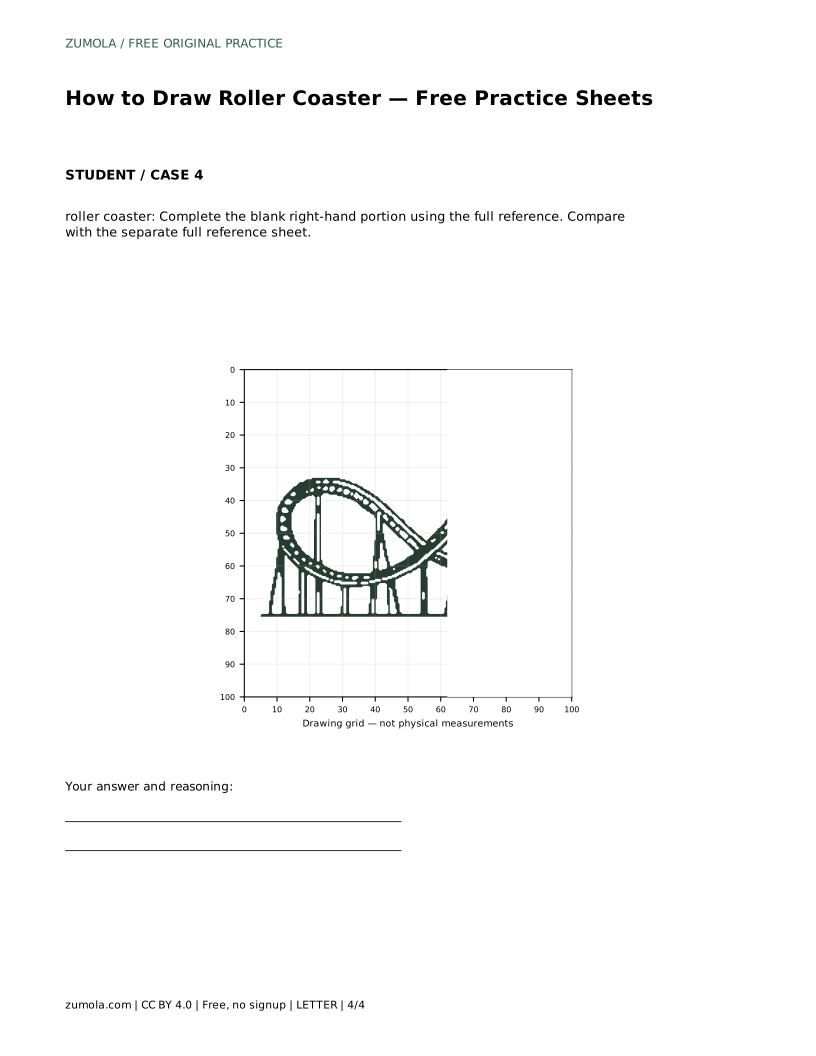
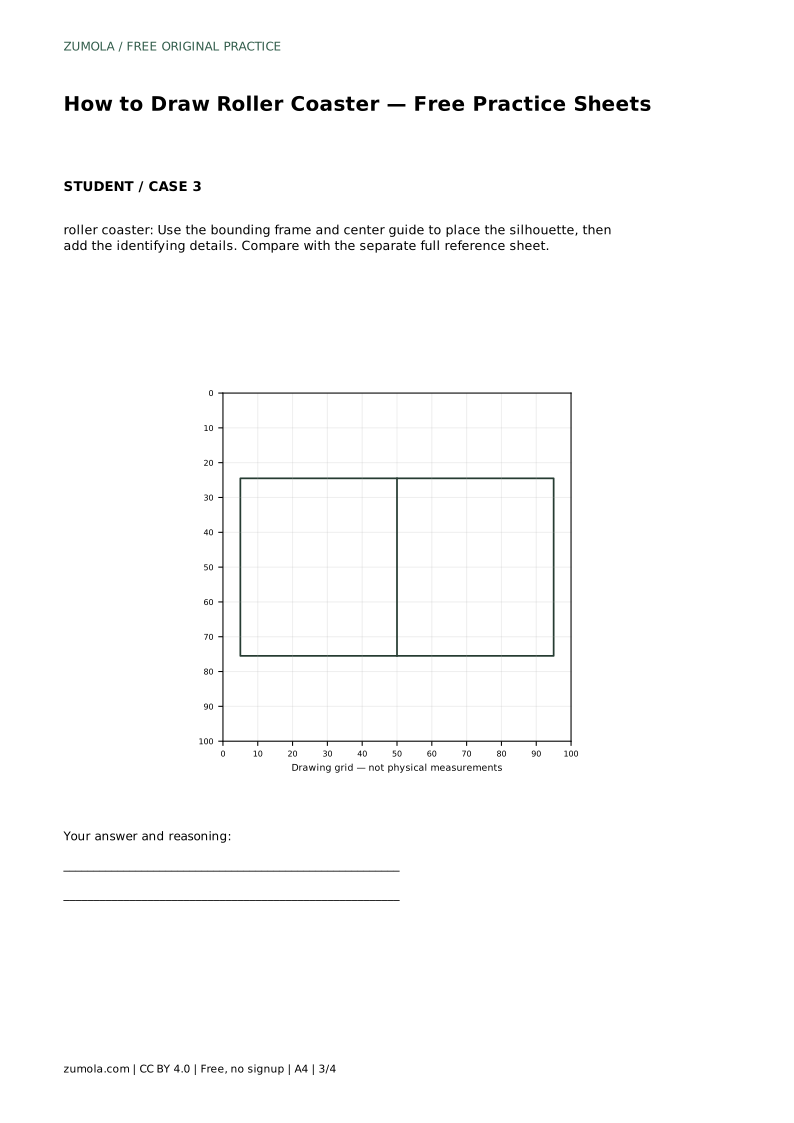
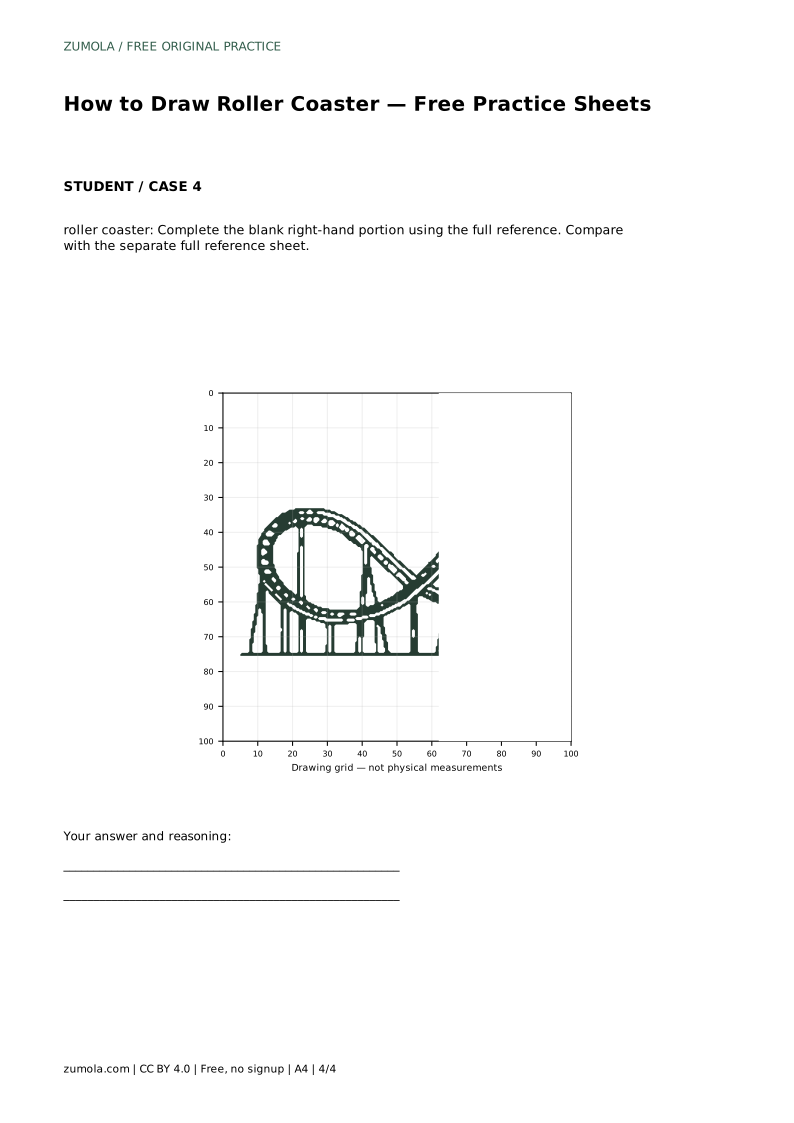
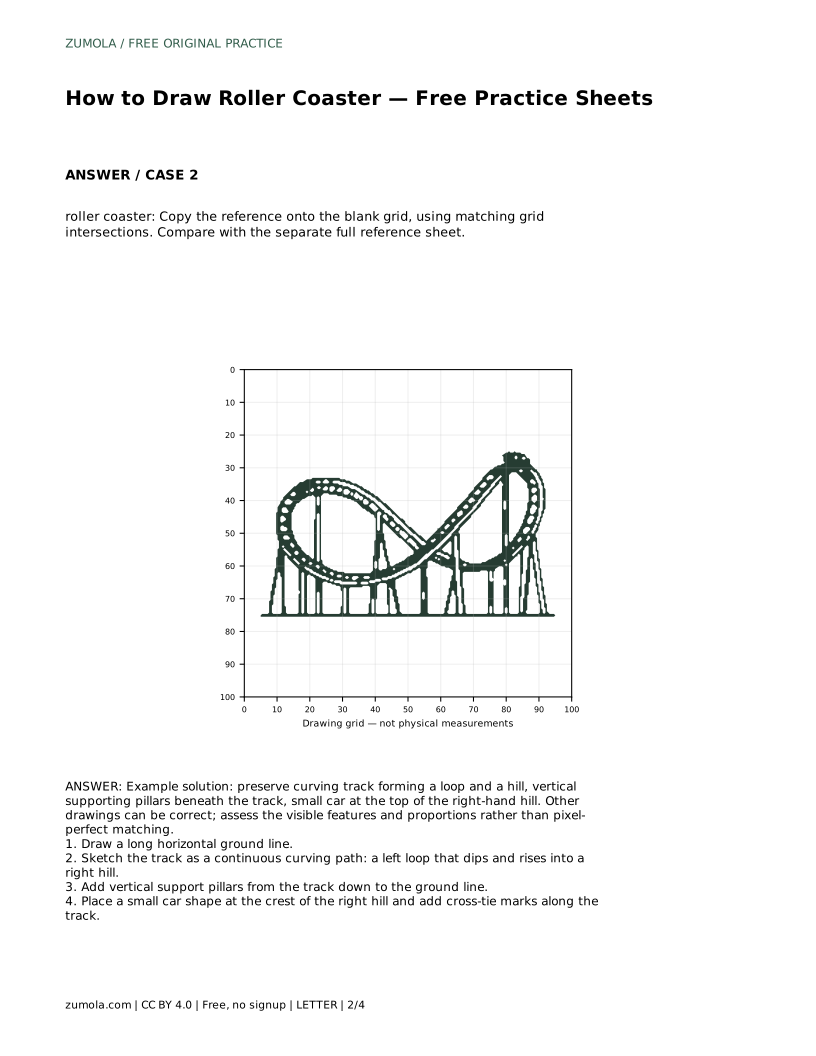
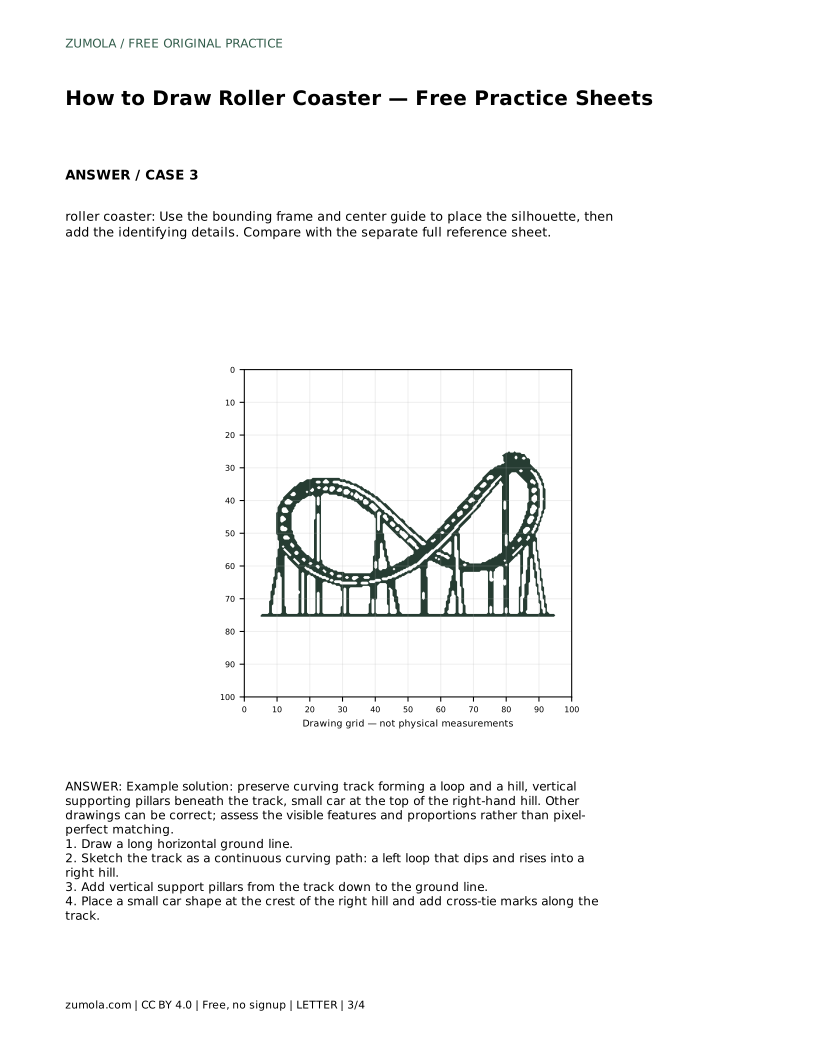
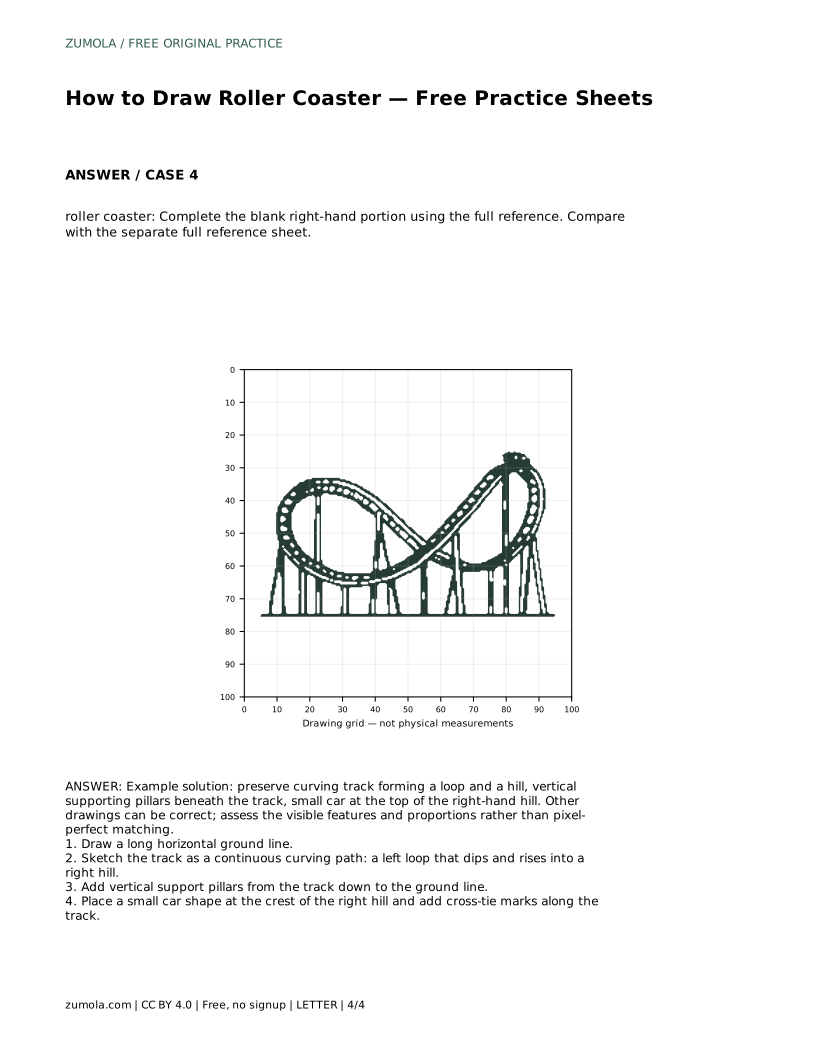
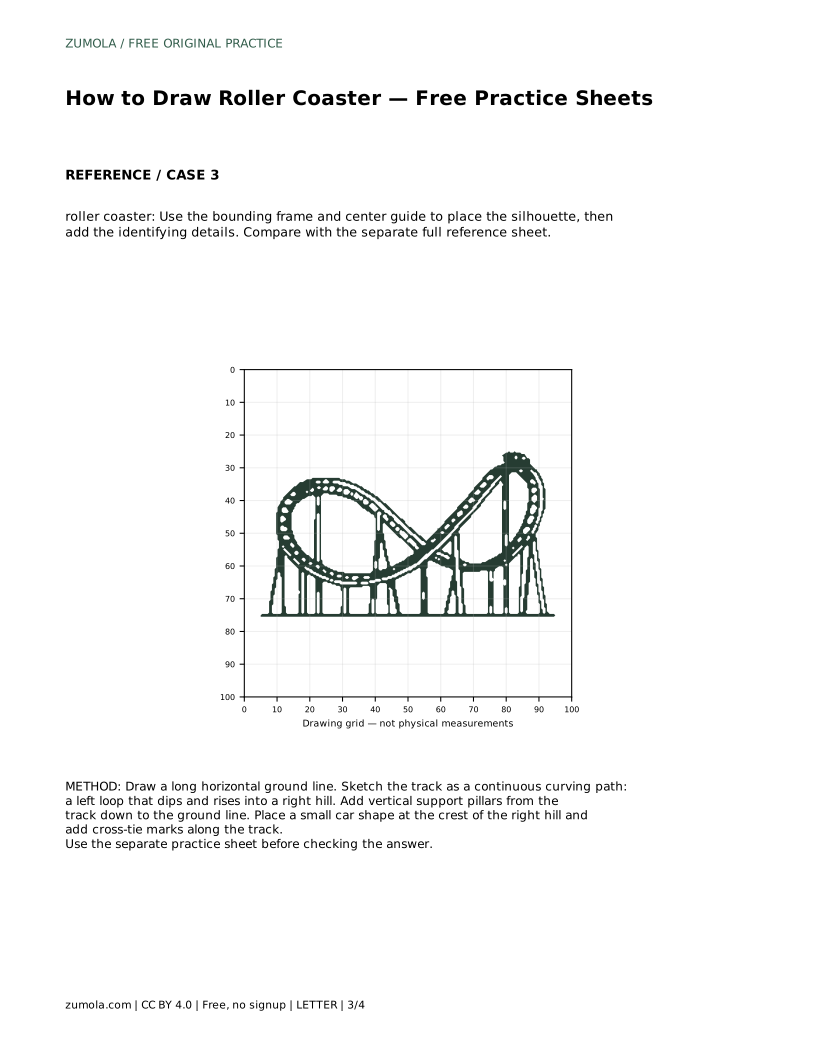
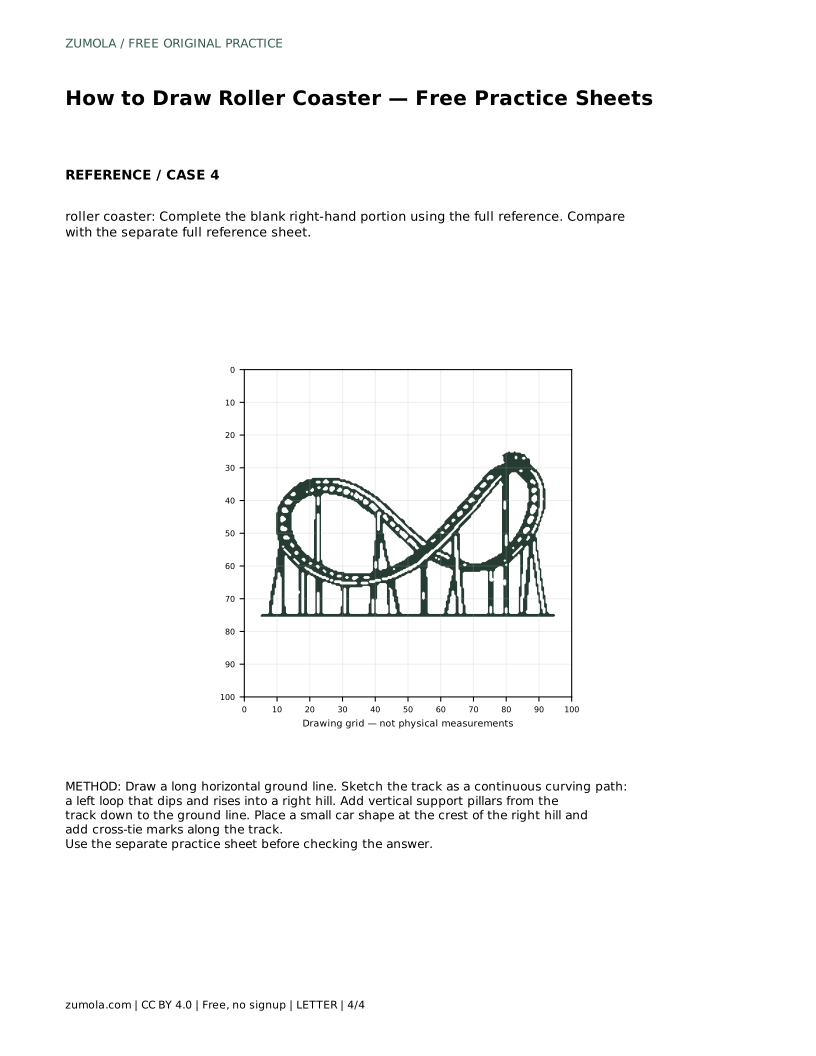
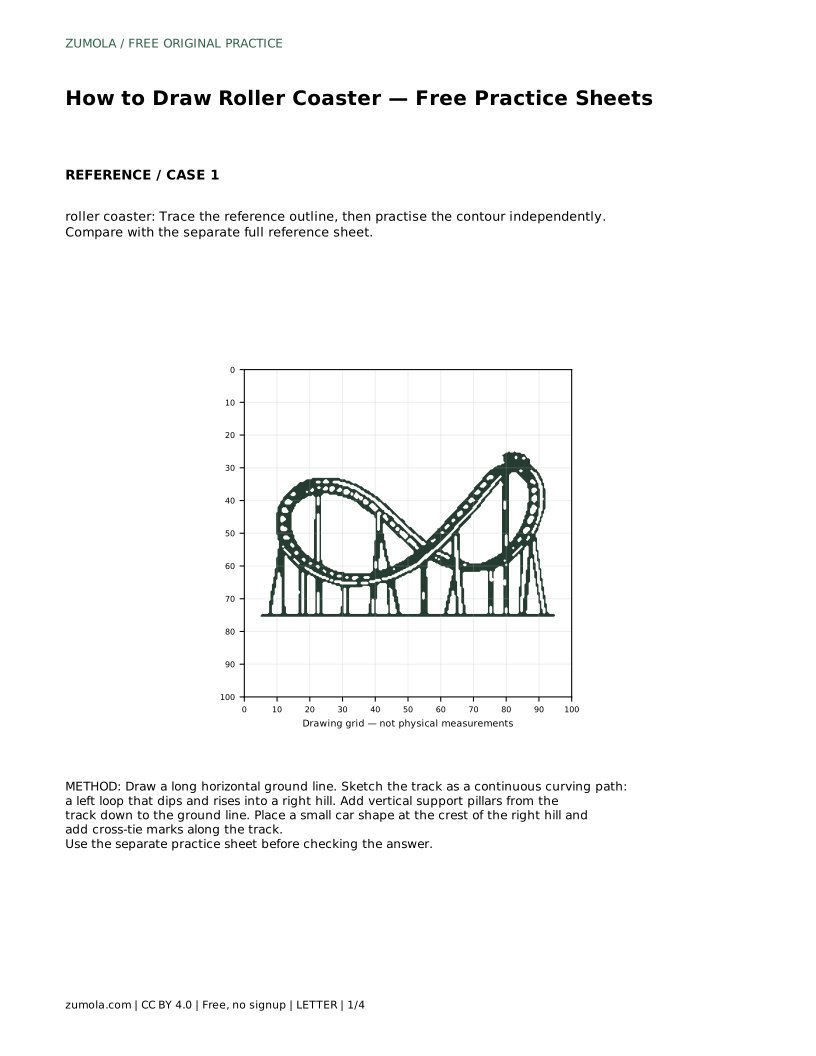
The trace sheet asks you to follow the reference outline, then repeat the contour on your own. The grid sheet asks you to copy the reference onto a blank grid using matching intersections, which trains proportion. The bounding-frame sheet asks you to place the silhouette using the frame and centre guide before adding details. The finish-the-picture sheet gives the left portion and asks you to complete the right side from the full reference.
In every case, compare your drawing with the separate full reference sheet rather than with your memory of it. Ask whether the loop, hill, pillars, and car are all present and in sensible positions.
Because art has multiple valid outcomes, use a rubric instead of hunting for one exact answer. A strong drawing keeps the track continuous, shows a loop and a hill, grounds every pillar, and places the car at the crest. Proportions matter more than perfect line quality.
roller coaster: Trace the reference outline, then practise the contour independently. Compare with the separate full reference sheet.
Example solution: preserve curving track forming a loop and a hill, vertical supporting pillars beneath the track, small car at the top of the right-hand hill. Other drawings can be correct; assess the visible features and proportions rather than pixel-perfect matching. Draw a long horizontal ground line. Sketch the track as a continuous curving path: a left loop that dips and rises into a right hill. Add vertical support pillars from the track down to the ground line. Place a small car shape at the crest of the right hill and add cross-tie marks along the track.
No. Other drawings can be correct. Assess the visible features and proportions rather than pixel-perfect matching.
Ground line, continuous track, vertical pillars, then the car and cross-tie marks.
Match grid intersections first, then smooth the curves between them.
All drawing practice · Free coordinate paper
Original resources · CC BY 4.0 · Free for personal and classroom use with attribution.