Reference diagrams
LETTER · Download PDF
A4 · Download PDF
Free original resources
Learn to draw a stroller by tracing its outline, then working independently. Focus on the canopy hood, bassinet seat, X-frame, and spoked wheels.
Four original cases, with reference diagrams, practice sheets and worked answers. Everything is free; no signup required.
LETTER · Download PDF
A4 · Download PDF
LETTER · Download PDF
A4 · Download PDF
LETTER · Download PDF
A4 · Download PDF
Use A4 or US Letter to match your printer. Use the stated values and conditions to solve each exercise; diagrams are not physical measuring rulers.
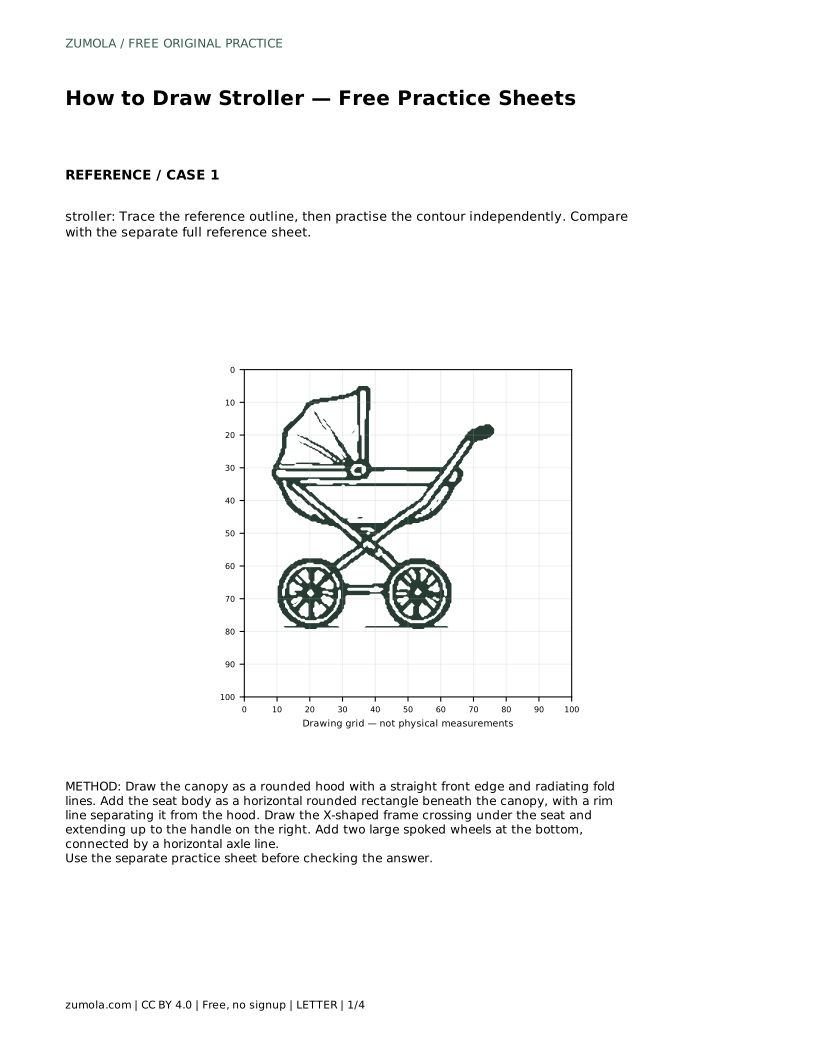
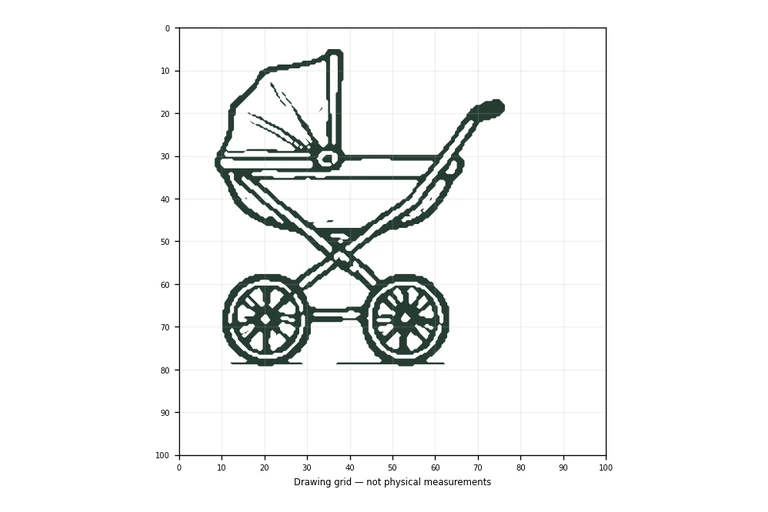
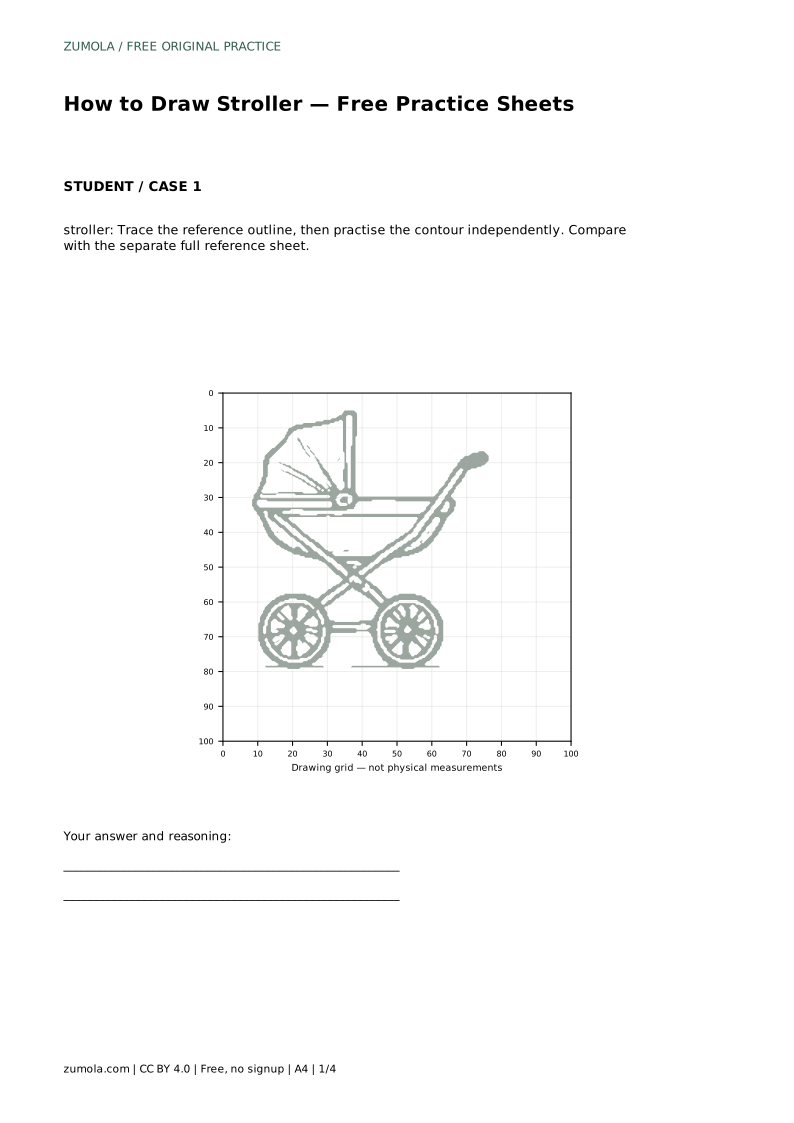
Drawing a stroller is a practical way to study how a rounded canopy sits above a horizontal seat body, and how an X-shaped frame connects that body to two large wheels. This page explains the visible features to preserve and gives you a clear sequence for tracing, copying, and completing a stroller drawing. Use the practice sheets to compare your contour with a separate full reference, then assess proportions and identifying details rather than aiming for a pixel-perfect match.
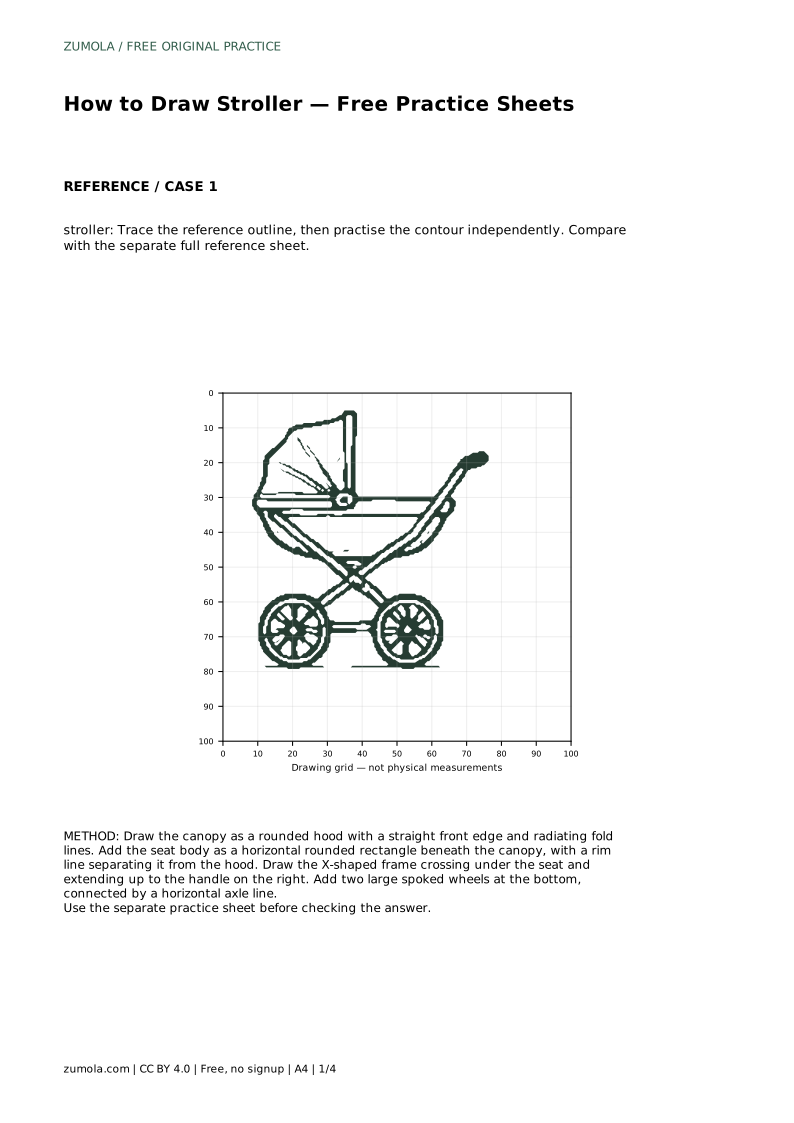
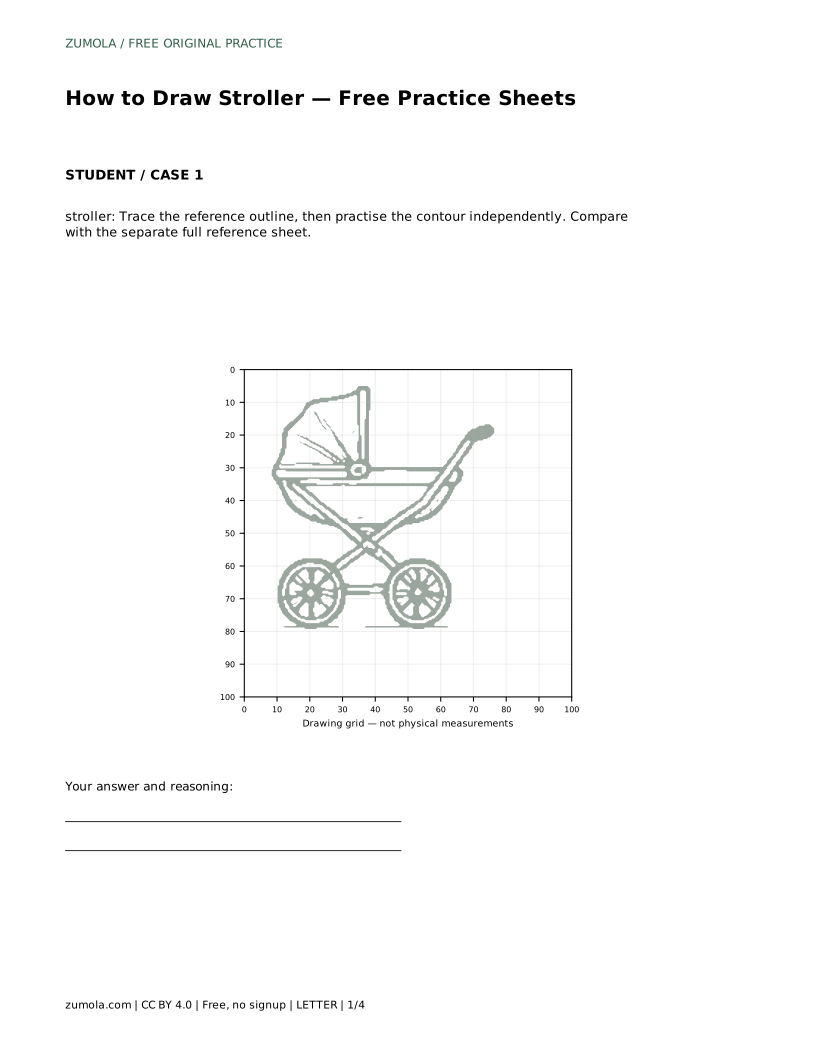
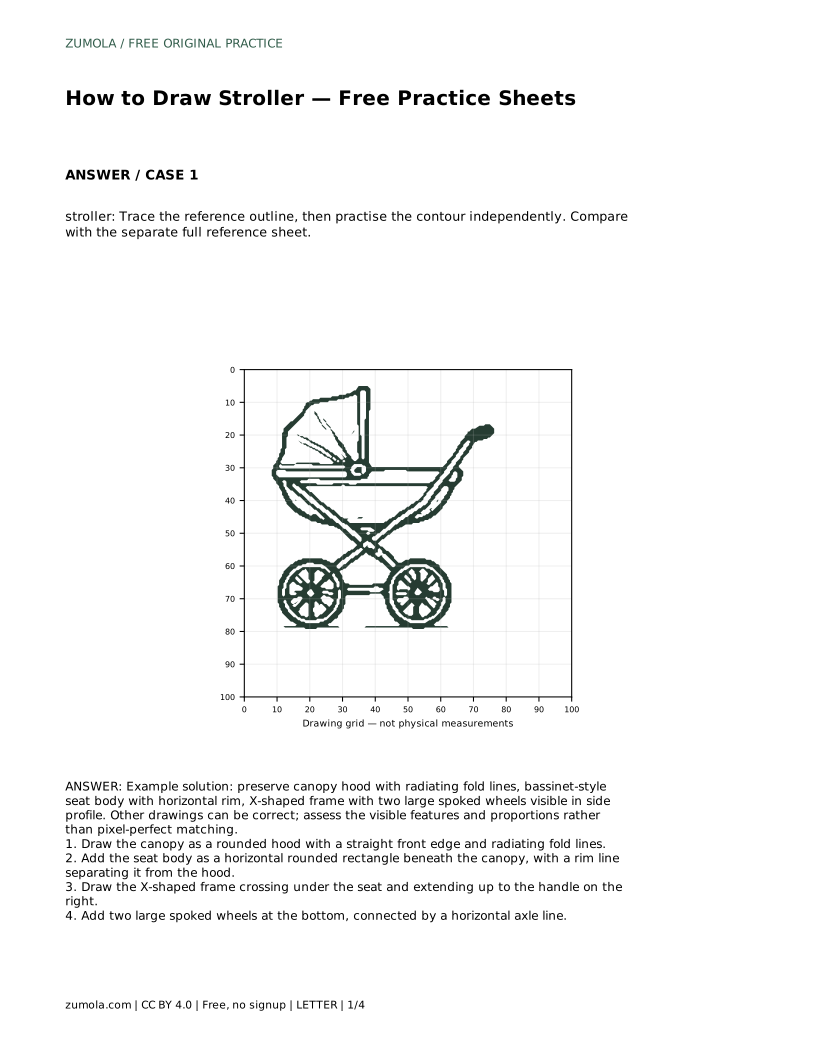
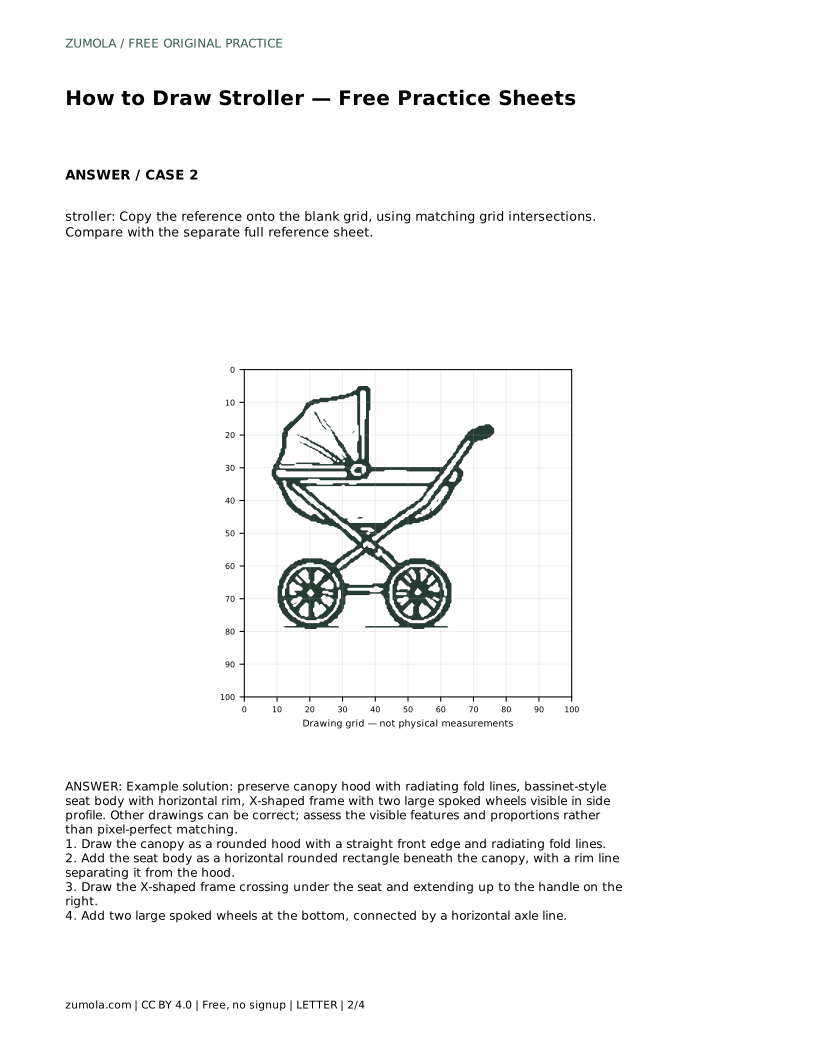
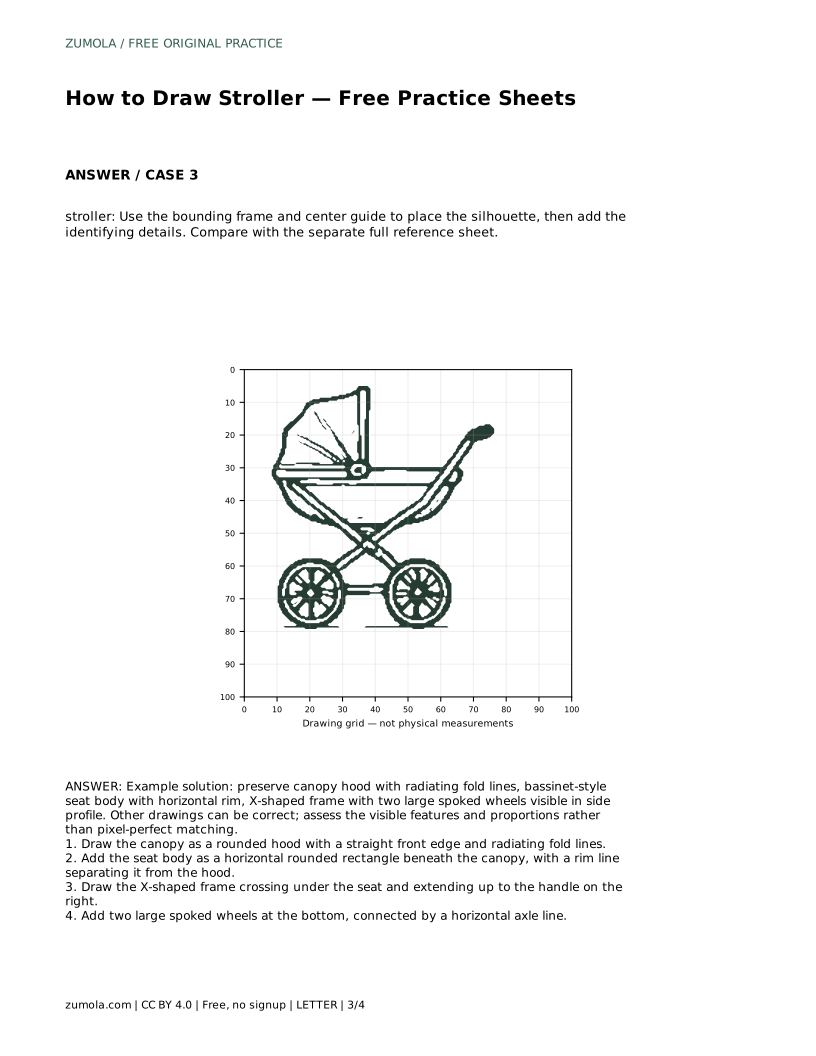
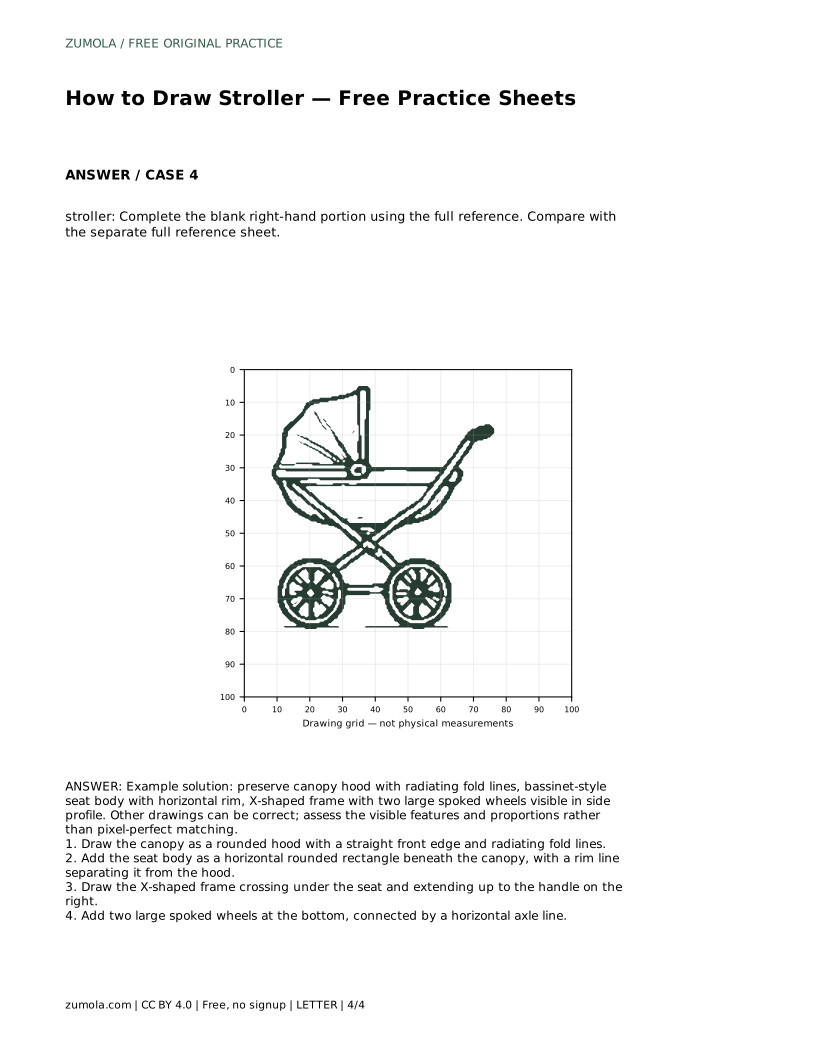
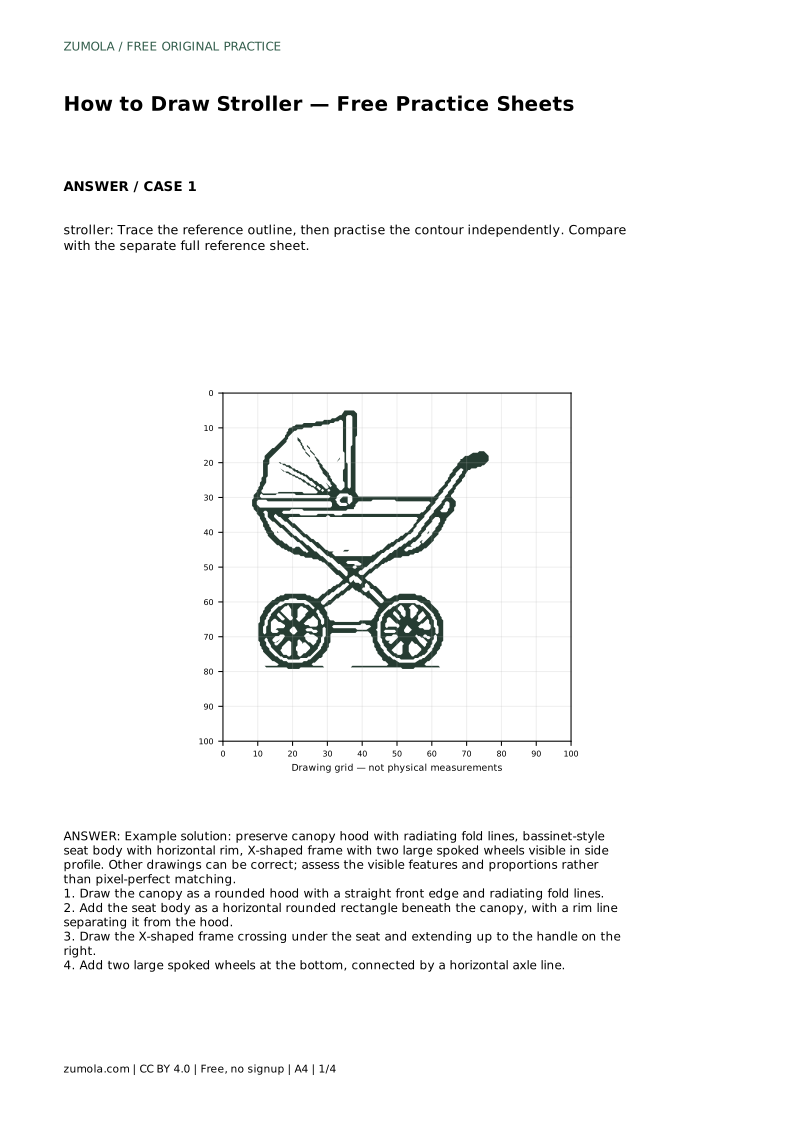
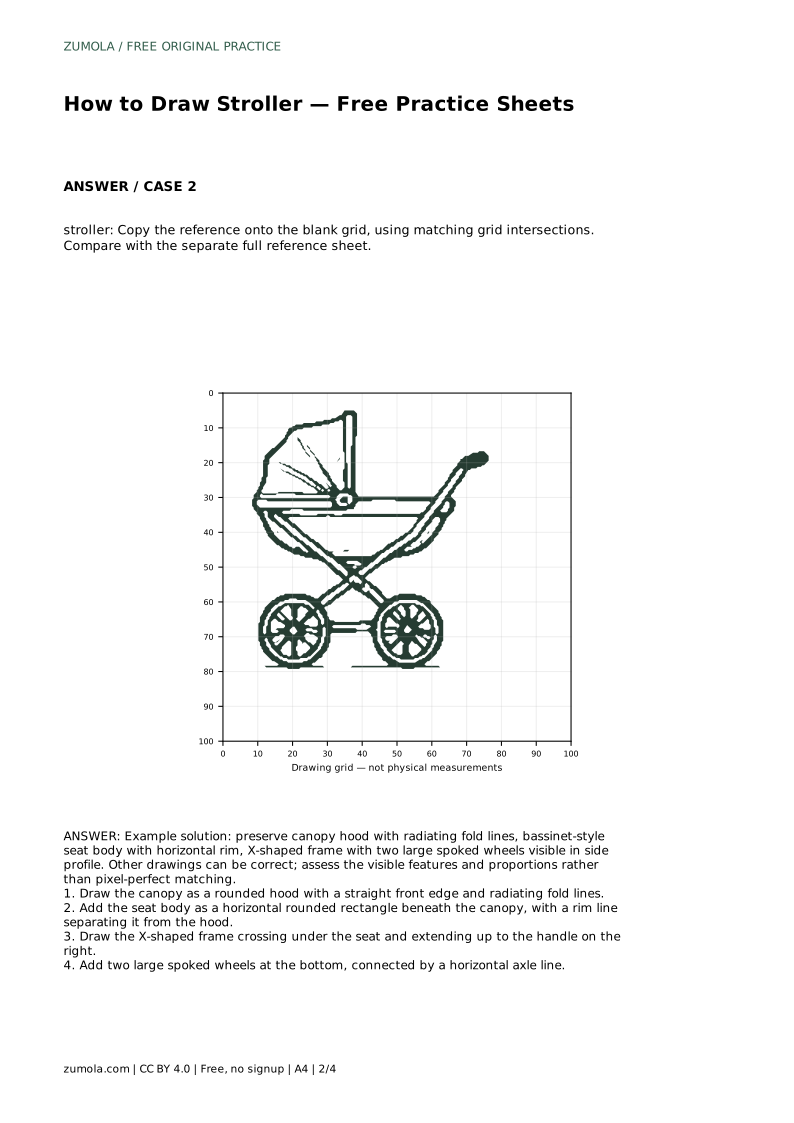
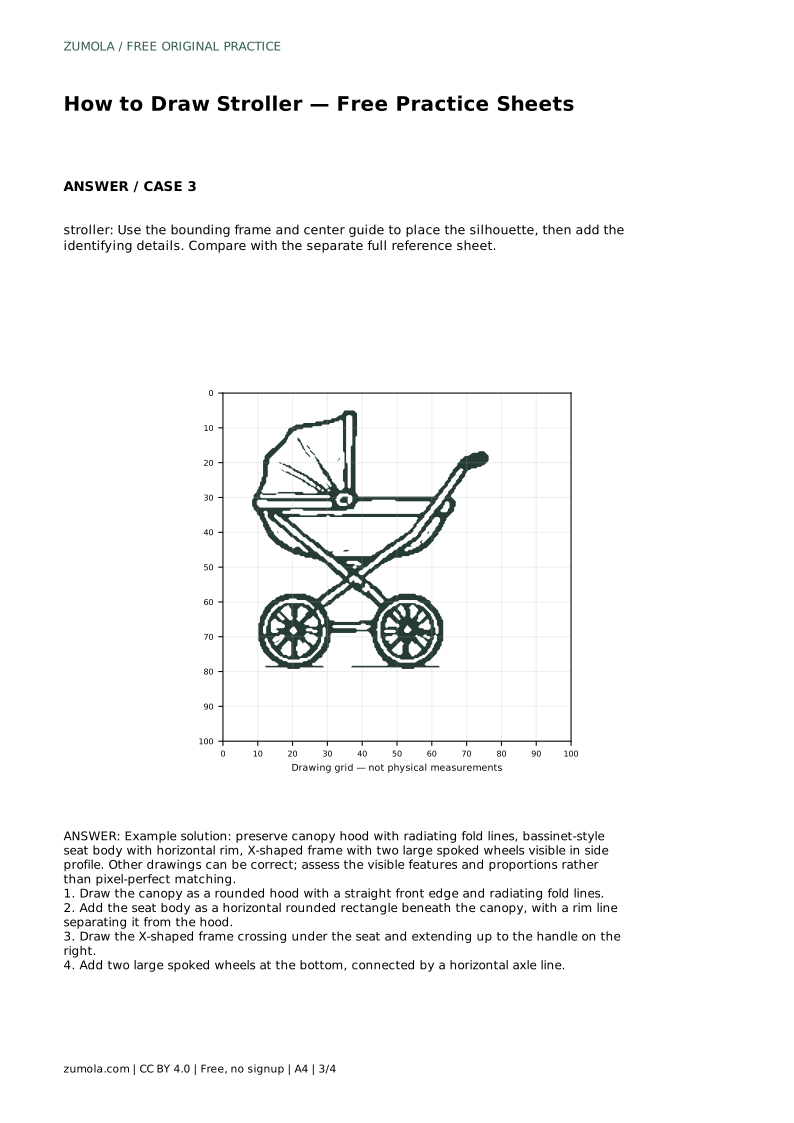
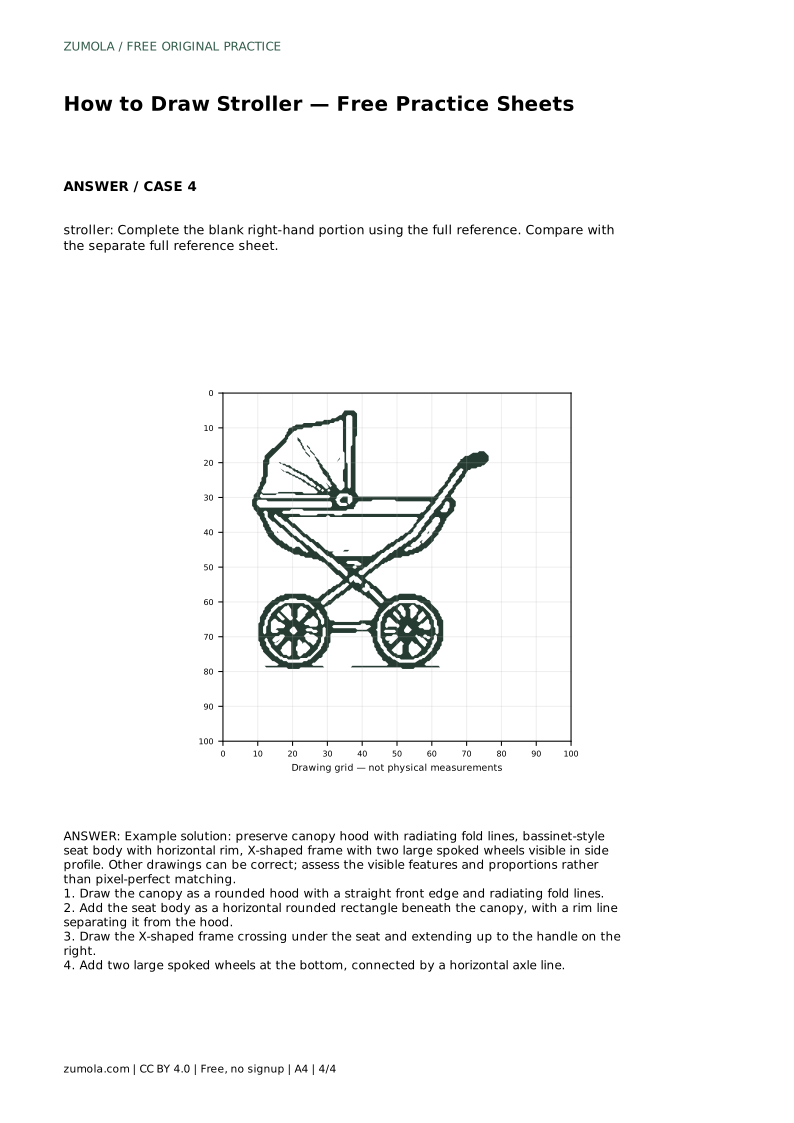
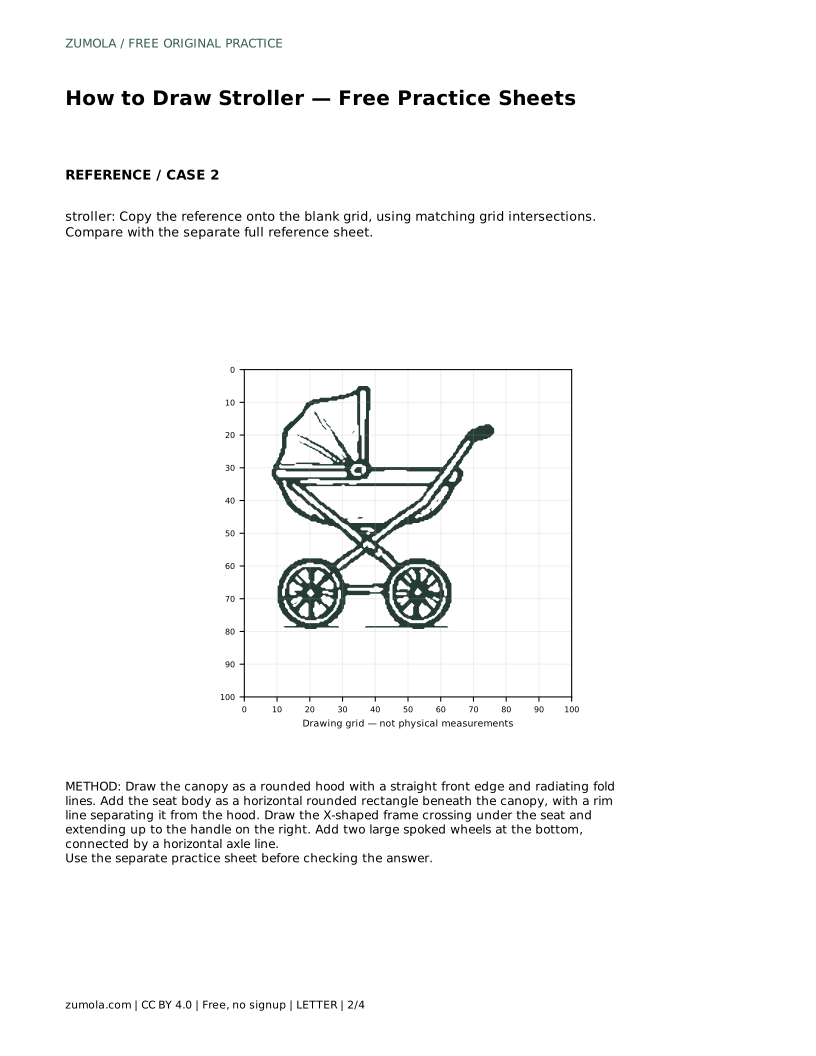
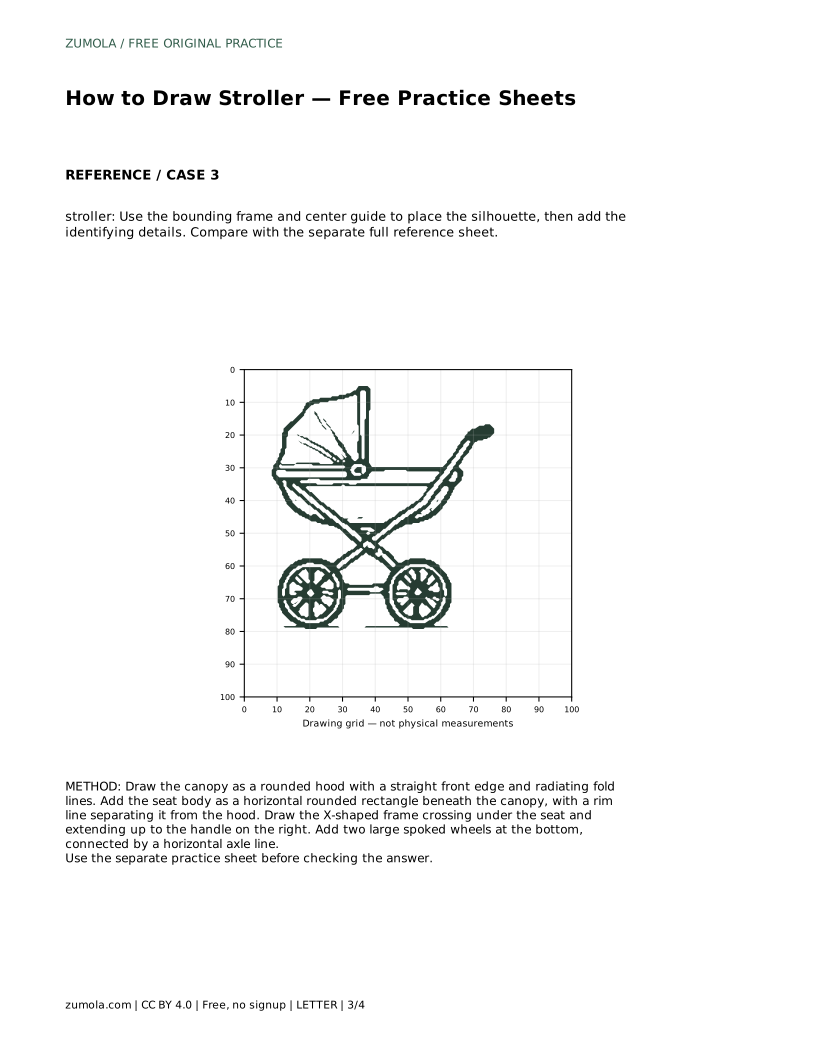
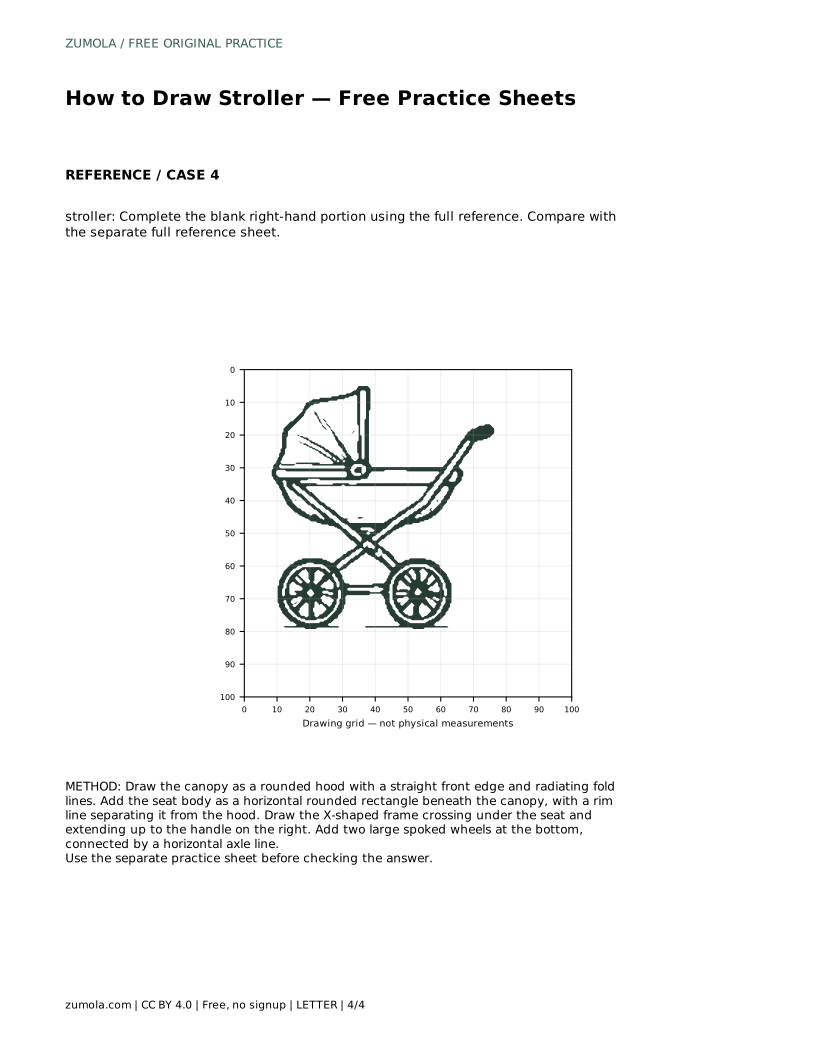
A side-profile stroller drawing depends on four connected parts. The canopy is a rounded hood with a straight front edge and radiating fold lines that suggest fabric tension. Beneath it, the bassinet-style seat body is a horizontal rounded rectangle, with a rim line separating it from the hood. The frame crosses in an X shape under the seat and extends up to a handle on the right. Two large spoked wheels sit at the bottom, joined by a horizontal axle line.
These features are structural cues, not decorative extras. If the canopy loses its rounded hood or the frame stops crossing, the drawing stops reading as a stroller. Keep the seat body horizontal and the wheels large relative to the frame; a side profile shows two wheels, not four.
Start by tracing the reference outline to learn where each feature sits. Tracing builds a physical sense of the canopy curve, the seat rim, and the frame crossing. Once the traced outline feels familiar, put the reference aside and draw the same contour on a blank sheet. Compare your independent drawing with the separate full reference sheet, checking feature placement and relative size rather than exact line matching.
When you compare, ask whether the canopy still reads as a hood, whether the seat body stays horizontal, whether the X-frame crosses under the seat, and whether both wheels are large and spoked. A drawing can differ in line weight or small curves and still be correct.
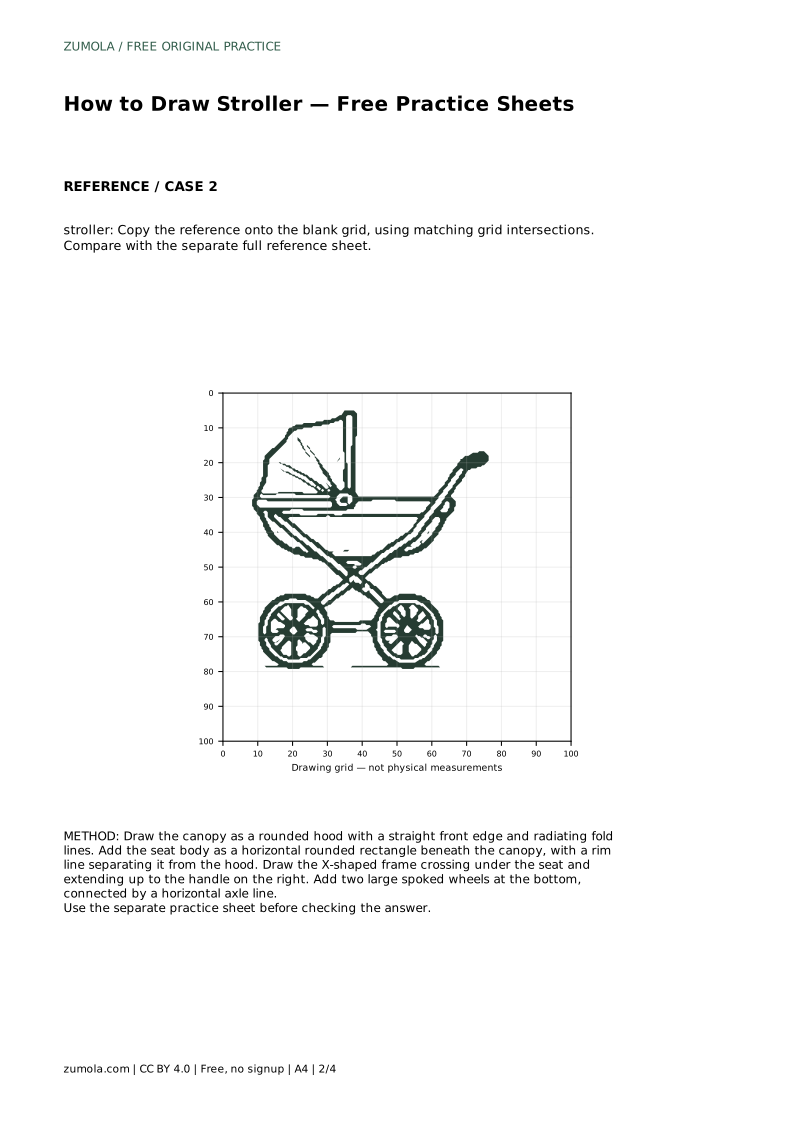
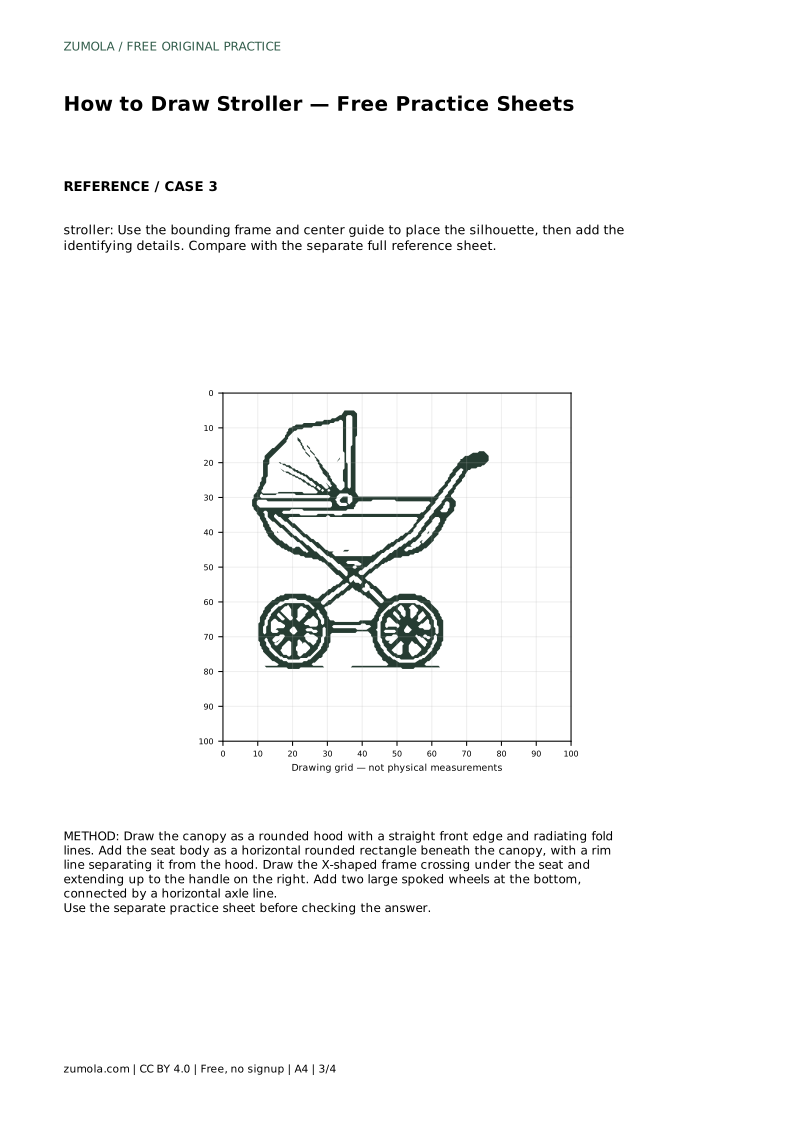
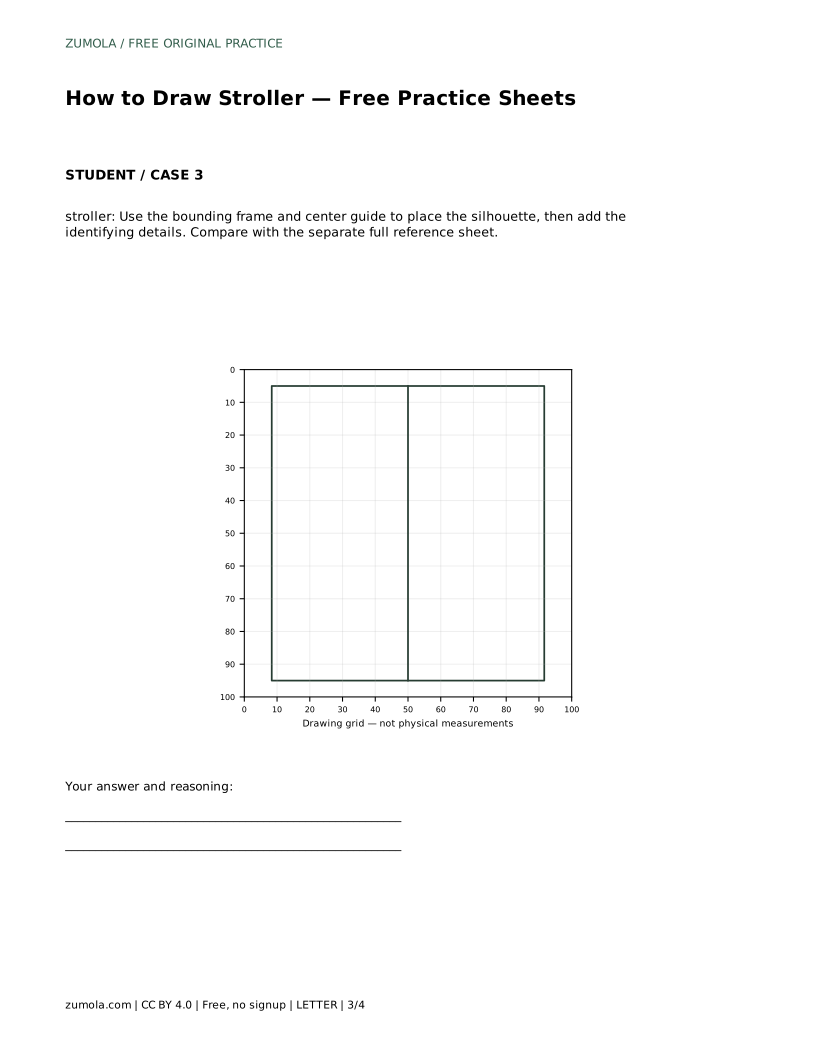
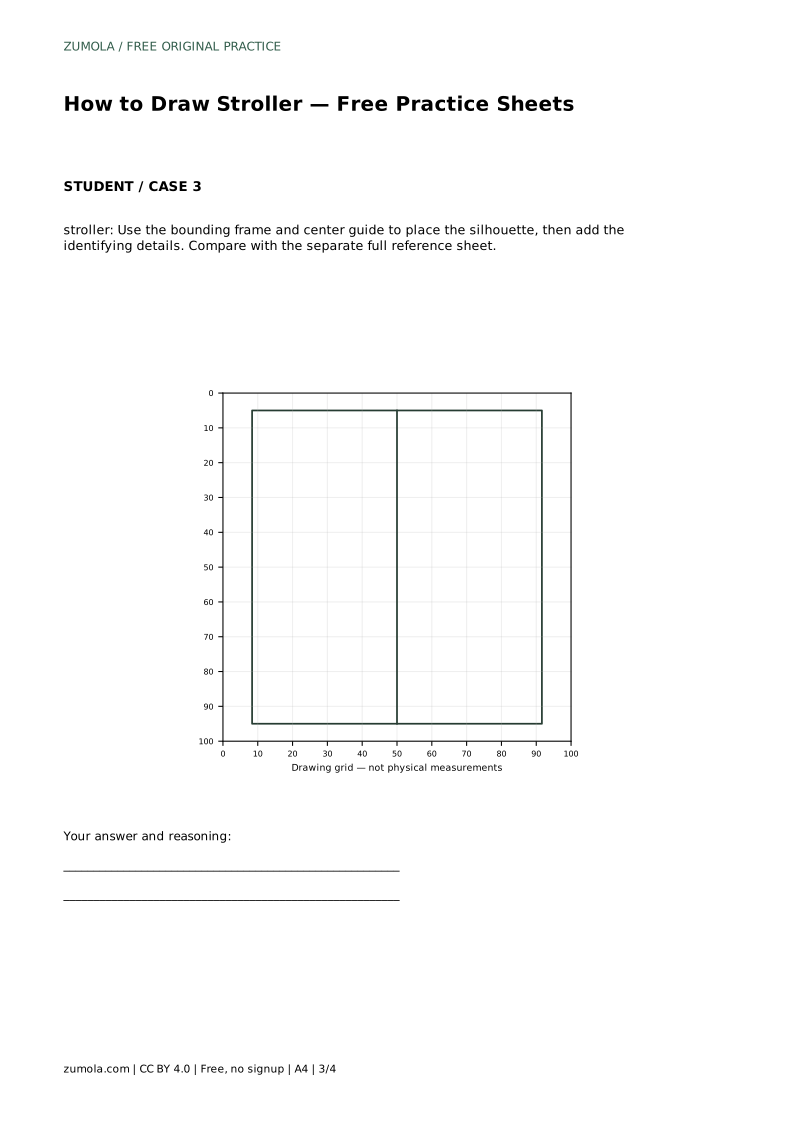
A grid helps you copy the reference onto a blank grid by matching grid intersections. Place the canopy top, the seat rim, the frame crossing point, and the wheel centers at corresponding intersections. A bounding frame and center guide work differently: they help you place the overall silhouette first, then add the identifying details inside it. Both methods support proportion, but neither guarantees an exact match.
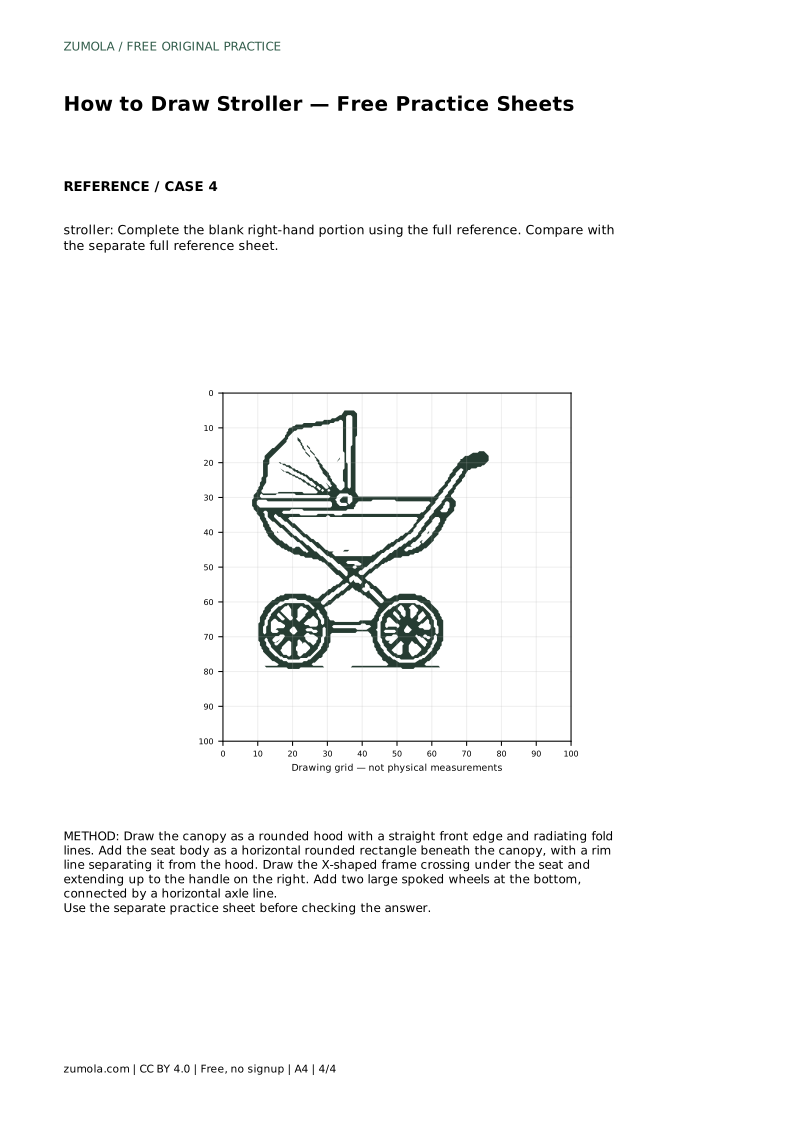
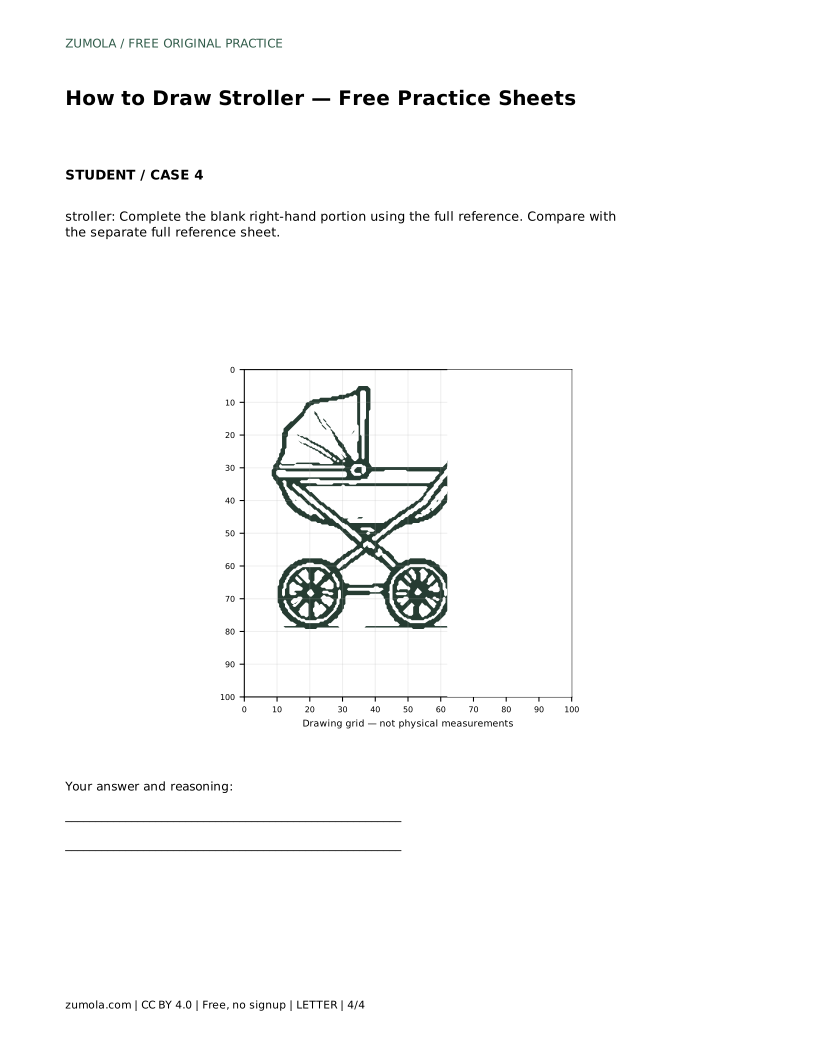
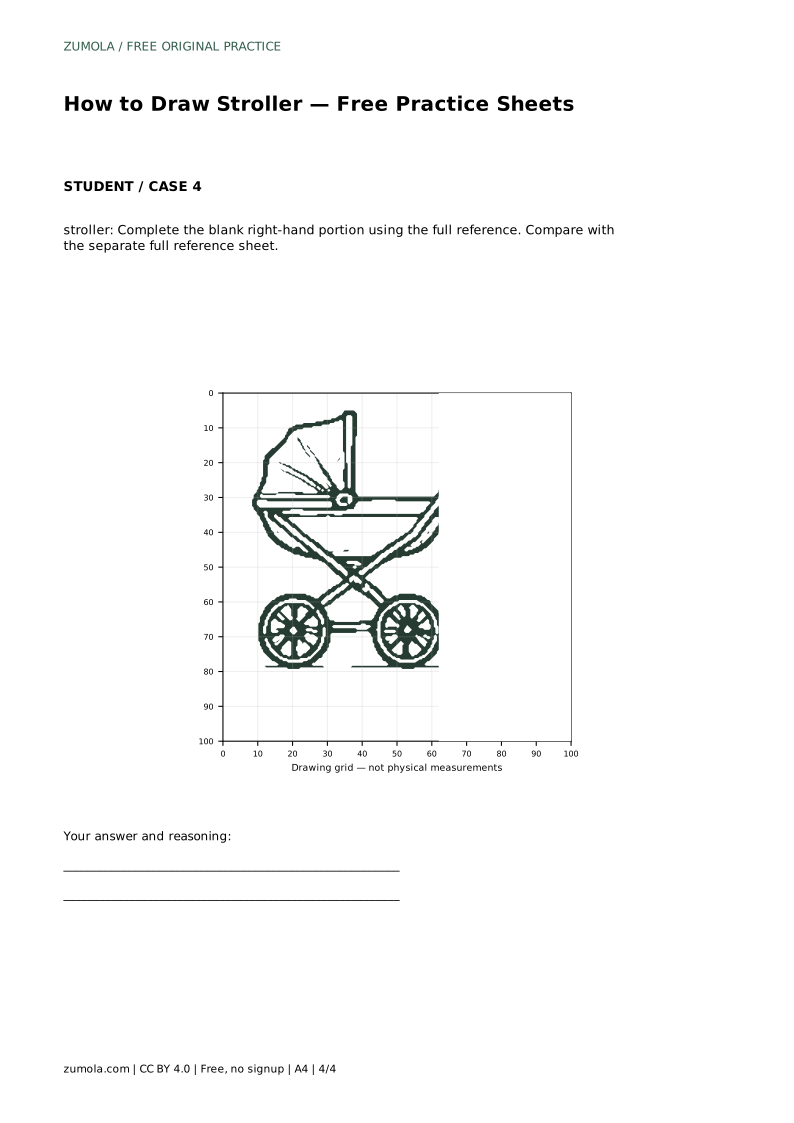
For the partial-drawing exercise, complete the blank right-hand portion using the full reference. The right side typically carries the handle and one wheel, so check that the frame extends to the handle and that the axle line continues to the second wheel.
stroller: Trace the reference outline, then practise the contour independently. Compare with the separate full reference sheet.
Example solution: preserve canopy hood with radiating fold lines, bassinet-style seat body with horizontal rim, X-shaped frame with two large spoked wheels visible in side profile. Other drawings can be correct; assess the visible features and proportions rather than pixel-perfect matching. Draw the canopy as a rounded hood with a straight front edge and radiating fold lines. Add the seat body as a horizontal rounded rectangle beneath the canopy, with a rim line separating it from the hood. Draw the X-shaped frame crossing under the seat and extending up to the handle on the right. Add two large spoked wheels at the bottom, connected by a horizontal axle line.
No. Other drawings can be correct. Assess the visible features and proportions, such as the canopy hood, horizontal seat body, X-frame, and two large spoked wheels, rather than pixel-perfect matching.
Check the four key features in order: rounded canopy with fold lines, horizontal seat body with rim line, X-shaped frame reaching the handle, and two large spoked wheels joined by an axle line.
Yes, but use them for different purposes. The grid helps match intersections when copying a reference; the bounding frame and center guide help place the silhouette before adding details.
All drawing practice · Free coordinate paper
Original resources · CC BY 4.0 · Free for personal and classroom use with attribution.