Free original resources
Star Template Generator: Build Star Outlines from Point Count and Radius Ratio
Learn how star outlines are calculated from point count, outer radius, and inner radius ratio, with checks for closed shapes, fit, and accurate 100% printing.
Free resources
Letter & A4
PDF & SVG
Letter & A4
PDF & SVG
Make it yours.
Free · no signup · calculated in your browser
Your free printable kit.
Original reference, student practice and separate worked answers. No account or payment.
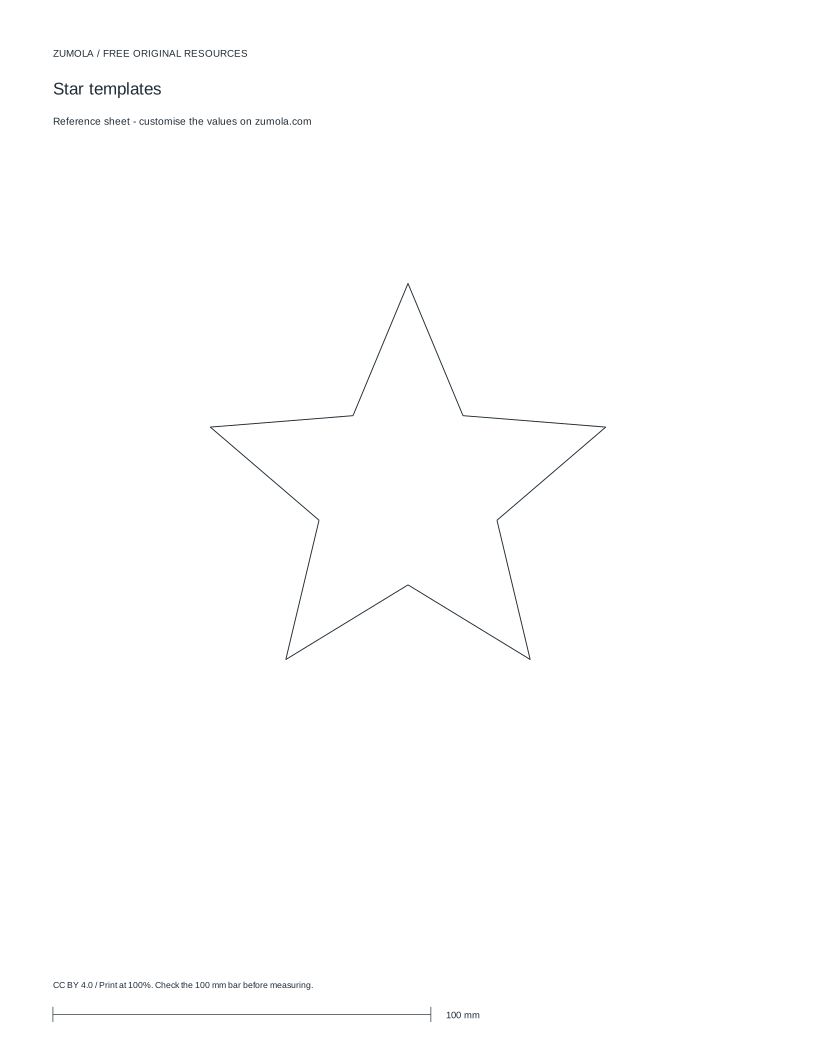
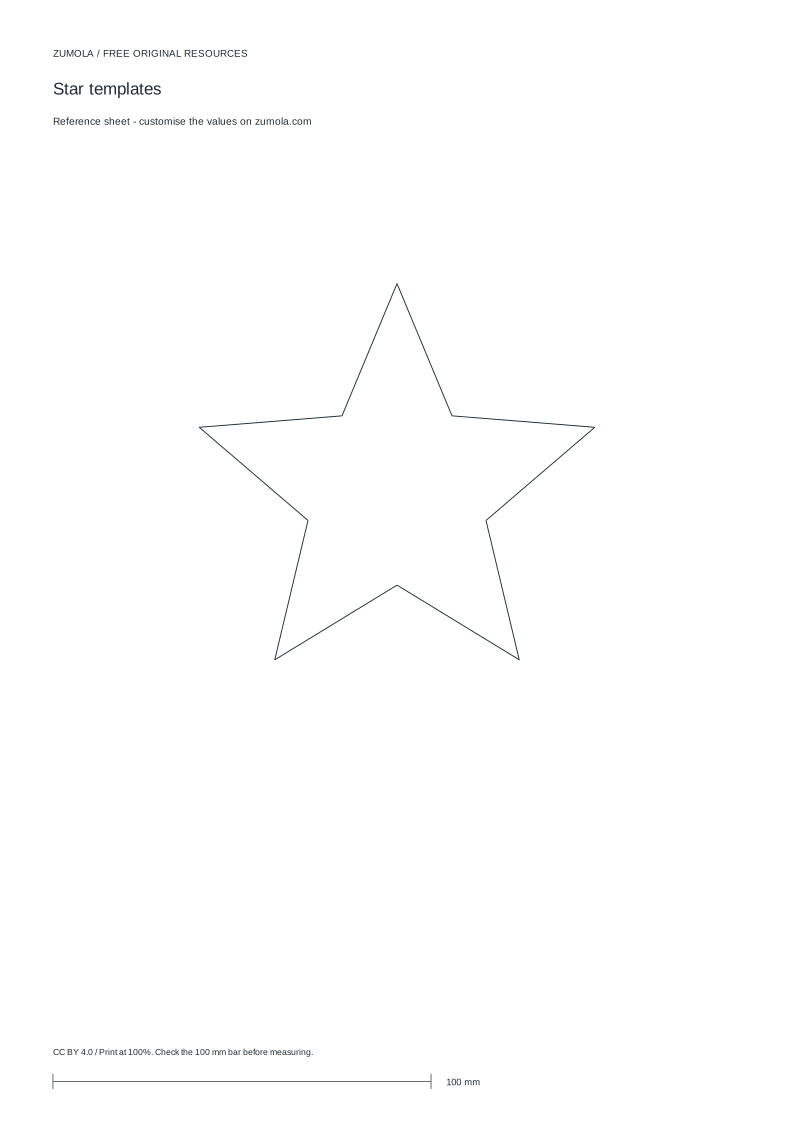
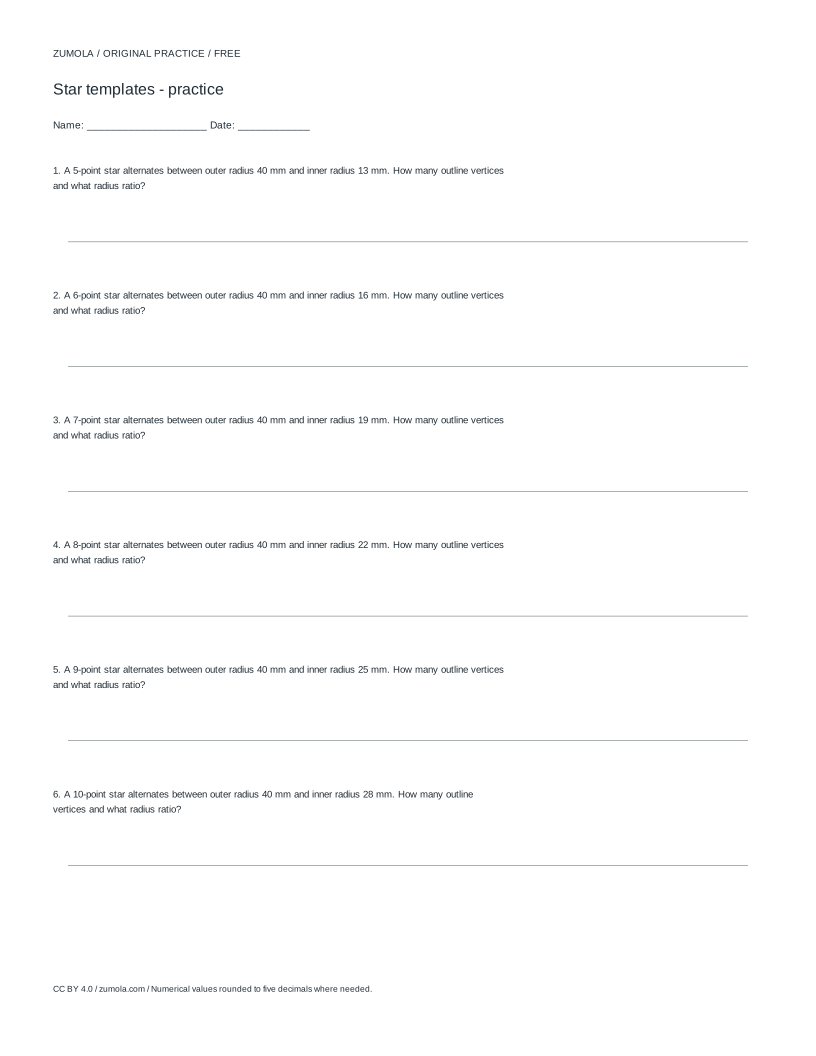
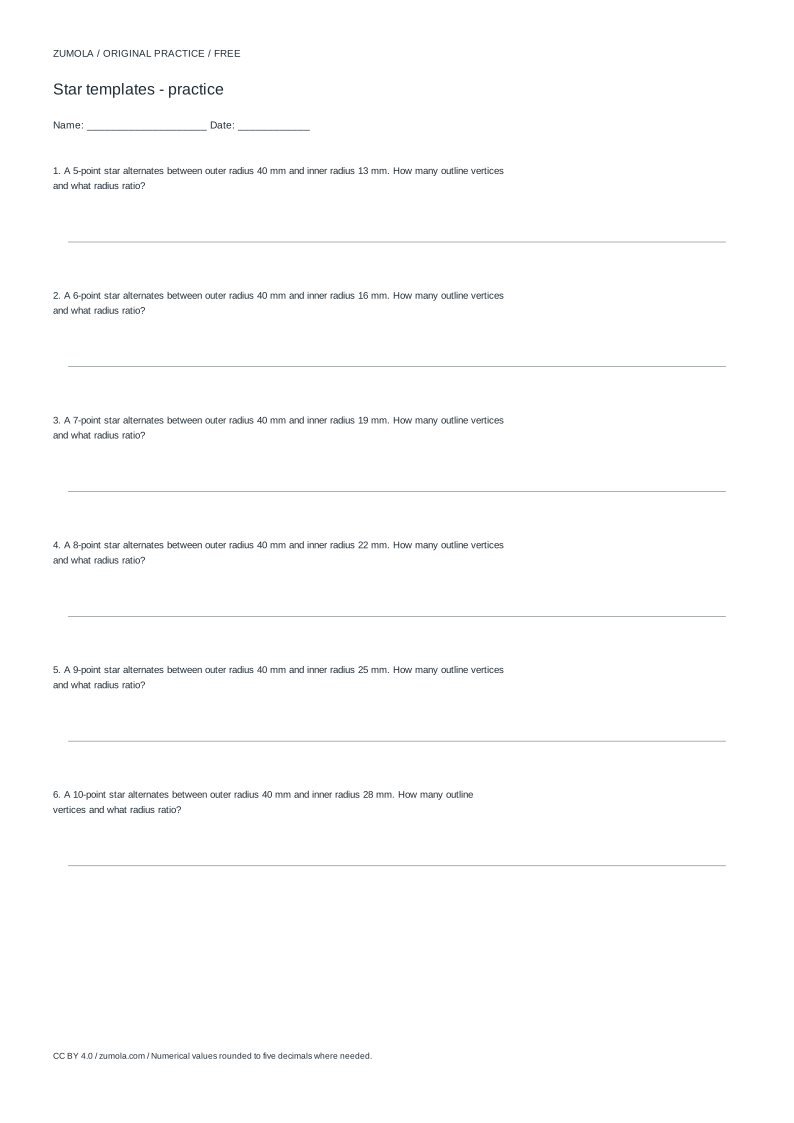
Practice worksheet
Worked answers / rubric
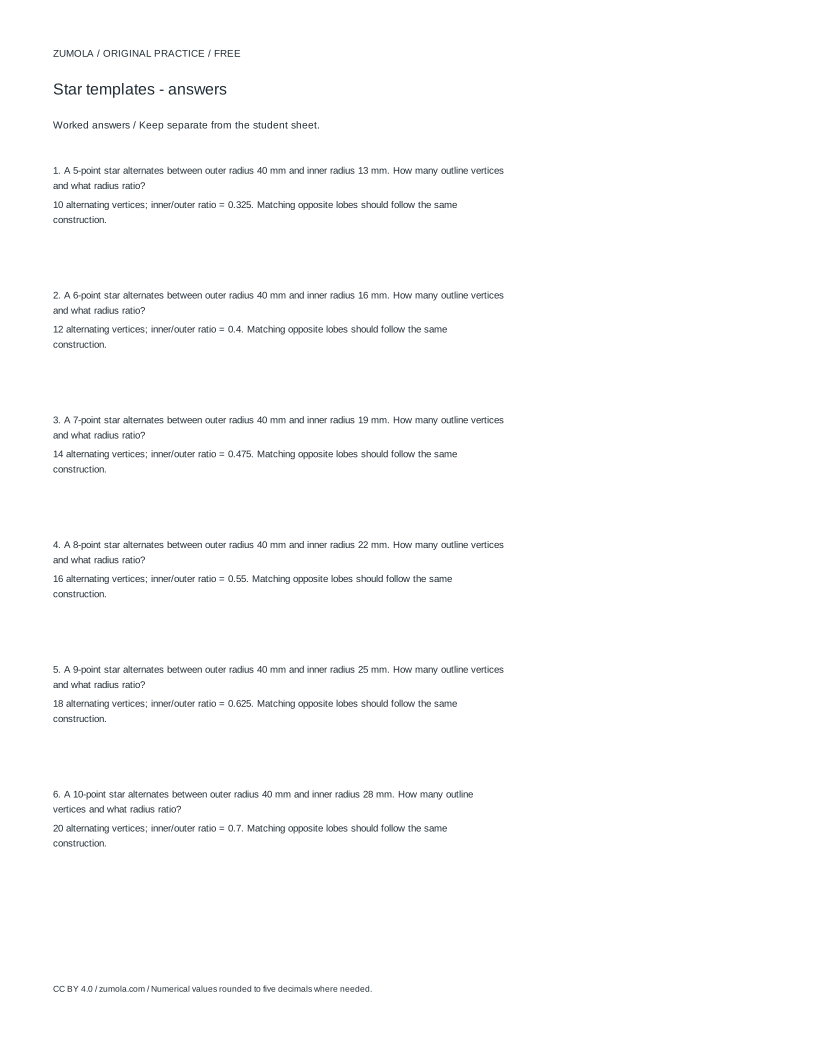
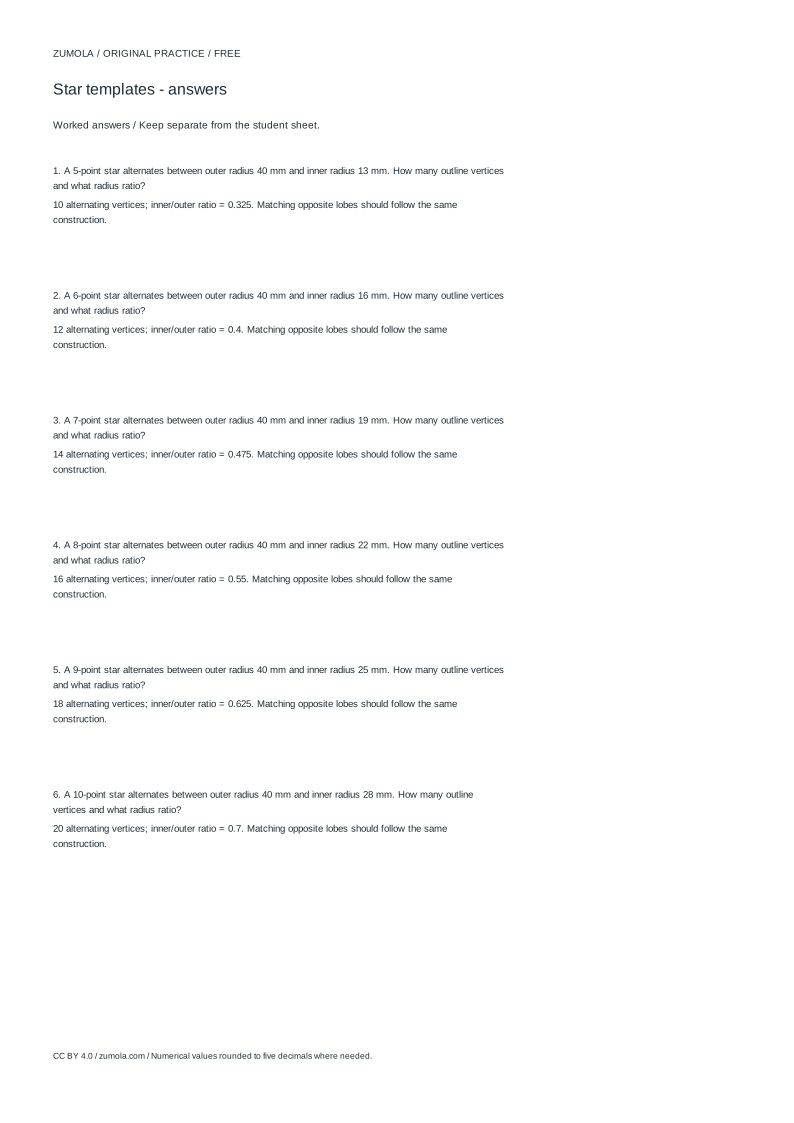
Print at Actual size / 100%. Check the calibration bar before using physical dimensions.
A star template is not just a decorative shape; it is a closed polygon defined by alternating outer and inner vertices. This page explains how to construct an original star outline from a chosen number of points, an outer radius, and a ratio that sets the inner radius. You will see how the vertices are placed, why the ratio changes the silhouette, and how to check that the finished outline is closed and fits your intended paper size before printing at 100%.
How a star outline is constructed
A star outline is built from two concentric circles: an outer circle of radius R and an inner circle of radius r. The ratio setting determines r as a fraction of R. For example, with R = 55 mm and ratio 0.45, the inner radius is 55 × 0.45 = 24.75 mm. The number of points tells you how many outer tips the star has.
Each tip is an outer vertex on the outer circle. Between two adjacent tips there is one inner vertex on the inner circle. So a five-point star has five outer vertices and five inner vertices, alternating around the centre. The vertices are spaced evenly in angle: with n points, each step around the centre is 360° ÷ n for the tips, and the inner vertices sit halfway between them. Connecting the vertices in order produces a single closed outline.
The ratio controls how sharp or broad the star looks. A small ratio pulls the inner vertices close to the centre, producing long, narrow spikes. A ratio near 1 makes the inner radius almost equal to the outer radius, so the outline becomes shallow and rounded rather than spiky. The point count changes the number of spikes but not the basic alternating pattern.
- Choose the number of points n. This sets how many outer tips the star will have.
- Choose the outer radius R in millimetres. This is the distance from the centre to each tip.
- Choose the ratio k between 0 and 1. Compute the inner radius r = R × k.
- Place n outer vertices evenly around the outer circle, starting at any angle.
- Place n inner vertices evenly between the outer vertices on the inner circle.
- Connect all vertices in alternating order to form one closed outline.
Checking closure, fit, and print scale
A valid star outline must be a single closed loop with no crossing edges. Because the vertices alternate between two circles and are connected in angular order, the outline closes naturally when the last vertex connects back to the first. If you change the order of connection, edges can cross and the shape is no longer a simple star outline.
Before printing, check the overall size. The widest span of the star is twice the outer radius, so a star with R = 55 mm spans 110 mm across its tips. Compare that span with the printable area of your paper. If the star is too large, reduce R rather than scaling the printed page, because scaling changes the intended dimensions.
Print at 100% only after checking a calibration bar. A calibration bar lets you confirm that a known length on the page prints at its true size. If the bar measures correctly, the star dimensions should also print correctly. Do not assume that a default print setting preserves scale.
- Confirm the outline is one closed loop with no crossing edges.
- Compute the full span as 2 × R and compare it with your paper's printable width and height.
- Reduce R if the span exceeds the printable area; do not rely on page scaling.
- Print a calibration bar at 100% and measure it before printing the star.
Choosing a ratio for the shape you need
There is no single correct ratio. The right value depends on whether you want a bold, compact star or a slender, dramatic one. A ratio around 0.4 to 0.5 gives a recognisable five-point star with clear spikes. Lower ratios make the spikes thinner and the centre smaller. Higher ratios make the star look fuller and less pointed.
Because art has multiple valid outcomes, judge the result against your purpose rather than against one exact answer. A star for a paper craft may need broad tips that are easy to cut. A star for a geometric study may need a precise ratio so the inner and outer radii can be measured. State the ratio you used so the result can be reproduced.
Keep the geometric construction separate from any claim about anatomy or real-world objects. A star outline is a mathematical shape made from two circles; it is not a model of a physical structure. Treat the drawing as a design decision with measurable parameters.
- Decide whether you need sharp spikes or a fuller shape.
- Try a ratio between 0.4 and 0.5 for a classic five-point look.
- Record the point count, outer radius, and ratio so the outline can be repeated.
- Judge the finished outline against your purpose using the rubric criteria.
Worked example
Suppose you want a five-point star with an outer radius of 55 mm and a ratio of 0.45. The inner radius is 55 × 0.45 = 24.75 mm. The star has five outer vertices and five inner vertices, alternating around the centre. Each angular step between adjacent vertices is 360° ÷ 10 = 36°, because there are ten vertices in total.
The full span across the tips is 2 × 55 = 110 mm. If your paper's printable width is less than 110 mm, reduce the outer radius. For instance, R = 40 mm gives a span of 80 mm and an inner radius of 40 × 0.45 = 18 mm. The outline remains closed because the vertices are connected in alternating angular order.
- Compute inner radius: 55 × 0.45 = 24.75 mm.
- Count vertices: 5 outer + 5 inner = 10 total.
- Compute angular step: 360° ÷ 10 = 36°.
- Compute span: 2 × 55 = 110 mm and compare with paper width.
Common mistakes and fixes
Most problems with star templates come from mixing up the ratio, connecting vertices out of order, or printing without checking scale. The fixes below are practical checks you can apply before cutting or printing.
- Recompute the inner radius from the outer radius and ratio.
- Redraw the connection order so outer and inner vertices alternate.
- Measure a calibration bar before trusting printed dimensions.
Frequently asked questions
These answers address the most common points about point count, ratio, and print size.
- Check the span against paper size before printing.
- Use the ratio to control spike length.
- Confirm closure by tracing the outline once.
Try this example
Build a six-point star with an outer radius of 40 mm and a ratio of 0.5. State the inner radius, vertex count, angular step, and full span.
Show the worked explanation
Inner radius = 40 × 0.5 = 20 mm. Vertex count = 6 outer + 6 inner = 12. Angular step = 360° ÷ 12 = 30°. Full span = 2 × 40 = 80 mm. Connect the twelve vertices in alternating order to form one closed outline.
Common mistakes
- Treating the ratio as the inner radius in millimetres rather than a fraction of the outer radius. Multiply the outer radius by the ratio to get the inner radius, for example 55 × 0.45 = 24.75 mm.
- Connecting all outer vertices first and then all inner vertices, which creates crossing edges. Connect vertices in alternating order: outer, inner, outer, inner, until the outline closes.
- Scaling the printed page to fit the star, which changes the intended dimensions. Reduce the outer radius instead, and print at 100% after checking a calibration bar.
Check your work
- The outline is a single closed loop with no crossing edges.
- The inner radius equals the outer radius multiplied by the stated ratio.
- The number of outer vertices equals the chosen point count.
- The full span is twice the outer radius and is compared with the paper size.
- The point count, outer radius, and ratio are recorded so the outline can be reproduced.
- The printed result is checked against a calibration bar at 100% before use.
Questions before you start
How do I know the star outline is closed?
Trace the outline once from any vertex. If you return to the starting vertex without lifting the pen and without crossing an edge, the outline is closed.
What does the ratio change?
The ratio sets the inner radius as a fraction of the outer radius. A smaller ratio makes longer, narrower spikes; a larger ratio makes a fuller, shallower star.
How do I check the star will fit on my paper?
Compute the span as twice the outer radius and compare it with the printable width and height. Reduce the outer radius if the span is too large.