Free original resources
Bird Drawing: Build a Perched Bird From Body Mass and Wing Direction
Learn a reliable method for drawing a perched bird: tilt the body and head, balance beak against tail, separate the folded wing, and group feathers with clear overlaps.
Free resources
Letter & A4
PDF & SVG
Letter & A4
PDF & SVG
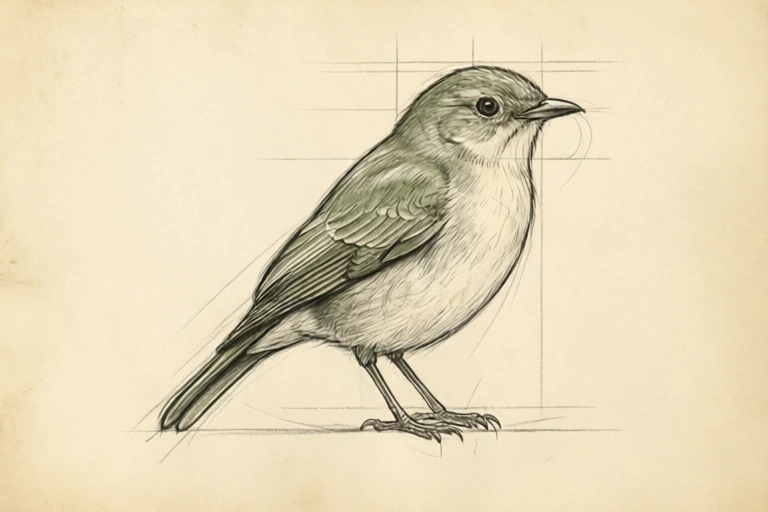
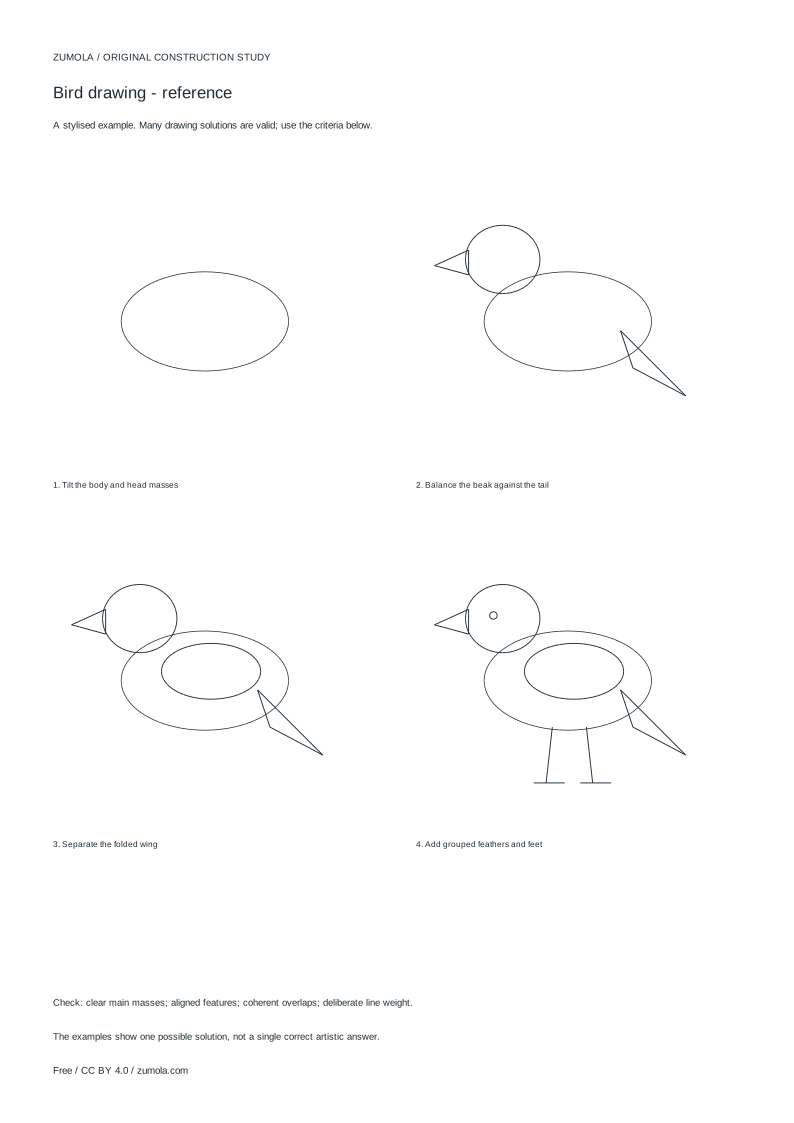
Build the drawing in four stages.
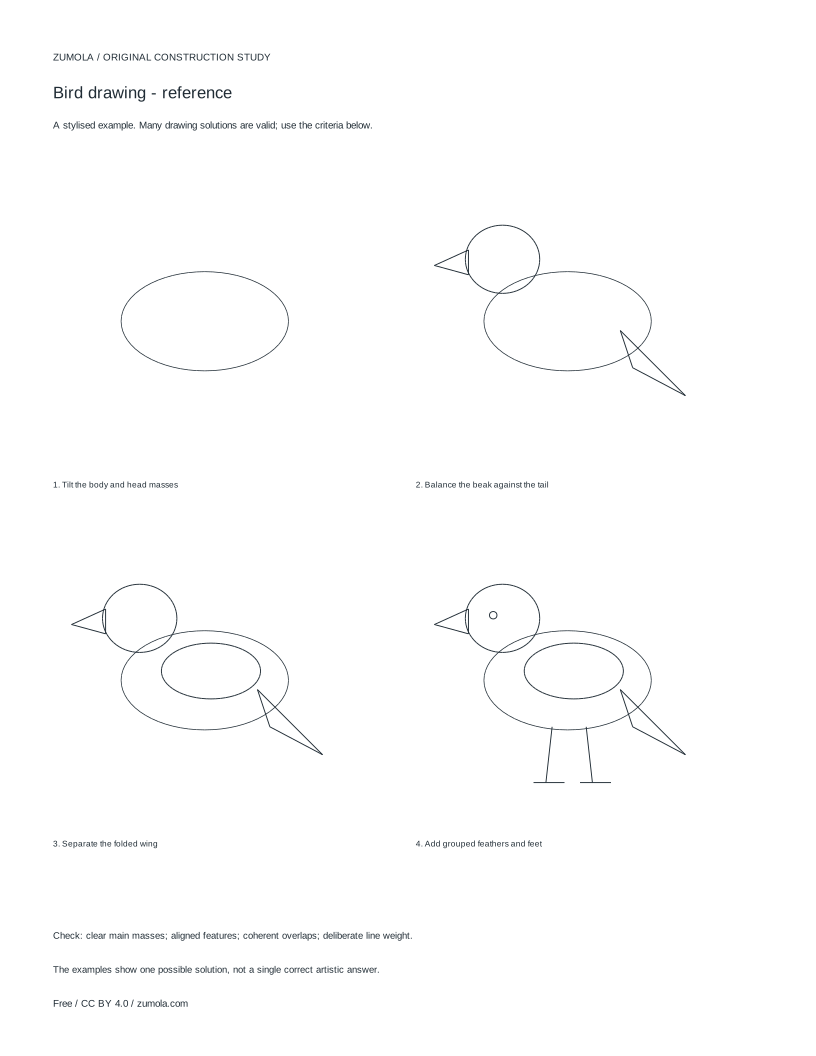
Your free printable kit.
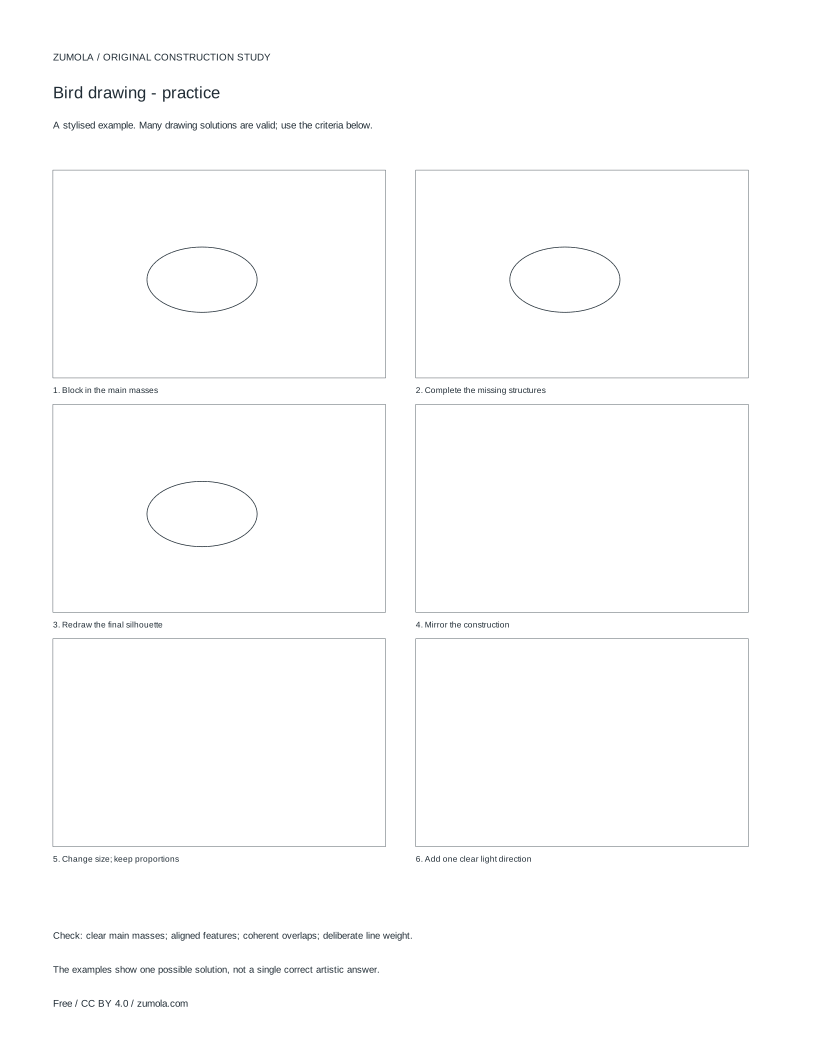
Original reference, student practice and separate worked answers. No account or payment.
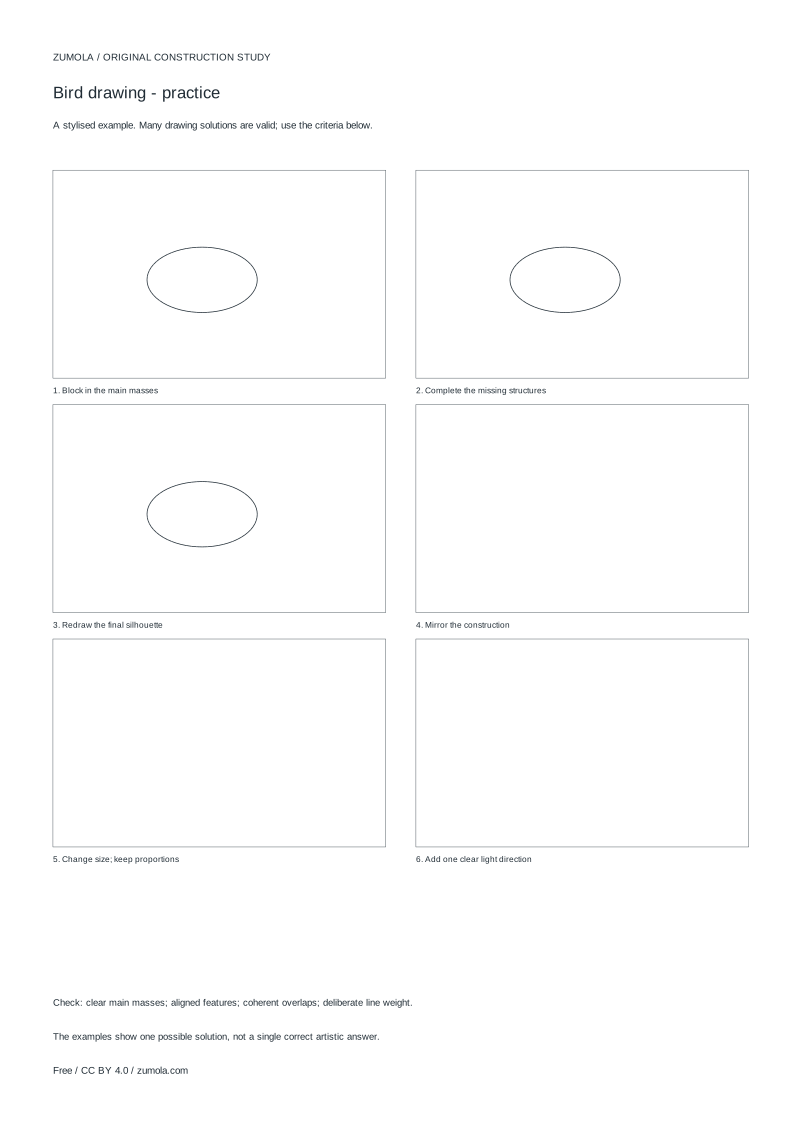
Practice worksheet
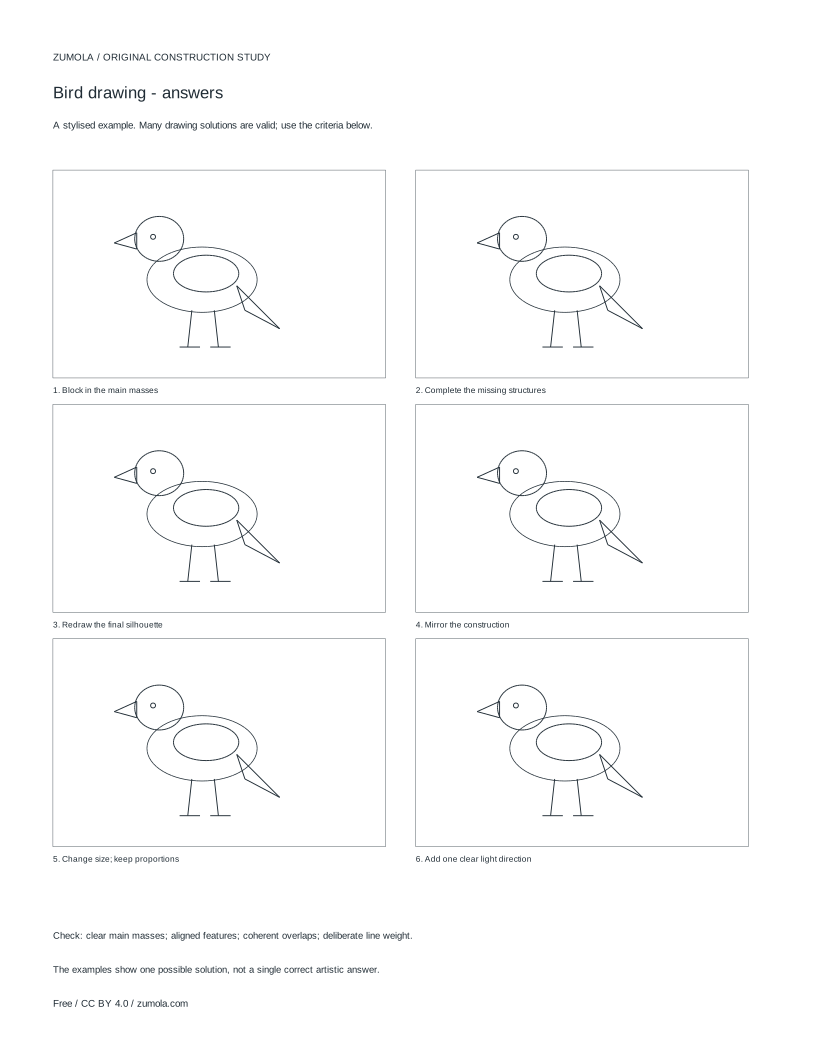
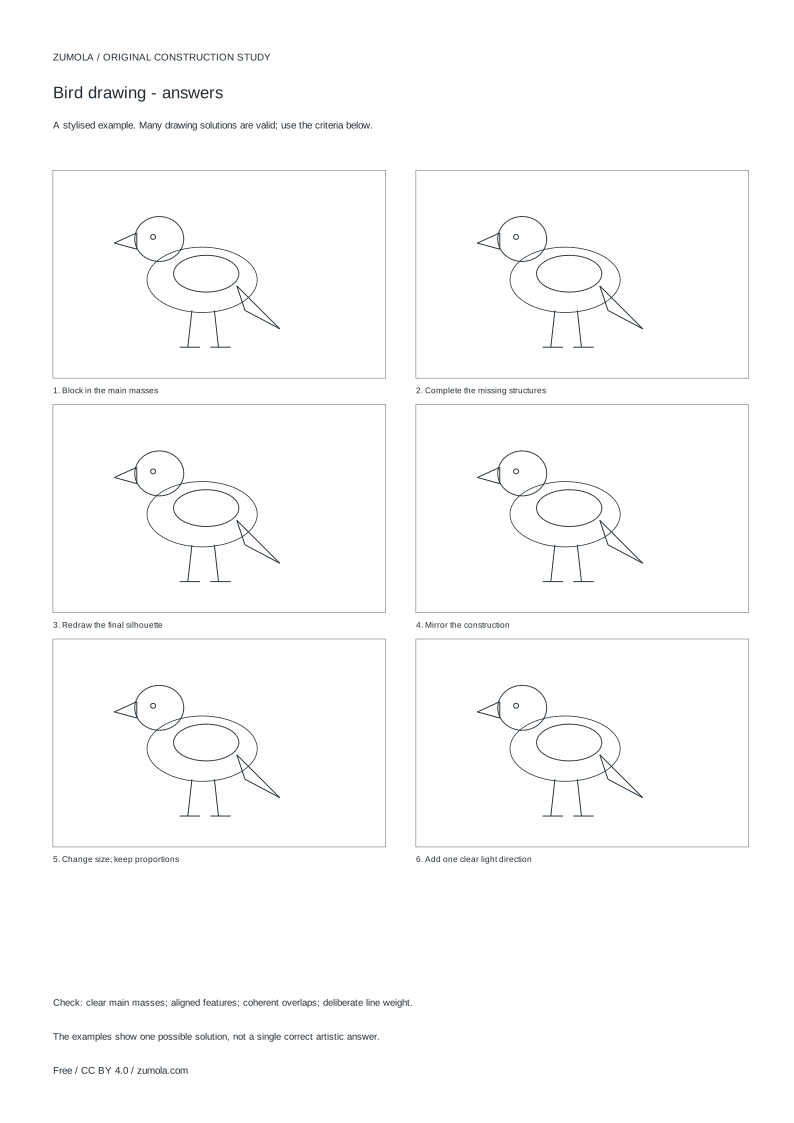
Worked answers / rubric
Print at Actual size / 100%. Check the calibration bar before using physical dimensions.
A perched bird looks complicated mainly because feathers hide the simple shapes underneath. This guide shows a construction method you can apply to many small and medium perched birds rather than one species. You will place two tilted masses for body and head, balance the beak against the tail, define the folded wing as a separate layer, then add grouped feathers and feet. The aim is a clear, stylised study with believable structure, not clinical anatomy or photorealism.
Start With Two Tilted Masses
Begin with an oval for the body and a smaller circle for the head. Tilt both along one shared axis so the bird reads as alert or relaxed rather than stiff. The body oval should be wider at the chest and narrower toward the tail base. Keep the head circle overlapping the front of the body oval slightly; that overlap tells you where the neck will sit.
Mark a light centre line through both masses. This line helps you place the eye, beak and tail on the same directional flow. Check the proportion before adding detail: a perched songbird usually has a head roughly one-third the body length, while longer-tailed birds need more space behind the body oval.
- Draw a tilted oval for the body, wider at the chest.
- Add an overlapping circle for the head on the same tilt.
- Draw a light centre line through both masses.
- Adjust the head size until it looks balanced with the body.
Balance the Beak Against the Tail
The beak and tail act as counterweights. Place the beak where the head circle meets the centre line, then extend the tail from the back of the body oval in the opposite direction. If the beak points slightly down, the tail often lifts slightly; if the beak is level, the tail usually follows the body tilt.
Keep the beak short and simple at this stage: a small wedge is enough. The tail should be a tapered shape, not a single line. Check that the distance from beak tip to eye feels similar to the distance from eye to the back of the head.
- Mark the beak as a small wedge on the centre line.
- Draw the tail as a tapered shape from the rear of the body.
- Compare beak length with head depth.
- Adjust the tail angle so it balances the beak.
Separate the Folded Wing
A folded wing is a layer sitting on the body, not a pattern drawn inside it. Draw a curved line from the shoulder area down toward the tail, following the body oval. This line marks the wing's leading edge. Add a second, shorter curve behind it to suggest the wing's thickness.
Feathers should be grouped rather than drawn one by one. Use three or four overlapping shapes along the wing edge, each slightly offset. Overlaps matter: the nearer feather hides part of the one behind it. Keep line weight heavier on the wing edge and lighter inside the body.
- Draw the wing's leading edge from shoulder to tail.
- Add a shorter curve for wing thickness.
- Group three or four feathers along the lower edge.
- Check that each feather overlaps the one behind it.
Add Feet and Finish With Line Weight
Perched birds need feet that grip a branch or perch. Draw two short legs from the lower body, then add toes that curl around the perch line. Keep the legs slightly bent; straight legs look stiff. The perch itself can be a simple horizontal line or a light cylinder.
Finish by varying line weight. Use darker lines where shapes overlap, such as the wing over the body or the head over the neck. Lighter lines suit feather texture. This is a stylised construction study, so multiple valid outcomes exist; compare your drawing by masses, feature placement and overlaps rather than matching one exact result.
- Draw two bent legs from the lower body.
- Add toes curling around a perch line.
- Darken lines at overlaps and keep feather lines light.
- Review masses, feature placement and overlaps before finalising.
Try this example
Construct a small perched bird with a body oval 6 cm long and a head circle 2 cm across, tilted slightly forward.
Show the worked explanation
Draw the body oval at 6 cm and tilt it forward. Place a 2 cm head circle overlapping the front, keeping the same tilt. Mark a centre line through both. Add a short wedge beak at the front of the head and a tapered tail from the rear of the body, angled to balance the beak. Draw the folded wing as a curved layer from shoulder to tail, then group three overlapping feathers along its edge. Add two bent legs and toes around a perch line. Check that the head is about one-third of the body length and that overlaps are clear.
Common mistakes
- Drawing feathers before the body and head masses are balanced. Finish and check the two tilted masses first, then add the wing layer and feathers.
- Treating the folded wing as a flat pattern inside the body outline. Draw the wing as a separate curved layer with its own edge and thickness.
- Making the beak and tail point in the same direction, which unbalances the pose. Place the beak and tail as opposing visual weights and check the tilt of both.
Check your work
- Body and head masses share a consistent tilt and believable proportion.
- Beak and tail balance each other visually.
- Folded wing reads as a separate layer with clear overlaps.
- Feathers are grouped rather than drawn individually.
- Feet grip the perch with slightly bent legs.
- Line weight distinguishes overlaps from feather texture.
Questions before you start
Can this method work for different perched birds?
Yes. The two-mass construction, beak-and-tail balance, folded wing layer and grouped feathers apply to many perched birds. Adjust proportions and tail length for the bird you are drawing.
Should I draw every feather separately?
No. Group feathers into a few overlapping shapes. Clear overlaps and varied line weight read better than many small, even lines.
Is this a realistic anatomy guide?
No. It is a stylised construction study for drawing practice. It does not teach clinical anatomy or photorealism.