Free original resources
Rose Drawing: Build a Layered Rose from the Spiral Centre Outward
Learn a four-stage rose drawing method: set the envelope, spiral to the bud, wrap broad petals, and accent overlaps. Includes a worked example, rubric, and fixes.
Free resources
Letter & A4
PDF & SVG
Letter & A4
PDF & SVG
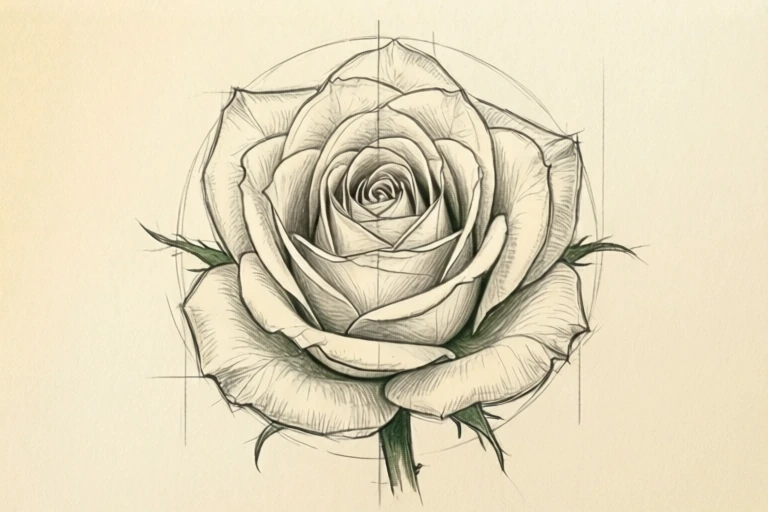
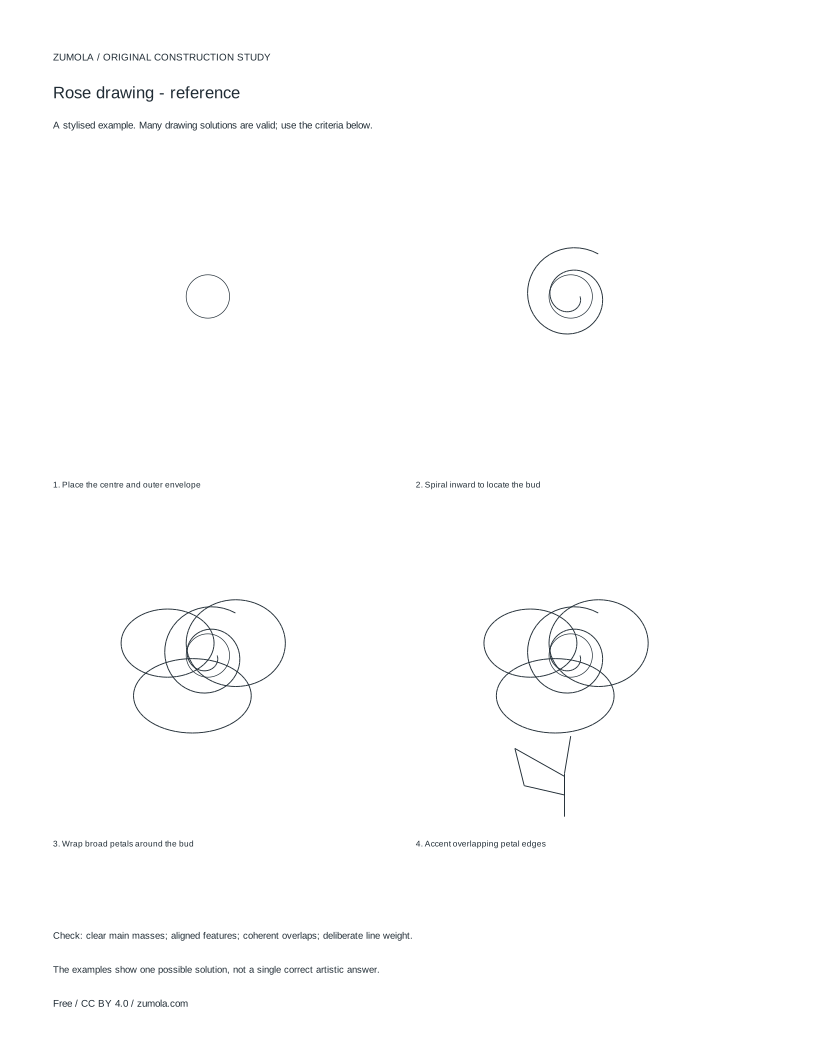
Build the drawing in four stages.
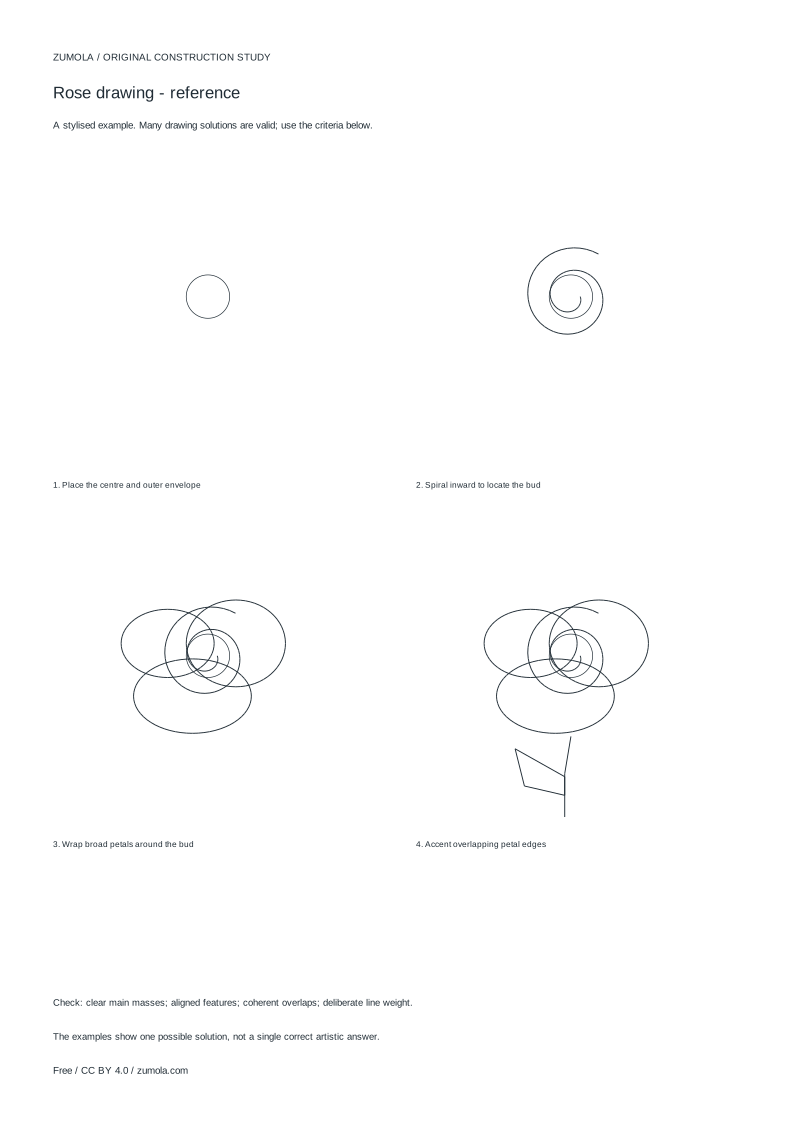
Your free printable kit.
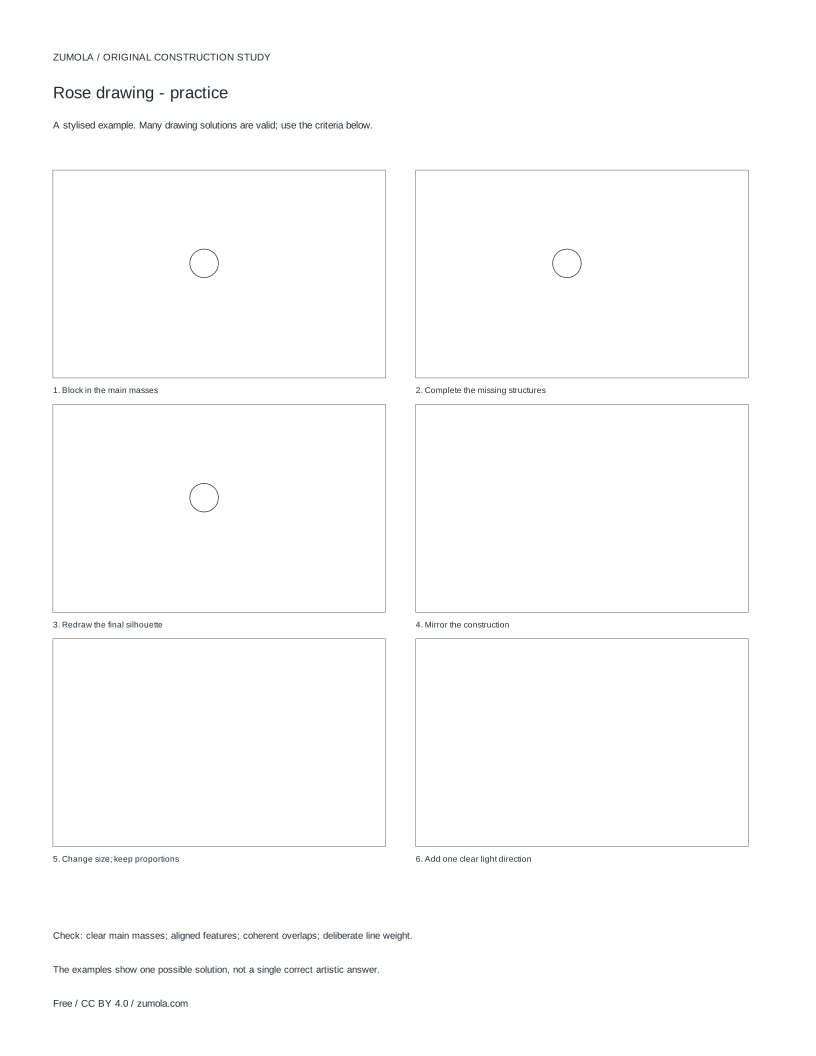
Original reference, student practice and separate worked answers. No account or payment.
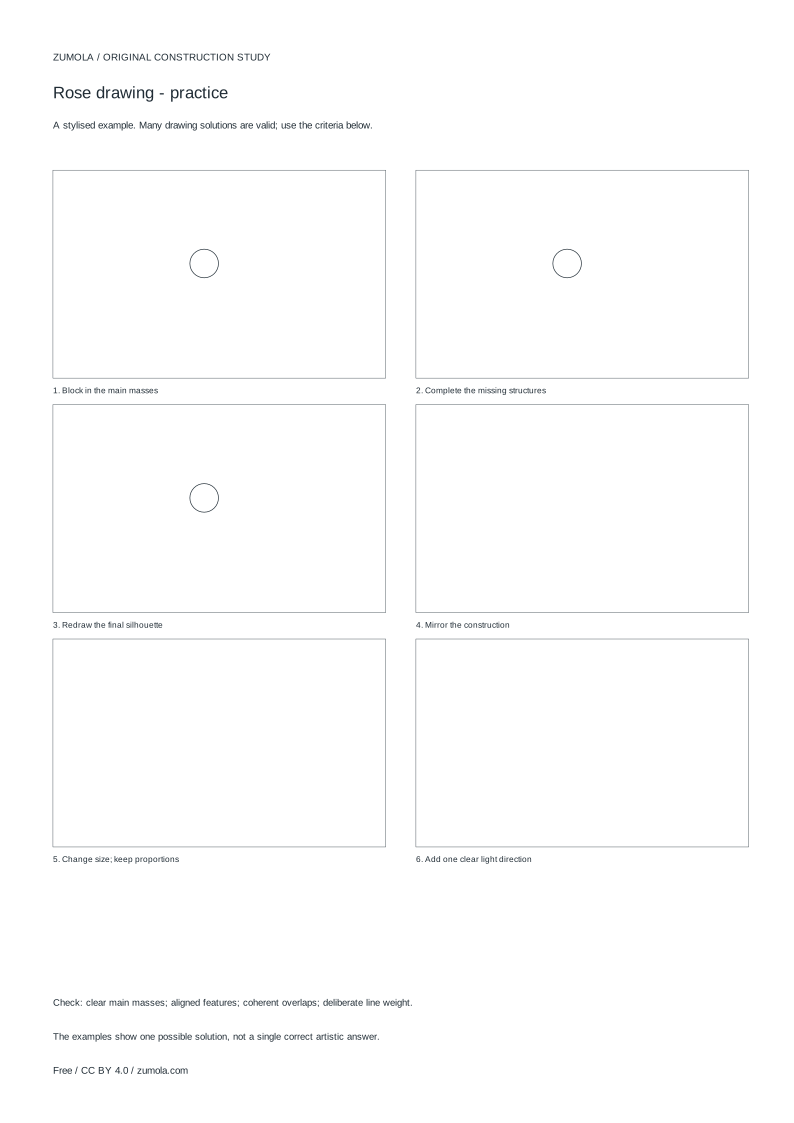
Practice worksheet
Worked answers / rubric
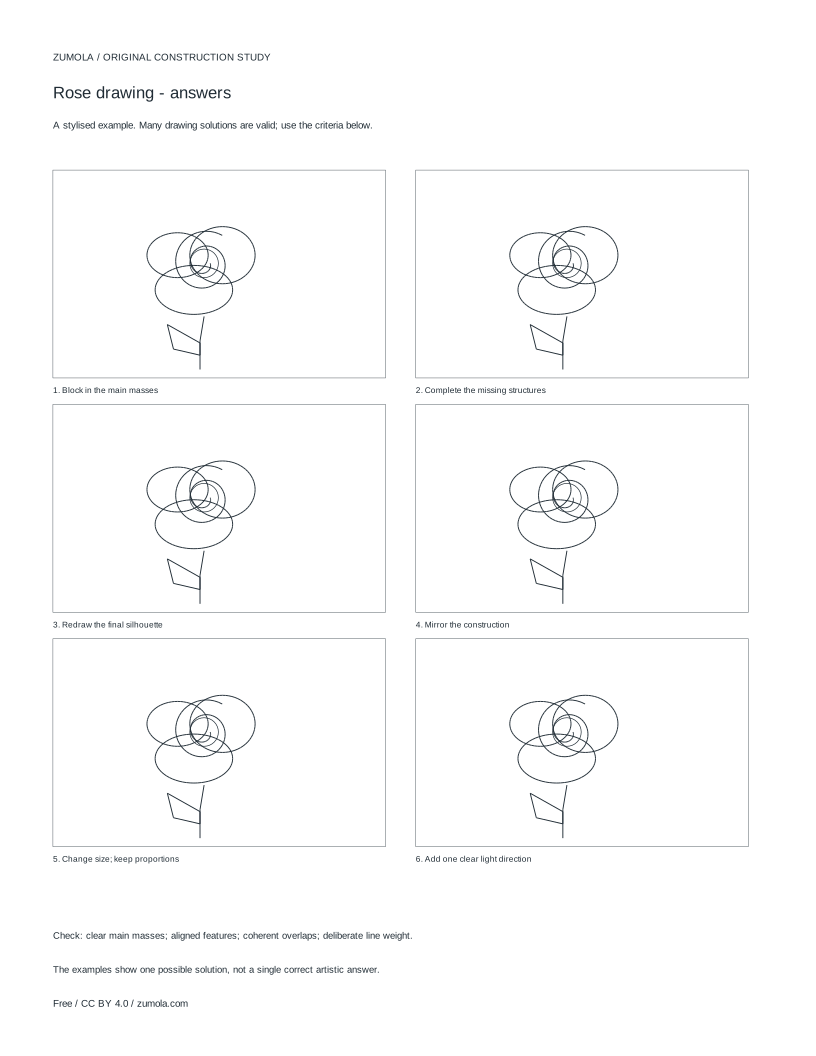
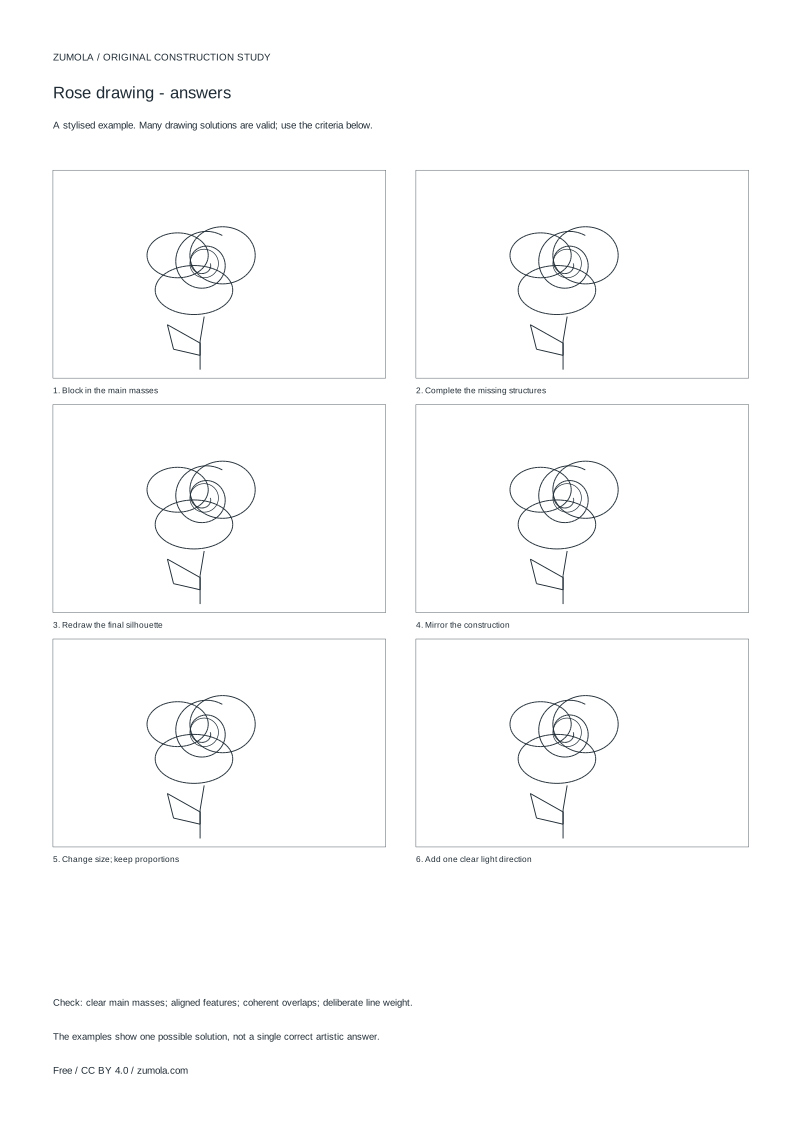
Print at Actual size / 100%. Check the calibration bar before using physical dimensions.
Rose drawings usually fail at the centre. If you start with a ring of identical petals, the flower looks flat and radial, like a daisy. This tutorial takes the opposite route: locate a small spiral bud first, then wrap petals around it so each layer visibly sits in front of the one beneath. The goal is a clear reading of curl and overlap, not photorealism or botanical anatomy. Work lightly at first, keep your overlaps checkable, and judge the result by structure rather than by matching one exact outline.
Stage 1: Place the centre and outer envelope
Begin with two marks, not a petal. Mark the rose centre with a small dot or short dash. Then sketch a loose outer envelope: a rounded, slightly irregular shape that shows how wide and tall the finished flower will be. For a compact rose, try an envelope about 6 cm across on a 15 cm practice area; for an open rose, widen it to 8 cm. The envelope is a boundary, not a petal outline, so keep it faint.
Inside the envelope, note the direction the rose will face. A rose tilted to the left shows more of its side petals on the right. Decide this now, because every later overlap depends on it. Keep the centre dot off-centre if you want a three-quarter view; a centred dot tends to produce a symmetrical, flat flower.
- Mark the rose centre with a small dot or dash.
- Sketch a faint outer envelope showing overall width and height.
- Choose a facing direction and note which side shows more petals.
Stage 2: Spiral inward to locate the bud
The bud is a short spiral, not a circle. From near the centre dot, draw a curved line that turns around the dot roughly one and a half times, tightening as it goes. Think of a rolled ribbon seen end-on. The spiral's outer end becomes the lip of the first petal, so leave it open rather than closing it into a loop.
Check the spiral before adding anything else. It should read as a curl with a direction: clockwise or anticlockwise, consistently. If the spiral looks like concentric circles, redraw it with a single continuous stroke that drifts outward. This stage fixes the flower's identity; broad petals added later will wrap this curl, not replace it.
- Start near the centre dot and curve around it about one and a half turns.
- Tighten the spiral toward the middle and leave the outer end open.
- Confirm the curl has one consistent direction before continuing.
Stage 3: Wrap broad petals around the bud
Add petals as wrapping bands, each starting behind the bud and ending in front of it. Draw the near edge first, then the far edge that tucks under the previous layer. A petal that wraps should show two things: a curved outer rim and a short tucked edge where it disappears behind a neighbour. Vary petal width; three or four broad wraps read better than many thin ones.
Keep every new petal attached to the structure. If a petal floats without touching the bud or a neighbouring petal, it will look pasted on. Work outward in one direction around the spiral so the overlaps stay consistent. Leave the envelope line visible until the last stage so you can check that the flower still fits its planned size.
- Draw the near rim of a petal, then the far edge tucking behind the bud.
- Vary petal widths and keep each petal touching the bud or a neighbour.
- Work around the spiral in one direction to keep overlaps consistent.
Stage 4: Accent overlapping petal edges
Now decide line weight. Give the front edge of each overlapping petal a slightly firmer line, and keep tucked edges lighter. This single habit makes layers readable without shading. Add a short crease or fold line inside two or three petals only, following the curl direction; too many interior lines flatten the flower.
Finally, erase or lighten the envelope and any construction marks that no longer serve the drawing. Compare the main masses: is the bud still visible, do the broad petals wrap rather than radiate, and do the overlaps point consistently? Adjust one problem at a time rather than redrawing everything.
- Firm the front edges of overlapping petals and lighten tucked edges.
- Add fold lines to only two or three petals, following the curl.
- Lighten construction marks, then check bud visibility and overlap direction.
Try this example
Draw a compact rose about 6 cm wide facing slightly left, using the four stages.
Show the worked explanation
Mark a centre dot and a faint 6 cm envelope. Draw a clockwise spiral of about one and a half turns around the dot, leaving the outer end open. Add three broad petals wrapping the bud, starting each behind the bud and ending in front, with more visible petal area on the right because the rose faces left. Firm the front edges of the two most forward petals, lighten the tucked edges, add one fold line inside the largest petal, then lighten the envelope. Check that the bud is still visible and that all overlaps turn the same way.
Common mistakes
- Starting with a ring of equal petals around a circle. Replace the ring with a short spiral bud first, then wrap petals around it one at a time.
- Drawing petals that float without touching the bud or a neighbour. For each petal, draw a near rim and a tucked edge that visibly disappears behind another layer.
- Using the same heavy line everywhere so overlaps vanish. Firm the front edge of each overlapping petal and keep tucked edges lighter.
Check your work
- The bud reads as a short spiral with one consistent direction.
- Broad petals wrap the bud rather than radiating from a circle.
- Each petal shows a near rim and a tucked edge behind another layer.
- Overlap direction is consistent across the flower.
- Line weight distinguishes front edges from tucked edges.
- The finished flower fits the planned envelope size.
Questions before you start
Do I need to draw a perfect spiral for the bud?
No. The spiral only needs one consistent direction and about one and a half turns. A slightly uneven curl still reads as a bud once petals wrap it.
How many petals should a rose drawing have?
There is no fixed number. Three or four broad wrapping petals usually read more clearly than many thin ones, because each overlap stays visible.
Can I use this method for a side view or a tattoo-style design?
Yes, the order stays the same. Shift the centre dot off-centre for a side view, and keep overlaps consistent so the design still reads when simplified.