Free original resources
Flower Drawing: Build a Bloom from a Centre Circle and Radial Axes
Learn a reliable flower drawing method: set the centre, place radial petal axes, wrap petals with clear overlaps, then add stem, leaf and accents.
Free resources
Letter & A4
PDF & SVG
Letter & A4
PDF & SVG
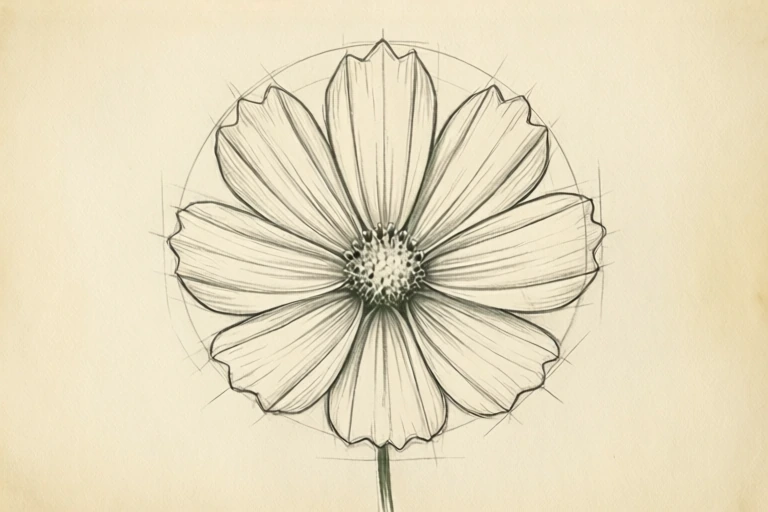
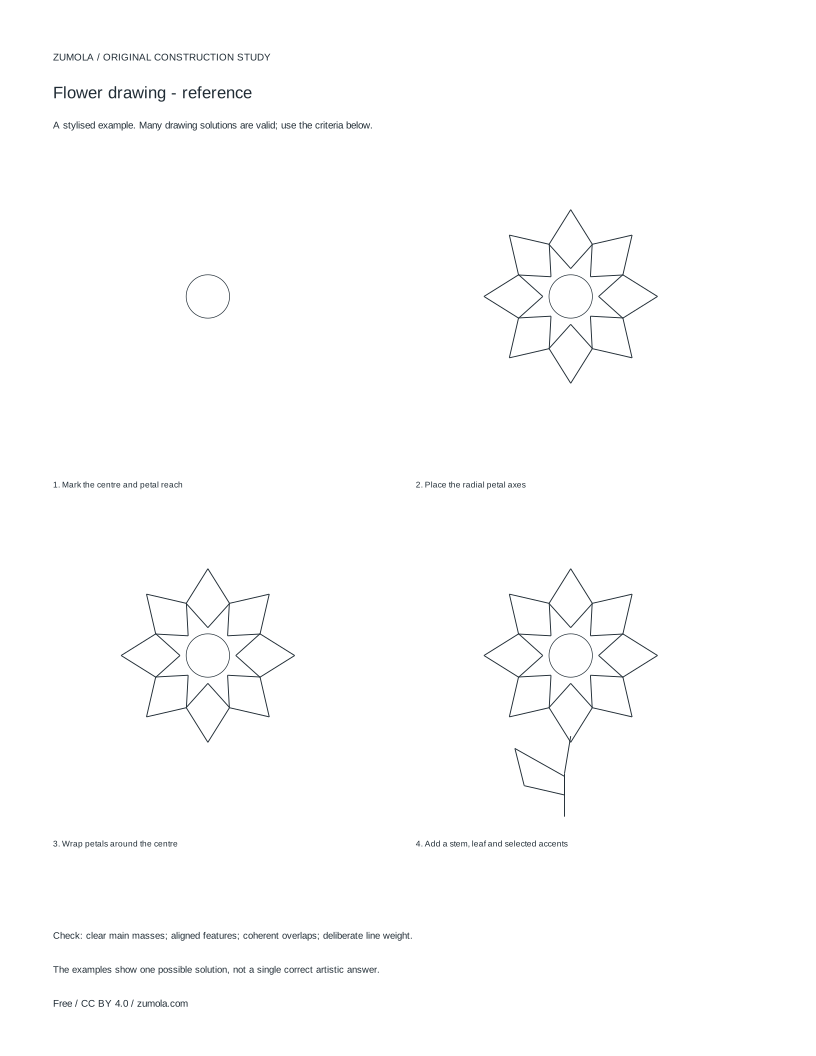
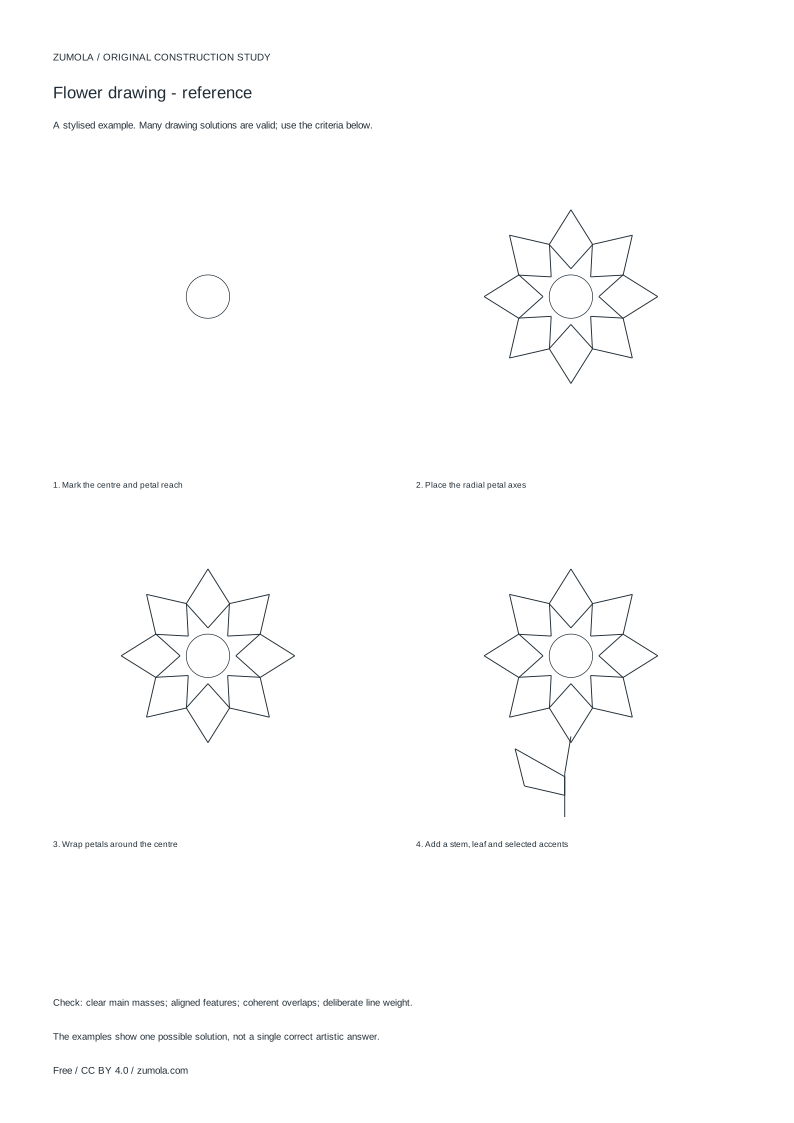
Build the drawing in four stages.
Your free printable kit.
Original reference, student practice and separate worked answers. No account or payment.
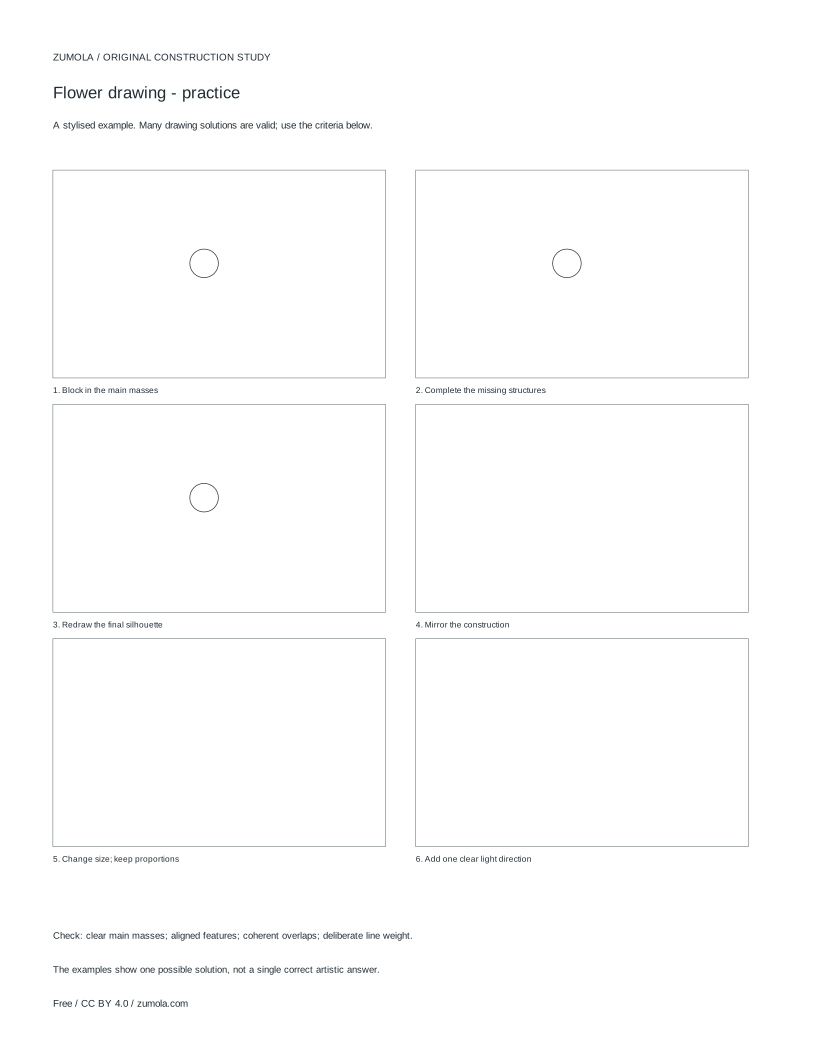
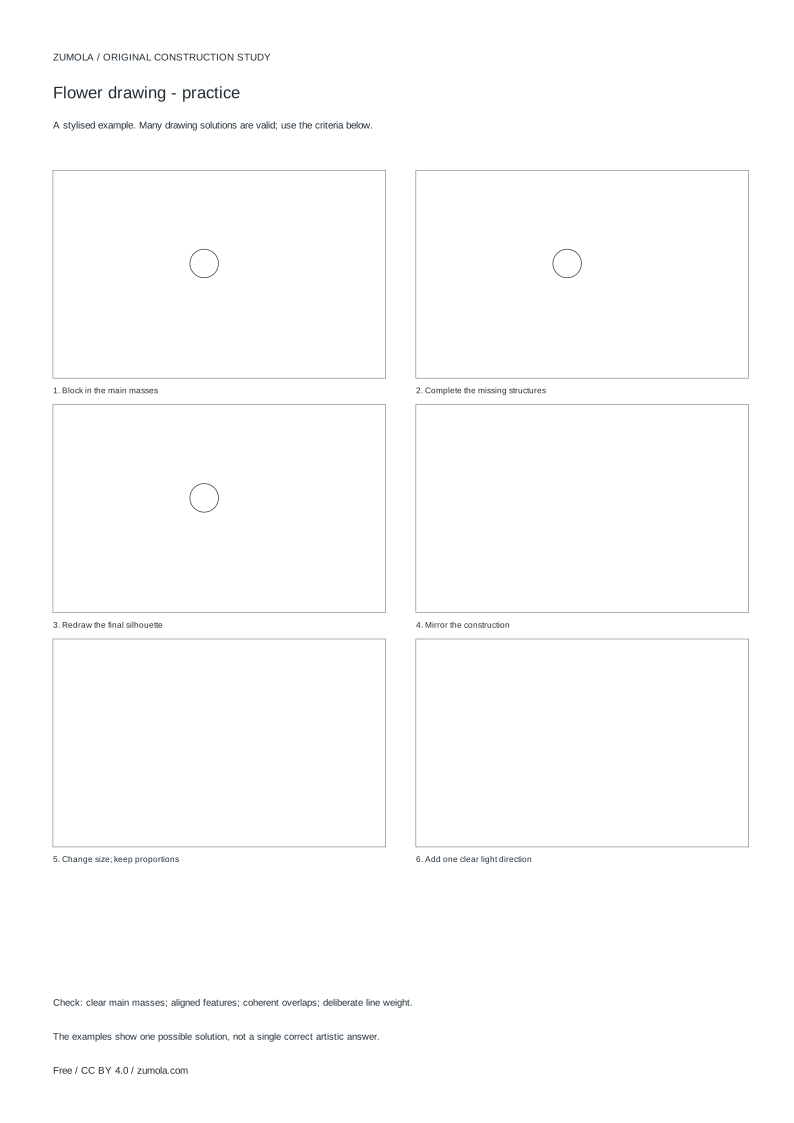
Practice worksheet
Worked answers / rubric
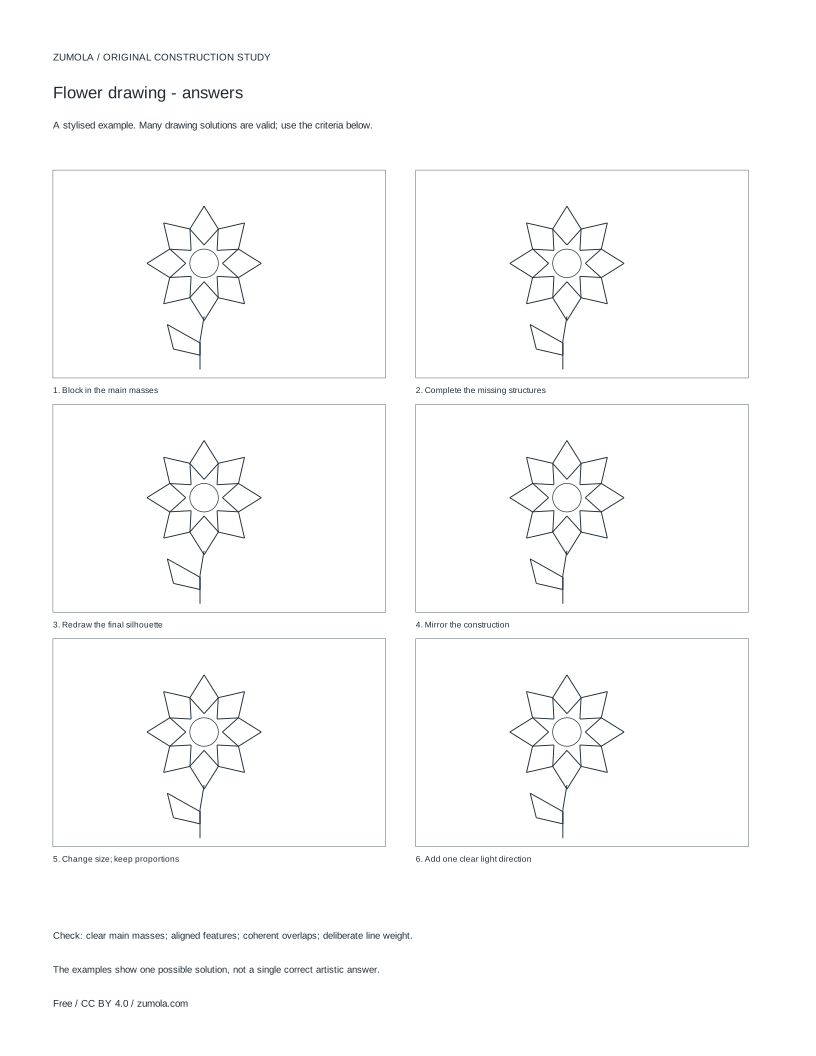
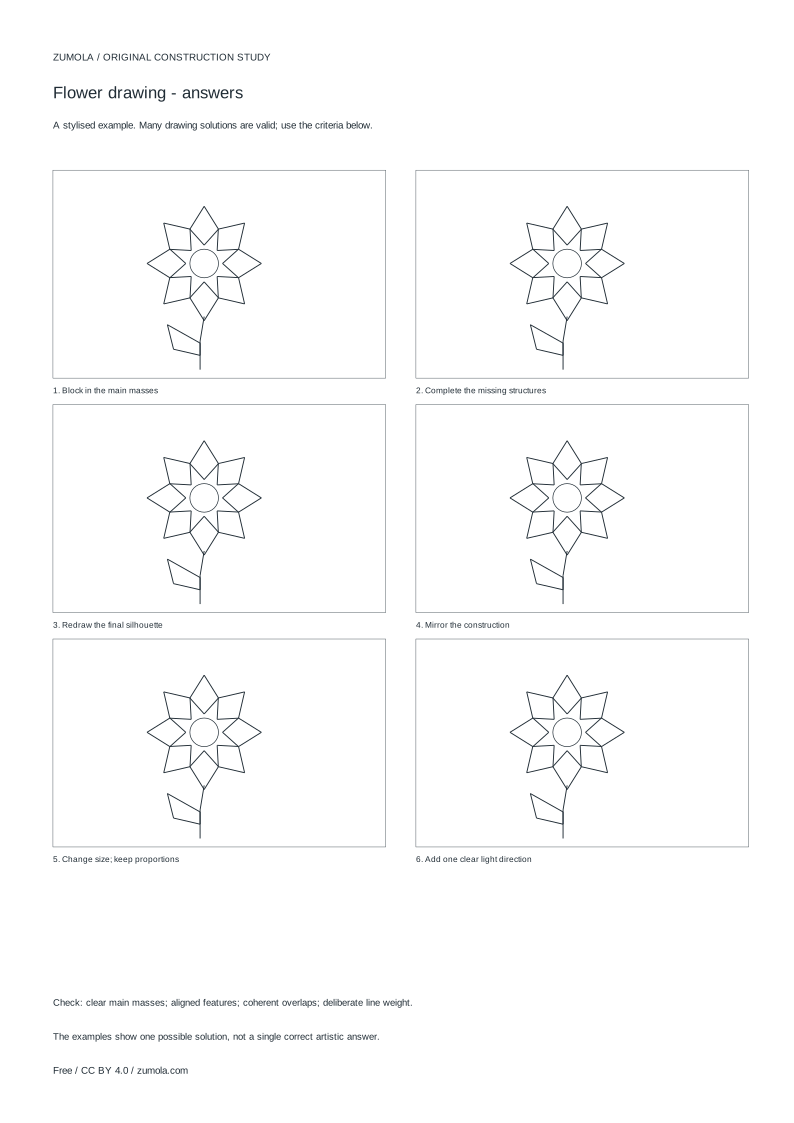
Print at Actual size / 100%. Check the calibration bar before using physical dimensions.
Most flower drawings go wrong before any petal is drawn, because the centre and the petal reach are guessed separately. This tutorial uses one centre circle and a set of radial axes so every petal has a known position and length. You will build a general flower crown, then vary petal count and overlap to change the character of the bloom. The approach is stylised construction, not botanical anatomy or photorealistic rendering.
Start with the centre and the petal reach
Begin with a light circle for the flower's centre. Its size controls how open or crowded the middle of the bloom will look. Next, mark the outer reach: a second, larger circle drawn from the same centre point. Every petal tip will sit on or near this outer circle, which keeps the crown even without measuring each petal separately.
Keep both circles faint. They are guides, not part of the finished drawing, and you will erase or ignore them once the petals are placed. If the two circles do not share a centre, the flower will lean and petals will look uneven in length.
- Draw a small centre circle in light pencil.
- Mark the centre point clearly.
- Draw a larger outer circle from the same centre point to set petal reach.
- Check that both circles share one centre before continuing.
Place the radial petal axes
Divide the outer circle into equal angles to decide petal count. For eight petals, mark points every 45 degrees; for six petals, every 60 degrees; for five petals, every 72 degrees. Draw a light line from the centre to each mark. These axes are the spine of each petal, and they guarantee even spacing.
Petal count changes the flower's character. Fewer petals read as simple and open; more petals read as full and dense. Choose a count you can space evenly, and keep the axes visible until the petals are drawn.
- Choose a petal count that divides evenly into 360 degrees.
- Mark the outer circle at equal angle intervals.
- Draw a light radial line from the centre to each mark.
- Number the axes lightly if you plan to vary petal sizes.
Wrap petals around the centre with clear overlaps
Draw each petal as a shape that starts at the centre circle and widens toward its axis tip. Petals should overlap their neighbours slightly rather than touch edge to edge, because overlap is what makes a flower read as layered rather than flat. Decide a consistent overlap direction, such as each petal passing over the one to its left, and keep it consistent around the crown.
Vary petal width and length slightly to avoid a mechanical look, but keep tips near the outer circle. Where two petals cross, draw the front petal's outline fully and stop the back petal's line at the crossing. This single rule creates believable depth.
- Draw one petal from the centre circle outward along its axis.
- Let each new petal overlap the previous one in a consistent direction.
- Stop the back petal's line where a front petal crosses it.
- Keep petal tips close to the outer circle for an even crown.
Add stem, leaf and selected accents
Attach the stem below the centre circle, slightly off-centre so the flower does not look pinned. Add one or two leaves with a simple midrib, and let the leaf outline cross the stem line to show which sits in front. Finish with a few accents: a light shading arc inside the centre circle, or a thicker line on the lower edge of petals to suggest shadow.
Line weight carries the drawing. Use a firmer line for front petals and the stem, and a lighter line for back petals and guides. Erase construction circles only after the petal outlines are confident.
- Draw the stem from just below the centre circle.
- Add leaves with a midrib and clear front or back placement.
- Shade the centre circle lightly to suggest depth.
- Thicken front edges and lighten back edges, then remove guides.
Try this example
Construct an eight-petal flower with a centre circle of 2 cm radius and an outer reach circle of 6 cm radius, with petals overlapping clockwise.
Show the worked explanation
Draw both circles from one centre point. Mark eight points on the outer circle every 45 degrees and draw radial axes. Draw each petal from the centre circle to its axis tip, letting each petal pass over the one to its right, stopping back-petal lines at crossings. Petal length is about 4 cm from the centre circle edge to the tip. Add a stem below the centre and one leaf crossing it.
Common mistakes
- Drawing petals one at a time without a centre or outer circle, so the crown drifts and petals differ wildly in length. Set the centre point and outer reach circle first, and keep petal tips near the outer circle.
- Making petals touch edge to edge with no overlap, which flattens the flower. Let each petal pass slightly over its neighbour in one consistent direction.
- Drawing every petal at identical width and length, producing a stiff, mechanical bloom. Vary width and length slightly while keeping tips near the outer circle.
Check your work
- Centre circle and outer reach circle share one centre point.
- Petal axes are spaced at equal angles matching the chosen petal count.
- Petal tips sit near the outer circle, giving an even crown.
- Overlap direction is consistent around the flower.
- Back-petal lines stop at crossings with front petals.
- Stem and leaf placement is clear, with front and back relationships shown.
- Line weight distinguishes front edges from back edges and guides.
Questions before you start
How many petals should I draw?
Pick a count that divides 360 degrees evenly, such as five, six or eight. Fewer petals look open and simple; more petals look full and dense.
Do I need to erase the construction circles?
Only after the petal outlines are confident. Keep them faint so they do not compete with the finished lines.
Is this a realistic flower drawing method?
No. It is a stylised construction study for even crowns and clear overlaps. Realistic botanical drawing needs separate study of species structure.