Free original resources
Butterfly Drawing: Build Wings Around a Central Body Axis
Learn a reliable butterfly drawing method: set the body axis, size upper and lower wings, check left-right balance, and place antennae and patterns with clear overlaps.
Free resources
Letter & A4
PDF & SVG
Letter & A4
PDF & SVG
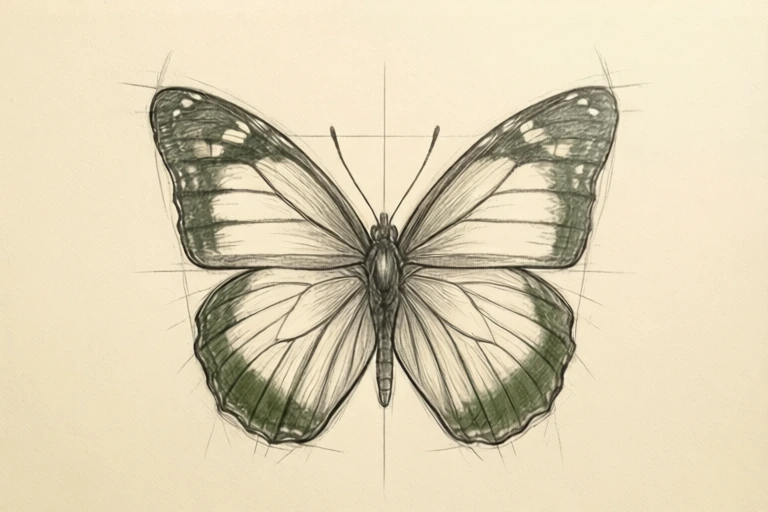
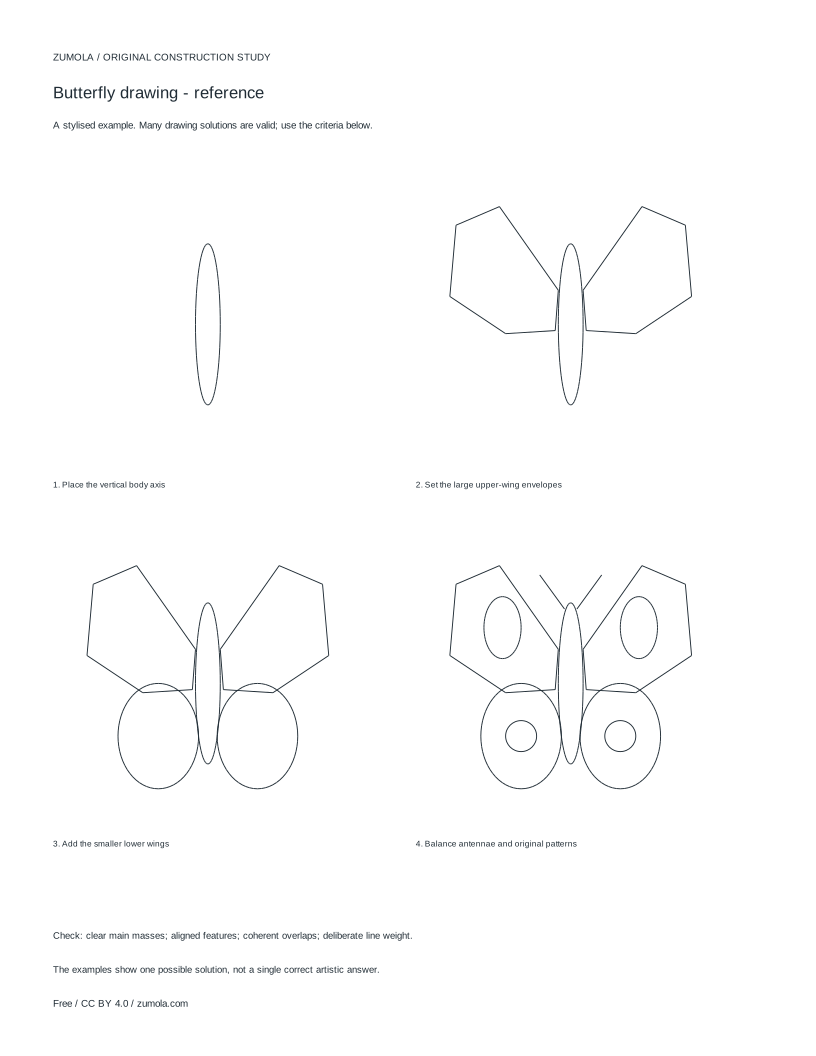
Build the drawing in four stages.
Your free printable kit.
Original reference, student practice and separate worked answers. No account or payment.
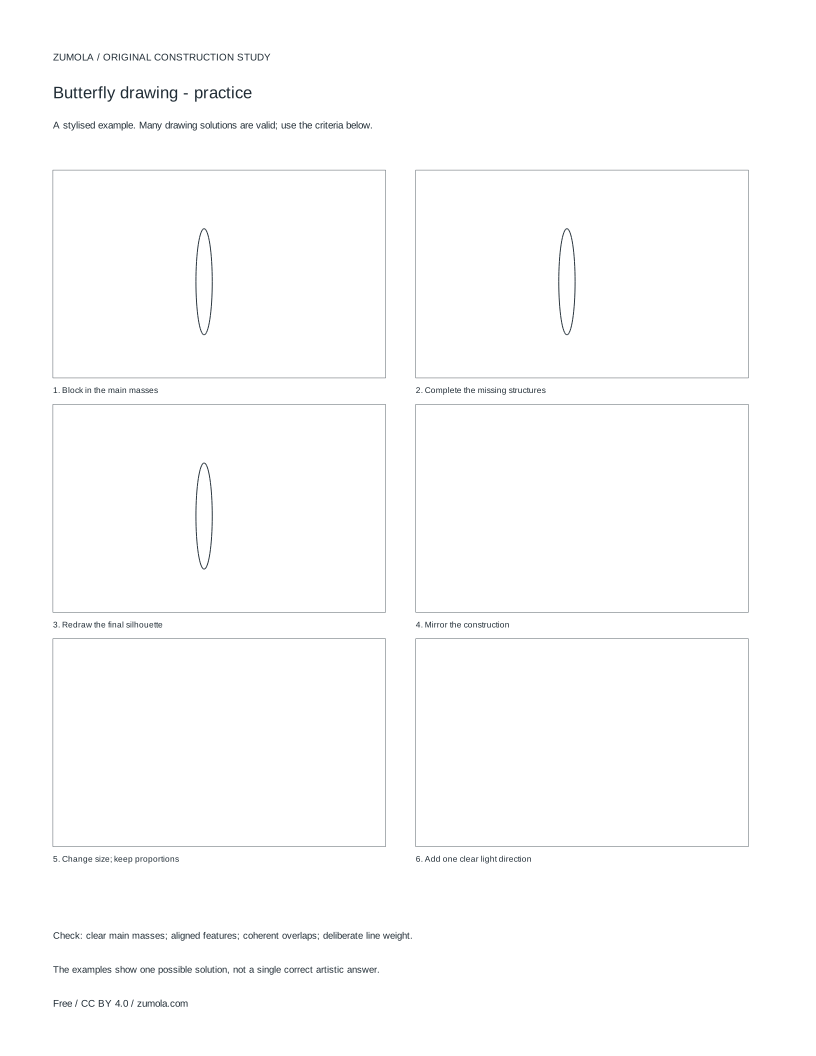
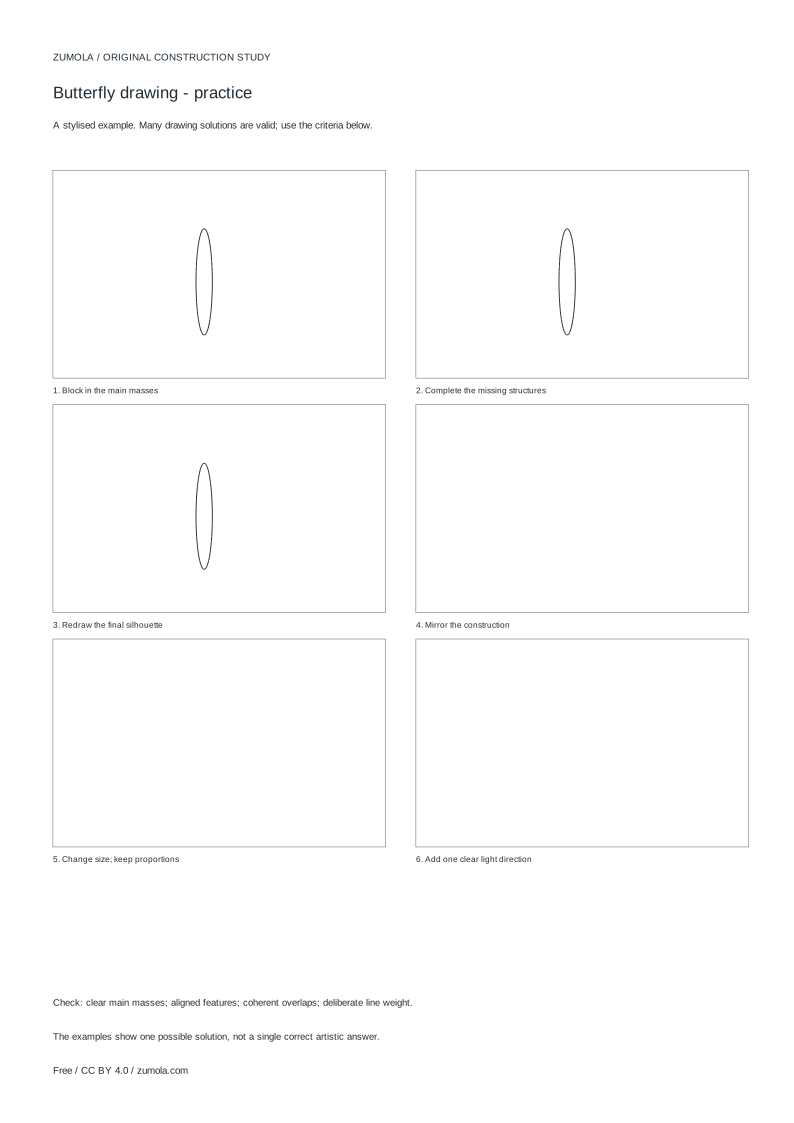
Practice worksheet
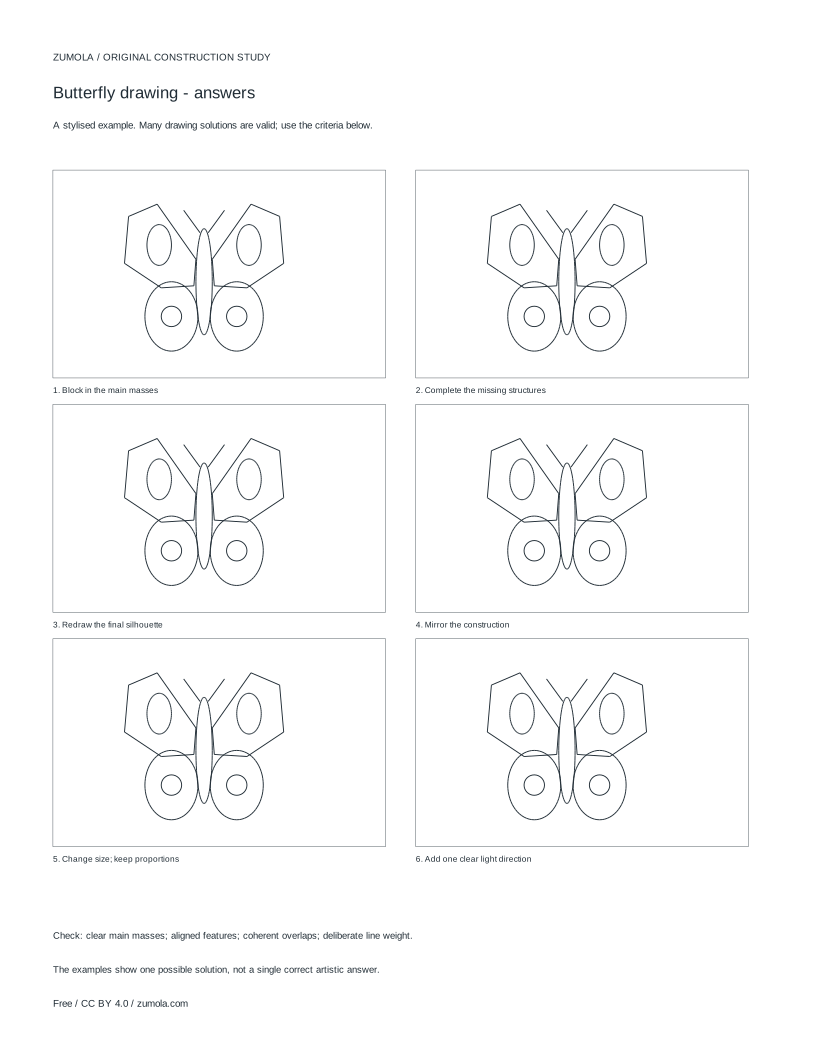
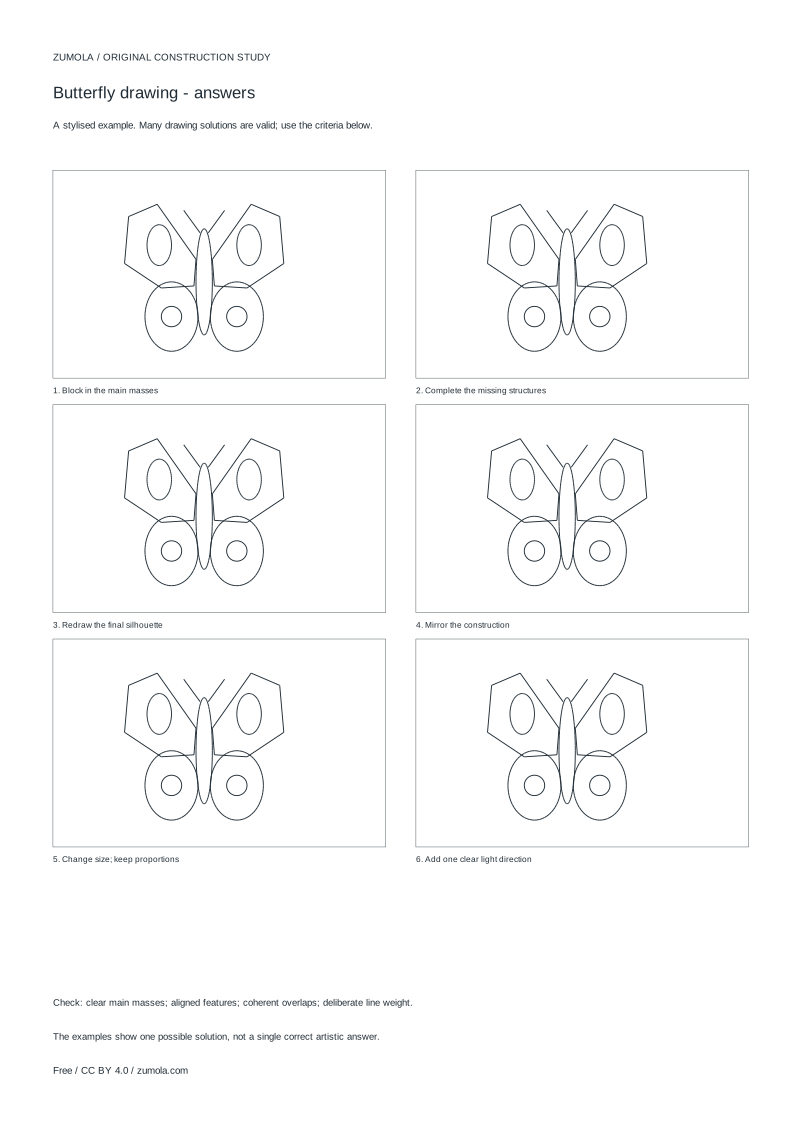
Worked answers / rubric
Print at Actual size / 100%. Check the calibration bar before using physical dimensions.
A butterfly drawing becomes much easier when you stop copying an outline and start building from the middle outward. The body gives you a vertical axis; the wings hang off that axis in two pairs, with the upper pair usually larger than the lower pair. This page explains that construction method, how to compare the left and right sides, and how to keep overlaps readable. The aim is a clear stylised study, not a photorealistic or anatomical diagram.
Start with the body axis, not the wings
Draw a light vertical line first. This is the body axis, and every wing will be measured against it. Mark a small oval or narrow capsule for the thorax near the middle of the line, then a longer tapered shape below it for the abdomen. Keep the head as a small circle above the thorax. Because the axis is vertical, you can check symmetry by comparing distances left and right from that line rather than by eye alone.
Work lightly at this stage. The body is a reference, not a finished shape, and you will adjust it once the wing envelopes are in place. If the abdomen leans, correct it before adding wings; a tilted axis makes every later comparison harder.
- Draw a faint vertical line and mark its top, middle and lower third.
- Place a small head circle, a compact thorax and a tapered abdomen on the line.
- Check that the body reads as one continuous shape from head to abdomen tip.
Set the upper-wing envelopes before details
The upper wings are the larger pair. Treat each one as an envelope: a broad shape whose outer edge sweeps up and outward from the thorax. Draw the left envelope and the right envelope as separate light shapes, then compare their height above the thorax and their width from the axis. Small differences are fine in a stylised drawing, but the main masses should feel related.
Overlap matters here. The upper wings usually sit in front of the lower wings near the body, so decide which edge crosses which before you darken any line. Marking the overlap early prevents the wings from looking like flat stickers placed side by side.
- Sketch the left upper-wing envelope from the thorax outward and slightly upward.
- Sketch the right upper-wing envelope and compare its height and width to the left.
- Note where each upper wing crosses the lower-wing area and keep that crossing visible.
Add the smaller lower wings and balance the pairs
The lower wings are smaller and sit below the upper pair. Their outer edges often curve downward and inward, giving the butterfly its familiar silhouette. Draw them after the upper wings so the overlap direction stays consistent. Compare the lower pair to each other first, then compare the lower pair to the upper pair: the lower wings should read as clearly smaller in both height and spread.
A useful check is to look at the gap between the two lower wings near the abdomen. If one gap is much wider, the axis has drifted or one wing has been placed too far out. Adjust the envelope rather than adding pattern to hide the problem.
- Draw the left lower wing below the upper wing, keeping the overlap edge clear.
- Draw the right lower wing and compare the gap on each side of the abdomen.
- Confirm the lower pair is visibly smaller than the upper pair in height and spread.
Finish antennae, legs and original patterns
Antennae rise from the head and should be balanced in length and angle. Two simple curved lines are enough; avoid making them so thick that they compete with the wings. Legs, if you include them, attach to the thorax and stay short and light.
Patterns are where you make the drawing your own. Place marks inside the wing envelopes rather than across their edges, and repeat a motif with variation instead of copying it exactly. A few large shapes usually read better than many tiny ones. Darken the final outline last, using heavier weight where wings overlap and lighter weight inside the wings. Because several valid solutions exist, judge the result by mass, placement, overlap and line weight rather than by matching one exact outline.
- Add two antennae from the head with similar length and angle.
- Place pattern shapes inside each wing envelope, keeping edges clear.
- Darken overlaps with slightly heavier line weight and leave interior lines lighter.
Try this example
Draw a stylised butterfly on a vertical axis 8 cm tall, with the thorax at the midpoint and upper wings reaching 3 cm from the axis on each side.
Show the worked explanation
Mark the axis and place the thorax at 4 cm from the top. Draw each upper-wing envelope so its widest point is about 3 cm from the axis, checking both sides against the same measurement. Add lower wings whose spread is clearly less than 3 cm, for example about 2 cm each side, and keep the upper wings crossing in front near the body. Finish with two antennae of similar length and a few large pattern shapes inside the envelopes. Compare masses, placement, overlaps and line weight rather than expecting one exact outline.
Common mistakes
- Drawing the wings first and squeezing the body in afterward. Set the vertical body axis and body shapes first, then build both wing pairs against that line.
- Making the lower wings the same size as the upper wings. Compare height and spread; the lower pair should read as clearly smaller in a stylised butterfly.
- Letting pattern lines run across wing edges and overlap boundaries. Keep pattern marks inside each envelope and preserve the crossing edge where one wing sits in front of another.
Check your work
- Body axis is vertical and the head, thorax and abdomen read as one continuous shape.
- Upper-wing envelopes are the larger pair and are compared left to right against the axis.
- Lower wings are visibly smaller and the gaps beside the abdomen are reasonably even.
- Overlap direction between upper and lower wings is clear and consistent on both sides.
- Antennae are balanced in length and angle and do not overpower the wings.
- Pattern marks sit inside wing envelopes and line weight distinguishes overlaps from interior detail.
Questions before you start
How do I keep the left and right wings balanced?
Measure both sides against the vertical body axis. Compare height above the thorax and width from the axis for each pair, and fix the envelope before adding pattern.
Should the upper wings always be larger?
In most familiar butterfly silhouettes, yes. Treat the upper pair as the main mass and the lower pair as smaller; you can vary the exact curve while keeping that size relationship.
Is this an anatomical diagram?
No. This is a stylised construction study for drawing. It shows a practical way to organise masses and overlaps, not a clinical or scientific anatomy reference.