Free original resources
Sunflower Drawing: Build a Large Seed Disc and Two Petal Rings
Learn a reliable sunflower drawing method: set the seed-disc proportion, place two staggered petal rings, then add stem and seed pattern with clear overlap checks.
Free resources
Letter & A4
PDF & SVG
Letter & A4
PDF & SVG
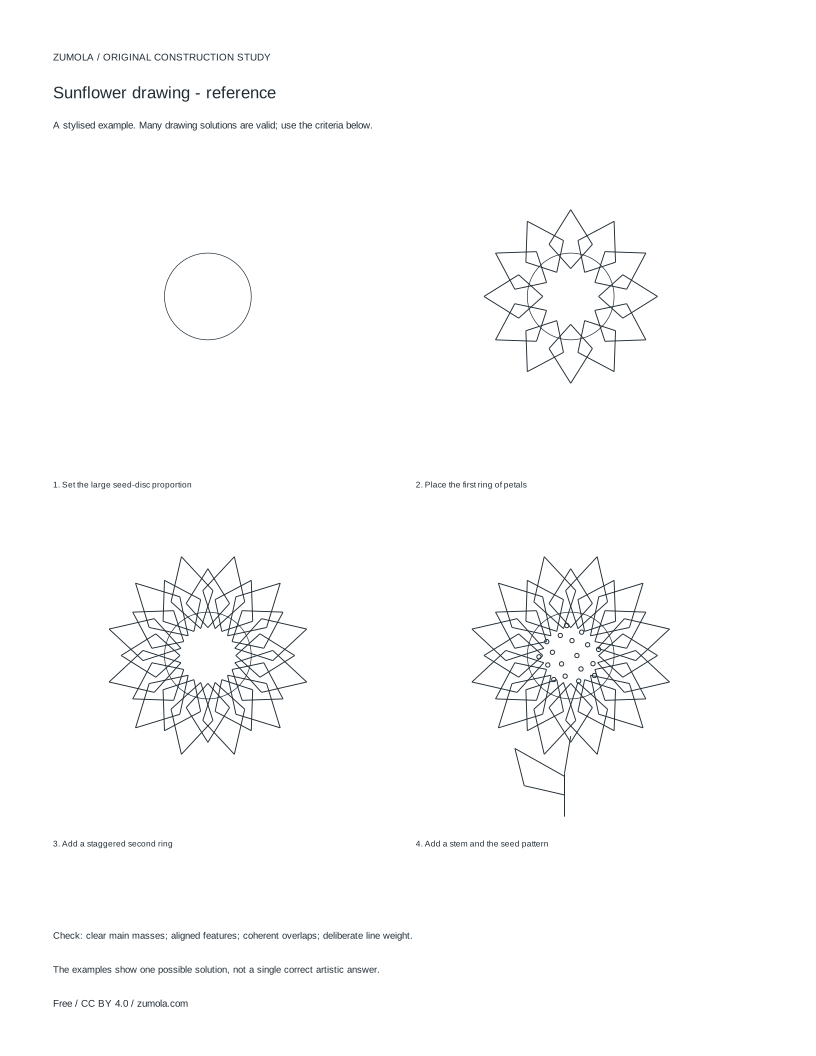
Build the drawing in four stages.
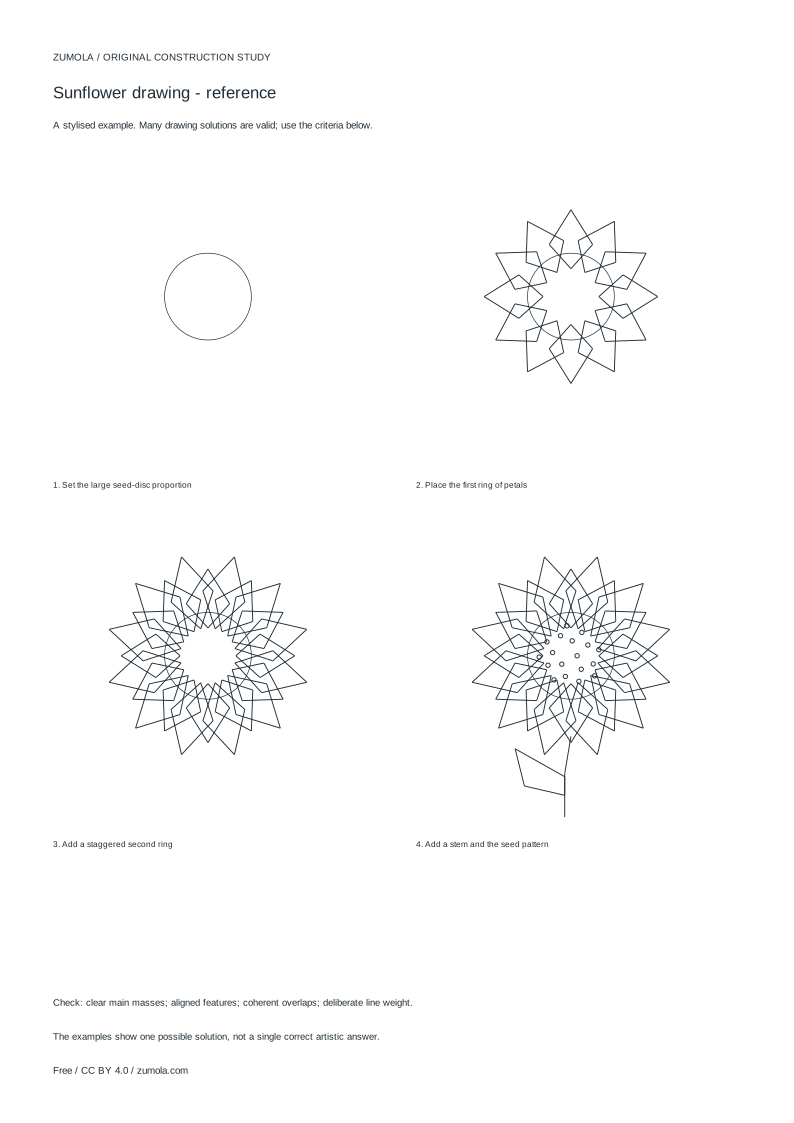
Your free printable kit.
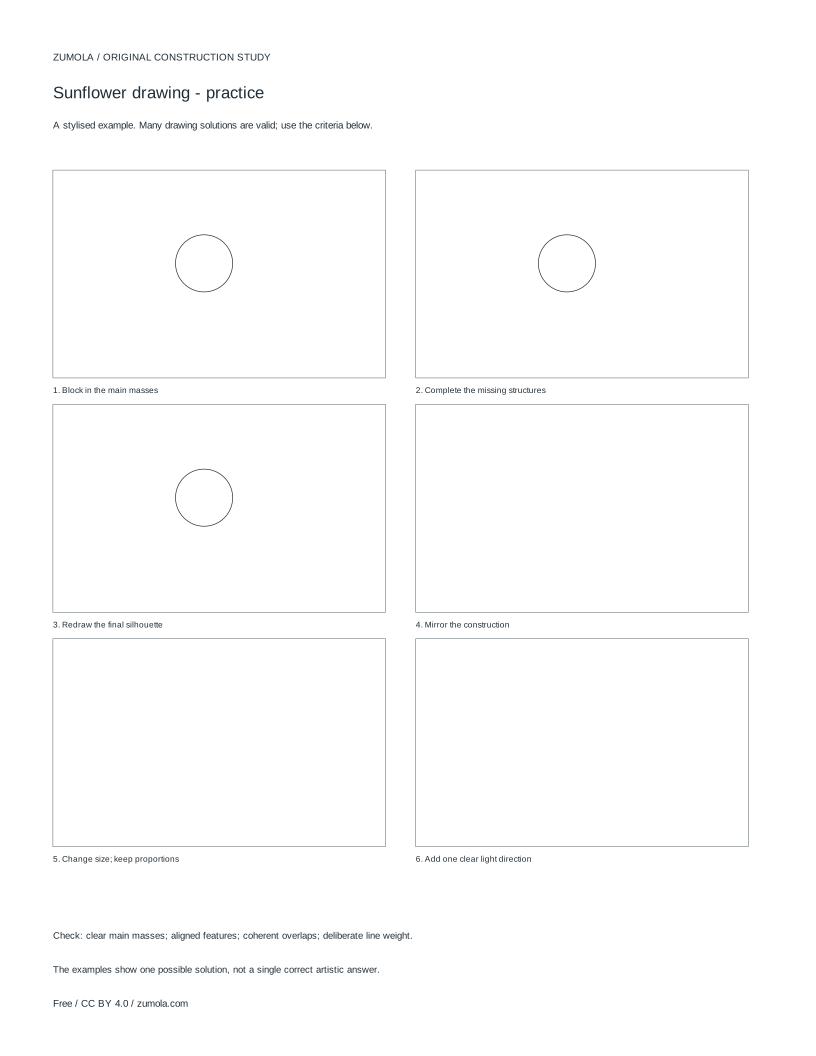
Original reference, student practice and separate worked answers. No account or payment.
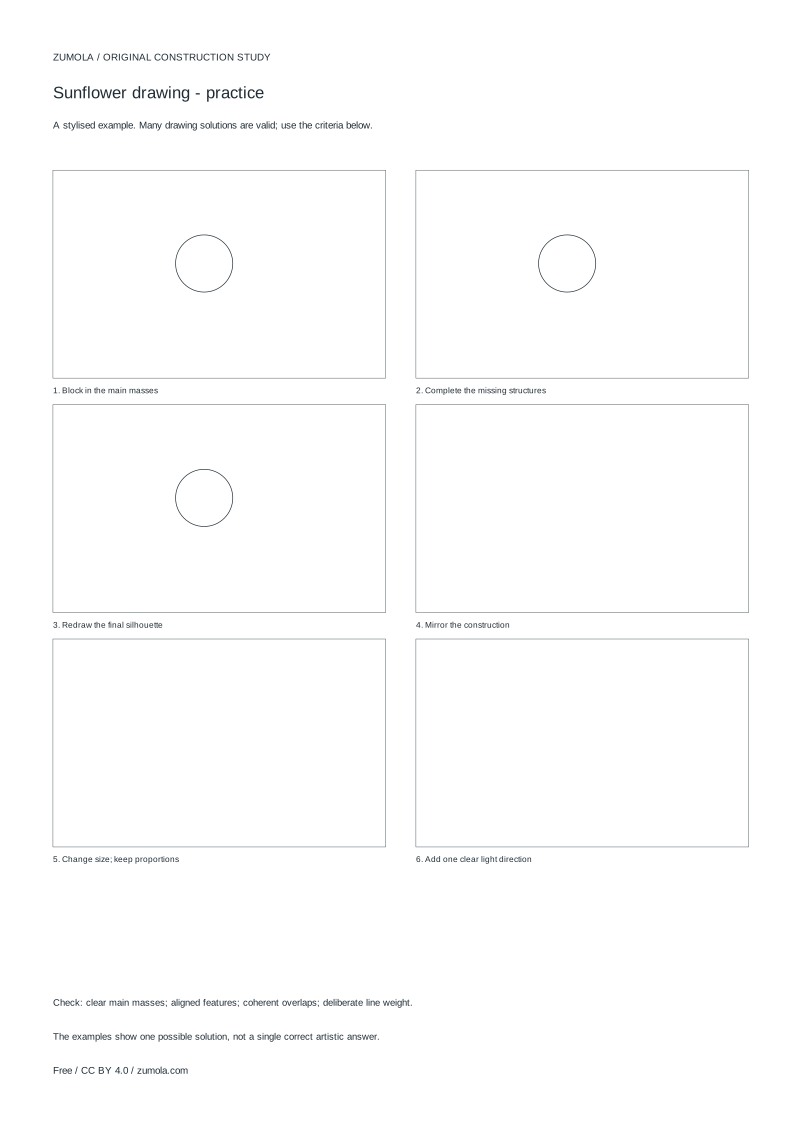
Practice worksheet
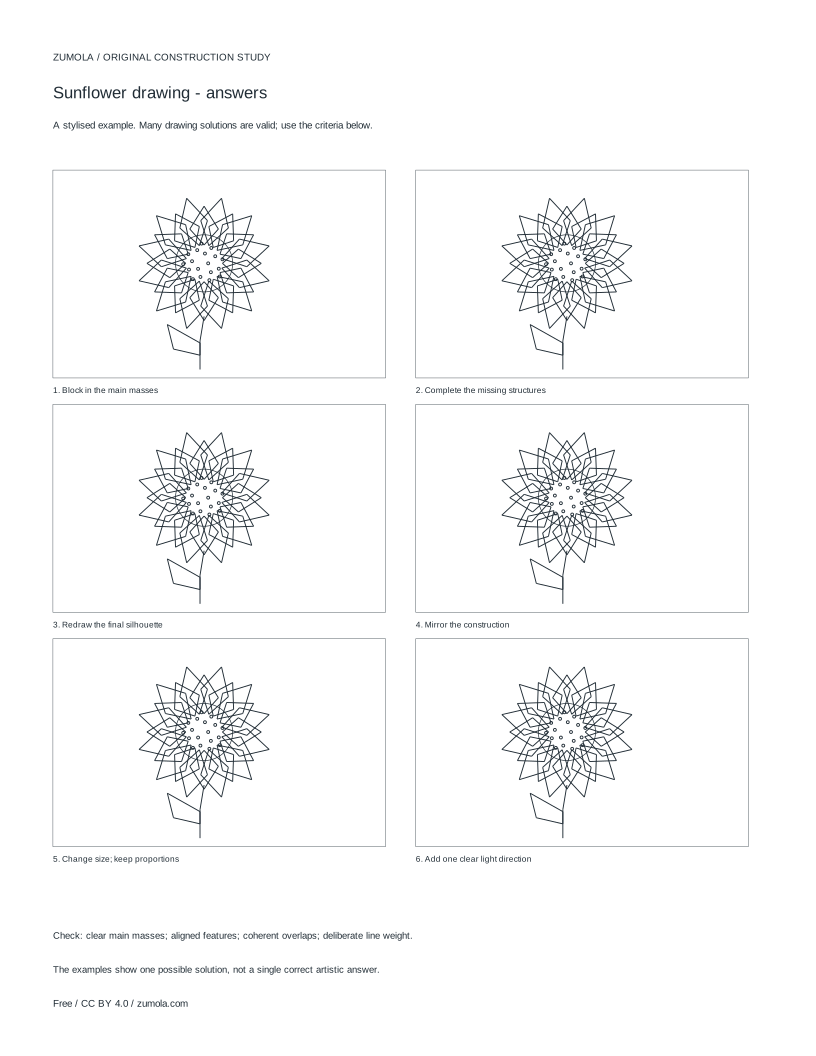
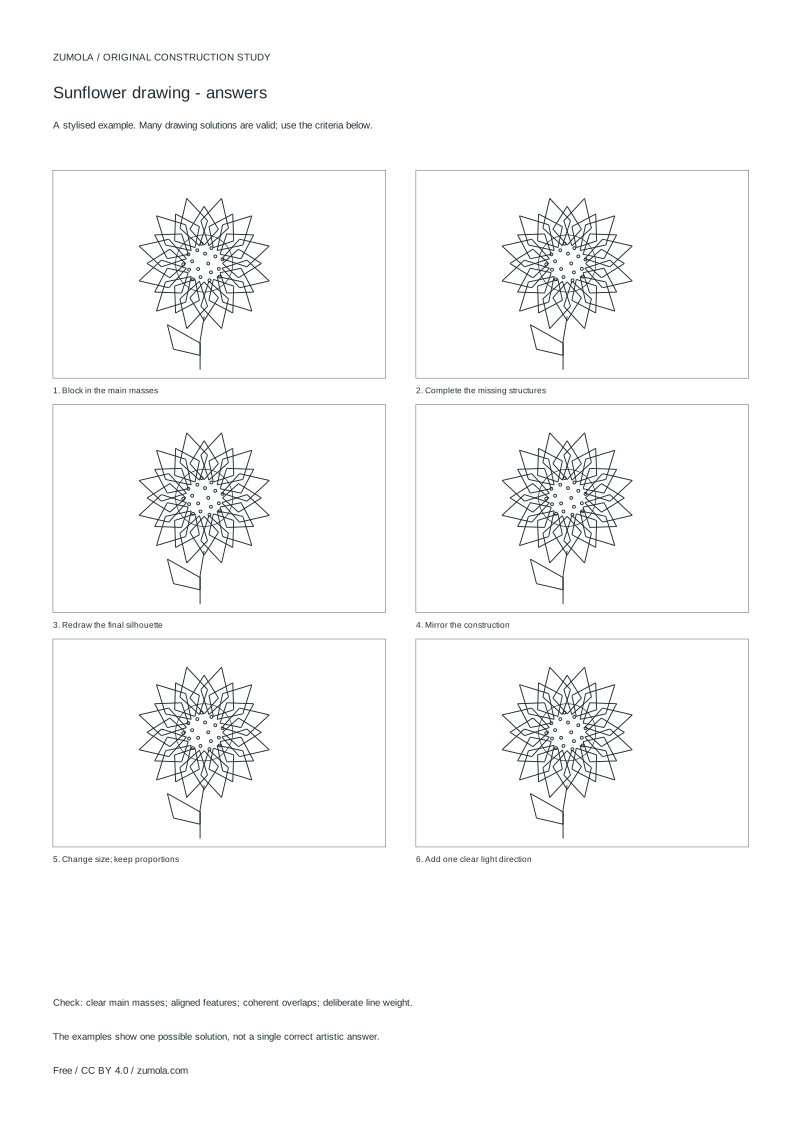
Worked answers / rubric
Print at Actual size / 100%. Check the calibration bar before using physical dimensions.
A sunflower drawing reads well when the big seed disc and the two petal rings are placed in a deliberate order. This guide treats the flower as a construction study, not a photorealistic or anatomical diagram. You will set the disc first, build an inner ring of petals, stagger a second ring behind it, then add the stem and a simple seed pattern. Each stage adds lines you can check against the previous one, so proportion and overlap problems surface early rather than at the end.
Start with the seed disc as the main mass
The seed disc is the anchor of the whole drawing. Decide its size and tilt before any petals exist, because every petal length is judged against it. Draw a light ellipse rather than a circle when the flower faces slightly away from you; a circle suits a head-on view. Keep the ellipse outline faint so you can adjust it without erasing heavily.
Mark the centre of the ellipse and a short axis line through it. These guides help you space petals evenly and keep the second ring aligned with the first. At this stage the drawing should look like a plain oval with two faint guide lines, and that is correct.
- Draw a light ellipse for the seed disc and choose whether the head faces you or tilts away.
- Mark the ellipse centre and one axis line to guide petal spacing.
- Check that the ellipse is wide enough to dominate the flower; petals should not dwarf it.
Place the first petal ring
The inner ring sits closest to the disc and overlaps its edge slightly. Draw petals one at a time around the ellipse, keeping their bases tucked just inside the outline so the disc appears to sit in front. Vary petal length and width a little; identical petals look mechanical rather than natural.
Work around the ellipse in one direction so spacing stays even. Leave small gaps between neighbouring petals at the base, then let the tips spread. If a petal looks too long, shorten it now while lines are still light.
- Draw petals around the ellipse, tucking each base slightly inside the disc outline.
- Vary length and width modestly to avoid a uniform, stamped look.
- Keep bases separated so the disc edge stays readable.
Add the staggered second ring
The outer ring sits behind the first, so its petals emerge from between the inner petals rather than directly behind them. Offset each outer petal by roughly half a petal width from the inner ones. This staggering is what makes the flower look full without adding clutter.
Show overlap clearly: where an outer petal passes behind an inner one, stop its outline at the inner petal edge. Consistent overlap tells the viewer which ring is in front. Slightly longer outer petals help the silhouette read as a sunflower rather than a daisy.
- Offset each outer petal by about half a petal width from the inner ring.
- Stop outer petal lines where they meet an inner petal to show the overlap.
- Make outer petals slightly longer to widen the silhouette.
Finish the stem and seed pattern
Add the stem from the lower edge of the disc, angling it naturally rather than straight down. A gentle curve and a slight taper toward the base look more convincing than a rigid line. Keep the stem width modest so it supports the head without competing with it.
For the seed pattern, avoid drawing every seed. A light spiral or a few concentric arcs suggest texture at small scale. Keep the pattern inside the ellipse and let it fade near the rim so the disc edge stays clear. Line weight matters: heavier outlines for petals and disc, lighter lines for seeds.
- Draw a gently curved, slightly tapered stem from the lower disc edge.
- Suggest seeds with a few light arcs or a loose spiral inside the ellipse.
- Strengthen petal and disc outlines, keeping seed lines lighter.
Try this example
Draw a sunflower head facing slightly away, with a seed disc about 6 cm wide, two petal rings, and a curved stem.
Show the worked explanation
Draw a light ellipse roughly 6 cm wide and slightly shorter vertically to suggest the tilt. Mark its centre and one axis. Add inner petals around the ellipse with bases tucked just inside the outline, varying length by small amounts. Add outer petals offset by about half a petal width, stopping their lines where they meet inner petals, and make them slightly longer. Draw a gently curved stem from the lower edge, then suggest seeds with a few light arcs inside the ellipse. Finally, strengthen petal and disc outlines while keeping seed lines light.
Common mistakes
- Drawing petals before fixing the seed-disc size, so the head looks small or crowded. Set and check the ellipse first; judge every petal length against it before adding detail.
- Aligning the second ring directly behind the first, which hides the outer petals. Offset outer petals by about half a petal width so they emerge between inner petals.
- Drawing every seed individually, making the disc look busy and muddy. Use a few light arcs or a loose spiral and keep seed lines lighter than the outlines.
Check your work
- Seed disc is the dominant mass and its tilt is consistent with the petal placement.
- Inner petals overlap the disc edge with bases tucked slightly inside.
- Outer petals are staggered by roughly half a petal width and clearly behind the inner ring.
- Overlap lines stop correctly where petals meet, showing which ring is in front.
- Stem is curved, tapered, and proportionate to the head.
- Seed pattern is suggested rather than exhaustively drawn, with lighter line weight.
Questions before you start
Should the seed disc be a circle or an ellipse?
Use a circle for a head-on view and an ellipse when the flower tilts away. The ellipse should stay the dominant mass, with petals judged against it.
How many petal rings should I draw?
Two rings are enough for a clear sunflower structure. The inner ring overlaps the disc edge; the outer ring is staggered behind it and slightly longer.
How do I keep the drawing from looking flat?
Use consistent overlap: outer petals stop at inner petal edges. Vary petal length slightly and use heavier outlines for petals and disc, lighter lines for seeds.