Free original resources
Elephant Drawing: Build Masses, Support, and Trunk Curves
Learn elephant drawing by blocking a large torso and head, placing the broad ear and curved trunk, supporting the body on four legs, then refining overlaps and line weight.
Free resources
Letter & A4
PDF & SVG
Letter & A4
PDF & SVG
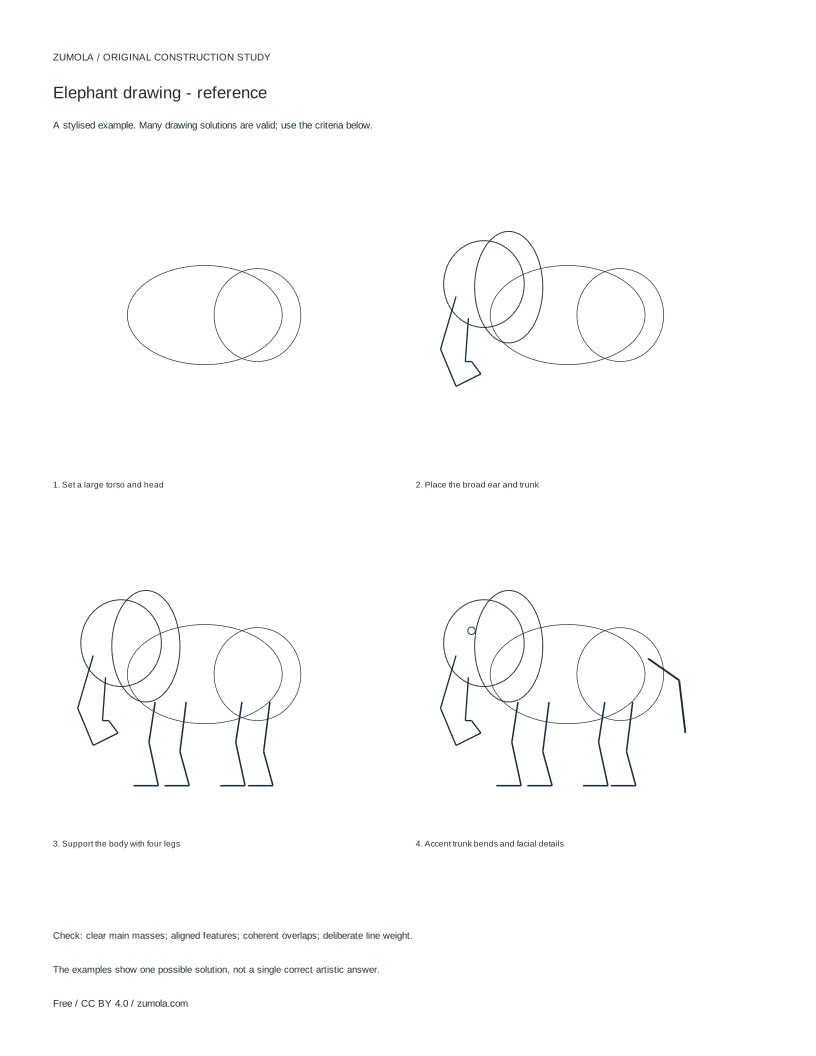
Build the drawing in four stages.
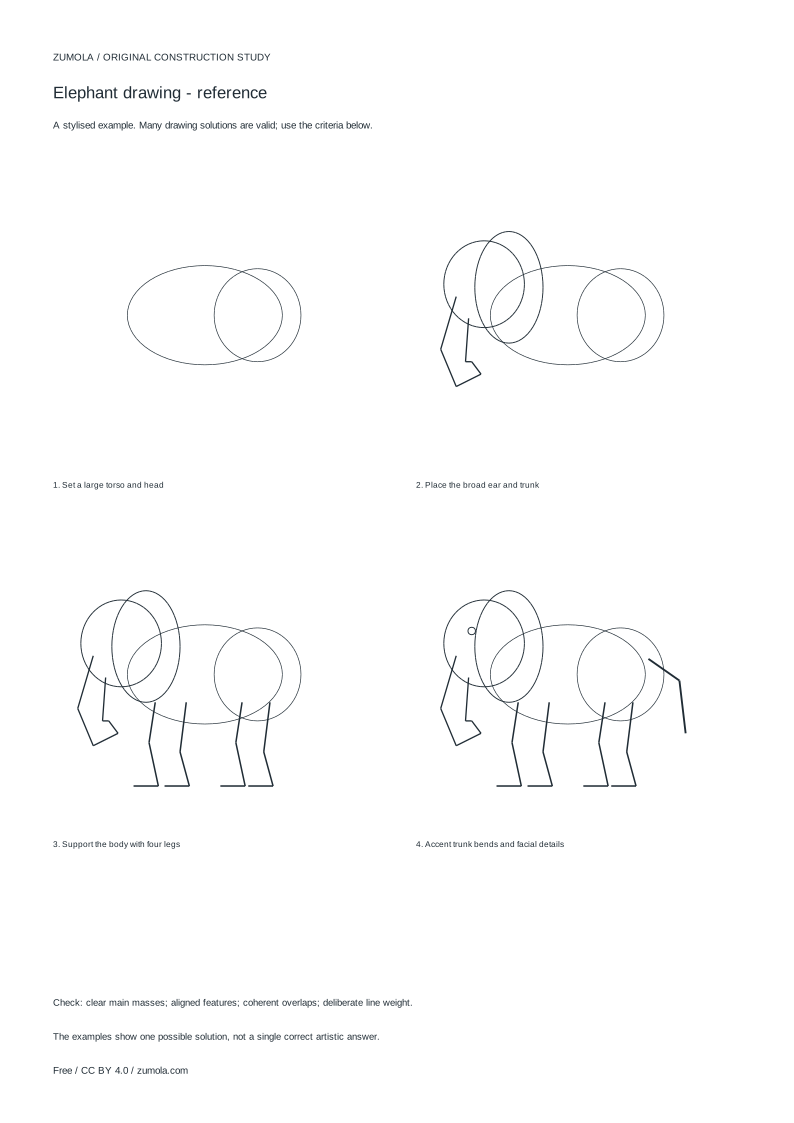
Your free printable kit.
Original reference, student practice and separate worked answers. No account or payment.
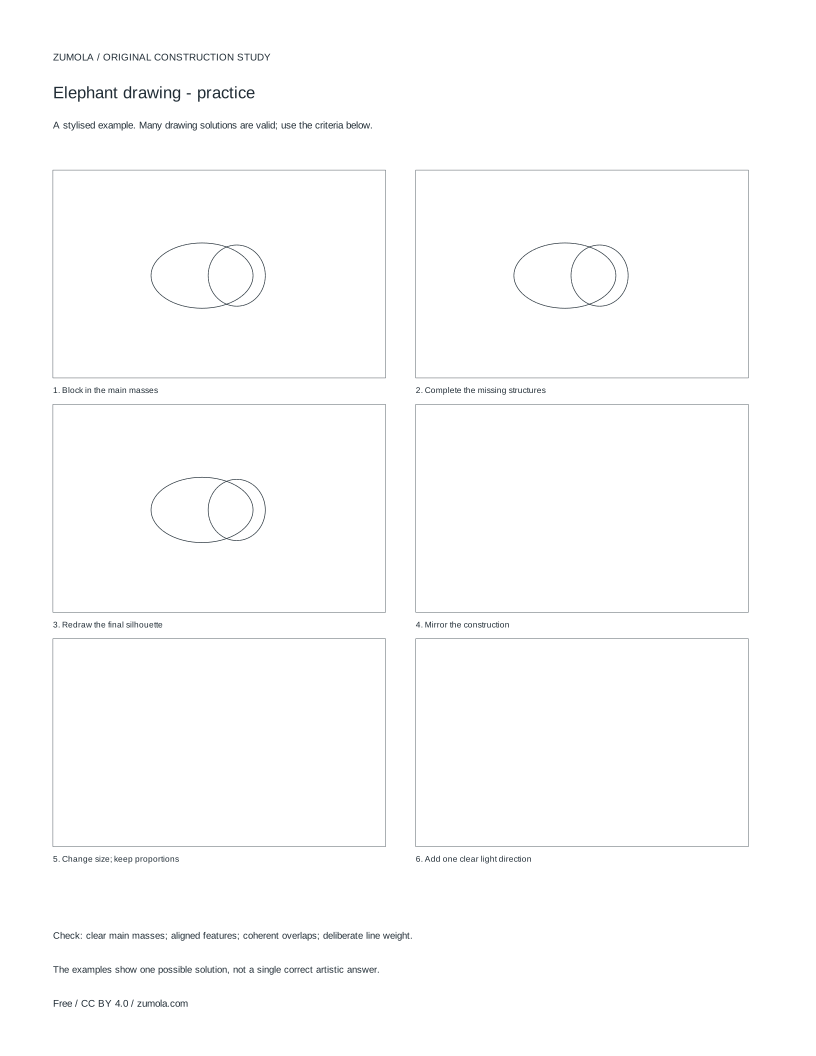
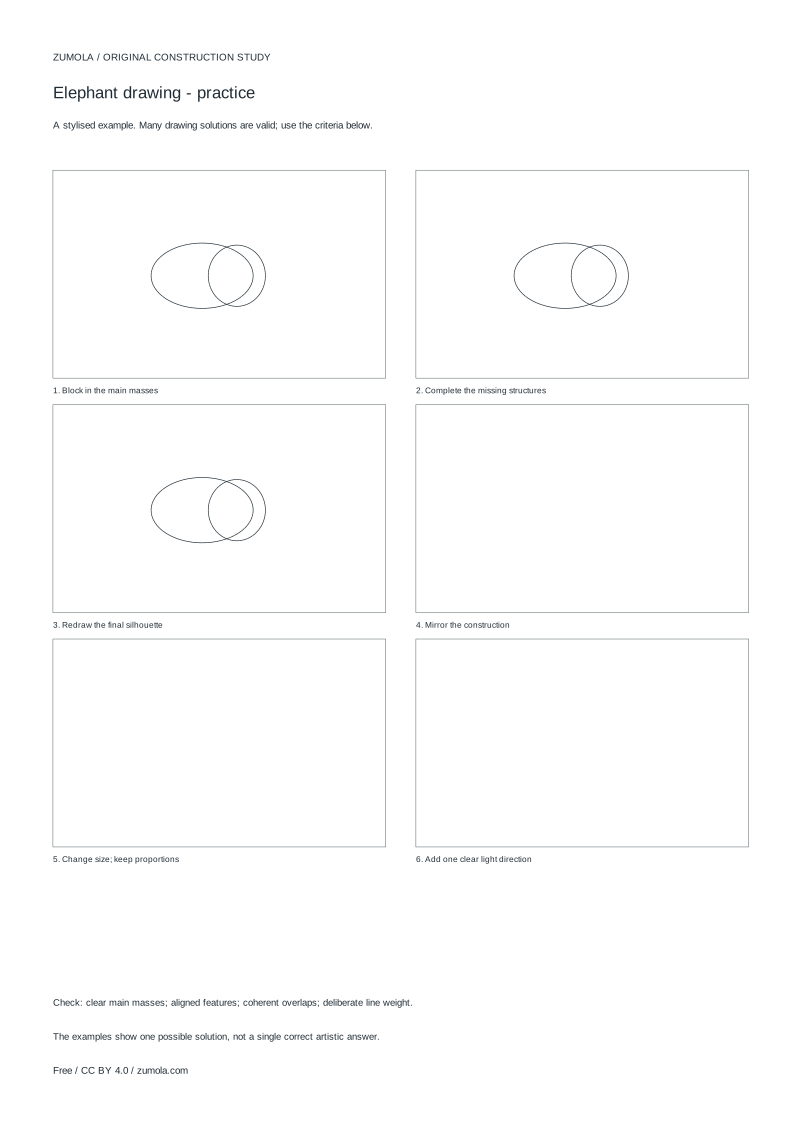
Practice worksheet
Worked answers / rubric
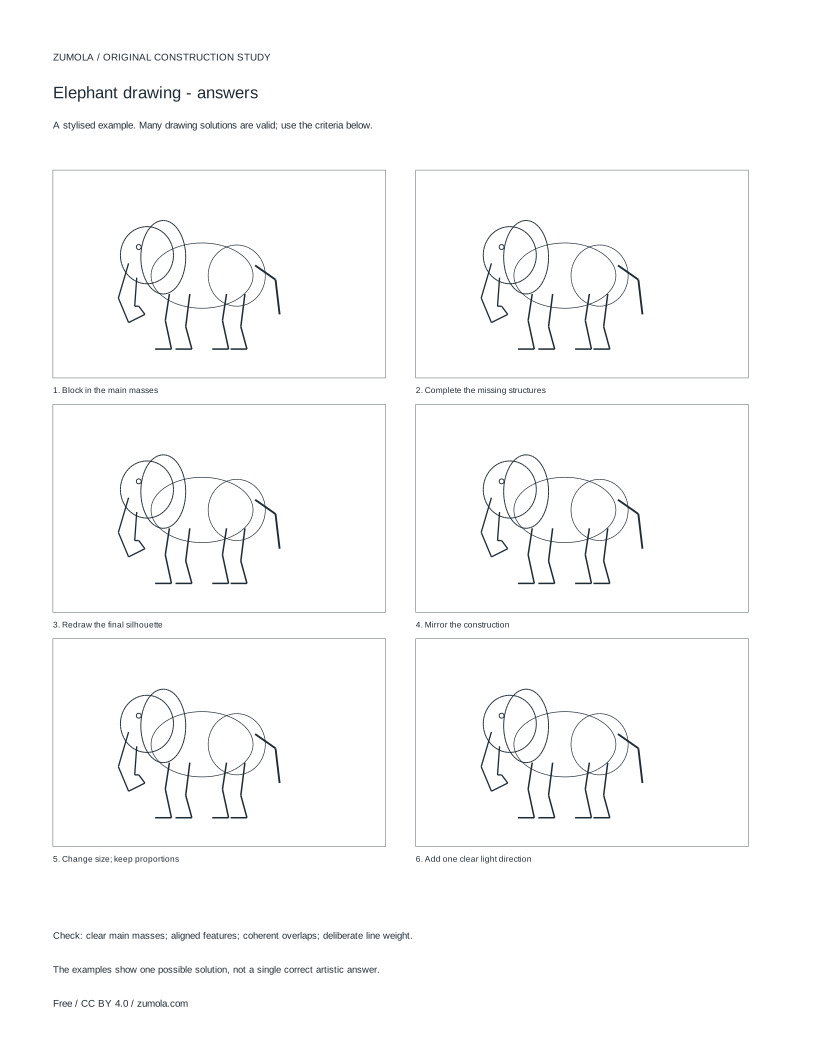
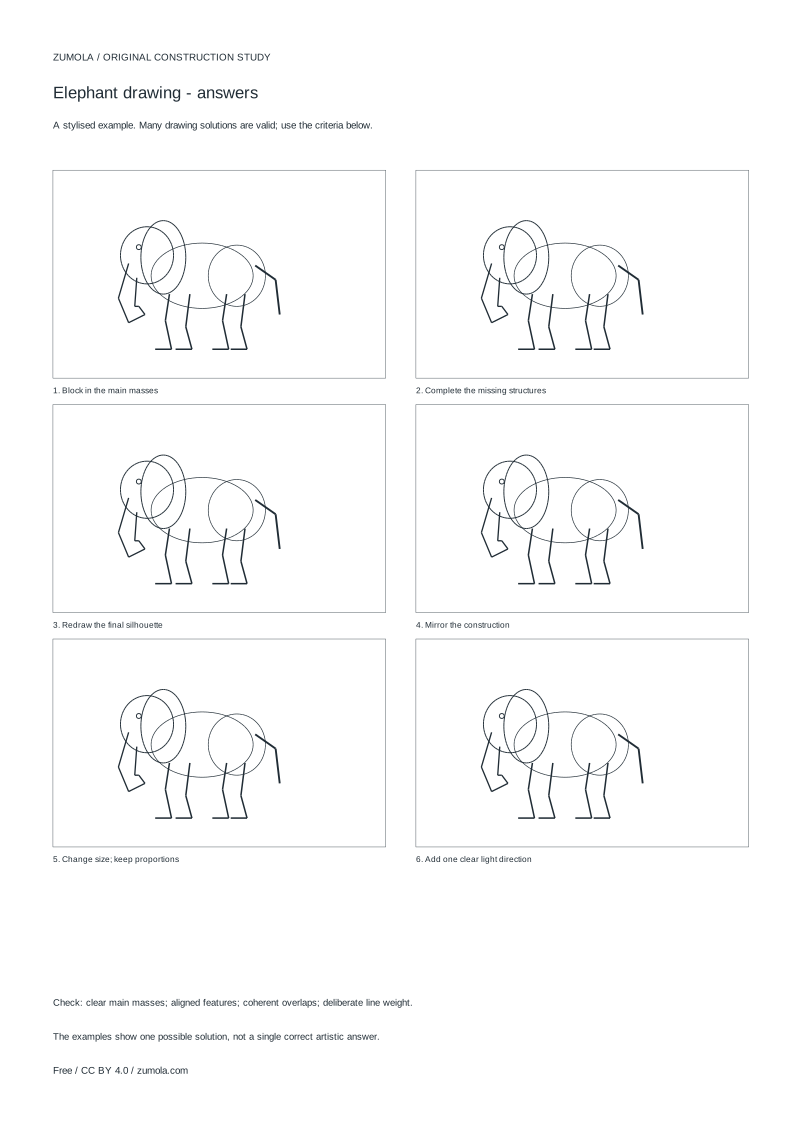
Print at Actual size / 100%. Check the calibration bar before using physical dimensions.
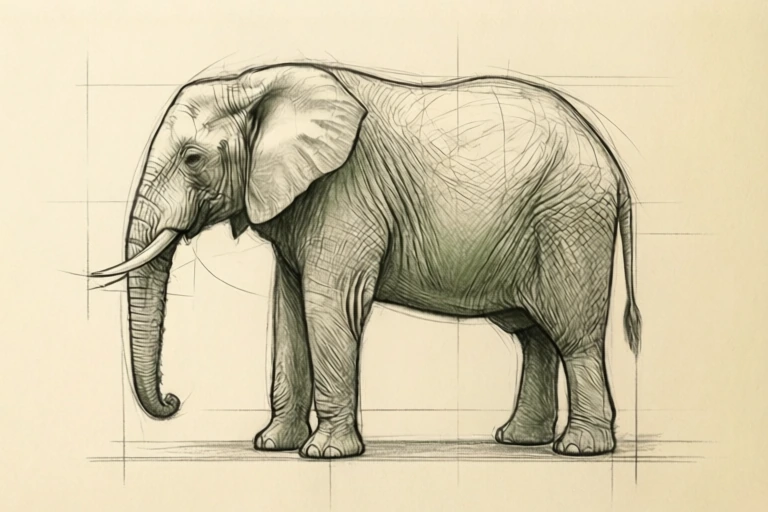
Elephant drawing is mostly a problem of mass and support. The body is heavy, the head sits forward of the shoulders, and the trunk hangs or curls from the face. This guide builds a stylised construction study in four stages: set the torso and head, place the ear and trunk, support the body with four legs, then accent trunk bends and facial details. Treat the result as an artistic arrangement of shapes, not a clinical anatomy diagram.
Start with the two big masses
Begin by deciding where the torso sits on the page and how much room the head needs in front of it. Draw the torso as a broad, slightly tilted oval or rounded rectangle. Its long axis usually runs roughly horizontal, with the back line higher than the belly line. Then add the head as a smaller rounded mass overlapping the front of the torso. Keep the head clearly forward of the shoulder area so the animal reads as facing a direction rather than standing symmetrically.
Check the proportion before adding detail. In a simple side view, the head mass is noticeably smaller than the torso, and the legs occupy roughly the lower third of the body height. These are drawing conventions for a readable sketch, not measurements of a real animal. Lightly mark the ground line so all four feet can later meet it.
- Draw a light horizontal ground line.
- Block the torso as a broad oval, back line above belly line.
- Add a smaller head mass overlapping the front of the torso.
- Mark the shoulder and hip positions on the torso outline.
Place the ear and trunk as overlapping shapes
The ear is the largest single feature on the head and does much of the visual work. Draw it as a wide, rounded flap attached high on the side of the head, overlapping the neck and part of the shoulder. Because it sits in front of the body in a side view, its outline should interrupt the torso line rather than run parallel to it. Keep the ear broad but not wider than the torso.
The trunk grows from the front of the head and hangs downward. Sketch it as a tapering band, wider where it meets the face and narrower toward the tip. Decide early whether it hangs straight, curves forward, or curls back; one clear bend is easier to read than several small wiggles. The trunk should not cross the front legs unless you deliberately want that overlap.
- Attach a wide rounded ear high on the head, overlapping the neck.
- Draw the trunk as a tapering band from the face downward.
- Choose one main bend and keep the band width consistent.
- Check that the ear outline interrupts the torso line.
Support the body with four legs
Elephants read as heavy because the legs are column-like and vertical. Place four legs under the torso: two nearer legs and two farther legs. The nearer legs can be drawn slightly thicker and with stronger outlines; the farther legs sit a little higher and are partly hidden by the near ones. Keep the feet flat on the ground line so the body looks supported rather than floating.
Watch the spacing. Front legs sit under the head and shoulder; back legs sit under the rear of the torso. If the legs are too close together, the body looks unstable; if they are too far apart, the torso stretches. Draw the near front leg first, then the near back leg, then add the far pair behind them with lighter lines.
- Drop a vertical near front leg from the shoulder to the ground line.
- Add a near back leg from the hip area to the ground line.
- Place the far legs slightly higher and behind the near ones.
- Keep feet flat and roughly level on the ground line.
Accent the trunk bend and facial details
With the masses in place, refine the trunk. Strengthen the outer curve of the main bend and keep the inner curve smoother. A single confident curve reads better than a series of small corrections. Add the tip as a small rounded end, and if you include a curl, keep it simple enough to trace with one stroke.
Finally, add minimal facial marks: a small eye set behind the trunk base, a suggestion of the tusk line if you want one, and a few fold lines on the trunk. Use line weight to separate layers: stronger lines for the near ear, near legs, and trunk; lighter lines for the far legs and body behind the ear. Compare the finished sketch against your starting masses to see whether the head, ear, and legs still sit where you intended.
- Strengthen the outer curve of the trunk's main bend.
- Add a small eye behind the trunk base.
- Use stronger lines for near features and lighter lines for far ones.
- Compare the final outline with the original torso and head masses.
Try this example
Sketch a side-view elephant facing left on a page with a ground line. The torso is about twice the width of the head, the ear overlaps the shoulder, and the trunk hangs with one forward bend.
Show the worked explanation
Draw the ground line first. Block a broad torso oval with the back line above the belly line, then add a smaller head mass overlapping the front-left of the torso. Attach a wide rounded ear high on the head so its outline crosses the torso line. Draw the trunk as a tapering band from the face, bending forward once and narrowing to a rounded tip. Drop a near front leg from the shoulder and a near back leg from the hip to the ground line, then add the far pair slightly higher and lighter. Finish with a small eye behind the trunk base and stronger lines on the near ear, near legs, and trunk.
Common mistakes
- Drawing the head the same size as the torso. Reduce the head mass so it is clearly smaller than the torso, and keep it forward of the shoulder.
- Making the trunk a thin line instead of a tapering band. Draw two edges that start wider at the face and narrow toward the tip, keeping one main bend.
- Placing legs unevenly so the body appears to float or tip. Mark a ground line first, then drop each leg to it with near legs thicker and far legs lighter.
Check your work
- Torso and head are distinct masses, with the head clearly smaller and forward of the shoulders.
- The ear overlaps the neck or shoulder and interrupts the torso outline.
- The trunk is a tapering band with one readable main bend.
- Four legs reach the ground line, with near and far legs distinguished by position and line weight.
- Overlaps are intentional: near features cross in front of far ones.
- Line weight separates foreground and background without hiding the main masses.
Questions before you start
How many legs should be visible in a side-view elephant sketch?
Four legs can be shown, but the two far legs are usually partly hidden behind the near ones. Draw the near pair first, then add the far pair slightly higher and with lighter lines.
Should the trunk hang straight or curl?
Either can work. Choose one clear bend, such as a gentle forward curve or a single curl at the tip, and keep the band width consistent along its length.
Is this an anatomical drawing guide?
No. It is a stylised construction study for arranging masses, overlaps, and line weight. It does not describe clinical anatomy or photorealistic proportions.