Free original resources
Dolphin Drawing: Arched Body, Beak, Fins and Tail Flukes
Learn a four-stage method for drawing a leaping dolphin: build an arched body envelope, project the beak, place fins, then taper into the tail flukes.
Free resources
Letter & A4
PDF & SVG
Letter & A4
PDF & SVG
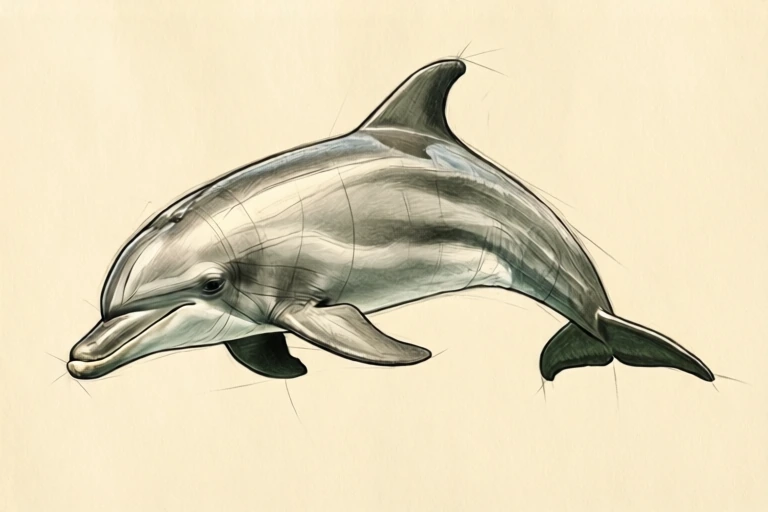
Build the drawing in four stages.
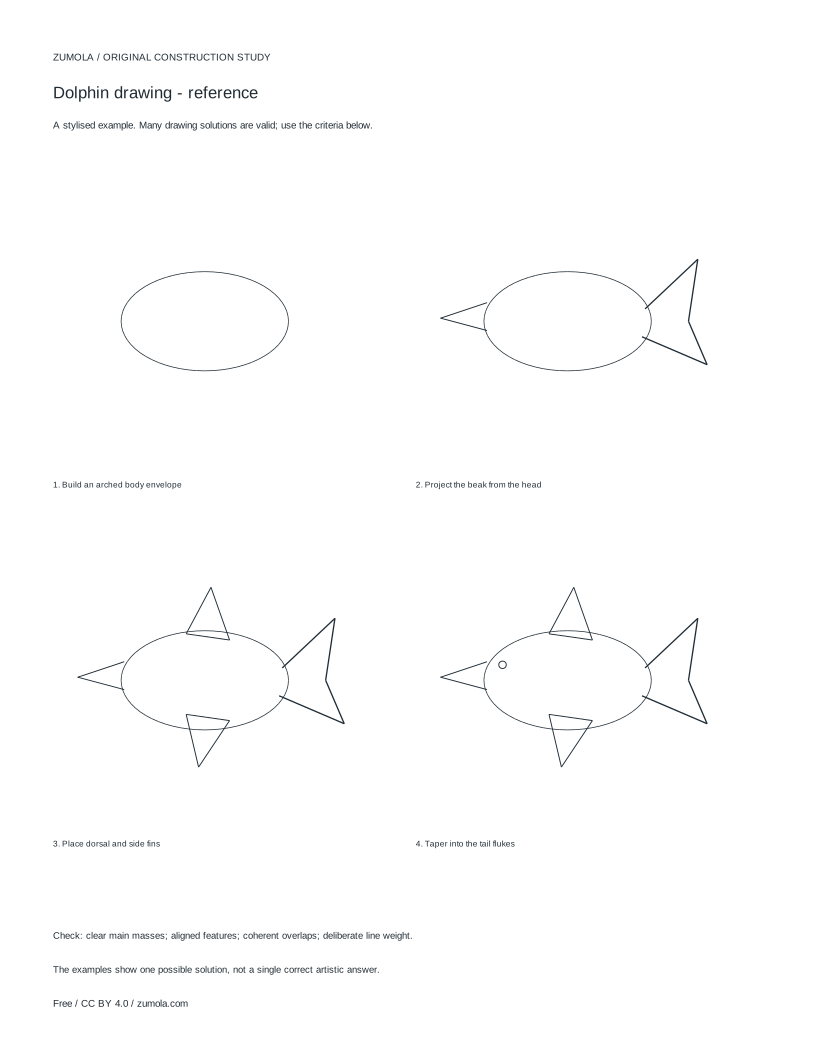
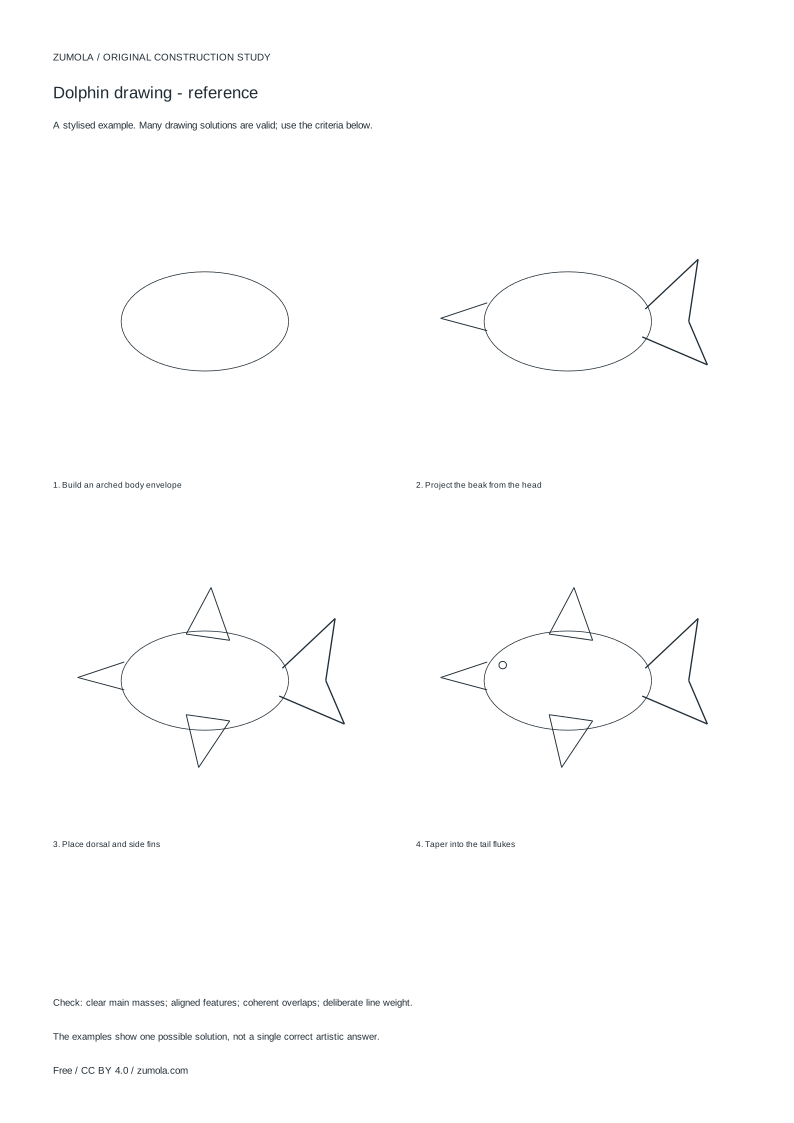
Your free printable kit.
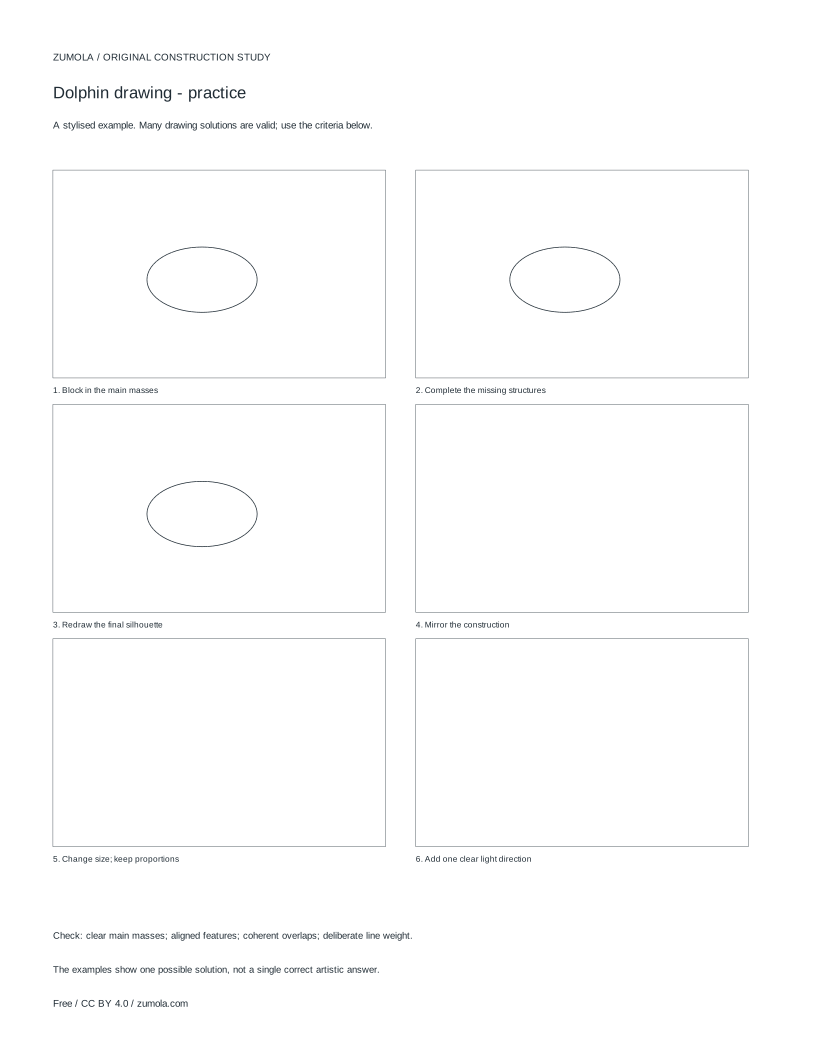
Original reference, student practice and separate worked answers. No account or payment.
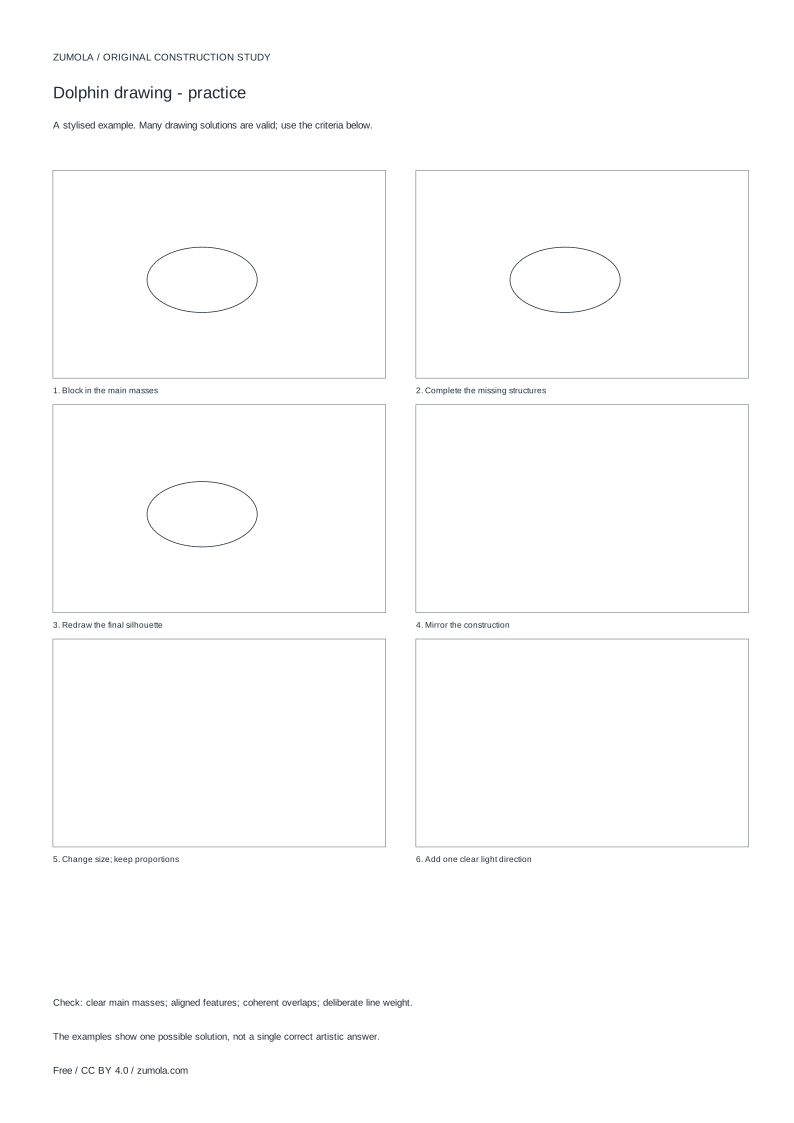
Practice worksheet
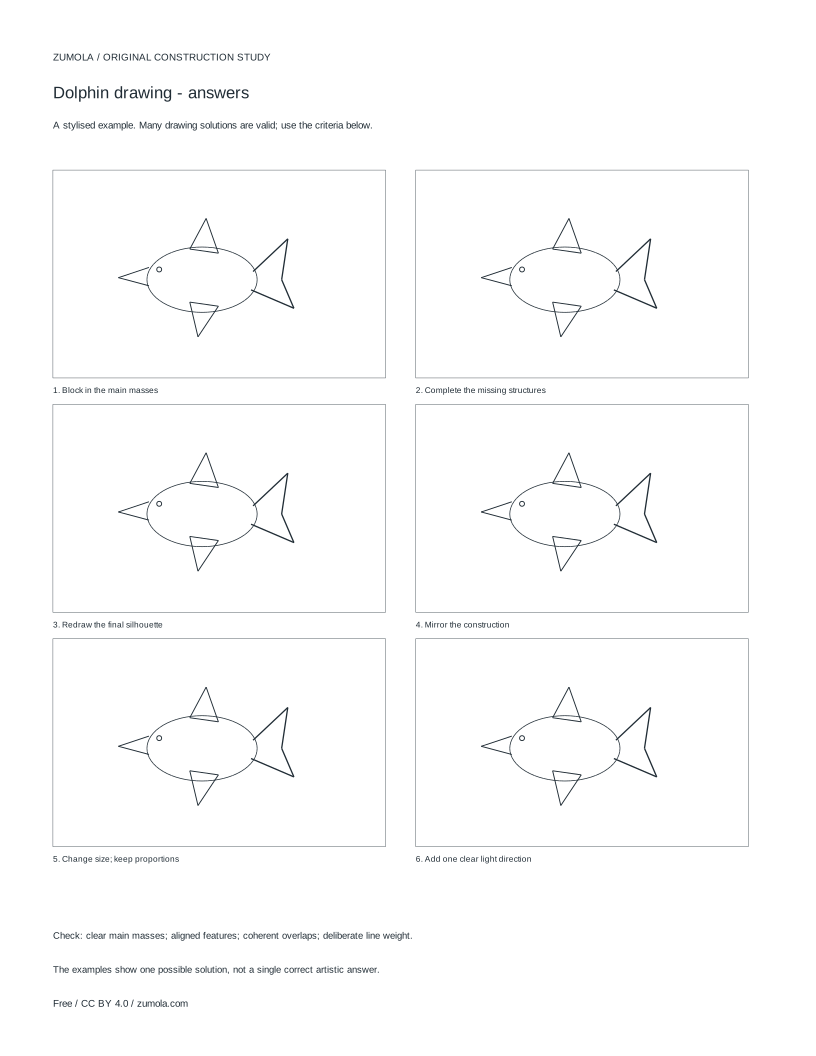
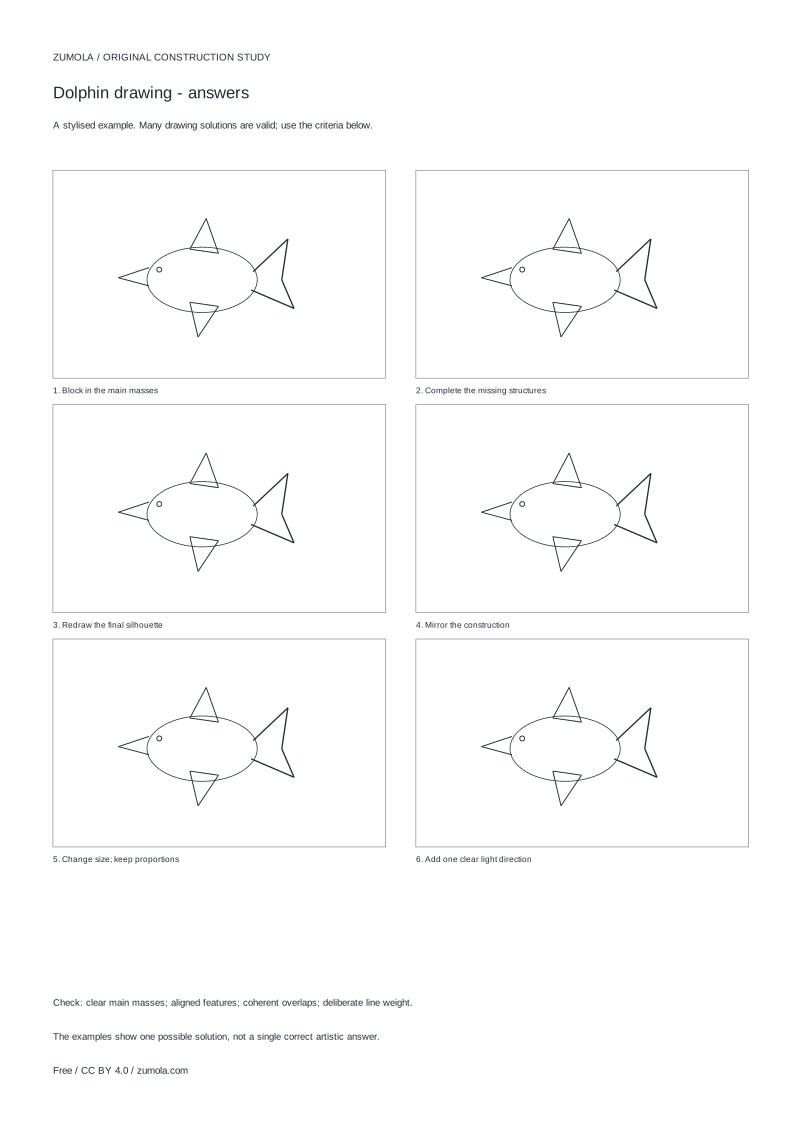
Worked answers / rubric
Print at Actual size / 100%. Check the calibration bar before using physical dimensions.
A leaping dolphin reads clearly when the body forms one continuous arc from head to tail. This guide shows a stylised construction method, not anatomical or photorealistic instruction. You will build the arched body envelope first, project the beak from the head, place the dorsal and side fins against that curve, and taper the body into the tail flukes. Each stage adds lines you can check against the previous one, so overlaps and proportions stay deliberate rather than guessed.
Start with the arched body envelope
Begin with a single sweeping curve that represents the spine line of the leap. A dolphin in mid-jump usually curves so the head leads upward and the tail trails behind and below, or the reverse as it re-enters water. Decide the direction of travel before drawing anything else, because every later line depends on it.
Around that spine, sketch a long tapered envelope: widest just behind the head and shoulders, narrowing gradually toward the tail stock. Keep the top and bottom edges roughly parallel in the middle so the body reads as streamlined rather than lumpy. Light construction lines are fine here; you are establishing the main mass, not the final outline.
- Draw one long arc for the spine, marking the head end and tail end.
- Add a second arc above and a third below, widest near the shoulders.
- Close the envelope at both ends, leaving the tail end narrow.
- Check that the widest point sits closer to the head than the tail.
Project the beak and place the fins
The beak projects forward from the head as a short, distinct taper. Attach it at the front of the envelope, angling it slightly away from the body curve so it does not merge into the head shape. A small step or notch where the beak meets the head helps the eye separate the two forms.
Place the dorsal fin on the upper edge, roughly above the widest part of the body, and angle it backward along the direction of travel. Side fins sit lower and further forward, near the chest area. Draw each fin as a simple triangle or curved wedge first, then refine the outline. Overlap matters: a fin drawn in front of the body edge should clearly cross it, while a fin behind should stop at the edge.
- Attach the beak at the head end, angled slightly off the body curve.
- Mark a small notch where beak and head meet.
- Draw the dorsal fin on the top edge, tilted backward.
- Add one or two side fins near the chest, checking which edge they cross.
Taper into the tail flukes
The tail stock narrows steadily from the body into a slim stalk before the flukes spread. Avoid jumping from a wide body straight to wide flukes; the taper is what makes the leap look fluid. Draw the stalk as two converging lines, then let the flukes fan out horizontally or slightly angled, depending on the pose.
Flukes are two lobes meeting at a central notch. Sketch each lobe as a curved wedge and keep them roughly balanced in size. Once the flukes are placed, review the whole figure: the spine arc, the beak projection, the fin overlaps and the tail taper should all agree with the direction of travel.
- Narrow the body into a slim tail stalk with two converging lines.
- Draw two curved lobes for the flukes, meeting at a central notch.
- Balance the lobes so neither dominates.
- Review the full outline against the original spine arc.
Refining line weight and overlap
When the construction reads correctly, strengthen the outer contour and lighten interior construction lines. Use heavier line weight where forms overlap, such as a fin crossing the body, and lighter weight for distant edges. This is a stylistic choice; multiple valid outcomes exist, so compare main masses, feature placement, overlaps and line weight rather than chasing one exact answer.
- Trace the final outline with a confident, continuous line.
- Thicken lines at overlaps to show which form is in front.
- Erase or lighten construction lines that no longer serve the drawing.
- Step back and check the arc, beak, fins and flukes as one shape.
Try this example
Draw a dolphin leaping upward to the right, with the head leading and the tail trailing below.
Show the worked explanation
Draw the spine as an arc rising to the right. Build the envelope widest near the shoulders, narrowing toward a slim tail stalk at the lower left. Project the beak forward and slightly up from the head. Place the dorsal fin on the top edge tilted back, and one side fin near the chest crossing the lower body edge. Taper into two balanced flukes at the tail end, then thicken overlaps and lighten construction lines.
Common mistakes
- Drawing the body as a straight tube instead of an arc. Redraw the spine as one continuous curve first, then build the envelope around it.
- Making the tail jump from wide body to wide flukes with no taper. Add a slim tail stalk of converging lines before drawing the flukes.
- Letting fins float without crossing the body edge. Decide whether each fin is in front of or behind the body, and draw the overlap accordingly.
Check your work
- The body forms one continuous arc matching the direction of travel.
- The beak projects distinctly from the head with a visible separation.
- Fins are placed on the correct edges and overlaps are clearly drawn.
- The tail tapers into a slim stalk before the flukes spread.
- Line weight distinguishes the final contour from construction lines.
Questions before you start
Is this an anatomical dolphin drawing guide?
No. It is a stylised construction study for shape and pose, not clinical anatomy or photorealistic instruction.
How do I know the leap pose looks right?
Check that the spine arc, beak angle, fin placement and tail taper all point in the same direction of travel.
Can two drawings of the same dolphin look different and both be correct?
Yes. Art has multiple valid outcomes; compare masses, feature placement, overlaps and line weight rather than expecting one exact answer.