Free original resources
Owl Drawing: Build the Face Discs and Shoulders First
Learn a four-step owl drawing method: upright body envelope, paired face discs, balanced eyes and folded wings, then grouped breast feathers and feet.
Free resources
Letter & A4
PDF & SVG
Letter & A4
PDF & SVG
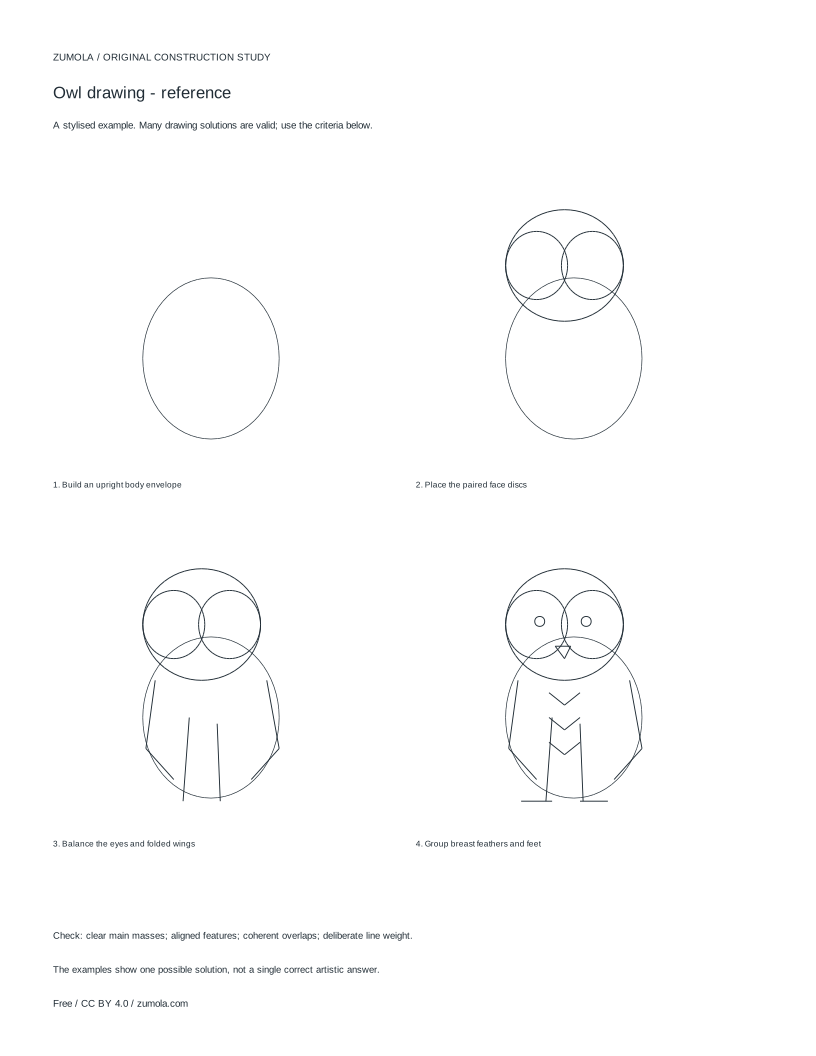
Build the drawing in four stages.
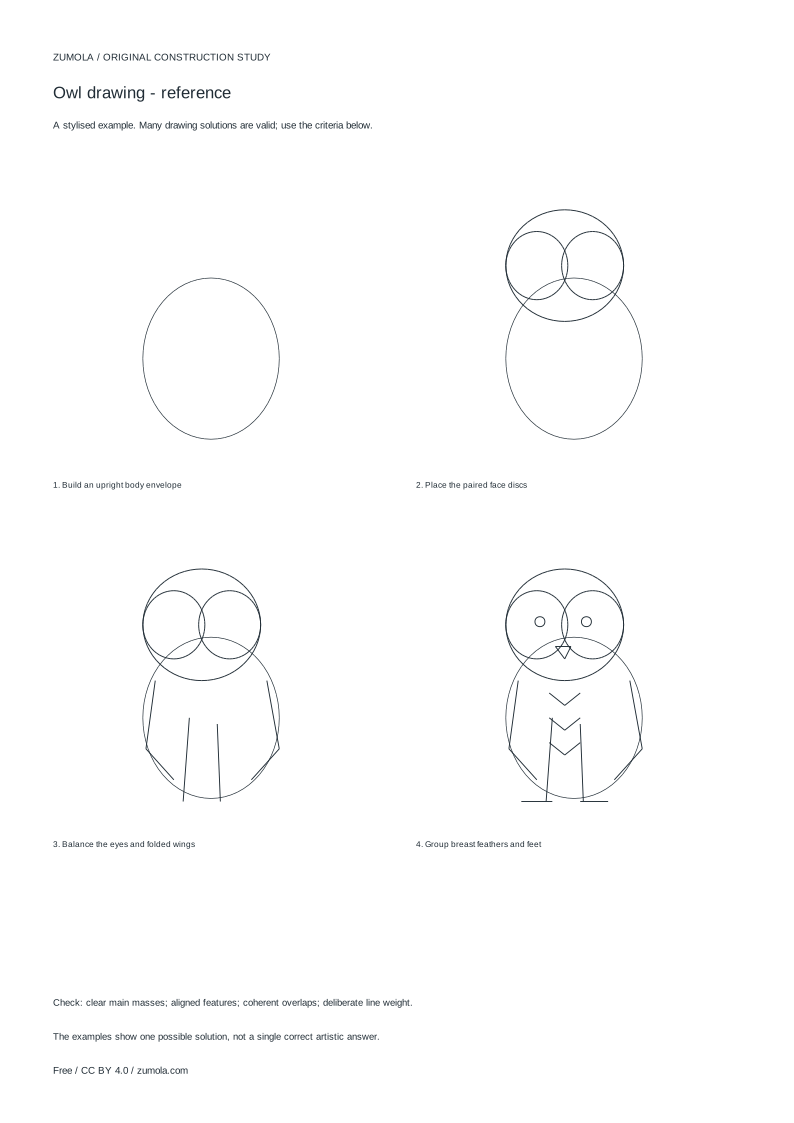
Your free printable kit.
Original reference, student practice and separate worked answers. No account or payment.
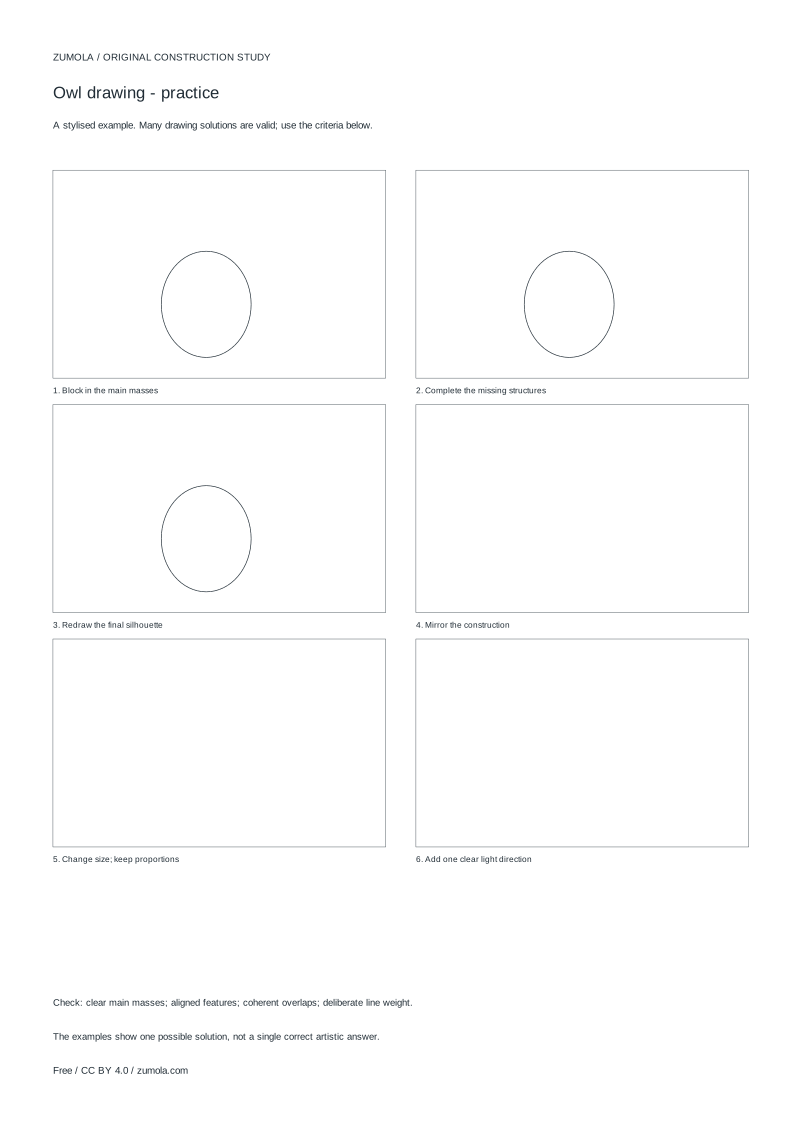
Practice worksheet
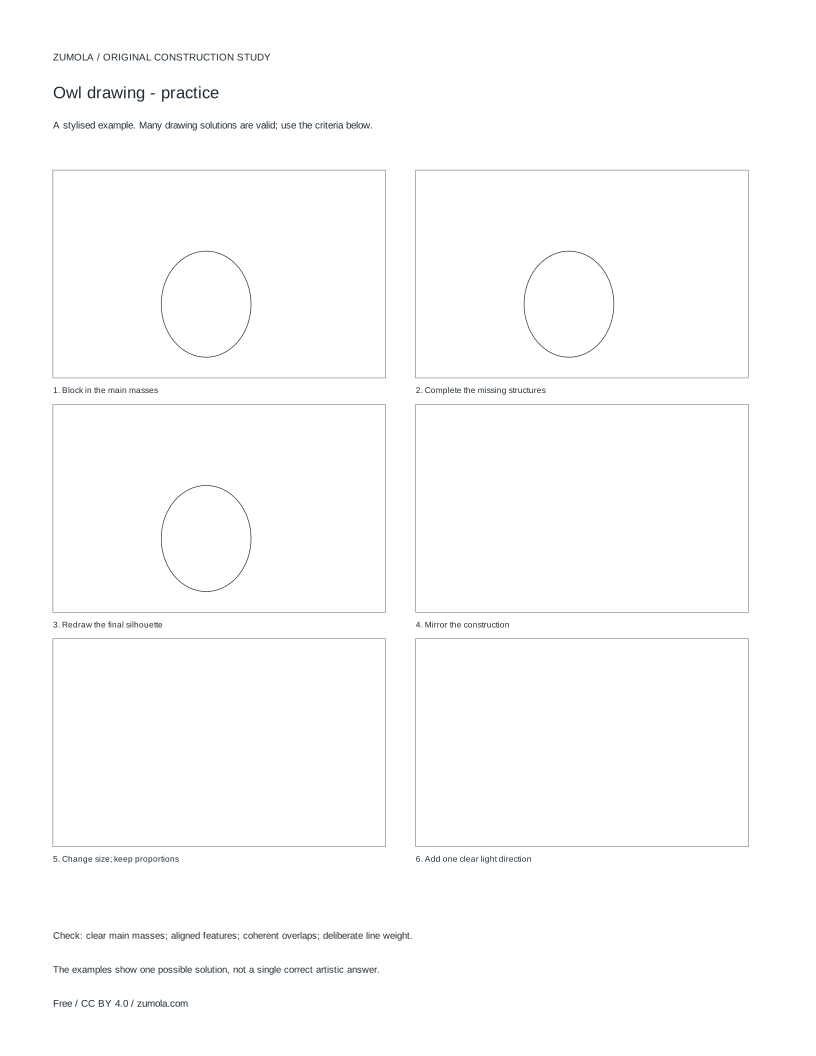
Worked answers / rubric
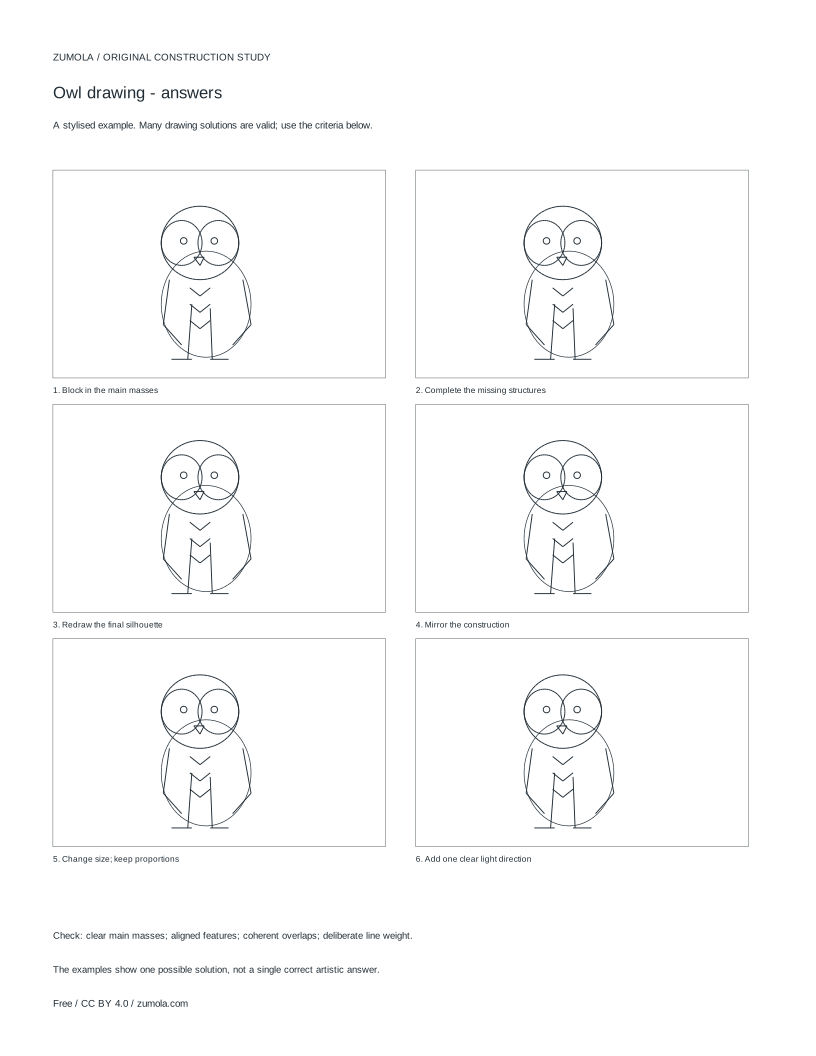
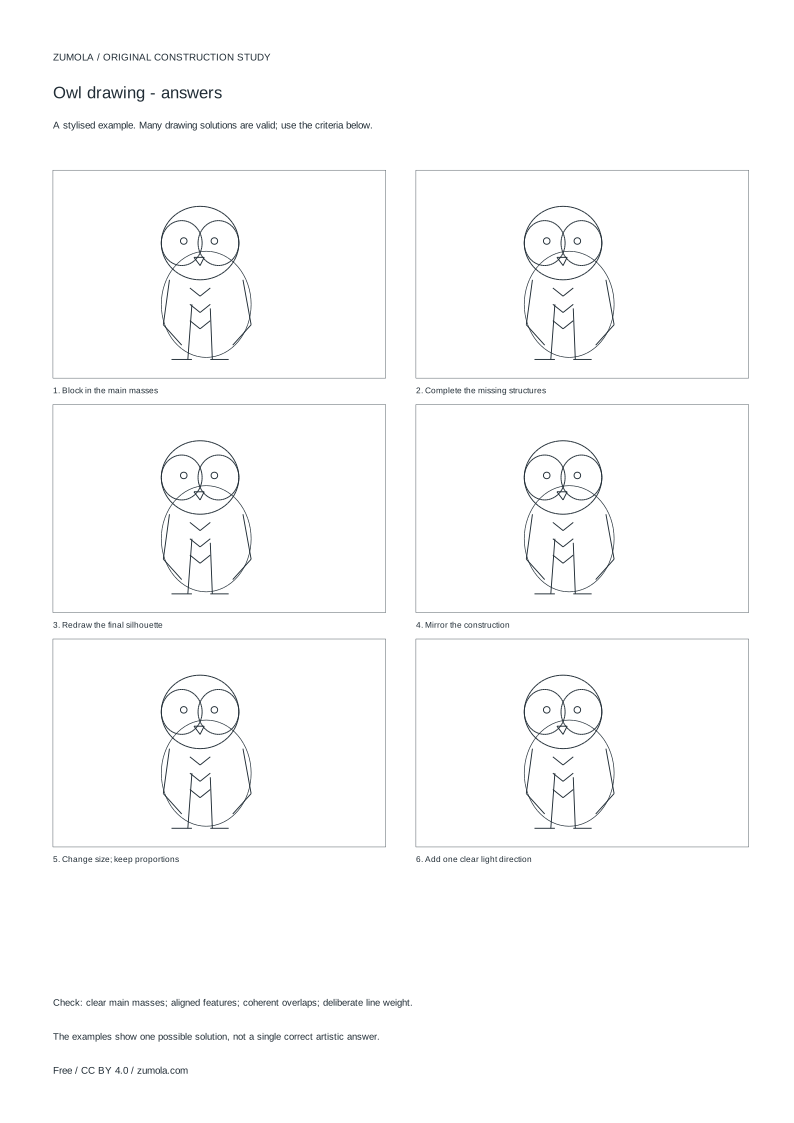
Print at Actual size / 100%. Check the calibration bar before using physical dimensions.
Owls read as owls mainly because of two shapes: the round face discs and the shoulder line beneath them. This tutorial builds those masses first, then adds features in an order that keeps the front view symmetrical. The aim is a clear, stylised construction study, not a photorealistic or anatomical drawing. Work lightly at first so you can adjust placement before committing to darker lines.
Start with an upright body envelope
Begin with a simple upright oval or egg shape for the body, taller than it is wide. Mark a faint vertical centre line through it; this is your symmetry guide for the whole drawing. Decide where the head sits relative to the body: in most front-view owls the head is wide and slightly flattened, sitting close to the shoulders rather than on a long neck.
Keep this stage loose. The envelope only needs to show overall height, width and the tilt of the body. If the oval leans, the face discs will lean with it, so correct the envelope before adding detail.
- Draw a light upright oval for the body.
- Add a faint vertical centre line.
- Sketch a wide, slightly flattened head shape overlapping the top of the body.
- Check that the head width is roughly balanced left and right of the centre line.
Place the paired face discs
The face discs are two rounded shapes that meet near the centre line, like two shallow bowls side by side. Their outer edges usually reach close to the sides of the head, and their inner edges nearly touch. Draw both discs at the same size and height; asymmetry here is the most visible error in a front-view owl.
The discs sit inside the head outline, not outside it. Leave a small margin of head shape around each disc so the face reads as a framed area rather than a flat circle.
- Draw the left face disc as a rounded shape touching the centre line.
- Mirror it on the right at the same size and height.
- Confirm both discs sit inside the head outline with a margin.
- Lightly shade or outline the disc edges to separate face from head.
Balance the eyes and folded wings
Place the eyes inside the discs, level with each other and set at equal distances from the centre line. A small pupil inside a larger eye circle keeps the stare calm; oversized pupils can make the owl look cartoonish. Add a short beak between and slightly below the eyes, pointing down.
For the wings, draw two folded shapes along the sides of the body, starting near the shoulder line and tapering toward the lower body. The wings should overlap the body outline slightly, which creates depth. Keep both wings the same length so the silhouette stays balanced.
- Mark eye centres at matching heights on each disc.
- Draw eye circles, then smaller pupils inside them.
- Add a short downward beak on the centre line.
- Sketch folded wings down each side, overlapping the body edge.
- Compare wing lengths and adjust the shorter one.
Group breast feathers and feet
Rather than drawing every feather, group the breast markings into a few soft rows or chevron shapes that follow the curve of the body. Grouping keeps the chest readable and avoids a busy, noisy surface. Let the rows narrow as they approach the feet.
Add feet at the bottom of the body as short, simple shapes with a few toe lines. Feet should sit under the body mass, not float beside it. Finally, review line weight: heavier lines on the outer silhouette and lighter lines inside help the owl read clearly at a glance.
- Draw two or three curved rows of breast markings.
- Narrow the rows toward the lower body.
- Add simple feet beneath the body.
- Strengthen the outer outline and lighten interior lines.
Try this example
Draw a front-view owl using an upright body oval 8 cm tall and 5 cm wide, with a head 6 cm wide sitting at the top.
Show the worked explanation
Draw the 8 by 5 cm oval and a vertical centre line. Add a 6 cm wide flattened head overlapping the top, so 3 cm of head width falls on each side of the centre line. Place two face discs of equal size inside the head, each about 2.5 cm wide, meeting near the centre line with a small margin to the head edge. Set eye centres at the same height, each about 1.2 cm from the centre line. Add a short beak on the centre line, folded wings down each side of the body at matching lengths, grouped breast rows narrowing toward the feet, and simple feet beneath the body. Check that left and right distances match before strengthening the outline.
Common mistakes
- Drawing the two face discs at different sizes or heights. Measure each disc against the centre line and redraw the smaller or lower one to match its partner before adding eyes.
- Placing eyes outside the face discs or at uneven heights. Set both eye centres on a faint horizontal guide and keep each pupil fully inside its disc.
- Making the wings different lengths so the silhouette looks lopsided. Compare wing tips against a horizontal line and shorten or extend one wing to match.
Check your work
- Body envelope is upright and clearly taller than wide.
- Both face discs are equal in size and height and sit inside the head outline.
- Eyes are level, equally spaced from the centre line, and inside the discs.
- Folded wings overlap the body and are similar in length.
- Breast markings are grouped into a few readable rows rather than drawn individually.
- Outer silhouette lines are heavier than interior detail lines.
Questions before you start
Why build the face discs before the eyes?
The discs set the size and position of the face. If you draw eyes first, you may have to resize the discs around them, which distorts the head shape.
Is this an anatomical drawing guide?
No. It is a stylised construction study using simplified masses. Real owl anatomy, including skull structure and feather arrangement, is more complex and is not covered here.
How do I check symmetry without erasing constantly?
Use a faint vertical centre line and a horizontal guide through the eyes. Compare distances from the centre line on both sides before darkening any lines.