Free original resources
Rabbit Drawing: Build a Sitting Rabbit From Back Arc, Pelvis and Folded Hind Leg
Learn a sitting rabbit drawing method: set the rounded back and pelvis, place head and long ears, fold the strong hind leg, then add front paws, eye and whiskers.
Free resources
Letter & A4
PDF & SVG
Letter & A4
PDF & SVG
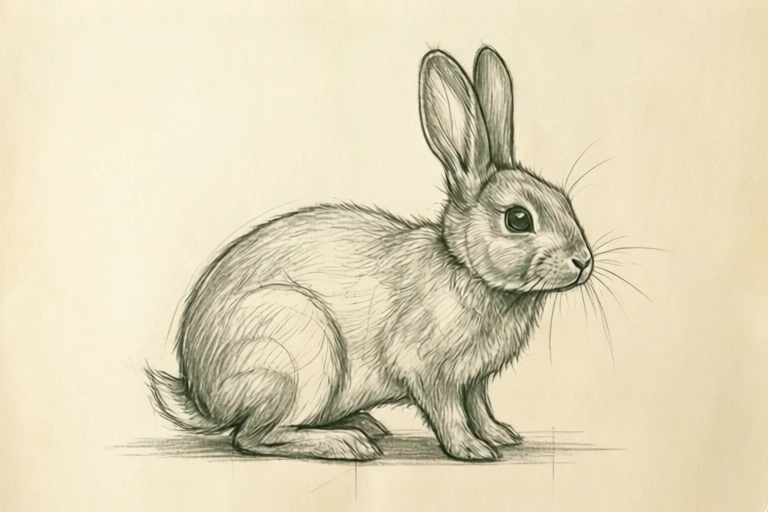
Build the drawing in four stages.
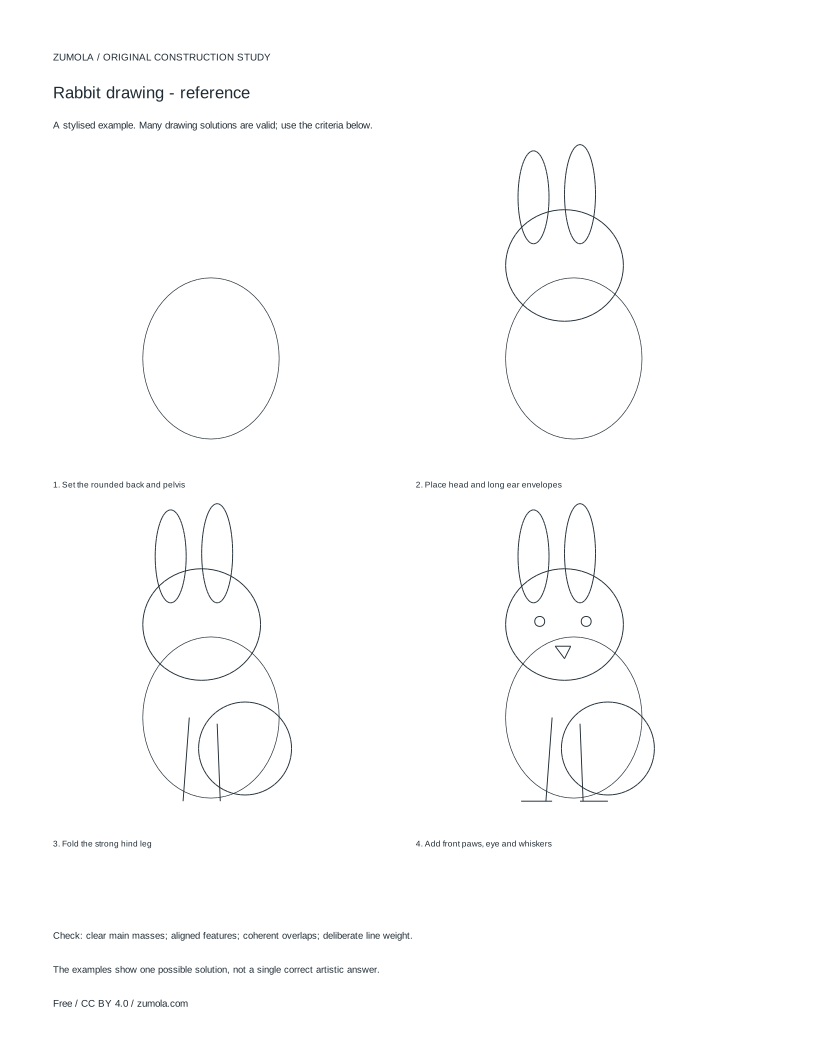
Your free printable kit.
Original reference, student practice and separate worked answers. No account or payment.
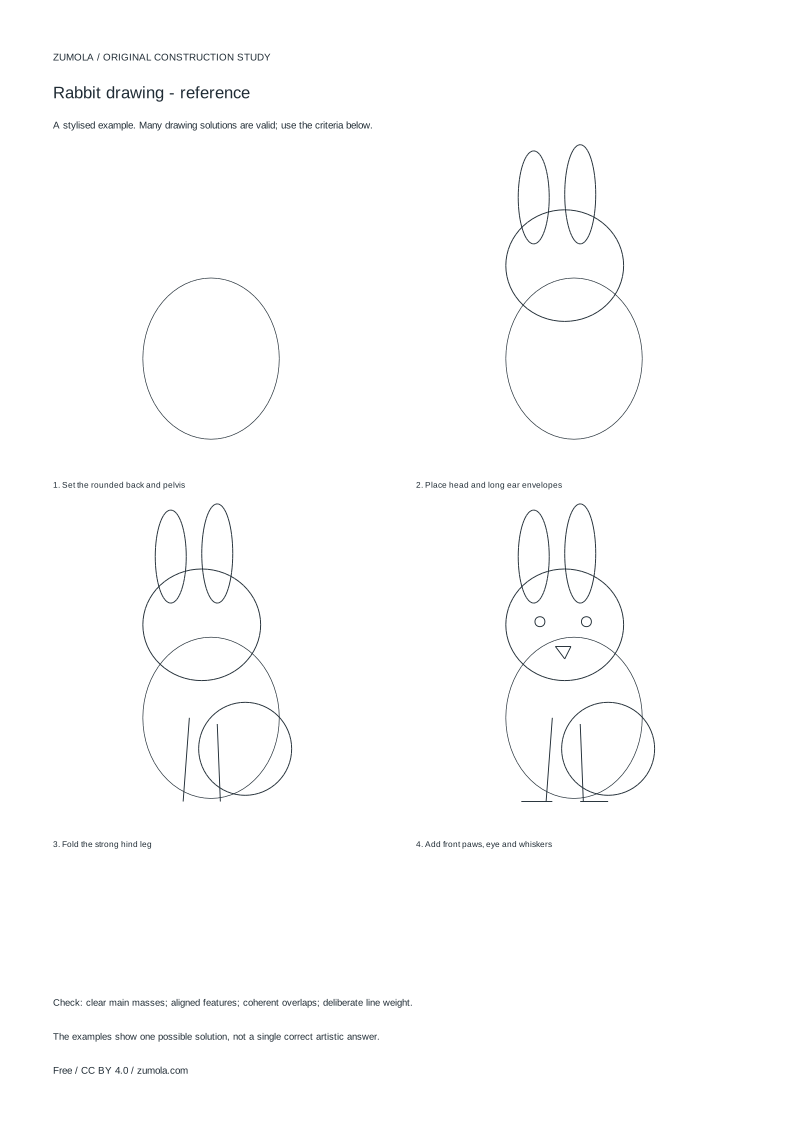
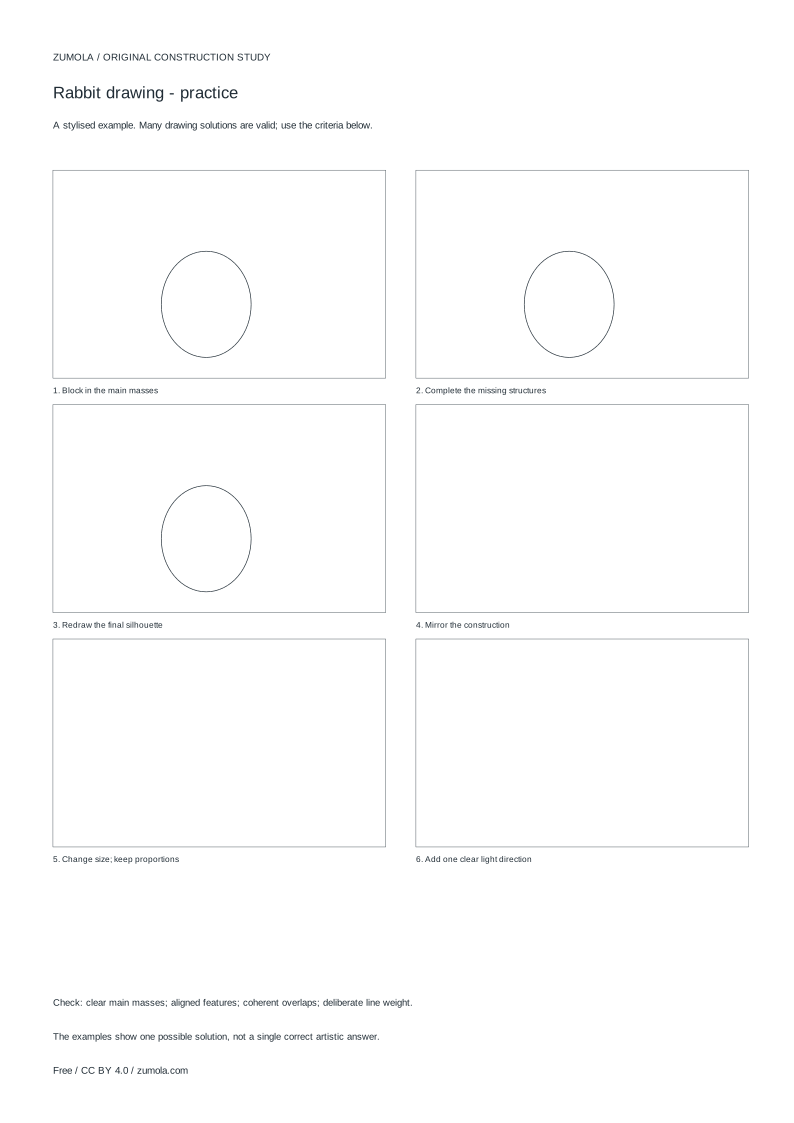
Practice worksheet
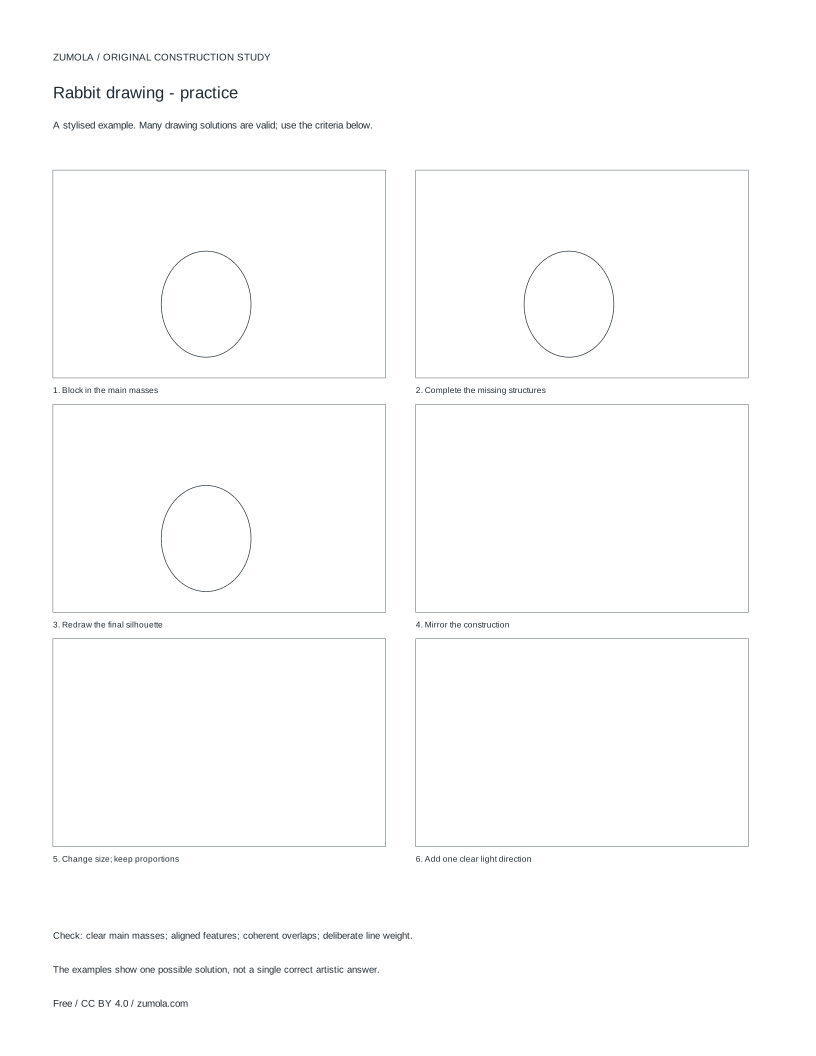
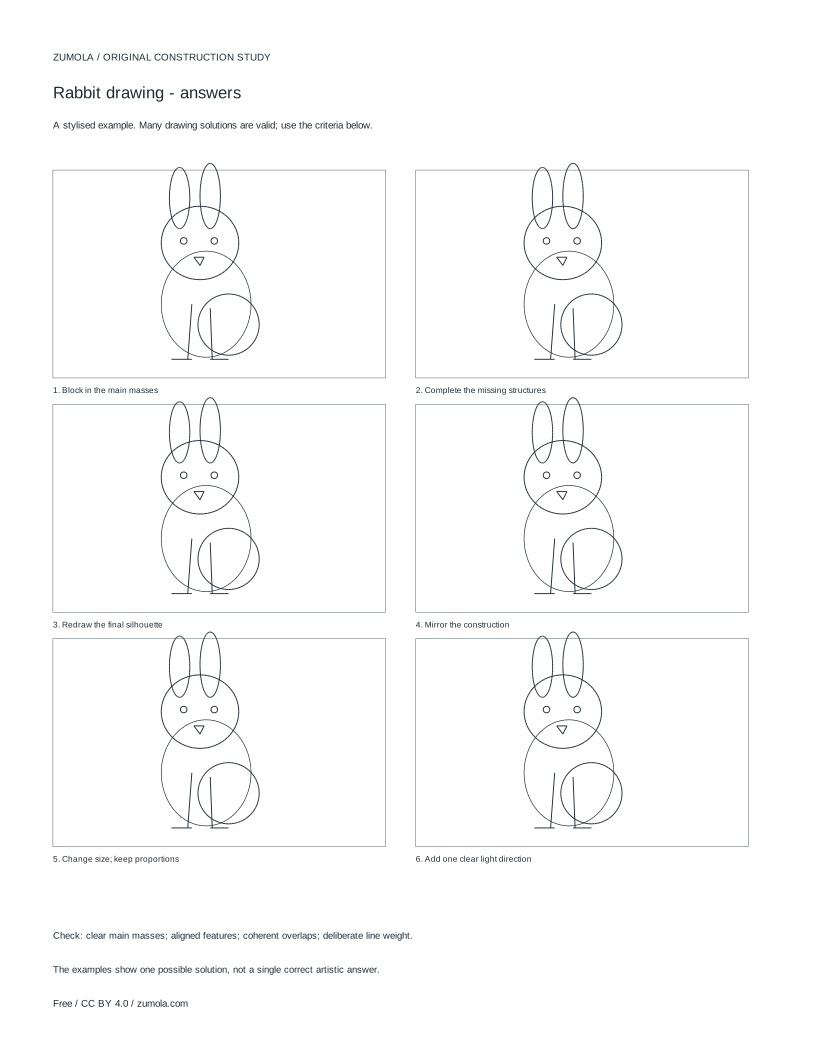
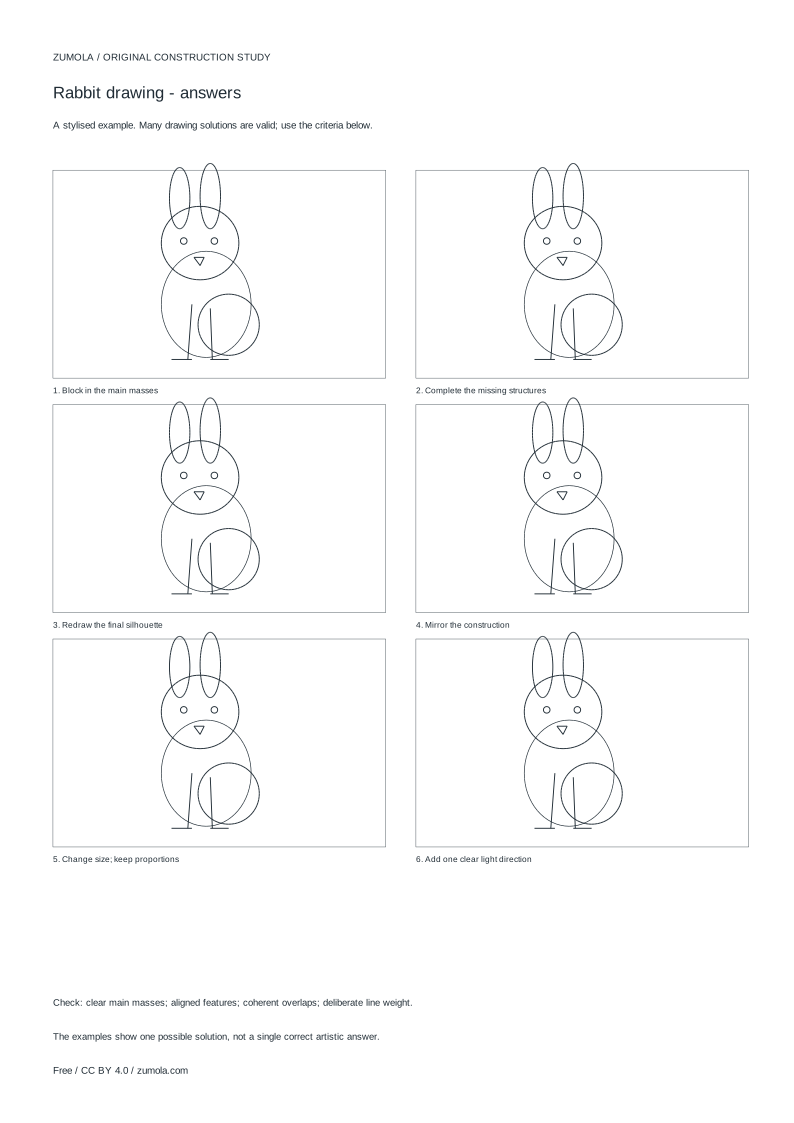
Worked answers / rubric
Print at Actual size / 100%. Check the calibration bar before using physical dimensions.
A sitting rabbit is easiest to draw when you build it from large masses rather than tracing the outline of a finished animal. This guide uses a stylised construction study, not anatomical or photorealistic instruction. You will set a rounded back and pelvis first, hang the head and long ear envelopes from that curve, fold the powerful hind leg into a clear zigzag, and finish with front paws, eye and whiskers. Each step adds lines you can check against the previous one.
Start with the back arc and pelvis, not the ears
Begin with one long, slightly flattened curve for the back. A sitting rabbit's spine runs from the base of the neck down toward the tail, so draw this arc first and decide its tilt: a more upright arc gives an alert pose, a lower arc gives a relaxed one. At the lower end, close the curve with a rounded pelvis mass. Think of the pelvis as an egg tucked against the back arc, wider at the bottom where the hind leg attaches.
Keep these first lines light. They are guides, not final contours. The back arc and pelvis together establish the body's height and the direction the rabbit faces. If the pelvis sits too high, the rabbit will look as if it is standing; if it sits too far forward, the hind leg will have no room to fold.
- Draw a single back arc from neck base to tail area.
- Close the lower end with a rounded pelvis egg.
- Check that the pelvis sits low and slightly behind the chest area.
Hang the head and long ear envelopes from the neck
Place a small oval for the head where the back arc meets the neck. The head should overlap the top of the body mass slightly, because a sitting rabbit's chin tucks toward the chest. From the top of the head, draw two long ear envelopes. Ears are not thin lines: give each one a width that tapers toward the tip, and let one ear lean differently from the other so the pair does not look symmetrical.
Overlap matters here. The ear nearer the viewer can cross in front of the far ear, and the head oval can sit in front of the back arc. Decide which shape is in front before you darken any line.
- Draw a head oval overlapping the neck area.
- Add two tapered ear envelopes with different lean angles.
- Mark which ear is in front and keep that overlap consistent.
Fold the hind leg into a clear zigzag
The hind leg is the feature that makes a sitting rabbit read as a rabbit. Build it as a folded zigzag: a large thigh mass against the pelvis, a bend at the knee, then a lower leg that runs forward to the foot. The thigh should be the biggest part of the leg, because the folded position hides much of the lower leg behind it.
Draw the thigh first as a rounded shape attached to the pelvis. Then add the knee bend and the foot line pointing forward. Keep the foot roughly level with the ground line you imagine under the body. If the zigzag is too shallow, the leg looks stretched; if the thigh is too small, the rabbit loses its sitting weight.
- Attach a large rounded thigh to the pelvis.
- Add a knee bend and a forward-pointing foot.
- Check the foot sits near an imagined ground line.
Add front paws, eye and whiskers last
Front paws hang below the chest in a sitting pose. Draw them as two short, slightly bent columns that overlap the lower body. Place the eye on the side of the head oval facing the viewer, roughly level with the base of the ears. Whiskers radiate from the muzzle area, and they should be drawn lightly so they do not compete with the body contour.
Finish by comparing the main masses: back arc, pelvis, head, ears and folded hind leg. Adjust line weight so the outer silhouette is stronger than the internal guide lines. Multiple artistic solutions are valid; judge the drawing by proportion, overlap and clarity rather than by matching one exact outline.
- Draw two short front paw columns below the chest.
- Place the eye level with the ear bases.
- Add light whiskers from the muzzle.
- Strengthen the outer silhouette and soften guide lines.
Try this example
Draw a sitting rabbit facing right using a back arc, pelvis egg, head oval, two tapered ears and one folded hind leg.
Show the worked explanation
Draw the back arc from upper left to lower right, then close it with a pelvis egg at the lower right. Place the head oval at the upper left where the arc meets the neck, overlapping the body slightly. Add two tapered ears from the top of the head, with the near ear leaning forward and crossing the far ear. Attach a large thigh to the pelvis, bend the knee, and point the foot right toward an imagined ground line. Add two short front paws below the chest, an eye level with the ear bases, and light whiskers. Check that the pelvis sits low, the thigh is the largest leg mass, and the outer silhouette is darker than the guides.
Common mistakes
- Drawing the ears first and fitting the body underneath them. Set the back arc and pelvis first, then hang the head and ears from the neck so the body controls the proportions.
- Making the hind leg a straight line instead of a folded zigzag. Draw a large thigh against the pelvis, then a knee bend and a forward foot so the fold is visible.
- Giving both ears the same angle and width. Taper each ear and vary the lean so one ear crosses in front of the other.
Check your work
- Back arc and pelvis establish a low sitting height with the pelvis behind the chest.
- Head oval overlaps the neck and the eye sits level with the ear bases.
- Two tapered ears have different lean angles and a consistent front-back overlap.
- Hind leg shows a large thigh, a knee bend and a forward foot near a ground line.
- Front paws overlap the lower body and whiskers stay lighter than the silhouette.
- Outer contour is stronger than internal guide lines, with clear mass comparison.
Questions before you start
Why start with the back arc instead of the head?
The back arc and pelvis set the sitting height and the direction of the body. The head and ears can then be placed relative to that curve, which keeps the proportions consistent.
How do I make the folded hind leg readable?
Keep the thigh large and rounded against the pelvis, add a clear knee bend, and point the foot forward near an imagined ground line. The zigzag shape is what signals a sitting rabbit.
Is this an anatomy lesson?
No. This is a stylised construction study for drawing. It simplifies masses and overlaps for clarity and does not describe clinical anatomy.