Free original resources
Eye Drawing: Build the Eyeball First, Then Wrap the Lids
Learn eye drawing by building an eyeball volume, wrapping upper and lower lids around it, and placing the iris so lid overlap reads correctly.
Free resources
Letter & A4
PDF & SVG
Letter & A4
PDF & SVG
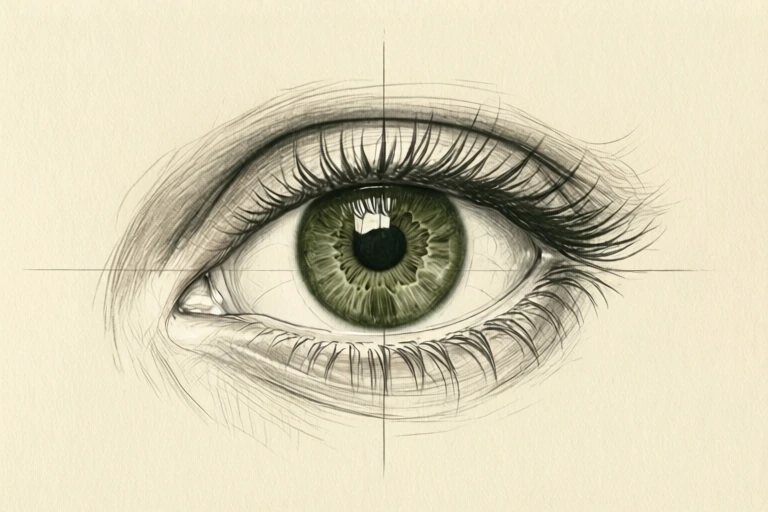
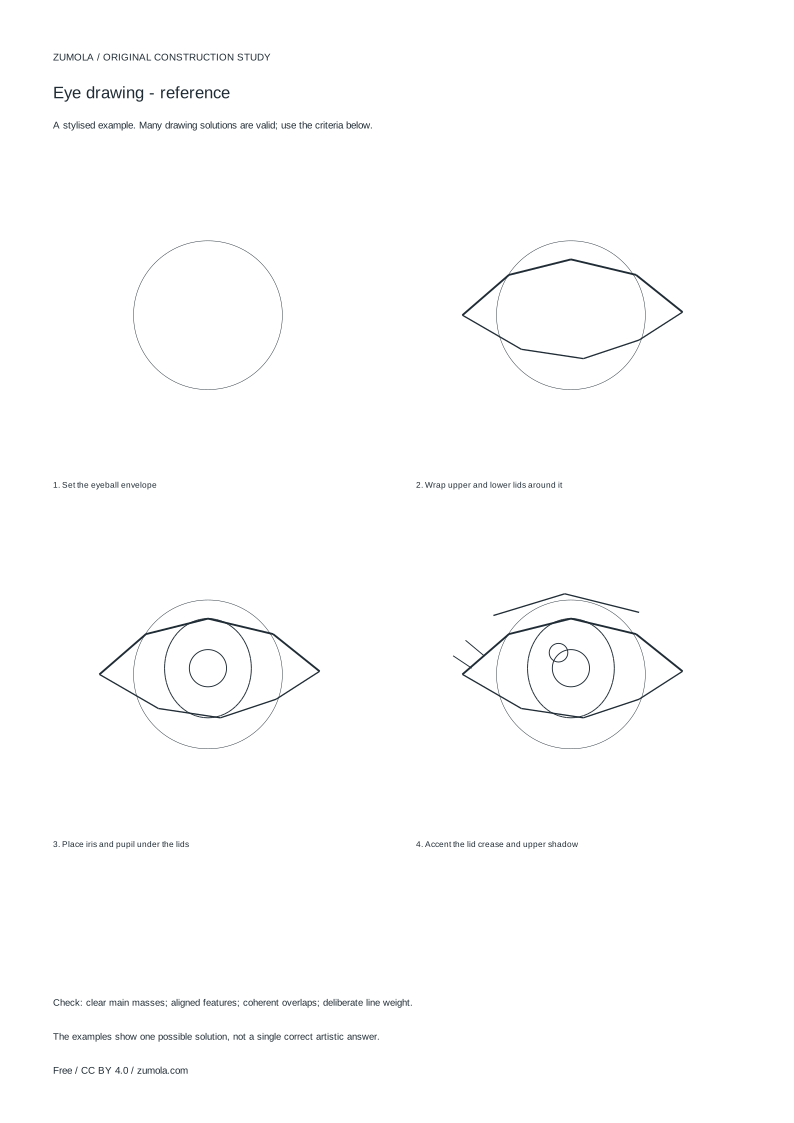
Build the drawing in four stages.
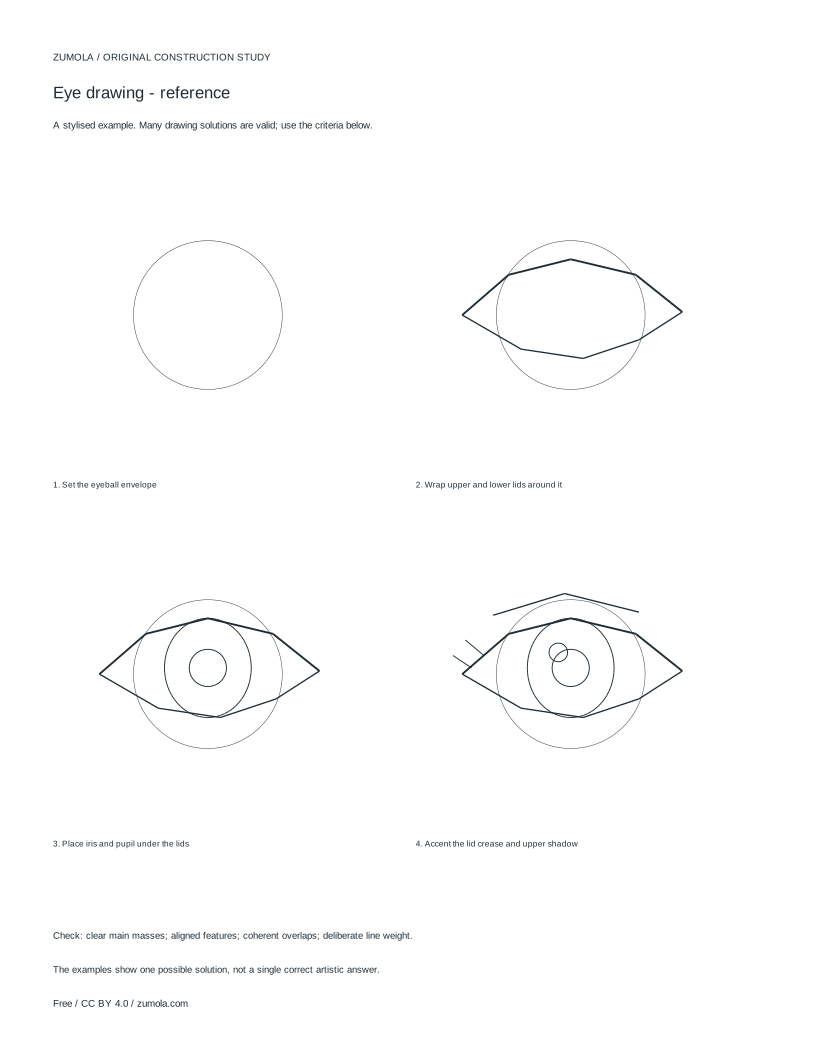
Your free printable kit.
Original reference, student practice and separate worked answers. No account or payment.
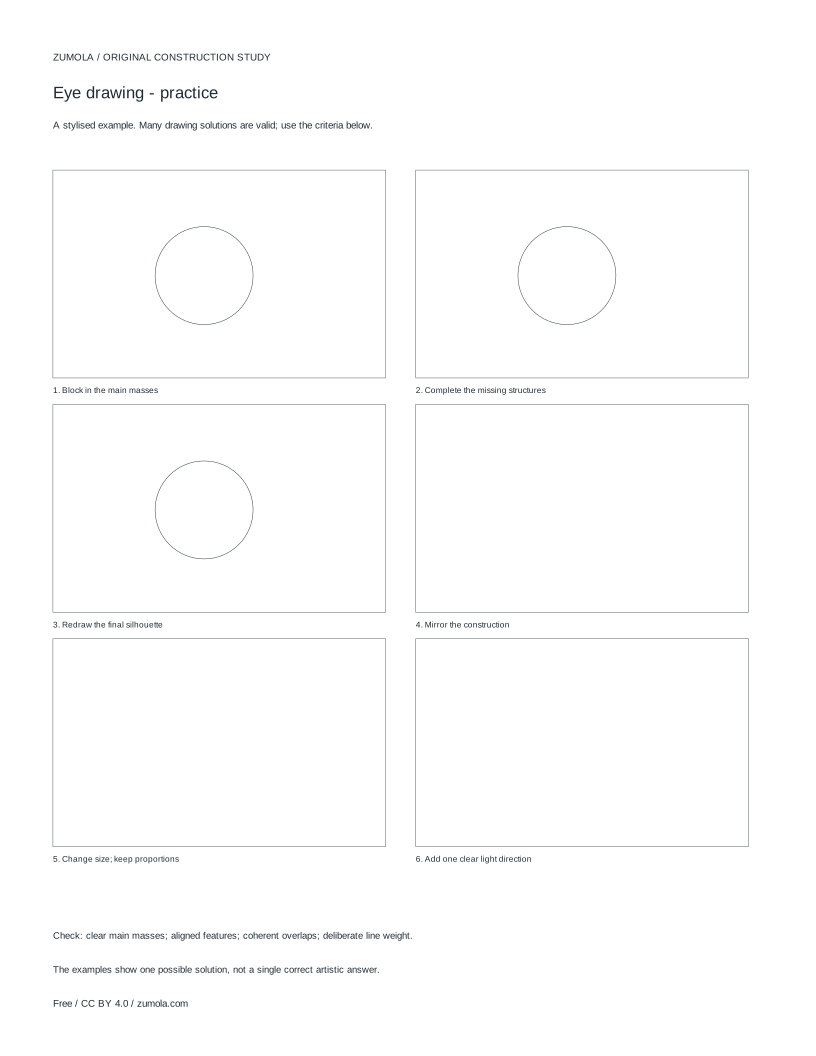
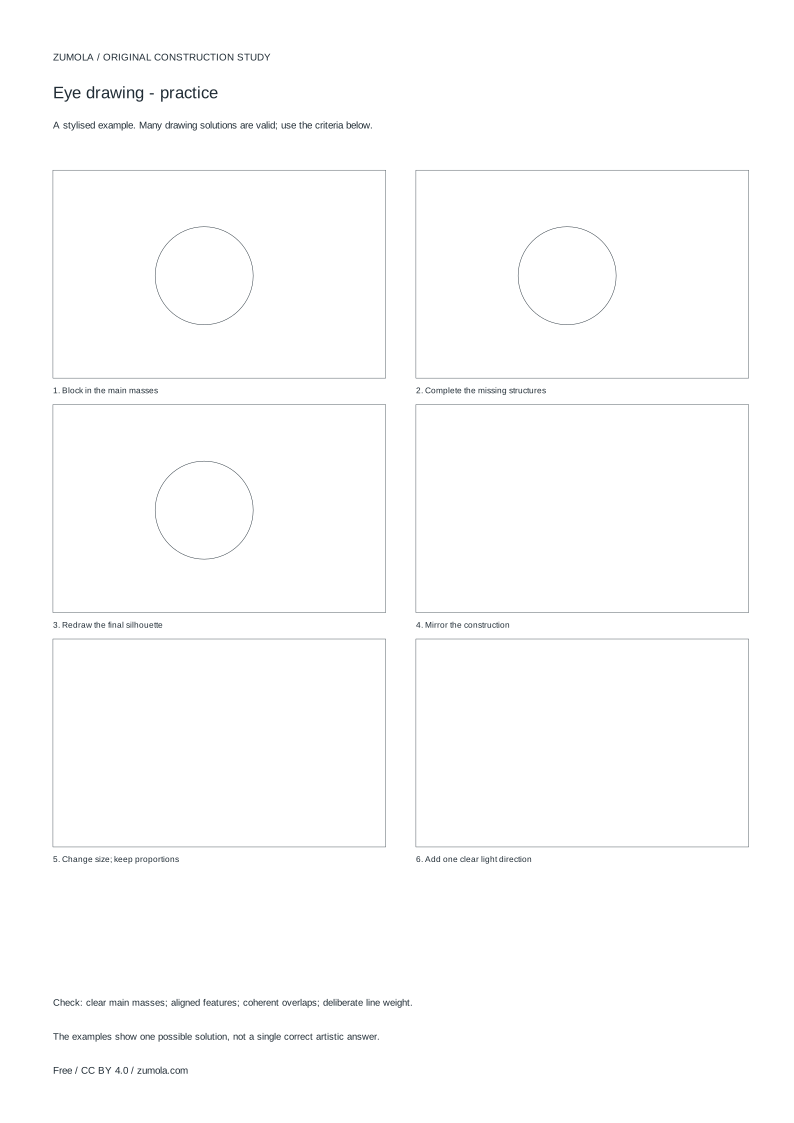
Practice worksheet
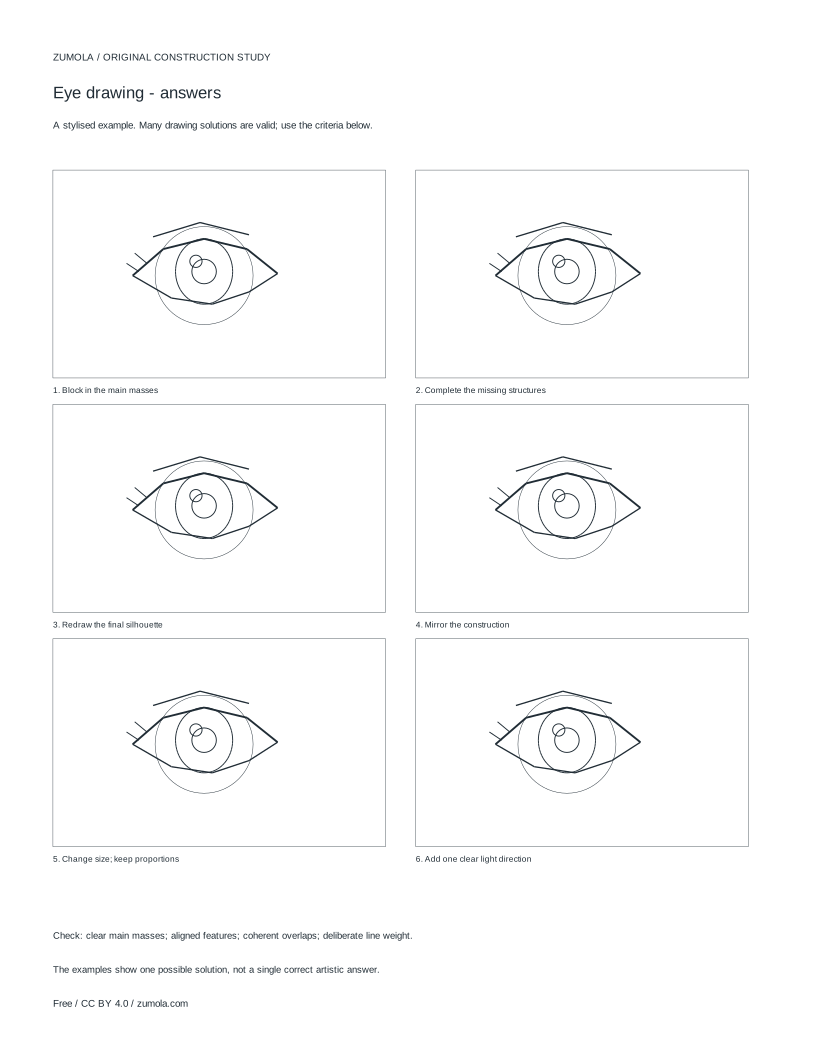
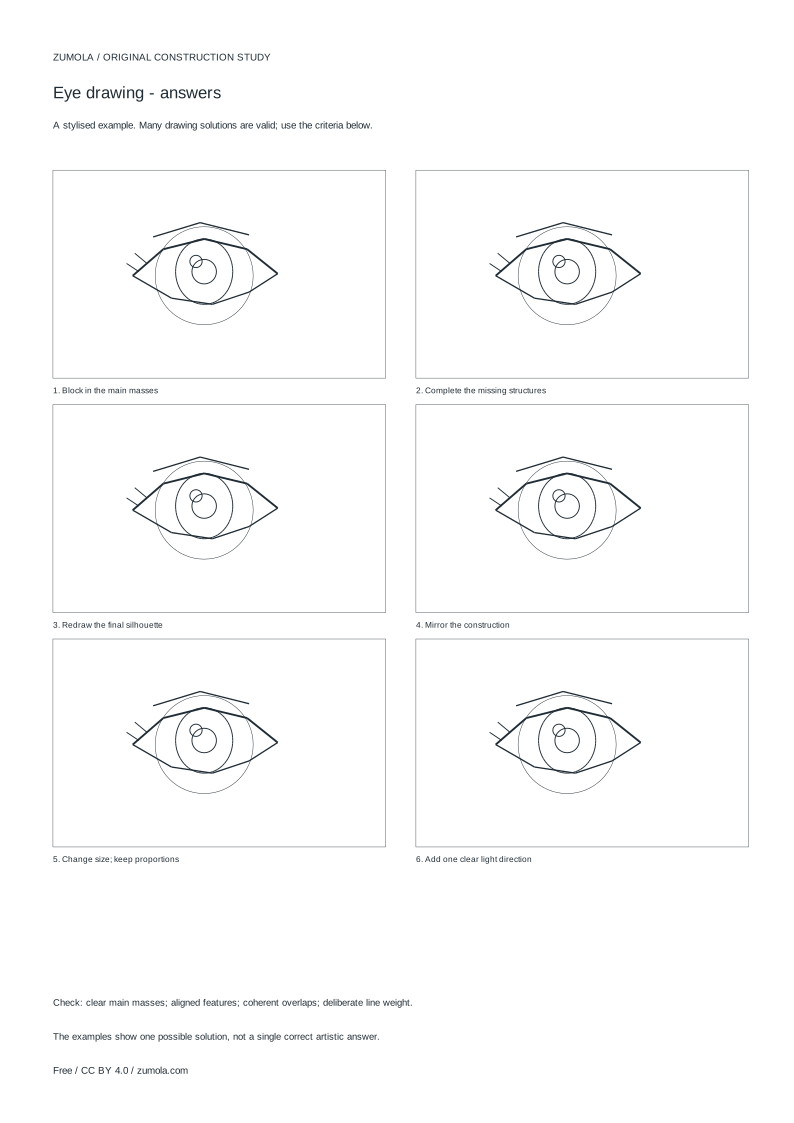
Worked answers / rubric
Print at Actual size / 100%. Check the calibration bar before using physical dimensions.
Most eye drawings fail before any detail is added: the lids are drawn as flat outlines instead of surfaces wrapping a round eyeball. This tutorial treats the eye as a sphere set into the face, then builds lids, iris, pupil and shadow in an order you can check at each stage. The aim is a clear, stylised construction study, not anatomical or photorealistic instruction. Work lightly at first so you can adjust overlaps without erasing heavily.
Start With the Eyeball Envelope
Begin with the eyeball, not the lash line. Draw a light circle or oval for the visible front of the sphere. Its width sets how open the eye can look; its height controls how much of the iris the lids will hide. Keep this envelope faint, because most of it will be covered later.
Decide the gaze direction before adding lids. If the eye looks straight ahead, the iris sits near the centre of the envelope. If it looks to one side, shift the iris toward that side while keeping it the same size. The eyeball does not change shape when it turns; only the iris position changes.
- Draw a light circle or oval for the eyeball envelope.
- Mark a faint horizontal midline to judge iris height.
- Choose a gaze direction and note where the iris centre will sit.
Wrap the Upper and Lower Lids Around the Sphere
The upper lid is a curved band that crosses the front of the eyeball. Draw it as an arc that follows the sphere's curve, sitting slightly above the midline. The lower lid is a shallower arc below the midline. Both lids should feel like they hug a round surface, not like straight lines across a flat shape.
Overlap matters here. The upper lid covers the top of the iris; the lower lid covers a smaller slice at the bottom. Draw the lid edges so they clearly sit in front of the eyeball. A small gap or thickness at the lid edge helps the overlap read.
- Draw the upper lid arc following the sphere's curve.
- Draw the lower lid arc, shallower than the upper.
- Check that both lid edges sit in front of the eyeball envelope.
Place the Iris and Pupil Under the Lids
Draw the iris as a circle centred on your chosen gaze point. Because the lids overlap it, the iris will appear as a partial circle, not a full one. The pupil is a smaller circle inside the iris, sharing the same centre. Keep both shapes round; flattening them makes the eye look tilted or pressed.
The amount of iris hidden tells the viewer how open the eye is. A wide-open eye shows most of the iris; a narrowed eye hides more of it under the upper lid. Adjust the lid arcs rather than shrinking the iris to change openness.
- Draw the iris circle at the gaze point.
- Add the pupil as a smaller circle with the same centre.
- Trim the iris where the lids overlap it, keeping the visible edge curved.
Accent the Lid Crease and Upper Shadow
Add the lid crease above the upper lid as a second, softer arc. It should follow the lid's curve rather than mirror it exactly. Darken the upper lid edge and the area just under it to suggest the lid casting shadow on the eyeball. Keep the lower lid lighter so the eye does not look bruised.
Use line weight to separate front from back: heavier lines at lid edges and the iris rim, lighter lines for the crease and lower lid. A small highlight can sit on the iris opposite the shadow, but place it after the main masses are clear.
- Draw a softer crease arc above the upper lid.
- Darken the upper lid edge and the shadow beneath it.
- Keep the lower lid line lighter, then add a small iris highlight.
Try this example
Draw a forward-looking eye with a wide-open upper lid, using a 6 cm wide eyeball envelope and a 2 cm iris.
Show the worked explanation
Draw a 6 cm wide oval envelope with a faint midline. Place the iris centre on the midline, so the 2 cm iris spans 1 cm above and below it. Draw the upper lid arc about 1 cm above the midline and the lower lid about 0.5 cm below it. The upper lid hides roughly the top third of the iris; the lower lid hides a thin slice at the bottom. Add a softer crease arc above the upper lid, darken the upper lid edge and the shadow beneath it, and keep the lower lid line lighter. Check that the visible iris edge stays curved where the lids cross it.
Common mistakes
- Drawing the iris as a full circle on top of the lids. Trim the iris where the upper and lower lids overlap it so it reads as sitting behind them.
- Making the lids straight lines across a flat shape. Curve both lid arcs to follow the eyeball sphere, with the upper lid deeper than the lower.
- Shrinking the iris to make the eye look narrower. Keep the iris size fixed and lower the upper lid arc to hide more of it.
Check your work
- The eyeball envelope is drawn first and remains consistent in size.
- Upper and lower lids curve around the sphere rather than lying flat.
- The iris is trimmed by the lids and reads as sitting behind them.
- Iris and pupil stay round and share a centre.
- Line weight separates lid edges from the crease and lower lid.
- Upper shadow suggests the lid casting shade on the eyeball without darkening the lower lid equally.
Questions before you start
Should I draw the iris before or after the lids?
Draw the eyeball envelope first, then the lids, then the iris. Placing the iris after the lids makes the overlap easier to judge.
How do I show the eye looking to one side?
Shift the iris toward that side while keeping its size and roundness. The eyeball envelope stays the same.
Is this an anatomy lesson?
No. It is a stylised construction study of volume and overlap, not clinical anatomy or photorealistic instruction.