Free original resources
Hand Drawing: Build a Hand From Palm Box, Finger Rhythm and Thumb Split
Learn a structural method for hand drawing: block the palm, set four finger lengths, separate joints and the thumb, then join outlines and add creases.
Free resources
Letter & A4
PDF & SVG
Letter & A4
PDF & SVG
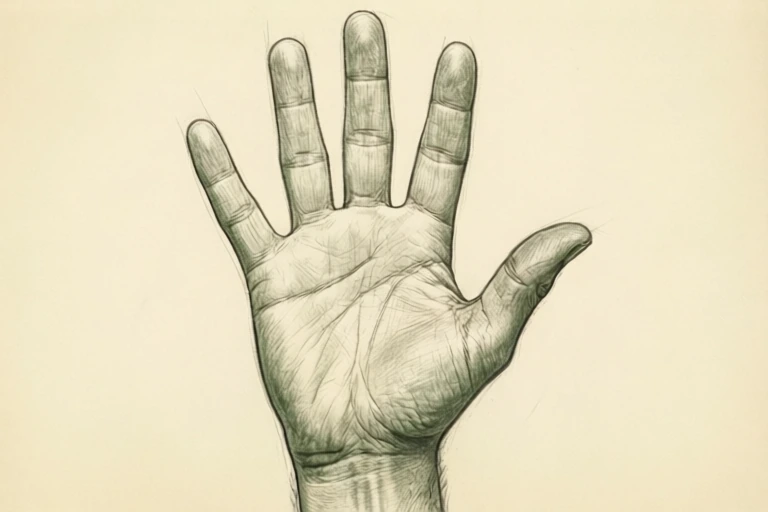
Build the drawing in four stages.
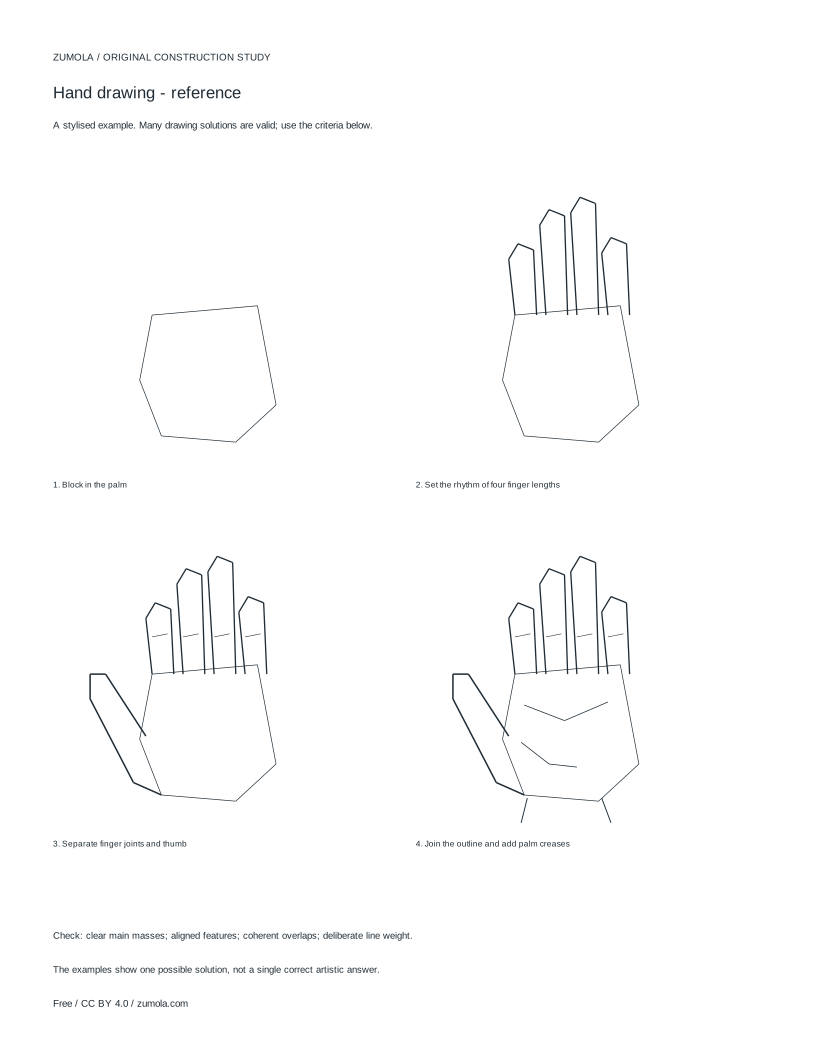
Your free printable kit.
Original reference, student practice and separate worked answers. No account or payment.
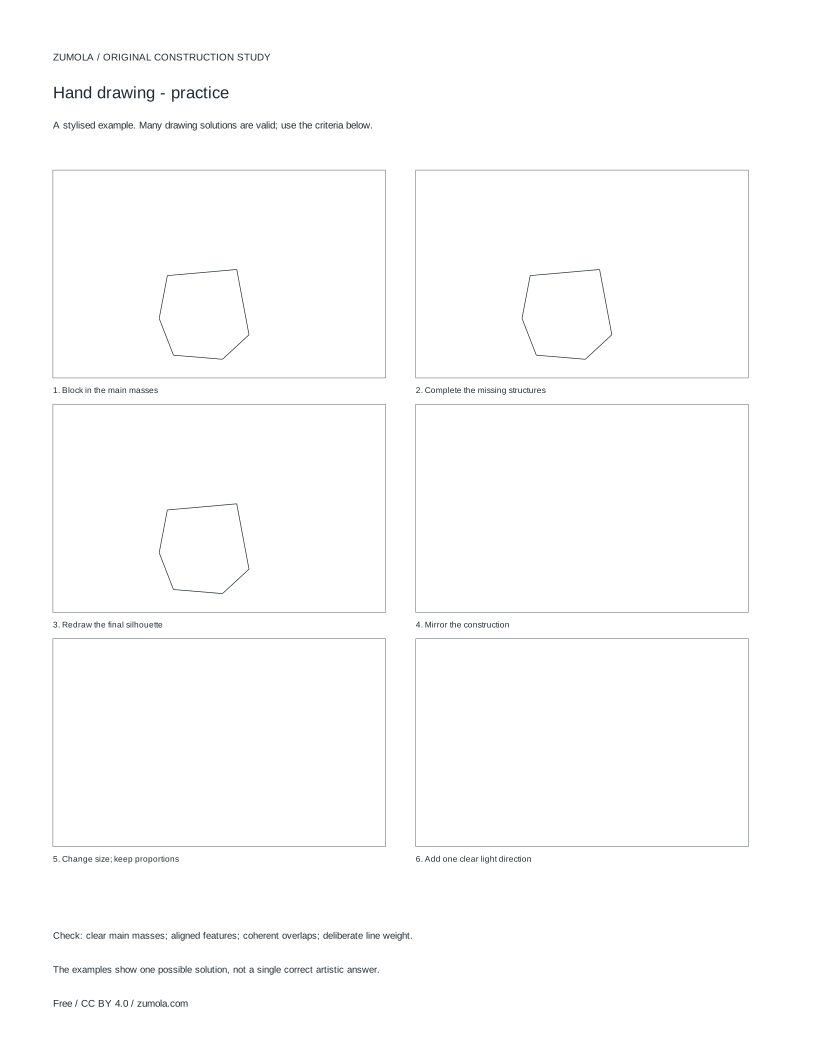
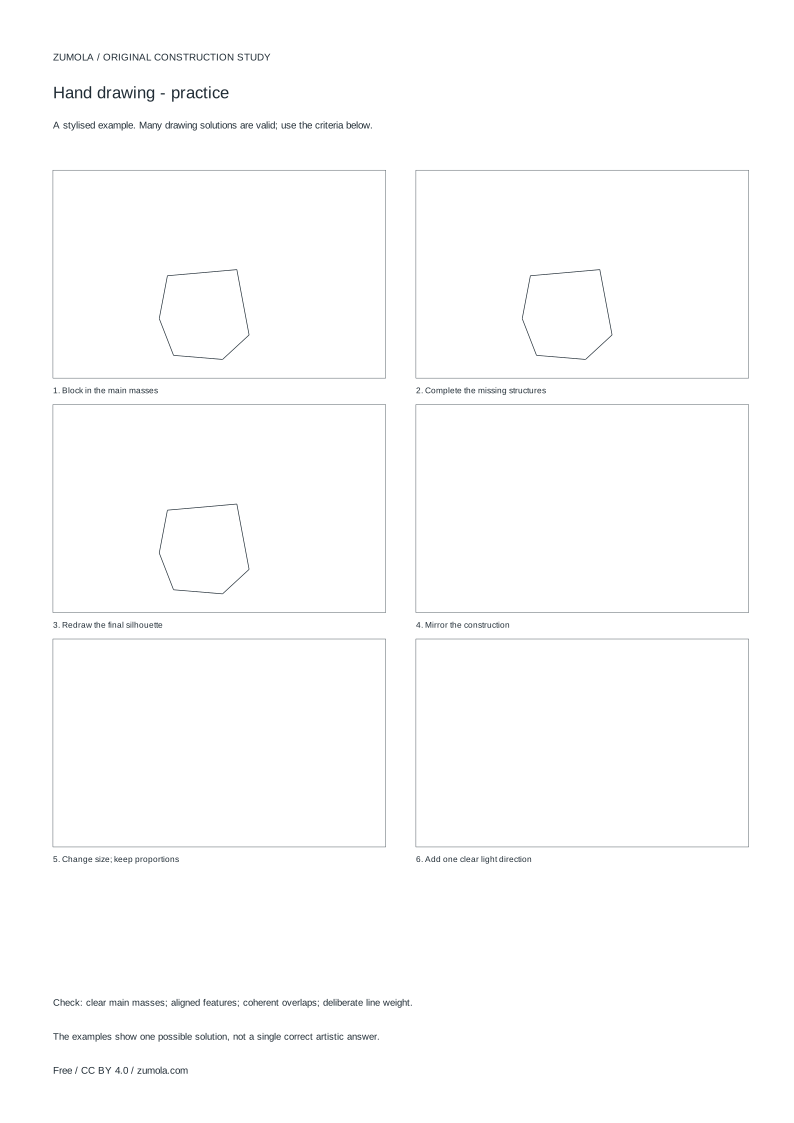
Practice worksheet
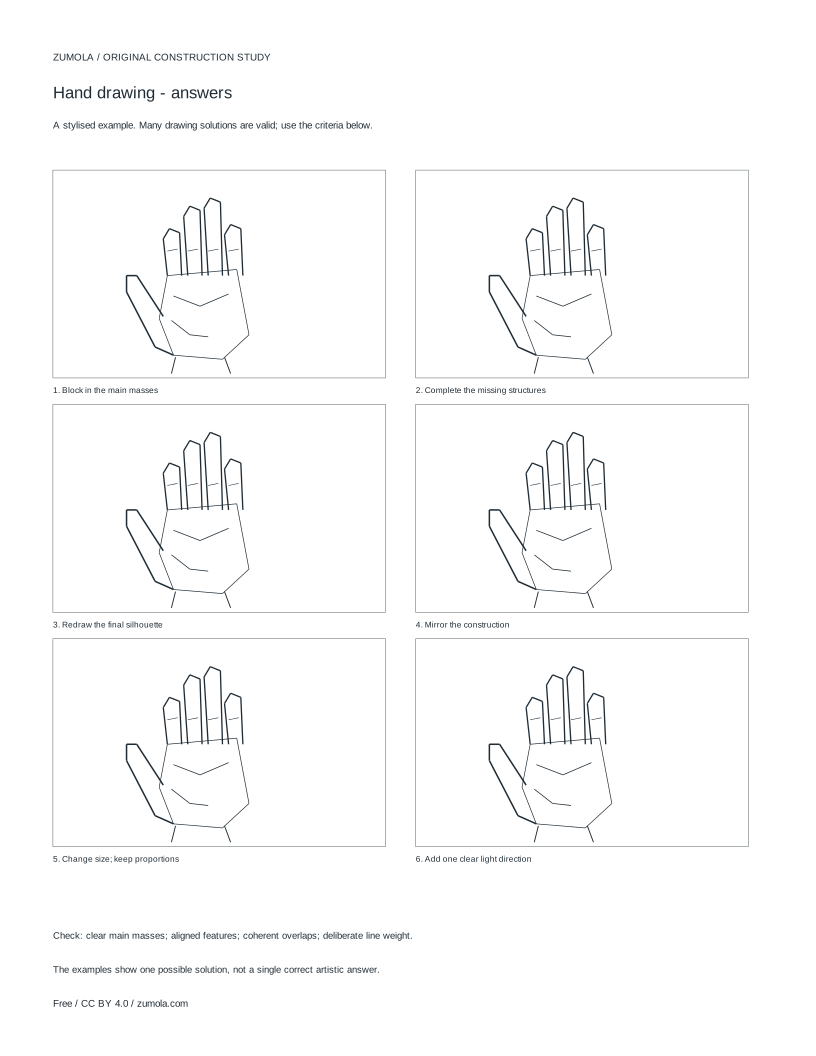
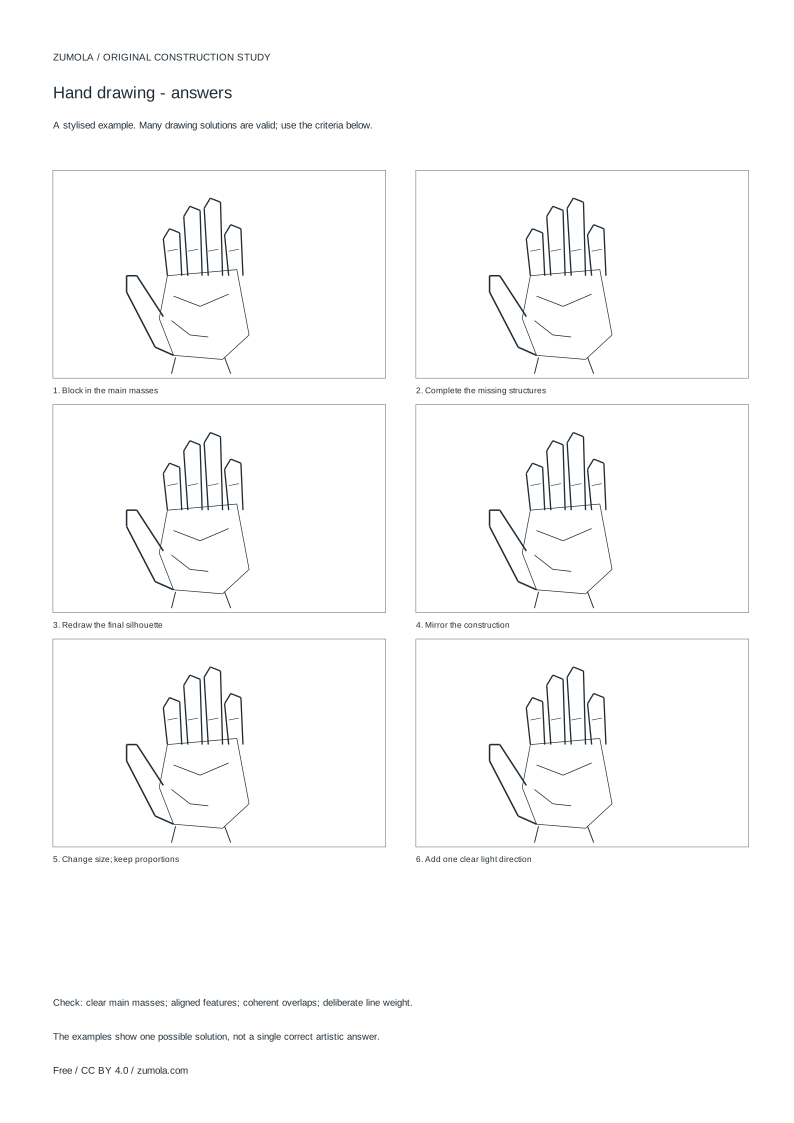
Worked answers / rubric
Print at Actual size / 100%. Check the calibration bar before using physical dimensions.
Hand drawing becomes manageable when you stop tracing the silhouette and start building masses. This tutorial uses a palm box, a rhythm for the four finger lengths, grouped knuckle joints, and a clear thumb split. The aim is an original stylised construction study, not anatomical or photorealistic instruction. Work lightly at first, check overlaps as you add each stage, and keep the whole hand in view so proportions stay consistent.
Start With the Palm as a Box, Not a Outline
Treat the palm as a flattened box seen in perspective. Decide the wrist edge, the knuckle edge, and the two side edges. The knuckle edge is usually the widest part of the palm mass, and the wrist edge is narrower. Mark a centre line across the palm so you can compare where fingers attach.
Keep the box simple: four corners and a few internal guide lines are enough. Because the palm is a mass rather than a flat shape, you can tilt it and still judge where the fingers belong. Check that the knuckle edge sits at a believable angle relative to the wrist edge before adding anything else.
- Draw a light rectangle for the palm, narrower at the wrist and wider at the knuckles.
- Add a centre line from wrist to knuckle edge to guide finger placement.
- Mark the thumb side and the little-finger side so the hand is not mirrored by accident.
Set the Rhythm of Four Finger Lengths
Fingers are not four equal tubes. Establish a rhythm: the middle finger is generally the longest, the index and ring fingers sit close to each other, and the little finger is shortest. Place a light endpoint for each fingertip before drawing any finger sides.
Compare endpoints against the palm box. If a fingertip lands far outside the knuckle edge without a reason, the finger will look stretched. Adjust the endpoints first, then draw the finger directions. Curled fingers shorten visually, so decide whether the hand is open, relaxed, or gripping before committing.
- Mark four fingertip endpoints in a row, varying length by finger.
- Draw a light centre line from each knuckle to its endpoint.
- Check that no finger looks disproportionately long or short against the palm box.
Separate Finger Joints and the Thumb
Divide each finger into segments at the joints. Use small marks rather than full detail: a knuckle joint near the palm, a middle joint, and a tip joint. The thumb branches from the side of the palm, lower than the fingers, and its base angle differs from the fingers.
Group the fingers so overlaps read clearly. A finger in front should interrupt the line of the finger behind it. Keep joint marks consistent in size so the hand does not look lumpy. This stage is about rhythm and overlap, not clinical anatomy.
- Place joint marks along each finger centre line.
- Draw the thumb from the lower side of the palm, angled away from the fingers.
- Decide which fingers overlap and break the hidden lines at the overlap.
Join the Outline and Add Palm Creases
Join the outer edges into a continuous outline, keeping the palm box visible underneath. Add palm creases as a few curved lines that follow the palm mass, not as random scratches. Creases should support the structure, so place them where the palm bends or where the thumb meets the palm.
Finish with line weight: heavier lines on the outer contour and lighter lines for joints and creases. Compare the main masses, feature placement, overlaps, and line weight before judging the drawing. Several valid solutions exist, so use the rubric rather than expecting one exact answer.
- Trace the outer contour from wrist to fingertips and back.
- Add two or three palm creases that follow the palm box.
- Strengthen outer contour lines and lighten internal joint lines.
Try this example
Build a relaxed open right hand facing the viewer, palm forward, using a palm box about twice as tall as it is wide.
Show the worked explanation
Draw the palm box with a narrower wrist edge and a wider knuckle edge. Add a centre line. Mark four fingertip endpoints: middle longest, index and ring close, little finger shortest. Draw centre lines from knuckles to endpoints. Add joint marks along each finger. Start the thumb from the lower side of the palm, angled outward. Break hidden lines where fingers overlap. Join the outer contour, add two palm creases, and strengthen the outer line weight.
Common mistakes
- Drawing fingers before the palm box is settled. Finish the palm box and centre line first, then place fingertip endpoints.
- Making all four fingers the same length. Set a rhythm with the middle finger longest and the little finger shortest.
- Attaching the thumb at the same level as the fingers. Start the thumb lower on the side of the palm and angle it away from the fingers.
Check your work
- Palm box shows a narrower wrist edge and wider knuckle edge.
- Four fingertip endpoints follow a clear length rhythm.
- Joint marks are consistent and placed along finger centre lines.
- Thumb starts lower than the fingers and angles away from them.
- Overlaps are shown by breaking hidden lines.
- Outer contour is heavier than joint and crease lines.
Questions before you start
Do I need anatomy knowledge to draw a hand?
No. This method uses masses, joints, and overlaps. It is a stylised construction study, not clinical anatomy.
How do I check my hand drawing?
Compare the palm mass, fingertip placement, joint rhythm, overlaps, and line weight against the rubric.
Can I use this for a shaking-hands drawing?
Yes, but decide the grip and overlap first, then build each palm box and thumb split before joining outlines.