Free original resources
Hair Drawing: Build Volume and Lock Flow Before Fine Strands
Learn hair drawing by setting head volume, enclosing the hair mass, grouping sweeping locks, and adding a few fine strands. Includes a worked example and rubric.
Free resources
Letter & A4
PDF & SVG
Letter & A4
PDF & SVG
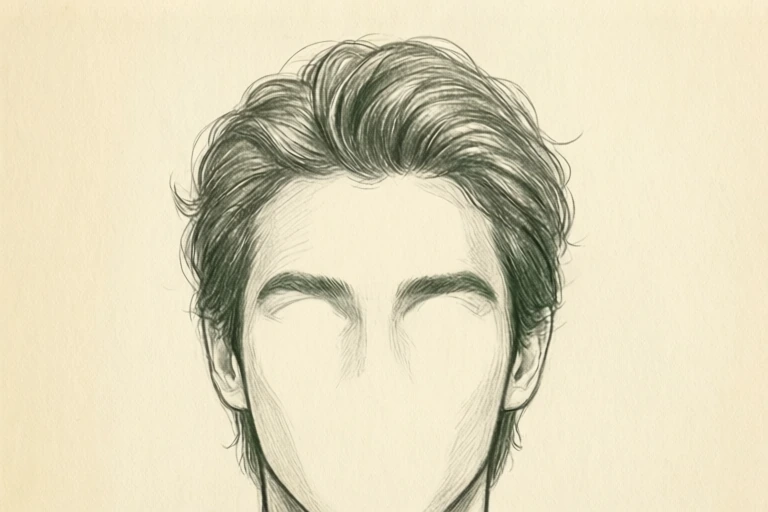
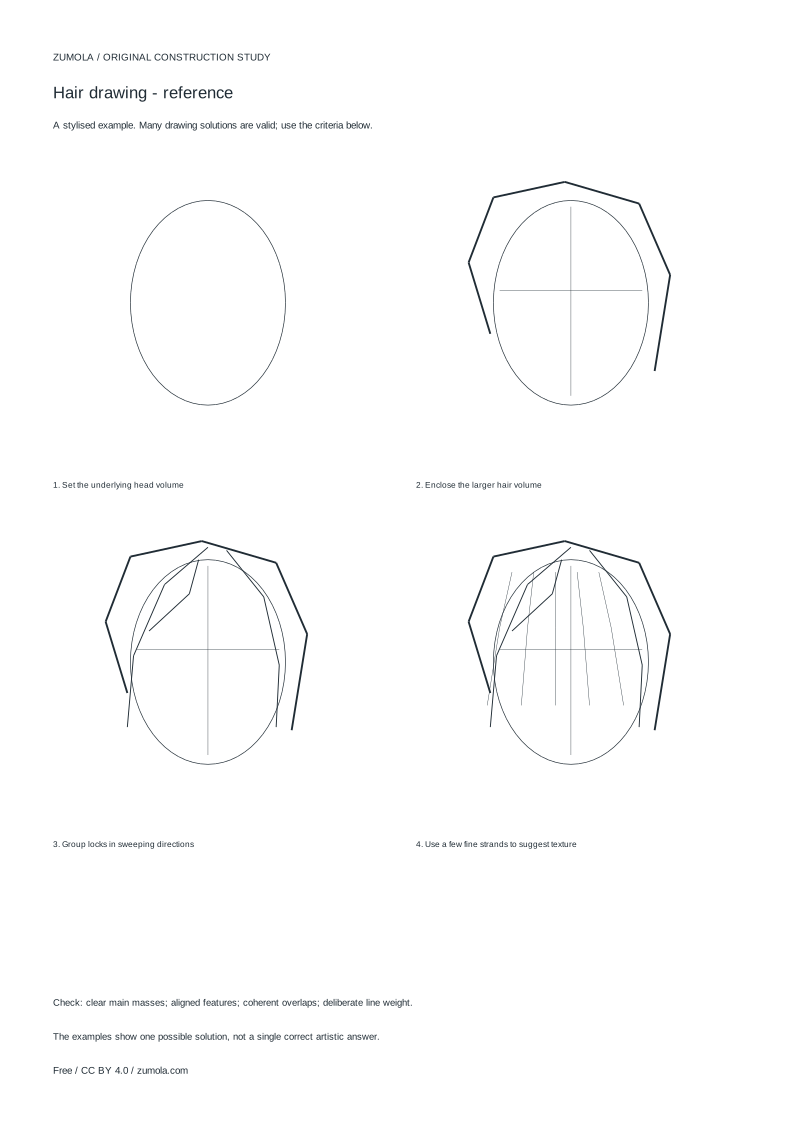
Build the drawing in four stages.
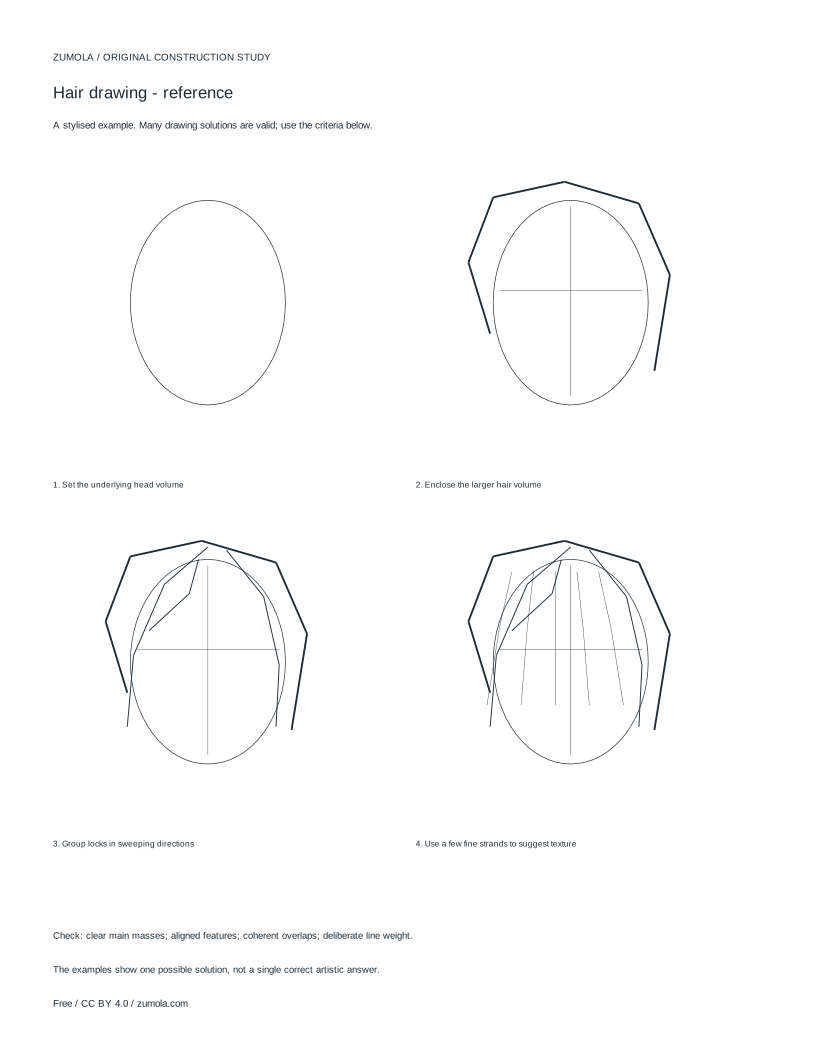
Your free printable kit.
Original reference, student practice and separate worked answers. No account or payment.
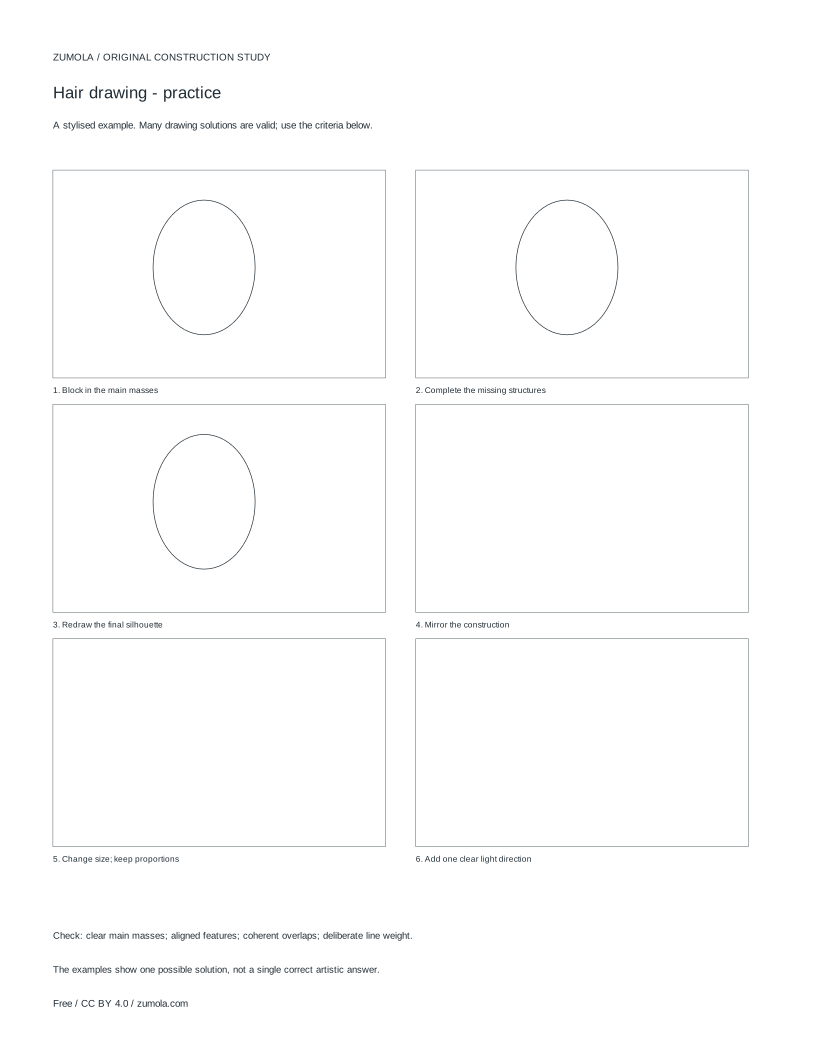
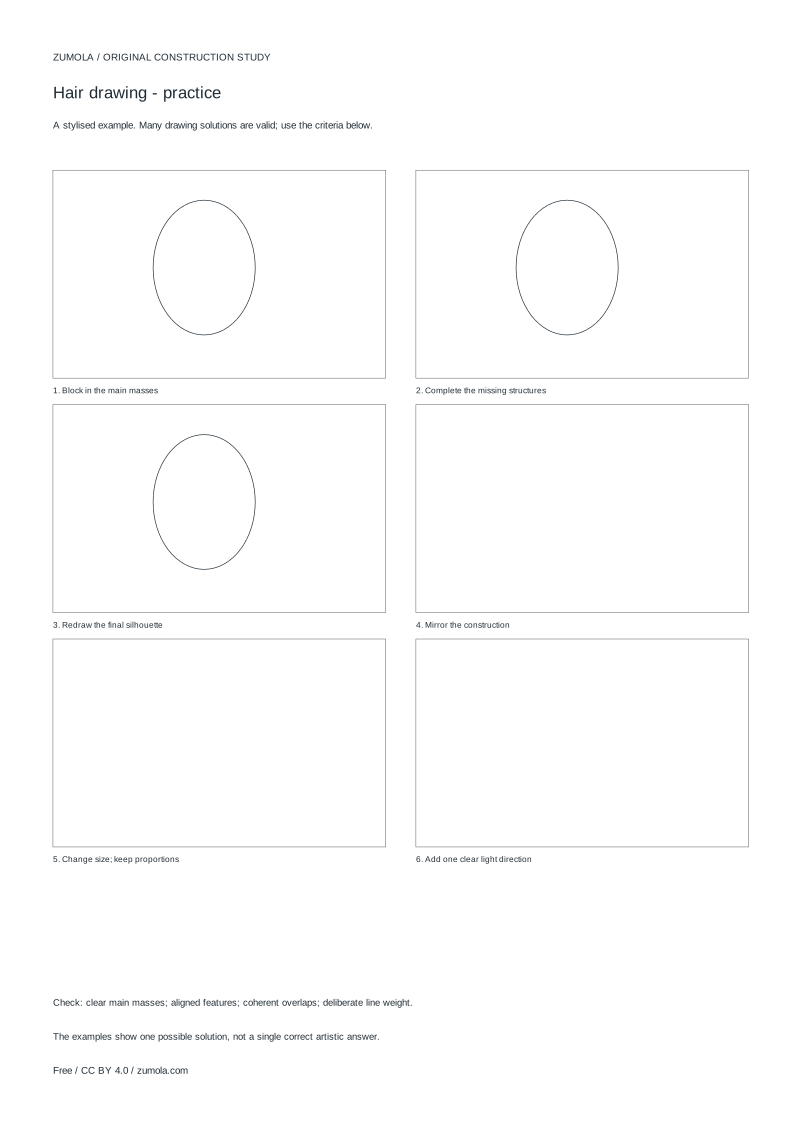
Practice worksheet
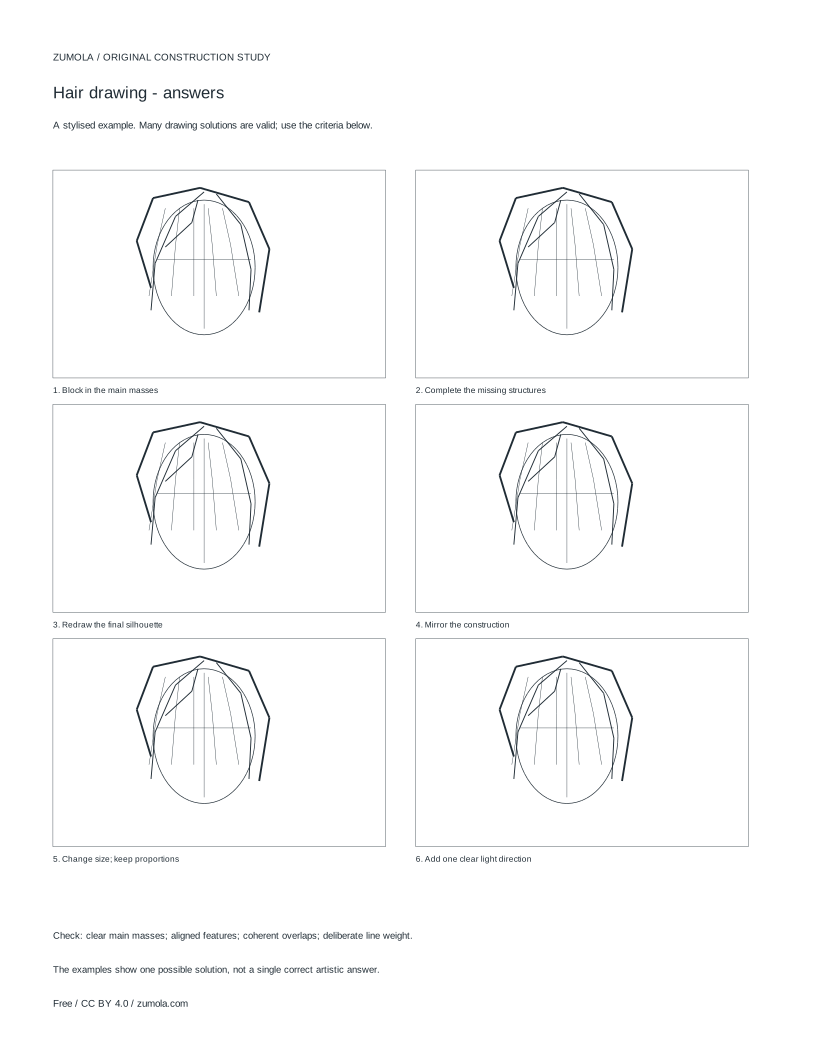
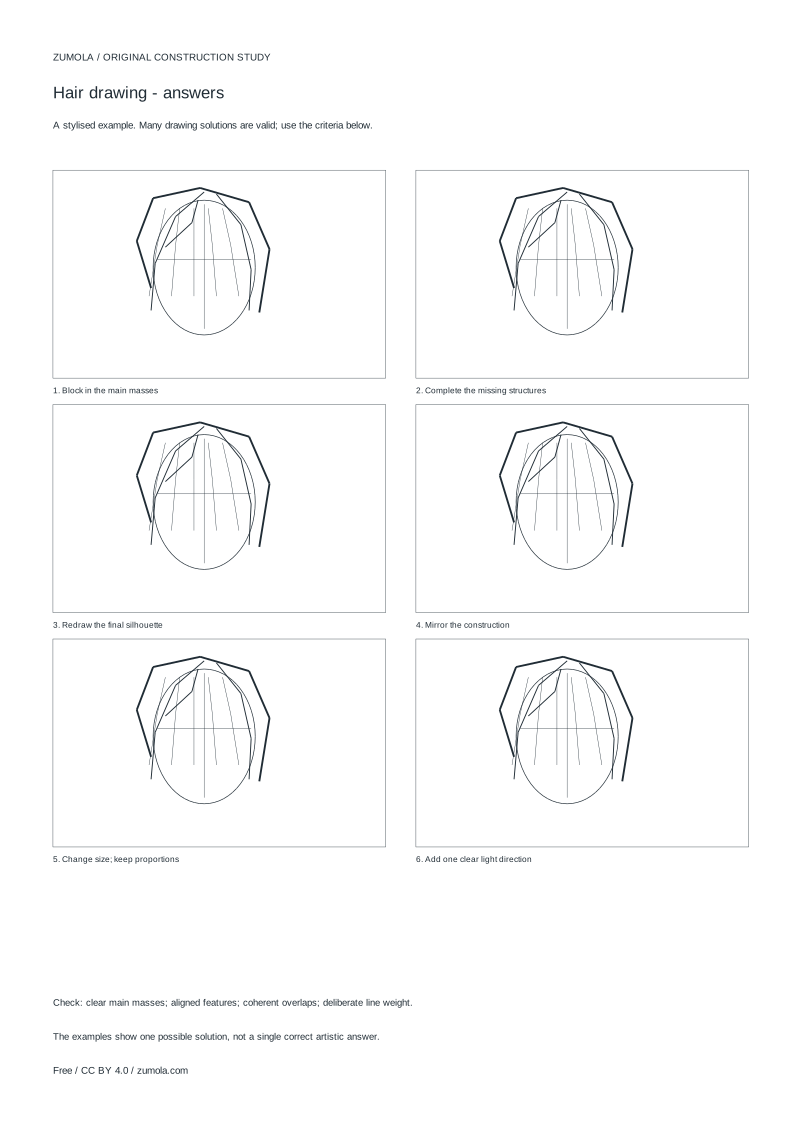
Worked answers / rubric
Print at Actual size / 100%. Check the calibration bar before using physical dimensions.
Hair drawing goes wrong when you start with single strands. A clearer method builds from the head outward: establish the skull volume, enclose the larger hair shape, divide it into grouped locks that sweep in one direction, then add only a few fine strands for texture. This page explains that sequence, the overlaps that make it readable, and how to judge several valid results with a rubric rather than one exact answer.
Start With the Head, Not the Hair
Hair sits on a rounded form, so the first line is the underlying head volume. Draw a simple oval or sphere with a marked face direction. This gives you a crown point, a hairline, and a sense of where the mass must wrap around the back and sides. Without this anchor, locks tend to float or flatten.
Keep the head construction light. It is a guide, not a finished contour. Decide where the hairline begins at the forehead and how far the mass extends past the skull. The gap between the head outline and the outer hair outline is the volume you are drawing. Treat that gap as real space, not decoration.
- Draw a light oval for the head and mark the face direction.
- Mark the crown and the forehead hairline.
- Sketch the outer limit of the hair mass, allowing space beyond the skull.
Enclose the Larger Hair Volume
Next, enclose the whole hair shape as one silhouette before dividing it. This outer boundary shows the total mass: how wide it sits at the sides, how it falls at the back, and where it ends. A single enclosing line keeps the proportions readable and prevents later locks from drifting apart.
At this stage, avoid detail. The silhouette should answer simple questions: Does the mass look balanced around the head? Does it clear the face where intended? Does the lower edge suggest weight? If the outline feels thin, widen the gap from the skull rather than adding strands.
- Draw one continuous outer boundary around the hair mass.
- Check the width at both sides against the head oval.
- Adjust the lower edge so the mass reads as having weight.
Group Locks in Sweeping Directions
Divide the enclosed mass into a few larger locks. Each lock is a tapered shape that follows a direction, such as sweeping from the crown toward one side or falling downward at the back. Draw the direction line first, then wrap the lock shape around it. Overlaps matter: a lock in front should visibly cross the one behind, and the crossing point should be clear.
Use line weight to separate near and far locks. A slightly stronger edge at the front lock and a lighter edge behind it creates depth without shading. Keep the number of large locks modest so the flow stays readable. If every lock points a different way, the hair looks tangled rather than styled.
- Draw two or three direction lines from the crown outward.
- Wrap each direction line with a tapered lock shape.
- Show overlaps where front locks cross back locks.
- Strengthen the front edges and lighten the back edges.
Add a Few Fine Strands for Texture
Fine strands are the last step, not the foundation. Add a small number of thin lines that follow the existing lock directions. They should suggest surface texture and stray hairs without redrawing every lock. Place them near edges and crossing points where the eye expects detail.
Stop before the drawing becomes a field of parallel lines. If the large masses and overlaps already read clearly, a few strands are enough. This keeps the construction visible and avoids the common habit of tracing individual hairs over an unclear shape.
- Choose a few lock edges for fine strand detail.
- Draw thin lines that follow the established sweep.
- Leave most of the larger lock surfaces clean.
Try this example
Draw a simple shoulder-length hairstyle on a head facing slightly left, using one enclosing mass, three locks, and a few fine strands.
Show the worked explanation
Draw a light oval for the head and mark the face toward the left. Mark the crown at the top and the hairline across the forehead. Enclose the hair as one silhouette that extends past the skull at both sides and falls to shoulder level. Add three direction lines: one sweeping from the crown to the right side, one falling down the back, and one crossing the forehead area toward the left. Wrap each line in a tapered lock. Make the left front lock cross the back lock and give its edge slightly heavier weight. Add a few thin strands along the outer edge and at one crossing point. Check that the mass is balanced around the head, the face is clear, and the overlaps are visible.
Common mistakes
- Drawing individual strands before establishing the head and hair mass. Draw the head oval and one enclosing hair silhouette first, then divide that silhouette into grouped locks.
- Making every lock point in a different direction. Choose two or three main sweep directions from the crown and keep most locks following them.
- Hiding overlaps so front and back locks look flat. Make front locks visibly cross back locks and strengthen the front edge with slightly heavier line weight.
Check your work
- The head volume is established before the hair mass.
- One enclosing hair silhouette shows the total mass and its width around the head.
- Locks are grouped and follow a small number of clear sweep directions.
- Overlaps between front and back locks are visible.
- Line weight distinguishes nearer locks from farther ones.
- Fine strands are limited and follow existing lock directions.
- The result is judged as one valid artistic solution among several, not as an exact answer.
Questions before you start
How many locks should a beginner draw?
Start with two or three large locks that follow clear directions. Add more only after the main mass and overlaps read clearly.
Should hair drawing show every strand?
No. Grouped locks carry the shape, and a few fine strands suggest texture. Drawing every strand usually hides the larger volume.
Is this anatomical instruction?
No. This is a stylised construction study about mass, direction, and overlap. It is not clinical anatomy or photorealistic instruction.