Free original resources
House Drawing: Perspective Grid Steps for a Stylised Exterior
Learn a four-step method for drawing a house on a perspective grid: baseline, wall envelope, roof, openings, then eaves and ground contact.
Free resources
Letter & A4
PDF & SVG
Letter & A4
PDF & SVG
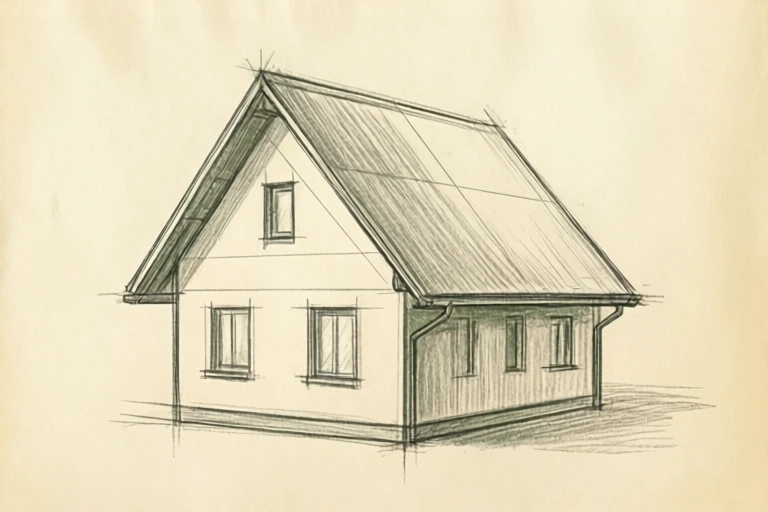
Build the drawing in four stages.
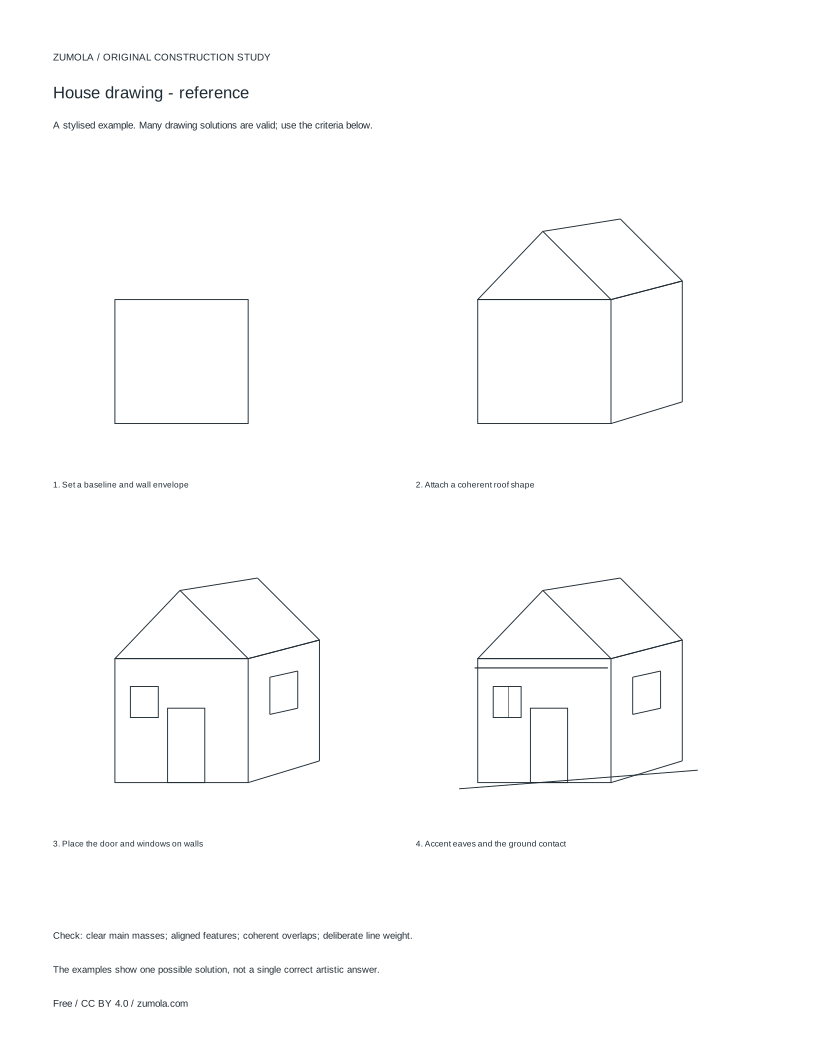
Your free printable kit.
Original reference, student practice and separate worked answers. No account or payment.
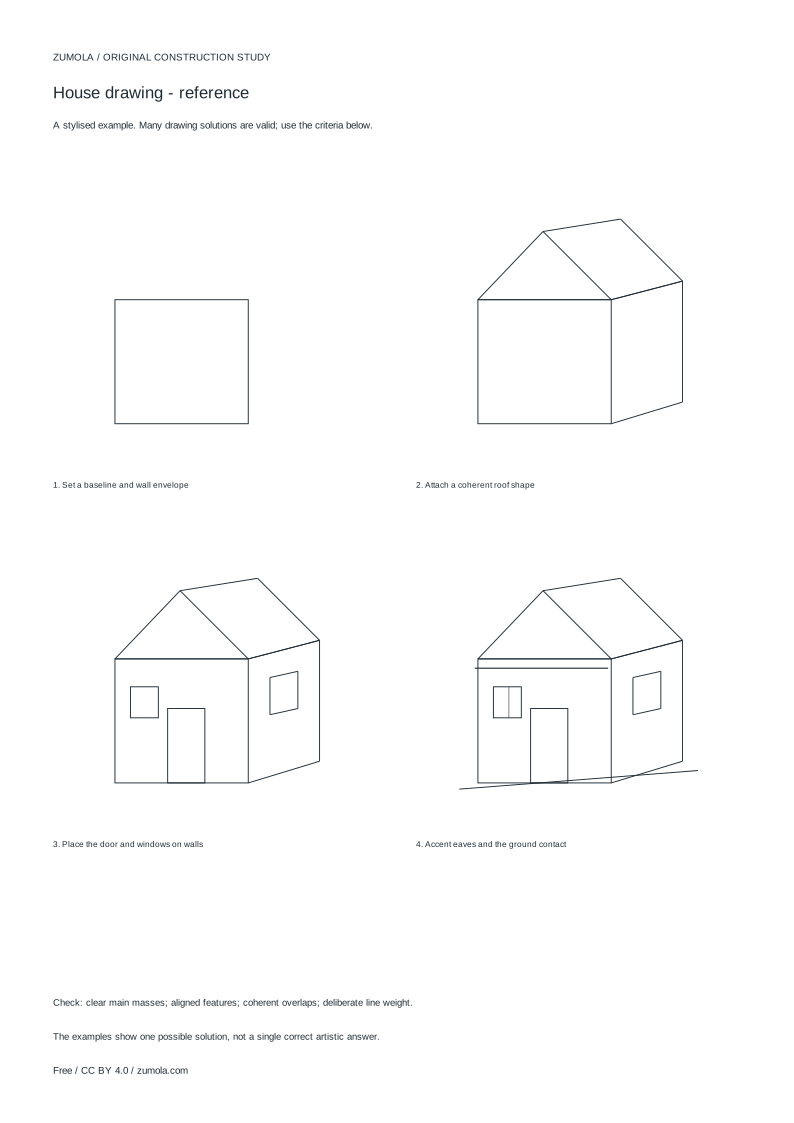
Practice worksheet
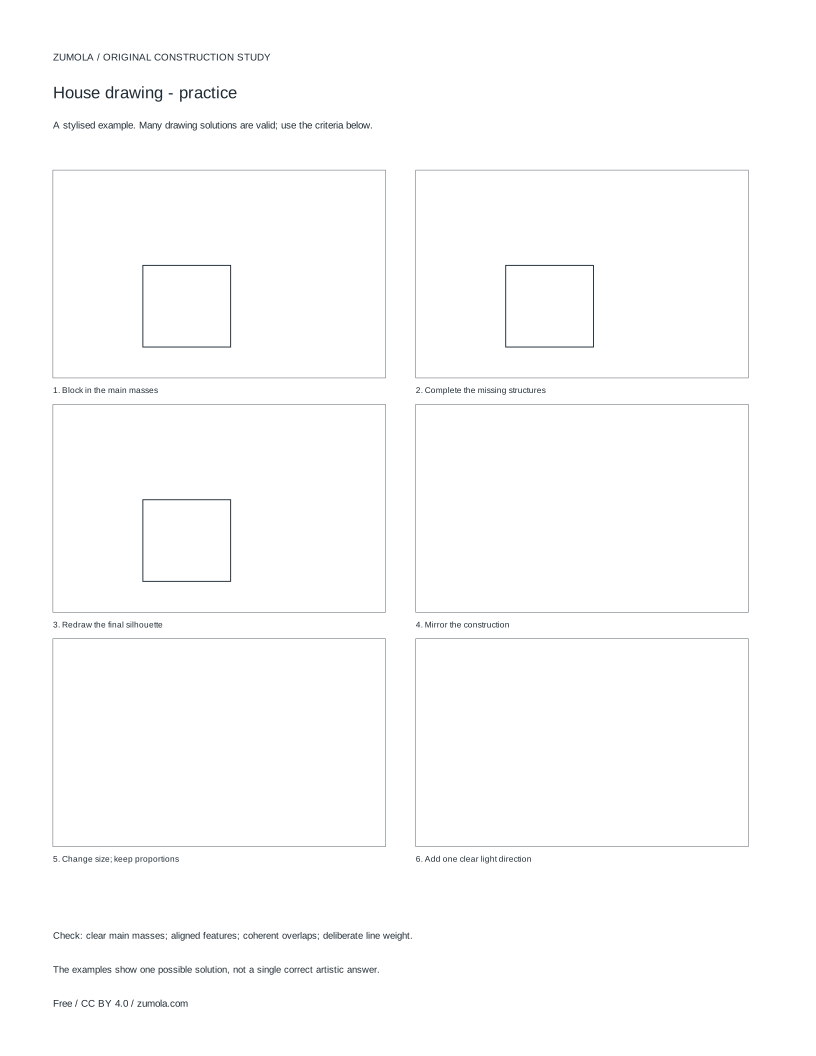
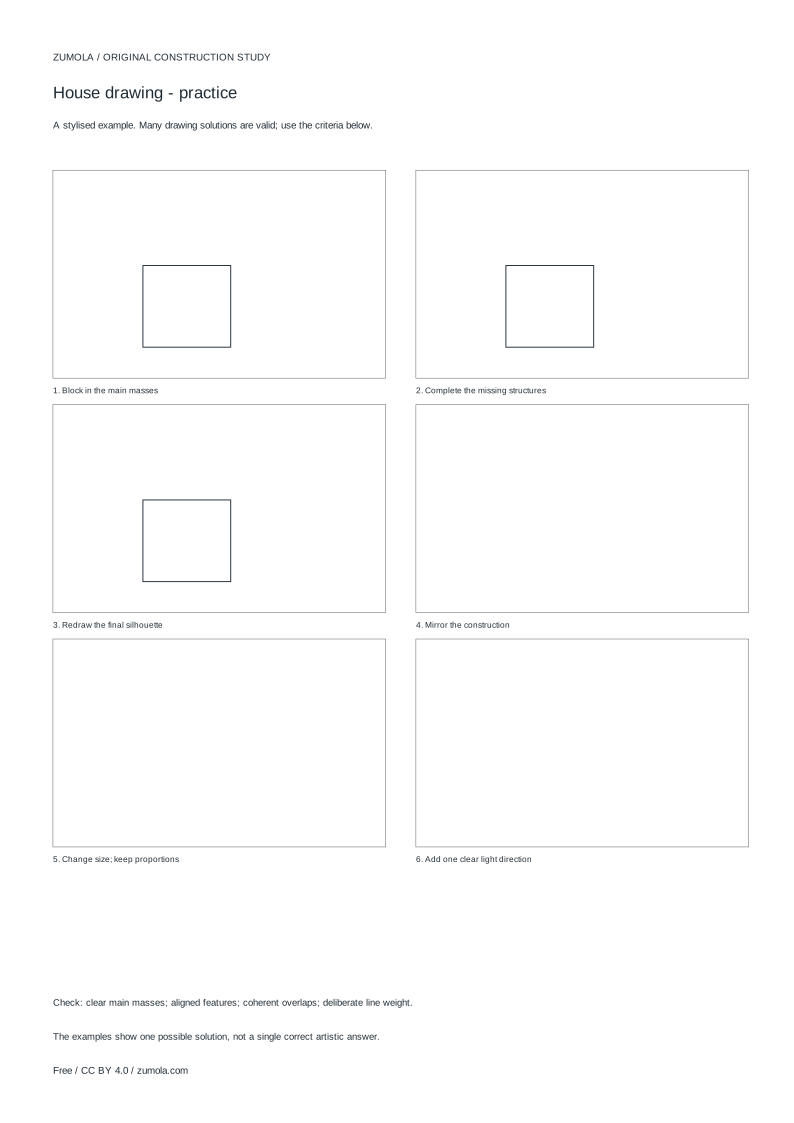
Worked answers / rubric
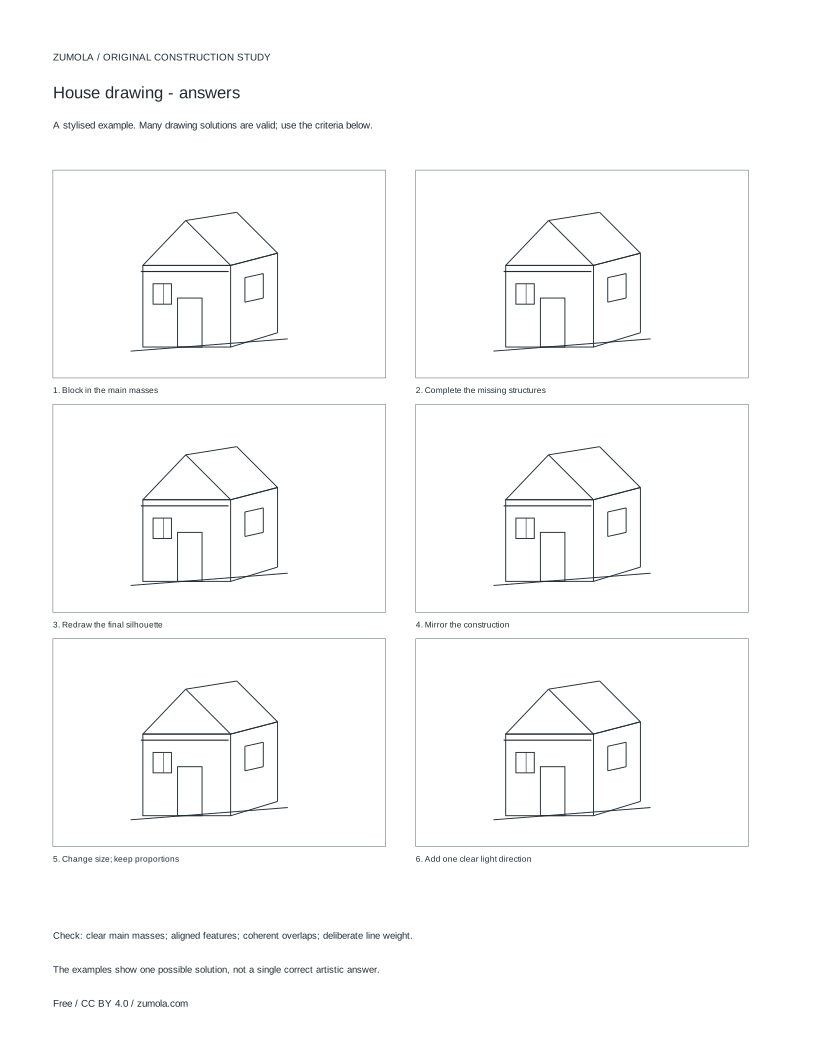
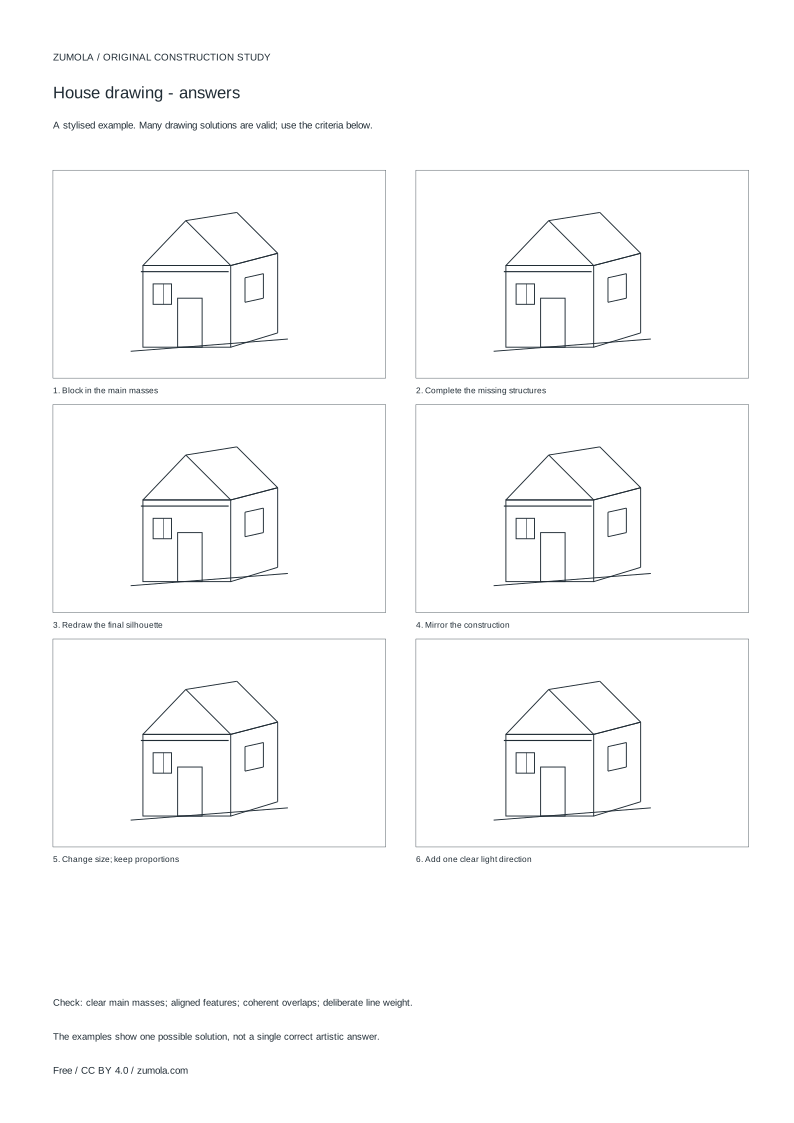
Print at Actual size / 100%. Check the calibration bar before using physical dimensions.
A house drawing becomes convincing when the main masses sit on a believable ground plane before any detail is added. This tutorial uses a simple perspective grid to build a stylised exterior in four checkable stages: baseline and wall envelope, roof shape, door and window placement, then eaves and ground contact. Each stage adds lines you can compare against the previous one, so errors in proportion or overlap are caught early rather than hidden under decoration.
Set the ground line and wall envelope first
Begin with a horizon line and one vanishing point if you want a single-view corner, or two vanishing points for a wider corner view. Draw a baseline where the front wall meets the ground. From the two front corners, raise vertical lines to a chosen wall height; these verticals stay vertical in ordinary perspective. Connect the top corners with lines that follow the grid toward the vanishing point, then close the side wall with a second vertical.
Check the envelope before continuing: the front wall should read as a rectangle distorted only by perspective, and the side wall should narrow toward the vanishing point. Keep the wall height consistent on both visible faces. If the building sits on a slope, the baseline is not level, but the verticals remain vertical.
- Draw a horizon line and mark one or two vanishing points.
- Place a baseline for the front wall and mark its two ground corners.
- Raise verticals to the wall height at both corners.
- Run top edges toward the vanishing point and close the side wall with a vertical.
Attach a roof that matches the wall plan
A roof must agree with the wall footprint. For a simple gable, decide which way the ridge runs. If the ridge runs parallel to the front wall, the front face shows a triangle or trapezoid and the side shows a sloping plane. Mark the ridge line first, then connect ridge ends to the wall tops with straight lines.
Overlap matters here: the near roof plane hides part of the far plane, and the ridge should sit above the wall centreline unless you deliberately offset it. Keep roof slopes straight; a sagging line reads as damage rather than style unless that is your intent. For a hip roof, four sloping planes meet, and each ridge endpoint connects to a wall corner.
- Choose the ridge direction and mark the ridge line above the wall envelope.
- Connect ridge ends to the relevant wall-top corners.
- Draw only the roof edges visible from your viewpoint.
- Confirm each roof plane meets a wall edge without gaps or crossed lines.
Place doors and windows on the wall planes
Openings must follow the same perspective as the wall they sit on. On the front wall, horizontal edges of a window run parallel to the wall top; on the side wall, they run toward that wall's vanishing direction. Vertical edges stay vertical. Space openings by eye or with simple divisions, and keep sills at a consistent height unless the design calls for variation.
Draw the opening outline first, then add a recess line inside it to suggest depth. A door usually reaches the ground line, so its bottom edge coincides with the baseline. Check that no window crosses a wall corner, and that openings on the side wall shrink as they move toward the vanishing point.
- Mark opening positions on each wall before drawing details.
- Draw outlines using the wall's perspective direction for horizontal edges.
- Add a shallow inner line to suggest recess depth.
- Verify doors meet the ground and windows stay within one wall plane.
Accent eaves and ground contact
Eaves give the roof thickness and cast a shadow line along the wall top. Draw an overhang line slightly beyond the wall edge, following the roof direction, then connect it back to the wall. Keep the overhang consistent on both visible sides. At ground level, add a short contact shadow under the baseline and around the door; this anchors the building instead of letting it float.
Finish with line weight: heavier lines for the main envelope and roof edges, lighter lines for openings and surface marks. Because house drawings have many valid outcomes, judge the result by whether masses, feature placement, overlaps and line weight read clearly, not by matching one exact image.
- Draw the eave overhang just outside the wall top.
- Connect overhang ends back to the wall to show roof thickness.
- Add a contact shadow along the baseline and at the door.
- Strengthen main outline weight and lighten secondary details.
Try this example
Draw a small gable house seen from one corner using one vanishing point, with a front wall 4 units wide and 3 units high, a ridge 1 unit above the wall top, and two front windows.
Show the worked explanation
Set the baseline 4 units wide and raise two verticals of 3 units at its ends. Run the top edge toward the vanishing point and close the side wall with a vertical. Mark the ridge 1 unit above the wall top, parallel to the front wall, then connect ridge ends to the front wall-top corners to form the gable. Place two front windows with sills 1 unit above the baseline, each 1 unit wide and 1 unit tall, spaced evenly. Add an eave line just outside the wall top and a contact shadow along the baseline. Check that the ridge sits above the wall centre and that no window crosses the corner.
Common mistakes
- Drawing window horizontals parallel to the page on a side wall. Match each opening's horizontal edges to that wall's vanishing direction, keeping verticals vertical.
- Letting the roof ridge float without connecting to wall tops. Mark the ridge first, then draw straight lines from each ridge end to the correct wall-top corner.
- Making the building float above the baseline. Align the door bottom and front wall base to the baseline, then add a short contact shadow.
Check your work
- Main masses read clearly: wall envelope and roof agree in footprint and height.
- Feature placement is consistent: openings follow each wall's perspective and stay within one plane.
- Overlaps are deliberate: near roof planes and eaves correctly hide farther edges.
- Line weight separates primary structure from secondary detail.
- Ground contact is shown through baseline alignment and a contact shadow.
Questions before you start
Do I need two vanishing points?
Not always. One vanishing point suits a front-facing view; two help when you show a corner with both side walls receding. Choose before drawing the envelope.
How do I keep windows the same size?
Use consistent sill height and equal spacing along the wall, then let perspective shrink openings as they move toward the vanishing point.
Can I stylise the house rather than copy a real building?
Yes. This is a construction study, not a construction or structural drawing. Keep the masses and overlaps coherent while choosing your own proportions and details.